Articles
Car AC Blowing Hot Air How To Fix
Modified: October 20, 2024
Learn how to fix your car's AC blowing hot air with these informative articles. Find expert tips and step-by-step guides to get your AC running cool again.
(Many of the links in this article redirect to a specific reviewed product. Your purchase of these products through affiliate links helps to generate commission for Storables.com, at no extra cost. Learn more)
Introduction
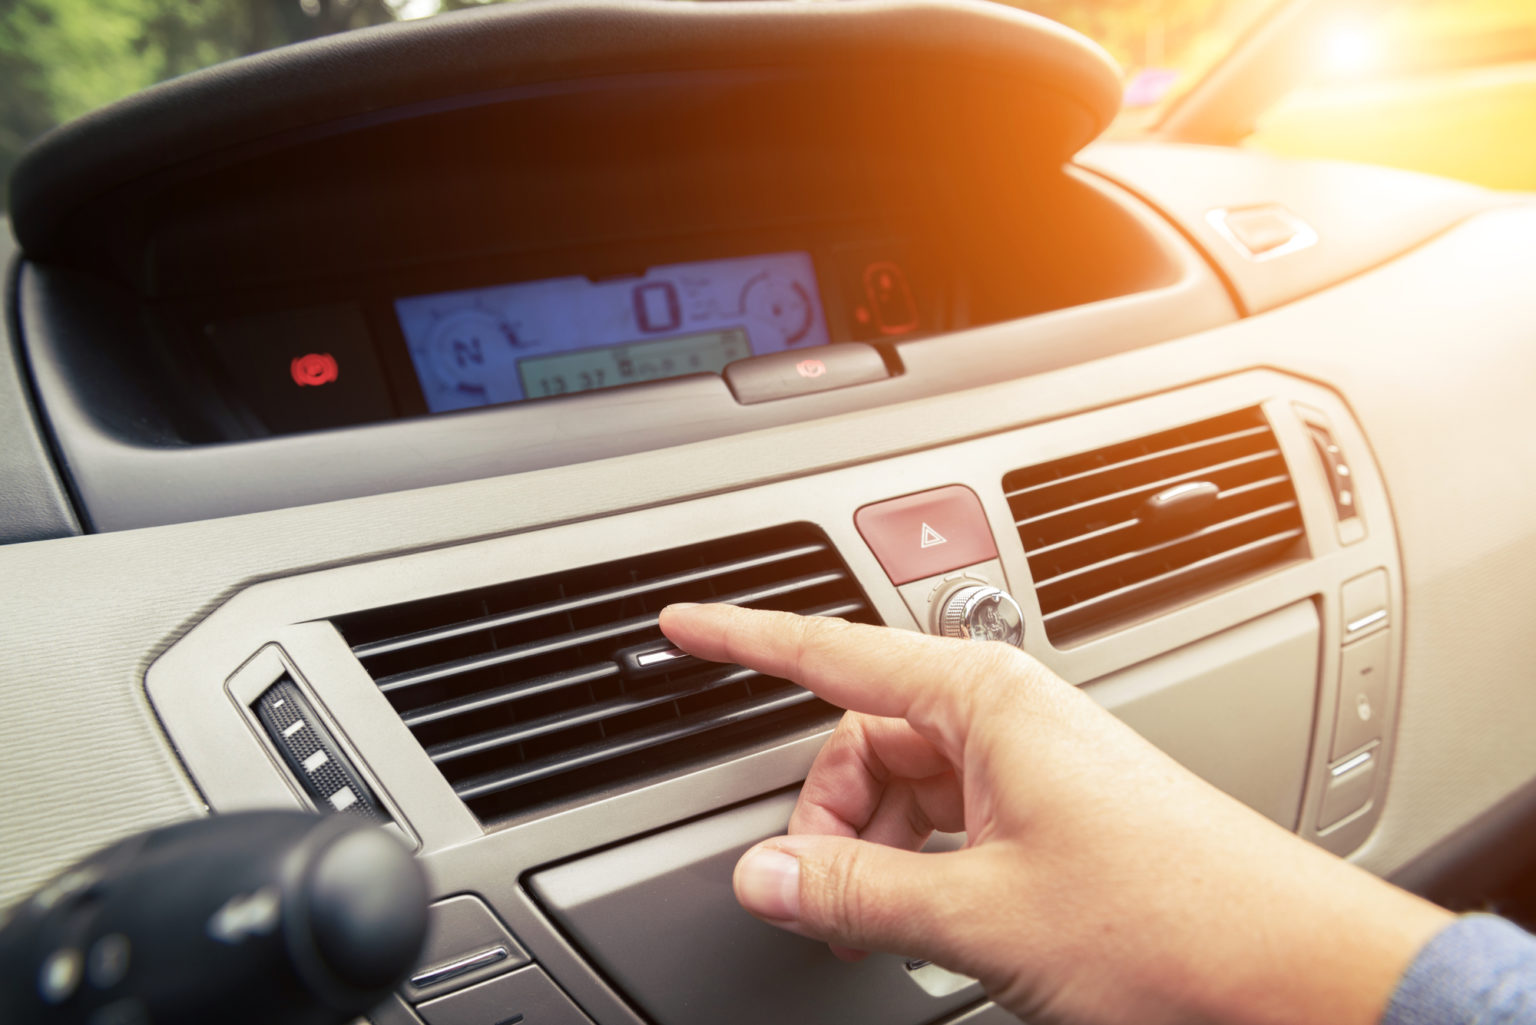
There’s nothing worse than getting into your car on a hot summer day, turning on the AC, and feeling nothing but hot air blowing out. It can be not only uncomfortable but also dangerous, especially when you’re driving long distances. Fortunately, there are several common causes for a car’s AC blowing hot air, and in this article, we will explore how to fix them.
Before we delve into the solutions, it’s important to understand that the AC system in a car is a complex setup that involves several components working together to cool the air inside the cabin. When one or more of these components fail, it can result in hot air blowing out instead of refreshing cool air.
In most cases, the common causes for a car’s AC blowing hot air include refrigerant leaks, issues with the climate control module, a malfunctioning compressor, a faulty condenser, a defective expansion valve, a clogged evaporator, or problems with the AC blend doors. Let’s explore each of these causes in more detail and discuss how to fix them.
Key Takeaways:
- Regular maintenance and prompt repairs are crucial for a car’s AC system to ensure a comfortable and safe driving experience, especially during hot weather or long drives.
- DIY measures like recharging the AC system can help address some common causes of hot air blowing from the vents, but complex issues may require the expertise of a professional technician for accurate diagnosis and resolution.
Common Causes of Car AC Blowing Hot Air
When your car’s AC suddenly starts blowing hot air, there are a few common culprits that may be at fault. Let’s take a closer look at each of these causes:
-
Refrigerant Leaks: One of the most common causes of hot air blowing from the AC vents is a refrigerant leak. Over time, the AC system may develop small leaks that cause the refrigerant to escape. When the refrigerant level is low, the AC system is unable to cool the air effectively, resulting in warm air blowing into the cabin.
-
Issues with the Climate Control Module: The climate control module is responsible for regulating the temperature and airflow inside the car. If it malfunctions, it can cause the AC system to malfunction as well. This can lead to hot air blowing out instead of cool air.
-
Malfunctioning Compressor: The compressor is the heart of the AC system. It is responsible for compressing the refrigerant and circulating it through the system. If the compressor fails or is not functioning optimally, it may result in hot air blowing from the vents.
-
Faulty Condenser: The condenser is responsible for dissipating heat from the refrigerant. If it becomes damaged or faulty, it can hinder the heat dissipation process and prevent the AC system from cooling the air effectively.
-
Defective Expansion Valve: The expansion valve regulates the flow of refrigerant into the evaporator. If it becomes stuck or fails to function properly, it can lead to excessive or insufficient refrigerant flow, causing the AC to blow hot air.
-
Clogged Evaporator: The evaporator cools the air by removing heat and moisture from it. Over time, it can accumulate dirt, dust, and debris, leading to clogs that restrict airflow and prevent the air from cooling down.
-
Problems with the AC Blend Doors: The AC blend doors control the flow of air between the heater core and the evaporator. If they get stuck or fail to open or close properly, it can result in a mixture of hot and cold air, causing the AC to blow hot air.
Now that we’ve identified the common causes of a car’s AC blowing hot air, let’s explore how to diagnose and fix these issues in the next sections.
Checking for Refrigerant Leak
A refrigerant leak is one of the most common causes of a car’s AC blowing hot air. To determine if your AC system has a refrigerant leak, follow these steps:
-
Start by turning off the engine and allowing the car to cool down.
-
Put on safety gloves and goggles to protect yourself from refrigerant exposure.
-
Locate the AC service ports, which are usually located on the low-pressure side of the AC system. These ports are typically labeled with an “L” or “Low” and “H” or “High”. The low-pressure side port is the one you’ll be working with.
-
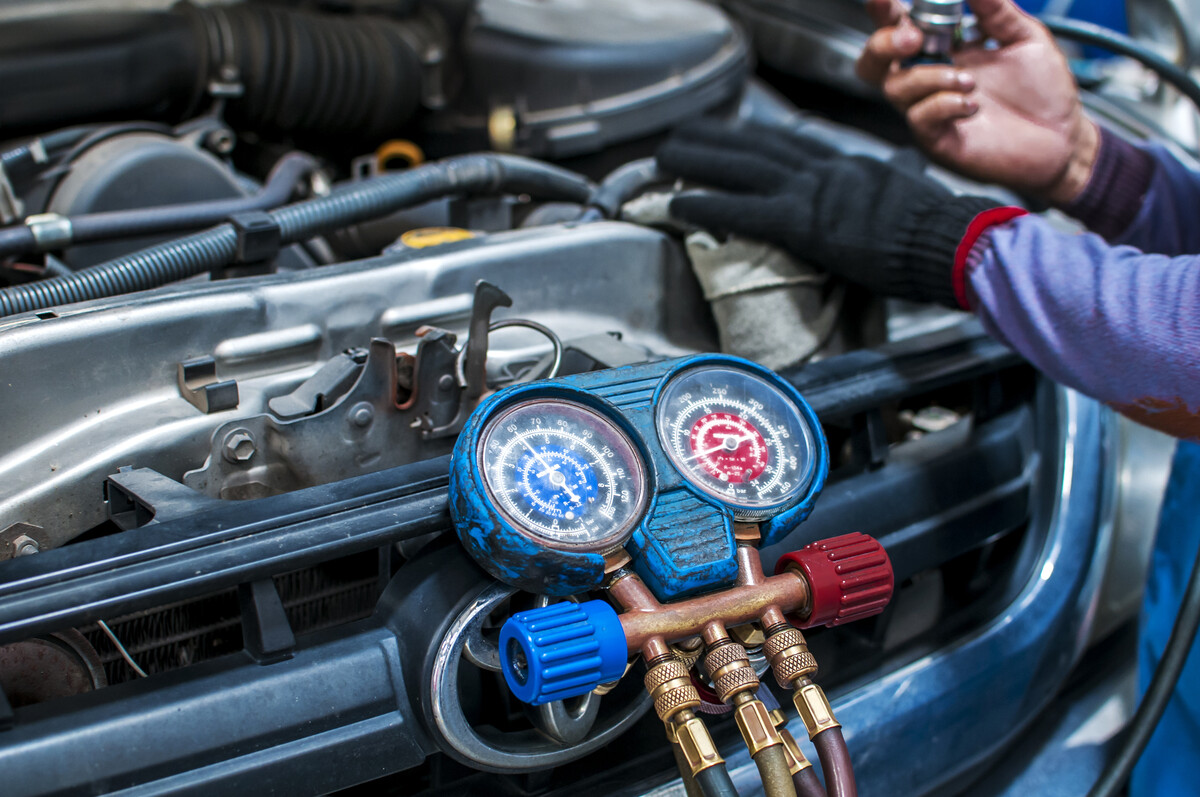
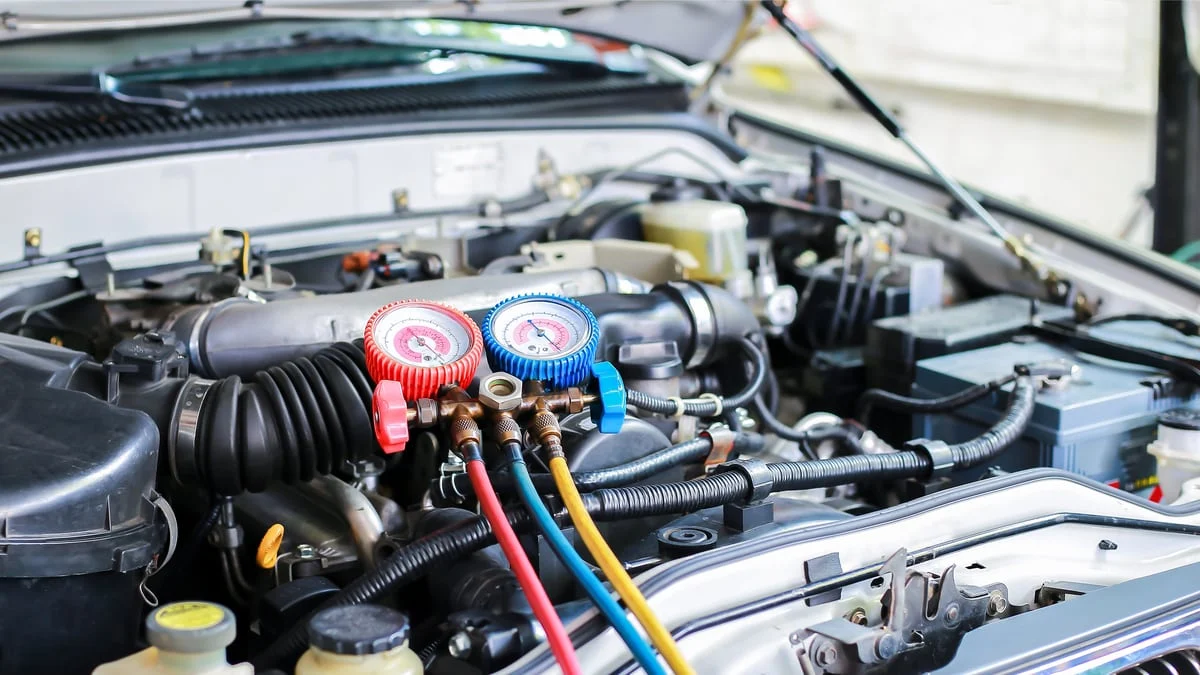
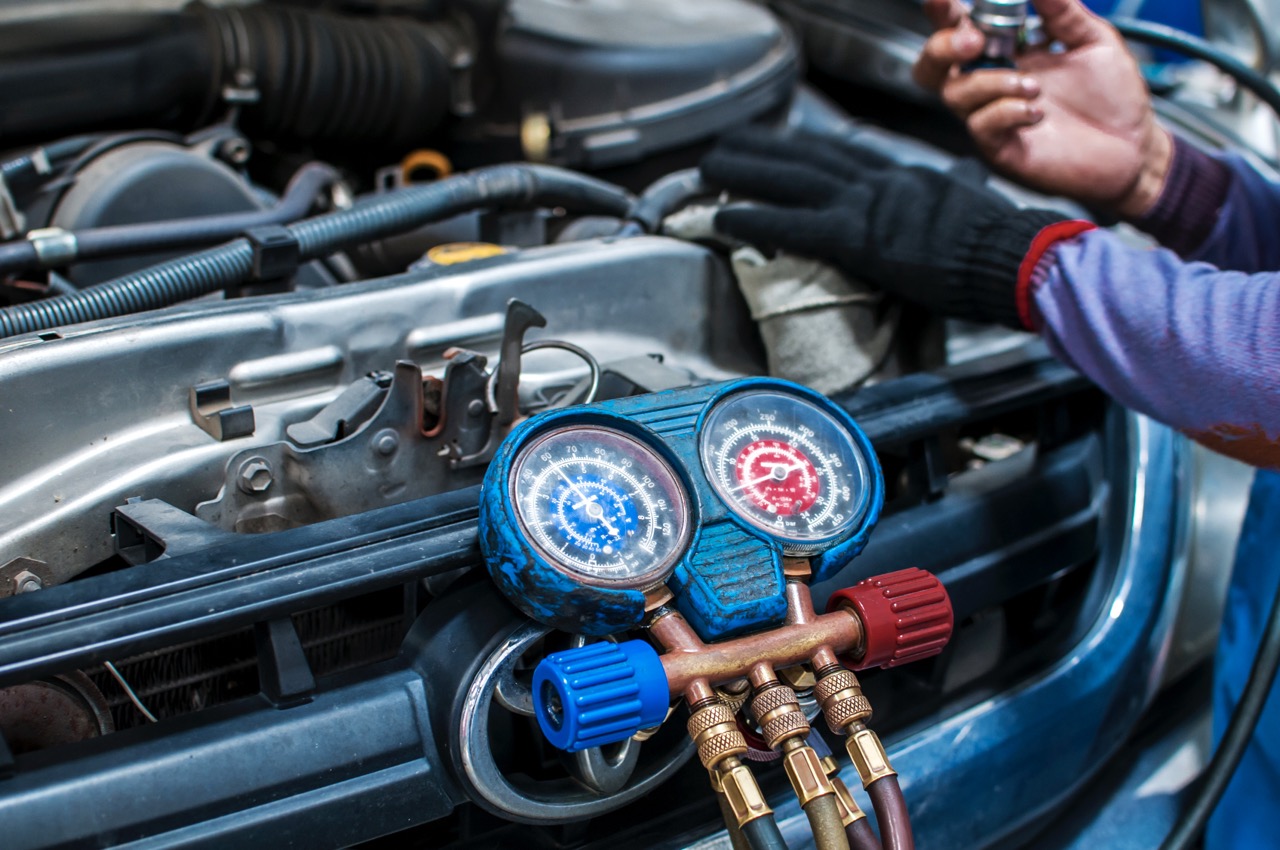
Attach a pressure gauge to the low-pressure side port. The gauge will indicate the pressure level in the AC system.
-
Observe the pressure gauge reading. If the pressure is significantly lower than the recommended level, it may indicate a refrigerant leak.
-
Inspect the AC system components, such as the hoses, connections, and fittings, for any signs of oil residue or refrigerant stains. These can be indications of a leak.
-
If you suspect a refrigerant leak, it’s essential to have a professional technician perform a dye test. During this test, a UV dye is added to the AC system, which will help identify the source of the leak.
If a refrigerant leak is detected, it’s crucial to have it repaired promptly. Adding refrigerant alone will not solve the issue and may cause further damage to the AC system. A trained professional will be able to fix the leak and recharge the AC system with the proper amount of refrigerant.
Checking for a refrigerant leak is an essential first step in troubleshooting a car’s AC blowing hot air. By identifying and addressing the issue promptly, you can restore the cooling functionality of your AC system and stay comfortable on your drives.
Recharging the AC System
If your car’s AC is blowing hot air, it may be due to a low refrigerant level. Recharging the AC system can help restore its cooling efficiency. Here’s how you can recharge the AC system:
-
Start by purchasing an AC refrigerant recharge kit. These kits typically include a can of refrigerant and a pressure gauge.
-
Consult your car’s manual for the correct type and amount of refrigerant required for your specific vehicle.
-
Ensure that the engine is turned off and the car is parked in a well-ventilated area.
-
Locate the AC service ports, which are typically labeled with an “L” or “Low” and “H” or “High”. The low-pressure side port is the one you’ll be using to recharge the system.
-
Attach the recharge hose to the low-pressure side port, making sure it is securely connected.
-
Turn on the engine and switch the AC to its maximum cooling setting.
-
Follow the instructions on the recharge kit to add refrigerant to the AC system. This often involves attaching the can to the recharge hose and slowly releasing the refrigerant into the system.
-
Monitor the pressure gauge on the recharge kit to ensure that you’re adding the correct amount of refrigerant. Overcharging the system can cause damage.
-
Once you’ve added the proper amount of refrigerant, close the valve on the recharge hose and disconnect it from the AC service port.
-
Allow the AC system to run for a few minutes to circulate the refrigerant.
-
Check the AC vents to ensure that cool air is now coming out.
It’s important to note that recharging the AC system is a temporary solution and may not fix the underlying issue if there is a refrigerant leak. If you find that you have to recharge the system frequently, it’s recommended to have a professional technician inspect for leaks and make any necessary repairs.
Recharging the AC system can help restore the cooling functionality of your car’s AC and provide relief from the hot air blowing from the vents. However, remember to follow the instructions carefully and consult a professional if you’re unsure about the process.
Inspecting the Climate Control Module
If your car’s AC is blowing hot air despite having sufficient refrigerant, the issue may lie with the climate control module. The climate control module is responsible for regulating the temperature and airflow inside the car. Here’s how you can inspect the climate control module:
-
Start by locating the climate control module, which is usually located in the center console or dashboard of the car.
-
Inspect the control panel for any visible signs of damage, such as cracked buttons, loose wiring, or malfunctioning displays.
-
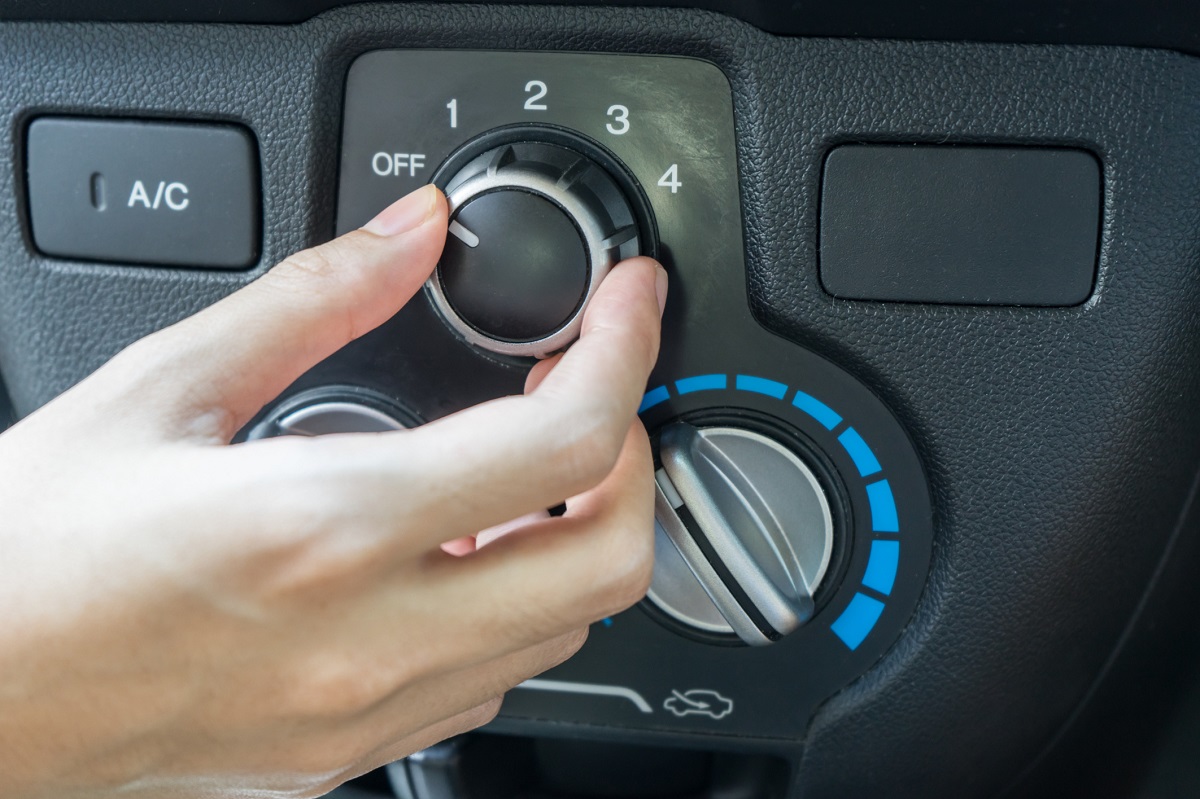
Check the buttons and knobs on the control panel to ensure they are functioning properly. Press each button and turn each knob to see if the corresponding functions are working correctly.
-
Pay attention to any unusual sounds, such as clicking or grinding, when operating the controls. These sounds may indicate a mechanical issue within the module.
-
Test the different settings and modes on the control panel, such as fan speed, temperature, and airflow direction, to see if they are responding as expected. Monitor the changes in the air coming out of the vents.
-
If you notice any abnormalities during the inspection, it may indicate a malfunctioning climate control module. In such cases, it is recommended to have the module diagnosed and repaired by a professional technician.
-
In some cases, resetting the climate control module may help resolve minor issues. This can be done by disconnecting the car’s battery for a few minutes and then reconnecting it. However, be aware that this process may also reset other electrical systems in the car.
Inspecting the climate control module is a crucial step in troubleshooting a car’s AC blowing hot air. If you suspect that the module is causing the issue, it’s best to consult a professional technician who can properly diagnose and repair the module or recommend the necessary steps to resolve the problem.
Remember, a malfunctioning climate control module can greatly affect the AC system’s performance. Therefore, it’s important to address any issues with the module promptly to ensure your comfort while driving.
Read more: Why Does My Car Air Conditioner Blow Hot Air
Assessing the Compressor
The compressor plays a crucial role in the functioning of the car’s AC system. It is responsible for compressing the refrigerant and circulating it through the system. If the compressor fails or is not functioning optimally, it can result in hot air blowing from the AC vents. Here’s how you can assess the compressor:
-
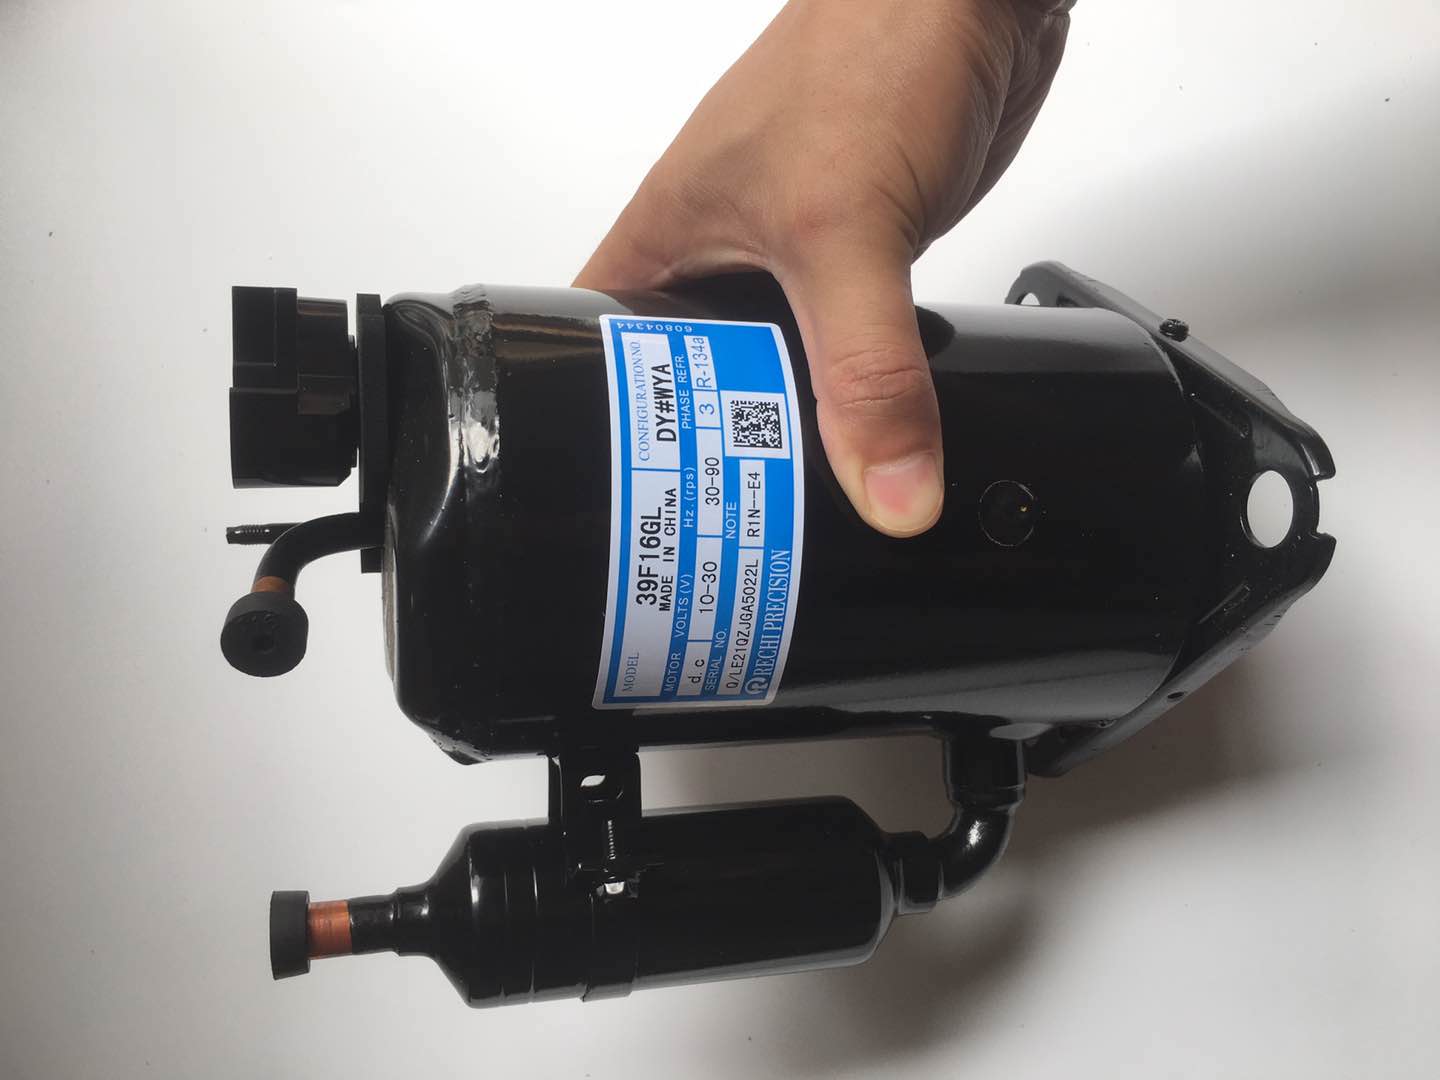
Start by visually inspecting the compressor, which is typically located near the front of the engine. Look for any signs of damage, such as cracks, leaks, or loose connections.
-
Check the compressor belt for any signs of wear or damage. A worn-out or damaged belt can affect the compressor’s performance.
-
Inspect the compressor clutch, which is located in front of the compressor. It should engage and disengage smoothly when the AC is turned on and off. If the clutch is not engaging or disengaging properly, it may indicate a problem with the compressor.
-
Listen for any unusual sounds coming from the compressor when the AC is turned on. Grinding, squealing, or rattling noises may indicate a mechanical issue within the compressor.
-
Check the compressor’s electrical connections to ensure they are secure and free from corrosion. Loose or corroded connections can affect the compressor’s performance.
-
If you suspect that the compressor is not functioning properly, it is recommended to have it diagnosed by a professional technician. They can perform tests to check the compressor’s pressure, refrigerant flow, and overall functionality.
-
In some cases, the compressor may need to be replaced if it is found to be faulty or damaged. A professional technician can guide you through the process of selecting and installing a new compressor.
Assessing the compressor is an important step in troubleshooting a car’s AC blowing hot air. If you notice any signs of damage, irregular noises, or suspect that the compressor is the cause of the issue, it’s best to consult a professional technician who can accurately diagnose the problem and recommend the appropriate solution.
Remember, a properly functioning compressor is essential for the AC system to cool the air effectively. Addressing any issues with the compressor promptly will help restore the cooling functionality of your car’s AC and keep you comfortable on your drives.
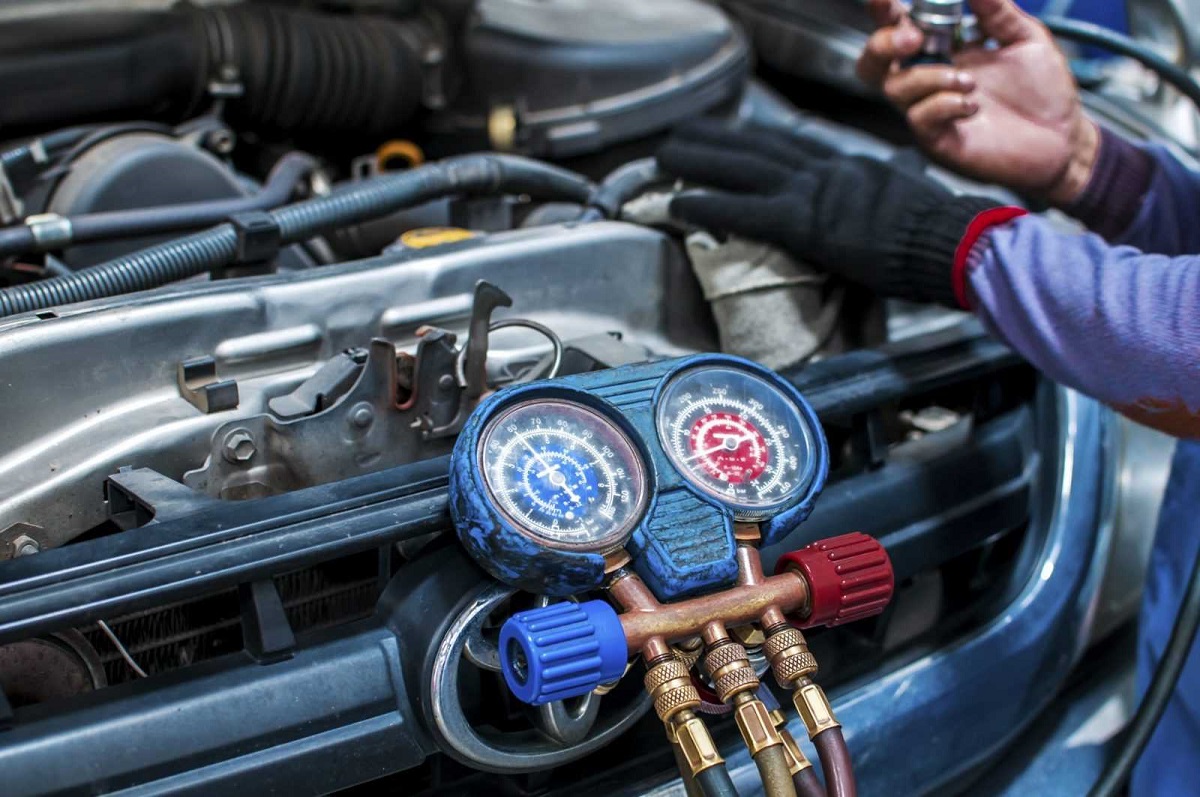
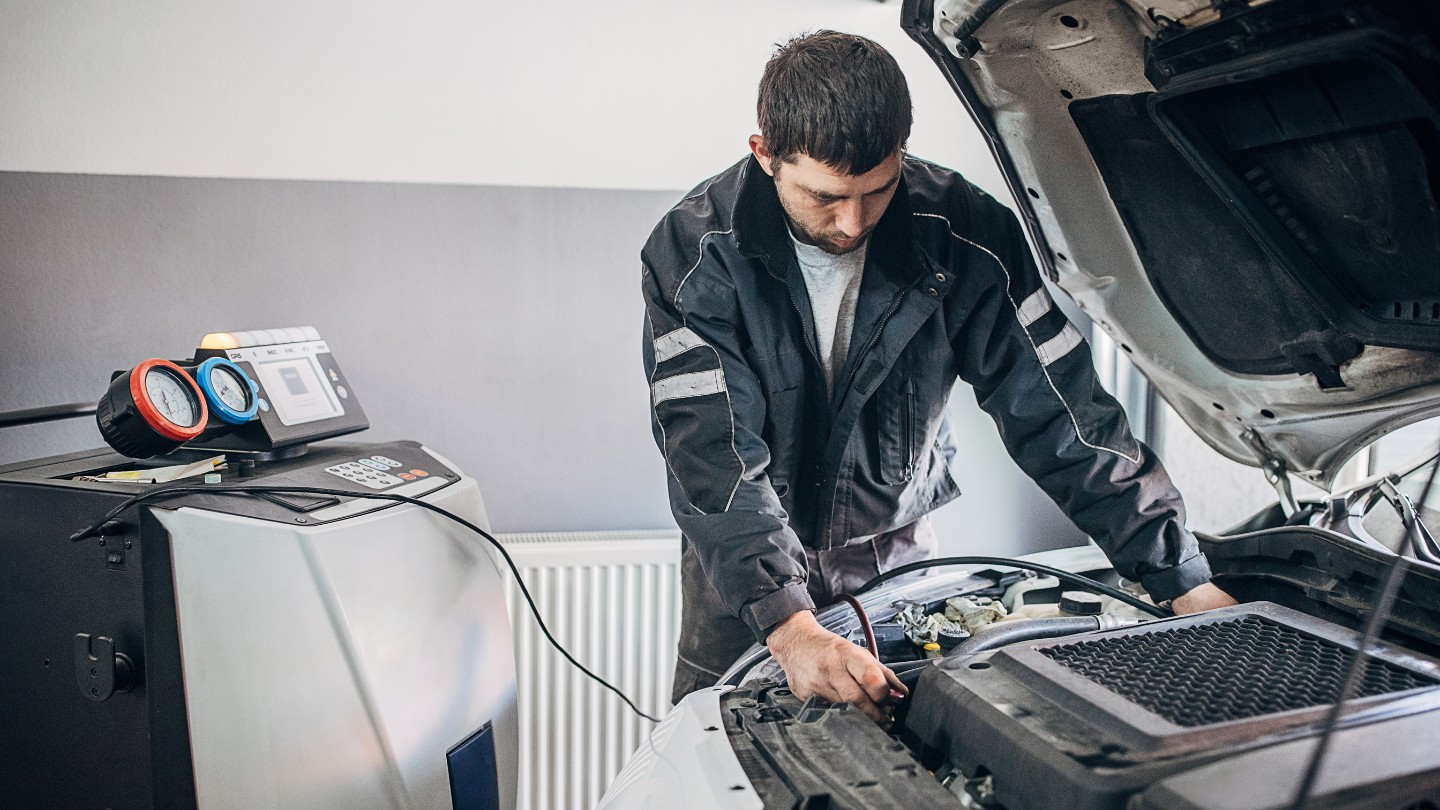
Check the refrigerant levels in your car’s AC system. If they are low, have a professional recharge the system to restore cold air flow.
Examining the Condenser
The condenser plays a vital role in the cooling process of your car’s AC system. It is responsible for dissipating heat from the refrigerant, allowing it to cool down before entering the cabin. If the condenser becomes damaged or faulty, it can hinder the heat dissipation process and result in hot air blowing from the AC vents. Here’s how you can examine the condenser:
-
Start by visually inspecting the condenser, which is typically located in front of the radiator. Look for any signs of physical damage, such as dents, bent fins, or corrosion. These can affect the condenser’s ability to dissipate heat effectively.
-
Check the integrity of the condenser’s fins. If they are bent or damaged, it can restrict airflow and hinder the cooling process. You can use a fin comb or a small brush to straighten the fins gently.
-
Inspect the condenser for any refrigerant leaks. Look for oily residue or stains around the condenser connections or fittings. If you suspect a leak, it’s essential to have it repaired promptly by a professional technician.
-
Clean the condenser to remove any dirt, debris, or bugs that may have accumulated. You can use a soft brush, compressed air, or a mild detergent solution to clean the surface of the condenser. Avoid using excessive force or harsh chemicals that could damage the condenser.
-
If the condenser appears to be in good condition but the AC is still blowing hot air, it may be necessary to have the condenser’s performance tested by a professional technician. They can perform pressure and temperature tests to assess the efficiency of the condenser.
-
In some cases, a damaged or faulty condenser may need to be replaced. A professional technician can guide you through the process of selecting and installing a new condenser, ensuring proper functionality and compatibility with your AC system.
Examining the condenser is an important step in troubleshooting a car’s AC blowing hot air. By checking for physical damage, inspecting for leaks, and ensuring proper cleanliness, you can help maintain the condenser’s performance and ensure effective heat dissipation.
If you suspect any issues with the condenser or the AC system in general, it’s best to consult a professional technician. They have the expertise and diagnostic tools to accurately assess the condenser and recommend appropriate repairs or replacements. Ensuring the proper functioning of the condenser will help restore the cooling functionality of your car’s AC system and provide you with a comfortable driving experience.
Checking the Expansion Valve
The expansion valve is a crucial component in the car’s AC system. It regulates the flow of refrigerant into the evaporator, where it is transformed from a high-pressure liquid to a low-pressure gas. If the expansion valve becomes stuck or fails to function properly, it can result in excessive or insufficient refrigerant flow, causing the AC to blow hot air. Here’s how you can check the expansion valve:
-
Start by locating the expansion valve, which is typically located near the evaporator. Refer to your car’s manual or consult a professional technician if you’re unsure of its exact location.
-
Visually inspect the expansion valve for any signs of damage, such as corrosion, leaks, or loose connections. Any physical damage may indicate a need for replacement.
-
Check the temperature of the inlet and outlet hoses connected to the expansion valve. The inlet hose should be warm or hot, while the outlet hose should be significantly cooler. If both hoses have similar temperatures, it may indicate a malfunctioning expansion valve.
-
Listen for any unusual sounds coming from the expansion valve area, such as hissing or gurgling noises. These sounds may indicate a blockage or a malfunction within the valve.
-
If you suspect a problem with the expansion valve, it is recommended to have it inspected by a professional technician. They can perform tests to check the valve’s functionality, including checking for proper refrigerant flow.
-
In some cases, a defective expansion valve may need to be replaced. This is a complex task that requires specialized knowledge and equipment, so it’s best to leave it to a professional technician.
Checking the expansion valve is an important step in troubleshooting a car’s AC blowing hot air. By inspecting for damage, monitoring the temperature differential, and listening for any unusual sounds, you can identify potential issues with the valve.
Should you suspect any problems with the expansion valve or the AC system in general, it’s best to consult a professional technician. They have the expertise and tools to accurately assess the expansion valve and recommend appropriate repairs or replacements. Ensuring the proper functioning of the expansion valve is crucial for restoring the cooling functionality of your car’s AC system and keeping you comfortable on your drives.
Evaluating the Evaporator
The evaporator is a key component of your car’s AC system, responsible for removing heat and moisture from the air to cool it down. If the evaporator becomes clogged or develops issues, it can result in hot air blowing from the AC vents. Here’s how you can evaluate the evaporator:
-
Start by locating the evaporator, which is typically housed within the dashboard or under the hood of the car. Refer to your car’s manual or consult a professional technician if you’re unsure of its exact location.
-
Inspect the evaporator for any visible signs of damage, such as corrosion, leaks, or bent fins. Damage to the evaporator can hinder its ability to cool down the air effectively. Additionally, check for any dirt or debris that may have accumulated on the surface.
-
Check the evaporator drain for any blockages. Over time, the drain may get clogged with dirt or debris, preventing proper water drainage. Clear any blockages carefully to ensure proper functioning of the evaporator.
-
Listen for any unusual sounds coming from the evaporator area, such as gurgling or hissing noises. These sounds may indicate a refrigerant leak or a blockage within the evaporator.
-
Monitor the airflow from the AC vents. If the airflow is weak or inconsistent, it may indicate a problem with the evaporator. Additionally, check the temperature of the air coming out of the vents. If it’s not cool or cold, it may indicate an issue with the evaporator’s cooling efficiency.
-
If you suspect any issues with the evaporator, it is recommended to have it evaluated by a professional technician. They can conduct tests to measure the evaporator’s performance, such as checking for proper refrigerant flow and temperature differentials.
-
In some cases, if the evaporator is severely damaged or clogged, it may need to be cleaned or replaced. This is a complex task that requires specialized knowledge and tools, so it’s best to leave it to a professional technician.
Evaluating the evaporator is an essential step in troubleshooting a car’s AC blowing hot air. By inspecting for damage, checking the evaporator drain, monitoring airflow and temperature, and listening for unusual sounds, you can identify potential issues with the evaporator.
If you suspect any problems with the evaporator or the AC system in general, it’s best to consult a professional technician. They have the expertise and tools to accurately assess the evaporator and recommend appropriate repairs or replacements. Ensuring the proper functioning of the evaporator is crucial for restoring the cooling functionality of your car’s AC system and maintaining your comfort while driving.
Read more: Why Is My Air Conditioning Blowing Hot Air
Verifying the AC Blend Doors
The AC blend doors are responsible for controlling the flow of air between the heater core and the evaporator in your car’s AC system. If these blend doors get stuck or fail to open or close properly, it can result in a mixture of hot and cold air, causing the AC to blow hot air. Here’s how you can verify the AC blend doors:
-
Start by locating the AC blend doors, which are typically located behind the dashboard or within the HVAC unit of the car. Refer to your car’s manual or consult a professional technician if you’re unsure of their exact location.
-
Turn on the engine and switch the AC to its maximum cooling setting.
-
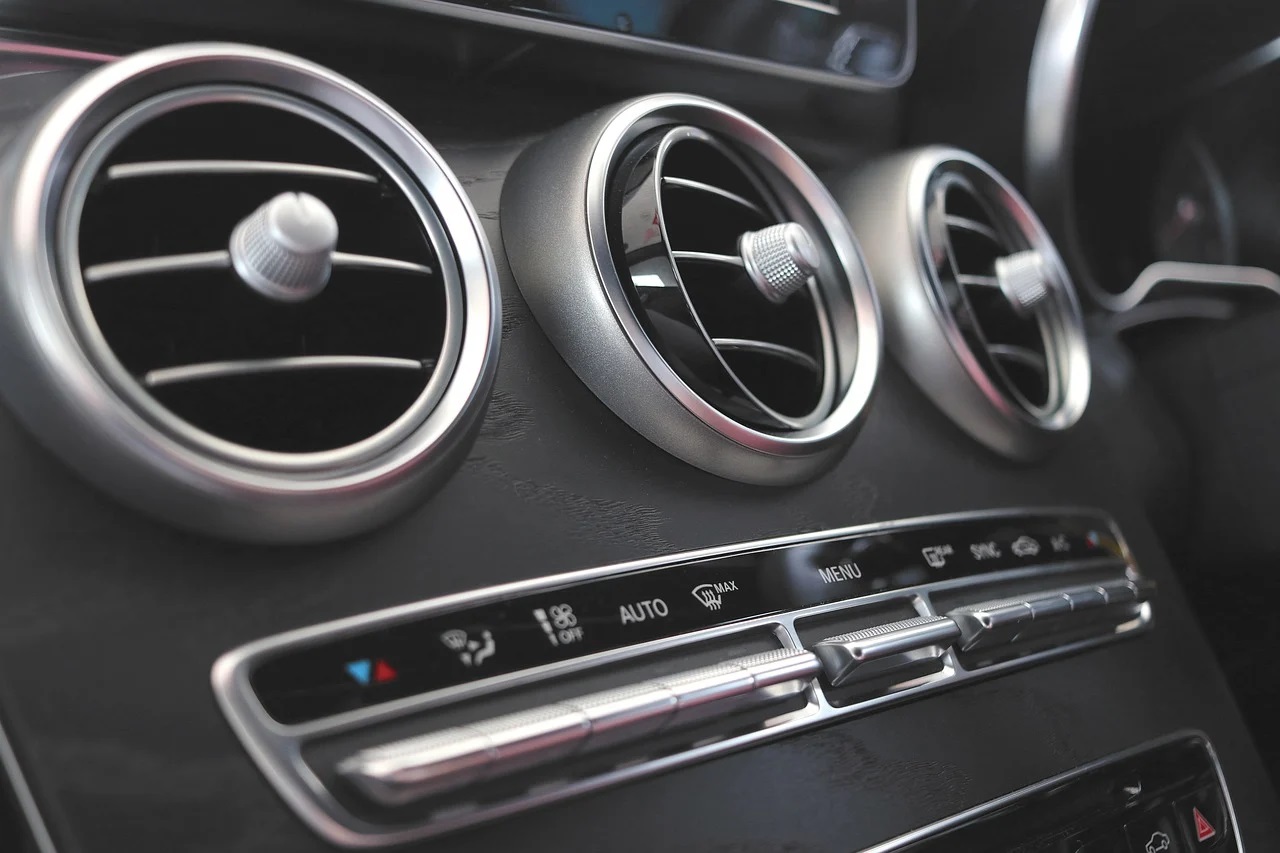
Feel the air coming from the vents to assess if it’s consistent in temperature and airflow. If you notice fluctuations in temperature or weak airflow, it may indicate a problem with the blend doors.
-
Operate the various controls on the AC system, including the temperature knob, mode selector, and fan speed. Observe if the airflow and temperature change accordingly with each adjustment. If the air remains hot or there are inconsistencies, it might suggest an issue with the blend doors.
-
Listen for any clicking or grinding sounds coming from the dashboard when adjusting the temperature or airflow. These noises can indicate that the blend doors are not functioning correctly.
-
If you suspect a problem with the blend doors, it is advisable to have them inspected by a professional technician. They have the expertise and diagnostic tools to verify the functionality of the blend doors and identify any potential issues.
-
In some cases, if the blend doors are found to be faulty or stuck, they may need to be repaired or replaced. This is a complex task that requires specialized knowledge and tools, so it’s best to leave it in the hands of a professional technician.
Verifying the AC blend doors is an essential step in troubleshooting a car’s AC blowing hot air. By checking for consistent airflow and temperature, observing any unusual sounds, and consulting a professional technician, you can identify potential problems with the blend doors.
If you suspect any issues with the blend doors or the AC system as a whole, it’s best to seek the expertise of a professional technician. They can accurately assess the blend doors and recommend the necessary repairs or replacements. Ensuring the proper functioning of the blend doors will help restore the cooling functionality of your car’s AC system and maintain your comfort while driving.
Conclusion
A car’s AC blowing hot air can be a frustrating and uncomfortable experience, especially during hot weather or long drives. However, by identifying and addressing the common causes behind this issue, you can restore the cooling functionality of your AC system and once again enjoy a comfortable driving experience.
In this article, we have explored several common causes of a car’s AC blowing hot air, including refrigerant leaks, issues with the climate control module, malfunctioning compressors, faulty condensers, defective expansion valves, clogged evaporators, and problems with the AC blend doors.
Through the troubleshooting process, we have learned how to check for refrigerant leaks, recharge the AC system, inspect the climate control module, assess the compressor, examine the condenser, check the expansion valve, evaluate the evaporator, and verify the AC blend doors.
It is important to note that while some of these issues can be addressed with DIY measures, such as recharging the AC system or checking for visible damage, others may require the expertise of a professional technician. They have the necessary tools and knowledge to accurately diagnose and resolve complex AC system problems.
Remember, maintaining your car’s AC system is crucial not only for your comfort but also for your safety. Driving in high temperatures without a properly functioning AC system can lead to drowsiness and decreased focus, increasing the risk of accidents. Regular maintenance and prompt repairs are essential to ensure the efficient and reliable operation of your car’s AC system.
By understanding and addressing the common causes of a car’s AC blowing hot air, you can keep your car’s cabin cool and enjoyable, even during the hottest days of the year.
Frequently Asked Questions about Car AC Blowing Hot Air How To Fix
Was this page helpful?
At Storables.com, we guarantee accurate and reliable information. Our content, validated by Expert Board Contributors, is crafted following stringent Editorial Policies. We're committed to providing you with well-researched, expert-backed insights for all your informational needs.


0 thoughts on “Car AC Blowing Hot Air How To Fix”