Articles
How To Install Split AC Unit
Modified: October 31, 2024
Looking for step-by-step instructions on installing a split AC unit? Check out our informative articles for expert guidance and tips.
(Many of the links in this article redirect to a specific reviewed product. Your purchase of these products through affiliate links helps to generate commission for Storables.com, at no extra cost. Learn more)
Introduction
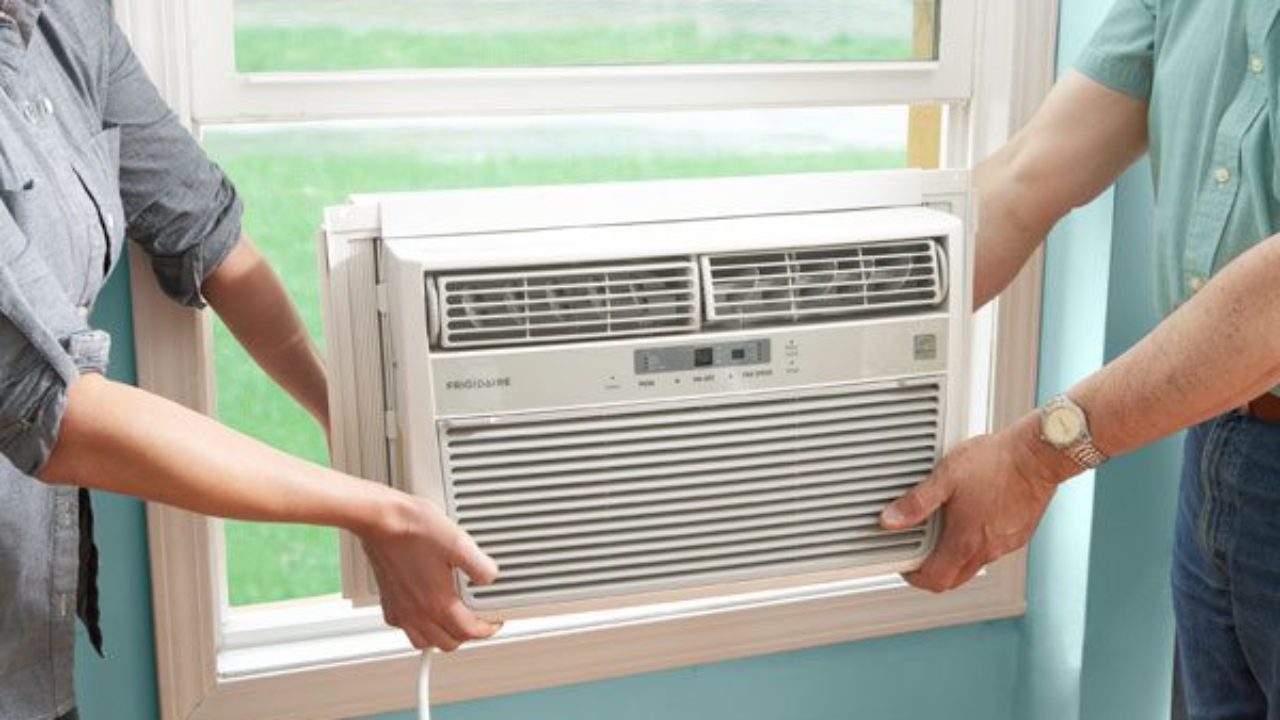
Installing a split AC unit in your home or office can significantly improve comfort during hot summer months. Unlike window air conditioners, split AC units offer better cooling performance, reduced noise levels, and improved aesthetics. While hiring a professional installer is recommended, you can also attempt to install the unit yourself to save costs.
In this article, we will guide you through the step-by-step process of installing a split AC unit. From selecting the right unit to testing and commissioning, we will provide you with all the necessary information to ensure a successful installation.
Note: It is important to follow the installation instructions provided by the manufacturer and consult a professional if you are unsure about any step of the process. Safety should always be a priority during any electrical installation.
Now, let’s dive into the details of how to install a split AC unit.
Key Takeaways:
- Proper preparation and careful assembly are crucial for successful split AC unit installation. Selecting the right unit, preparing the installation site, and assembling both indoor and outdoor units are key steps to ensure optimal cooling performance.
- Testing, commissioning, and regular maintenance are essential for the longevity and efficiency of a split AC unit. Following safety guidelines, seeking professional assistance when needed, and maintaining proper clearance around the units are vital for hassle-free operation.
Read more: What Is Mini Split AC
Step 1: Selecting the Split AC Unit
Choosing the right split AC unit is crucial for optimal cooling performance and energy efficiency. Consider the following factors when selecting a unit:
1. Cooling Capacity: The cooling capacity of the unit should align with the size of the room you intend to cool. Calculate the required cooling capacity in BTUs (British Thermal Units) based on the square footage of the space.
2. Energy Efficiency: Look for units with higher Energy Efficiency Ratio (EER) or Seasonal Energy Efficiency Ratio (SEER) ratings. Higher ratings indicate better energy efficiency, which can lead to cost savings in the long run.
3. Noise Levels: Check the decibel rating of the unit to ensure it operates quietly, especially if you plan to install it in a bedroom or study area.
4. Installation Space: Measure the available space for the indoor and outdoor units. Ensure that the area is free from obstructions and has proper ventilation.
5. Features and Functions: Consider additional features such as remote control, programmable timers, sleep mode, and air purifiers, depending on your preferences and requirements.
6. Brand and Warranty: Opt for reputable brands that offer good customer support and warranty coverage. Research reviews and ratings to ensure you are purchasing a reliable unit.
Once you have identified the unit that meets your requirements, make the purchase from a trusted retailer or authorized dealer. Keep in mind that the installation process may vary slightly depending on the specific model and brand, so it’s important to refer to the manufacturer’s instructions and guidelines during the installation process.
Now that you have selected the right split AC unit, it’s time to move on to the next step: preparing the installation site.
Step 2: Preparing the Installation Site
Properly preparing the installation site is crucial to ensure a smooth and efficient installation process. Follow these steps to prepare the site:
1. Choose the location: Select a suitable location for the indoor unit that is within the reach of the refrigerant and power lines. Ideally, the unit should be installed on an interior wall that is centrally located in the room for optimal cooling distribution.
2. Clear the area: Clear the installation area of any furniture, objects, or obstructions that may hinder the installation process or obstruct airflow. Make sure there is ample space around the unit for maintenance and cleaning purposes.
3. Mounting surface: Ensure the wall where the indoor unit will be mounted is strong enough to support the weight of the unit. Use a stud finder to locate the wall studs and mark them for reference during the installation process.
4. Drill holes: Use a drill to create holes in the wall for routing the refrigerant and power lines. The size of the holes will depend on the specific requirements of your unit, so refer to the manufacturer’s instructions for guidance.
5. Insulate the hole: To prevent air leaks and improve energy efficiency, apply insulation around the holes where the refrigerant and power lines will pass through. This will help maintain proper temperatures and reduce any potential condensation issues.
6. Electrical requirements: Ensure that the electrical circuit in the installation area is adequate to support the power requirements of the AC unit. Consult an electrician if additional electrical work is needed.
By following these steps, you will have a properly prepared installation site that meets the necessary requirements for your split AC unit. With the site prepared, we can now move on to assembling the indoor unit in the next step.
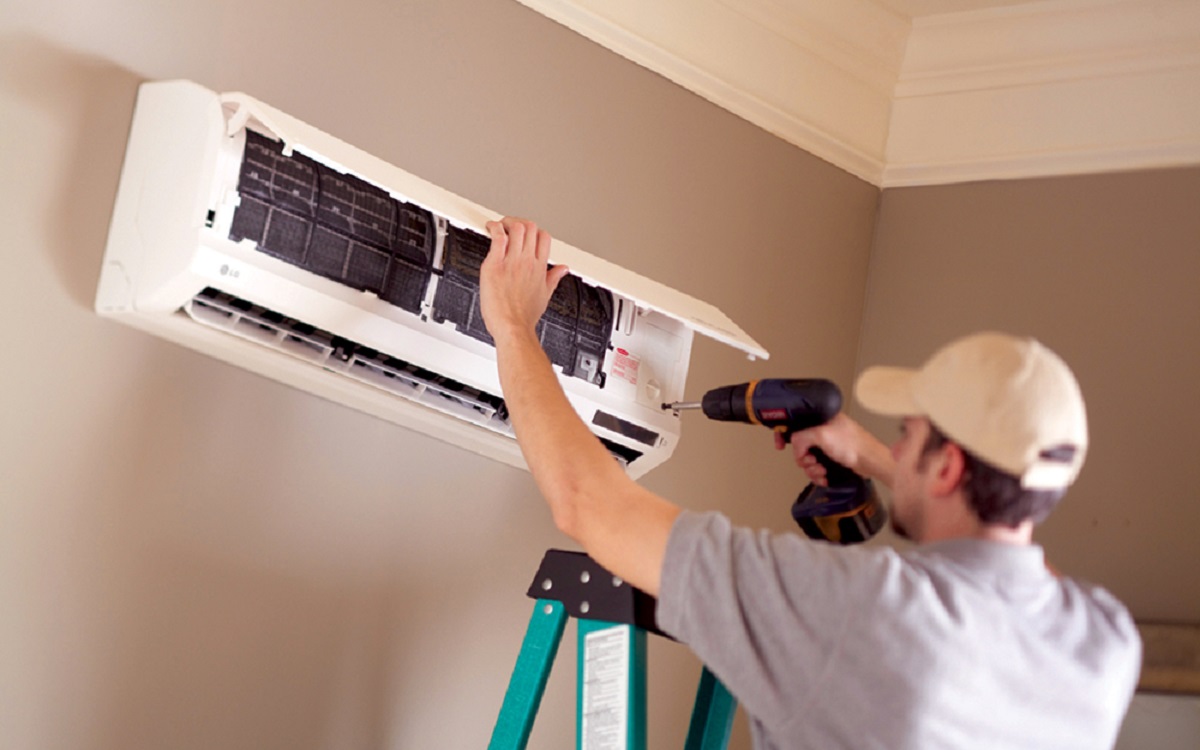
Step 3: Assembling the Indoor Unit
Now that the installation site is prepared, let’s move on to assembling the indoor unit of your split AC system. Follow these steps:
1. Unpack the unit: Carefully unpack the indoor unit and remove all packaging materials. Make sure to keep track of any screws, brackets, or accessories that are included.
2. Mount the bracket: Attach the wall mounting bracket to the wall using the provided screws and anchors. Ensure that the bracket is securely fastened and level.
3. Install the drain pipe: Connect the drain pipe to the back of the indoor unit. The drain pipe allows condensation to flow out of the unit and should be directed to a proper drainage system.
4. Attach the refrigerant line: Connect the refrigerant line to the indoor unit following the manufacturer’s instructions. Ensure that the connections are tight and secure.
5. Mount the indoor unit: Lift the indoor unit and carefully hang it on the mounting bracket. Double-check that the unit is level and securely attached to the bracket.
6. Secure the unit: Use the provided screws to secure the indoor unit to the mounting bracket. Make sure to tighten the screws properly to prevent any movement or vibration.
7. Electrical connections: Connect the electrical wires from the indoor unit to the corresponding wires in the installation area following the manufacturer’s instructions. Ensure that the connections are securely tightened and insulated.
8. Test the unit: Before proceeding to the next steps, power on the unit to ensure it is functioning properly. Check for any abnormal sounds or vibrations and ensure that the air is flowing correctly.
Remember to refer to the specific instructions provided by the manufacturer for your split AC unit, as the assembly process may differ slightly. Once the indoor unit is properly assembled and tested, we can move on to installing the outdoor unit in the next step.
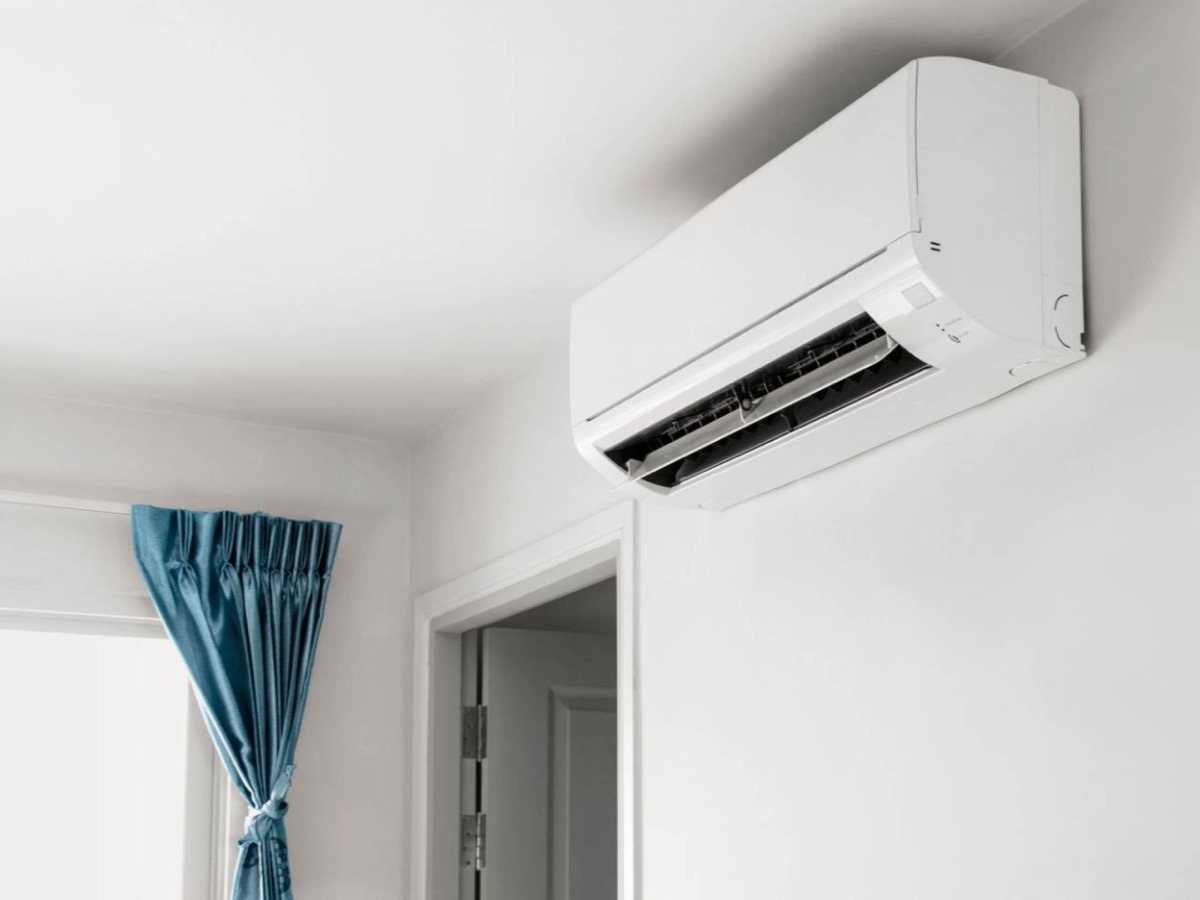
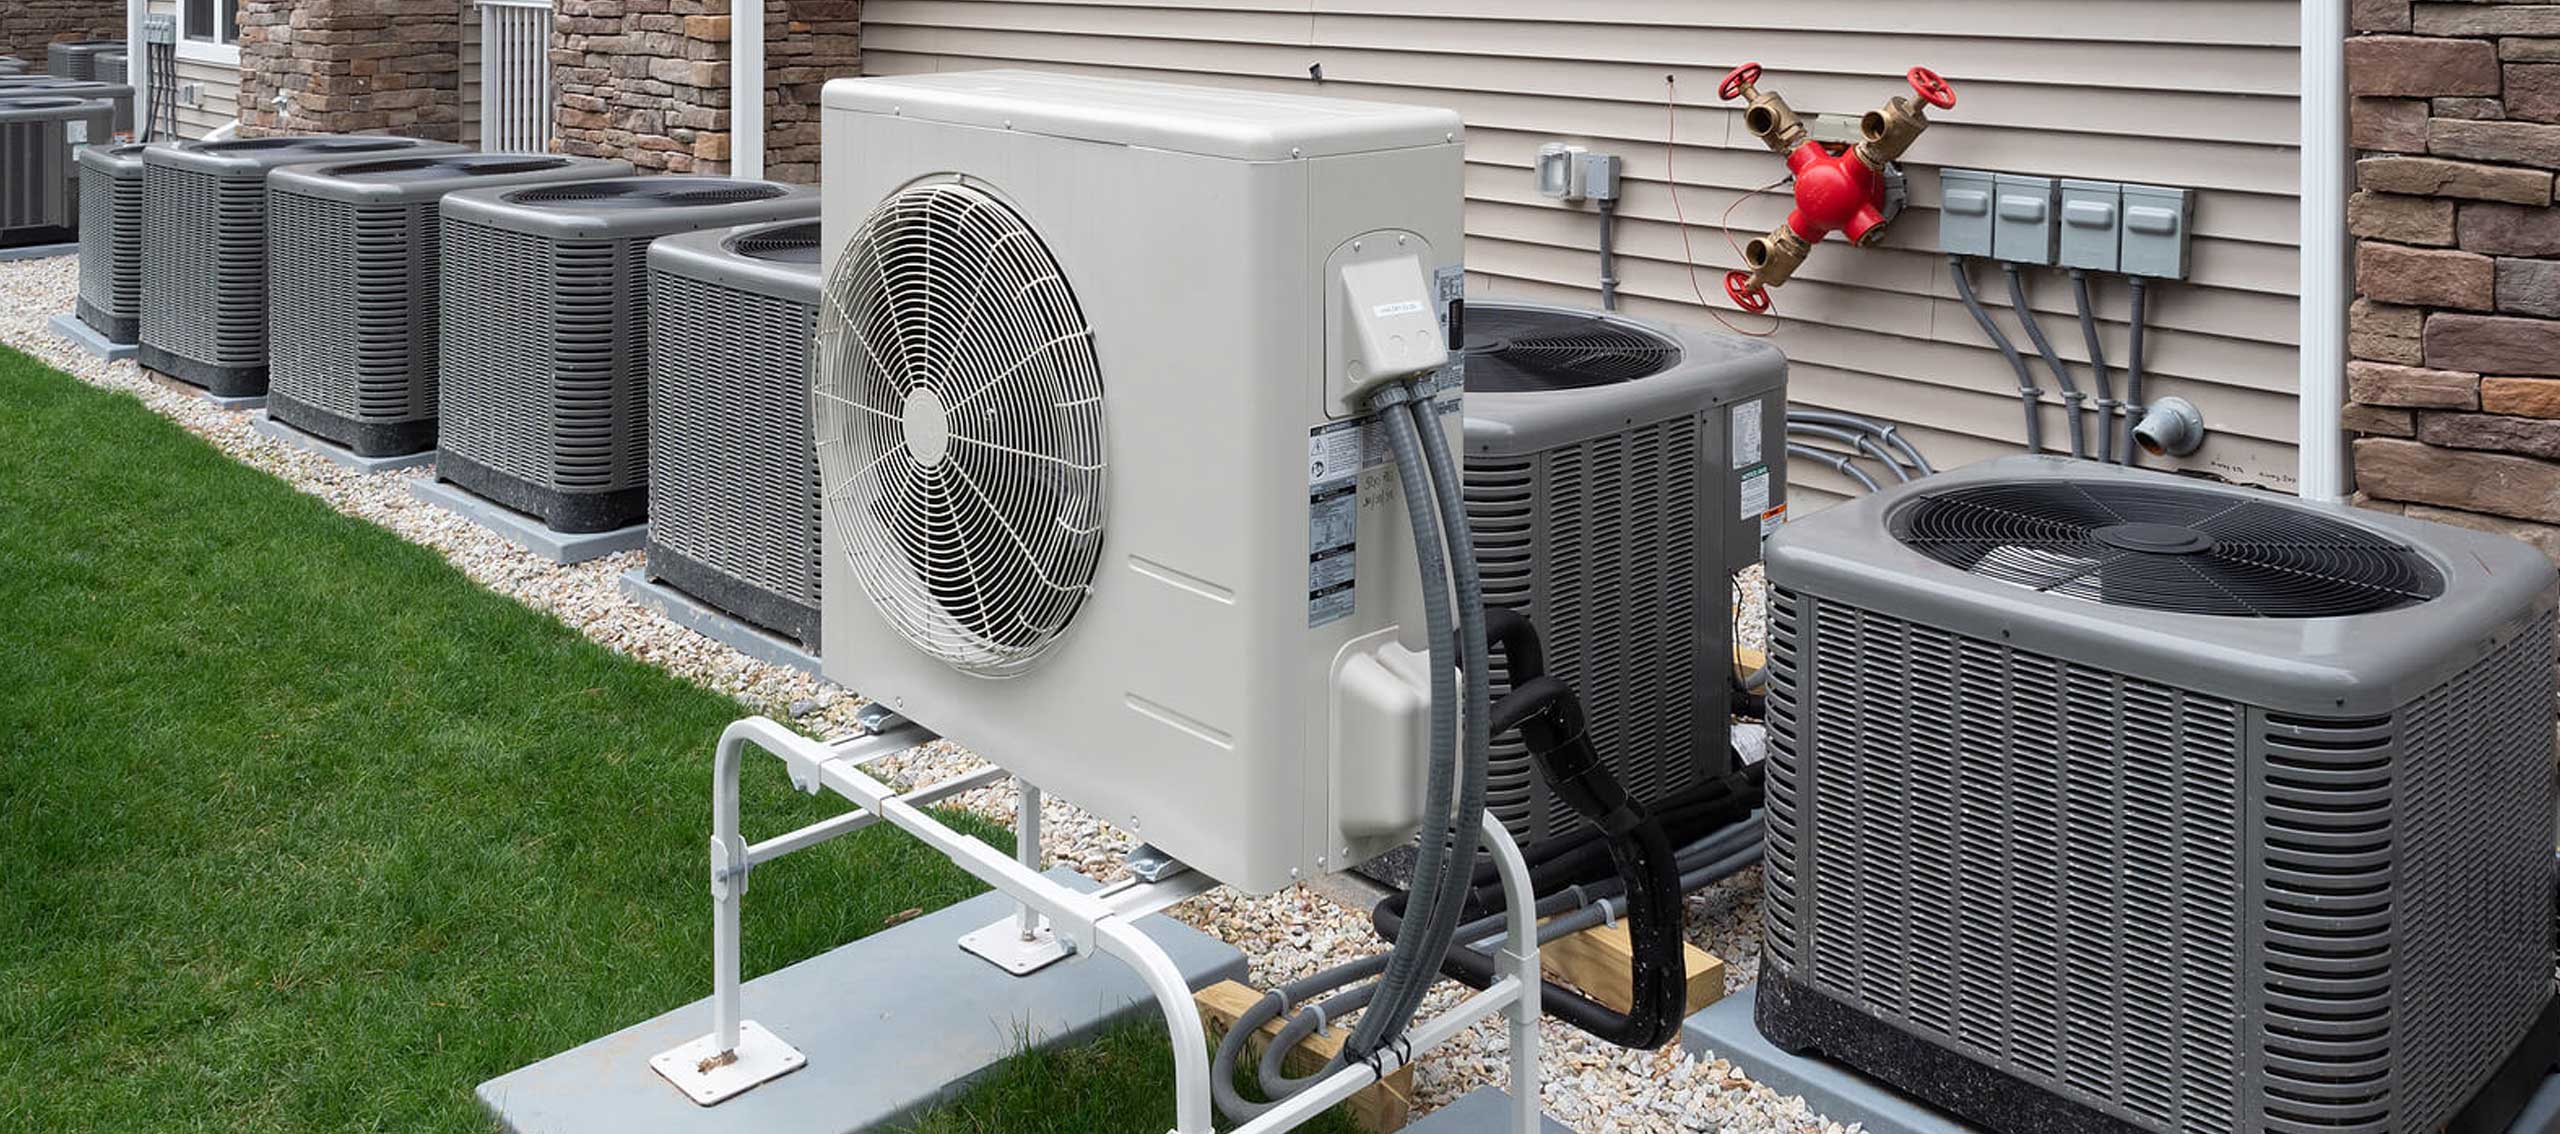
Step 4: Installing the Outdoor Unit
With the indoor unit assembled and in place, it’s time to move on to installing the outdoor unit of your split AC system. Follow these steps:
1. Select the outdoor unit location: Choose a suitable location for the outdoor unit that is away from direct sunlight, debris, and any sources of heat or obstruction. It should be placed on a flat and stable surface, such as a concrete pad or mounting brackets.
2. Mounting the outdoor unit: Follow the manufacturer’s instructions to securely mount the outdoor unit. Use the appropriate fasteners and brackets to ensure stability. Make sure the unit is level and properly aligned.
3. Clearances: Maintain proper clearances around the outdoor unit, as specified by the manufacturer. This allows for optimal airflow and easy maintenance access. Refer to the installation manual for the recommended clearances.
4. Connecting refrigerant lines: Connect the refrigerant lines between the indoor and outdoor units. Use the appropriate fittings and ensure the connections are tight and leak-free. Take care not to bend or kink the refrigerant lines during installation.
5. Insulating refrigerant lines: Wrap the refrigerant lines with insulation to prevent condensation and maintain energy efficiency. Use insulation tape or sleeves designed for this purpose and securely fasten them around the lines.
6. Electrical connections: Connect the electrical wires from the outdoor unit to the power supply following the manufacturer’s instructions. Ensure that the connections are securely tightened and insulated.
7. Grounding: Properly ground the outdoor unit by connecting it to a grounding wire. This helps protect against electrical faults and ensures safety.
8. Test the unit: Once the installation is complete, power on the split AC system and run a test to ensure that both the indoor and outdoor units are functioning properly. Check for any abnormal sounds, vibrations, or error codes.
It’s important to note that the installation process for the outdoor unit may require the assistance of a licensed professional, particularly for electrical and refrigerant line connections. Consult with a professional if you are unsure about any step of the installation process.
With the outdoor unit installed, we can move on to connecting the refrigerant pipes in the next step of the installation process.
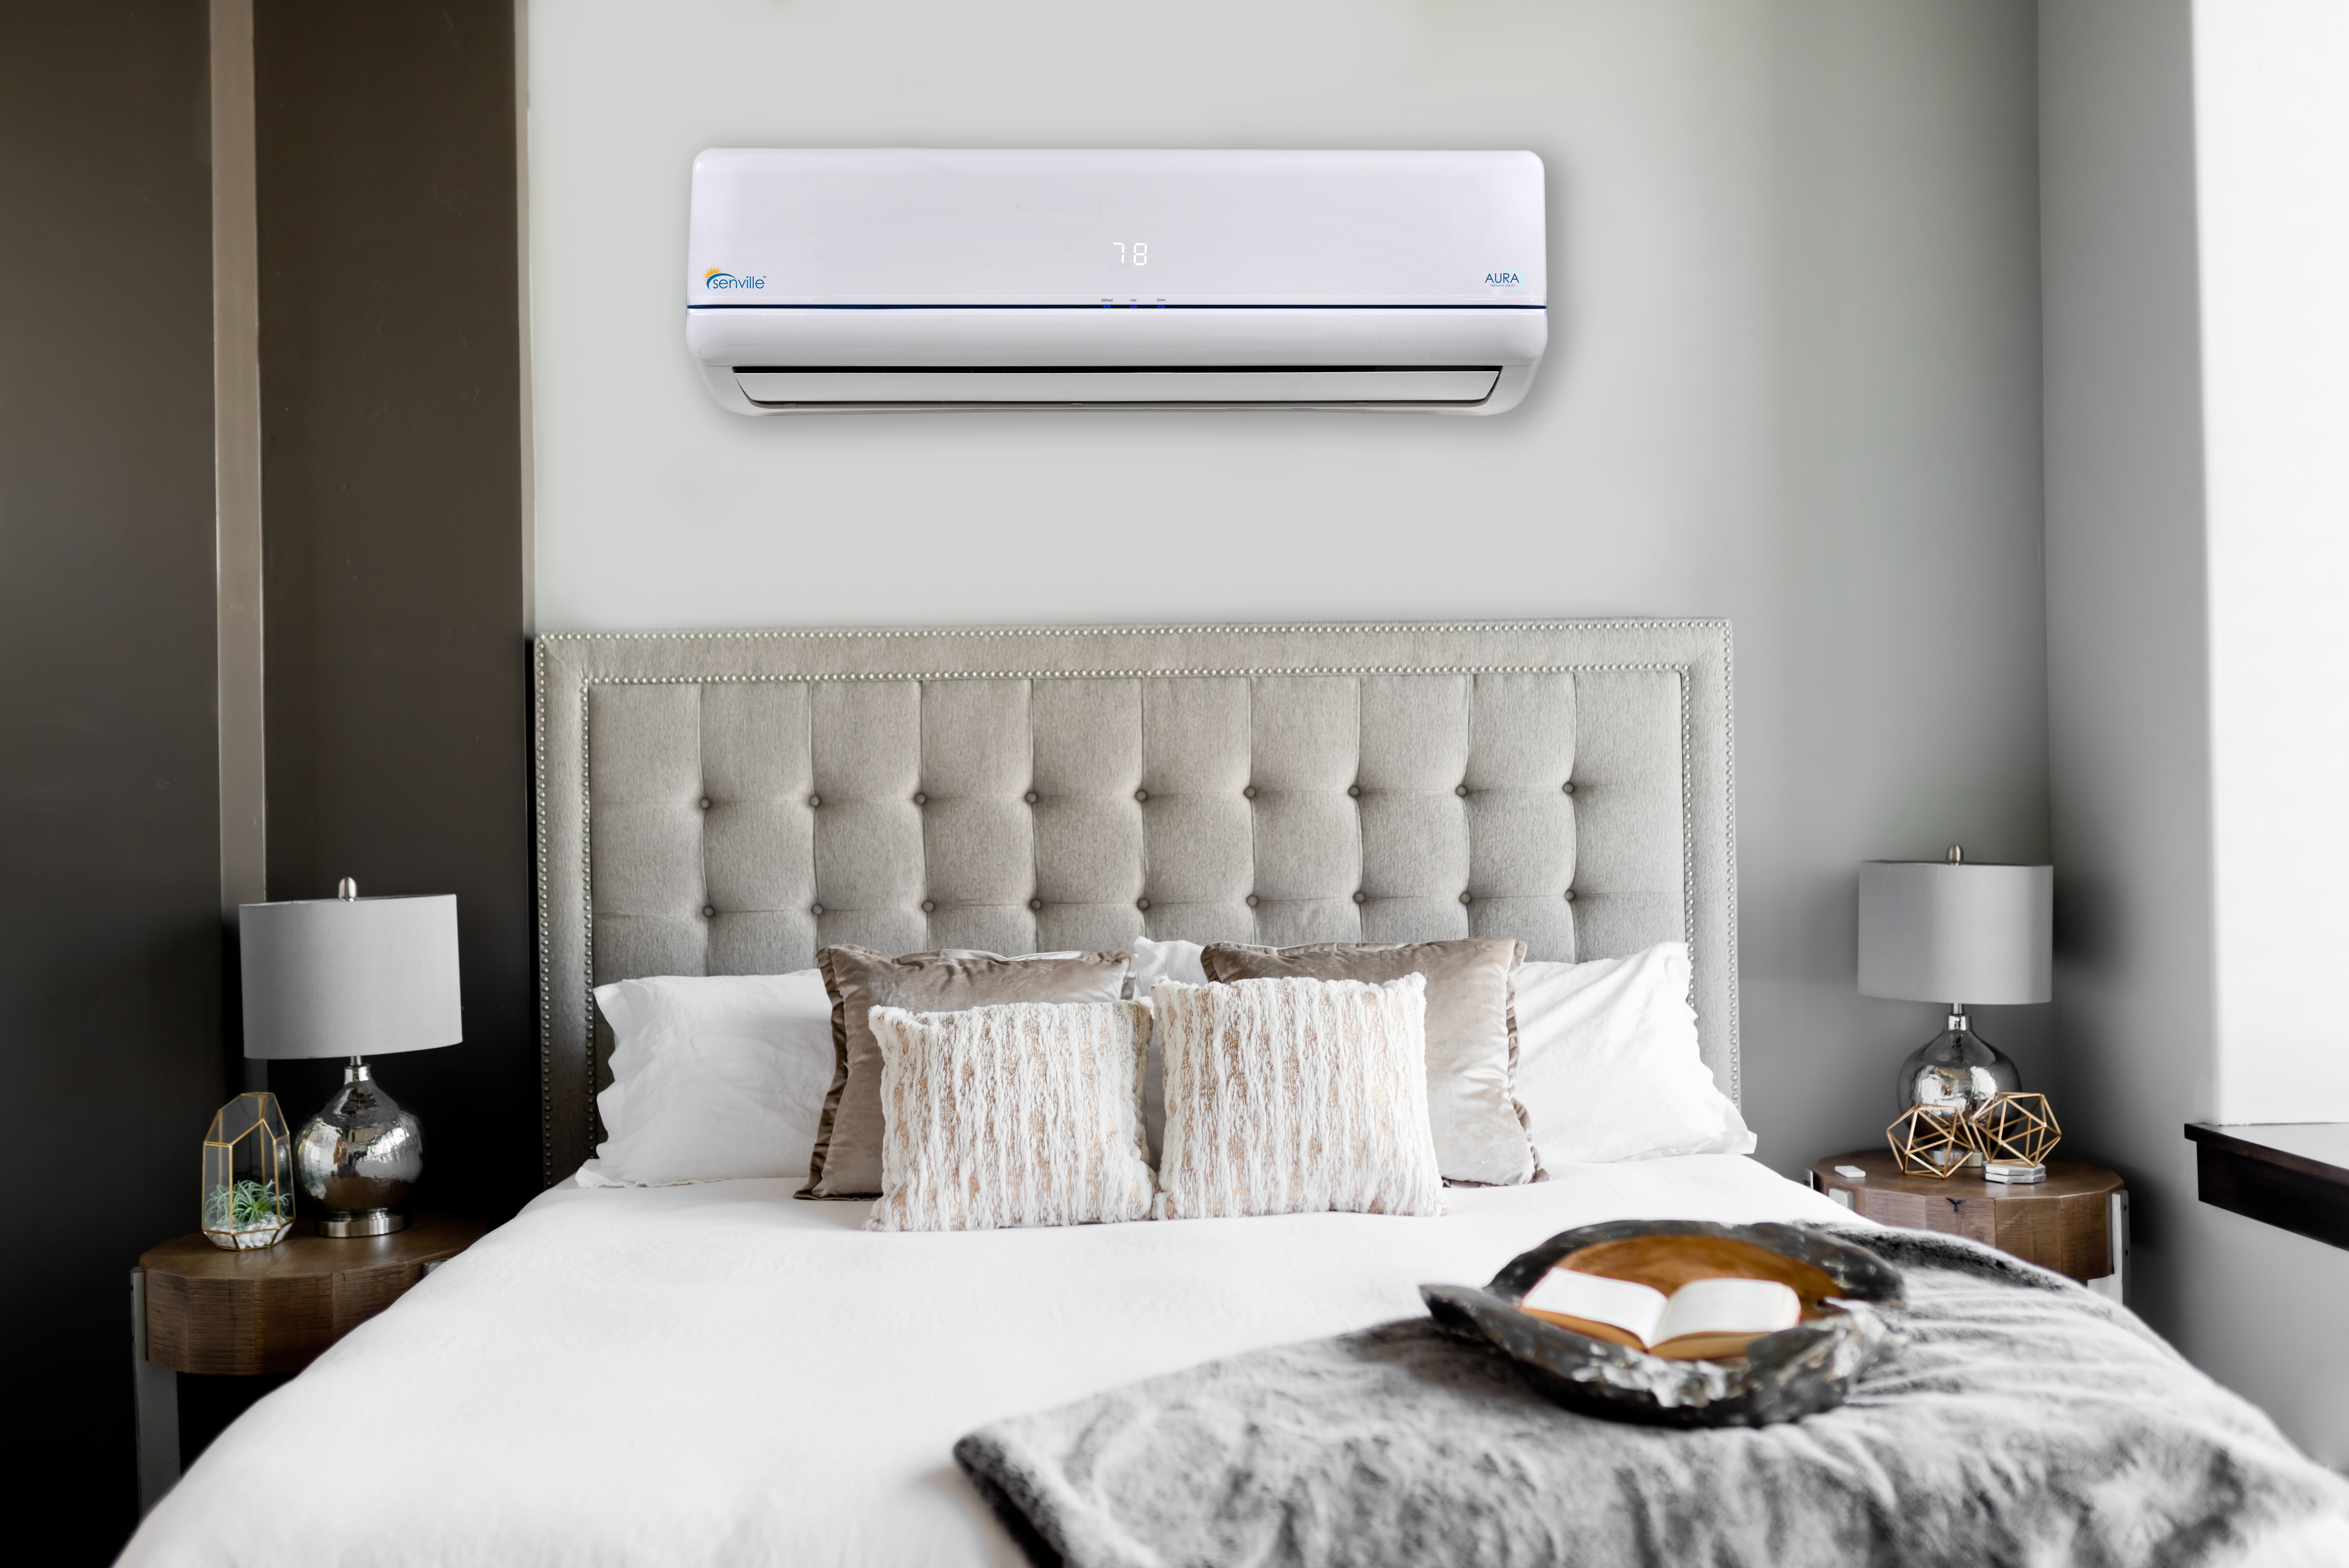
When installing a split AC unit, make sure to place the indoor unit at least 7 feet above the ground for optimal cooling and air distribution. This will help to ensure efficient and effective operation of the unit.
Read also: 9 Amazing Mini Split AC System for 2025
Step 5: Connecting the Refrigerant Pipes
Connecting the refrigerant pipes is a crucial step in the installation of your split AC unit. Proper installation of the refrigerant lines ensures efficient and effective cooling. Follow these steps:
1. Measure and cut the pipes: Measure the distance between the indoor and outdoor units to determine the length of the refrigerant pipes required. Use a pipe cutter to cut the pipes to the appropriate length.
2. Flare the ends: To create a secure connection, use a flaring tool to flare the ends of the copper pipes. This helps to prevent leaks and ensures a tight fit. Make sure to follow the manufacturer’s instructions for proper flaring techniques.
3. Clean the pipes: Before connecting the pipes, make sure to clean the interior and exterior of the pipes using a pipe cleaner or emery cloth. This removes any debris or residue that could potentially obstruct the flow of refrigerant.
4. Connect the pipes: Connect the flared ends of the copper refrigerant pipes to the corresponding connections on the indoor and outdoor units. Ensure a snug fit and tighten any nuts or bolts to prevent leakage.
5. Secure the pipes: Use pipe brackets or clamps to secure the refrigerant pipes along their length. This prevents excessive movement and potential damage to the pipes. Make sure the brackets are properly tightened but do not overtighten to avoid damaging the pipes.
6. Insulate the pipes: To prevent condensation and maintain energy efficiency, wrap the refrigerant pipes with insulation. This helps to maintain the desired temperature and reduces the workload on the system. Secure the insulation with tape or zip ties to ensure it remains in place.
7. Test for leaks: After connecting and insulating the refrigerant pipes, it is essential to test for leaks. Use a leak detection solution or soapy water and apply it to the connections. If any bubbles or signs of leakage appear, tighten the connections further or seek professional assistance if needed.
Once you have successfully connected the refrigerant pipes and ensured that there are no leaks, you are ready to move on to the next step: wiring the split AC unit.
Step 6: Wiring the Split AC Unit
Wiring the split AC unit involves connecting the electrical components of both the indoor and outdoor units to ensure proper functioning. Follow these steps to wire your split AC unit:
1. Turn off the power: Before beginning any wiring work, ensure that the power to the AC unit is turned off at the circuit breaker to prevent any electrical hazards.
2. Match the wires: Refer to the wiring diagram or instructions provided by the manufacturer to identify the corresponding wires for the indoor and outdoor units. Match the labeled wires and connectors.
3. Strip the wires: Use a wire stripper to carefully remove the insulation from the ends of the wires. Be sure to strip the appropriate length to ensure a secure connection.
4. Connect the wires: Connect the wires from the indoor unit to the corresponding wires from the outdoor unit. This typically includes connections for power supply, control, and communication cables. Follow the color codes provided in the manual to ensure proper connections.
5. Secure the connections: After making the connections, use wire nuts, electrical tape, or other appropriate connectors to secure and insulate the wire connections. This helps protect against electrical shocks and keeps the connections secure.
6. Route the wiring: Route the wiring from the indoor unit to the outdoor unit along the designated pathway. Ensure that the wiring is properly protected and secured using conduit or clips as necessary.
7. Double-check the connections: Once all the wiring is complete, double-check that all connections are secure and properly tightened. Inspect for any loose wires or exposed connections and rectify them before proceeding.
8. Restore power and test: After completing the wiring, restore power to the AC unit at the circuit breaker. Test the unit to ensure that all components are functioning properly. Make sure to follow the manufacturer’s instructions for any additional steps required for the initial startup of the unit.
It is important to note that electrical work should be carried out by a qualified professional if you are unsure or unfamiliar with electrical connections. Proper wiring is crucial for the safe and efficient operation of your split AC unit.
Now that the AC unit is properly wired, we can move on to the next step: testing and commissioning.
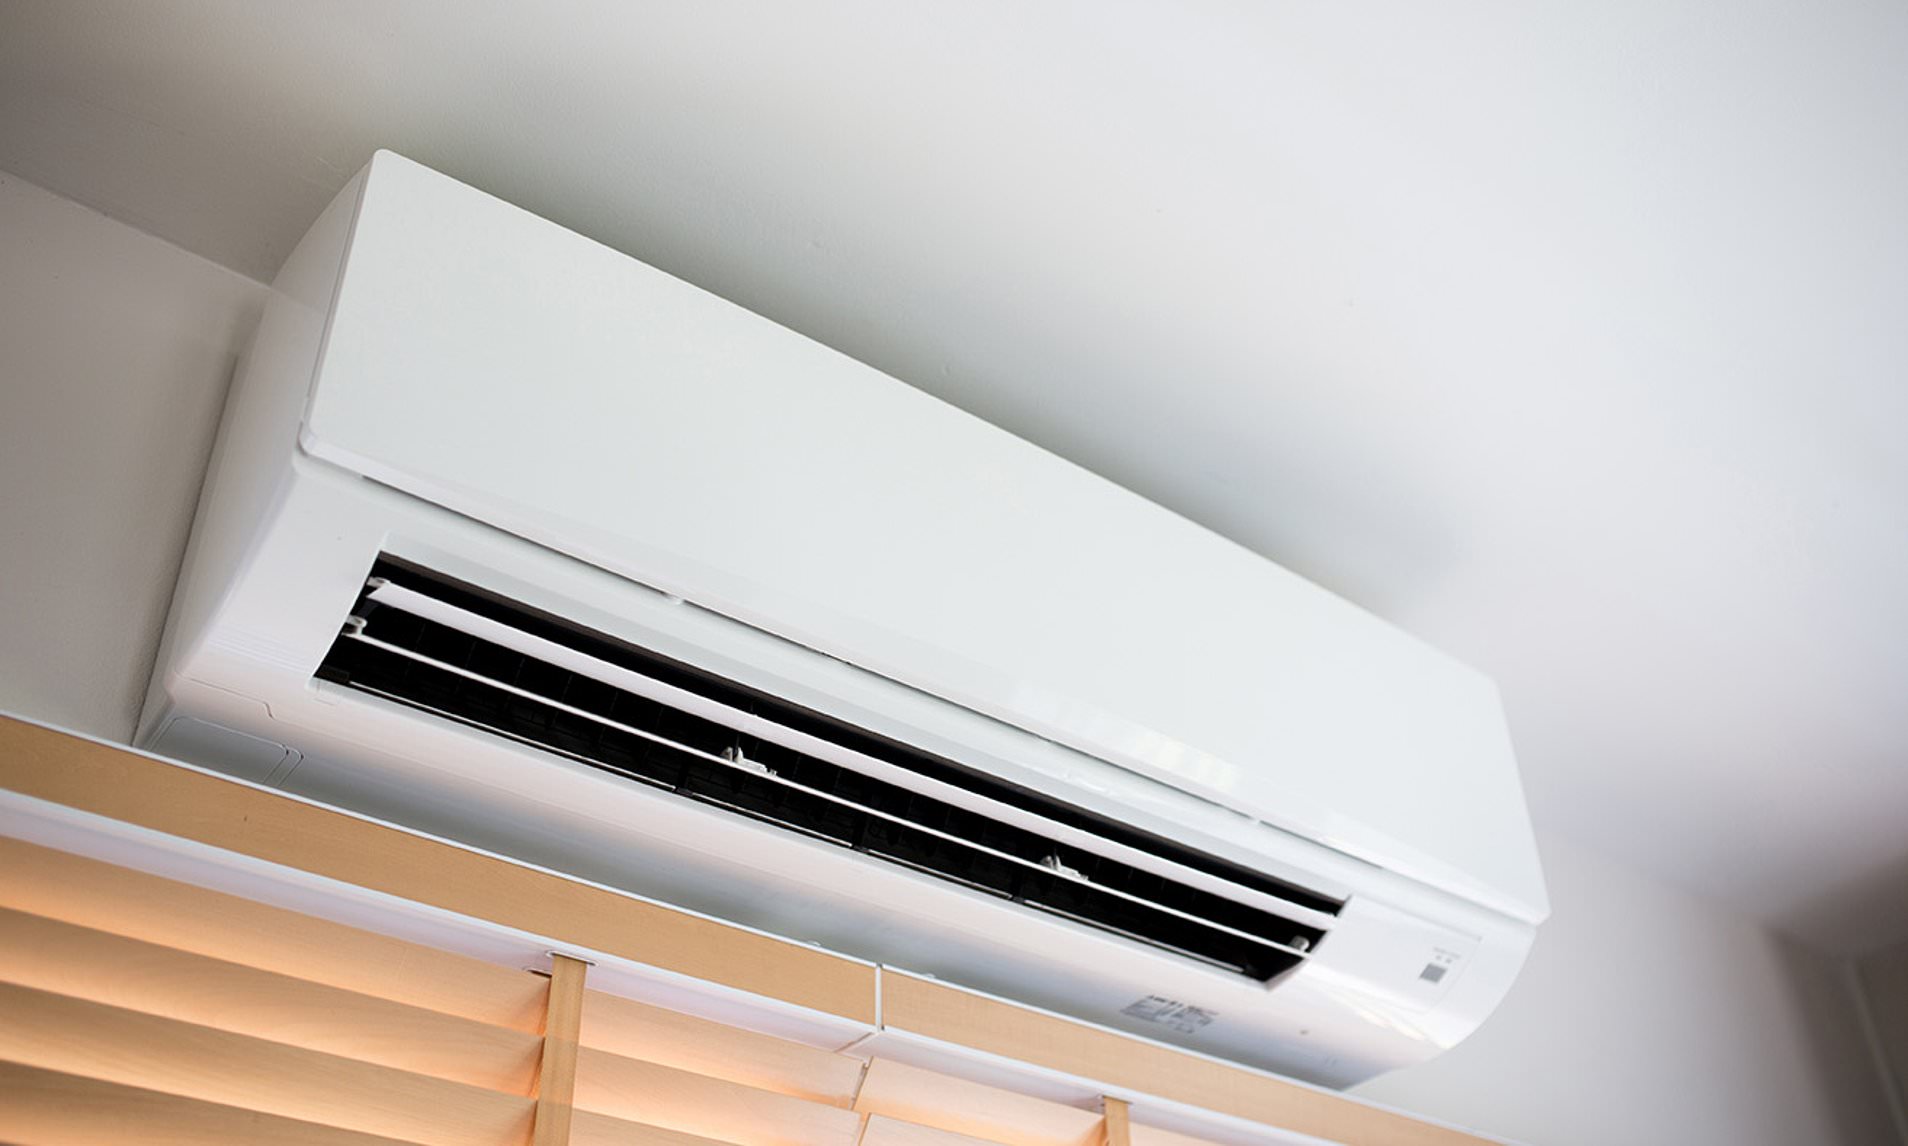
Step 7: Testing and Commissioning
Testing and commissioning your split AC unit is the final step before enjoying its cooling benefits. This step ensures that the unit is functioning correctly and optimally. Follow these steps to properly test and commission your split AC unit:
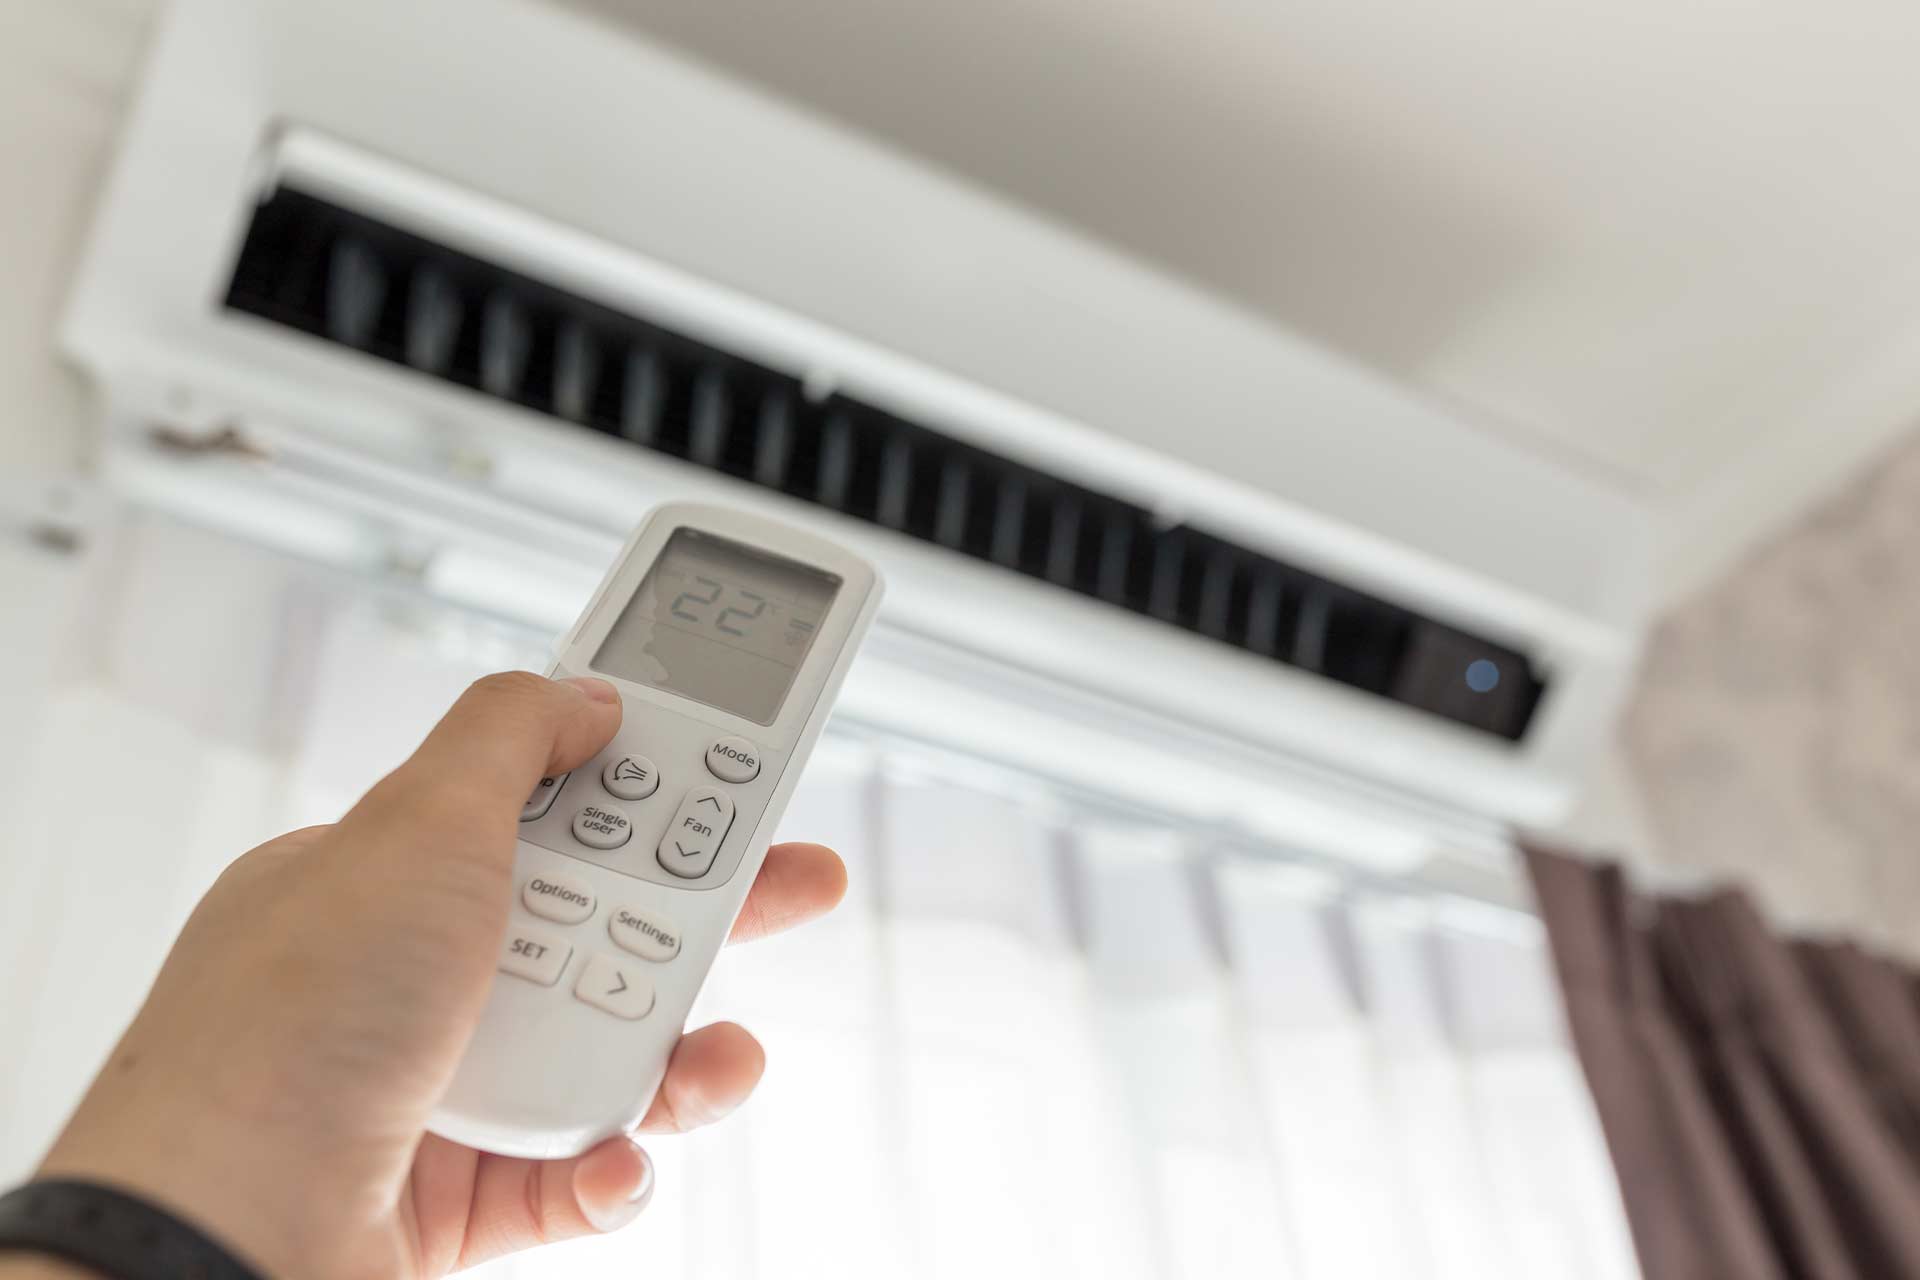
1. Power on the unit: Turn on the power supply to the split AC unit at the circuit breaker. Make sure that both the indoor and outdoor units receive power.
2. Set the desired temperature: Use the remote control or control panel to set the desired temperature and operating mode (cooling, heating, or fan mode).
3. Check the airflow: Ensure that the airflow from the indoor unit vents is strong and even throughout the room. Adjust the air direction and fan speed settings to suit your preferences.
4. Monitor temperature difference: Measure the temperature of the air coming out of the AC unit’s indoor vent and compare it to the room temperature. There should be a noticeable difference indicating effective cooling or heating.
5. Verify proper operation: Allow the AC unit to run for a sufficient period to confirm that it operates smoothly without any unusual noises or vibrations. Pay attention to any error codes displayed on the control panel, as they may indicate a problem that requires further attention.
6. Test additional features: If your split AC unit has additional features such as sleep mode, timer function, or air purifier, ensure that they operate as intended. Familiarize yourself with the functions and settings provided.
7. Comply with safety guidelines: Ensure that all safety features, such as child lock or voltage protection, are correctly set and working. This is important for the safety of both the unit and its users.
8. Seek professional assistance if needed: If you encounter any issues or are unsure about any aspect of the testing and commissioning process, it is recommended to seek assistance from a qualified technician or the manufacturer’s customer support team.
By following these steps, you can ensure that your split AC unit is tested and commissioned properly, guaranteeing its reliable and efficient operation for optimal comfort.
Now that the testing and commissioning are complete, we can proceed to the final step: maintenance and troubleshooting.
Step 8: Maintenance and Troubleshooting
Maintaining your split AC unit is essential for its longevity and efficient operation. Regular maintenance and troubleshooting can help identify and resolve any issues that may arise. Follow these steps to ensure proper maintenance and troubleshooting:
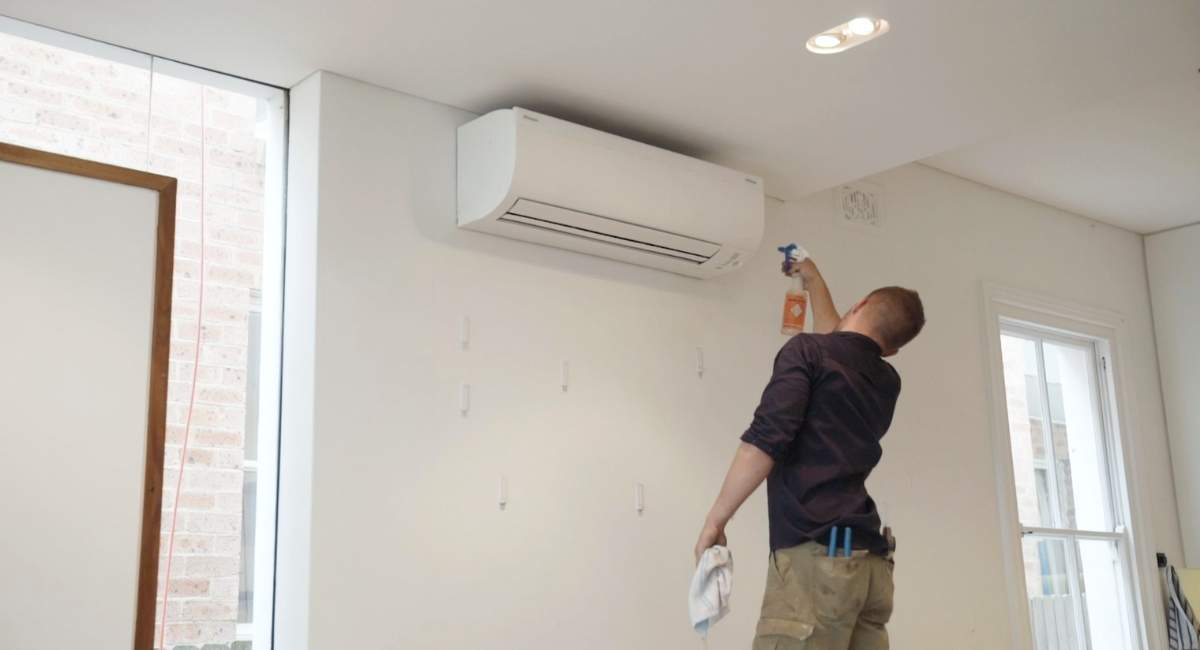
1. Clean or replace air filters: Regularly clean or replace the air filters of your split AC unit. Clogged filters can restrict airflow and reduce efficiency. Refer to the manufacturer’s instructions for guidance on cleaning or replacement intervals.
2. Clean the outdoor unit: Periodically clean the outdoor unit to remove any debris, dust, or leaves that may accumulate. Use a soft brush or cloth to gently clean the unit, and ensure that it is free from any obstructions that could limit airflow.
3. Check condensate drainage: Inspect the condensate drain pipe to ensure that it is free from blockages and properly draining. If you notice any leaks or clogs, contact a professional to address the issue promptly.
4. Maintain proper clearance: Regularly check and maintain adequate clearance around both the indoor and outdoor units. This ensures proper airflow and helps prevent any damage to the system.
5. Schedule professional maintenance: Consider scheduling annual maintenance with a professional technician. They can perform a thorough inspection, cleaning, and tune-up to ensure optimal performance and identify any potential issues.
6. Follow troubleshooting guidelines: If you encounter any problems with your split AC unit, consult the troubleshooting section of the manufacturer’s manual. It may provide solutions to common issues or guide you on when to seek professional assistance.
7. Be cautious with DIY repairs: While some minor troubleshooting can be done by the homeowner, it’s important to exercise caution when attempting repairs. Complex issues or problems with electrical components should be handled by a qualified technician.
8. Keep records: Maintain a record of maintenance actions, repairs, and any warranty information. This helps track the unit’s history and makes it easier to communicate with technicians or manufacturers in case of any issues.
By following these maintenance and troubleshooting steps, you can ensure that your split AC unit operates smoothly and efficiently for years to come. Remember, regular maintenance and prompt attention to any issues can prolong the lifespan of your unit and optimize its performance.
With this, you have successfully completed the eight-step process of installing a split AC unit. Enjoy the cool and comfortable environment that your AC unit provides!
Read more: How Does Mini Split AC Work
Conclusion
Installing a split AC unit may seem like a daunting task, but by following the step-by-step process outlined in this article, you can successfully install and enjoy the benefits of a cool and comfortable environment. From selecting the right unit to testing and commissioning, each step plays a crucial role in ensuring the proper functioning of your AC system.
Remember to refer to the manufacturer’s instructions and guidelines throughout the installation process, as specific requirements may vary depending on the model and brand of your split AC unit. If you are unsure about any step or encounter any difficulties, it is always advisable to seek professional assistance to prevent any potential safety risks or damage to the unit.
Maintaining your split AC unit is equally important to ensure its longevity and efficiency. Regular cleaning, proper maintenance, and troubleshooting can help identify and resolve any issues that may arise, keeping your AC unit in top condition.
By taking the time to properly install, maintain, and troubleshoot your split AC unit, you can enjoy the benefits of enhanced comfort and energy efficiency. Be sure to follow safety precautions and consult professionals when needed to ensure a hassle-free experience.
Now that you have the knowledge and understanding of how to install a split AC unit, you are ready to create a cool and comfortable environment in your home or office!
Frequently Asked Questions about How To Install Split AC Unit
Was this page helpful?
At Storables.com, we guarantee accurate and reliable information. Our content, validated by Expert Board Contributors, is crafted following stringent Editorial Policies. We're committed to providing you with well-researched, expert-backed insights for all your informational needs.

0 thoughts on “How To Install Split AC Unit”