Home>Construction & Tools>Building Materials>How To Clean A Brick Porch


Building Materials
How To Clean A Brick Porch
Published: January 22, 2024
Learn how to effectively clean your brick porch using simple techniques and building materials. Keep your outdoor space looking fresh and inviting.
(Many of the links in this article redirect to a specific reviewed product. Your purchase of these products through affiliate links helps to generate commission for Storables.com, at no extra cost. Learn more)
Introduction
Cleaning a brick porch is an essential part of home maintenance that not only enhances the curb appeal of your property but also prolongs the life of the brickwork. Over time, brick porches can accumulate dirt, grime, moss, and other unsightly substances, detracting from the overall aesthetic of your home. However, with the right tools, techniques, and a bit of elbow grease, you can restore your brick porch to its former glory.
Whether you're preparing for a gathering, looking to boost your home's resale value, or simply want to enjoy a clean outdoor space, learning how to clean a brick porch effectively is a valuable skill for any homeowner. By following a few simple steps, you can transform a dingy, weathered porch into a welcoming and attractive feature of your home.
In this comprehensive guide, we will walk you through the step-by-step process of cleaning your brick porch, from clearing the area to allowing it to dry. By the end of this article, you will have the knowledge and confidence to tackle this task and achieve impressive results. So, roll up your sleeves, gather your supplies, and let's dive into the rewarding process of rejuvenating your brick porch.
Key Takeaways:
- Transform your brick porch by clearing the area, scrubbing the bricks, and allowing it to dry. Enjoy a pristine outdoor space that enhances your home’s curb appeal and longevity.
- By diligently preparing the cleaning solution, scrubbing the bricks, and rinsing the porch, you can achieve a visually striking and rewarding transformation. Regular maintenance prolongs the life of your brick porch and creates an inviting outdoor environment.
Read more: How To Build A Brick Front Porch
Step 1: Clearing the Area
Before embarking on the cleaning process, it's crucial to clear the area surrounding your brick porch. This step not only ensures a safe and unobstructed workspace but also prevents debris from spreading onto the freshly cleaned surface. Here's how to effectively clear the area:
Remove Furniture and Decor
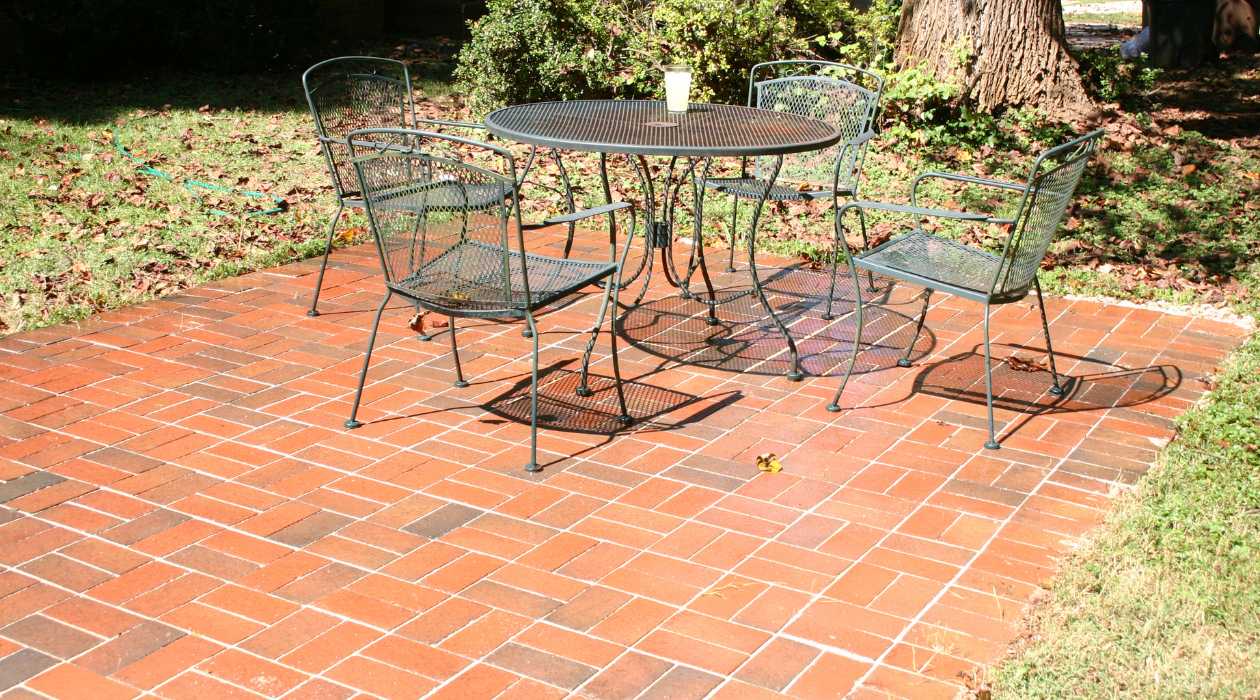
Begin by relocating any furniture, potted plants, or decorative items from the porch. This includes chairs, tables, planters, and any other objects that could hinder the cleaning process. By clearing the porch of these items, you'll have ample space to maneuver and access all areas of the brickwork.
Sweep Away Loose Debris
Using a stiff-bristled broom, thoroughly sweep the entire porch surface to remove loose dirt, leaves, and other debris. Pay close attention to corners, crevices, and the edges of the porch, as these areas tend to accumulate the most debris. By sweeping diligently, you'll create a clean canvas for the subsequent cleaning steps.
Protect Surrounding Vegetation
If your porch is surrounded by plants or landscaping, take measures to protect them from the cleaning solution and runoff. Consider covering delicate plants with plastic sheeting or gently watering the surrounding vegetation before and after the cleaning process to minimize any potential impact.
Read more: How To Clean Porch Ceiling
Clear Pathways
If the porch is connected to pathways or walkways, ensure that these areas are clear as well. This prevents tracked-in dirt and ensures that the cleaning solution and rinse water won't affect adjacent surfaces.
By meticulously clearing the area before cleaning, you set the stage for a thorough and efficient brick porch rejuvenation. With the space free of obstacles and debris, you can proceed to the next steps with confidence, knowing that you've laid the groundwork for a successful cleaning endeavor.
Step 2: Sweeping the Surface
Sweeping the surface of your brick porch is a crucial preliminary step that sets the stage for a thorough and effective cleaning process. This task not only removes loose debris and dirt but also provides a clear view of the areas that require focused attention during the subsequent cleaning steps.
To begin, equip yourself with a stiff-bristled broom that is well-suited for outdoor surfaces. The bristles should be robust enough to dislodge stubborn dirt and debris without causing damage to the brickwork. As you commence the sweeping process, start from one end of the porch and work your way methodically across the entire surface. Pay close attention to corners, edges, and any recessed areas where dirt tends to accumulate.
By employing firm and deliberate strokes, you can effectively dislodge dirt, leaves, and other loose debris from the brick surface. It's important to maintain a consistent sweeping motion, ensuring that no area is overlooked. Additionally, be mindful of any areas where dirt may be particularly stubborn, such as grout lines or textured brick surfaces. These areas may require extra attention and repeated sweeping to achieve a thorough clean.
As you progress, take note of any areas that may require additional cleaning or spot treatment. For example, if you encounter patches of moss or algae growth, make a mental or physical note to address these areas during the subsequent cleaning steps. By conducting a comprehensive sweep, you'll gain valuable insights into the specific cleaning needs of your brick porch, allowing you to tailor your approach for optimal results.
Once the entire surface has been thoroughly swept, take a moment to inspect the porch and ensure that no significant debris remains. This visual assessment will guide you in determining the overall cleanliness of the surface and identifying any remaining areas that may require focused attention during the subsequent cleaning stages.
By diligently sweeping the surface of your brick porch, you establish a clean foundation for the subsequent cleaning steps, setting the stage for a transformative rejuvenation of your outdoor space. With the surface cleared of loose debris, you're now prepared to proceed to the next phase of the cleaning process, armed with a comprehensive understanding of the specific cleaning needs of your brick porch.
Step 3: Preparing the Cleaning Solution
Preparing the cleaning solution is a pivotal step in the process of rejuvenating your brick porch. The right cleaning solution can effectively break down dirt, grime, and organic growth, restoring the natural beauty of the brickwork. To create a potent yet safe cleaning solution, you'll need a few key ingredients and a keen understanding of their properties.
Gather the Necessary Supplies
Before concocting the cleaning solution, gather the essential supplies, including a large bucket, protective gloves, safety goggles, a stiff-bristled brush or scrubbing tool, and a reliable outdoor cleaner. When selecting an outdoor cleaner, opt for a product specifically formulated for brick surfaces, as these cleaners are designed to effectively remove dirt and stains without compromising the integrity of the brick.
Read more: How To Clean Porch Cushions
Choosing the Right Cleaner
When choosing a cleaner for your brick porch, consider environmentally friendly options that are safe for surrounding vegetation and pets. Look for cleaners that are biodegradable and phosphate-free, as these formulations minimize the impact on the environment while delivering powerful cleaning performance. Additionally, select a cleaner that is suitable for your specific cleaning needs, whether you're targeting general dirt and grime or addressing stubborn stains and organic growth.
Dilution and Mixing
Once you've selected a suitable outdoor cleaner, carefully read and follow the manufacturer's instructions for dilution and mixing. In most cases, outdoor cleaners are concentrated and require dilution with water to achieve the optimal cleaning strength. Use the large bucket to mix the cleaner with water according to the recommended dilution ratio, ensuring thorough blending to create a uniform cleaning solution.
Safety Precautions
Before proceeding with the mixing process, don protective gloves and safety goggles to safeguard your skin and eyes from potential contact with the cleaning solution. Outdoor cleaners, while effective, contain powerful ingredients that may cause irritation upon direct contact. By taking these precautions, you prioritize safety while preparing the cleaning solution for your brick porch.
Environmental Considerations
As you prepare the cleaning solution, be mindful of the surrounding environment. If your porch is adjacent to grass, plants, or other landscaping features, consider laying down a tarp or plastic sheeting to protect these areas from the cleaning solution and runoff. Additionally, be cautious when disposing of any excess cleaning solution, ensuring that it does not come into contact with natural water sources or sensitive ecosystems.
By meticulously preparing the cleaning solution, you set the stage for a successful and environmentally conscious cleaning process. With the right cleaner and proper dilution, you'll be equipped to tackle the next phase of the brick porch rejuvenation, effectively removing dirt, stains, and organic growth to reveal the natural beauty of your outdoor space.
Read more: How To Clean A Concrete Porch
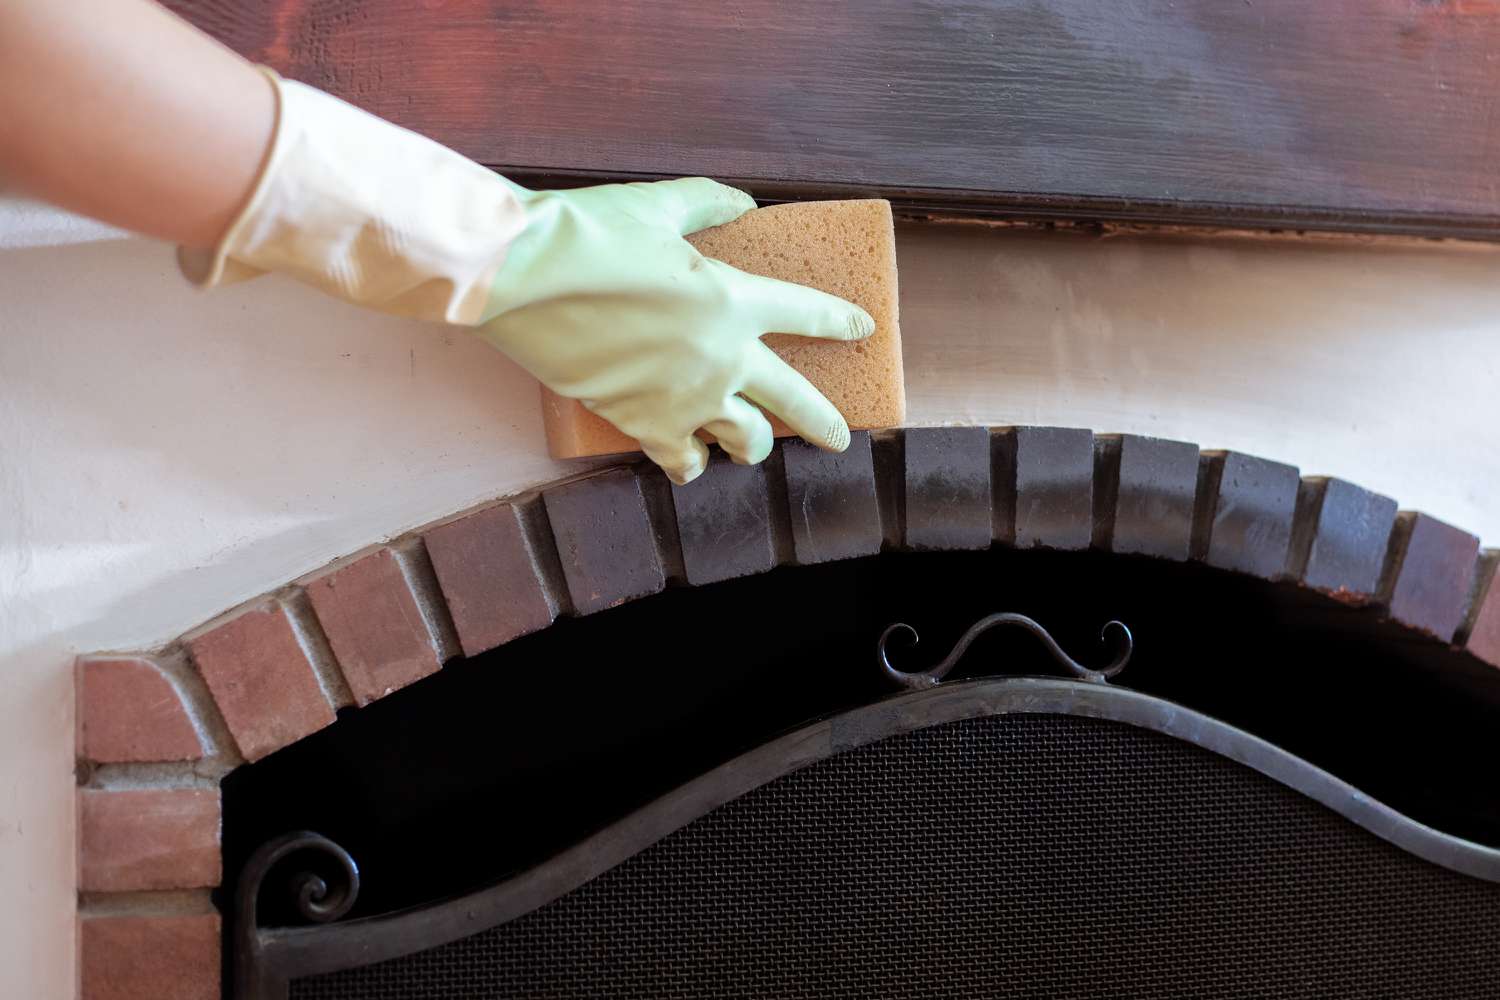
Step 4: Scrubbing the Bricks
With the cleaning solution prepared and the porch cleared of debris, it's time to embark on the pivotal step of scrubbing the bricks. This hands-on phase involves applying the cleaning solution to the brick surface and using a stiff-bristled brush or scrubbing tool to agitate and dislodge stubborn dirt, stains, and organic growth. The thoroughness and precision of this step directly impact the overall cleanliness and visual appeal of your brick porch.
Begin by pouring the prepared cleaning solution onto a small section of the porch, ensuring even coverage across the bricks. Working in manageable sections allows you to focus on one area at a time, ensuring that each segment receives the attention it deserves. With the cleaning solution applied, take the stiff-bristled brush or scrubbing tool and commence scrubbing the bricks in a deliberate and methodical manner.
As you scrub, pay close attention to areas with visible stains, discoloration, or organic growth, such as moss or algae. Apply additional pressure and vigorous scrubbing motions to these areas to effectively dislodge and remove the stubborn blemishes. It's important to maintain a consistent and thorough approach, ensuring that no section of the porch is overlooked during the scrubbing process.
In areas where grime and dirt have accumulated within the grout lines or textured surfaces of the bricks, focus on agitating these areas with the brush to loosen and remove embedded debris. By addressing these intricate areas with precision, you can achieve a comprehensive clean that restores the natural beauty of the brickwork.
Throughout the scrubbing process, periodically assess the cleanliness of the bricks to gauge the effectiveness of the cleaning solution and your scrubbing technique. If certain areas require additional attention, apply more cleaning solution and intensify your scrubbing efforts to achieve the desired results.
As you progress through each section of the porch, take satisfaction in witnessing the transformative impact of your scrubbing efforts. The gradual removal of dirt and stains reveals the inherent beauty of the brickwork, reaffirming the value of your dedicated approach to rejuvenating your outdoor space.
By diligently scrubbing the bricks, you pave the way for a remarkable transformation, setting the stage for the final phase of the cleaning process. With the bricks thoroughly scrubbed and revitalized, you're now prepared to proceed to the subsequent step, confident in the significant progress made in restoring the pristine appearance of your brick porch.
Step 5: Rinsing the Porch
Rinsing the porch is a crucial step that follows the thorough scrubbing of the bricks. This phase focuses on removing the residual cleaning solution, dirt, and loosened debris from the brick surface, ensuring a clean and pristine finish. By effectively rinsing the porch, you complete the cleaning process and set the stage for the final step of allowing the porch to dry naturally.
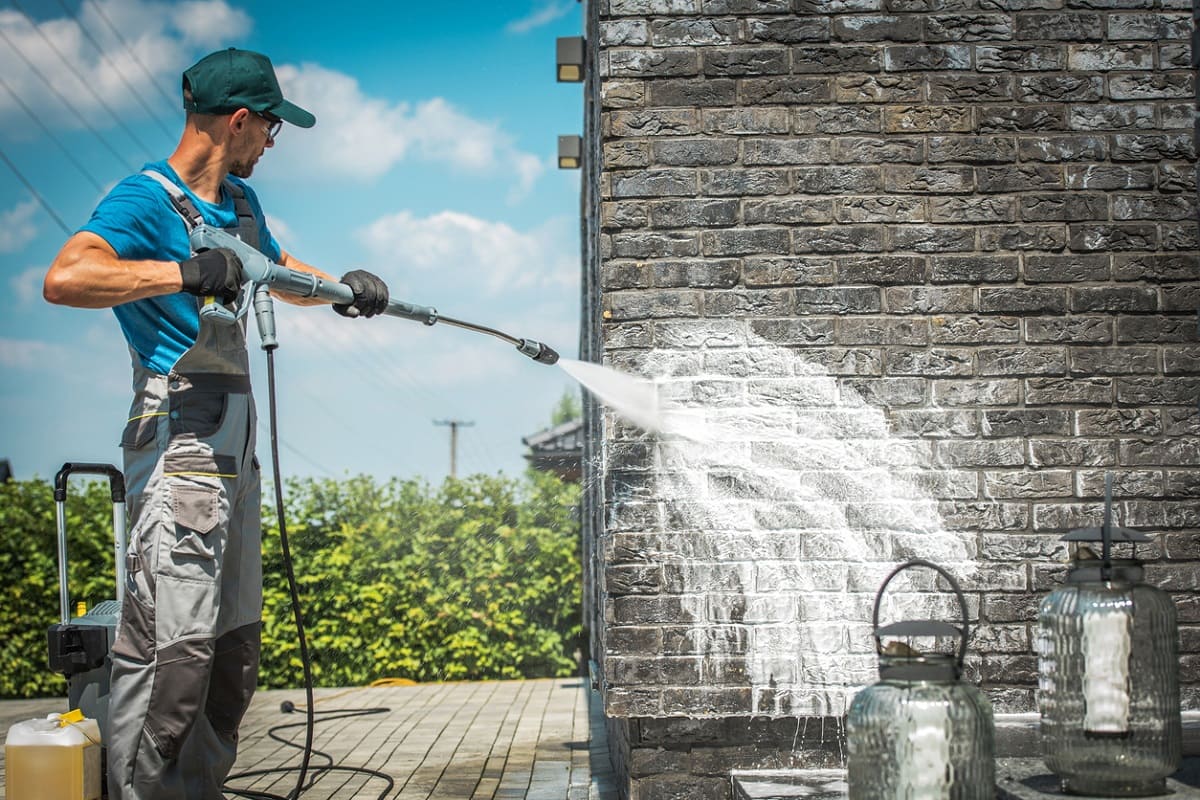
To commence the rinsing process, equip yourself with a garden hose fitted with a spray nozzle capable of delivering a strong and consistent stream of water. Position yourself at one end of the porch and begin spraying the surface with the hose, working methodically to cover the entire area. The force of the water stream aids in dislodging any remaining cleaning solution, dirt, and debris, effectively purging the brick surface of residual impurities.
As you rinse the porch, pay particular attention to areas where the cleaning solution was applied more liberally or where stubborn stains were present. Direct the stream of water to these areas, ensuring thorough rinsing to remove any lingering traces of the cleaning solution and to reveal the true cleanliness of the bricks. Additionally, focus on the grout lines and textured surfaces, as these areas may harbor residual debris that requires targeted rinsing.
Throughout the rinsing process, periodically assess the cleanliness of the bricks to gauge the effectiveness of the rinsing and to identify any areas that may require additional attention. By maintaining a systematic approach and ensuring comprehensive coverage, you can achieve a thorough and uniform rinse, leaving the brick surface free of cleaning solution and debris.
As the water cascades over the bricks, take satisfaction in witnessing the renewed vibrancy and natural beauty of the porch. The transformative impact of the rinsing process becomes evident as the bricks emerge clean and revitalized, reflecting the dedicated effort invested in restoring the pristine appearance of your outdoor space.
By diligently rinsing the porch, you bring the cleaning process to a satisfying culmination, setting the stage for the final step of allowing the porch to dry naturally. With the bricks thoroughly rinsed and free of residual cleaning solution and debris, you're now prepared to proceed to the subsequent phase, confident in the remarkable progress made in rejuvenating your brick porch.
Step 6: Allowing the Porch to Dry
After the thorough cleaning and rinsing of the brick porch, the final step involves allowing the surface to dry naturally. This phase is essential for ensuring that the bricks regain their natural appearance and that the cleaning process reaches its full fruition. By allowing the porch to dry undisturbed, you facilitate the evaporation of residual moisture, revealing the immaculate results of your cleaning efforts.
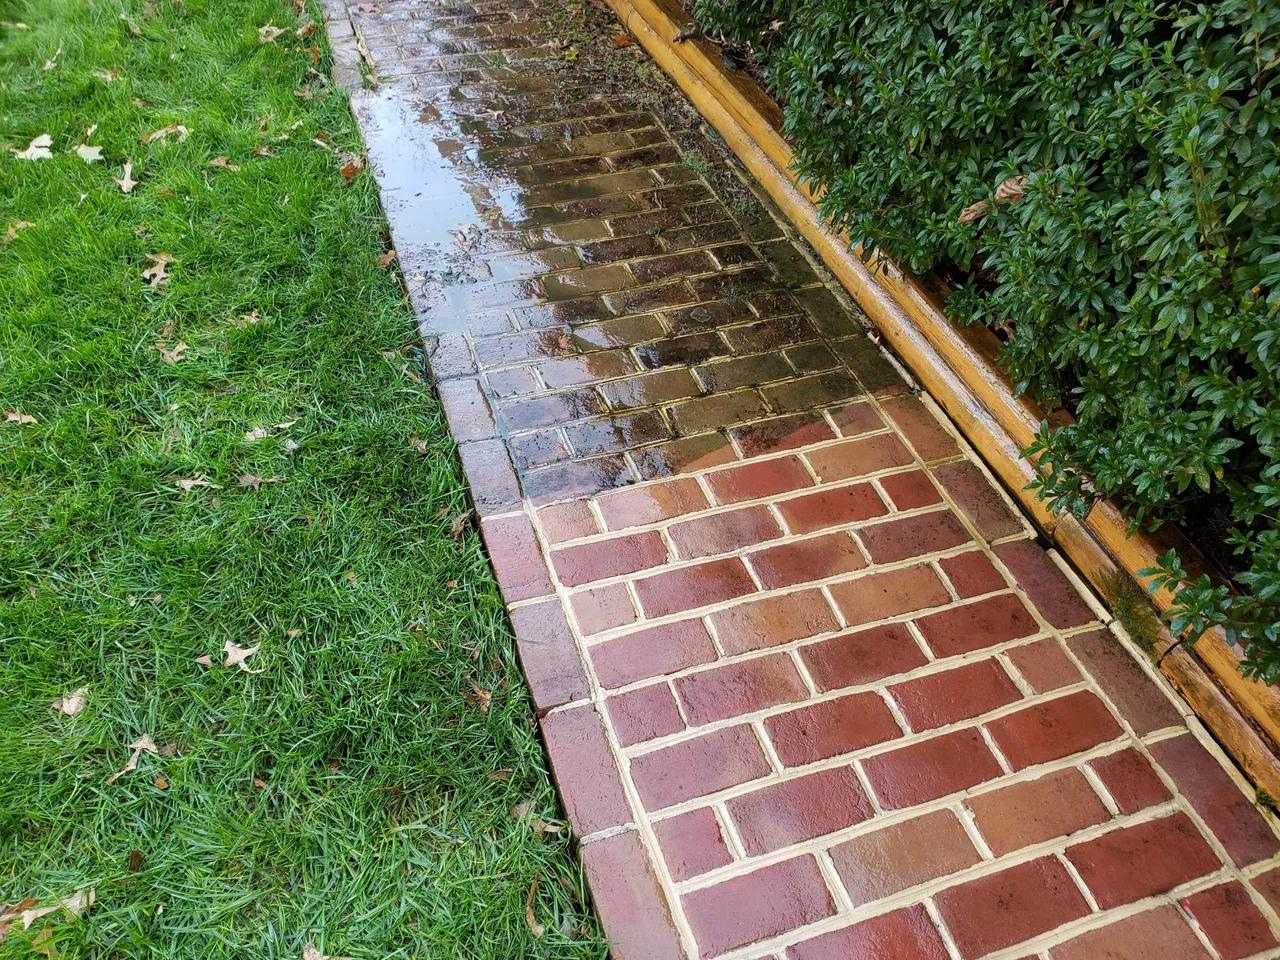
As the water from the rinsing process gradually dissipates, the true cleanliness and vibrancy of the bricks become increasingly apparent. The natural hues and textures of the brickwork emerge, showcasing the transformative impact of the cleaning process. During this drying period, take the opportunity to observe the porch and appreciate the remarkable difference in its appearance, from the removal of stubborn stains to the revitalization of the overall surface.
It's important to exercise patience during this phase, allowing sufficient time for the bricks to air dry completely. Factors such as sunlight, temperature, and airflow can influence the drying process, so it's advisable to choose a time when the weather conditions are conducive to efficient drying. Additionally, refrain from walking on the porch or replacing any furniture or decorative items until the surface is thoroughly dry to prevent recontamination and ensure the longevity of the cleaning results.
As the brick porch dries, take pride in the visible outcome of your meticulous cleaning efforts. The rejuvenated appearance of the surface serves as a testament to your dedication to maintaining a clean and inviting outdoor space. Whether you're preparing for a gathering, enhancing your home's curb appeal, or simply taking pride in the upkeep of your property, the sight of the freshly cleaned and dried porch is a gratifying reward for your hard work.
By allowing the porch to dry naturally, you complete the cleaning process with a sense of accomplishment, knowing that your efforts have revitalized the brickwork and restored the allure of your outdoor space. As the final step in the rejuvenation of your brick porch, the drying phase marks the culmination of a transformative journey, leaving you with a pristine and inviting outdoor area to enjoy and showcase with pride.
Conclusion
In conclusion, the process of cleaning a brick porch is a rewarding endeavor that yields tangible and visually striking results. By following the step-by-step guide outlined in this comprehensive article, you have gained valuable insights into the meticulous process of rejuvenating your outdoor space. From clearing the area and sweeping the surface to preparing the cleaning solution, scrubbing the bricks, rinsing the porch, and allowing it to dry, each phase has contributed to the remarkable transformation of your brick porch.
As you reflect on the journey of revitalizing your brick porch, it's evident that the dedication and attention to detail invested in the cleaning process have yielded impressive outcomes. The once weathered and soiled surface has been rejuvenated, revealing the natural beauty and allure of the brickwork. Stubborn stains, dirt, and organic growth have been effectively removed, leaving behind a pristine and inviting porch that enhances the overall aesthetic of your home.
The culmination of the drying phase marks the fulfillment of your efforts, as the freshly cleaned and dried porch stands as a testament to your commitment to maintaining a clean and welcoming outdoor space. Whether you're preparing to host gatherings, elevate your home's curb appeal, or simply take pride in the upkeep of your property, the rejuvenated brick porch serves as a source of satisfaction and pride.
As you admire the immaculate results of your cleaning endeavors, it's important to recognize the enduring benefits of a clean brick porch. Not only does the rejuvenated surface enhance the visual appeal of your home, but it also contributes to the longevity and preservation of the brickwork. By regularly cleaning and maintaining your brick porch, you can prolong its lifespan, safeguard its structural integrity, and create an inviting outdoor environment for relaxation and socializing.
In embracing the process of cleaning your brick porch, you have not only revitalized a key feature of your home but also cultivated a sense of pride and accomplishment. The knowledge and skills acquired through this guide empower you to consistently maintain a clean and inviting outdoor space, ensuring that your brick porch remains a source of admiration and enjoyment for years to come.
As you embark on future cleaning endeavors and continue to care for your home, may the transformative journey of rejuvenating your brick porch serve as a testament to the remarkable impact of dedicated maintenance and the enduring rewards of a pristine outdoor space.
Frequently Asked Questions about How To Clean A Brick Porch
Was this page helpful?
At Storables.com, we guarantee accurate and reliable information. Our content, validated by Expert Board Contributors, is crafted following stringent Editorial Policies. We're committed to providing you with well-researched, expert-backed insights for all your informational needs.





0 thoughts on “How To Clean A Brick Porch”