
Articles
How To Clean Screen Porch
Modified: August 17, 2024
Learn effective techniques for cleaning your screen porch in this helpful articles. Keep your porch looking fresh and inviting with our expert tips.
(Many of the links in this article redirect to a specific reviewed product. Your purchase of these products through affiliate links helps to generate commission for Storables.com, at no extra cost. Learn more)
Introduction
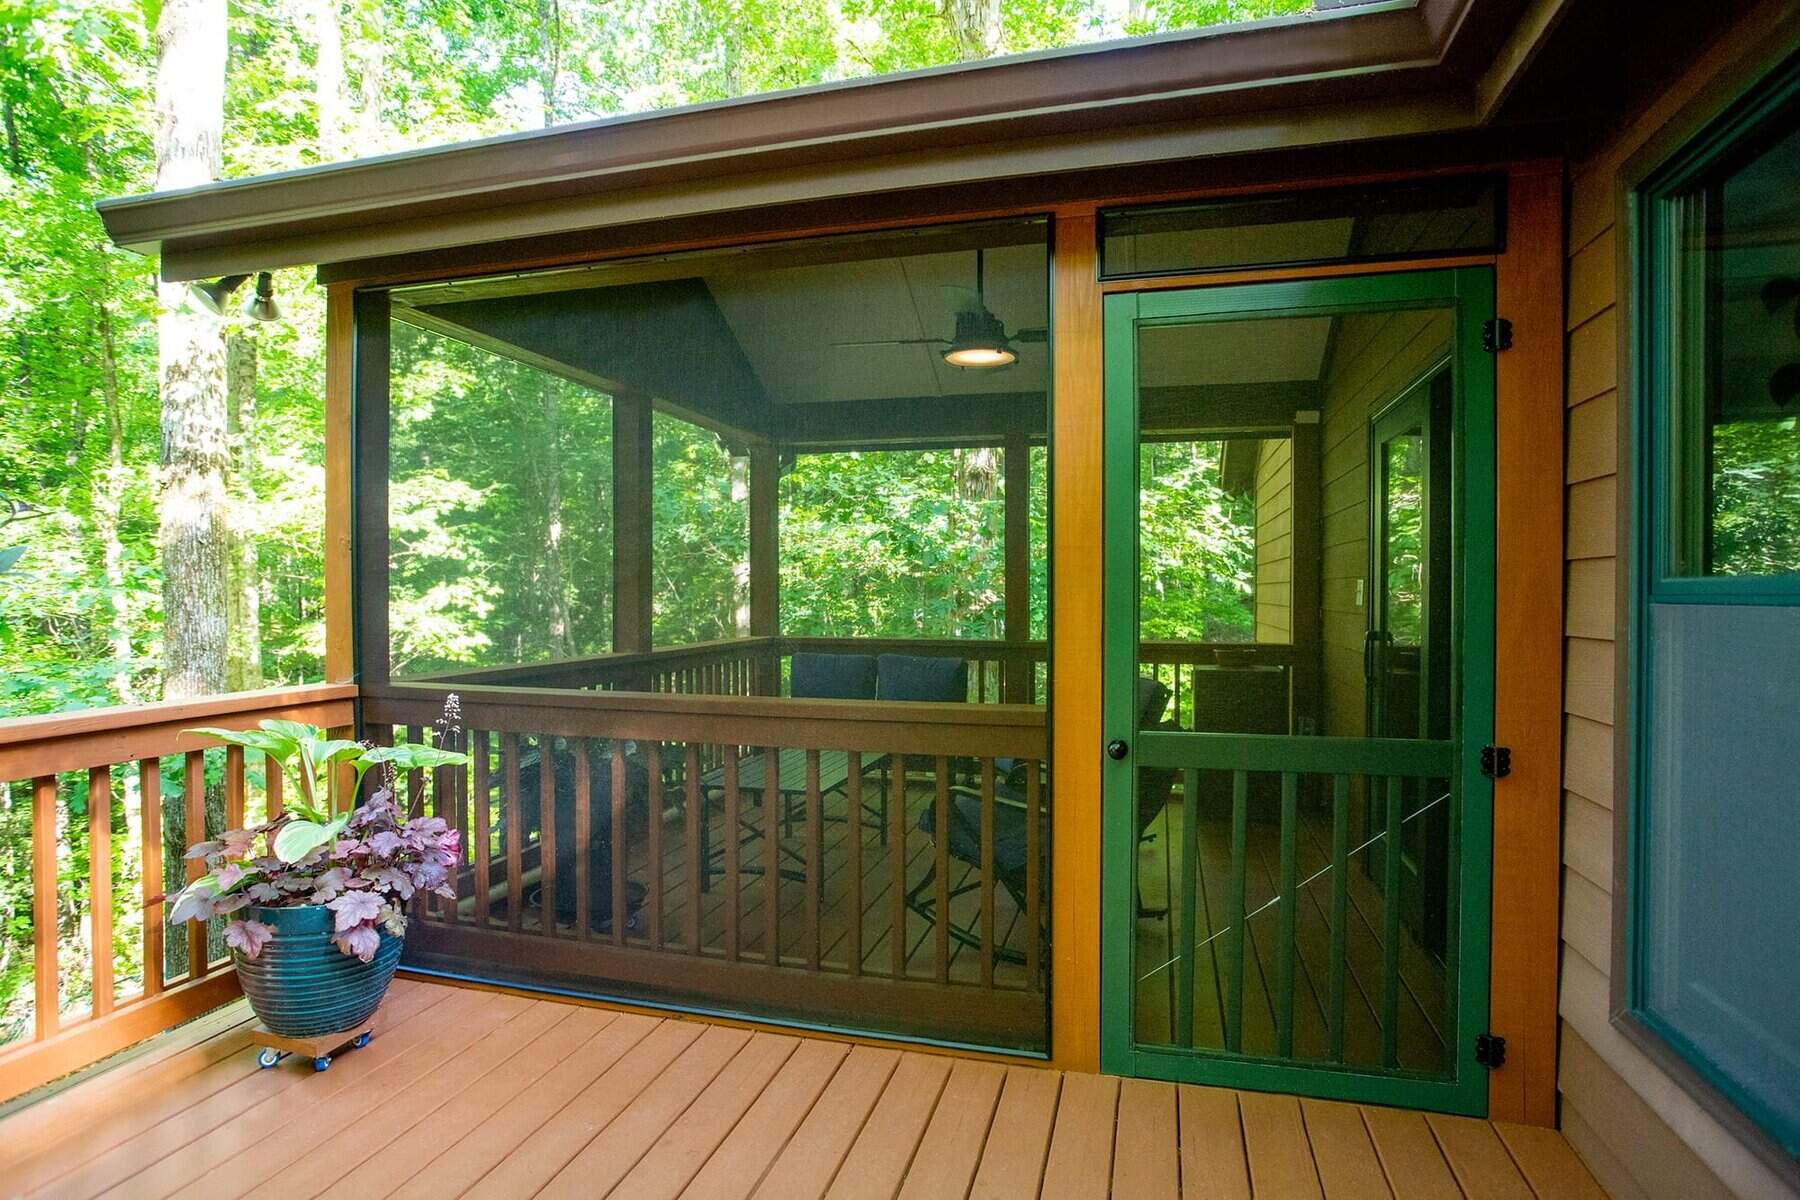
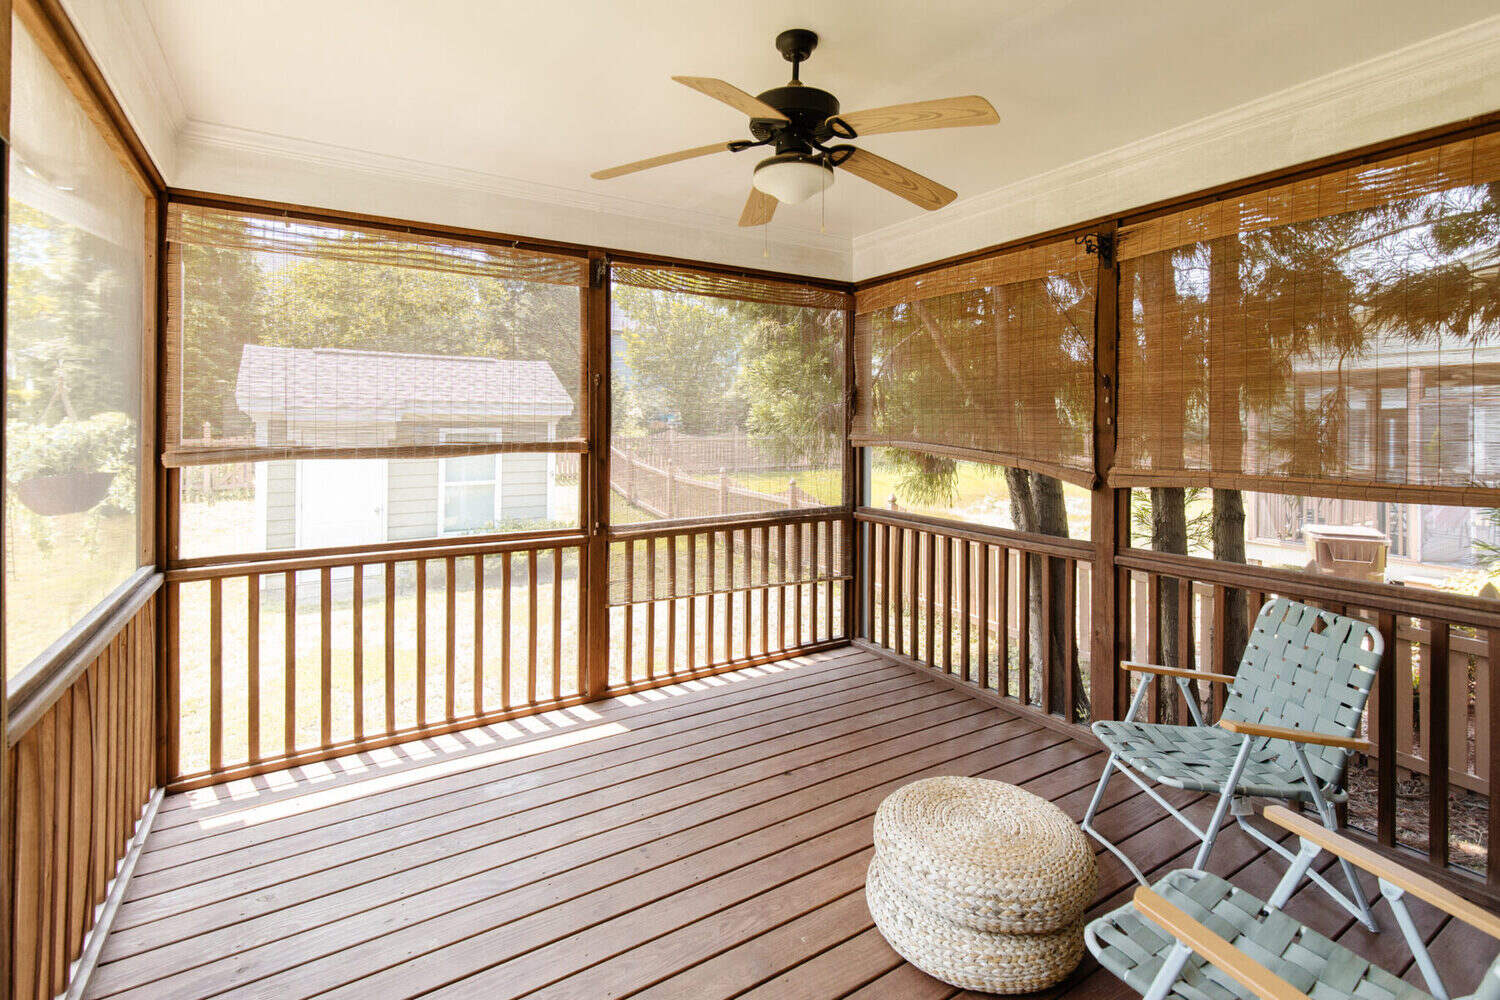
Screen porches are a wonderful addition to any home, providing a comfortable space to enjoy the outdoors while keeping bugs and debris at bay. Over time, however, screen porches can accumulate dirt, dust, and pollen, making them look dull and decreasing their effectiveness in keeping out pests. Regular cleaning and maintenance are essential to keep your screen porch looking fresh and functioning optimally.
In this article, we will guide you through a step-by-step process to effectively clean your screen porch. Whether it’s a small porch attached to your apartment or a spacious screened-in patio, our tips and techniques will help you transform your space into a sparkling clean oasis.
Key Takeaways:
- Transform your screen porch into a sparkling oasis by following our step-by-step cleaning guide. From removing furniture to scrubbing screens, maintain a beautiful and functional space for years to come.
- Regular maintenance is key to keeping your screen porch looking its best. With the right cleaning solutions and methods, you can easily achieve a clean and inviting outdoor space to relax and enjoy.
Step 1: Remove Furniture and Decorations
Before you begin cleaning your screen porch, it’s important to clear out the space by removing any furniture, decorations, and plants. This will allow you to have unhindered access to every nook and cranny of your porch and ensure a thorough cleaning.
Start by moving any chairs, tables, or outdoor sofas to a safe location. If you have larger items that are difficult to move, you can cover them with plastic sheets or drop cloths to protect them from any cleaning solutions or water splashes.
Remove any hanging decorations such as wind chimes or outdoor artwork. It’s a good idea to take down any potted plants and relocate them temporarily to prevent them from getting soaked or damaged during the cleaning process.
By removing furniture and decorations, you will be able to clean the entire porch effectively and prevent any of your belongings from getting in the way. Once everything is cleared out, you’re ready to move on to the next step.
Step 2: Sweep or Vacuum the Porch
Now that your screen porch is empty, it’s time to give it a good sweep or vacuum to remove any loose dirt, leaves, or debris. This step will help to minimize the amount of dirt that gets wet during the cleaning process and make the overall cleaning easier.
If your porch has a hard surface like concrete or tile, use a broom to sweep the entire area. Start from one end and work your way towards the other, making sure to reach into corners and tight spaces. Collect any loose debris and dispose of it properly.
If your porch has a carpeted area, use a vacuum cleaner with a brush attachment to gently remove any dirt or debris. Be thorough, going over each section multiple times to ensure a deep clean.
For wooden screen porches, use a soft-bristle broom or brush to sweep away leaves and dirt. Pay close attention to the gaps between the floorboards, as these areas tend to collect debris. Use a small handheld brush if necessary to reach into the gaps.
By sweeping or vacuuming your porch before applying any cleaning solution, you’ll be able to remove loose debris and create a clean surface to work with. This step will also help prevent dirt from spreading and potentially scratching or damaging the surfaces during the cleaning process.
Step 3: Rinse the Porch with Water
Once you’ve swept or vacuumed the porch, it’s time to give it a thorough rinse with water. This step will help to remove any remaining dirt or dust particles and prepare the surface for the cleaning solution.
If you have access to a hose, use it to spray down the entire porch. Start from one end and work your way across, making sure to cover the entire surface area. Focus on the screens, floors, and any other areas that accumulate dirt or debris.
If you don’t have a hose, you can use a bucket or a large container filled with water. Dip a sponge or a clean cloth into the water and squeeze out the excess. Wipe down the porch surfaces, including the screens, to remove any loose dirt.
Pay special attention to corners, crevices, and hard-to-reach areas where dirt tends to accumulate. Use a soft brush or a toothbrush to gently scrub away any stubborn stains or grime.
Rinsing the porch with water will help to loosen and remove dirt, making the subsequent cleaning steps more effective. It will also provide a clean surface for the cleaning solution to penetrate and work its magic.
Once you’re satisfied with the rinse, it’s time to move on to the next step.
Step 4: Mix a Cleaning Solution
Now that you’ve rinsed the porch, it’s time to prepare a cleaning solution that will effectively remove any stains or grime from the screens and surfaces. There are several DIY solutions you can use, depending on the materials of your porch.
For most screen porches, a simple mixture of warm water and mild dish soap will do the trick. Fill a bucket or a spray bottle with warm water and add a few drops of liquid dish soap. Mix it well to create a soapy solution.
If you’re dealing with tougher stains or mold, you can add white vinegar or hydrogen peroxide to the cleaning solution. For white vinegar, mix equal parts vinegar and water. For hydrogen peroxide, dilute it with water using a 1:1 ratio.
If you prefer using commercial cleaners, make sure to choose ones that are safe for use on the materials of your porch and follow the instructions on the label.
Remember to wear gloves and protective eyewear when working with cleaning solutions, especially if you’re using stronger alternatives. It’s also a good idea to test the solution on a small inconspicuous area of the porch to ensure it doesn’t cause any discoloration or damage.
Once you’ve mixed the cleaning solution, you’re ready to move on to the next step and start tackling those dirty screens.
Use a mixture of warm water and mild dish soap to clean the screens on your porch. Gently scrub with a soft brush or sponge, then rinse with a hose. Avoid using harsh chemicals or abrasive materials to prevent damage to the screens.
Read more: How To Screen In A Porch
Step 5: Scrub the Screens
Now that you have your cleaning solution ready, it’s time to give those screens some love and attention. The screens are often the most susceptible to dirt and grime, so it’s important to take the time to clean them thoroughly.
If your screens are removable, take them down and lay them flat on a clean surface. Use a soft brush or sponge dipped in the cleaning solution, and gently scrub both sides of the screens. Pay close attention to any visible stains or dirt buildup.
For stubborn stains or sticky residue, you can use a toothbrush to scrub away the dirt. Be gentle to avoid damaging the screens, but thorough enough to remove all the debris.
If your screens are not removable, use a soft cloth or sponge soaked in the cleaning solution to wipe down each screen. Start from the top and work your way down, ensuring that you cover all areas of the screen.
Focus on the corners and edges of the screens, as these areas are prone to dirt accumulation. Use a toothbrush or a cotton swab to reach into tight spaces and remove any stubborn dirt.
Once you’ve scrubbed all the screens, let the cleaning solution sit for a few minutes to allow it to work on any tough stains. This will make it easier to rinse off the solution in the next step.
Remember to rinse your brush, sponge, or cloth regularly in clean water to prevent the transfer of dirt from one screen to another.
After scrubbing the screens, you’re ready to move on to the next step and give the porch a final rinse.
Step 6: Rinse Again
Now that you’ve scrubbed the screens with the cleaning solution, it’s time to give them a thorough rinse to remove any residue and ensure a squeaky-clean finish. Rinsing the screens will also help to prevent any soap or cleaning solution from leaving streaks or marks on the surfaces.
If you have a hose, use it to spray down each screen, focusing on both sides to ensure all the cleaning solution is washed away. Start from the top and work your way down, making sure to cover every inch of the screen.
If you don’t have a hose, you can use a bucket or a container filled with clean water. Dip a sponge or cloth into the water and squeeze out the excess. Then, wipe down each screen, ensuring that all the soap and dirt is thoroughly rinsed off.
Pay close attention to the corners, edges, and hard-to-reach areas where residual cleaning solution may still be present. Use a soft brush or toothbrush to gently remove any remaining grime.
Continue rinsing and wiping until the water runs clear and there are no visible signs of soap or residue on the screens.
After rinsing the screens, take a moment to rinse the porch floor and any other surfaces that may have come into contact with the cleaning solution. This will help to remove any leftover residue and leave the entire porch looking fresh and clean.
Once you’ve thoroughly rinsed the porch and screens, it’s time to move on to the final step and ensure everything is dried properly.
Step 7: Dry the Porch and Screens
After rinsing the porch and screens, it’s crucial to ensure they are properly dried to prevent any water spots or moisture accumulation. Drying the surfaces thoroughly will also help to prevent the growth of mold or mildew.
Start by using a squeegee or a clean microfiber cloth to remove excess water from the screens. Gently run the squeegee or cloth over each screen, starting from the top and working your way down. Pay extra attention to the corners and edges where water tends to accumulate.
Next, use a towel or mop to dry the porch floor. Soak up any remaining water, paying attention to areas where water may have gathered, such as around furniture legs or in crevices.
If your porch is in a sunny area, opening up the windows and doors can help to speed up the drying process. The warm air and sunlight will aid in evaporating any remaining moisture.
Lastly, give the screens and porch some time to air dry completely. This will ensure that all surfaces are dry before you replace furniture and decorations.
Remember, drying the porch and screens thoroughly is essential to maintain their longevity and prevent any issues caused by moisture. Make sure to give them enough time to dry before moving on to the final step.
Step 8: Replace Furniture and Decorations
Now that your screen porch is clean and dry, it’s time to bring back the furniture and decorations to complete the rejuvenated look and feel of the space.
Start by placing the furniture back in its original position. Take care when moving heavier pieces to avoid scratching or damaging the freshly cleaned surfaces. If necessary, use furniture pads or sliders to minimize any potential damage.
Once the furniture is in place, you can start adding back the decorations and plants. Hang up your wind chimes, artwork, and other decorative items to personalize the space and create a cozy ambiance.
If you had temporarily relocated any potted plants, carefully bring them back onto the porch. Ensure that any excess water is drained and that the pots are placed on saucers or trays to prevent water from staining or damaging the porch floor.
Take this opportunity to do some rearranging or redesigning of your porch layout if desired. Experiment with different furniture placements or decorative arrangements to create a fresh and inviting space.
With everything back in place, take a moment to step back and admire your clean and refreshed screen porch. It’s now ready for you to relax and enjoy the outdoors while being protected from bugs and debris.
Regular maintenance is key to keeping your screen porch looking its best, so make it a point to incorporate cleaning into your routine. By following the steps outlined in this article, you can ensure that your screen porch remains a beautiful and functional area for years to come.
Congratulations on successfully cleaning your screen porch!
Conclusion
Cleaning your screen porch doesn’t have to be a daunting task. By following the step-by-step guide provided in this article, you can easily and effectively clean and maintain your screen porch, ensuring it remains a pleasant and inviting space.
From removing furniture and decorations to sweeping or vacuuming the porch, rinsing with water, mixing a cleaning solution, scrubbing the screens, and giving everything a final rinse and thorough dry, each step plays a vital role in achieving a sparkling clean and refreshed screen porch.
Regular maintenance is the key to extending the lifespan and beauty of your screen porch. By dedicating some time and effort to cleaning it on a regular basis, you can ensure that it remains an enjoyable and functional part of your home for years to come.
Remember to be mindful of the materials that your screen porch is made of and choose appropriate cleaning solutions and methods to avoid any damage or discoloration. Testing a small area before proceeding with the full cleaning is always a good practice.
So roll up your sleeves, gather your cleaning supplies, and start transforming your dusty and dirty screen porch into a pristine outdoor oasis. Your hard work will be rewarded with a beautiful and relaxing space that you can enjoy throughout the year.
Now, go ahead and enjoy your clean screen porch!
Frequently Asked Questions about How To Clean Screen Porch
Was this page helpful?
At Storables.com, we guarantee accurate and reliable information. Our content, validated by Expert Board Contributors, is crafted following stringent Editorial Policies. We're committed to providing you with well-researched, expert-backed insights for all your informational needs.


0 thoughts on “How To Clean Screen Porch”