Articles
How To Clean Porch Ceiling
Modified: August 17, 2024
Learn effective methods for cleaning your porch ceiling in this informative article. Discover tips and techniques for removing dirt, dust, and cobwebs to keep your outdoor space looking fresh and inviting.
(Many of the links in this article redirect to a specific reviewed product. Your purchase of these products through affiliate links helps to generate commission for Storables.com, at no extra cost. Learn more)
Introduction
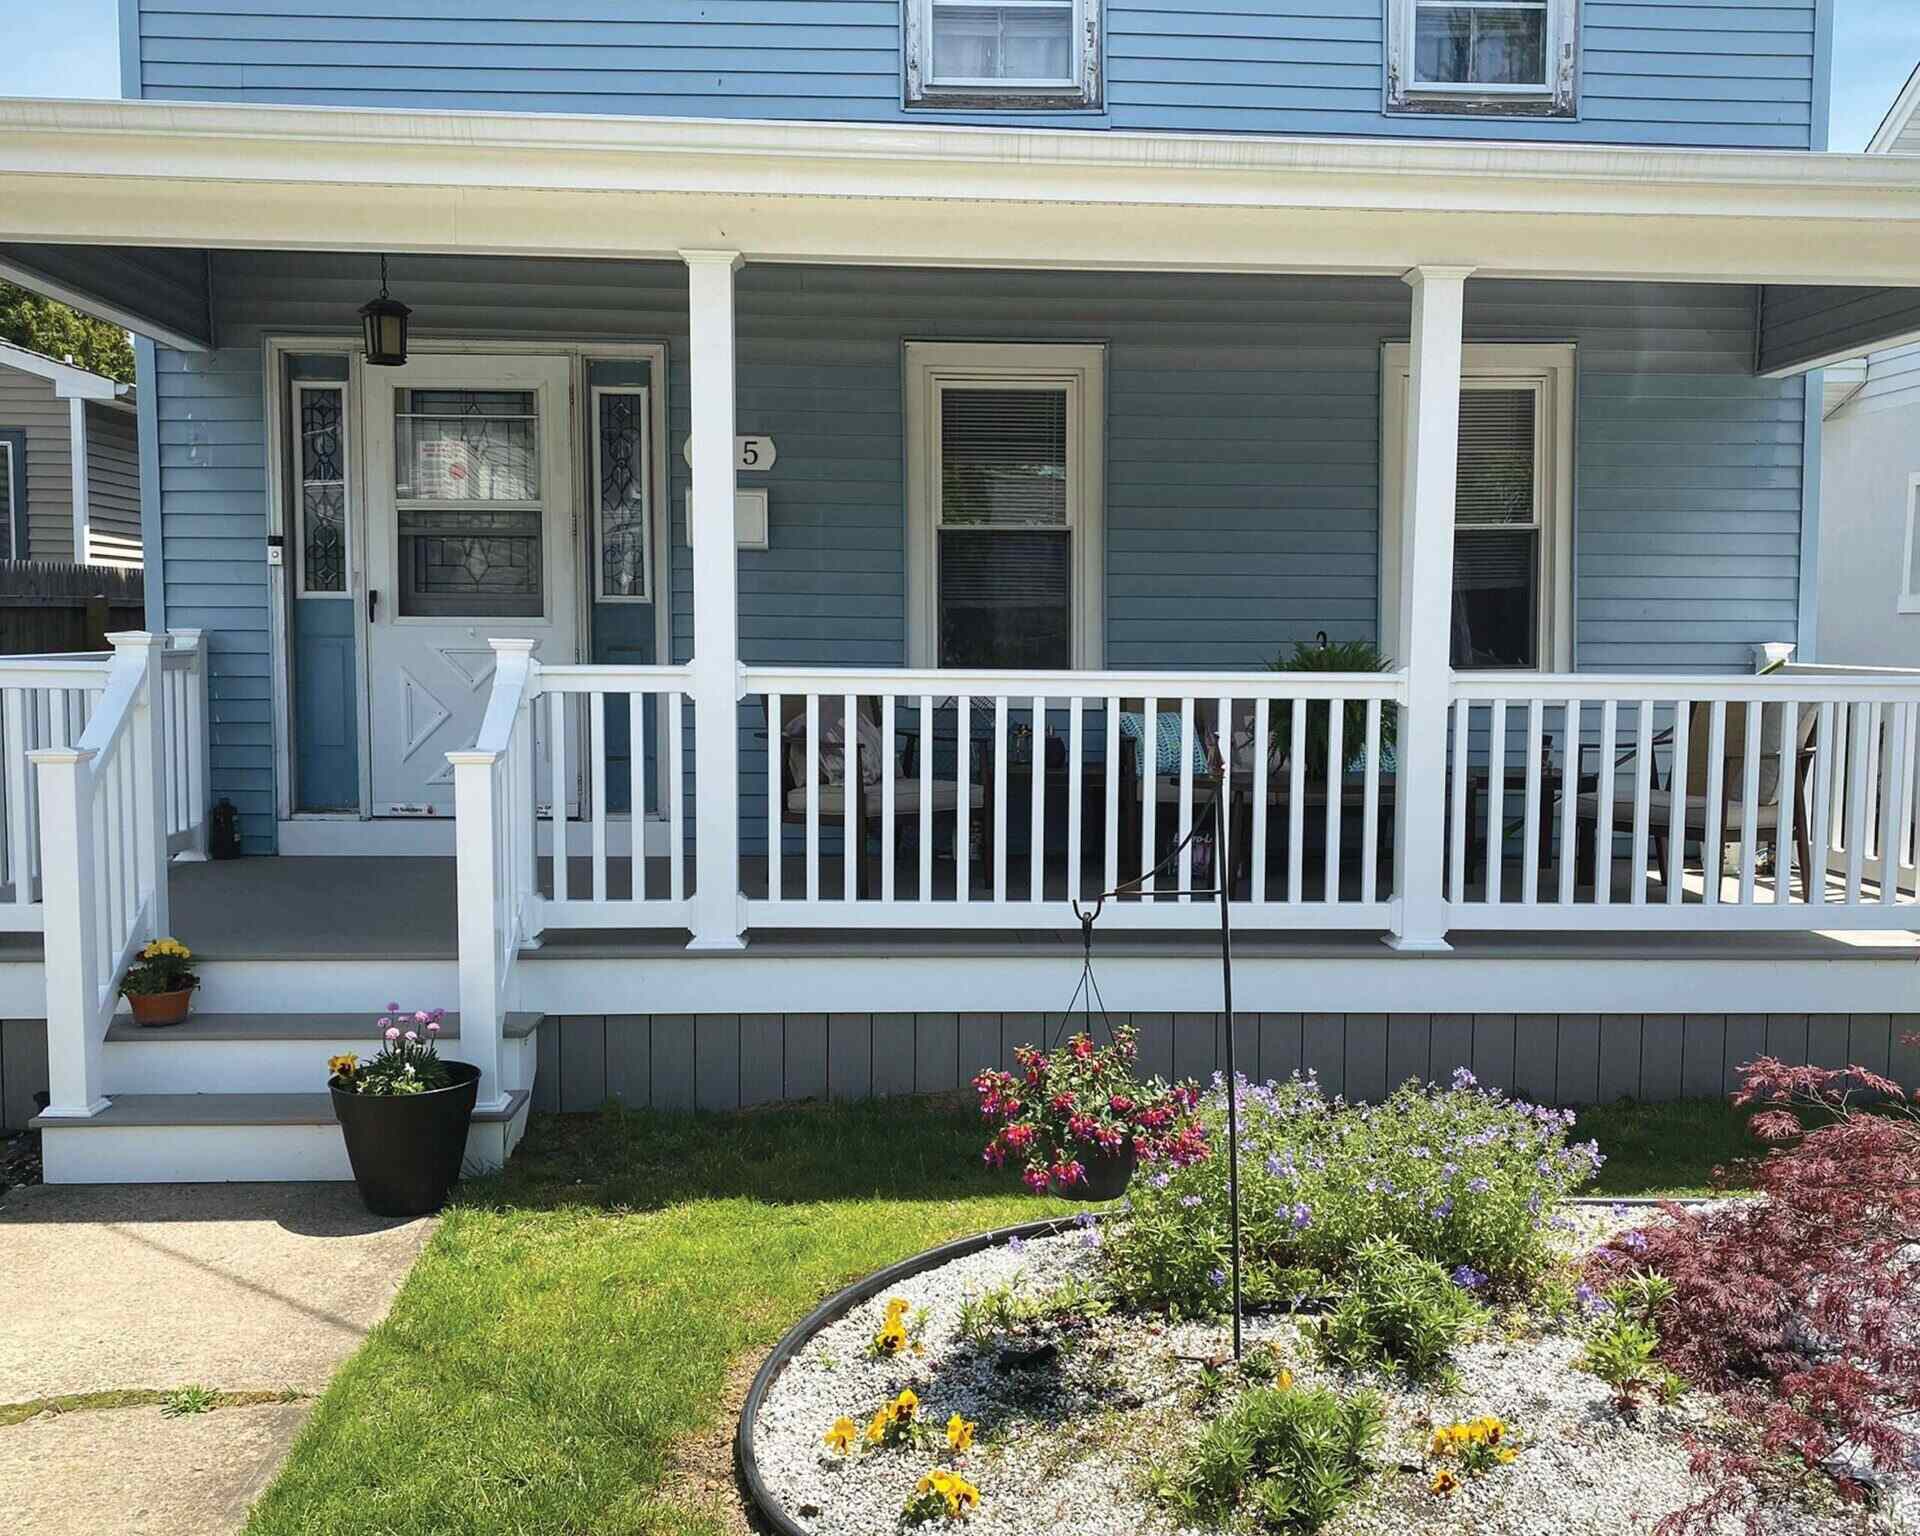
Having a clean and well-maintained porch ceiling can make a huge difference in the overall appearance of your home’s exterior. Over time, dirt, dust, cobwebs, and even stains can accumulate on the ceiling, making it look dull and unsightly. However, with the right approach and some simple cleaning techniques, you can easily restore the beauty of your porch ceiling and create a welcoming space.
Cleaning your porch ceiling not only enhances its visual appeal but also helps to prolong its lifespan by preventing the buildup of grime and dirt. Regular cleaning can also contribute to better air quality, as it eliminates allergens and dust particles that may have settled on the ceiling. Whether your porch ceiling is made of wood, vinyl, or any other material, the cleaning process is relatively straightforward and can be accomplished with a few basic supplies.
In this article, we will guide you through the step-by-step process of cleaning your porch ceiling, ensuring that you achieve effective results without causing any damage. From preparing the area to treating stubborn stains, we will cover everything you need to know to get your porch ceiling looking as good as new. So, let’s get started!
Key Takeaways:
- Keep your porch ceiling looking fresh and inviting by following a simple step-by-step cleaning process. Remove dust, cobwebs, and stubborn stains to enhance your home’s exterior and create a welcoming outdoor space.
- Prioritize safety, use gentle cleaning solutions, and consider optional painting or finishing to maintain a visually appealing porch ceiling. Enjoy a clean and well-maintained outdoor space that contributes to better air quality and longevity.
Read more: How To Clean A Ceiling
Step 1: Preparation
Before you begin the cleaning process, it’s important to properly prepare the area to ensure a smooth and safe operation. Here are the necessary steps to follow:
- Gather your supplies: Start by collecting all the supplies you’ll need for the cleaning process. This may include a ladder or sturdy step stool, a bucket, a sponge or soft cloth, a gentle detergent or soap, a scrub brush with soft bristles, and a hose or water source for rinsing. Make sure to use non-abrasive materials to avoid scratching or damaging the porch ceiling.
- Protect the surrounding area: Next, take the time to protect any surrounding furniture, plants, or flooring that may be susceptible to water or cleaning solutions. Use drop cloths or plastic coverings to shield these areas from potential damage or staining.
- Safety first: It’s crucial to prioritize safety during the cleaning process. If you’re using a ladder, make sure it’s stable and placed on a level surface. If necessary, ask for assistance or have someone standby to provide support and ensure your safety while working at heights.
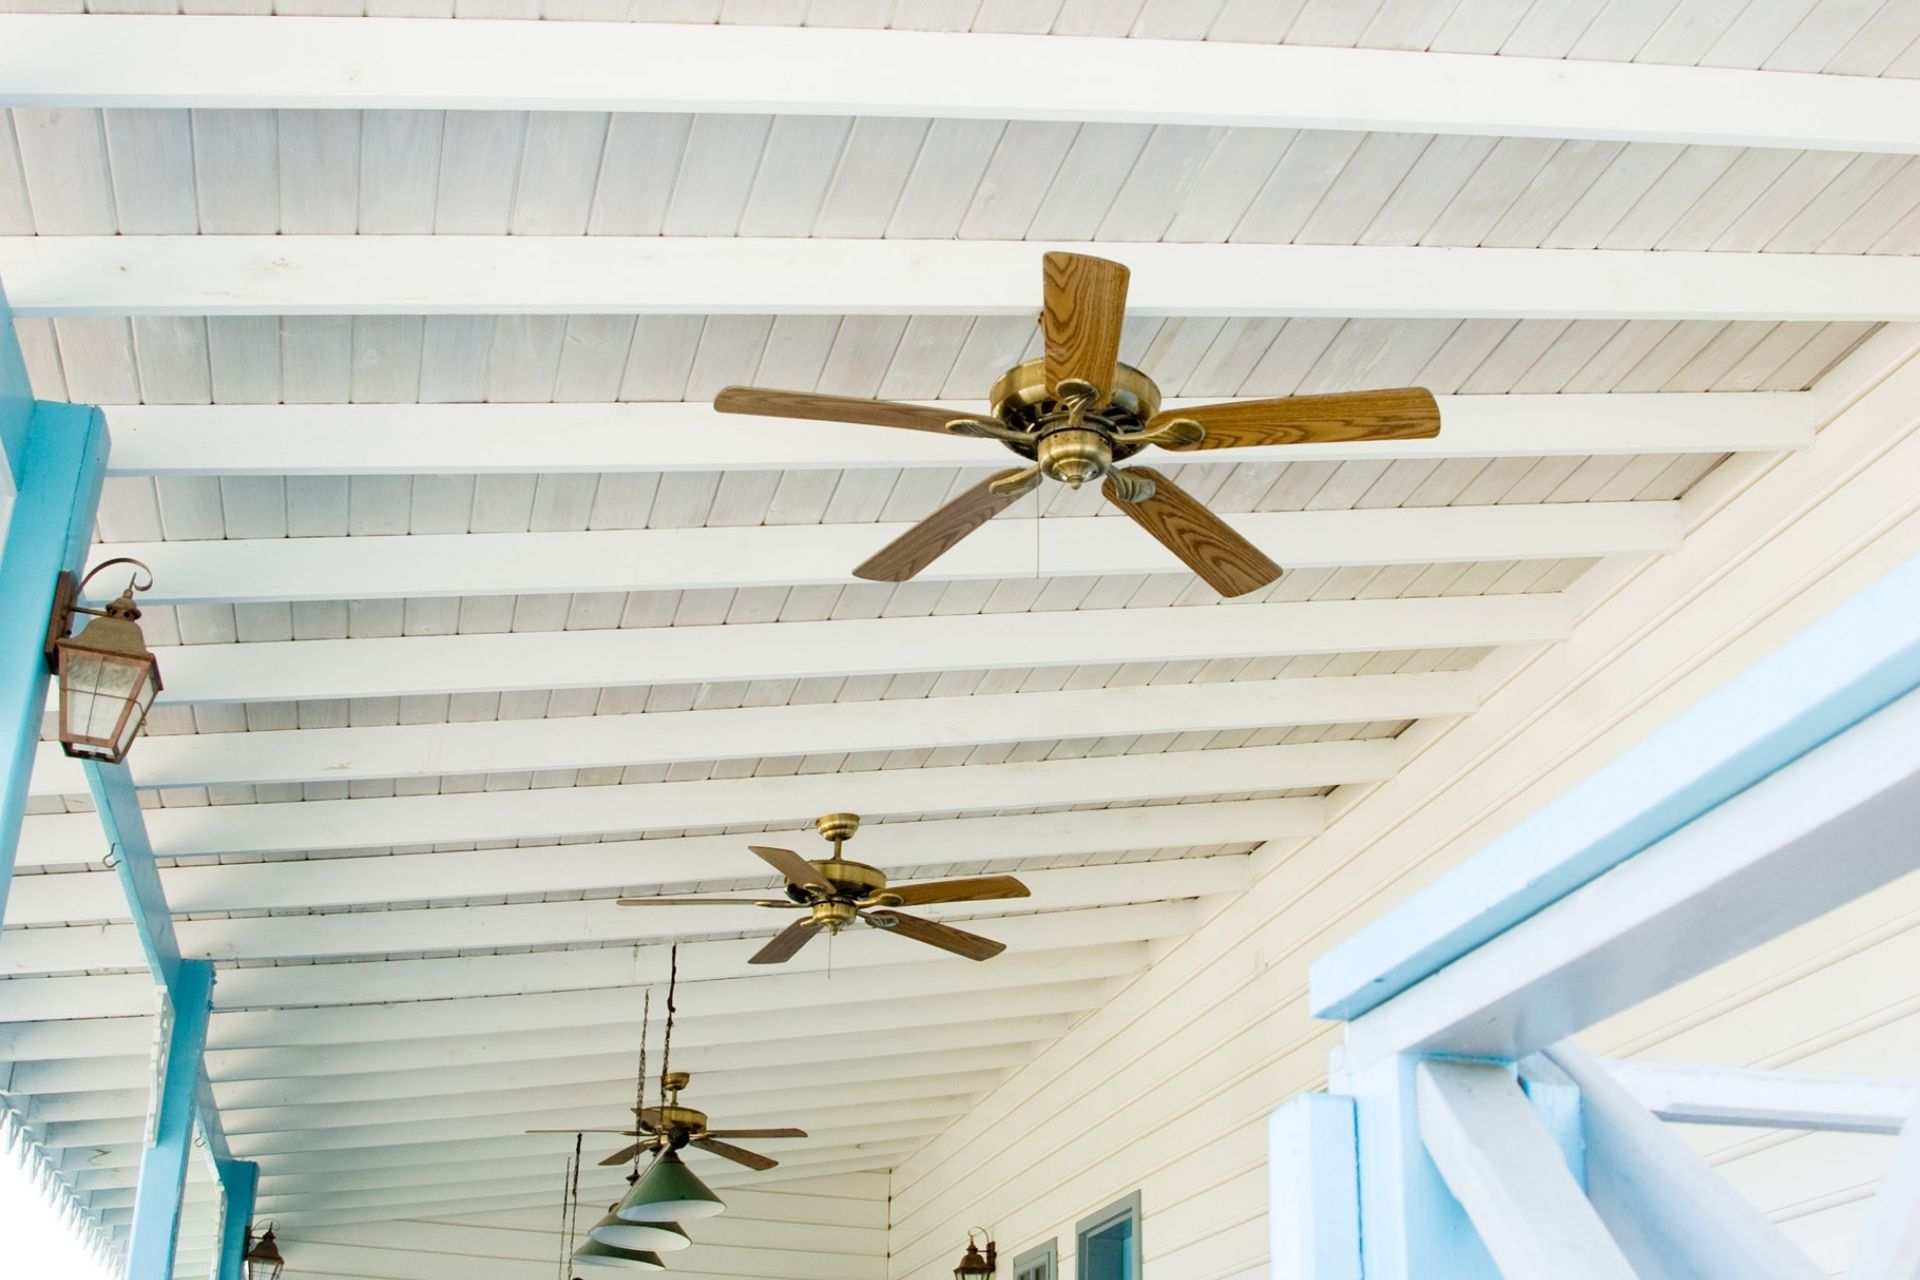
- Turn off power: For porch ceilings equipped with light fixtures or fans, it’s advisable to turn off the power supply before starting the cleaning process. This eliminates the risk of electric shock and allows you to work with peace of mind.
By taking the time to properly prepare the area, you’ll create a safe and efficient working environment, allowing you to focus on the task at hand. Once you’ve gathered your supplies and safeguarded the surrounding area, you can move on to the next step of removing dust and cobwebs from your porch ceiling.
Step 2: Removing Dust and Cobwebs
Before diving into the deeper cleaning process, it’s crucial to start by removing any loose dust, dirt, and cobwebs from the porch ceiling. This step sets the foundation for a thorough clean and ensures that the subsequent cleaning steps are more effective. Follow these steps to rid your porch ceiling of dust and cobwebs:
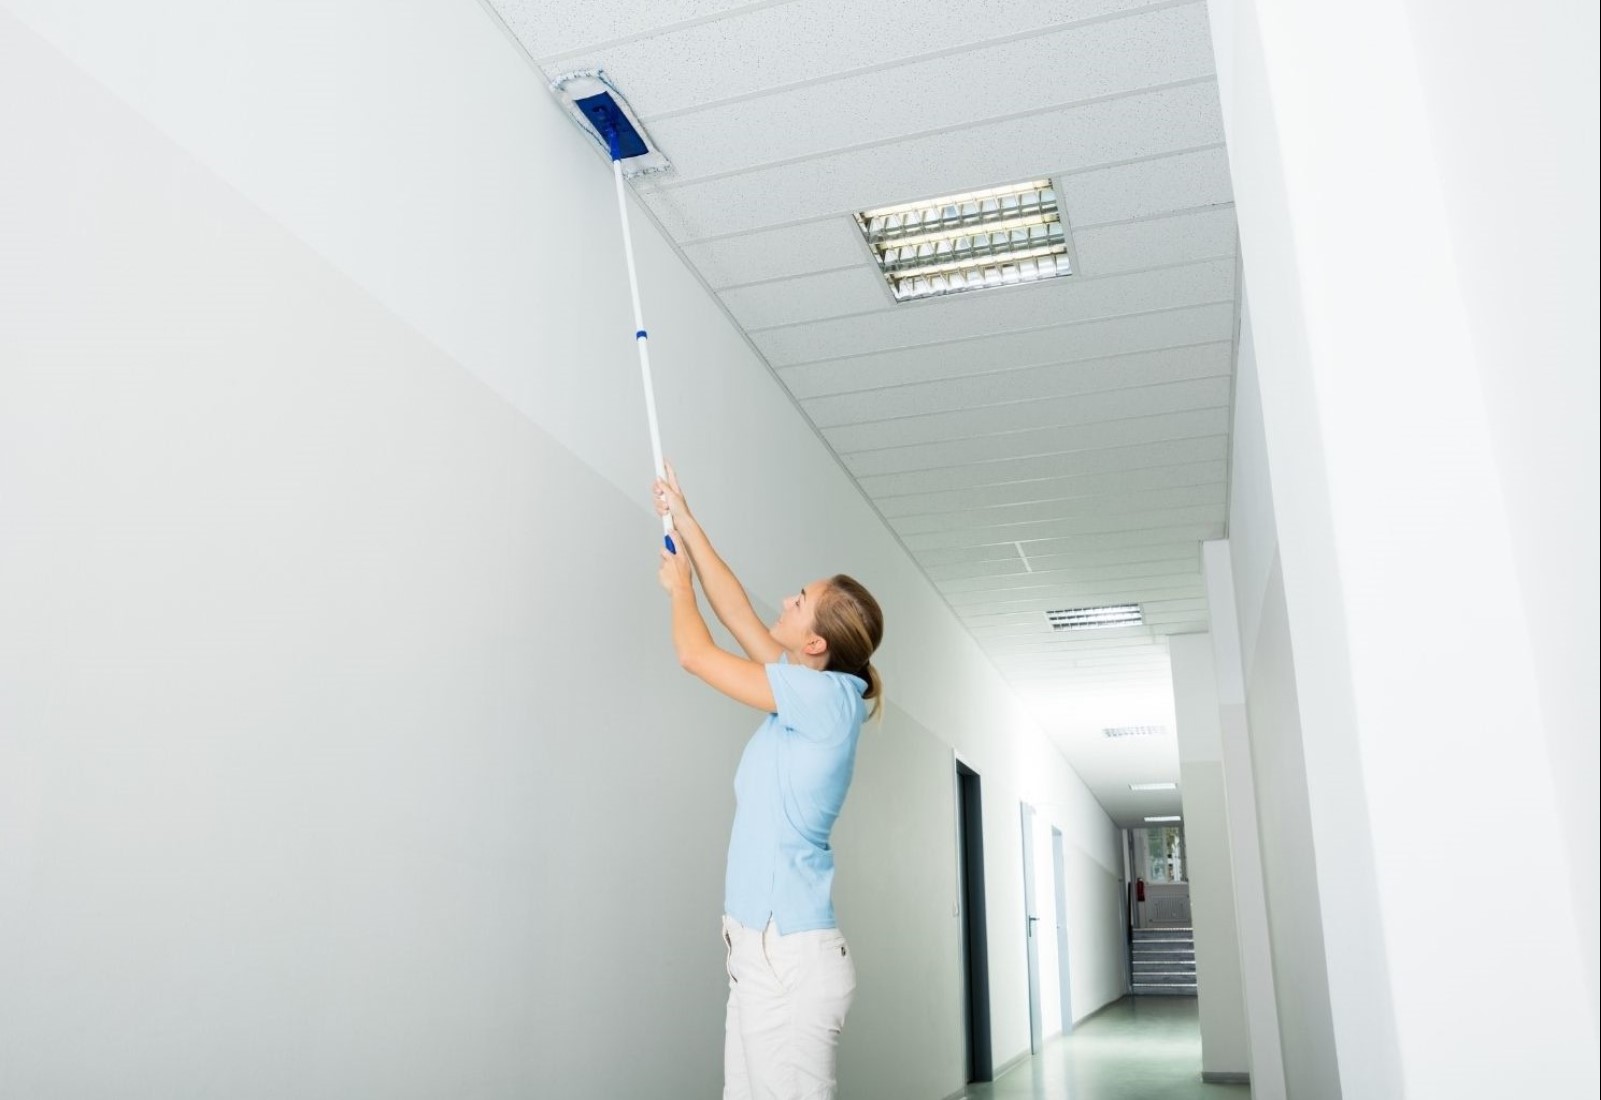
- Start with a dry cleaning method: Begin by using a dry method to remove loose dust and cobwebs. You can start by using a soft-bristled broom or a dusting brush to gently brush the surface of the porch ceiling. Alternatively, you can use a vacuum cleaner with a brush attachment to suck up any loose debris.
- Work in sections: To ensure thorough cleaning, divide your porch ceiling into smaller sections. This makes it easier to focus on one area at a time and ensure that no spots are missed. Use a step stool or ladder to reach higher sections safely.
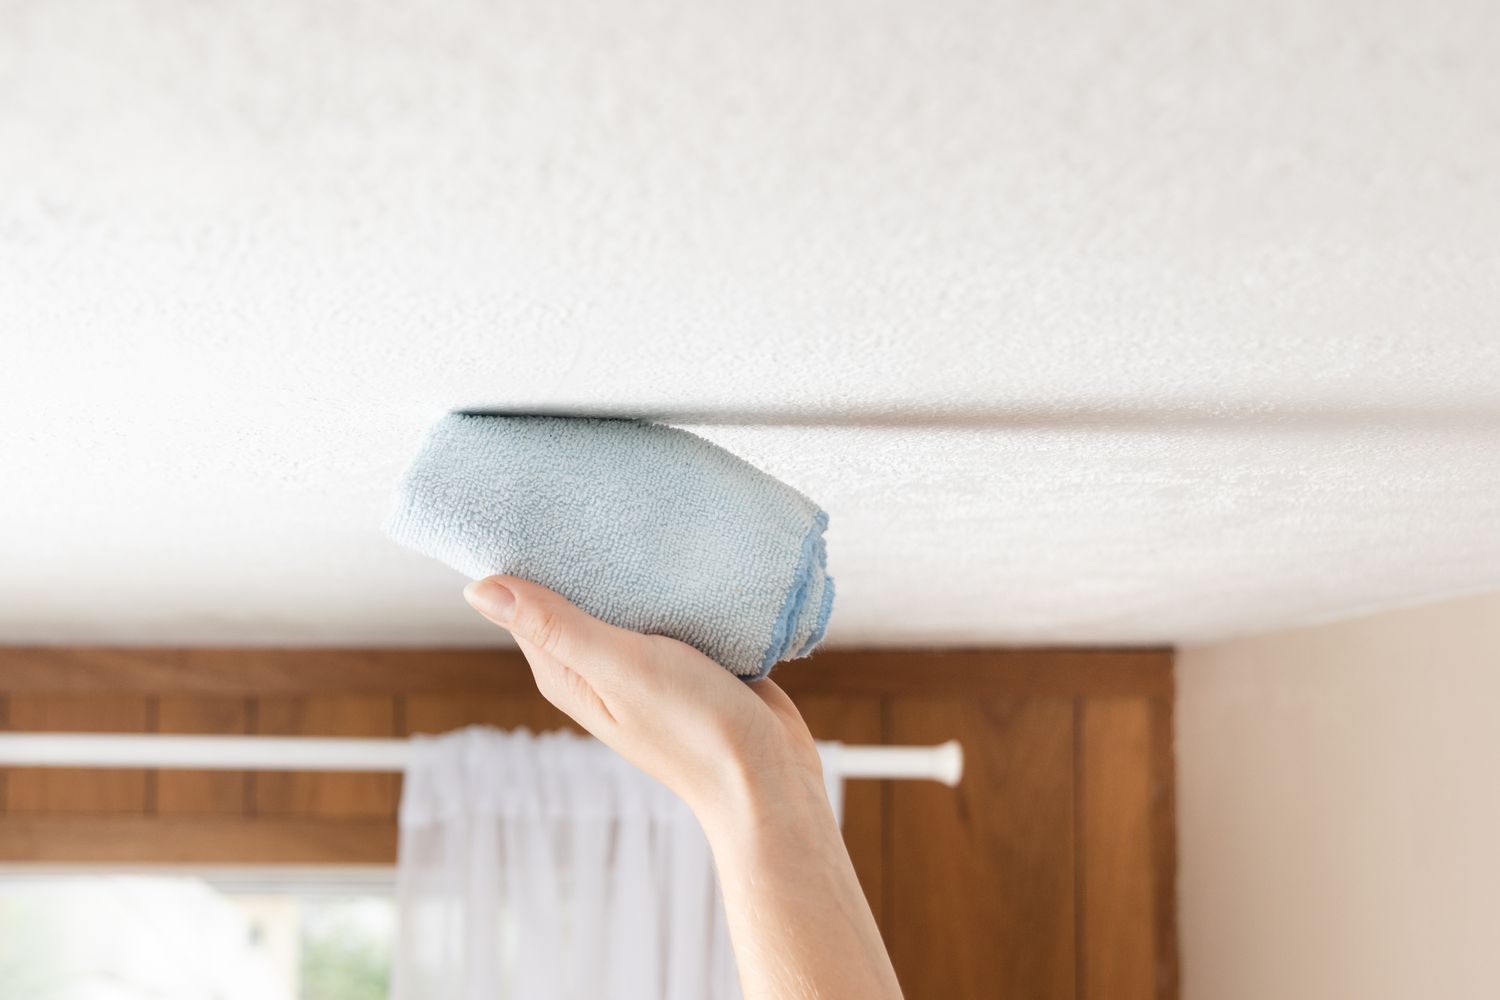
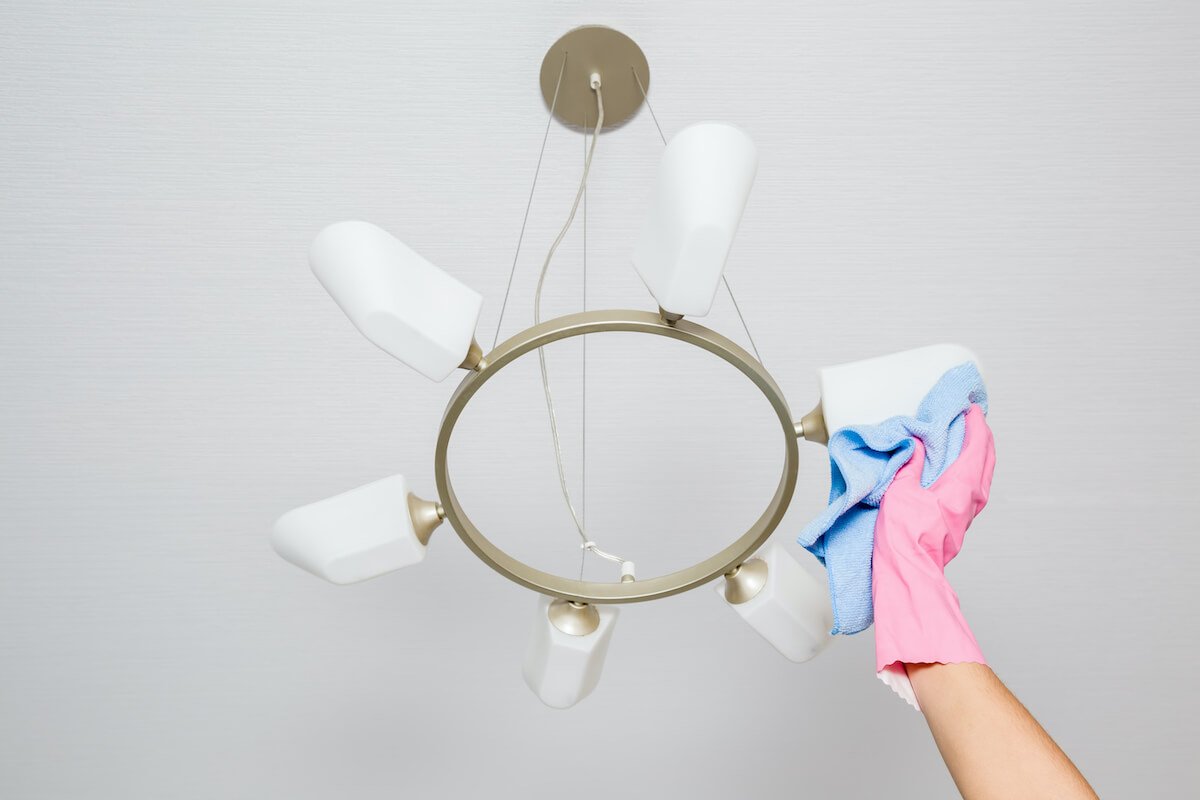
- Use a damp cloth or sponge: After dry cleaning, dampen a soft cloth or sponge with water and wring out any excess moisture. Gently wipe the porch ceiling in circular motions, paying attention to any stubborn areas or hard-to-reach corners. Be careful not to apply excessive pressure, as this can cause damage to certain ceiling materials.
- Consider using a mild detergent: If there are visible stains or greasy spots on the porch ceiling, you may need to use a mild detergent or soap solution. Mix a small amount of detergent with water in a bucket, following the manufacturer’s instructions. Dip the cloth or sponge into the soapy water and gently scrub the affected areas. Rinse the cloth frequently to avoid spreading the dirt or soap residue.
- Be cautious with exposed electrical fixtures: If your porch ceiling has light fixtures or fans, take extra care when cleaning around them. Avoid getting water or cleaning solutions directly on these fixtures to prevent any electrical issues or damage. Instead, use a dry cloth to carefully wipe around the fixtures.
By thoroughly removing dust and cobwebs from your porch ceiling, you create a clean canvas to proceed with the deeper cleaning process. Now that you’ve completed this step, it’s time to move on to Step 3: Cleaning with Soap and Water.
Step 3: Cleaning with Soap and Water
After removing dust and cobwebs, it’s time to tackle the actual cleaning process with soap and water. This step will help eliminate any remaining dirt, grime, or stains from your porch ceiling. Follow these steps to effectively clean your porch ceiling with soap and water:
- Prepare a cleaning solution: Fill a bucket with warm water and add a small amount of a gentle detergent or soap. Avoid using harsh chemicals or abrasive cleaners, as they can damage the surface of your porch ceiling.
- Soak a soft cloth or sponge: Dip a soft cloth or sponge into the soapy water, making sure to wring out any excess moisture. The cloth should be damp but not dripping wet.
- Clean the porch ceiling: Starting from the top and working your way down, gently wipe the porch ceiling with the damp cloth or sponge. Use circular motions and apply light pressure to avoid causing any damage. Pay close attention to areas with visible stains or dirt buildup.
- Change the water as needed: Depending on the size of your porch ceiling or the level of dirtiness, you may need to replace the soapy water in the bucket with clean water as it becomes dirty. This ensures that you’re not spreading dirt or grime back onto the ceiling.
- Be mindful of excess water: While cleaning, be cautious not to oversaturate the porch ceiling with water. Excessive moisture can seep into cracks or crevices, potentially causing damage over time. Use a gentle touch and avoid dripping water onto the surface.
- Rinse with clean water: After cleaning with the soapy solution, rinse the porch ceiling with clean water. You can use a clean cloth or sponge dampened with water to wipe away any soap residue.
By following these steps, you’ll effectively clean your porch ceiling with soap and water, removing dirt, grime, and stains. Once you’ve rinsed away any remaining soap residue, you can move on to Step 4: Treating Stubborn Stains, if necessary.
Use a mixture of warm water and mild dish soap to clean your porch ceiling. Gently scrub with a soft-bristled brush or sponge, then rinse with clean water. Avoid using harsh chemicals or abrasive tools to prevent damage to the ceiling.
Step 4: Treating Stubborn Stains
While cleaning with soap and water can remove most dirt and grime from your porch ceiling, there may still be stubborn stains that require additional treatment. Depending on the nature of the stains and the material of your porch ceiling, you can try these methods to effectively treat stubborn stains:
- Baking Soda Paste: For grease or oil stains, create a paste by mixing baking soda with a small amount of water. Apply the paste to the affected area and let it sit for a few minutes. Gently scrub the stain with a soft brush or cloth, then rinse with clean water.
- Vinegar Solution: Vinegar can be effective in removing stubborn stains like mold or mildew. Mix equal parts of white vinegar and water in a spray bottle. Spray the solution onto the stained area and let it sit for a few minutes. Scrub the stain with a brush or cloth, then rinse thoroughly with water.
- Hydrogen Peroxide: Hydrogen peroxide can help remove tough stains like ink or marker. Apply a small amount of hydrogen peroxide to a cloth or sponge and gently dab it onto the stain. Allow it to sit for a few minutes, then rinse with clean water.
- Mild Bleach Solution: If you’re dealing with stubborn stains or discoloration on a white or light-colored porch ceiling, you can create a mild bleach solution. Mix one part bleach with four parts water. Apply the solution to the stained area with a cloth or sponge, let it sit for a few minutes, then rinse thoroughly with water.
- Commercial Cleaning Products: If the above methods don’t yield the desired results, you can try using commercial cleaning products specifically designed for the type of stain or material of your porch ceiling. Follow the manufacturer’s instructions for application and always test on a small, inconspicuous area first to ensure compatibility and prevent any potential damage.
Remember to wear gloves and protect your eyes when using chemical cleaners or bleach solutions. Additionally, always read and follow the instructions provided by the product manufacturers to ensure safety and effectiveness.
By treating stubborn stains, you can restore the pristine appearance of your porch ceiling. Once you’ve achieved the desired results, it’s time to move on to Step 5: Rinse and Dry.
Read more: How To Clean Porch Cushions
Step 5: Rinse and Dry
After treating any stubborn stains and thoroughly cleaning your porch ceiling, it’s essential to rinse away any remaining cleaning solution or residue. This step ensures that the surface is clean, free from any cleaning agents, and ready to be dried. Follow these steps to rinse and dry your porch ceiling effectively:
- Rinse with clean water: Using a hose or a bucket of clean water, rinse the porch ceiling thoroughly. Start from the top and work your way down, ensuring that all soap, cleaning solution, and dirt are removed.
- Check for any missed spots: During the rinsing process, carefully inspect the porch ceiling for any remaining dirt, stains, or residue. If you notice any spots that need further cleaning, repeat the previous steps until the surface is thoroughly clean.
- Dry the porch ceiling: After rinsing, it’s crucial to allow the porch ceiling to dry completely. Depending on the weather conditions and the material of your ceiling, this can take a few hours to a day. Ensure proper ventilation to expedite the drying process, or use fans to circulate air if needed.
- Avoid direct sunlight: If possible, try to dry your porch ceiling in a shaded area to prevent direct exposure to sunlight. Excessive heat from the sun can cause water to evaporate too quickly, leaving behind unsightly streaks or water marks.
- Inspect the ceiling: Once the porch ceiling is dry, take a moment to inspect it for any missed spots, streaks, or residue. If necessary, repeat the cleaning process or spot-clean any areas that require additional attention.
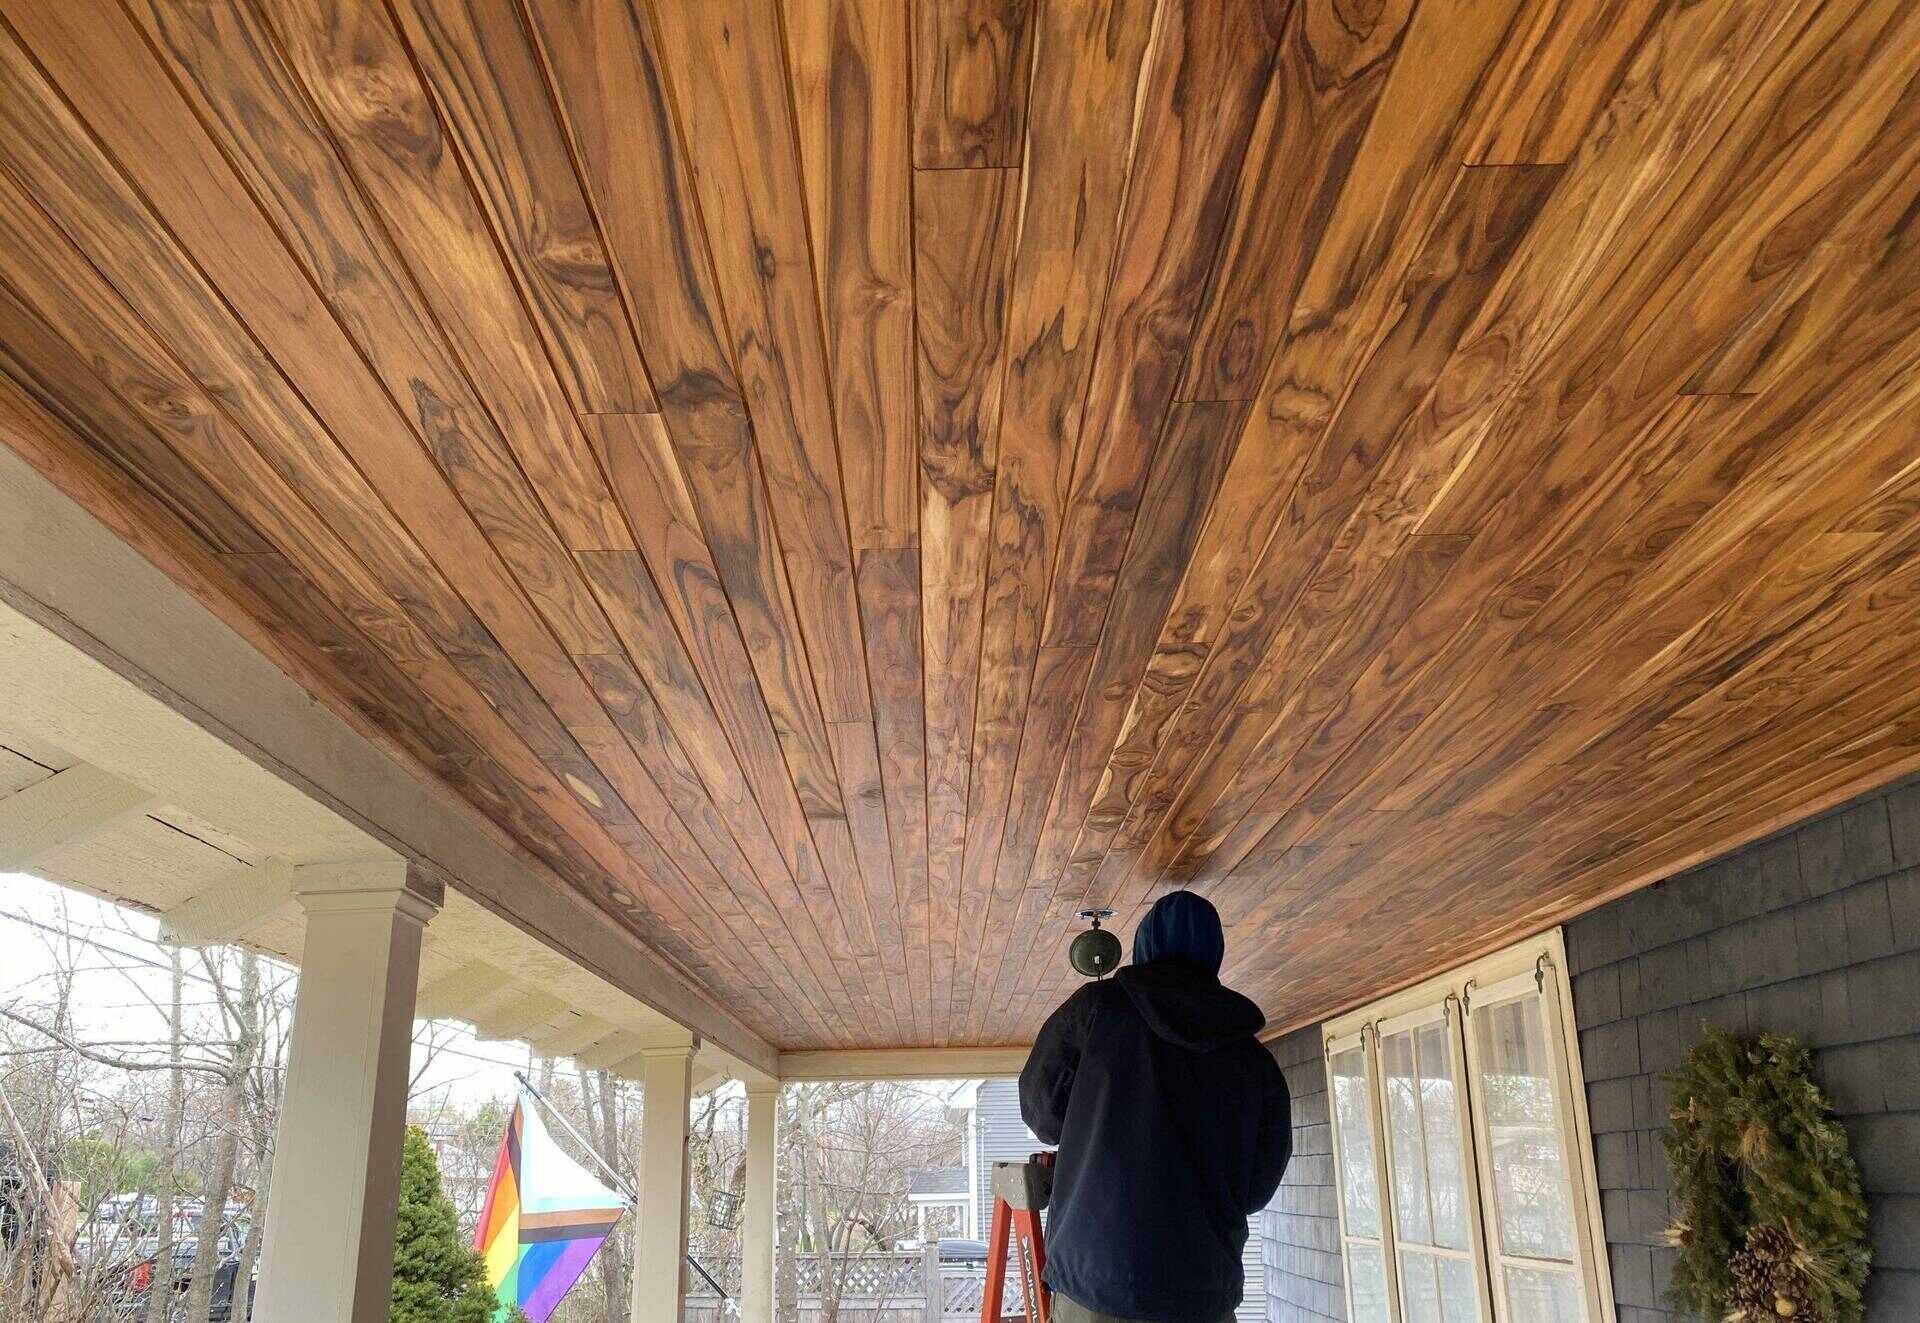
By thoroughly rinsing and drying your porch ceiling, you ensure that it is clean, residue-free, and ready for any additional steps, such as painting or finishing, if desired. Now that you’ve completed Step 5, you can proceed to Step 6: Painting or Finishing, to give your porch ceiling a refreshed and polished look.
Step 6: Painting or Finishing (Optional)
If you want to further enhance the appearance of your porch ceiling, you may choose to paint or apply a finish to give it a refreshed and polished look. Painting or finishing is an optional step that can add a personal touch to your porch and protect the ceiling from potential damage. Here’s how you can paint or finish your porch ceiling:
- Clean the surface: Before painting or finishing, ensure that the porch ceiling is clean and free from any dust, debris, or residue. Use a soft cloth or sponge to wipe away any remaining dirt or stains.
- Choose the right paint or finish: Select a paint or finish that is suitable for your porch ceiling material. For example, if you have a wooden ceiling, choose an exterior-grade paint that is designed to withstand outdoor conditions. If you have a vinyl or metal ceiling, look for a specialized paint or finish for those surfaces.
- Prepare the area: Just like in the preparation step, protect the surrounding area by covering any furniture, plants, or flooring. Use drop cloths or plastic coverings to prevent any accidental spills or splatters.
- Prime the surface: If your porch ceiling requires a fresh coat of paint, it’s recommended to apply a primer first. Priming helps the paint adhere better to the surface and provides a smoother finish. Follow the manufacturer’s instructions for the primer application.
- Apply the paint or finish: Once the primer has dried (if applicable), start applying the paint or finish to the porch ceiling. Use a paintbrush or a paint roller, depending on the size of the area and your preference. Apply the paint or finish evenly, making sure to cover the surface completely. Follow the recommended drying times between coats and apply additional coats if needed.
- Allow proper drying time: After applying the paint or finish, allow sufficient drying time according to the manufacturer’s instructions. This ensures that the paint or finish cures properly and provides optimal protection for your porch ceiling.
- Clean up: Once you’re done with the painting or finishing, clean up your tools and materials properly. Dispose of any leftover paint or chemicals according to local regulations.
Remember, painting or finishing is an optional step and should only be done if desired. It’s important to choose high-quality products and follow proper application techniques to achieve the best results. By painting or finishing your porch ceiling, you can add a personal touch and prolong its lifespan. Ensure that the paint or finish complements the overall aesthetic of your porch and coordinates with the color scheme of your home’s exterior.
Congratulations! You have completed all the steps to clean and potentially paint or finish your porch ceiling. By following these guidelines, you can achieve a clean and visually appealing outdoor space that will make your porch a welcoming and enjoyable area to relax and entertain.
Conclusion
Cleaning your porch ceiling is an essential part of maintaining your home’s exterior and creating a welcoming outdoor space. By following the step-by-step process outlined in this article, you can effectively remove dust, cobwebs, dirt, and even stubborn stains from your porch ceiling. The result will be a refreshed and visually appealing ceiling that enhances the overall aesthetic of your home.
Remember to take the necessary precautions during the cleaning process, such as wearing gloves, protecting surrounding areas, and ensuring your safety when working at heights. Use gentle cleaning solutions and non-abrasive materials to avoid damaging the porch ceiling.
In addition to regular cleaning, you may also consider applying a fresh coat of paint or a finish to further enhance the appearance and protection of your porch ceiling. This step is optional but can add a personalized touch to your porch.
Ultimately, a clean and well-maintained porch ceiling not only improves the overall look of your home but also contributes to better air quality and ensures the longevity of the ceiling material. By following the steps outlined in this article, you can achieve a clean porch ceiling that will make your outdoor space more inviting and enjoyable.
Now it’s time to put your knowledge into action and give your porch ceiling the care it deserves. Follow the steps provided, adapt them to your specific porch ceiling material, and enjoy the results of your efforts. Say goodbye to the dust and stains, and welcome a refreshed and beautiful porch ceiling.
Now that your porch ceiling sparkles, why stop there? Dive into our guide on cleaning tips for a spotless refrigerator that'll make your kitchen shine. And if you're up for a bit more of an outdoor challenge, learn pressure washing techniques to rejuvenate your home's siding easily. Both articles are packed with practical advice to tackle these tasks with confidence and ease.
Frequently Asked Questions about How To Clean Porch Ceiling
Was this page helpful?
At Storables.com, we guarantee accurate and reliable information. Our content, validated by Expert Board Contributors, is crafted following stringent Editorial Policies. We're committed to providing you with well-researched, expert-backed insights for all your informational needs.


0 thoughts on “How To Clean Porch Ceiling”