Home>Construction & Tools>Building Materials>How To Clean Creosote From Brick

Building Materials
How To Clean Creosote From Brick
Modified: August 16, 2024
Learn effective methods for removing creosote from brick surfaces. Safely clean and restore your building materials with expert tips and techniques.
(Many of the links in this article redirect to a specific reviewed product. Your purchase of these products through affiliate links helps to generate commission for Storables.com, at no extra cost. Learn more)
Introduction
Cleaning creosote from brick surfaces can be a challenging task, but with the right tools, materials, and techniques, it can be effectively accomplished. Creosote, a dark brown or black residue resulting from the burning of wood or coal, can accumulate on brick surfaces over time, detracting from their appearance and potentially posing a fire hazard if left unaddressed. In this comprehensive guide, we will explore the process of safely and efficiently removing creosote from brick, restoring the beauty and safety of your living space.
Creosote buildup on brick surfaces not only diminishes their aesthetic appeal but also presents potential health and safety risks. As creosote is highly flammable, its presence on brick surfaces, particularly those near fireplaces or stoves, can increase the likelihood of a dangerous chimney fire. Additionally, the acidic nature of creosote can cause corrosion and deterioration of the brick and mortar, compromising the structural integrity of the masonry. Therefore, regular cleaning and maintenance are essential to preserve the longevity and safety of brick surfaces in your home.
In the following sections, we will delve into the nuances of understanding creosote, the necessary tools and materials for cleaning, precautions to ensure safety, and a step-by-step guide to effectively remove creosote from brick surfaces. By following these instructions and recommendations, you can rejuvenate your brick surfaces, enhance the safety of your living environment, and prolong the lifespan of your masonry. Let's embark on this journey to restore the natural beauty and integrity of your brick surfaces while ensuring a safe and inviting living space for you and your loved ones.
Key Takeaways:
- Removing creosote from brick requires safety gear, a stiff-bristled brush, creosote cleaner, and a water source. Scrubbing and rinsing thoroughly restores the brick’s beauty and prevents fire hazards.
- Understanding creosote types and applying the right cleaning solution is crucial. Scrubbing the brick surfaces with precision and ensuring thorough rinsing and drying results in pristine, safe, and visually appealing brick surfaces.
Read more: How To Dispose Creosote From Chimney
Understanding Creosote
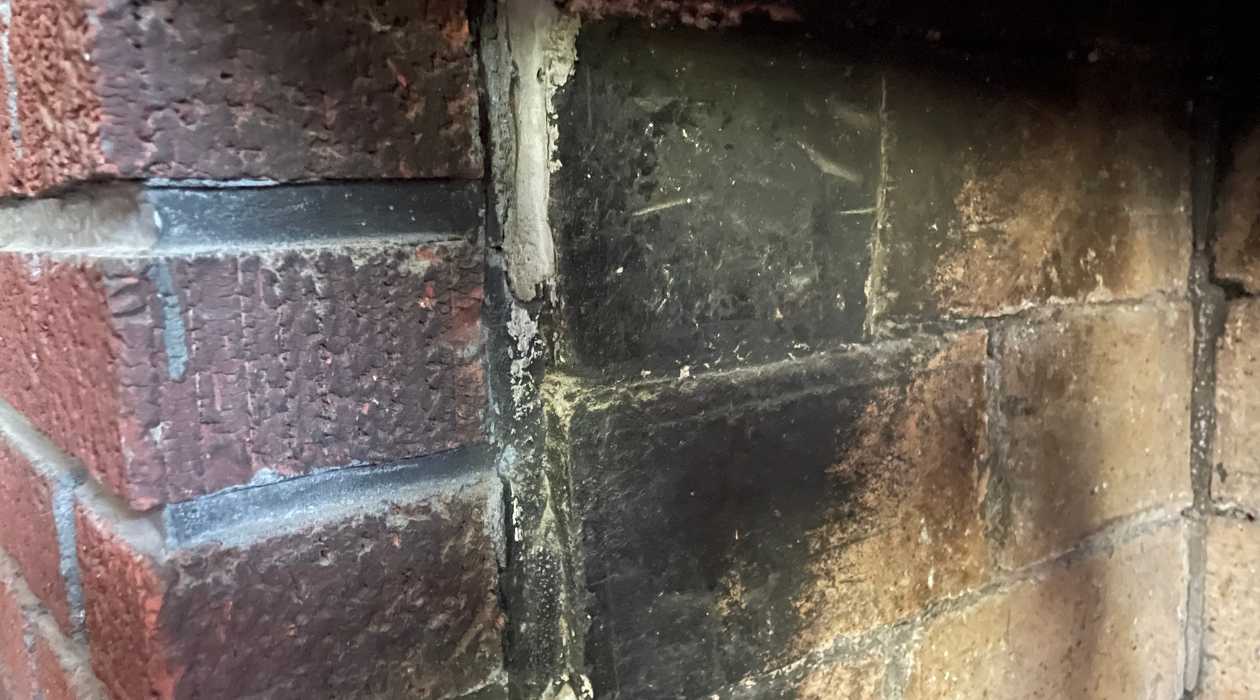
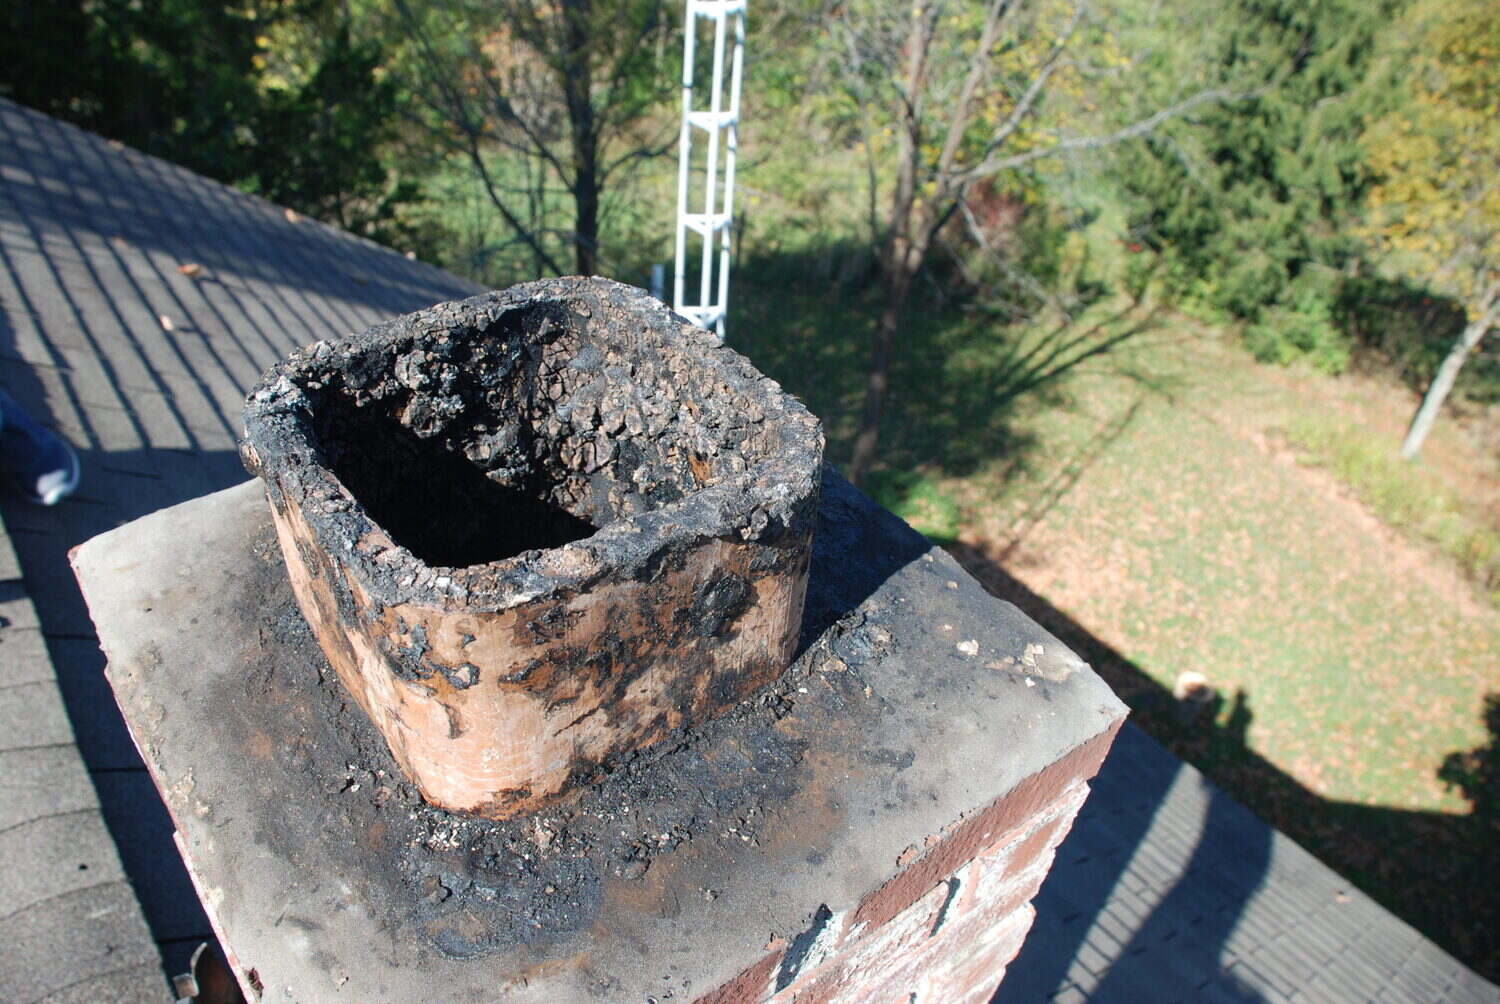
Creosote is a dark, tar-like substance that can accumulate on the interior surfaces of chimneys, fireplaces, and wood-burning stoves. It is formed through the incomplete combustion of wood or coal, resulting in the deposition of volatile by-products and soot on the surrounding brick and masonry. Creosote can take on various forms, including flaky deposits, sticky tar-like residues, or hardened glazed coatings, all of which pose unique challenges when it comes to cleaning and removal.
There are three primary classifications of creosote, each with distinct characteristics and implications for cleaning:
- First-degree creosote: This type of creosote is relatively easy to clean, often appearing as a fine, powdery substance. It is primarily composed of soot and ash, making it less adhesive and more readily removable from brick surfaces.
- Second-degree creosote: As creosote buildup progresses, it can transform into a more challenging form known as second-degree creosote. This type exhibits a stickier, tar-like consistency, requiring more thorough cleaning methods to effectively remove it from brick and masonry surfaces.
- Third-degree creosote: The most complex and hazardous form of creosote, third-degree creosote is characterized by a hardened, glazed appearance, often with a shiny or crystalline texture. This hardened residue poses significant challenges for cleaning and may necessitate professional intervention to ensure complete removal.
Understanding the nature of the creosote present on your brick surfaces is crucial for determining the most appropriate cleaning approach. Additionally, the level of creosote buildup and the frequency of cleaning can impact the overall effectiveness of the cleaning process. By identifying the type and extent of creosote accumulation, you can tailor your cleaning strategy to achieve optimal results while mitigating potential risks associated with creosote exposure and fire hazards.
As we proceed to explore the tools, materials, and techniques for cleaning creosote from brick, it is essential to recognize the significance of adapting our approach to the specific characteristics of the creosote present. With a comprehensive understanding of creosote and its implications, we can embark on the cleaning process with confidence and precision, ensuring the restoration of your brick surfaces to their pristine condition.
Tools and Materials Needed
Before initiating the process of cleaning creosote from brick surfaces, it is essential to gather the necessary tools and materials to facilitate a thorough and effective cleaning endeavor. Equipping yourself with the right implements will streamline the cleaning process and contribute to achieving optimal results while ensuring safety and precision.
The following tools and materials are indispensable for cleaning creosote from brick:
- Protective Gear: Prioritize safety by wearing protective gear, including gloves, safety goggles, and a dust mask or respirator. This will safeguard you from potential skin irritation, eye exposure to particles, and inhalation of airborne residues during the cleaning process.
- Stiff-Bristled Brush: Select a high-quality stiff-bristled brush suitable for masonry surfaces. The bristles should be robust enough to dislodge creosote deposits effectively without causing damage to the underlying brick.
- Creosote Cleaner or Solvent: Choose a specialized creosote cleaner or solvent designed for masonry applications. These products are formulated to break down and dissolve creosote, facilitating its removal from brick surfaces.
- Bucket: A sturdy bucket will be essential for preparing the cleaning solution and transporting water for rinsing the brick surfaces after cleaning.
- Protective Tarp or Drop Cloth: Lay down a protective tarp or drop cloth to shield the surrounding area from potential drips or spills during the cleaning process, minimizing the risk of staining or damage to adjacent surfaces.
- Water Source: Ensure access to a nearby water source, such as a hose or large container of water, for rinsing the brick surfaces thoroughly after cleaning.
- Ladder or Scaffolding: If the brick surfaces to be cleaned are located at elevated positions, a secure and stable ladder or scaffolding will be necessary to facilitate safe access for thorough cleaning.
- Old Towels or Rags: Have an ample supply of old towels or rags on hand to absorb excess water and aid in drying the cleaned brick surfaces.
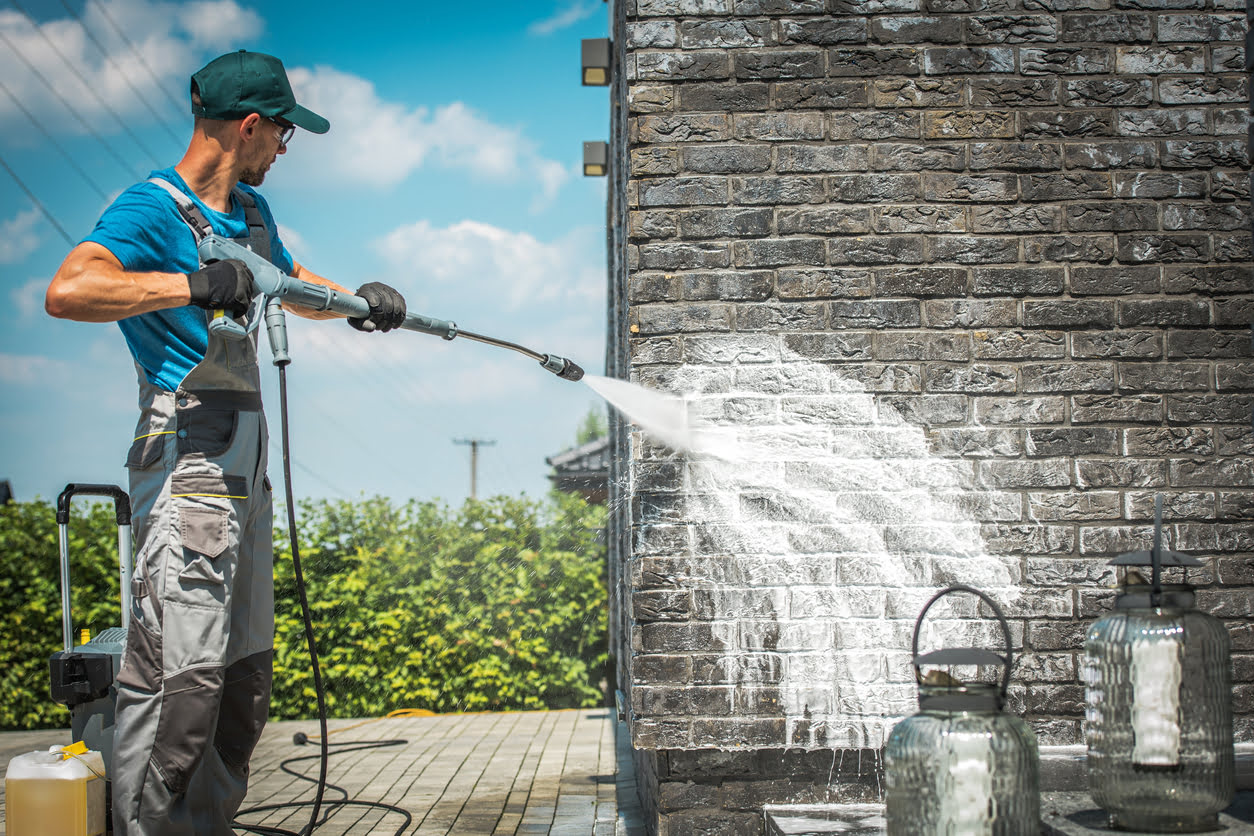
- Optional: Pressure Washer (with low-pressure nozzle): In some cases, a pressure washer with a low-pressure or wide-spray nozzle may be utilized for rinsing brick surfaces, particularly for larger areas or stubborn creosote deposits. Exercise caution to avoid excessive pressure that could damage the brick or force water into crevices.
By ensuring that you have the requisite tools and materials readily available, you can embark on the creosote cleaning process with confidence and efficiency. These provisions will not only facilitate the removal of creosote from brick surfaces but also contribute to maintaining a safe and organized work environment throughout the cleaning endeavor.
Precautions
Prior to initiating the cleaning process to remove creosote from brick surfaces, it is imperative to observe essential precautions to ensure personal safety, protect the surrounding environment, and minimize potential risks associated with creosote exposure. By adhering to these precautions, you can mitigate hazards and optimize the effectiveness of the cleaning endeavor while safeguarding the integrity of your living space.
The following precautions should be diligently observed when cleaning creosote from brick:
- Protective Gear: Prioritize personal safety by wearing appropriate protective gear, including heavy-duty gloves, safety goggles, and a dust mask or respirator. These measures will shield you from potential skin irritation, eye exposure to airborne particles, and inhalation of creosote residues during the cleaning process.
- Ventilation: Ensure adequate ventilation in the cleaning area by opening windows and doors to facilitate air circulation. This will help dissipate airborne particles and fumes, reducing the concentration of potentially harmful substances in the vicinity.
- Containment: Implement measures to contain and minimize the spread of creosote residues and cleaning solutions. Lay down a protective tarp or drop cloth to shield adjacent surfaces and flooring from potential drips or spills, preventing staining and damage.
- Fire Prevention: Exercise caution to prevent the risk of fire during the cleaning process. Avoid using open flames, such as candles or smoking materials, in the vicinity of creosote residues, as they are highly flammable and can pose a significant fire hazard.
- Water Source: Ensure ready access to a water source, such as a hose or large container of water, for rinsing the brick surfaces after cleaning. Adequate water availability is essential for effectively diluting and removing cleaning solutions and residual creosote from the masonry surfaces.
- Stability and Support: If cleaning elevated brick surfaces, such as chimney exteriors, ensure the stability and secure positioning of ladders or scaffolding. Exercise caution to prevent falls or accidents, and enlist assistance if necessary to maintain stability and support while working at heights.
- Disposal: Properly dispose of used cleaning materials, towels, and rags that may be contaminated with creosote residues. Follow local regulations and guidelines for the safe disposal of cleaning waste to minimize environmental impact.
By conscientiously adhering to these precautions, you can mitigate potential risks and ensure a safe and controlled environment for cleaning creosote from brick surfaces. These measures not only prioritize personal safety and environmental protection but also contribute to the successful and efficient completion of the cleaning process, allowing you to restore the natural beauty and integrity of your brick surfaces with confidence and peace of mind.
Step 1: Removing Loose Creosote
Prior to applying any cleaning solutions or undertaking vigorous scrubbing, it is essential to address loose or friable creosote deposits that may be clinging to the brick surfaces. This initial step focuses on dislodging and removing easily accessible creosote particles and debris to prepare the surfaces for more intensive cleaning.
The following approach can be employed to remove loose creosote from brick surfaces:
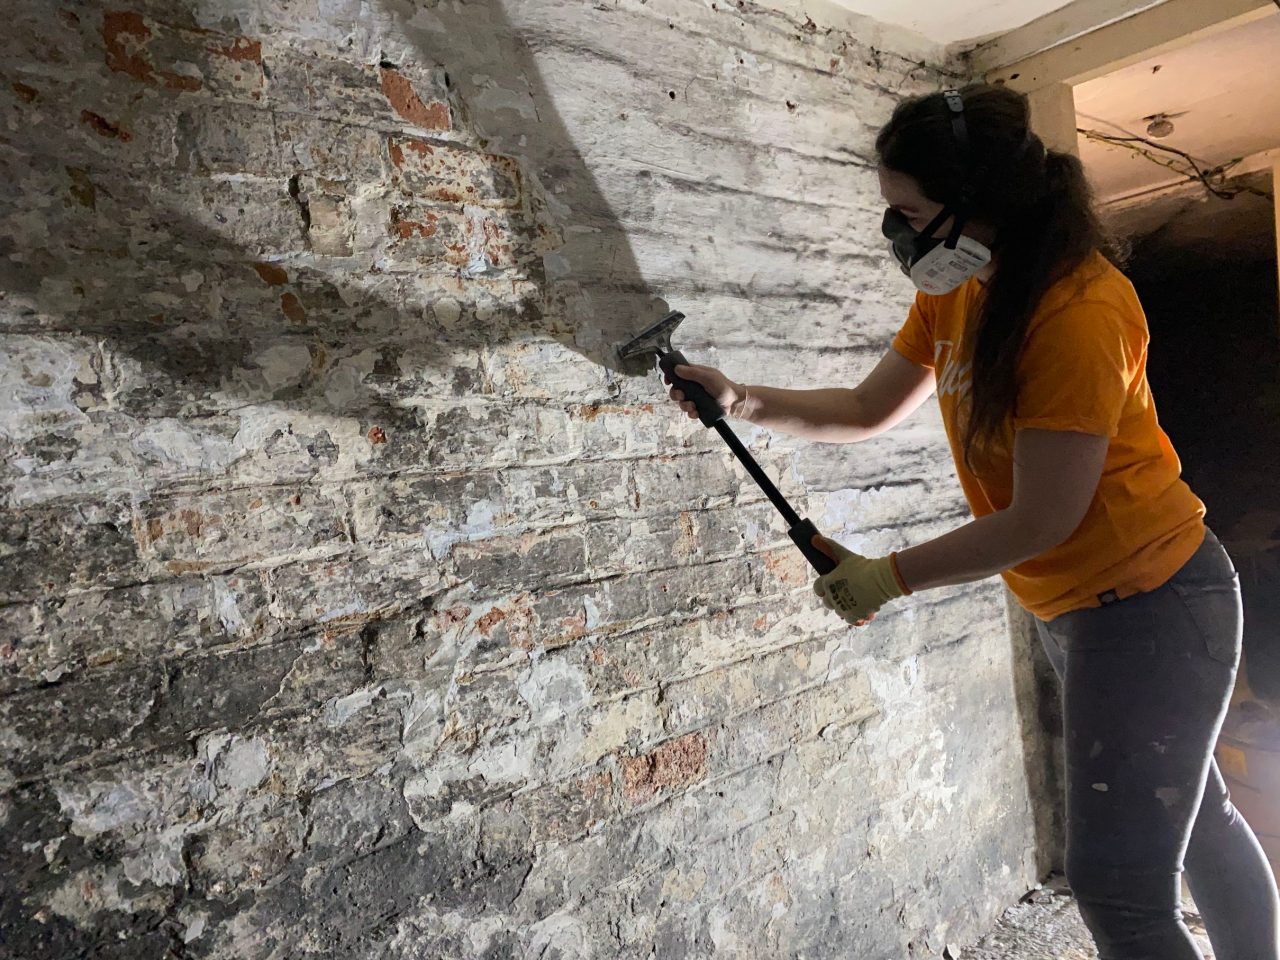
- Use of a Stiff-Bristled Brush: Begin by utilizing a stiff-bristled brush to gently agitate and dislodge loose creosote particles from the brick. Employ light to moderate pressure, ensuring that the bristles effectively loosen the creosote without causing damage to the underlying masonry.
- Vertical Brushing Motion: When addressing chimney interiors or vertical brick surfaces, employ a vertical brushing motion to dislodge and disperse loose creosote downward. This technique helps prevent the resettling of dislodged particles on cleaned areas, facilitating more thorough removal.
- Horizontal Brushing Motion: For horizontal brick surfaces, such as fireplace hearths or mantels, utilize a horizontal brushing motion to dislodge and collect loose creosote particles. This approach aids in containing the debris and preventing it from spreading to adjacent areas.
- Collection and Disposal: As loose creosote particles are dislodged, use a vacuum with a HEPA filter or a dustpan and brush to collect and dispose of the debris. Ensure proper containment and disposal of the collected creosote particles to prevent recontamination of cleaned surfaces.
By diligently removing loose creosote deposits from the brick surfaces, you can create a cleaner foundation for subsequent cleaning steps, allowing for more effective penetration of cleaning solutions and targeted removal of adhered creosote residues. This preparatory phase sets the stage for comprehensive creosote removal and contributes to achieving optimal cleaning outcomes for your brick surfaces.
To clean creosote from brick, mix equal parts of water and white vinegar in a spray bottle. Spray the affected area and scrub with a stiff brush. Rinse with water and repeat if necessary.
Read more: How To Clean Dirty Brick
Step 2: Applying the Cleaning Solution
Once loose creosote particles have been addressed, the next crucial step in the cleaning process involves the application of a specialized cleaning solution to effectively break down and dissolve adhered creosote residues on the brick surfaces. The selection of an appropriate cleaning solution and the meticulous application thereof are essential for achieving thorough and efficient removal of creosote deposits.
The following guidelines outline the process of applying the cleaning solution to brick surfaces:
- Selecting a Suitable Cleaner: Choose a creosote cleaner or solvent specifically formulated for masonry applications. These cleaners are designed to target and dissolve creosote, facilitating its removal from brick surfaces while minimizing potential damage to the masonry.
- Dilution and Preparation: Dilute the cleaning solution according to the manufacturer’s instructions, ensuring the appropriate ratio of cleaner to water for optimal effectiveness. Prepare the solution in a sturdy bucket, following all safety guidelines and precautions provided with the cleaning product.
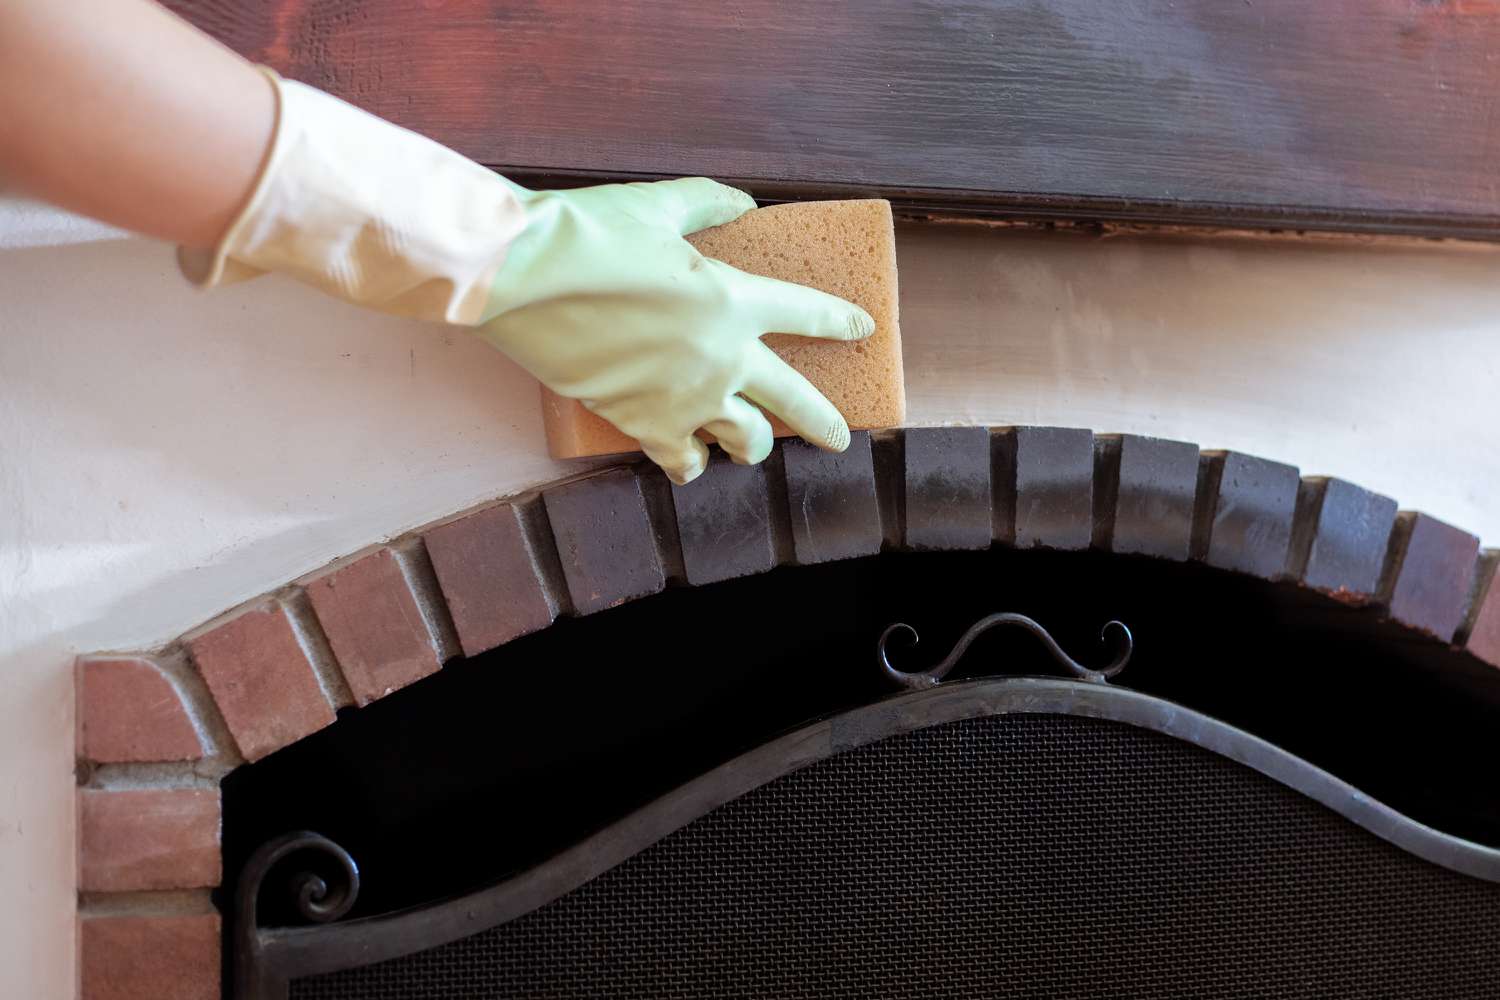
- Application Method: Utilize a spray bottle, sponge, or brush to apply the cleaning solution evenly across the brick surfaces. Ensure thorough coverage of the affected areas, allowing the solution to penetrate creosote residues and initiate the breakdown process.
- Dwell Time: Allow the cleaning solution to dwell on the brick surfaces for the specified duration recommended by the product manufacturer. This dwell time enables the solution to effectively penetrate and loosen adhered creosote, preparing it for subsequent removal.
- Protective Measures: During the application of the cleaning solution, adhere to safety precautions by wearing protective gloves and safety goggles to prevent skin contact and eye exposure. Additionally, ensure adequate ventilation in the cleaning area to minimize inhalation of fumes.
- Spot Testing: Prior to widespread application, conduct a spot test of the cleaning solution on a discreet area of the brick to assess its compatibility and potential impact on the masonry surface. This precautionary measure helps avoid unintended damage and ensures the suitability of the cleaner for the specific brick composition.
By meticulously applying the appropriate cleaning solution to the brick surfaces and adhering to the recommended guidelines, you can initiate the process of breaking down and loosening adhered creosote residues, setting the stage for the subsequent removal and restoration of the brick surfaces. This pivotal step paves the way for comprehensive creosote cleaning and contributes to the revitalization of your living space.
Step 3: Scrubbing the Brick
Following the application of the cleaning solution and the designated dwell time to facilitate the breakdown of creosote residues, the subsequent step entails thorough scrubbing of the brick surfaces to dislodge and remove the loosened creosote deposits. This pivotal phase of the cleaning process focuses on employing effective scrubbing techniques to agitate and eliminate the dissolved creosote, restoring the natural luster and cleanliness of the brick.
The following approach can be employed for scrubbing the brick surfaces to remove creosote:
- Utilize a Stiff-Bristled Brush: Select a high-quality stiff-bristled brush suitable for masonry surfaces. The robust bristles of the brush are essential for effectively dislodging and agitating the dissolved creosote residues, allowing for thorough cleaning without causing damage to the underlying brick.
- Focused Scrubbing Motion: Employ a targeted scrubbing motion, concentrating on areas where creosote buildup is prominent. Apply moderate pressure while scrubbing to ensure the effective removal of dissolved creosote without compromising the integrity of the brick surfaces.
- Vertical and Horizontal Scrubbing: Adapt the scrubbing motion to the orientation of the brick surfaces. For vertical areas, such as chimney interiors, utilize a vertical scrubbing motion to dislodge and disperse creosote residues downward. Similarly, employ a horizontal scrubbing motion for flat or inclined surfaces to achieve comprehensive cleaning.
- Persistence and Precision: Thoroughly scrub the brick surfaces, paying particular attention to areas with stubborn or concentrated creosote deposits. Exercise persistence and precision to ensure that all dissolved creosote residues are effectively agitated and dislodged, contributing to a pristine and rejuvenated appearance.
- Intermittent Rinsing: Periodically rinse the scrubbed areas with water to remove dislodged creosote residues and assess the progress of the cleaning process. This intermittent rinsing aids in evaluating the effectiveness of the scrubbing and identifying areas that may require additional attention.
By diligently employing effective scrubbing techniques, you can systematically dislodge and eliminate dissolved creosote residues from the brick surfaces, unveiling the inherent beauty and cleanliness of the masonry. This meticulous scrubbing phase plays a pivotal role in the comprehensive removal of creosote, contributing to the restoration and revitalization of your brick surfaces.
Step 4: Rinsing and Drying
Upon completing the thorough scrubbing of the brick surfaces to remove dissolved creosote residues, the final steps of the cleaning process involve comprehensive rinsing and drying procedures to ensure the complete removal of cleaning solutions and residual creosote, as well as the restoration of the pristine appearance of the masonry. Proper rinsing and drying are essential for achieving impeccable results and preserving the integrity of the brick surfaces.
The following guidelines outline the rinsing and drying process for cleaned brick surfaces:
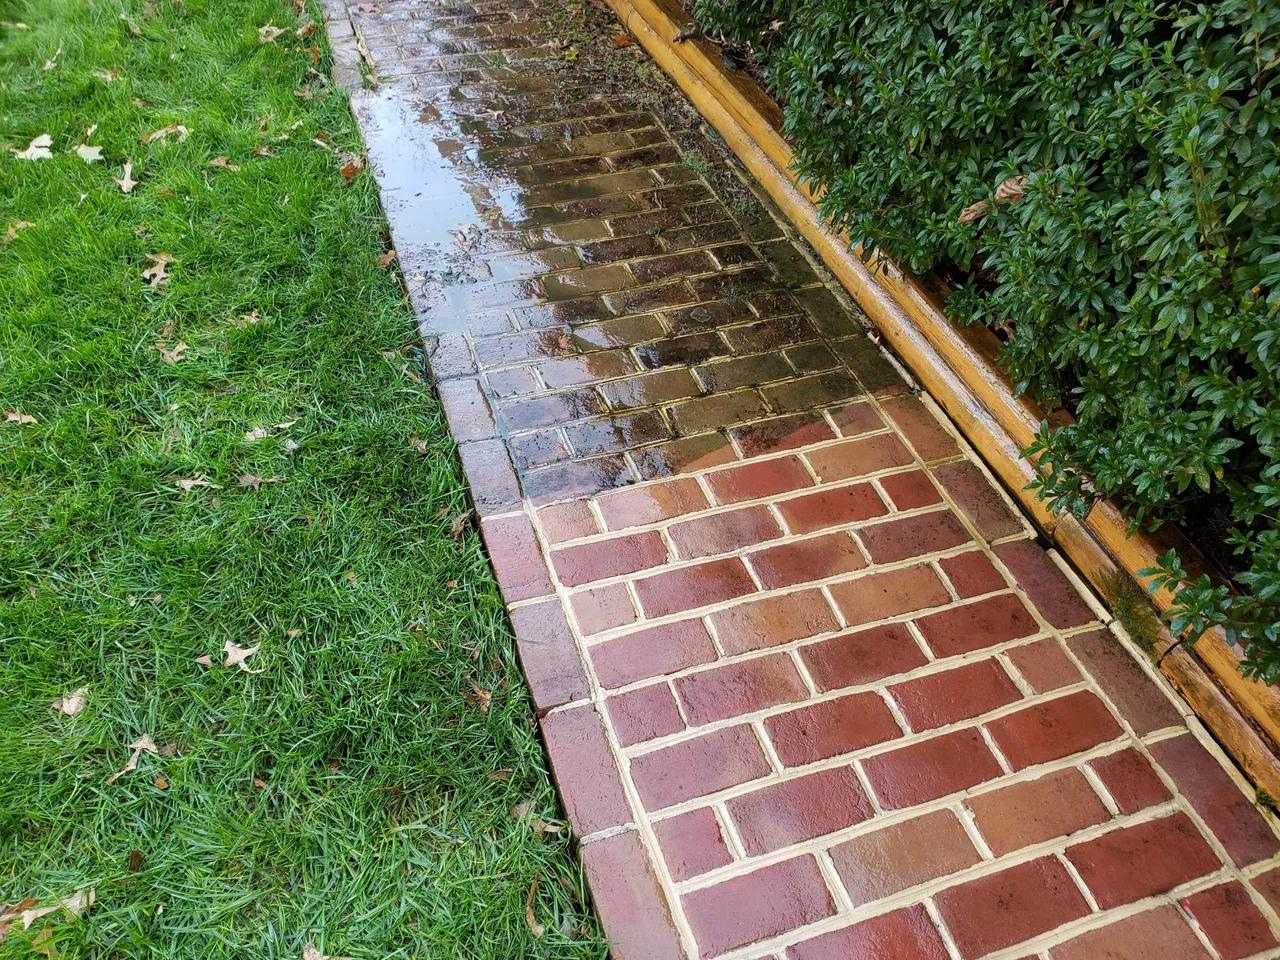
- Generous Water Rinsing: Utilize a steady stream of water, such as from a hose or a bucket, to thoroughly rinse the scrubbed brick surfaces. Ensure comprehensive coverage, allowing the water to effectively disperse and remove residual cleaning solutions, dissolved creosote, and dislodged debris from the masonry.
- Assessment of Cleanliness: As you rinse the brick surfaces, assess the cleanliness and clarity of the water runoff to gauge the thoroughness of the rinsing process. Continue rinsing until the water runoff appears clear and free from visible residues, indicating the successful removal of cleaning solutions and creosote remnants.
- Absorption of Excess Water: Following the rinsing process, utilize old towels or rags to absorb excess water from the cleaned brick surfaces. Thoroughly pat and wipe the surfaces to expedite the drying process and prevent water spots or streaks from marring the appearance of the masonry.
- Natural Air Drying: Allow the rinsed brick surfaces to air dry naturally, facilitating the evaporation of residual moisture and the restoration of the brick’s inherent texture and color. Adequate ventilation in the cleaning area will expedite the drying process and promote uniform drying across the treated surfaces.
- Assessment of Results: Once the brick surfaces have dried, conduct a visual assessment to ensure the complete removal of creosote residues and the restoration of the masonry’s original appearance. Verify that the surfaces are free from streaks, water spots, or residual cleaning solutions, signifying the successful completion of the cleaning process.
By meticulously executing the rinsing and drying procedures, you can achieve impeccably clean and revitalized brick surfaces, free from creosote residues and residual cleaning solutions. This final phase of the cleaning process culminates in the restoration of the natural beauty and integrity of the masonry, ensuring a pristine and inviting living environment for your enjoyment.
Conclusion
Embarking on the journey to clean creosote from brick surfaces is a transformative endeavor that not only rejuvenates the aesthetic appeal of your living space but also prioritizes safety and structural integrity. By navigating through the comprehensive process of understanding creosote, gathering the necessary tools and materials, observing essential precautions, and executing the step-by-step cleaning methodology, you have embarked on a mission to restore the natural beauty and cleanliness of your brick surfaces while safeguarding your home from potential fire hazards and structural deterioration.
As you have discovered, the successful removal of creosote from brick entails meticulous attention to detail, adherence to safety protocols, and the utilization of effective cleaning techniques. By addressing loose creosote, applying specialized cleaning solutions, diligently scrubbing the brick surfaces, and meticulously rinsing and drying, you have contributed to the preservation and revitalization of your masonry, ensuring its longevity and visual allure for years to come.
Through your dedication to this cleaning endeavor, you have not only achieved the removal of creosote but also cultivated a deeper understanding of the importance of regular maintenance and care for your brick surfaces. By integrating these practices into your home maintenance routine, you can proactively safeguard your living environment, enhance its visual appeal, and promote the enduring beauty and functionality of your brick surfaces.
As you revel in the pristine cleanliness and renewed vibrancy of your brick, may this experience serve as a testament to the transformative power of attentive maintenance and the enduring allure of well-maintained masonry. Your commitment to preserving the integrity and beauty of your living space through the removal of creosote from brick surfaces exemplifies a profound dedication to creating a safe, inviting, and visually captivating home environment for yourself and your loved ones.
With the completion of this comprehensive cleaning journey, you have not only restored the natural splendor of your brick surfaces but also fortified the foundation of comfort and security within your home. Your conscientious efforts and meticulous attention to detail have yielded a space that exudes timeless elegance and exuberant vitality, setting the stage for cherished moments and enduring memories in the heart of your meticulously maintained abode.
Frequently Asked Questions about How To Clean Creosote From Brick
Was this page helpful?
At Storables.com, we guarantee accurate and reliable information. Our content, validated by Expert Board Contributors, is crafted following stringent Editorial Policies. We're committed to providing you with well-researched, expert-backed insights for all your informational needs.



0 thoughts on “How To Clean Creosote From Brick”