Home>Construction & Tools>Building Materials>How To Remove Shutters From Brick
Building Materials
How To Remove Shutters From Brick
Modified: January 24, 2024
Learn how to remove shutters from brick without damaging the building materials. Follow our step-by-step guide for a smooth and safe process.
(Many of the links in this article redirect to a specific reviewed product. Your purchase of these products through affiliate links helps to generate commission for Storables.com, at no extra cost. Learn more)
Introduction
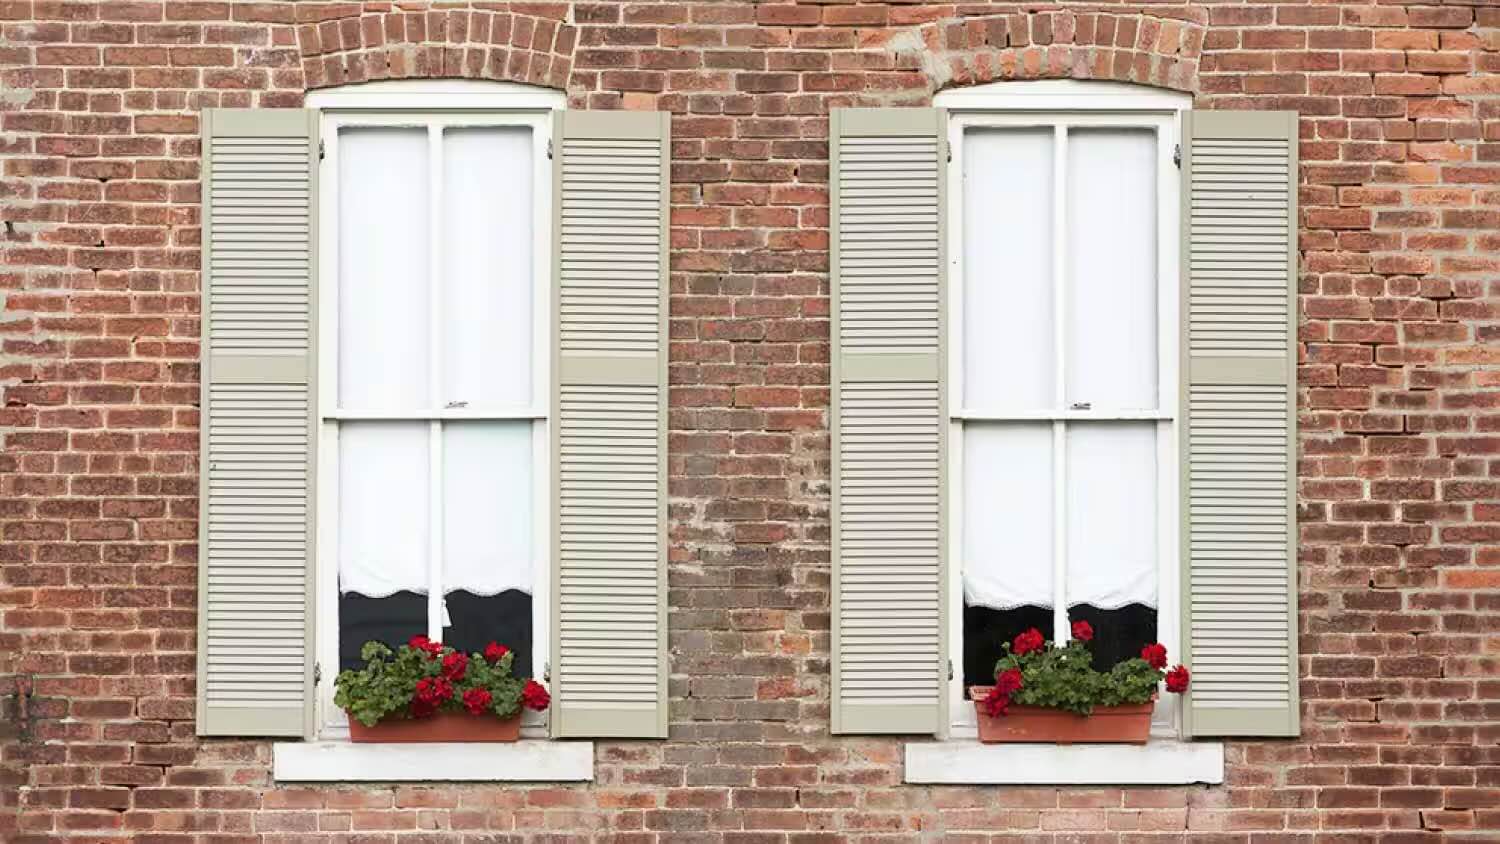
Is it time to give your home a fresh look? Perhaps you've decided to update the exterior by removing the old shutters from your brick façade. Whether you're preparing for a full renovation or simply seeking a change in aesthetic, removing shutters from brick doesn't have to be an intimidating task. With the right tools, a bit of patience, and a systematic approach, you can accomplish this project with ease.
In this comprehensive guide, we'll walk you through the step-by-step process of removing shutters from brick, providing valuable tips and insights along the way. By the end, you'll feel confident and empowered to tackle this task, knowing that you have the knowledge and skills to complete it successfully. So, gather your tools, roll up your sleeves, and let's get started on transforming the look of your home!
Key Takeaways:
- Removing shutters from brick is a manageable project with the right tools and approach. Prepare the work area, remove mounting screws, loosen the shutters, pry them off, and clean the brick surface for a successful transformation.
- By following the step-by-step process, you can confidently remove shutters from brick, enhancing your home’s exterior. Take pride in the accomplishment and use the knowledge gained to guide future home improvement endeavors.
Read more: How To Replace Shutters On A Brick House
Tools and Materials Needed
Before embarking on the project of removing shutters from brick, it’s essential to gather the necessary tools and materials. Here’s a comprehensive list of what you’ll need:
- Protective eyewear
- Work gloves
- Flathead screwdriver
- Phillips head screwdriver
- Putty knife
- Pry bar
- Power drill
- Masonry drill bit
- Wood filler
- Sandpaper
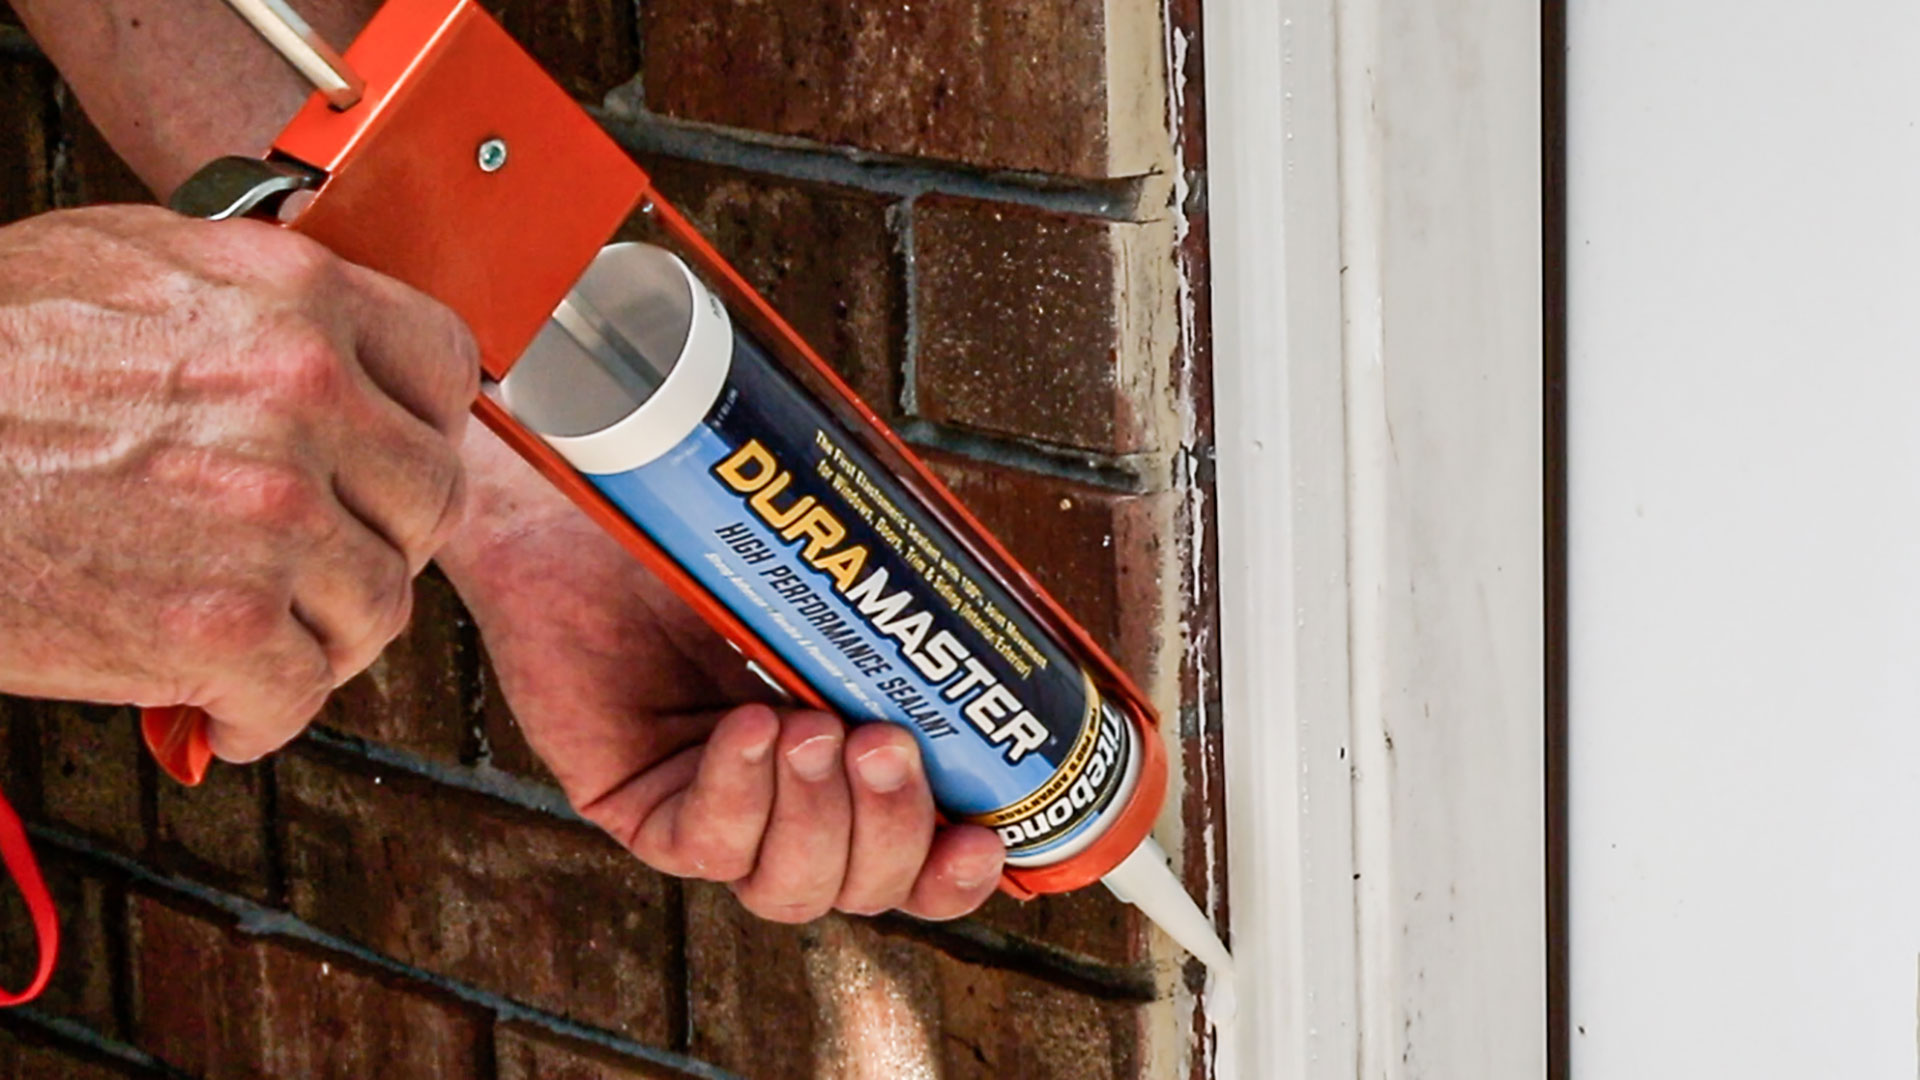
- Caulk
- Paint and primer (if planning to repaint the brick)
Additionally, ensure that you have a sturdy ladder and a safe, stable work surface to access the shutters. Safety should always be a top priority, so be sure to use proper safety gear and exercise caution when working at heights or with tools.
By having these tools and materials at your disposal, you’ll be well-prepared to carry out the shutter removal process efficiently and effectively.
Step 1: Prepare the Work Area
Before diving into the removal process, it’s crucial to prepare the work area to ensure a smooth and safe experience. Start by clearing any obstacles or debris around the base of the shutters. This creates a clear path for maneuvering and prevents tripping hazards during the removal process.
Next, lay down a drop cloth or tarp to protect the ground and surrounding area from any falling debris, such as screws or paint chips. If the shutters are located above delicate landscaping or flower beds, consider placing plywood or another protective barrier to shield these areas from potential damage.
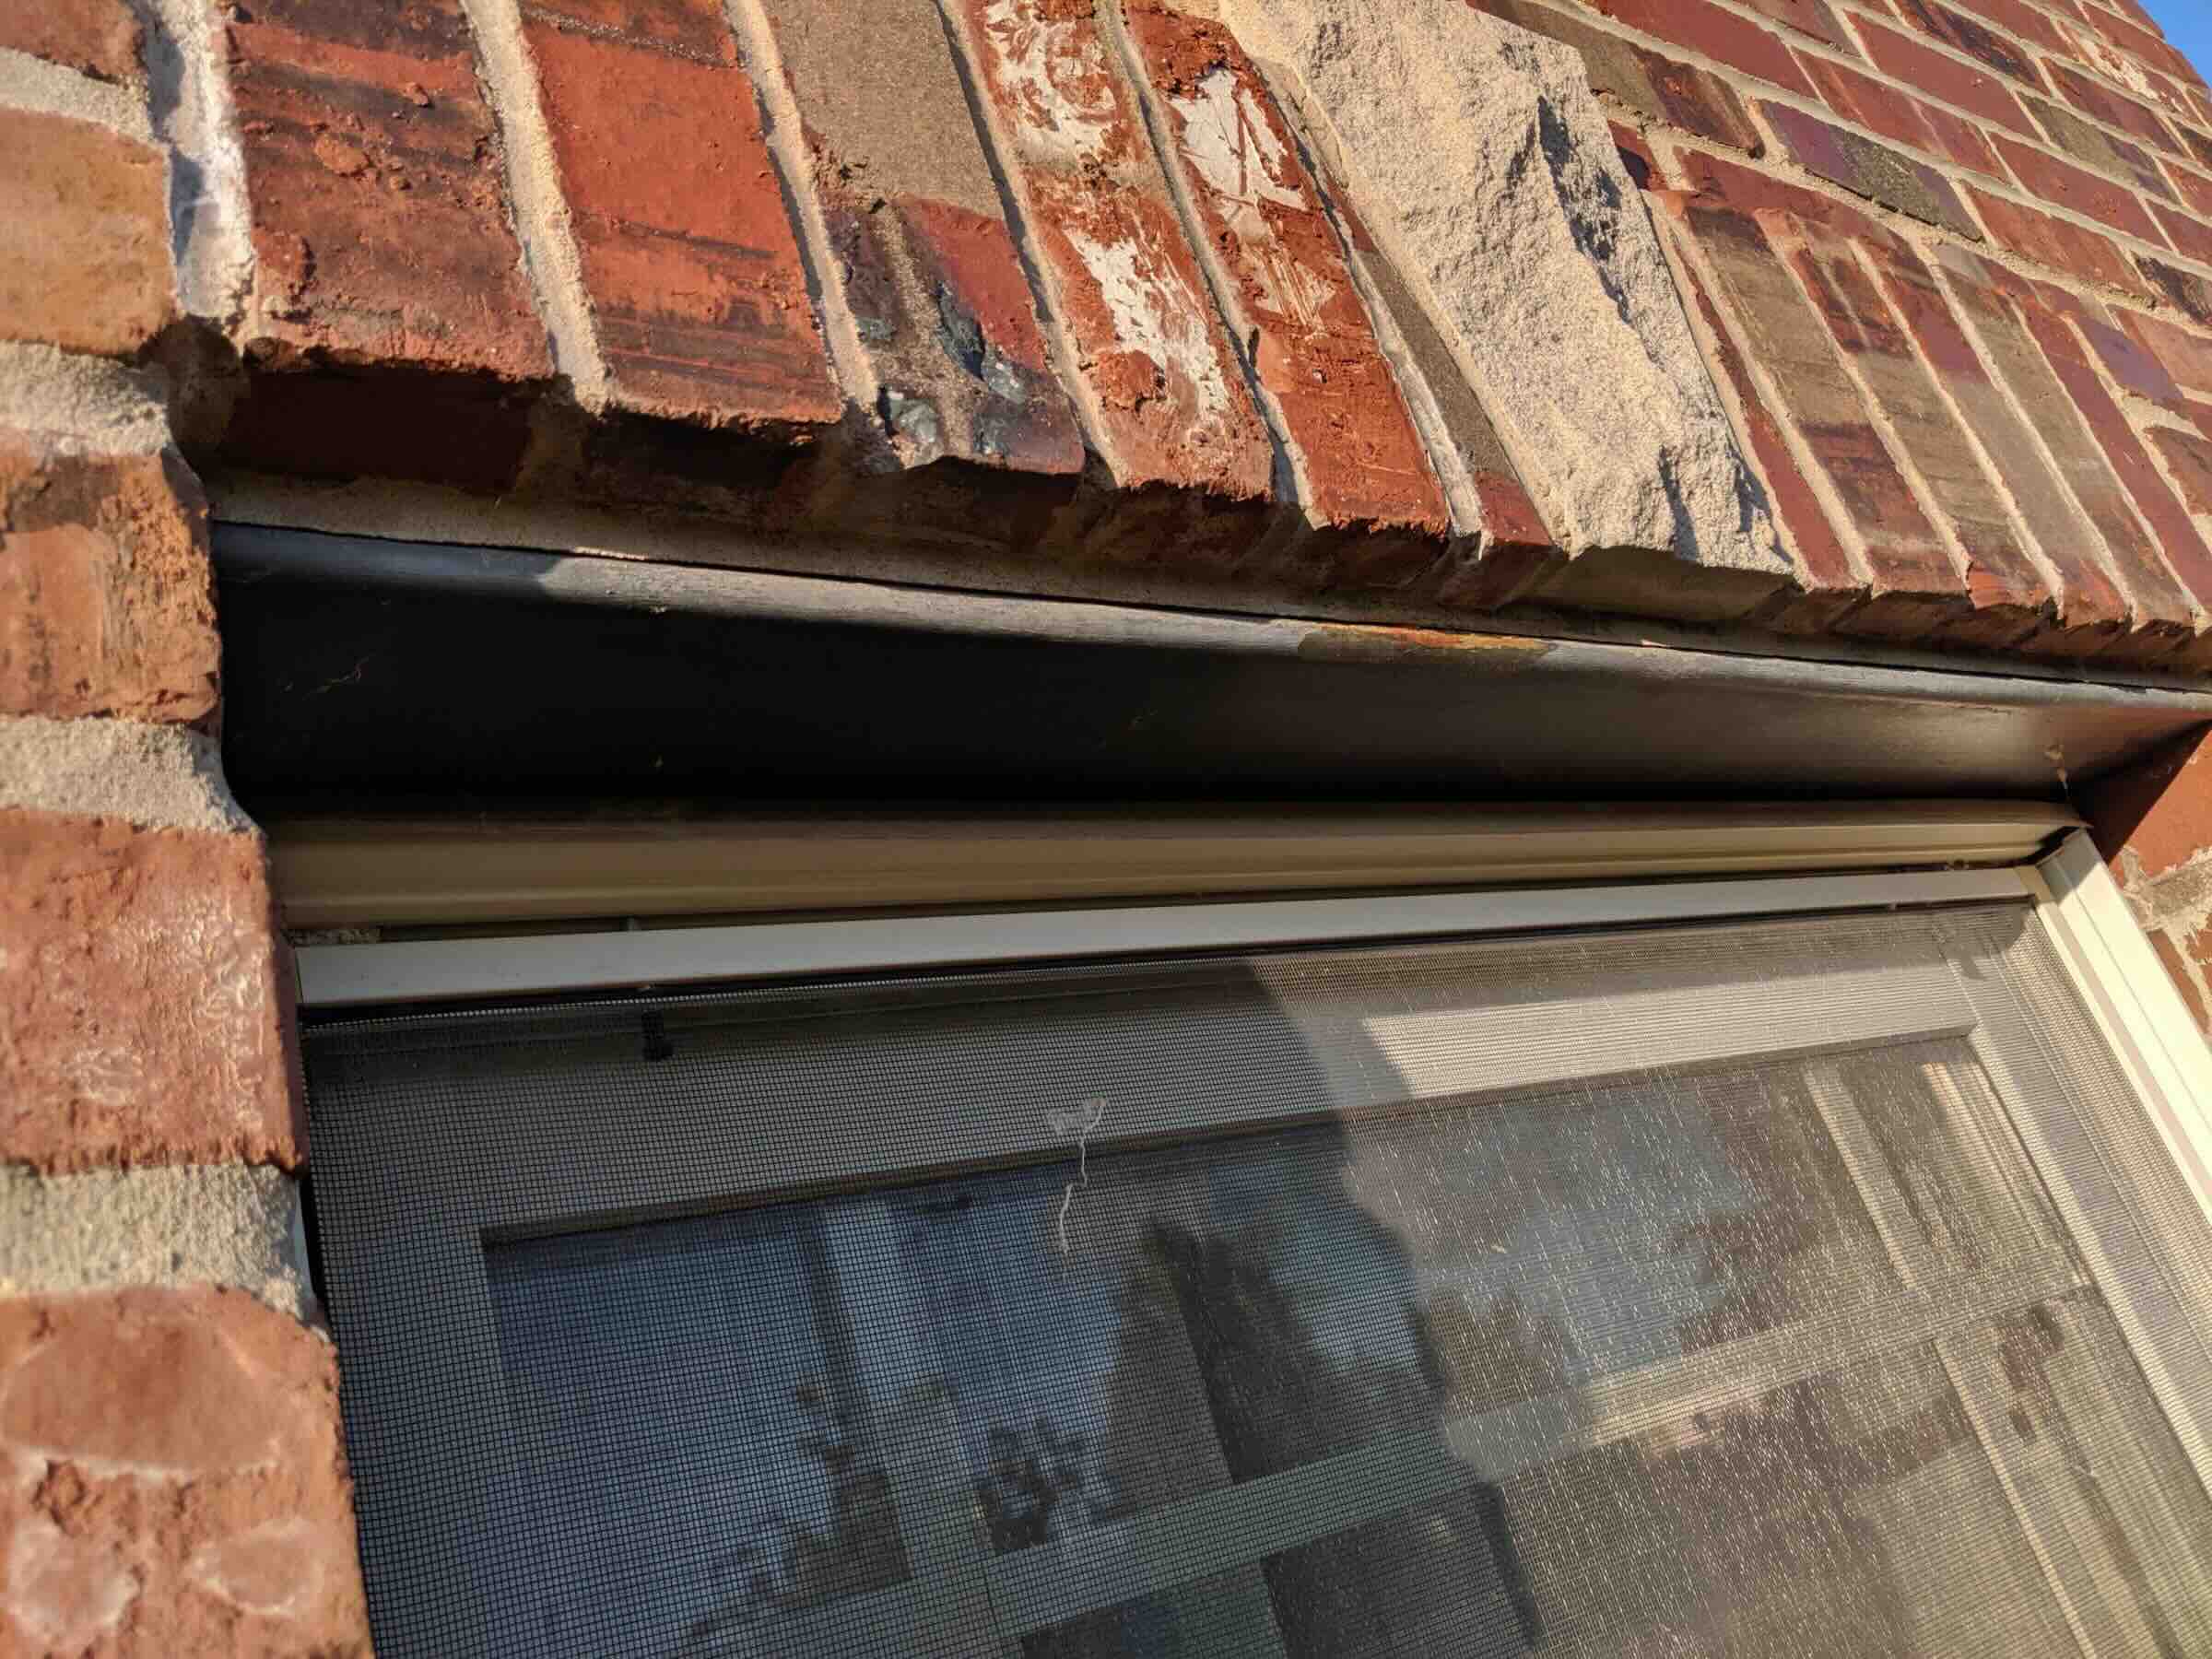
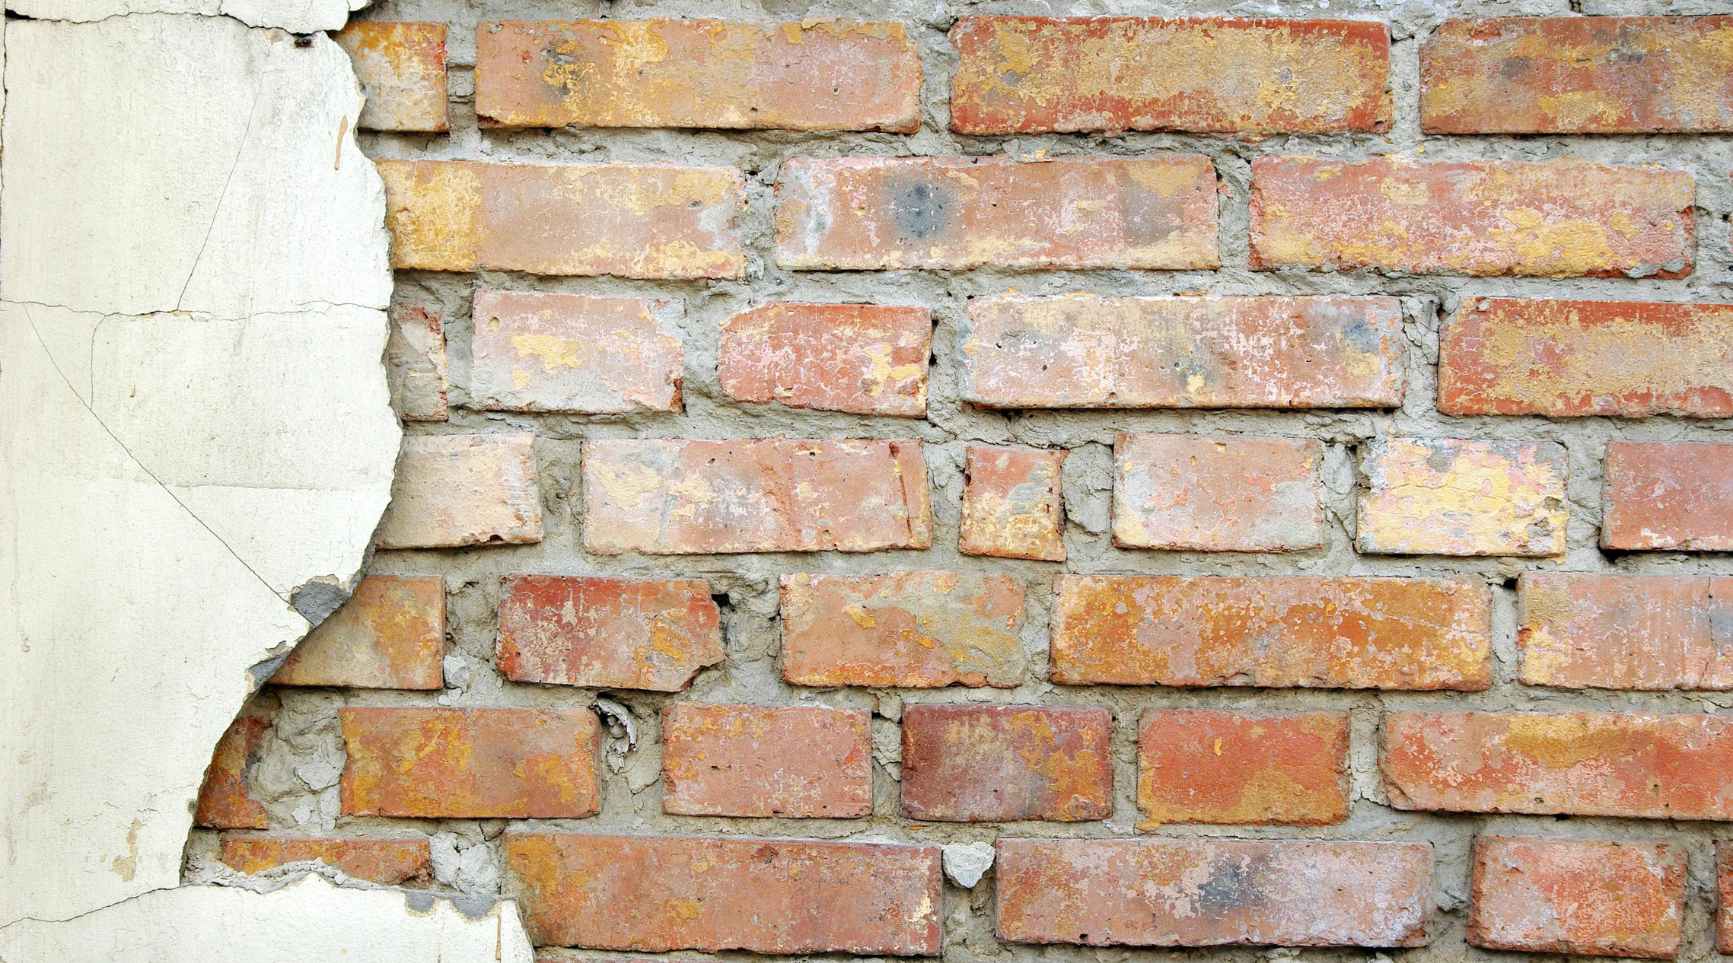
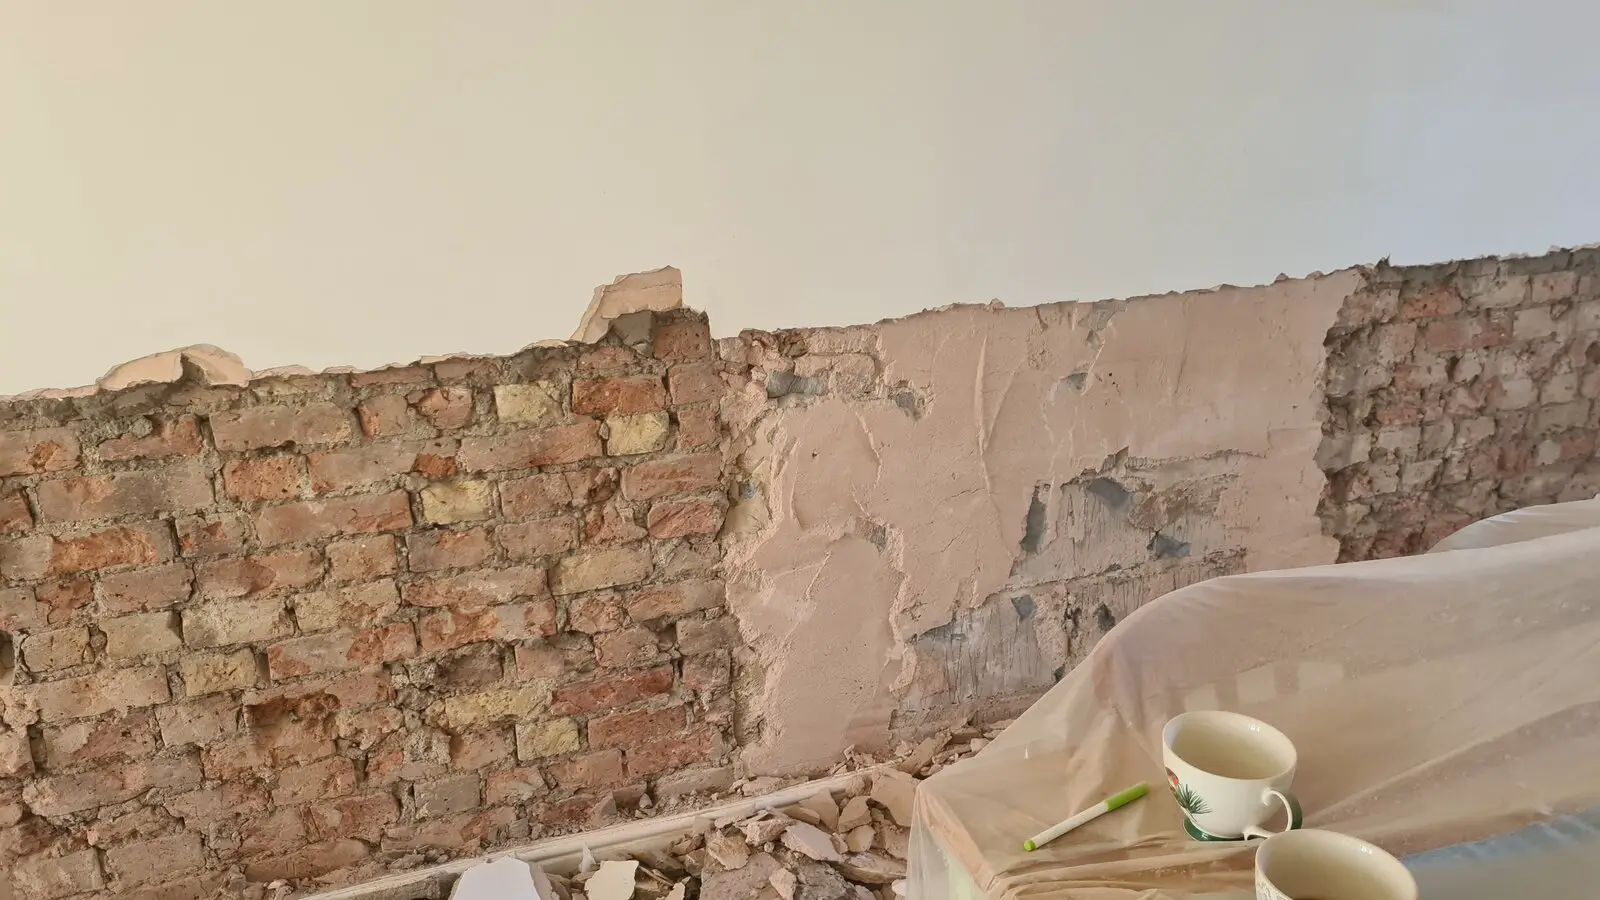
It’s also important to inspect the shutters and surrounding brick for any signs of damage or deterioration. Address any issues, such as loose bricks or cracks, before proceeding with the removal. This ensures that the underlying brick surface is in good condition and ready for any necessary repairs or refinishing once the shutters are removed.
Lastly, take the time to assess the weather conditions. It’s best to tackle this project on a dry, calm day to minimize potential safety risks and to allow for optimal working conditions. By taking these preparatory steps, you’ll set the stage for a successful shutter removal process and pave the way for the subsequent steps in this guide.
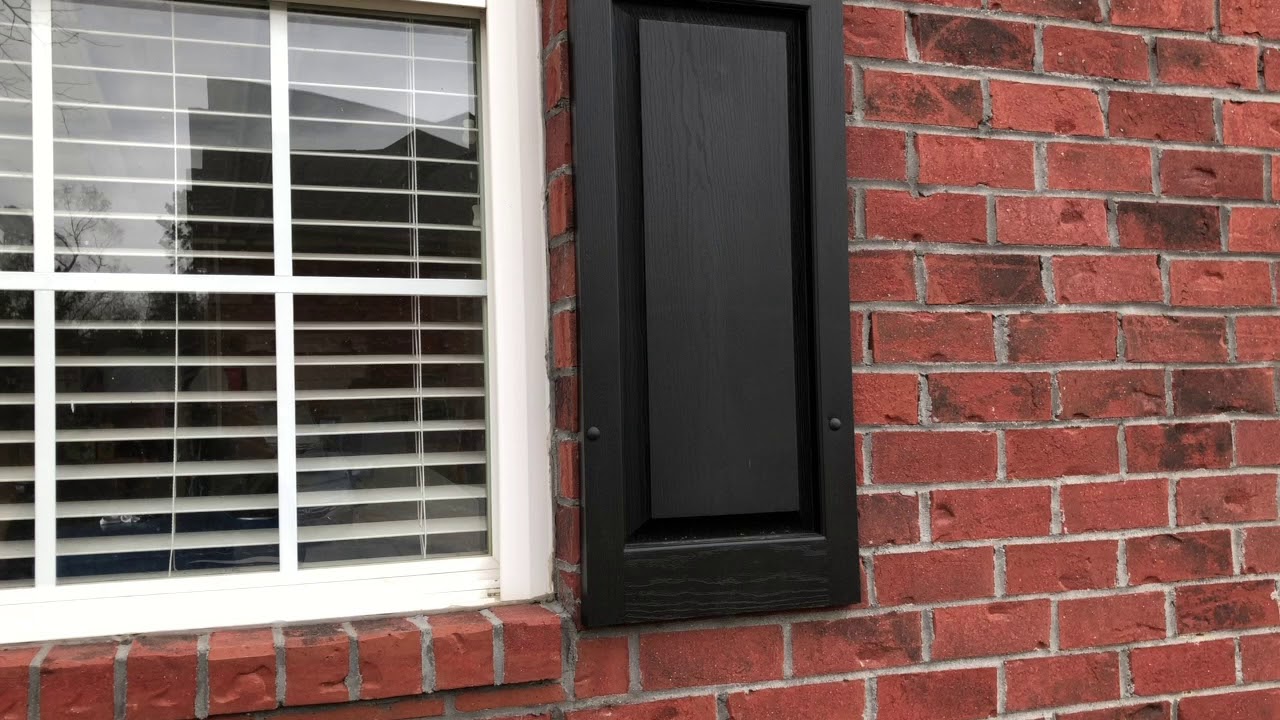
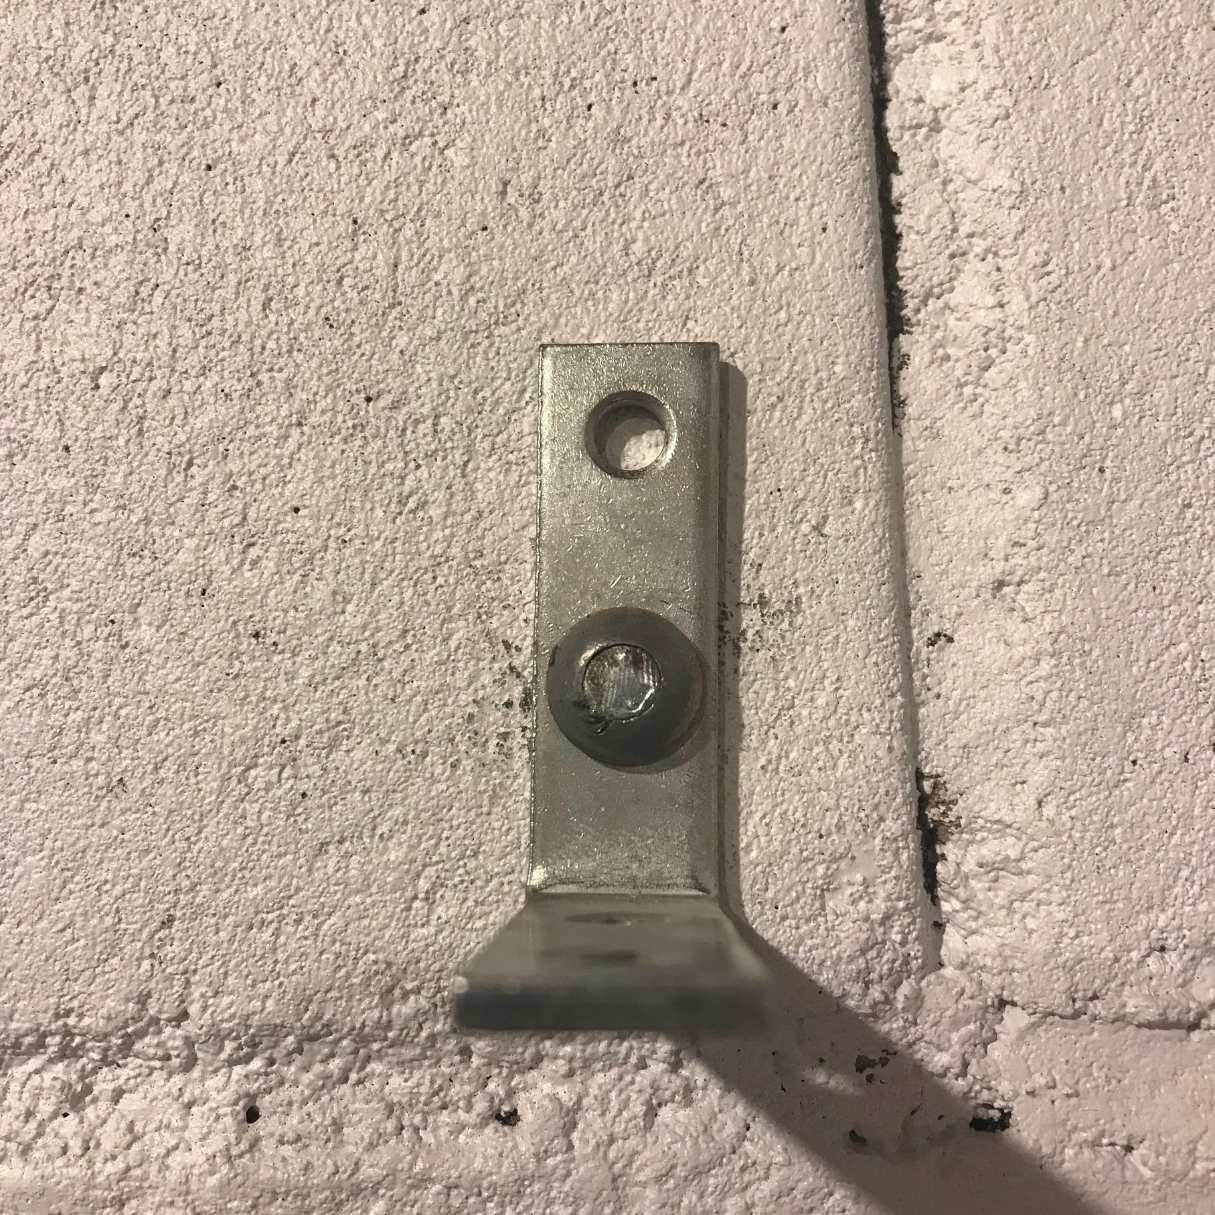
Step 2: Remove the Mounting Screws
With the work area prepared, it’s time to begin the removal process by focusing on the mounting screws that secure the shutters to the brick. Most exterior shutters are attached to the brick façade using screws, often located at the top, bottom, and possibly the middle of each shutter. Here’s how to proceed:
- Inspect and Locate the Screws: Carefully examine each shutter to locate the mounting screws. Depending on the design, the screws may be visible on the surface or concealed beneath a cover or plug.
- Use the Proper Screwdriver: Select the appropriate screwdriver based on the type of screw heads. Flathead or Phillips head screws are commonly used for attaching shutters. Ensure that the screwdriver tip fits snugly into the screw heads to prevent stripping or damaging the screws.
- Unscrew and Remove: Begin by loosening and removing the screws from each shutter. Work methodically, starting from the top and progressing downward. Keep the screws organized and set them aside in a secure location, as they may be reused when installing new shutters or for other purposes.
As you remove the mounting screws, be mindful of any potential rust or corrosion. If the screws are heavily rusted, consider using a penetrating oil or rust remover to facilitate their removal. Additionally, take note of any anchors or fasteners that may be embedded in the brick. These will need to be addressed in the subsequent steps of the removal process.
By carefully removing the mounting screws, you’ll effectively detach the shutters from the brick, setting the stage for the next phase of the removal process.
To remove shutters from brick, start by removing the screws or bolts holding them in place. Use a drill or screwdriver to carefully unscrew each fastener. Once the fasteners are removed, gently pull the shutters away from the brick. If there is any caulk or adhesive holding the shutters in place, use a putty knife to carefully pry them off. Be sure to patch any holes left behind with brick mortar or caulk.
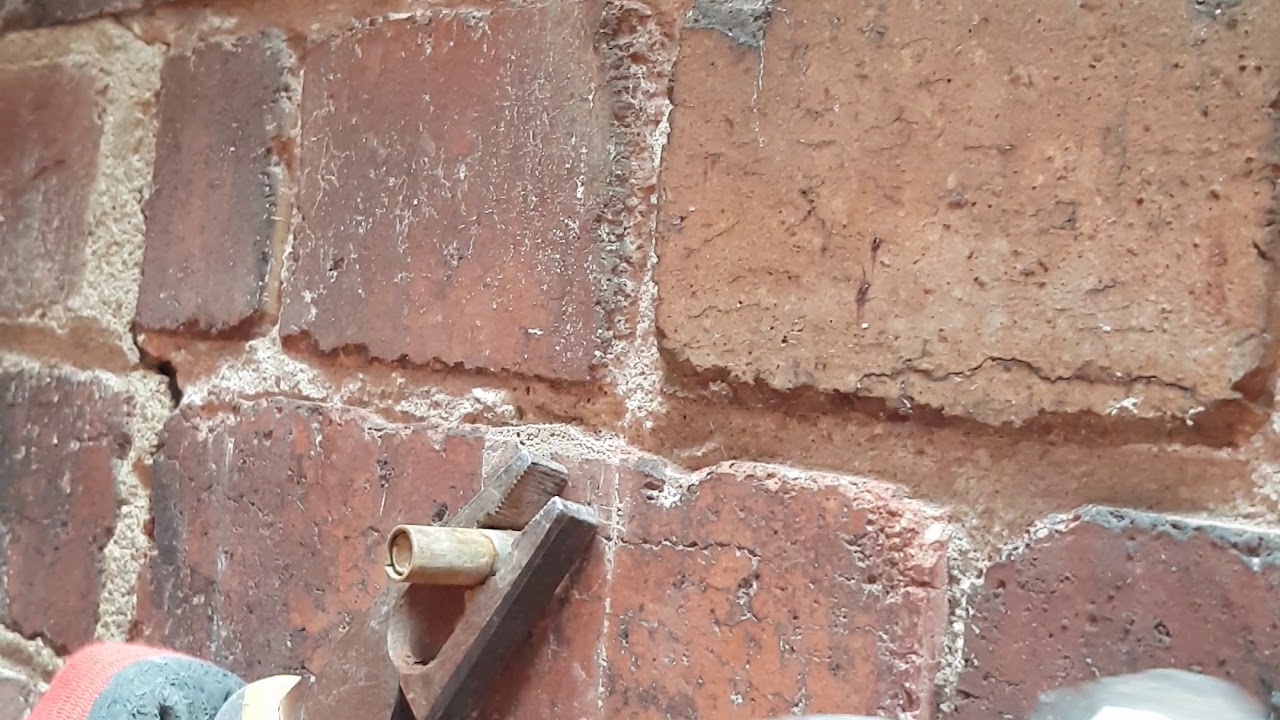
Step 3: Loosen the Shutters
After removing the mounting screws, the next step in the shutter removal process involves loosening the shutters from their position against the brick surface. This step requires a gentle and methodical approach to avoid damaging the shutters or the underlying brick. Here’s how to proceed:
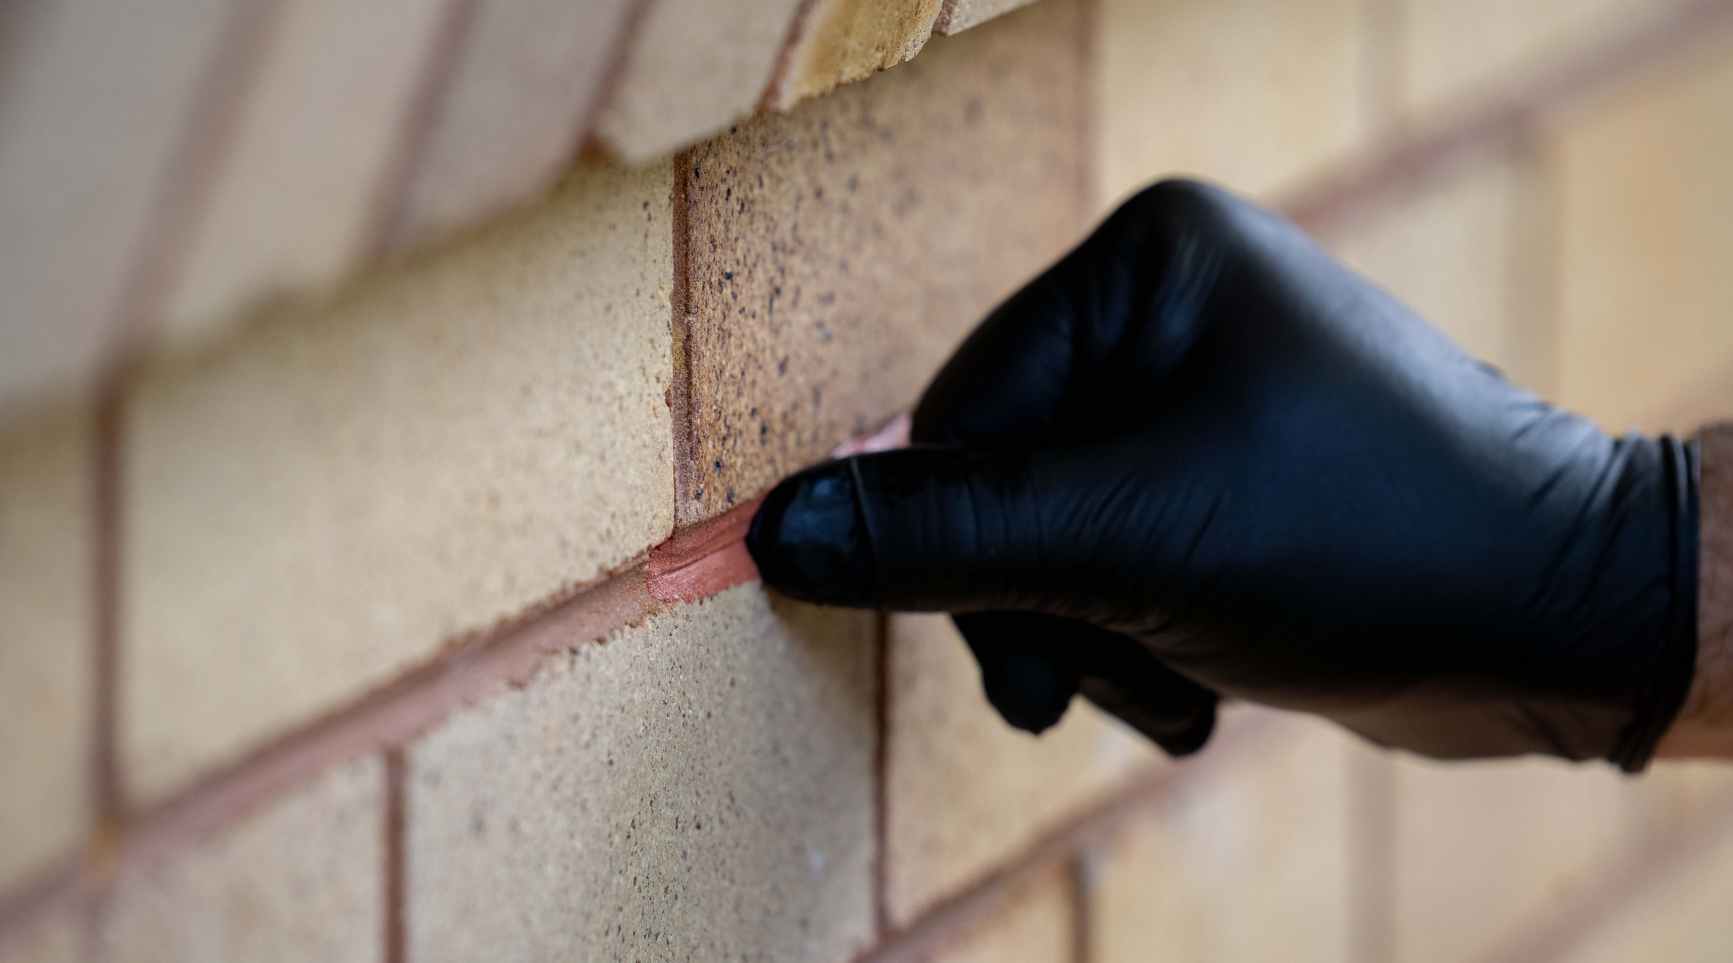
- Assess the Attachment Points: Carefully examine the edges and corners of each shutter to identify any adhesive or caulking that may be securing them to the brick. Older installations or those exposed to harsh weather conditions may have a layer of adhesive that binds the shutters to the brick.
- Utilize a Putty Knife: Gently insert a putty knife or similar flat tool between the edges of the shutter and the brick. Slowly work the tool around the perimeter of the shutter to gradually break the bond between the shutter and the brick. Exercise patience and avoid using excessive force to prevent damage to the shutter or the brick surface.
- Apply Controlled Pressure: As the adhesive bond loosens, apply controlled pressure to the shutter, nudging it away from the brick. It’s important to work incrementally and evenly along the edges to ensure a uniform release from the brick surface.
During this process, it’s essential to be mindful of the condition of the shutters. If they are particularly old or fragile, take extra care to avoid causing any splintering or breakage. Additionally, if the shutters are painted, be cautious to prevent any chipping or damage to the paint finish.
By methodically loosening the shutters from the brick, you’ll prepare them for the final step of complete removal, allowing for a seamless transition to the subsequent phase of the project.
Read more: How To Remove Graffiti From Brick
Step 4: Pry the Shutters Off
With the shutters now loosened from the brick surface, the next pivotal step involves carefully prying the shutters away from the facade. This process requires finesse and attention to detail to prevent any damage to the shutters or the underlying brick. Here’s a systematic approach to safely and effectively pry the shutters off:
- Select a Suitable Tool: Choose a sturdy pry bar or a flat tool with a wide, blunt edge to avoid marring the brick surface. The tool should provide ample leverage without exerting excessive pressure on a concentrated area of the shutter.
- Position the Pry Bar: Insert the pry bar between the shutter and the brick, focusing on the areas where the adhesive bond has been loosened. Ensure that the tool is positioned evenly to distribute the force across the surface of the shutter.
- Apply Gradual Pressure: With a controlled and gradual motion, apply pressure to the pry bar to gently separate the shutter from the brick. Avoid sudden or jerky movements that could lead to unintended damage or splintering of the shutter or the brick facade.
- Work Along the Edges: As the shutter begins to detach, continue to work the pry bar along the edges, maintaining a uniform and methodical approach. This ensures that the shutter is released evenly without placing undue stress on specific points.
Throughout this process, it’s important to maintain a keen eye on the condition of the shutters and the brick. If you encounter any resistance or difficulty in prying the shutters off, reassess the adhesive or caulking bond and adjust your approach accordingly to avoid any potential damage.
By executing this step with precision and care, you’ll successfully free the shutters from the brick, bringing you closer to completing the removal process and preparing the surface for any necessary refinishing or repairs.
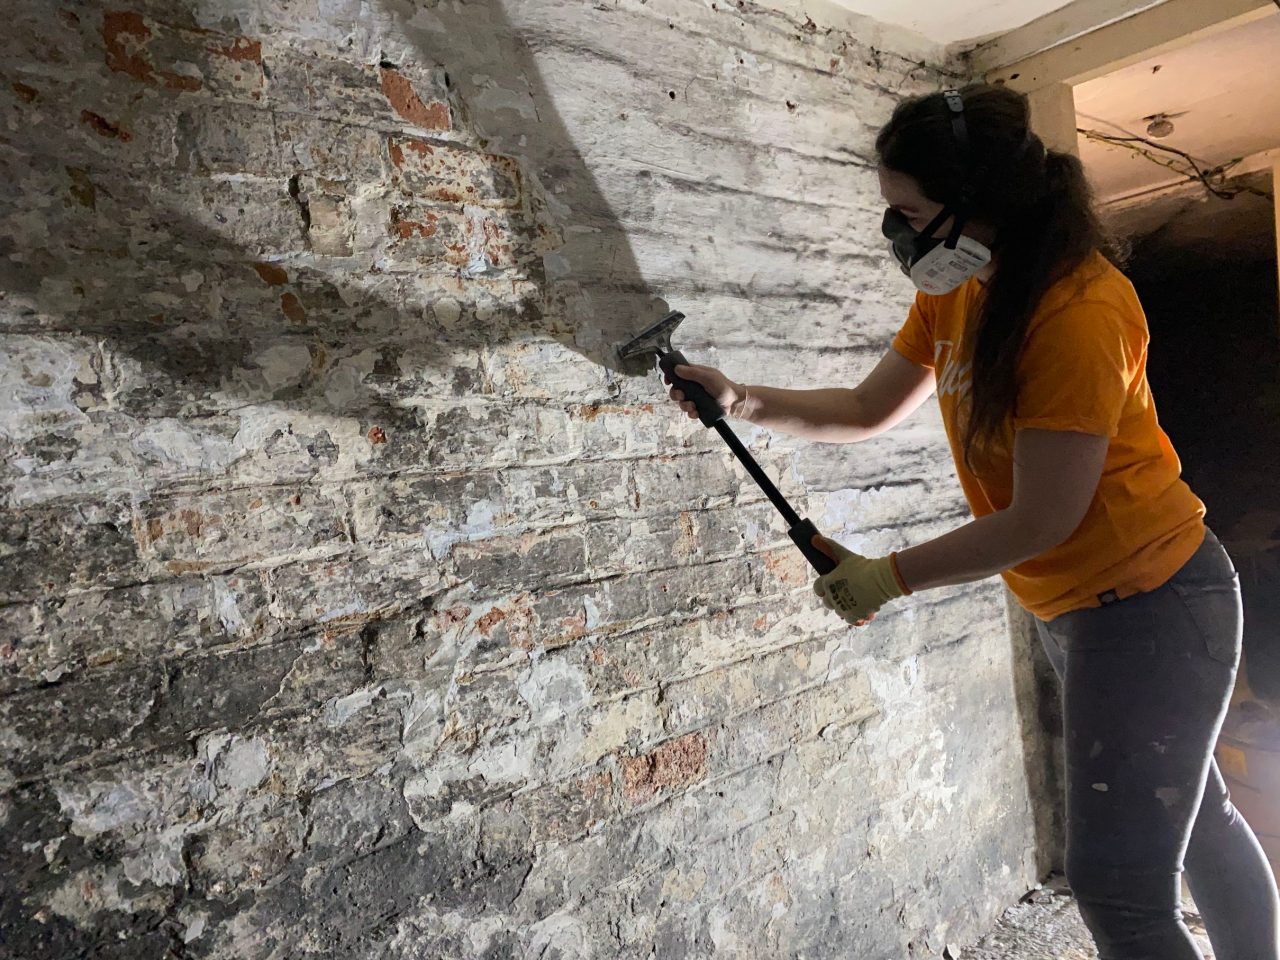
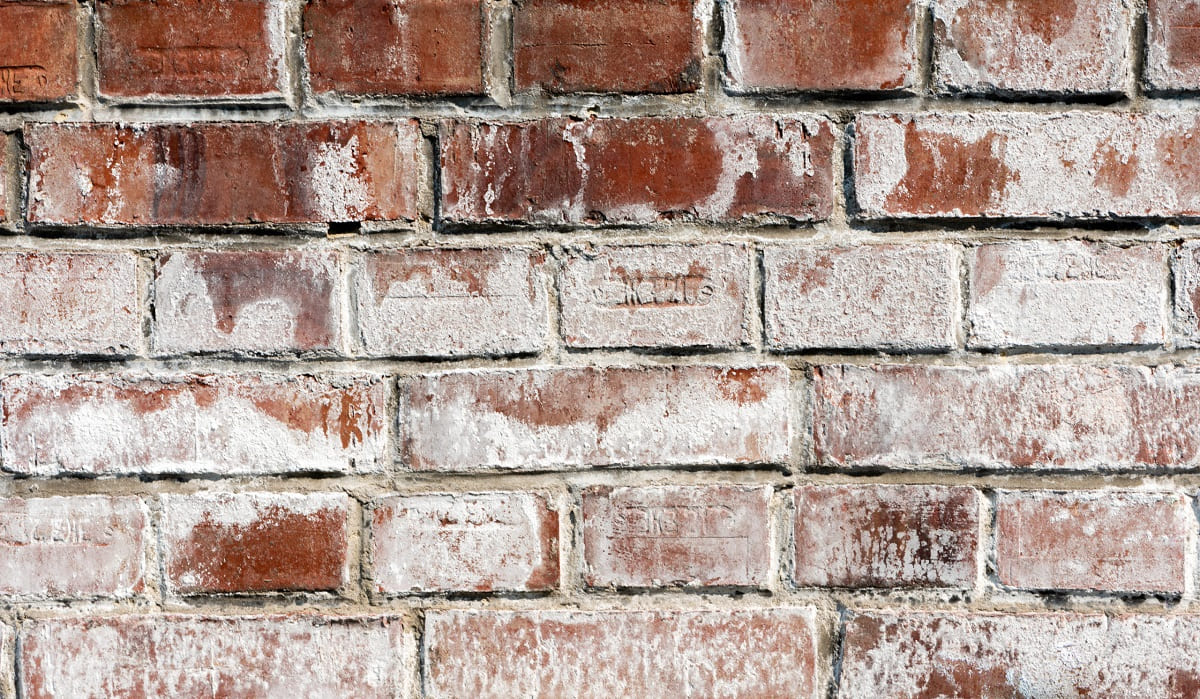
Step 5: Clean the Brick Surface
With the shutters successfully removed, it’s time to shift focus to the brick surface, ensuring that it is clean and ready for any necessary refinishing or repairs. Removing the shutters may reveal areas of the brick that were previously shielded from the elements, making it an opportune time to address any accumulated dirt, grime, or residual adhesive. Here’s how to effectively clean the brick surface:
- Inspect for Residue: Carefully examine the exposed brick surface for any remaining adhesive, caulking, or debris from the shutter removal process. Use a keen eye to identify areas that may require targeted cleaning or refinishing.
- Utilize a Gentle Cleaner: Select a mild brick cleaner or a solution of warm water and gentle dish soap to begin the cleaning process. Avoid harsh chemicals or abrasive cleaners that could damage the brick surface.
- Scrub with a Soft Brush: Dip a soft-bristled brush or a sponge into the cleaning solution and gently scrub the exposed brick surface. Focus on areas with residual adhesive or dirt, working in small sections to ensure thorough cleaning.
- Rinse and Dry: After scrubbing, rinse the brick surface with clean water, ensuring that all traces of the cleaning solution and debris are removed. Allow the brick to air dry completely before proceeding with any refinishing or repairs.
During the cleaning process, pay close attention to any areas where the shutters were attached, as these spots may require additional care to eliminate any lingering adhesive or caulking. Additionally, take note of the overall condition of the brick, assessing whether any repairs or touch-ups are necessary before proceeding with the next steps in your home improvement project.
By thoroughly cleaning the brick surface, you’ll create a fresh canvas for any refinishing or repairs, setting the stage for the next phase of enhancing the exterior of your home.
Conclusion
Congratulations! You’ve successfully navigated the process of removing shutters from brick, enhancing the visual appeal and potential of your home’s exterior. By following the systematic steps outlined in this guide, you’ve gained valuable insights and skills to tackle this project with confidence and precision.
As you reflect on the journey of shutter removal, it’s important to acknowledge the transformative impact it can have on the overall aesthetic of your home. Whether you’re preparing for a fresh coat of paint, exploring alternative shutter options, or simply seeking a change in style, the removal process marks a significant milestone in your home improvement endeavors.
Furthermore, the attention to detail and care exhibited in the removal process sets the stage for the next steps in your exterior enhancement project. Whether it’s refinishing the brick surface, addressing any repairs, or exploring new design possibilities, you’re now equipped with a solid foundation to move forward with your vision for the exterior of your home.
Remember, each home improvement project is a testament to your dedication to creating a space that reflects your personal style and aspirations. As you admire the newly liberated brick facade, take pride in the accomplishment and the knowledge that you’ve acquired throughout the process.
So, as you embark on the next phase of your home improvement journey, may the lessons learned and the satisfaction of a job well done inspire and guide you in all your future endeavors to create a space that truly feels like home.
Frequently Asked Questions about How To Remove Shutters From Brick
Was this page helpful?
At Storables.com, we guarantee accurate and reliable information. Our content, validated by Expert Board Contributors, is crafted following stringent Editorial Policies. We're committed to providing you with well-researched, expert-backed insights for all your informational needs.


0 thoughts on “How To Remove Shutters From Brick”