Home>Construction & Tools>Building Materials>How To Remove Cement From Brick
Building Materials
How To Remove Cement From Brick
Modified: February 17, 2024
Learn effective techniques for removing cement from brick using common building materials. Discover step-by-step instructions for a successful cleanup.
(Many of the links in this article redirect to a specific reviewed product. Your purchase of these products through affiliate links helps to generate commission for Storables.com, at no extra cost. Learn more)
**
Introduction
**
Brick is a timeless building material that adds charm and character to any structure. However, over time, cement stains can mar the beauty of brick surfaces, detracting from their aesthetic appeal. Whether these stains are the result of sloppy construction work or accidental spills, they can be a source of frustration for property owners. Fortunately, with the right tools, materials, and techniques, removing cement from brick can be a manageable task.
In this comprehensive guide, we will explore the most effective methods for eliminating cement stains from brick surfaces. By understanding the nature of cement stains and following the step-by-step instructions provided, you can restore the pristine appearance of your brickwork. Additionally, we will discuss the tools and materials necessary for this undertaking, along with valuable tips and precautions to ensure a successful outcome.
Whether you are a homeowner looking to revitalize your property or a professional in the construction and renovation industry, this guide will equip you with the knowledge and insights needed to tackle cement stains on brick effectively. Let's embark on this journey to reclaim the natural beauty of brick by bidding farewell to stubborn cement stains.
Key Takeaways:
- Removing cement stains from brick requires patience and specialized techniques to restore the natural beauty of the surface. By following a meticulous process, you can effectively eliminate stubborn stains while preserving the integrity of the brick.
- Prioritize safety and environmental considerations when removing cement stains from brick. By using protective gear, testing cleaning solutions, and safeguarding surrounding areas, you can achieve remarkable results while minimizing potential risks.
Read more: How To Remove Paint From A Cement Patio
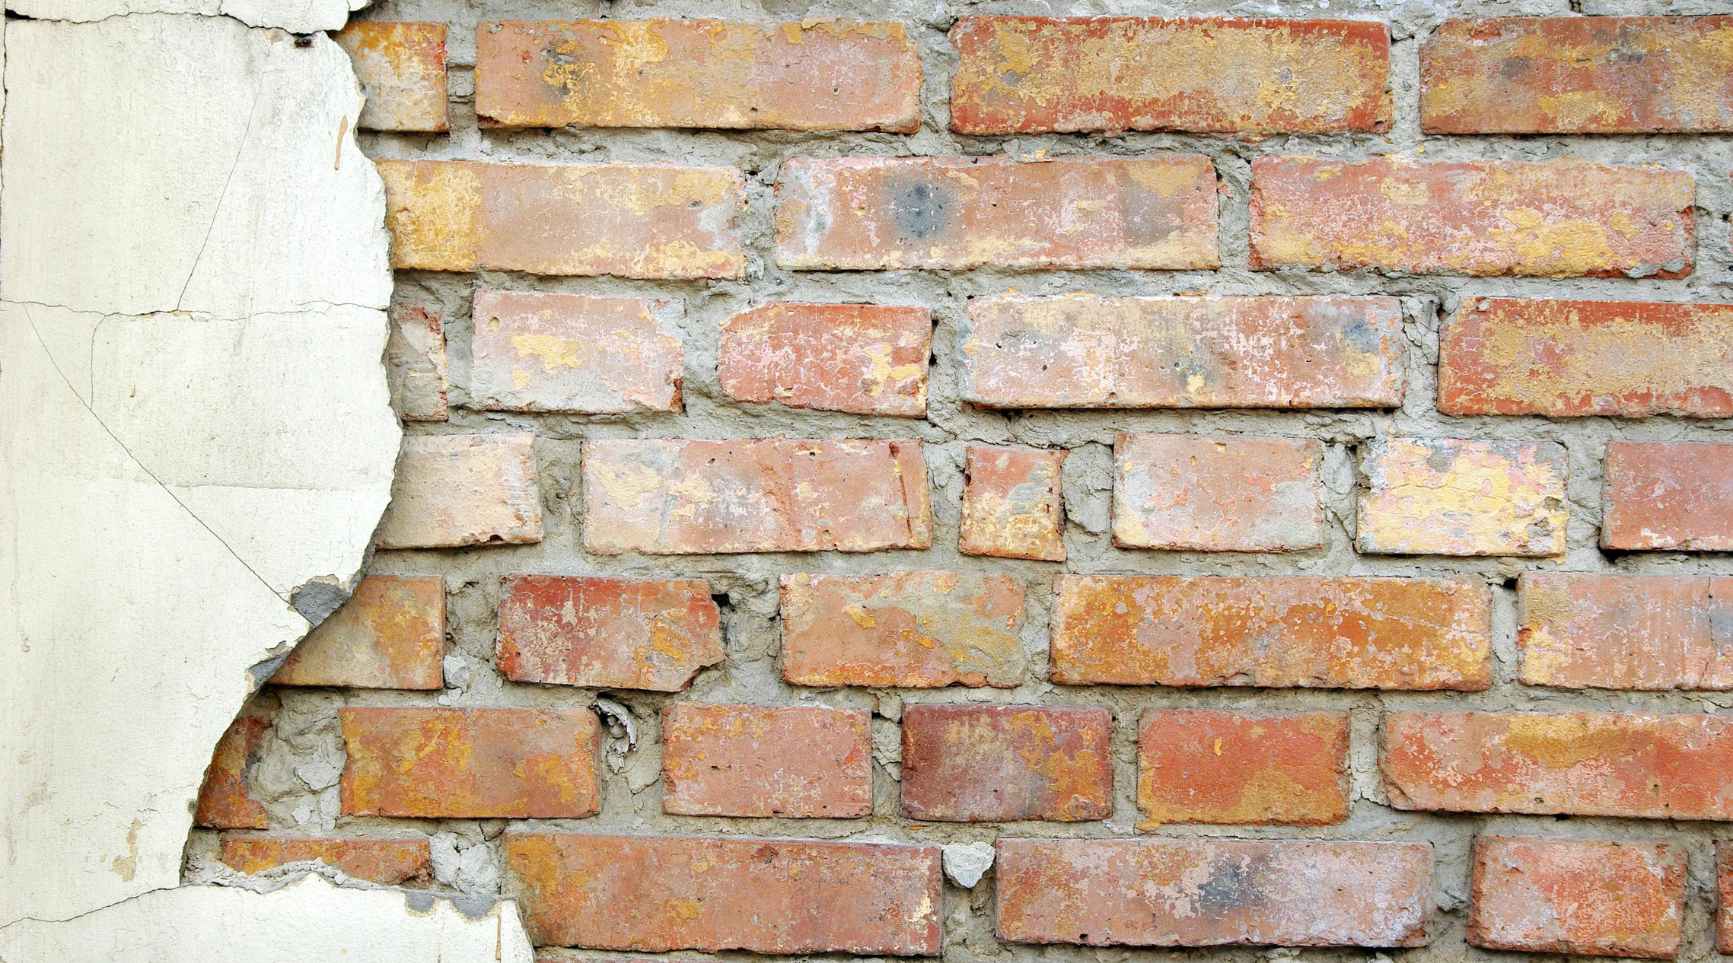
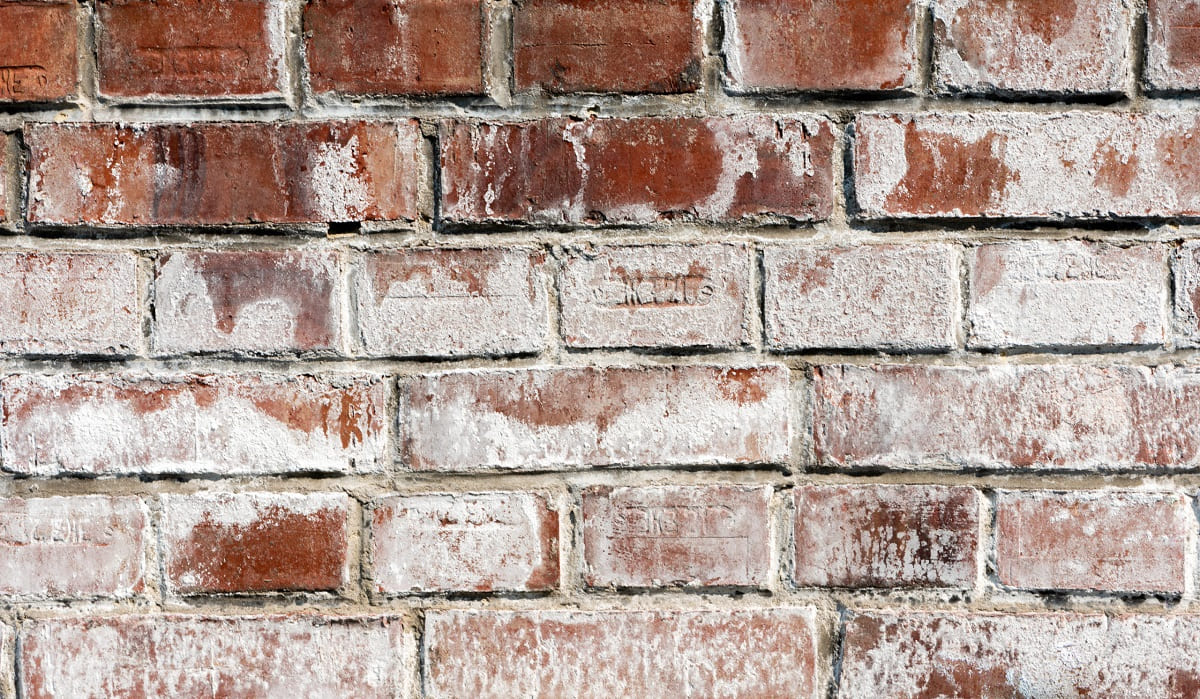
Understanding Cement Stains on Brick
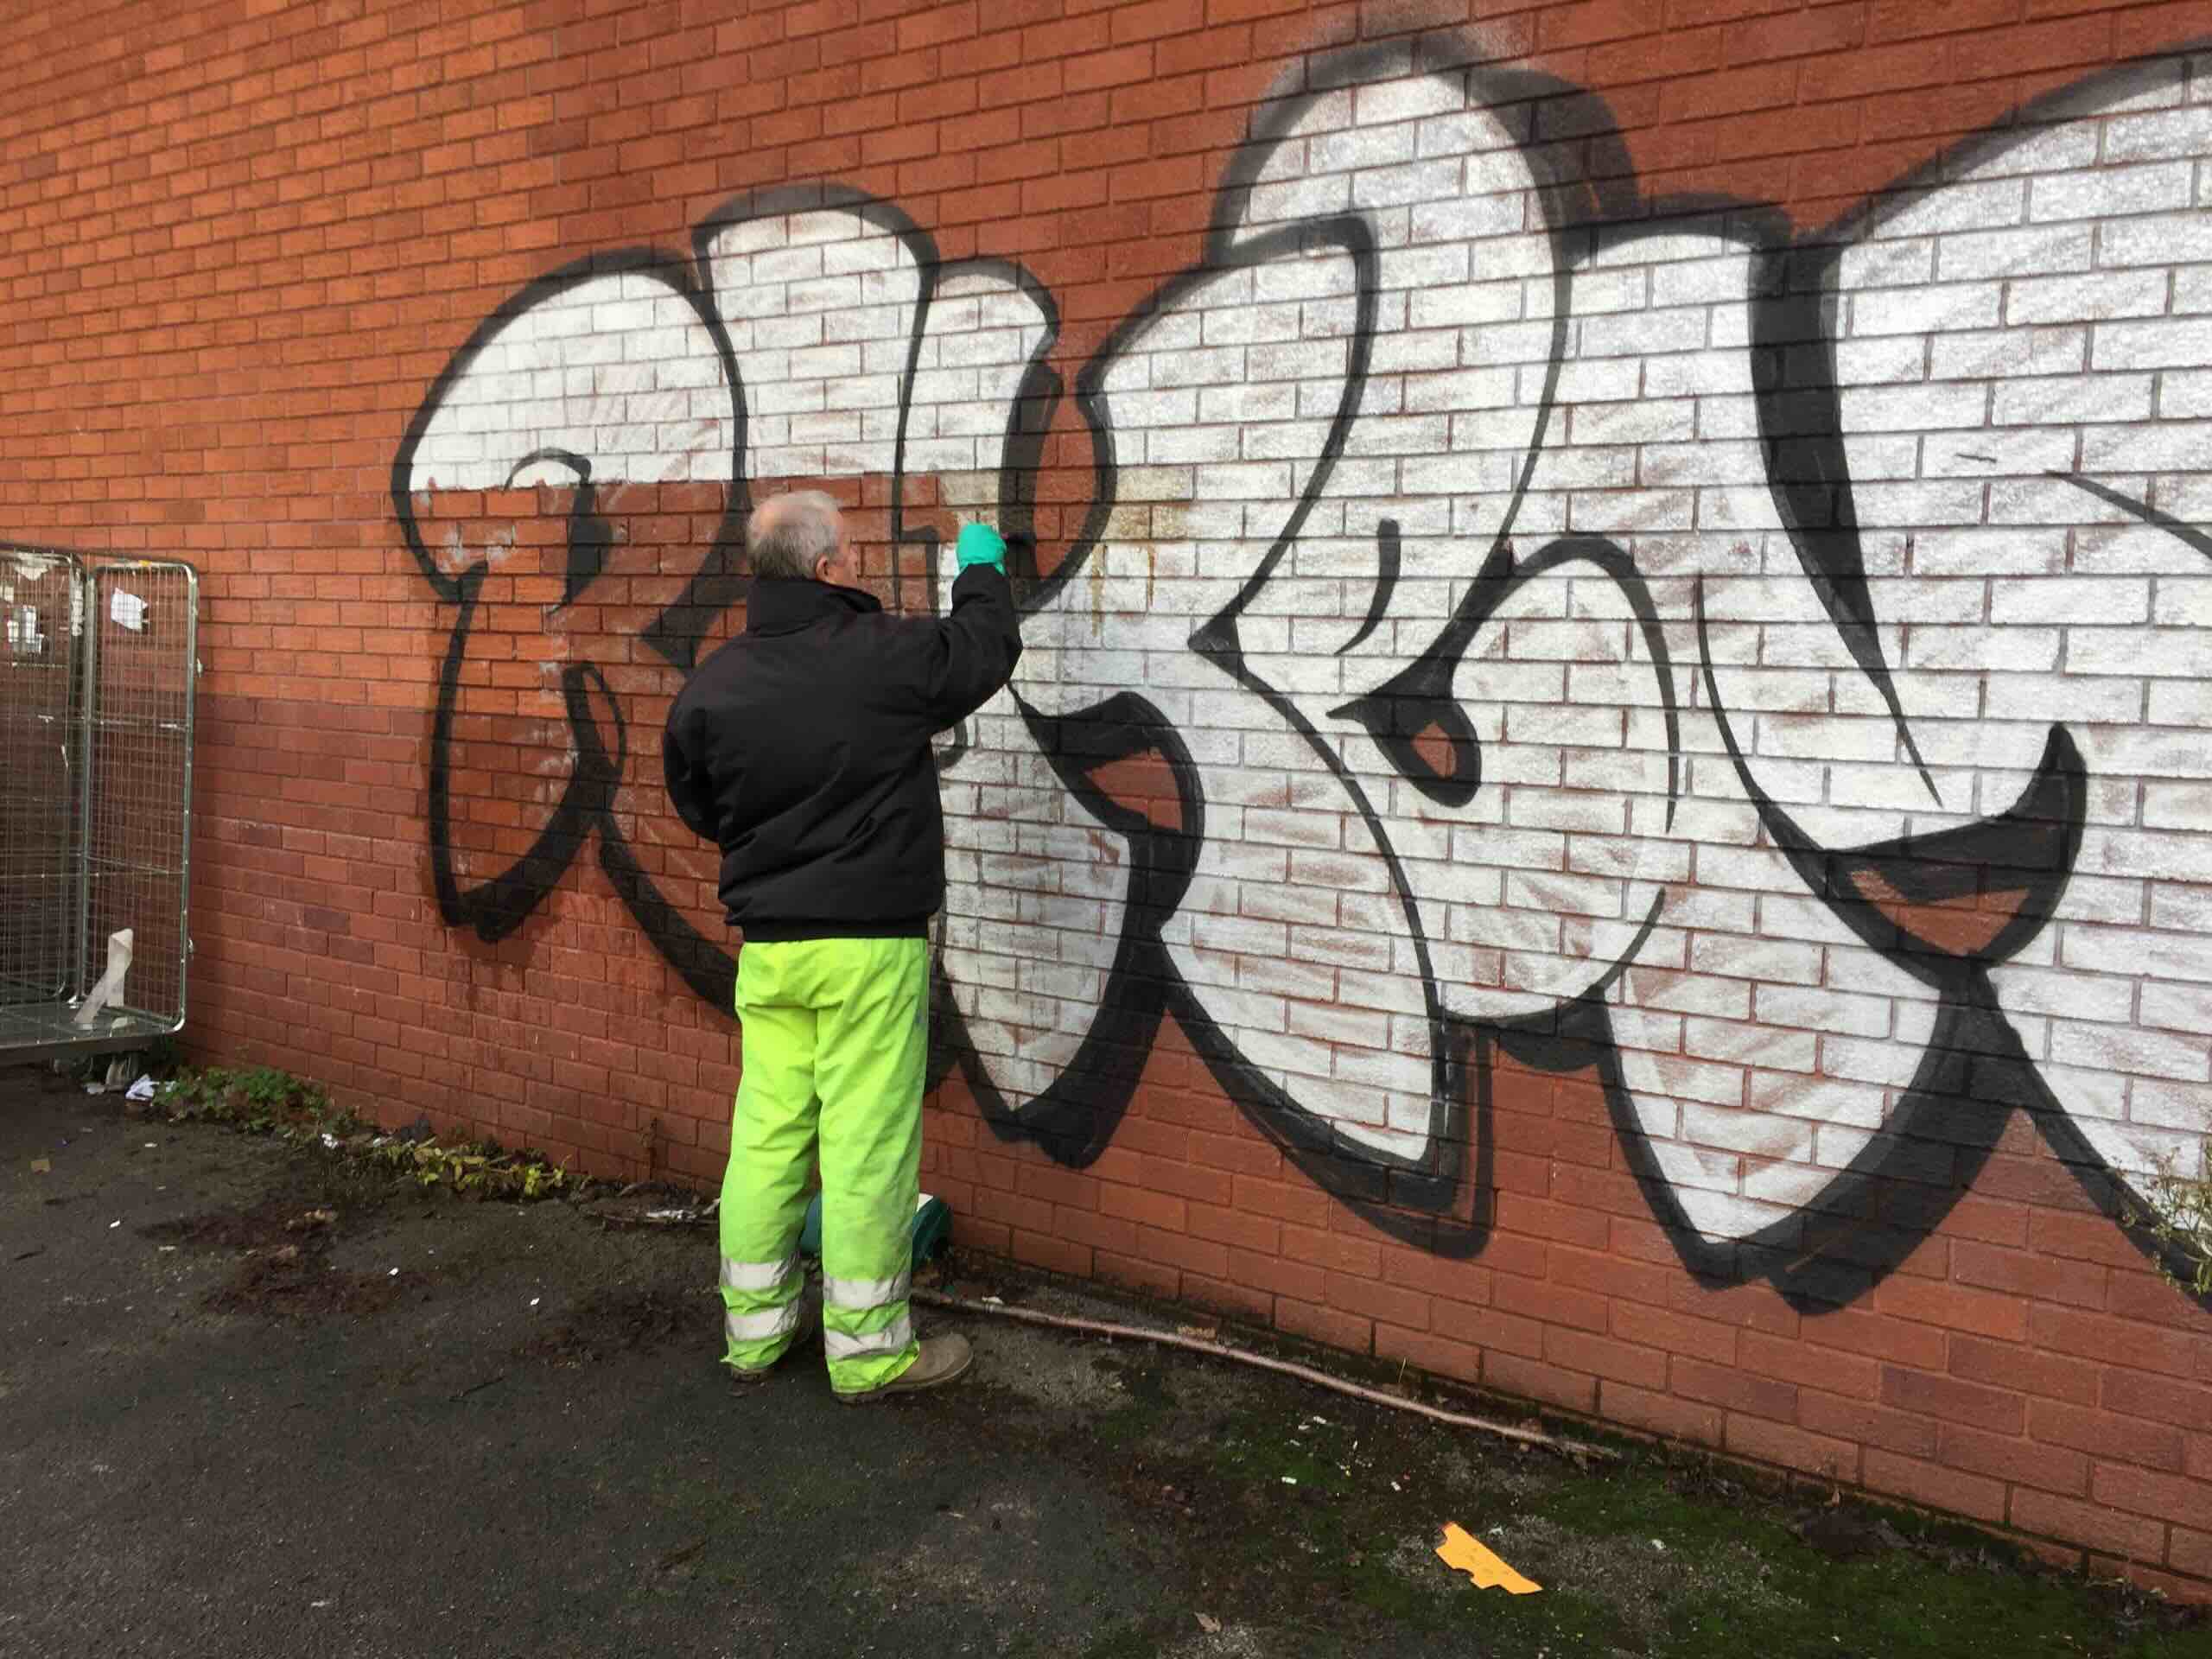
Before delving into the removal process, it’s essential to understand the nature of cement stains on brick surfaces. Cement stains typically occur when wet cement or mortar comes into contact with brick and is allowed to harden. This can happen during construction projects, repairs, or renovations, leaving unsightly blemishes on the brickwork.
When cement adheres to brick, it forms a strong bond that can be challenging to remove without the appropriate methods. Additionally, if the cement has been in place for an extended period, it may have penetrated the porous surface of the brick, making the removal process more complex.
It’s important to note that traditional cleaning methods, such as scrubbing with soap and water, are often ineffective against stubborn cement stains. Using harsh chemicals or abrasive tools can also pose a risk of damaging the brick surface, further complicating the situation. Therefore, a targeted approach using specialized cleaning solutions and techniques is crucial to safely and effectively eliminate cement stains without compromising the integrity of the brick.
By gaining insights into the characteristics of cement stains and their interaction with brick surfaces, you will be better equipped to choose the appropriate methods for removal. In the following sections, we will explore the step-by-step process of removing cement from brick, empowering you to restore the natural allure of your brickwork with confidence and precision.
Tools and Materials Needed
Removing cement stains from brick requires the use of specific tools and materials to ensure an effective and safe cleaning process. Before embarking on this endeavor, it is essential to gather the following items:
Protective Gear:
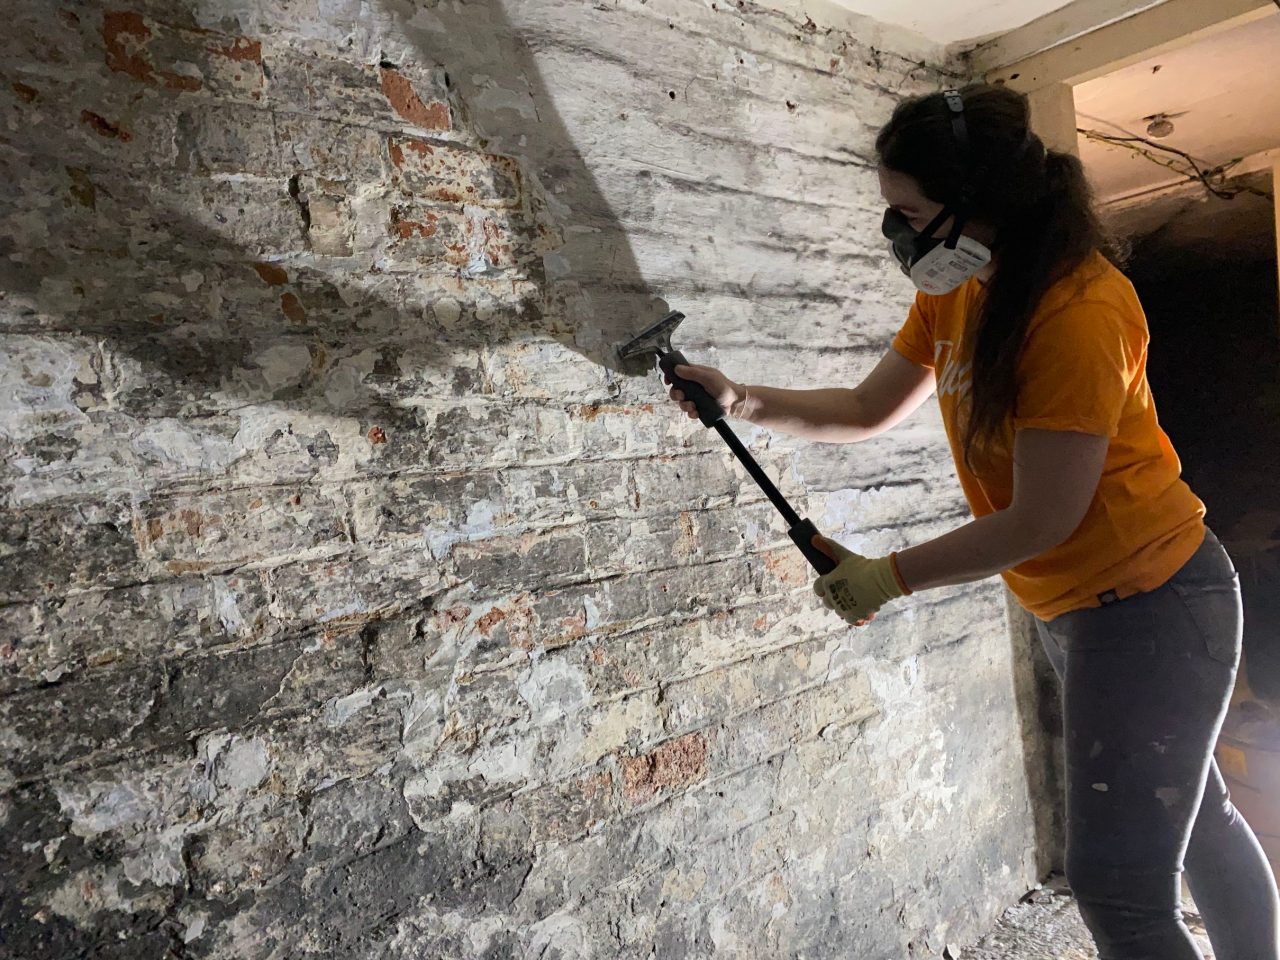
Ensure your safety by donning protective gear, including rubber gloves, safety goggles, and a face mask. These items will shield you from potential chemical exposure and debris during the cleaning process.
Cleaning Solution:
Acquire a high-quality masonry cleaning solution designed to dissolve and remove cement stains from brick surfaces. Look for products that are formulated to be gentle on the brick while effectively breaking down hardened cement deposits.
Scrubbing Tools:
Choose non-abrasive scrubbing tools such as nylon bristle brushes or soft-bristled scrubbing pads. These implements will aid in loosening and lifting the cement stains without causing damage to the brick surface.
Water Source:
Access to a reliable water source, such as a garden hose or a bucket of water, is essential for rinsing the brick after applying the cleaning solution. Adequate water flow will help flush away the dissolved cement and any residual cleaning agent.
Protective Coverings:
Protect adjacent surfaces and landscaping by using plastic sheeting or drop cloths to shield them from the cleaning solution and loosened cement particles. This precaution will prevent unintended damage to surrounding areas during the cleaning process.
Stiff Bristle Brush (Optional):
If the cement stains are particularly stubborn, a stiff bristle brush may be necessary to assist in dislodging hardened deposits. However, exercise caution when using this tool to avoid scratching or etching the brick surface.
Bucket and Mixing Tools:
If the cleaning solution requires dilution, have a bucket and mixing tools on hand to prepare the solution according to the manufacturer’s instructions. Properly mixing the cleaning agent ensures its effectiveness while maintaining the integrity of the brick.
By assembling these tools and materials, you will be well-prepared to initiate the process of removing cement stains from brick surfaces. With the right equipment at your disposal, you can proceed with confidence, knowing that you have the necessary resources to achieve optimal results while safeguarding the integrity of the brickwork.
Step 1: Preparing the Work Area
Before commencing the removal of cement stains from brick, it is crucial to prepare the work area to facilitate a smooth and efficient cleaning process. Proper preparation not only ensures the safety of the surrounding environment but also minimizes the risk of accidental damage to adjacent surfaces and landscaping. Here are the essential steps to prepare the work area:
Clear the Surrounding Area:
Begin by removing any debris, loose dirt, or vegetation near the brick surface to be cleaned. Clearing the area minimizes the potential for contaminants to interfere with the cleaning process and helps maintain a clean workspace.
Protect Adjacent Surfaces:
Use plastic sheeting, drop cloths, or tarpaulins to cover adjacent surfaces, such as windows, doors, and decorative trim, to shield them from the cleaning solution and any dislodged cement particles. This precautionary measure prevents unintended damage and simplifies the cleanup process.
Secure Landscaping and Plants:
If the brickwork is surrounded by landscaping or plants, take care to protect them from exposure to the cleaning solution. Cover delicate vegetation with plastic sheeting or gently hose them down with water before and after the cleaning process to safeguard their well-being.
Test the Cleaning Solution:
Prior to applying the cleaning solution to the entire surface, perform a small-scale test in an inconspicuous area of the brick to assess its compatibility and effectiveness. This preliminary test ensures that the cleaning solution does not cause adverse reactions or discoloration on the brickwork.
Ensure Proper Ventilation:
Work in a well-ventilated area to prevent the accumulation of fumes from the cleaning solution. Open doors and windows, and if possible, use fans to promote air circulation during the cleaning process. Adequate ventilation contributes to a safer and more comfortable working environment.
Don Protective Gear:
Prior to handling the cleaning solution and initiating the cleaning process, don protective gear including rubber gloves, safety goggles, and a face mask. These items provide essential protection against chemical exposure and airborne particles, ensuring your safety throughout the procedure.
By meticulously preparing the work area and taking the necessary precautions, you establish a conducive environment for effectively removing cement stains from brick. These preparatory measures set the stage for a successful cleaning endeavor, allowing you to focus on the meticulous removal of unsightly cement deposits while safeguarding the surrounding surfaces and environment.
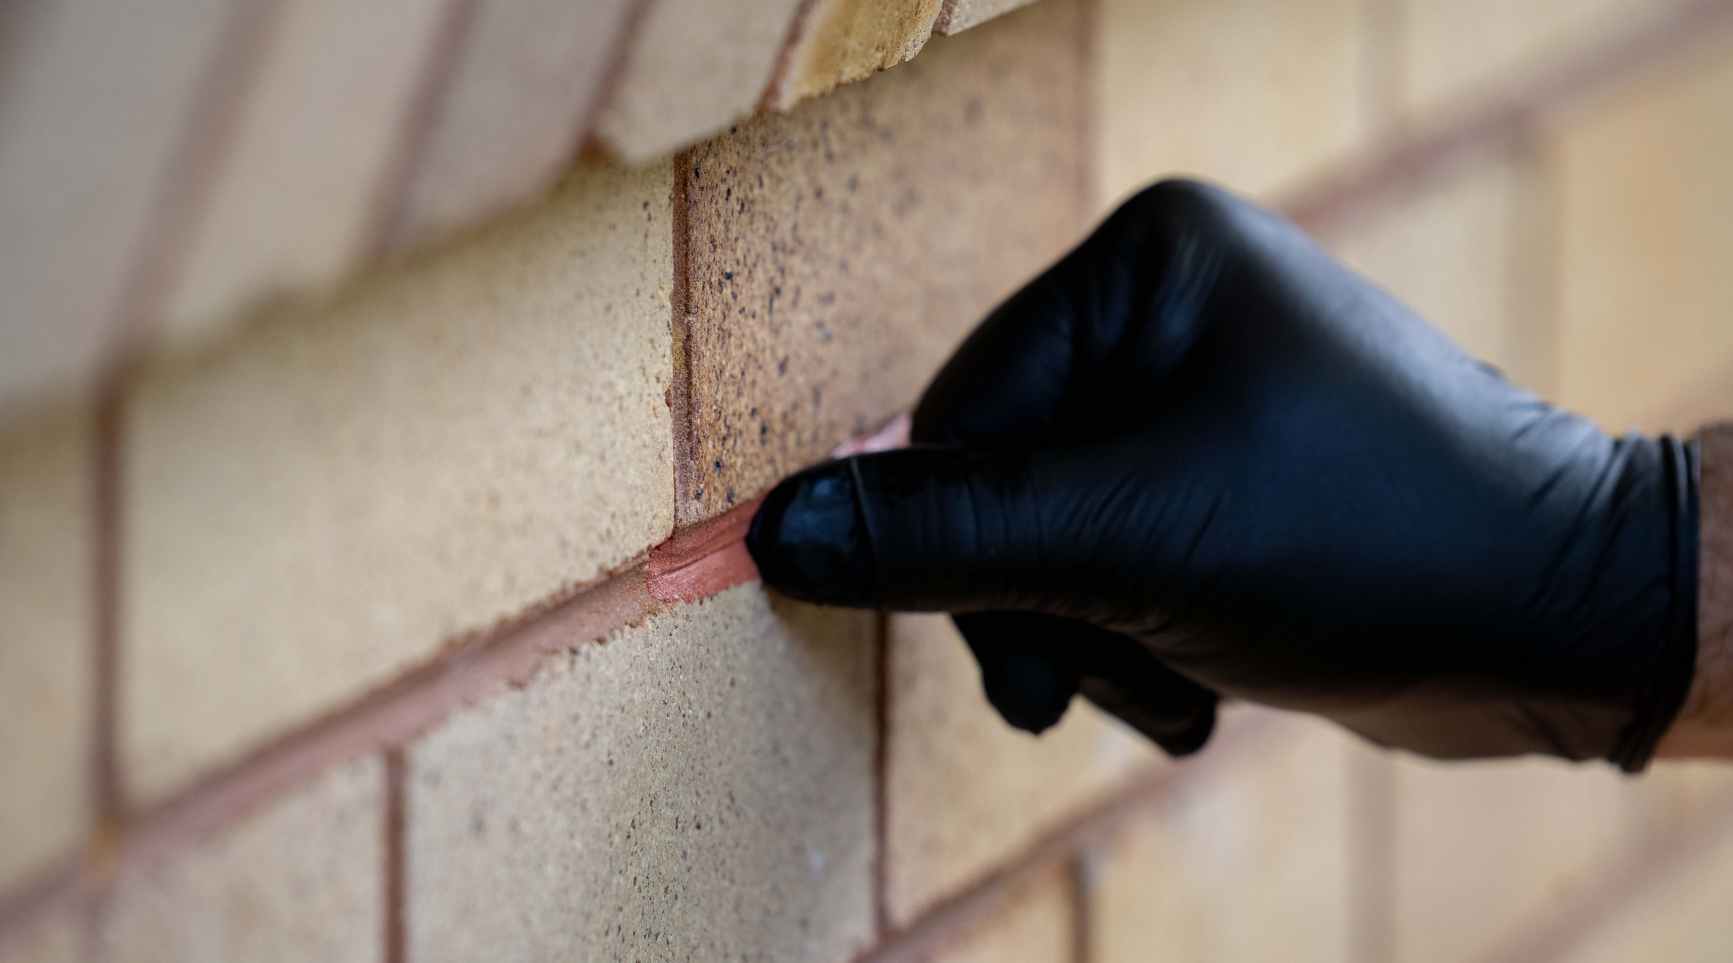
Step 2: Applying the Cleaning Solution
Once the work area is properly prepared, the next step in removing cement stains from brick involves the application of a specialized cleaning solution. This crucial phase requires precision and care to ensure the effective dissolution of the cement deposits without causing harm to the underlying brick surface. Here’s a detailed overview of the process:
Dilute the Cleaning Solution:
If the masonry cleaning solution requires dilution, carefully follow the manufacturer’s instructions to achieve the recommended concentration. Use a clean bucket and mixing tools to prepare the solution, ensuring that it is thoroughly blended and ready for application.
Apply the Solution to the Stained Areas:
Using a spray bottle or a suitable applicator, generously apply the cleaning solution to the areas of the brick affected by cement stains. Ensure complete coverage of the stained surfaces, allowing the solution to penetrate and begin breaking down the hardened cement deposits.
Allow Dwell Time:
After applying the cleaning solution, allow it to dwell on the affected areas for the duration specified by the product’s instructions. This dwell time is essential for the solution to effectively loosen and dissolve the cement stains, preparing them for the subsequent removal steps.
Monitor the Reaction:
During the dwell time, observe the reaction of the cleaning solution with the cement stains. Look for signs of effervescence or softening of the deposits, indicating that the solution is actively working to disintegrate the hardened cement. This visual feedback informs the progress of the cleaning process.
Reapply if Necessary:
If certain areas exhibit stubborn or deeply ingrained cement stains, consider reapplying the cleaning solution to ensure thorough coverage and enhanced dissolution of the deposits. Targeted reapplication can address persistent stains and facilitate their subsequent removal.
Exercise Caution with Overexposure:
While the cleaning solution is designed to dissolve cement stains, it is essential to avoid overexposure or prolonged contact with the brick surface. Follow the recommended dwell time and avoid allowing the solution to dry on the brick, as this may lead to undesirable residue or discoloration.
By methodically applying the cleaning solution and allowing it to effectively target the cement stains, you set the stage for the subsequent steps in the removal process. This meticulous application process maximizes the solution’s efficacy while minimizing the potential for adverse effects on the brickwork, laying the foundation for successful stain removal.
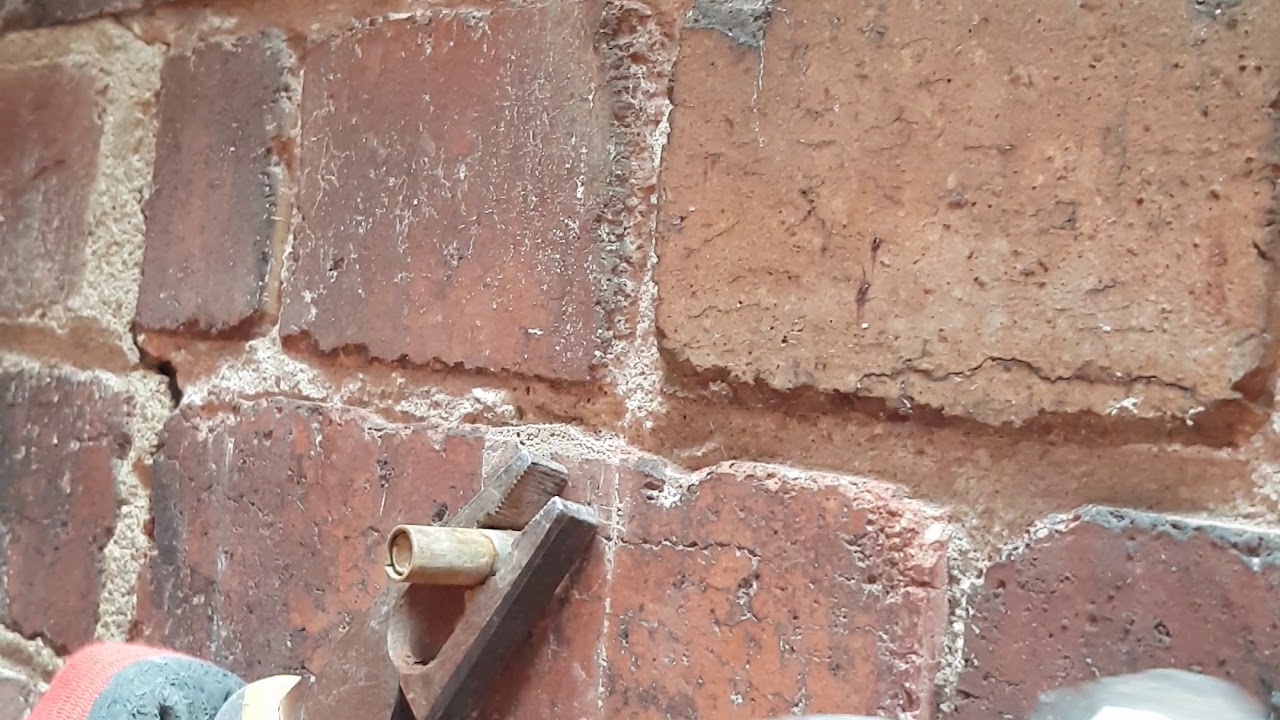
Use a chisel and hammer to carefully chip away at the dried cement on the brick. Be gentle to avoid damaging the brick surface. Wear safety goggles and gloves for protection.
Read more: How To Remove Shutters From Brick
Step 3: Scrubbing the Cement Stains
With the cleaning solution having effectively loosened the cement stains, the next critical phase in the removal process involves the meticulous scrubbing of the affected brick surfaces. This step requires precision and care to dislodge the softened cement deposits without causing damage to the underlying brick. Here’s a detailed guide to the scrubbing process:
Select the Appropriate Scrubbing Tools:
Choose non-abrasive scrubbing tools such as nylon bristle brushes or soft-bristled scrubbing pads to gently work on the softened cement stains. These tools effectively lift the dissolved deposits without scratching or etching the brick surface, ensuring a safe and thorough cleaning process.
Work in Sections:
Divide the affected areas into manageable sections and focus on scrubbing one section at a time. This systematic approach allows for thorough attention to detail and prevents the cleaning solution from drying on the brick surface before the scrubbing process is completed.
Apply Gentle Pressure:
Using the selected scrubbing tool, apply gentle and consistent pressure to the softened cement stains. Avoid excessive force that may compromise the integrity of the brick, opting for a methodical and patient approach to gradually lift the dissolved deposits from the surface.
Observe the Stain Removal:
As you scrub the affected areas, observe the progressive removal of the cement stains. Look for signs of the deposits breaking apart and lifting from the brick, indicating the successful dissolution and dislodgement of the hardened cement. This visual feedback informs the effectiveness of the scrubbing process.
Rinse the Scrubbed Areas:
Periodically rinse the scrubbed areas with a steady stream of water from a garden hose or a bucket to flush away the dislodged cement particles and residual cleaning solution. Thorough rinsing ensures the complete removal of dissolved stains and prevents re-deposition onto the brick surface.
Address Stubborn Stains:
If certain areas exhibit persistent cement stains despite the initial scrubbing efforts, continue to focus on these spots, applying targeted pressure and additional cleaning solution as needed. Patiently working on stubborn stains enhances the overall cleanliness of the brick surface.
By meticulously scrubbing the softened cement stains from the brick surface, you effectively complete the pivotal step of dislodging the dissolved deposits. This methodical approach ensures the thorough removal of cement stains while preserving the integrity and appearance of the underlying brick, setting the stage for the final phases of the cleaning process.
Step 4: Rinsing and Drying the Brick
Following the meticulous scrubbing of the softened cement stains, the subsequent steps of rinsing and drying the brick are essential to complete the cleaning process and restore the pristine appearance of the surface. These final phases require careful attention to detail to ensure the thorough removal of dissolved cement particles and cleaning solution residue. Here’s a comprehensive guide to the rinsing and drying process:
Rinse the Entire Surface:
Using a garden hose or a bucket of water, thoroughly rinse the entire brick surface to eliminate any remaining dislodged cement particles and residual cleaning solution. Ensure even coverage during the rinsing process, targeting all areas affected by the cement stains.
Inspect for Residual Stains:
Following the rinsing, inspect the brick surface for any lingering cement stains that may require further attention. Identify any areas where traces of the stains persist and address them with targeted rinsing and, if necessary, additional scrubbing to achieve optimal cleanliness.
Allow the Brick to Air Dry:
After the thorough rinsing, allow the brick surface to air dry naturally. Avoid the use of heat sources or abrasive drying methods, as these may compromise the integrity of the brick and impede the drying process. Allowing the brick to air dry promotes a seamless and uniform finish.
Observe the Drying Process:
During the drying period, observe the brick surface for any remaining signs of moisture or residual stains. Patience and attentiveness during the drying process contribute to achieving a flawlessly clean and dry brick surface, free of unsightly cement deposits.
Inspect the Completed Cleaning:
Once the brick surface has fully dried, thoroughly inspect the entire area to ensure that all traces of cement stains and cleaning solution residue have been successfully removed. This comprehensive inspection confirms the cleanliness and rejuvenated appearance of the brickwork.
Revel in the Restored Beauty:
With the cement stains effectively removed and the brick surface restored to its natural allure, take a moment to appreciate the revitalized appearance of the cleaned area. Revel in the satisfaction of successfully eliminating stubborn stains and restoring the timeless charm of the brick.
By diligently rinsing and drying the brick surface, you conclude the comprehensive process of removing cement stains, culminating in the rejuvenation of the brick’s natural beauty. These final steps ensure the thorough elimination of dissolved cement particles and cleaning solution residue, resulting in a visually captivating and immaculately clean brick surface.
Additional Tips and Precautions
While the step-by-step process outlined above provides a comprehensive guide to removing cement stains from brick, incorporating additional tips and precautions can further enhance the effectiveness and safety of the cleaning endeavor. By considering the following insights, you can optimize the outcome of the cleaning process while safeguarding the integrity of the brickwork:
Regular Maintenance:
Implement routine maintenance practices to prevent the accumulation of cement stains on brick surfaces. Promptly remove any spilled or splattered cement or mortar to minimize the potential for stubborn stains to develop.
Spot Testing New Cleaning Solutions:
Prior to using a new masonry cleaning solution, conduct a spot test in an inconspicuous area to assess its compatibility with the brick surface and its efficacy in removing cement stains. This precautionary measure helps avoid adverse reactions and unexpected outcomes.
Professional Consultation:
If you encounter particularly challenging or extensive cement stains, consider seeking advice from professionals in the masonry or cleaning industry. Their expertise and specialized knowledge can provide valuable insights and tailored solutions for stubborn or complex cleaning scenarios.
Environmentally Friendly Alternatives:
Explore environmentally friendly cleaning solutions and methods for removing cement stains from brick. Consider utilizing eco-friendly products that are gentle on the brick surface while effectively dissolving stubborn stains, aligning with sustainable cleaning practices.
Protective Gear and Ventilation:
Always prioritize personal safety by wearing protective gear, including gloves, safety goggles, and a face mask, when handling cleaning solutions. Additionally, ensure adequate ventilation during the cleaning process to minimize exposure to fumes and airborne particles.
Preserving Landscaping and Surroundings:
Take proactive measures to protect surrounding landscaping and surfaces from exposure to cleaning solutions and dislodged cement particles. Shield delicate vegetation and cover adjacent surfaces to prevent unintended damage during the cleaning process.
Thorough Rinsing:
After scrubbing the brick surface, thoroughly rinse the entire area to eliminate any residual cleaning solution and dislodged cement particles. Complete rinsing ensures a clean and residue-free finish, contributing to the overall success of the cleaning process.
By incorporating these additional tips and precautions into the cement stain removal process, you can elevate the thoroughness and safety of the cleaning endeavor. These insights empower you to approach the task with heightened awareness and consideration, resulting in a successful and gratifying outcome while preserving the integrity of the brickwork.
Conclusion
Removing cement stains from brick surfaces demands a meticulous approach and the application of specialized techniques, as outlined in this comprehensive guide. By understanding the nature of cement stains, preparing the work area, applying the cleaning solution, scrubbing the stains, and meticulously rinsing and drying the brick, you can effectively restore the pristine appearance of the brickwork. Additionally, incorporating additional tips and precautions further enhances the efficacy and safety of the cleaning process.
As you embark on the journey to eliminate cement stains from brick, remember that patience, attention to detail, and adherence to safety protocols are paramount. The successful removal of cement stains not only rejuvenates the visual appeal of the brick but also preserves its inherent charm and durability. Whether you are revitalizing the exterior of a historic building, enhancing the aesthetics of a residential property, or addressing construction-related blemishes, the methods outlined in this guide empower you to achieve remarkable results.
As you revel in the restored beauty of the brick, take pride in the meticulous care and dedication invested in the cleaning process. The timeless allure and enduring elegance of brick surfaces, once marred by stubborn cement stains, now stand as a testament to your commitment to excellence and preservation.
By employing the insights and techniques presented in this guide, you have not only successfully removed cement stains from brick but also cultivated a deeper appreciation for the artistry and resilience of this venerable building material. As you admire the revitalized brick surfaces, may they serve as enduring testaments to the transformative power of meticulous cleaning and the timeless allure of brick in its purest form.
Frequently Asked Questions about How To Remove Cement From Brick
Was this page helpful?
At Storables.com, we guarantee accurate and reliable information. Our content, validated by Expert Board Contributors, is crafted following stringent Editorial Policies. We're committed to providing you with well-researched, expert-backed insights for all your informational needs.


0 thoughts on “How To Remove Cement From Brick”