Home>Construction & Tools>Building Materials>How To Remove Dynabolts From Brick
Building Materials
How To Remove Dynabolts From Brick
Modified: October 22, 2024
Learn effective techniques for removing dynabolts from brick without damaging the building materials. Get step-by-step instructions for a hassle-free process.
(Many of the links in this article redirect to a specific reviewed product. Your purchase of these products through affiliate links helps to generate commission for Storables.com, at no extra cost. Learn more)
Introduction
Removing dynabolts from brick can be a challenging task, but with the right tools and techniques, it can be accomplished efficiently and effectively. Whether you are renovating a space, making repairs, or simply need to remove dynabolts for any reason, understanding the process is essential.
Dynabolts, also known as sleeve anchors, are commonly used to secure heavy items to brick walls. These fasteners provide a strong and reliable hold, making them a popular choice for construction and DIY projects. However, there may come a time when you need to remove dynabolts, perhaps due to a change in design, the need to relocate the item, or any other reason.
When removing dynabolts from brick, it’s crucial to do so carefully to avoid damaging the surrounding area. Additionally, proper removal ensures that the integrity of the brick wall is maintained, preventing any structural issues in the future.
In this comprehensive guide, we will walk you through the process of removing dynabolts from brick, providing step-by-step instructions and valuable insights to help you tackle this task with confidence. By following these guidelines, you can safely and effectively remove dynabolts from brick walls, allowing you to proceed with your project seamlessly.
Key Takeaways:
- Removing dynabolts from brick walls requires careful inspection, systematic nut and washer removal, and precise extraction to avoid damaging the surrounding area and ensure a smooth restoration process.
- Patching the holes left by the extracted dynabolts is crucial for restoring the brick wall’s structural integrity and visual appeal, allowing for seamless future installations or modifications.
Read more: How To Remove Shutters From Brick
Understanding Dynabolts and Brick
Before delving into the process of removing dynabolts from brick, it’s important to understand the components involved and how they interact. Dynabolts, or sleeve anchors, are expansion fasteners designed to provide a secure attachment to various materials, including brick.
These fasteners consist of several key parts, including the bolt, sleeve, and expansion clip. The bolt, typically made of steel, features a threaded shaft and a head for securing items in place. The sleeve, often made of metal or plastic, surrounds the bolt and provides stability within the drilled hole. The expansion clip, located within the sleeve, expands when the bolt is tightened, creating a secure grip within the base material.
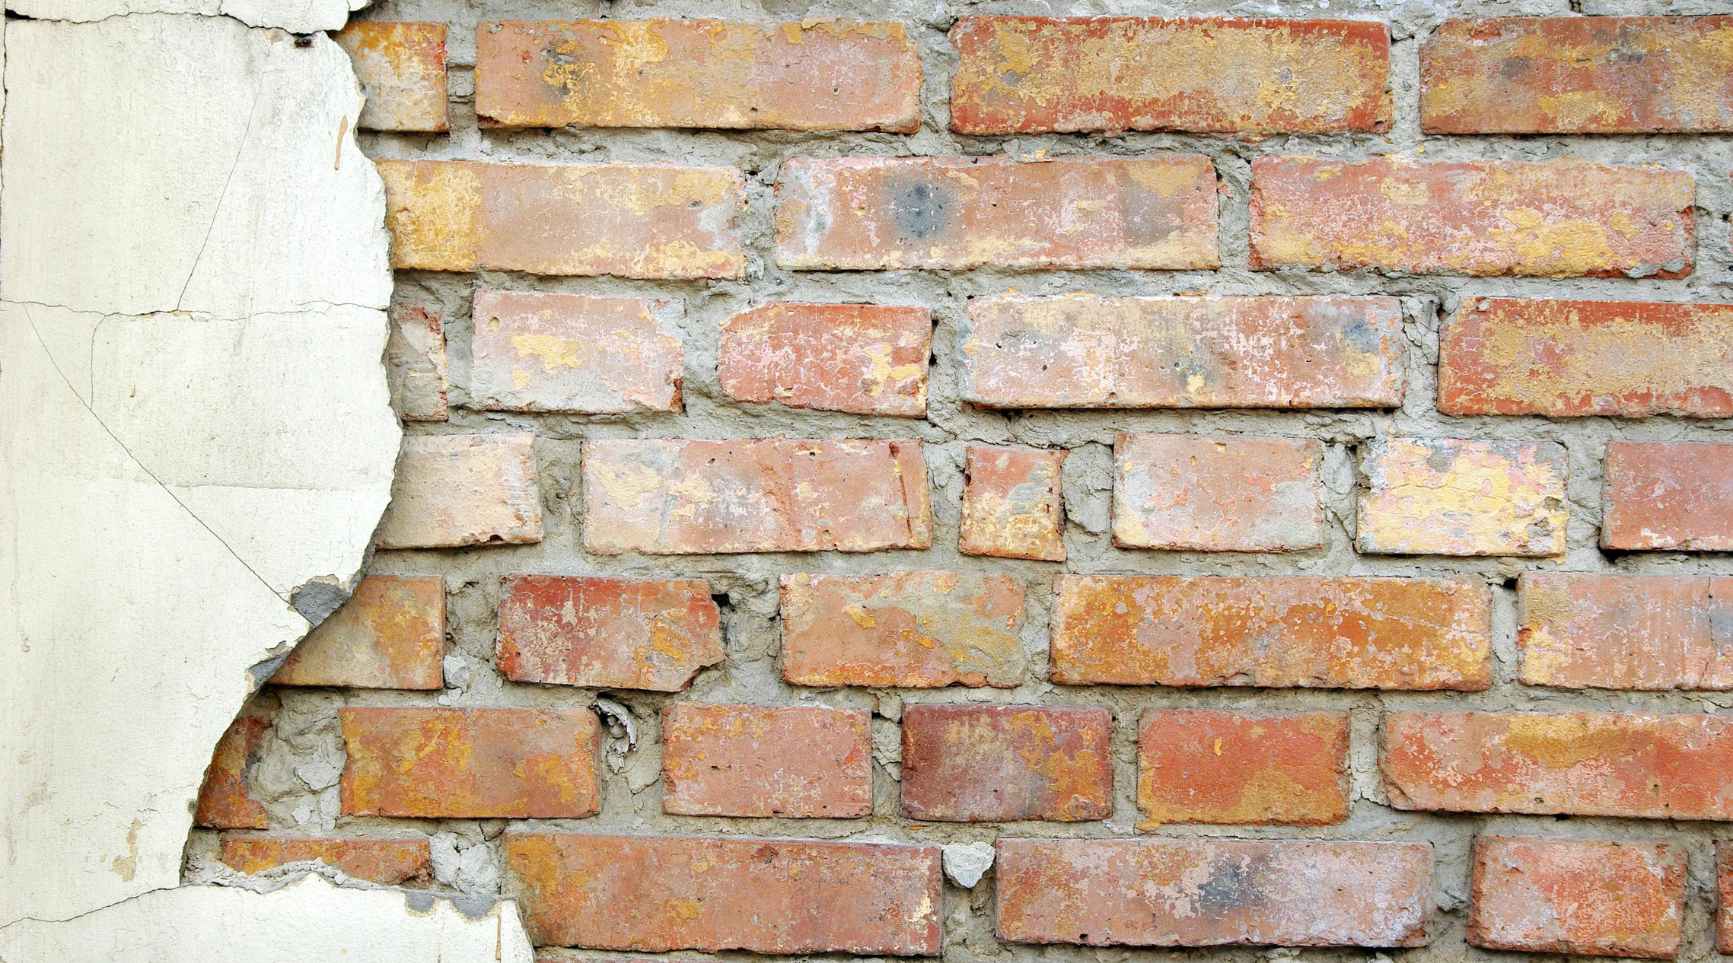
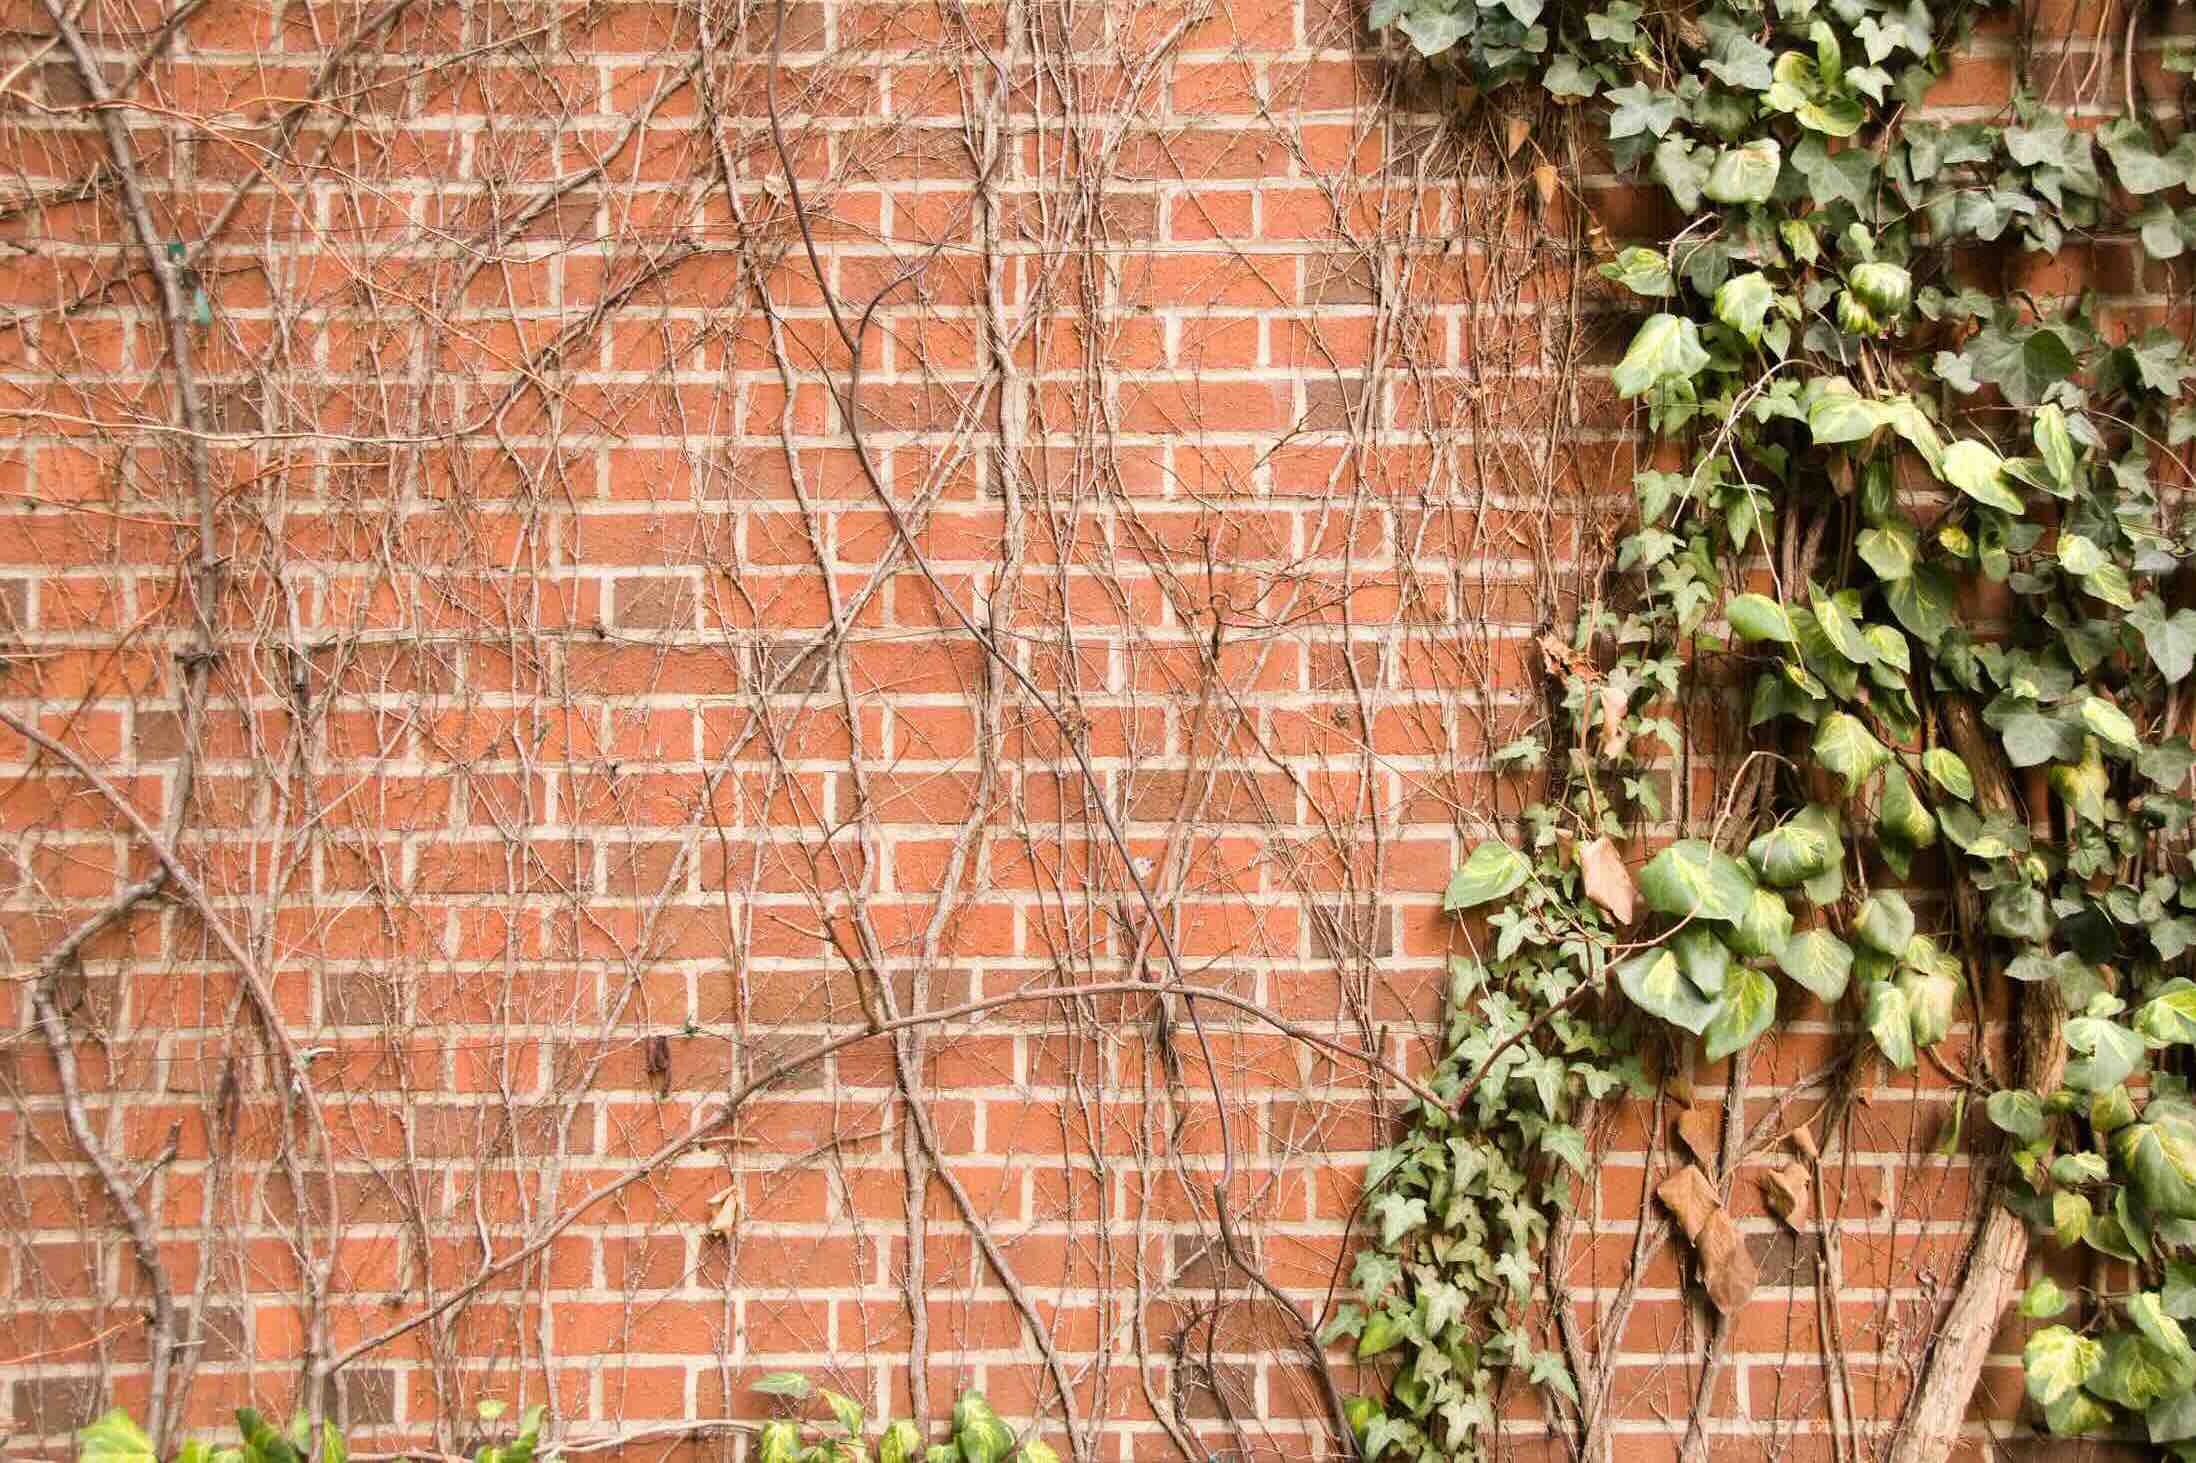
Brick, a common building material known for its durability and strength, presents a unique challenge when it comes to removing dynabolts. Unlike softer materials, such as drywall or wood, brick requires specialized tools and techniques to safely extract fasteners without causing damage.
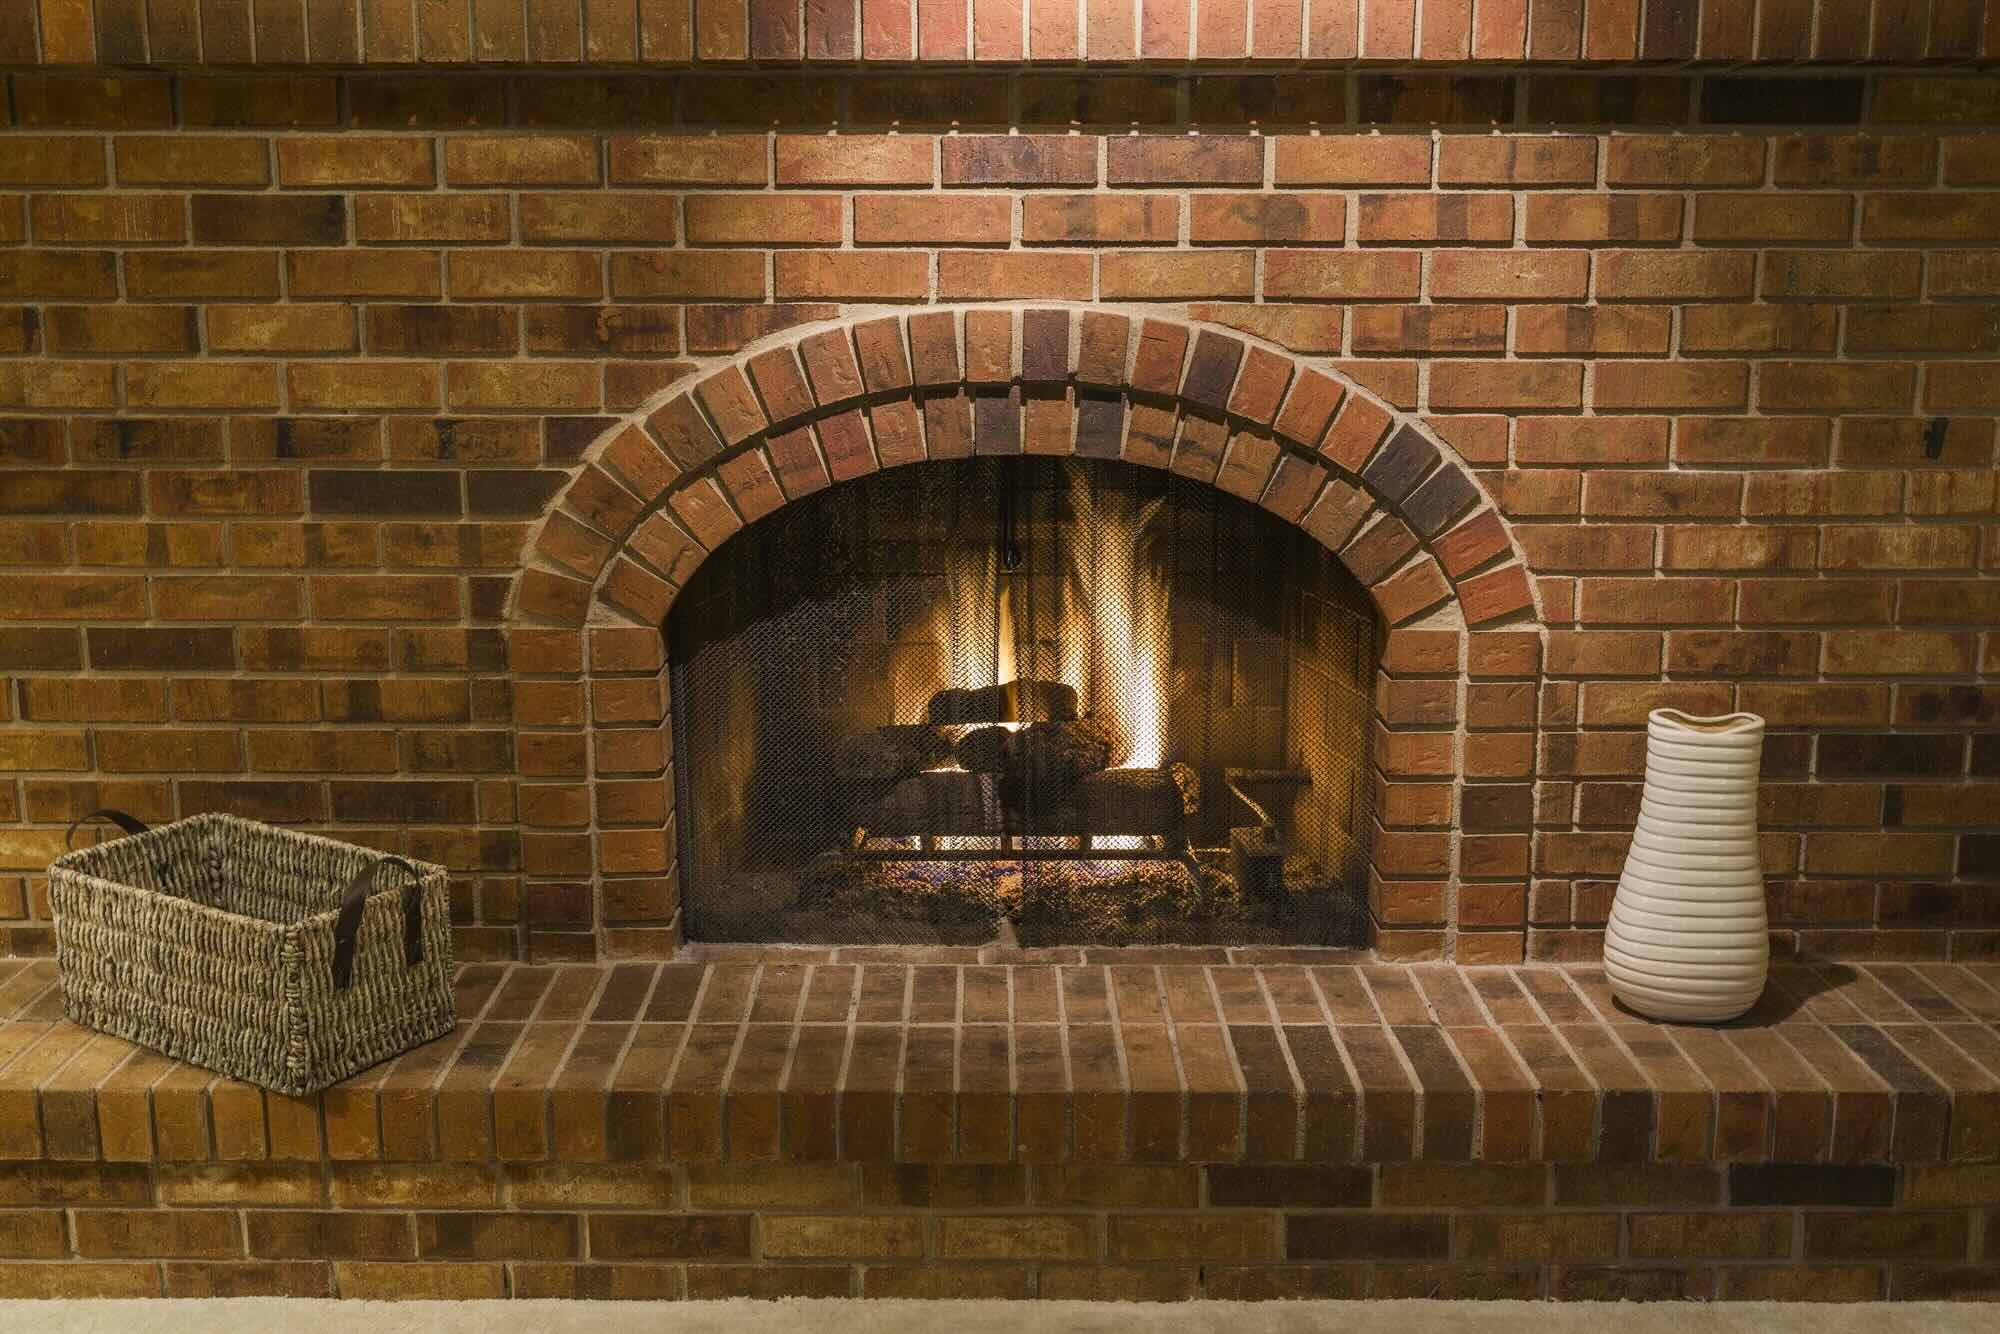
When dynabolts are installed in brick, they are typically secured using a hammer drill and a masonry bit to create precise holes. The expansion clip is then inserted into the hole, and as the bolt is tightened, the clip expands, creating a tight grip within the brick. This secure attachment makes dynabolts ideal for mounting heavy items, such as shelves, brackets, or fixtures, to brick walls.
Understanding the composition of dynabolts and the properties of brick is essential for successful removal. It’s crucial to approach the removal process with care and precision to avoid damaging the brick surface or compromising its structural integrity.
By gaining insight into the dynamics of dynabolts and the characteristics of brick, you can effectively plan and execute the removal process, ensuring that the brick wall remains intact and ready for any future modifications or installations.
Tools and Materials Needed
Before embarking on the task of removing dynabolts from brick, it’s essential to gather the necessary tools and materials to ensure a smooth and efficient process. Here’s a comprehensive list of items you will need:
Tools:
- Hammer Drill: A power tool equipped with a masonry bit for drilling into brick.
- Adjustable Wrench: Used for loosening and removing the nuts securing the dynabolts.
- Flathead Screwdriver: Helpful for prying out washer components and assisting in the removal process.
- Wire Brush: Ideal for cleaning debris and residue from the drilled holes after removing the dynabolts.
- Power Vacuum: Useful for removing dust and debris from the drilled holes, ensuring a clean surface for subsequent steps.
- Masonry Chisel: Required for gently tapping the dynabolts out of the brick after the nuts and washers have been removed.
- Safety Glasses and Gloves: Essential for protecting your eyes and hands during the removal process.
Materials:
- Replacement Brick or Mortar (if necessary): In case the removal process causes damage to the brick or mortar, having replacement materials on hand is advisable.
- Patching Compound: Used to fill any holes or gaps left behind after the dynabolts are removed, ensuring a smooth and uniform surface.
- Clean Cloth or Rag: For wiping down the area and ensuring it is free of dust and debris before patching the holes.
- All-Purpose Cleaner: Helpful for removing any stubborn residue or marks left on the brick surface after the dynabolts are removed.
- Penetrating Oil (Optional): Useful for lubricating stubborn or rusted dynabolts to ease the removal process.
By assembling these tools and materials, you will be well-prepared to tackle the task of removing dynabolts from brick walls. Having the right equipment at your disposal ensures that the process is carried out efficiently and with minimal disruption, allowing you to proceed with your project smoothly.
Read more: How To Remove Graffiti From Brick
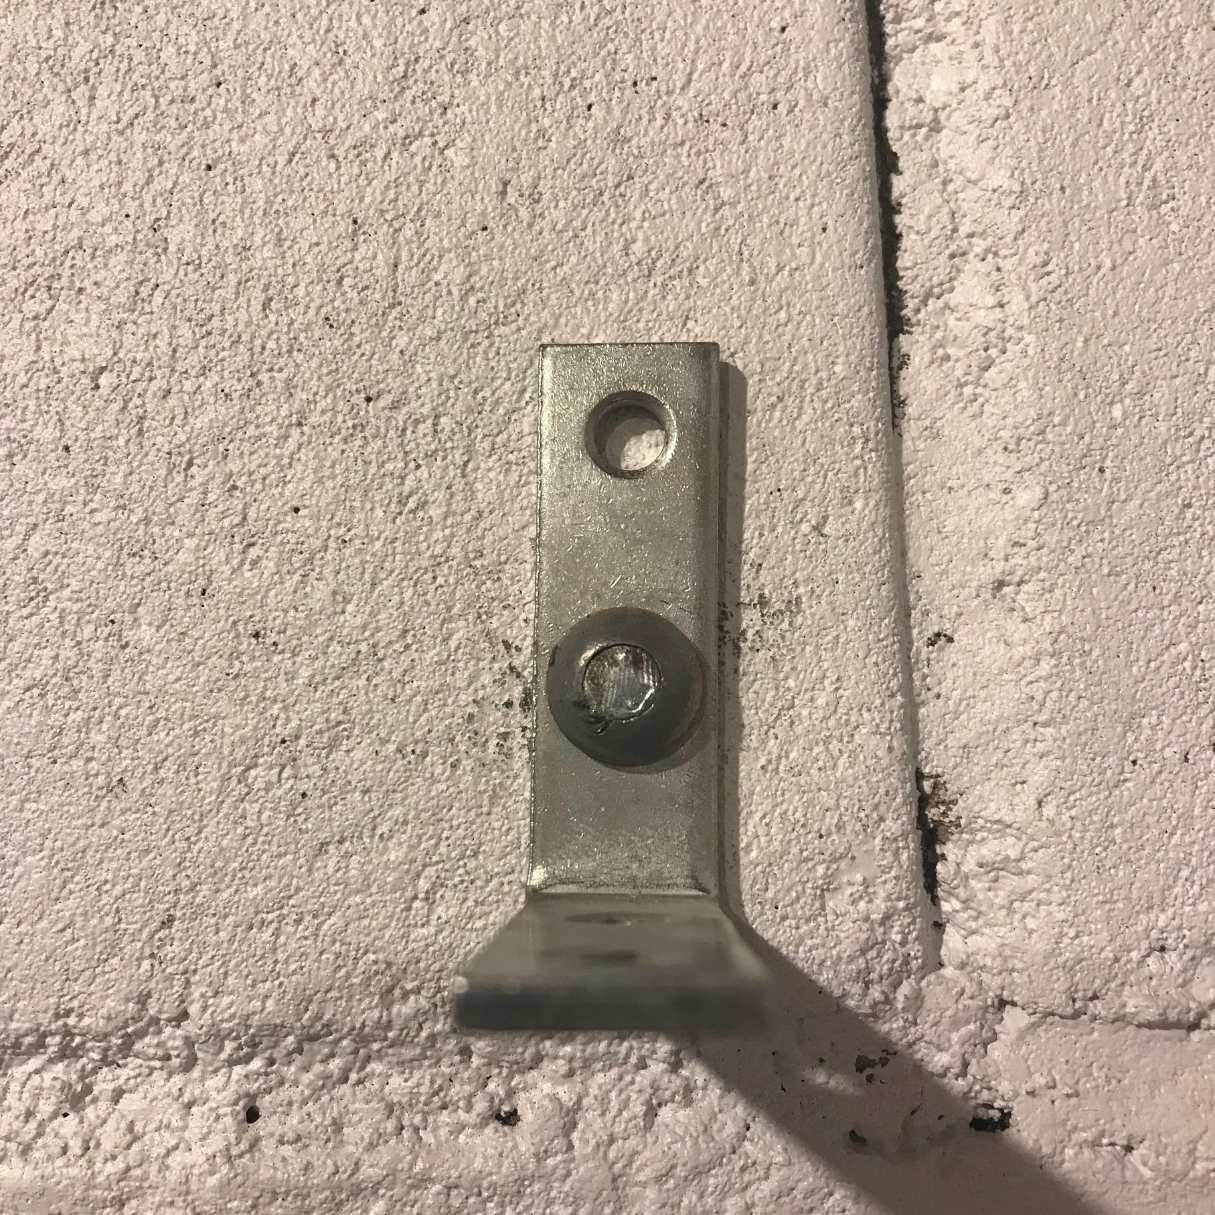
Step 1: Inspecting the Dynabolts
Before initiating the removal process, it’s crucial to thoroughly inspect the dynabolts and their surrounding area. This initial assessment will provide valuable insights into the condition of the fasteners and the best approach for their removal.
Start by carefully examining the dynabolts, paying attention to any signs of corrosion, rust, or damage. If the fasteners show significant signs of deterioration, such as rusted threads or weakened components, it may be necessary to take additional precautions during the removal process.
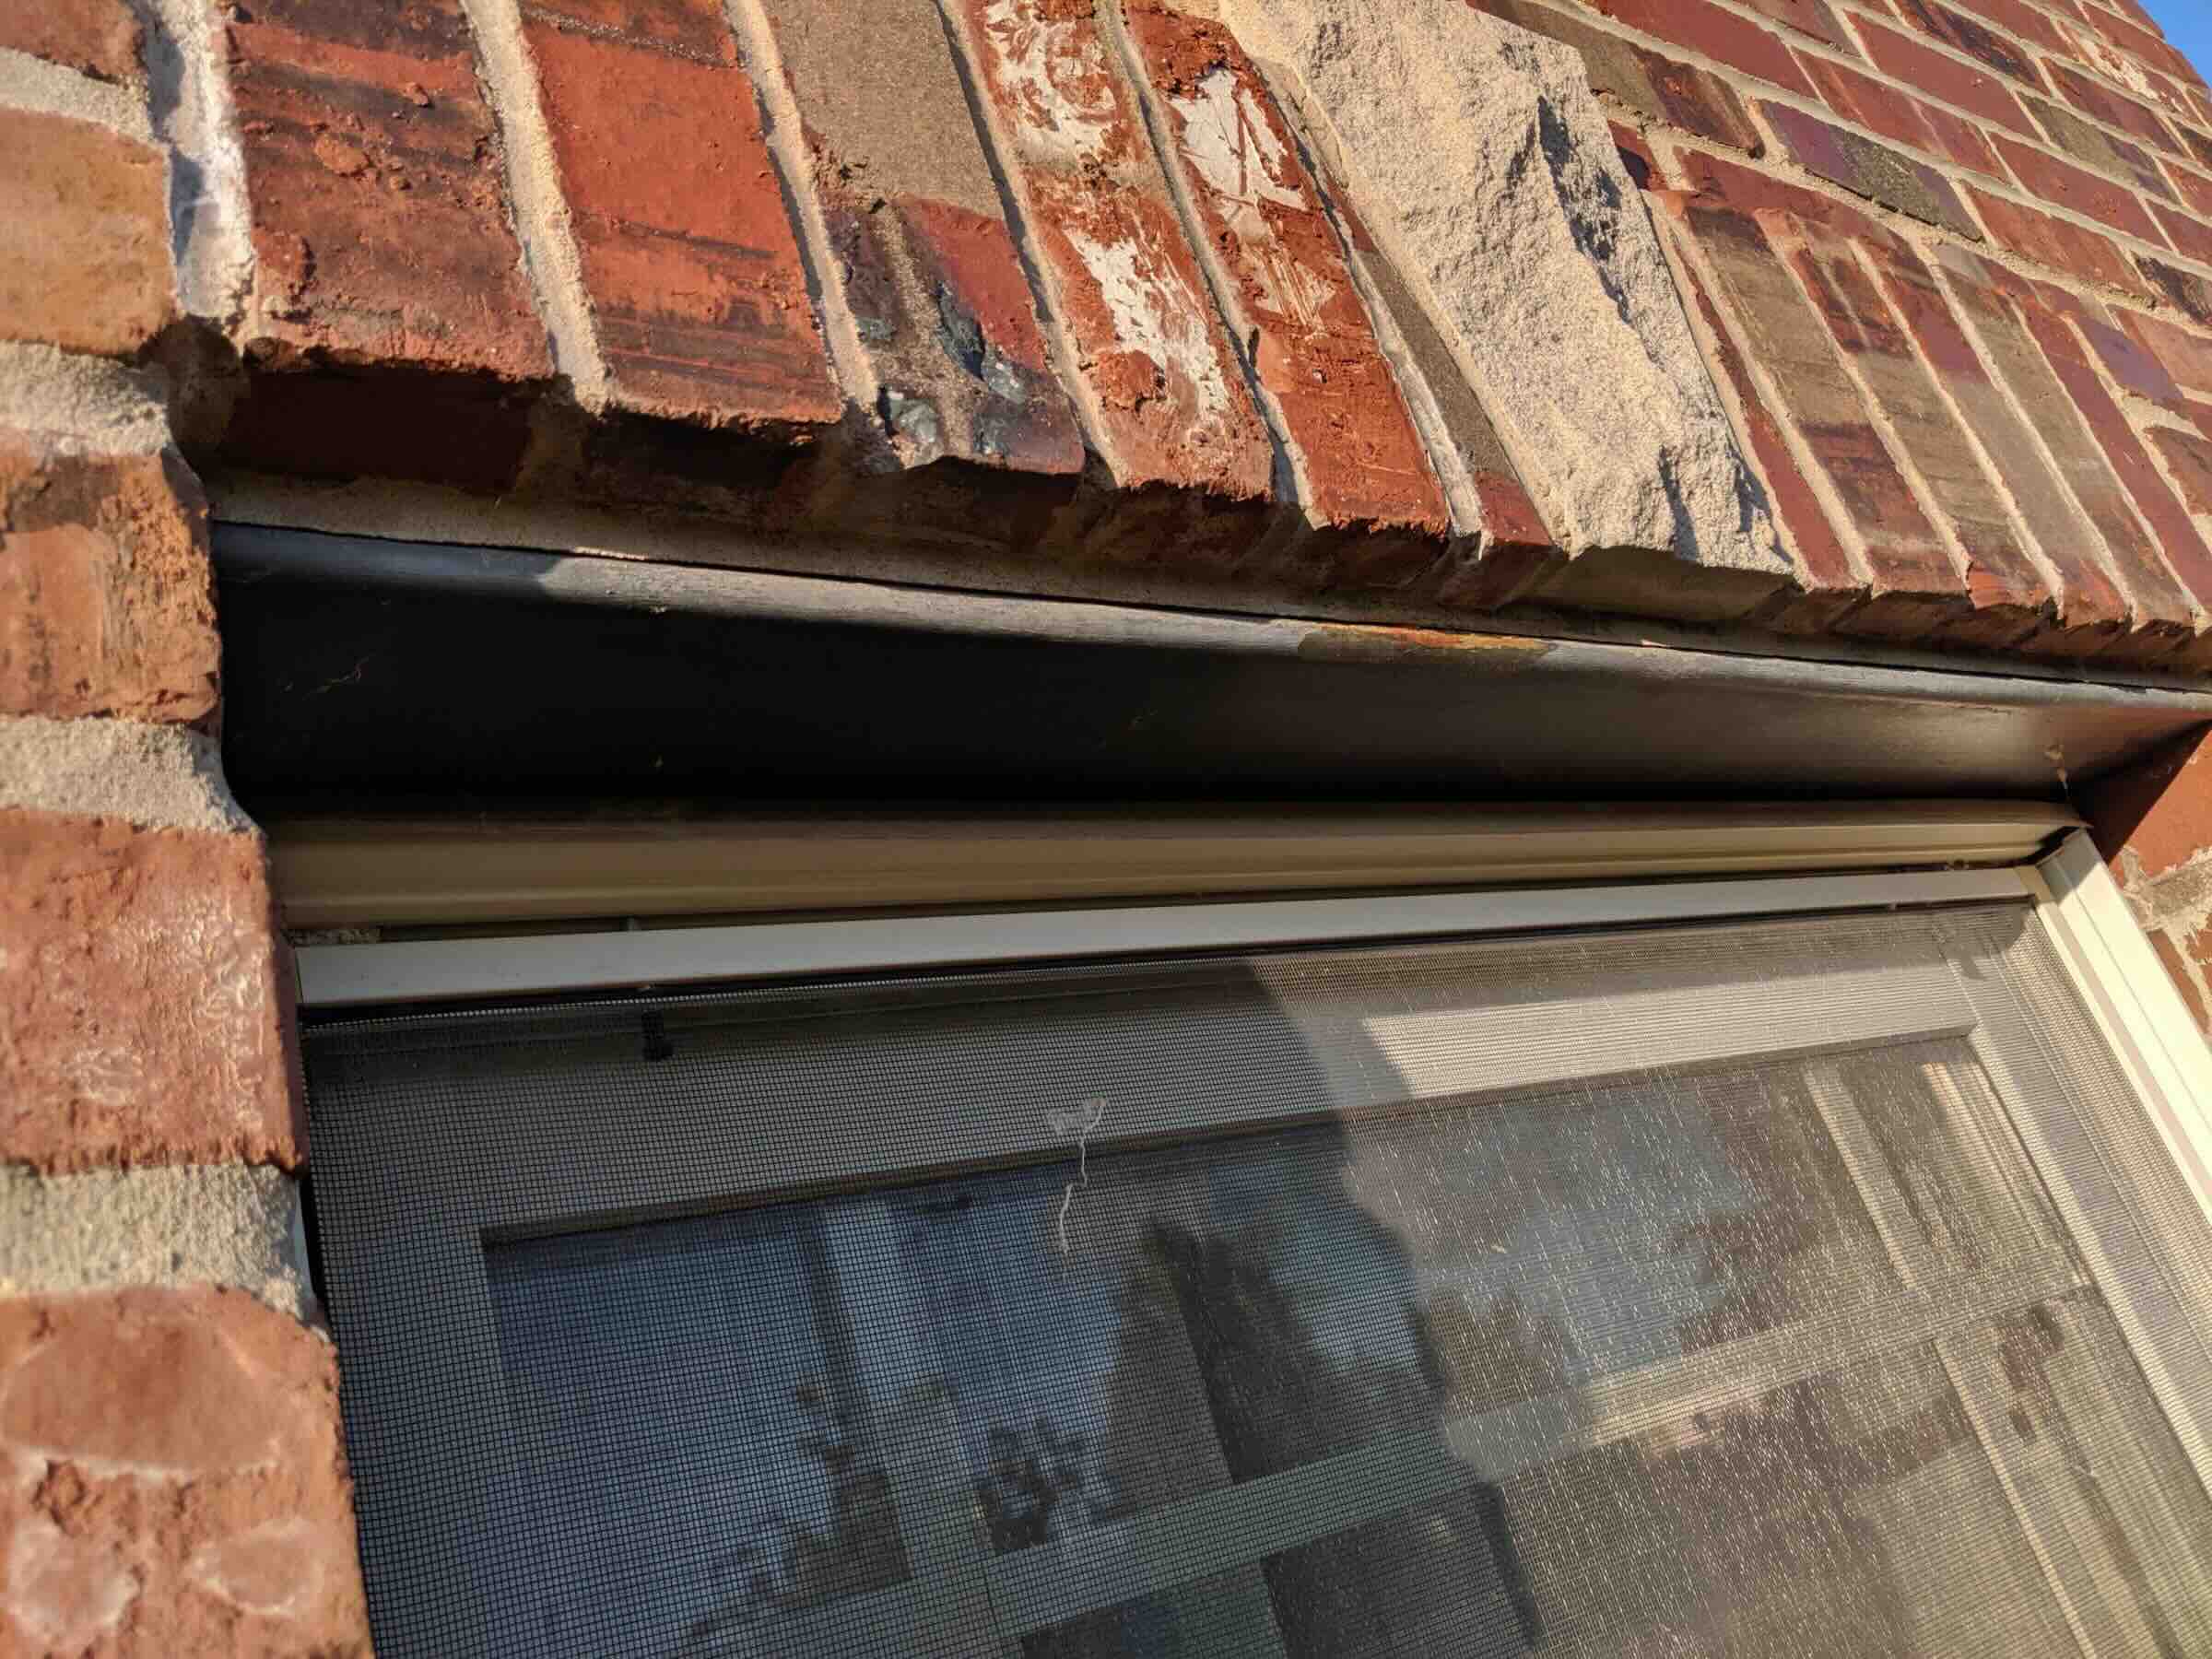
Next, assess the surrounding brick surface. Look for any cracks, chips, or damage that may have occurred during the installation of the dynabolts. It’s essential to ensure that the brick is structurally sound and free from any pre-existing issues that could impact the removal process.
Additionally, check for any obstructions or obstacles near the dynabolts, such as electrical wiring or plumbing fixtures. Ensuring that the area is clear and safe for the removal process is vital for preventing accidents and maintaining a smooth workflow.
If the dynabolts are installed in an area with visible mortar joints, assess the condition of the mortar surrounding the fasteners. Loose or deteriorating mortar may require attention during the removal process to ensure that the brick wall remains structurally sound and aesthetically pleasing.
By thoroughly inspecting the dynabolts and their surroundings, you can identify any potential challenges or issues that may arise during the removal process. This proactive approach allows you to plan accordingly and take the necessary precautions to ensure a successful and safe removal of the dynabolts from the brick wall.
Step 2: Removing the Nut and Washer
Once you have completed the inspection and are ready to proceed with the removal process, the next step involves removing the nut and washer components that secure the dynabolts in place. This step is essential for preparing the fasteners for extraction from the brick wall.
Begin by using an adjustable wrench to loosen and remove the nut that is threaded onto the exposed end of the dynabolt. Turn the wrench counterclockwise to gradually loosen the nut, taking care not to apply excessive force that could cause damage to the surrounding area.
After the nut has been removed, you will typically find a washer situated beneath it. Use a flathead screwdriver to carefully pry the washer away from the surface, ensuring that it is fully detached from the dynabolt. Gently work the screwdriver beneath the washer, leveraging it away from the brick to release it from the fastener.
It’s important to exercise caution and patience during this process, especially if the washer shows signs of being firmly attached. Applying excessive force to remove the washer could lead to damage to the brick surface, so take your time and work methodically to release the washer without causing any harm.
Once the nut and washer have been successfully removed, set them aside in a safe place for future use or disposal. With these components detached, the dynabolts are now prepared for the next phase of the removal process, allowing you to proceed with confidence and precision.
By carefully removing the nut and washer components, you are one step closer to successfully extracting the dynabolts from the brick wall. This systematic approach ensures that the fasteners are properly prepared for extraction, setting the stage for a smooth and efficient removal process.
To remove dynabolts from brick, use a hammer and chisel to carefully chip away at the surrounding material. Once the dynabolt is exposed, use a wrench to unscrew it from the brick.
Step 3: Removing the Dynabolts
With the nut and washer components successfully removed, the next critical step in the process of extracting dynabolts from brick involves the careful removal of the fasteners themselves. This step requires precision and attention to detail to ensure that the brick wall remains undamaged throughout the extraction process.
To begin, assess the condition of the exposed dynabolts. If the fasteners show signs of corrosion or rust, consider applying a penetrating oil to the threaded portion of the bolts. This lubrication can help loosen stubborn dynabolts, making them easier to remove without causing damage to the surrounding brick.
Using a hammer drill equipped with a masonry bit slightly larger than the diameter of the dynabolts, carefully drill around the fasteners to create space for their extraction. Exercise caution to avoid drilling too deeply, as this could compromise the integrity of the brick wall.
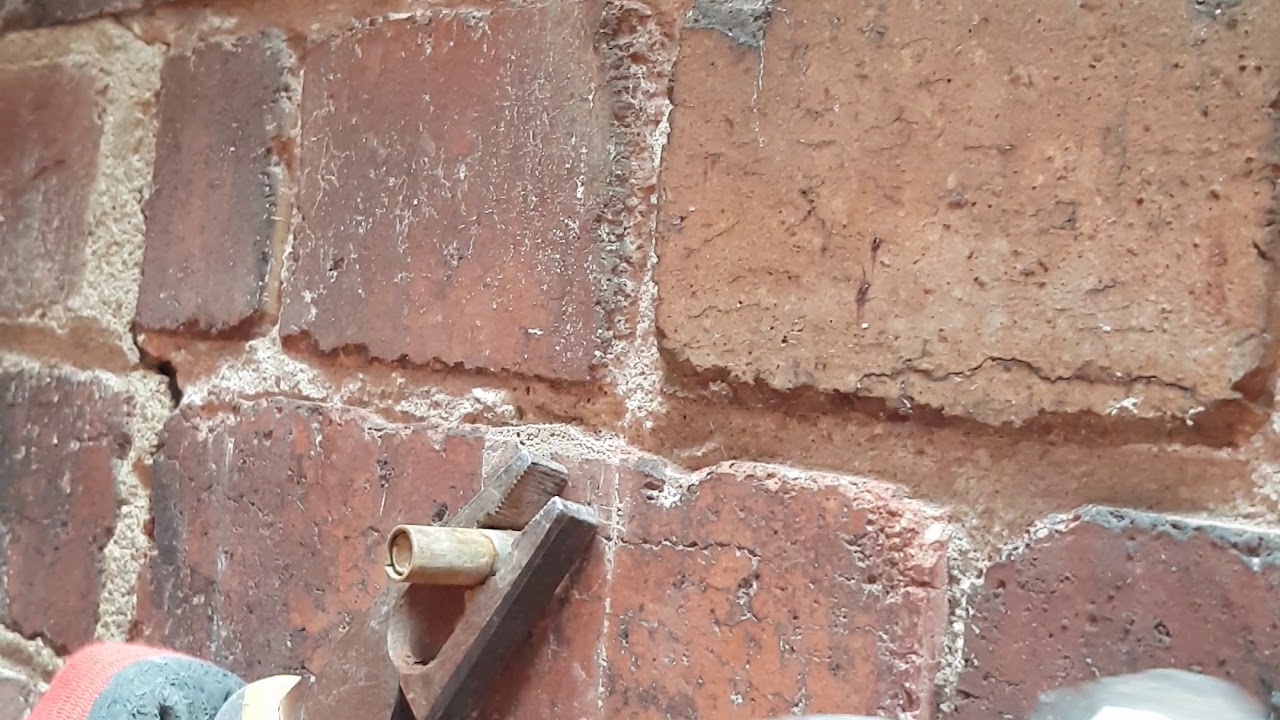
Once the area around the dynabolts has been prepared, use a masonry chisel and hammer to gently tap the fasteners, gradually coaxing them out of the drilled holes. Apply consistent but controlled pressure, working around the circumference of each dynabolt to facilitate its release from the brick.
If the dynabolts prove to be resistant to extraction, consider using a pair of locking pliers to grip the exposed portion of the fasteners, providing additional leverage to aid in their removal. Take care to apply pressure evenly to avoid causing damage to the surrounding brick surface.
As the dynabolts are gradually loosened and extracted, continue to inspect the surrounding area for any signs of damage or stress on the brick. If any issues are identified, take the necessary precautions to address them, ensuring that the structural integrity of the brick wall is maintained throughout the extraction process.
By methodically removing the dynabolts from the brick wall, you can complete this crucial step with confidence, knowing that the fasteners have been safely extracted without compromising the integrity of the surrounding area. This meticulous approach sets the stage for the final phase of the removal process, allowing you to proceed with the necessary steps to restore the brick wall to its original condition.
Step 4: Patching the Holes
After successfully removing the dynabolts from the brick wall, the final step in the process involves patching the holes left behind to restore the surface to its original condition. This essential task ensures that the brick wall maintains its structural integrity and aesthetic appeal, allowing you to proceed with any subsequent installations or modifications with confidence.
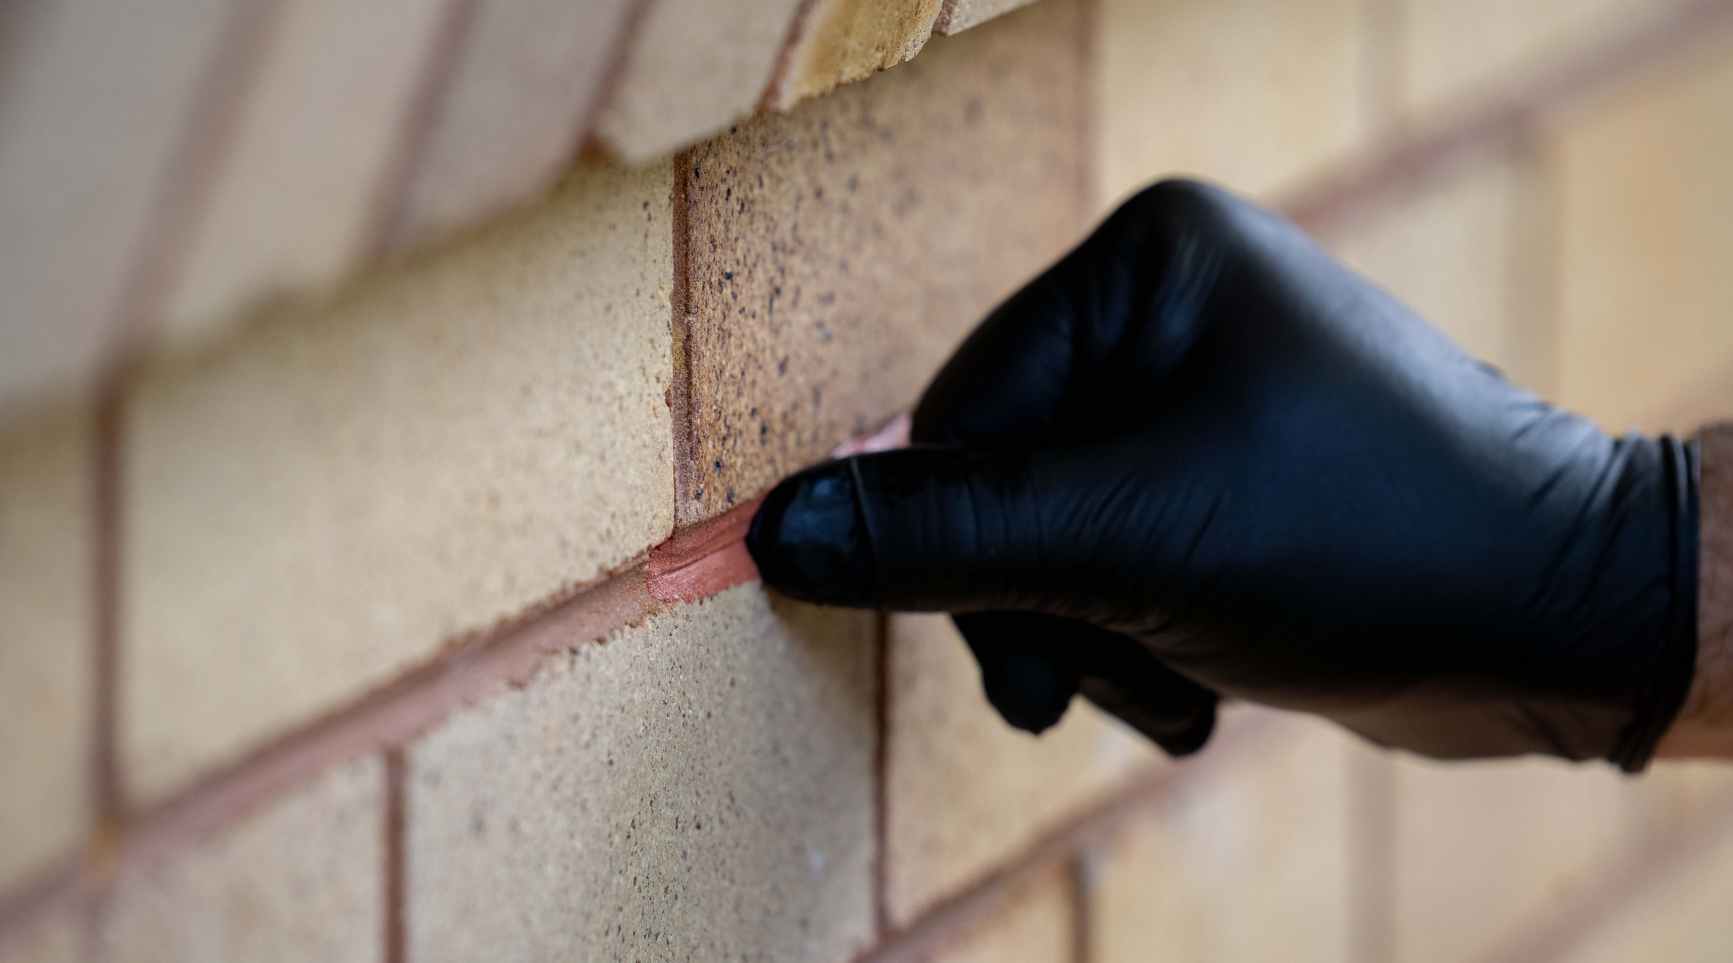
Start by using a wire brush to clean the interior of the drilled holes, removing any debris, dust, or residue that may have accumulated during the removal process. This step is crucial for creating a clean and uniform surface for the patching compound to adhere to, ensuring a seamless finish.
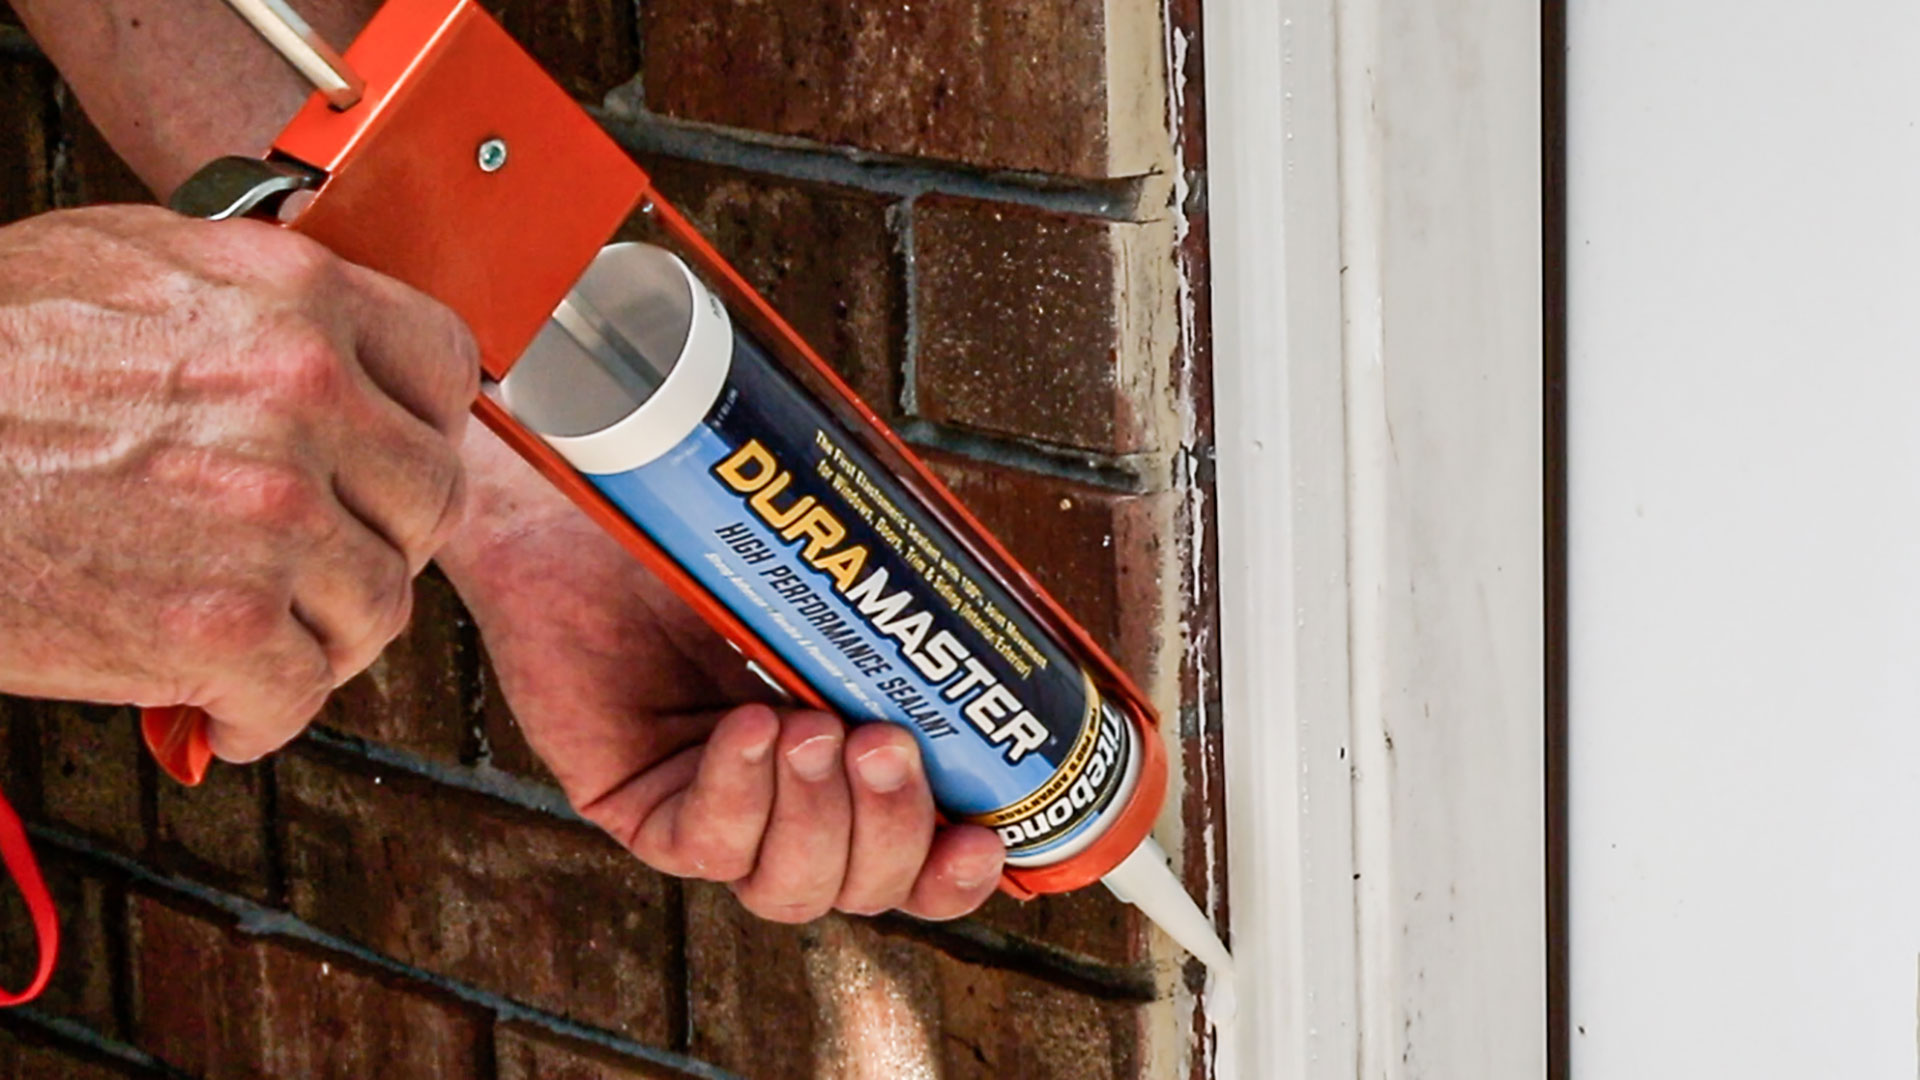
Next, prepare the patching compound according to the manufacturer’s instructions, ensuring that it is mixed to the appropriate consistency for filling the holes left by the extracted dynabolts. Using a putty knife or trowel, carefully apply the compound to each hole, smoothing it out to create a level surface that blends seamlessly with the surrounding brick.
As the patching compound sets, use a clean cloth or rag to wipe away any excess material, ensuring that the patched areas are flush with the surrounding brick surface. This meticulous attention to detail helps create a uniform and professional finish, restoring the wall to its original state.
Once the patching compound has fully cured, inspect the patched areas to ensure that they are structurally sound and visually consistent with the rest of the brick wall. If necessary, lightly sand the patched areas to achieve a smooth and even texture that seamlessly integrates with the surrounding surface.
Finally, consider applying an all-purpose cleaner to the patched areas to remove any residual marks or blemishes, ensuring that the brick wall maintains its pristine appearance. This finishing touch adds a polished look to the patched holes, creating a seamless transition that enhances the overall aesthetics of the wall.
By meticulously patching the holes left by the extracted dynabolts, you can complete the removal process with confidence, knowing that the brick wall has been restored to its original condition. This final step sets the stage for any future installations or modifications, allowing you to proceed with your projects while maintaining the integrity and beauty of the brick wall.
Read more: How To Remove Cement From Brick
Conclusion
Removing dynabolts from brick walls requires careful planning, precision, and the right tools and techniques. By following the step-by-step process outlined in this guide, you can safely and effectively extract dynabolts without compromising the integrity of the brick surface. Understanding the components of dynabolts and the properties of brick is essential for executing the removal process with confidence and precision.
Thoroughly inspecting the dynabolts and their surroundings allows you to identify potential challenges and take the necessary precautions to ensure a smooth removal process. By carefully removing the nut and washer components, you prepare the dynabolts for extraction, setting the stage for the meticulous removal process.
Removing the dynabolts from the brick wall requires patience and attention to detail, ensuring that the fasteners are extracted without causing damage to the surrounding area. By methodically tapping, coaxing, and, if necessary, leveraging the dynabolts, you can safely remove them, preparing the surface for the final restoration phase.
Patching the holes left by the extracted dynabolts is a critical step in the process, ensuring that the brick wall is restored to its original condition. By cleaning, applying, and smoothing the patching compound, you create a seamless finish that seamlessly integrates with the surrounding brick, maintaining the structural integrity and visual appeal of the wall.
With the completion of the removal and patching process, the brick wall is ready for any future installations or modifications, allowing you to proceed with your projects with confidence. By following these guidelines, you can navigate the task of removing dynabolts from brick walls with ease, ensuring that the integrity and beauty of the brick surface are preserved throughout the process.
Whether you are renovating a space, making repairs, or adapting to new design requirements, the ability to safely and effectively remove dynabolts from brick walls empowers you to proceed with your projects while maintaining the structural and aesthetic integrity of the surrounding surfaces.
Frequently Asked Questions about How To Remove Dynabolts From Brick
Was this page helpful?
At Storables.com, we guarantee accurate and reliable information. Our content, validated by Expert Board Contributors, is crafted following stringent Editorial Policies. We're committed to providing you with well-researched, expert-backed insights for all your informational needs.


0 thoughts on “How To Remove Dynabolts From Brick”