Home>Craft Storage>How To Make A Kid’s Weather Instrument
Craft Storage
How To Make A Kid’s Weather Instrument
Modified: August 16, 2024
Discover fun and educational articles on how to make a kids weather instrument. Engage your children in hands-on learning while exploring the fascinating world of meteorology.
(Many of the links in this article redirect to a specific reviewed product. Your purchase of these products through affiliate links helps to generate commission for Storables.com, at no extra cost. Learn more)
Introduction
Welcome to the wonderful world of weather! Learning about the weather is not only fascinating but also helps kids understand the science behind natural phenomena. One exciting way to engage children in weather exploration is by making a weather instrument together. By constructing their own weather instrument, kids can observe and measure various weather elements, such as temperature, wind direction, and rainfall.
In this article, we will guide you through the process of creating a DIY kids weather instrument. We will cover the construction of a thermometer to measure temperature, a wind vane to determine wind direction, and a rain gauge to track rainfall. By the end of this project, your little ones will have their very own weather station!
Before we dive into the details, let’s take a look at what materials you will need for this fun and educational activity.
Key Takeaways:
- Engage kids in weather exploration by creating DIY weather instruments. Foster curiosity, scientific inquiry, and critical thinking while observing temperature, wind direction, and rainfall.
- Encourage hands-on learning with homemade weather instruments. Spark a passion for meteorology and scientific discovery while fostering a deeper appreciation for the natural world.
Read also: 9 Amazing Weather Instrument for 2025
Materials Needed
Gathering the necessary materials for this DIY weather instrument project is quite simple. You may already have most of them lying around the house. Here’s a list of what you’ll need:
- A clear plastic bottle with a lid (to make the thermometer)
- A straw or dowel
- A small plastic cup
- A pencil with an eraser
- A ruler or tape measure
- A compass (optional)
- Scissors
- Hot glue or strong adhesive
- Markers or paint
- A rain gauge (optional)
- Waterproof tape or a plastic bag (for the rain gauge)
Once you have gathered these materials, it’s time to start building your very own weather instrument. Let’s get started!
Step 1: Building the Thermometer
The thermometer is a vital component of any weather instrument as it measures the temperature. Here’s how you can build a homemade thermometer:
- Take the clear plastic bottle and remove the label. Make sure the bottle is clean and dry.
- Using a marker or paint, draw a straight line vertically on the bottle, representing the temperature scale. Start from the bottom and label the line with increments of temperature, such as 0°C at the bottom, 10°C, 20°C, and so on, as high as you like.
- Fill the bottle with water almost to the brim. Leave a small space at the top for expansion.
- Place the lid on the bottle tightly to prevent any leakage.
- Take the straw or dowel and insert it into the bottle through the lid, ensuring that it reaches the water.
- Use hot glue or strong adhesive to secure the straw or dowel in place. Allow it to dry completely.
- Attach the pencil eraser to the top end of the straw or dowel. This will act as the pointer to indicate the temperature.
- Find a spot to place your thermometer where it won’t be exposed to direct sunlight or other heat sources.
- As the temperature changes, the water level inside the straw or dowel will rise or fall, indicating the temperature on the scale.
Congratulations! You have successfully built a homemade thermometer to measure the temperature. Now, let’s move on to the next step in creating our weather instrument.
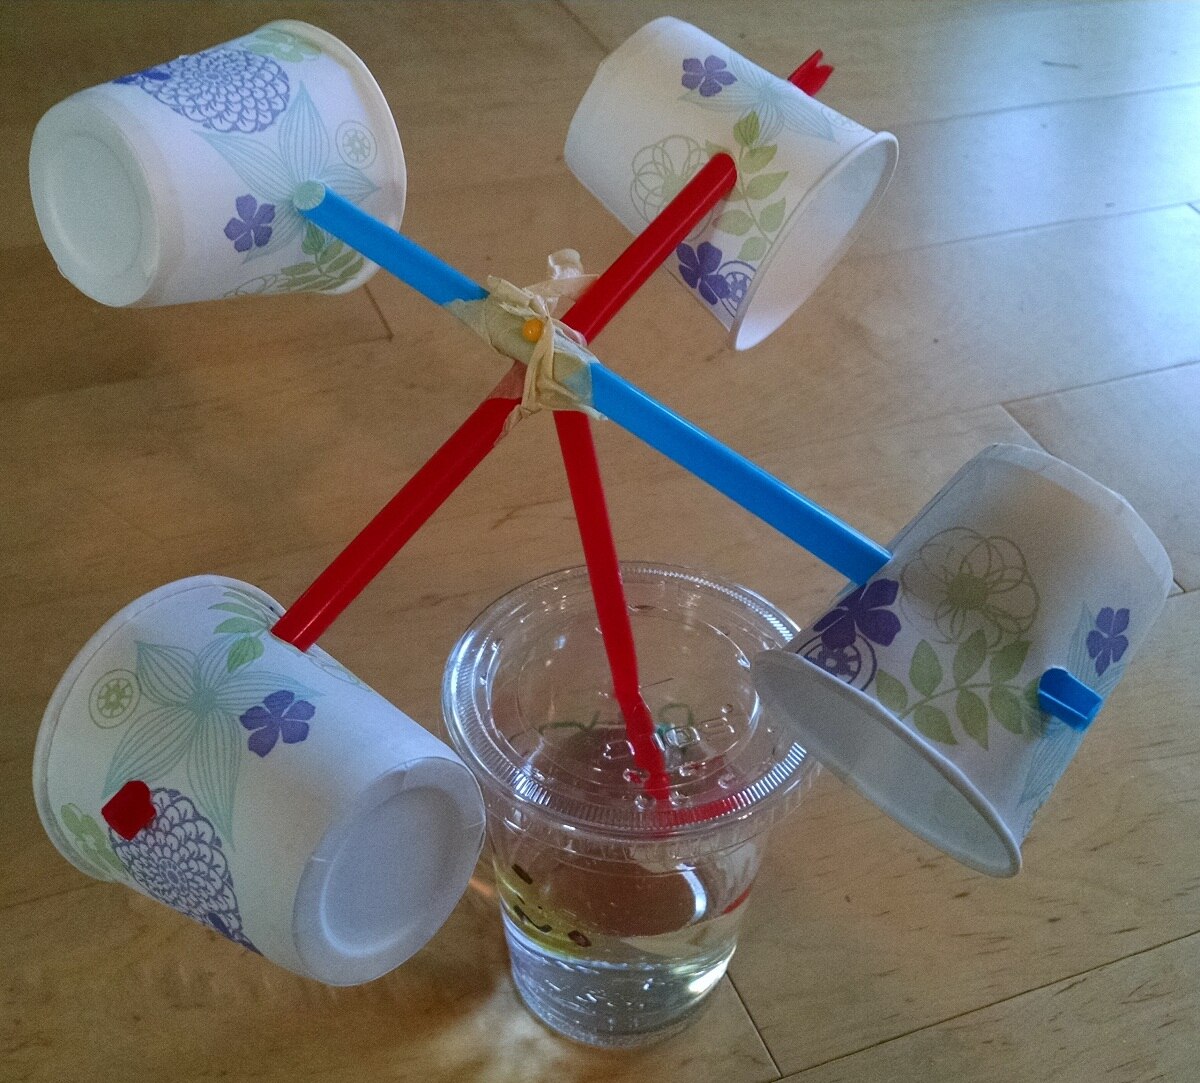
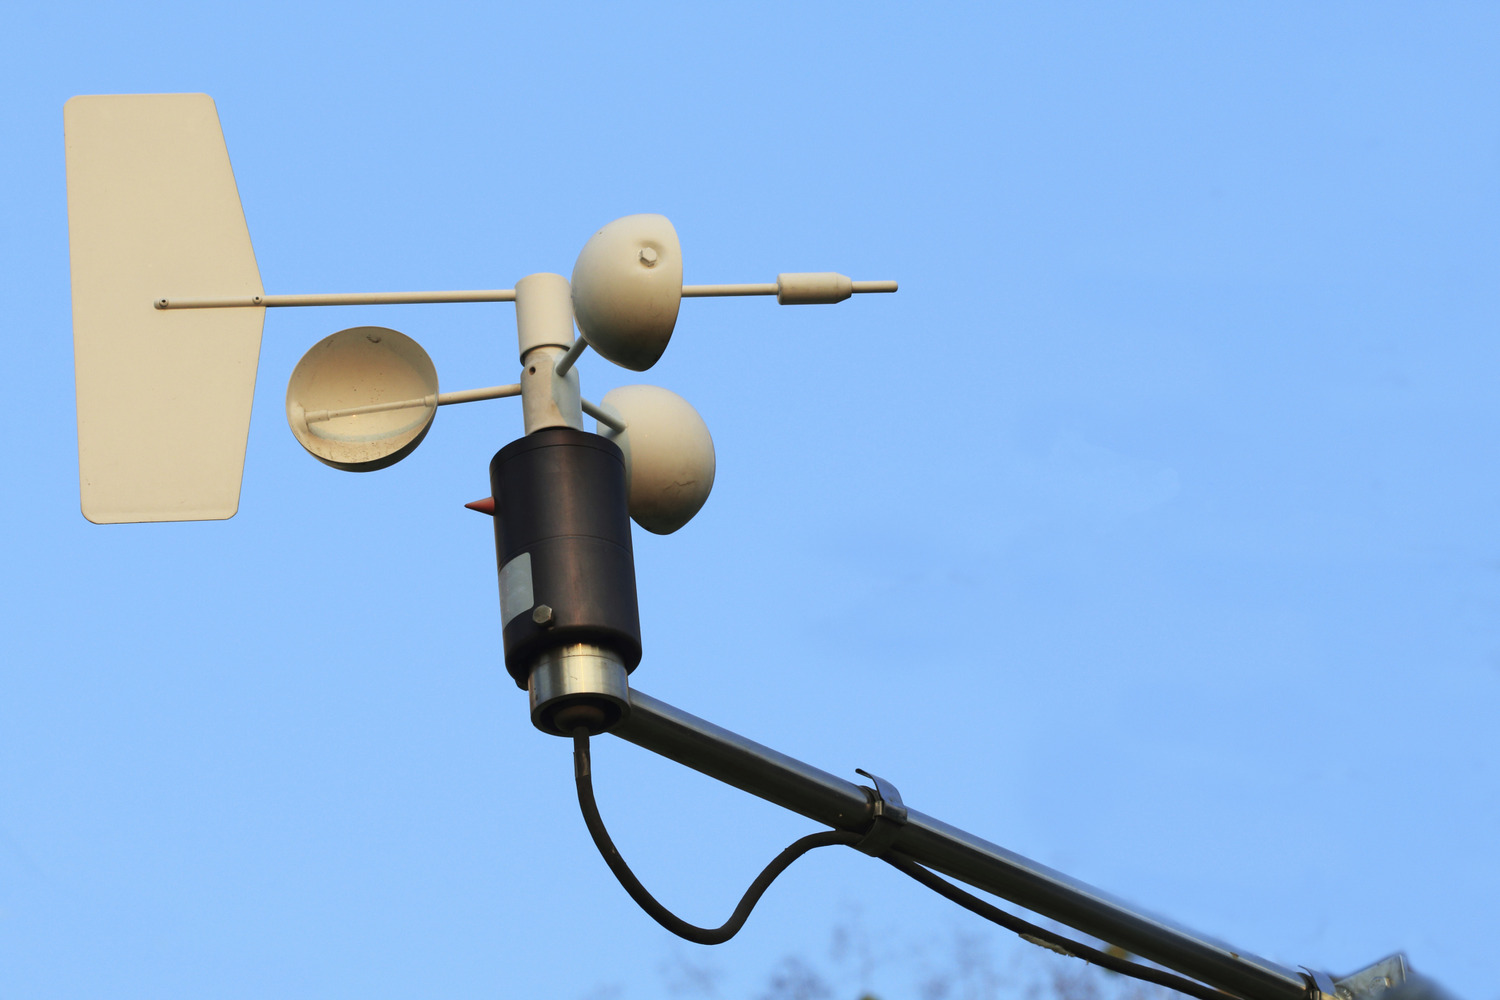
Step 2: Creating the Wind Vane
A wind vane is a crucial part of a weather instrument as it helps determine the direction of the wind. Here’s how you can create your own wind vane:
- Start by cutting a small arrow shape out of cardboard or sturdy paper. This will serve as the indicator of wind direction.
- Using the ruler or tape measure, cut four equal-length strips of cardboard or heavy paper. These will form the arms of the wind vane.
- Take one of the strips and glue it vertically onto the center of the arrow shape. This will serve as the pointer.
- Glue the remaining three strips horizontally, crossing each other near the top end of the vertical strip. Ensure they are evenly spaced and form a “T” shape.
- Attach the completed wind vane to the top of a tall, sturdy dowel or pole using hot glue or strong adhesive. Make sure it is securely fixed and can rotate freely.
- Now it’s time to find the perfect spot for your wind vane. Choose an open area away from any obstructions, such as buildings or trees, so it can accurately indicate the wind direction.
- Observe the wind vane and note the direction the pointer is facing. You can use a compass to determine the exact wind direction if desired.
Great job! You have successfully created your own wind vane to determine the wind direction. Now, let’s move on to the next step to complete our weather instrument.
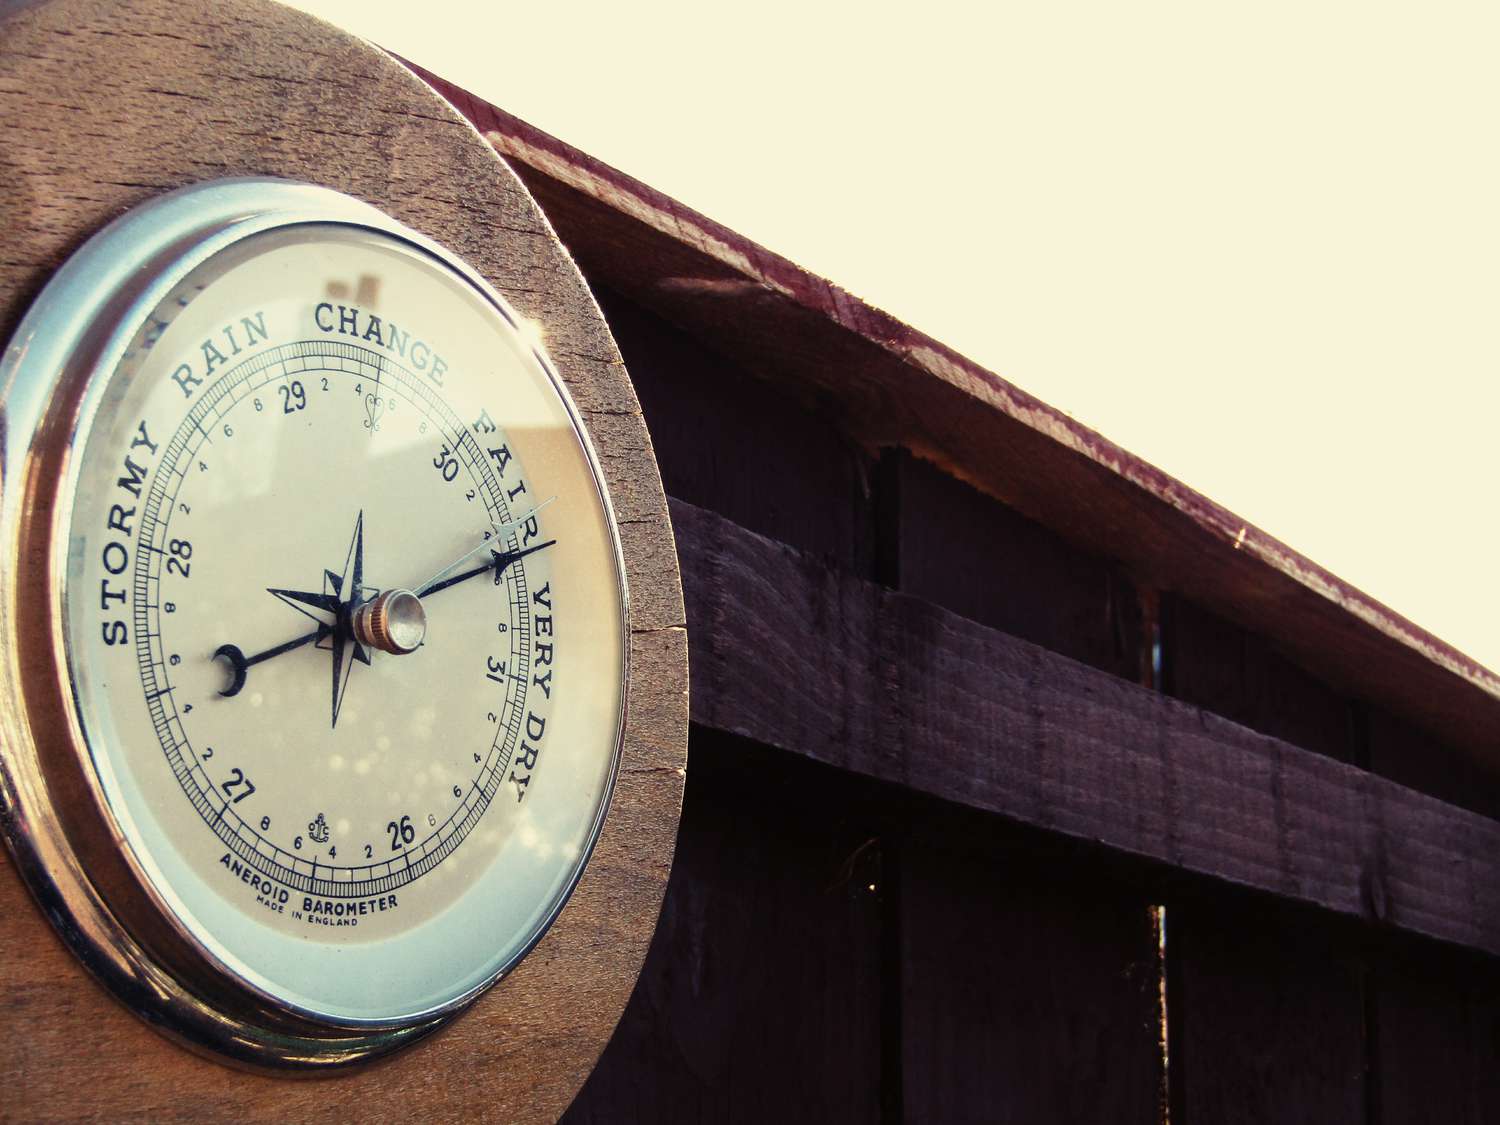
When making a kids weather instrument, use simple materials like a glass jar, a balloon, a rubber band, and a straw to create a barometer that can measure changes in air pressure.
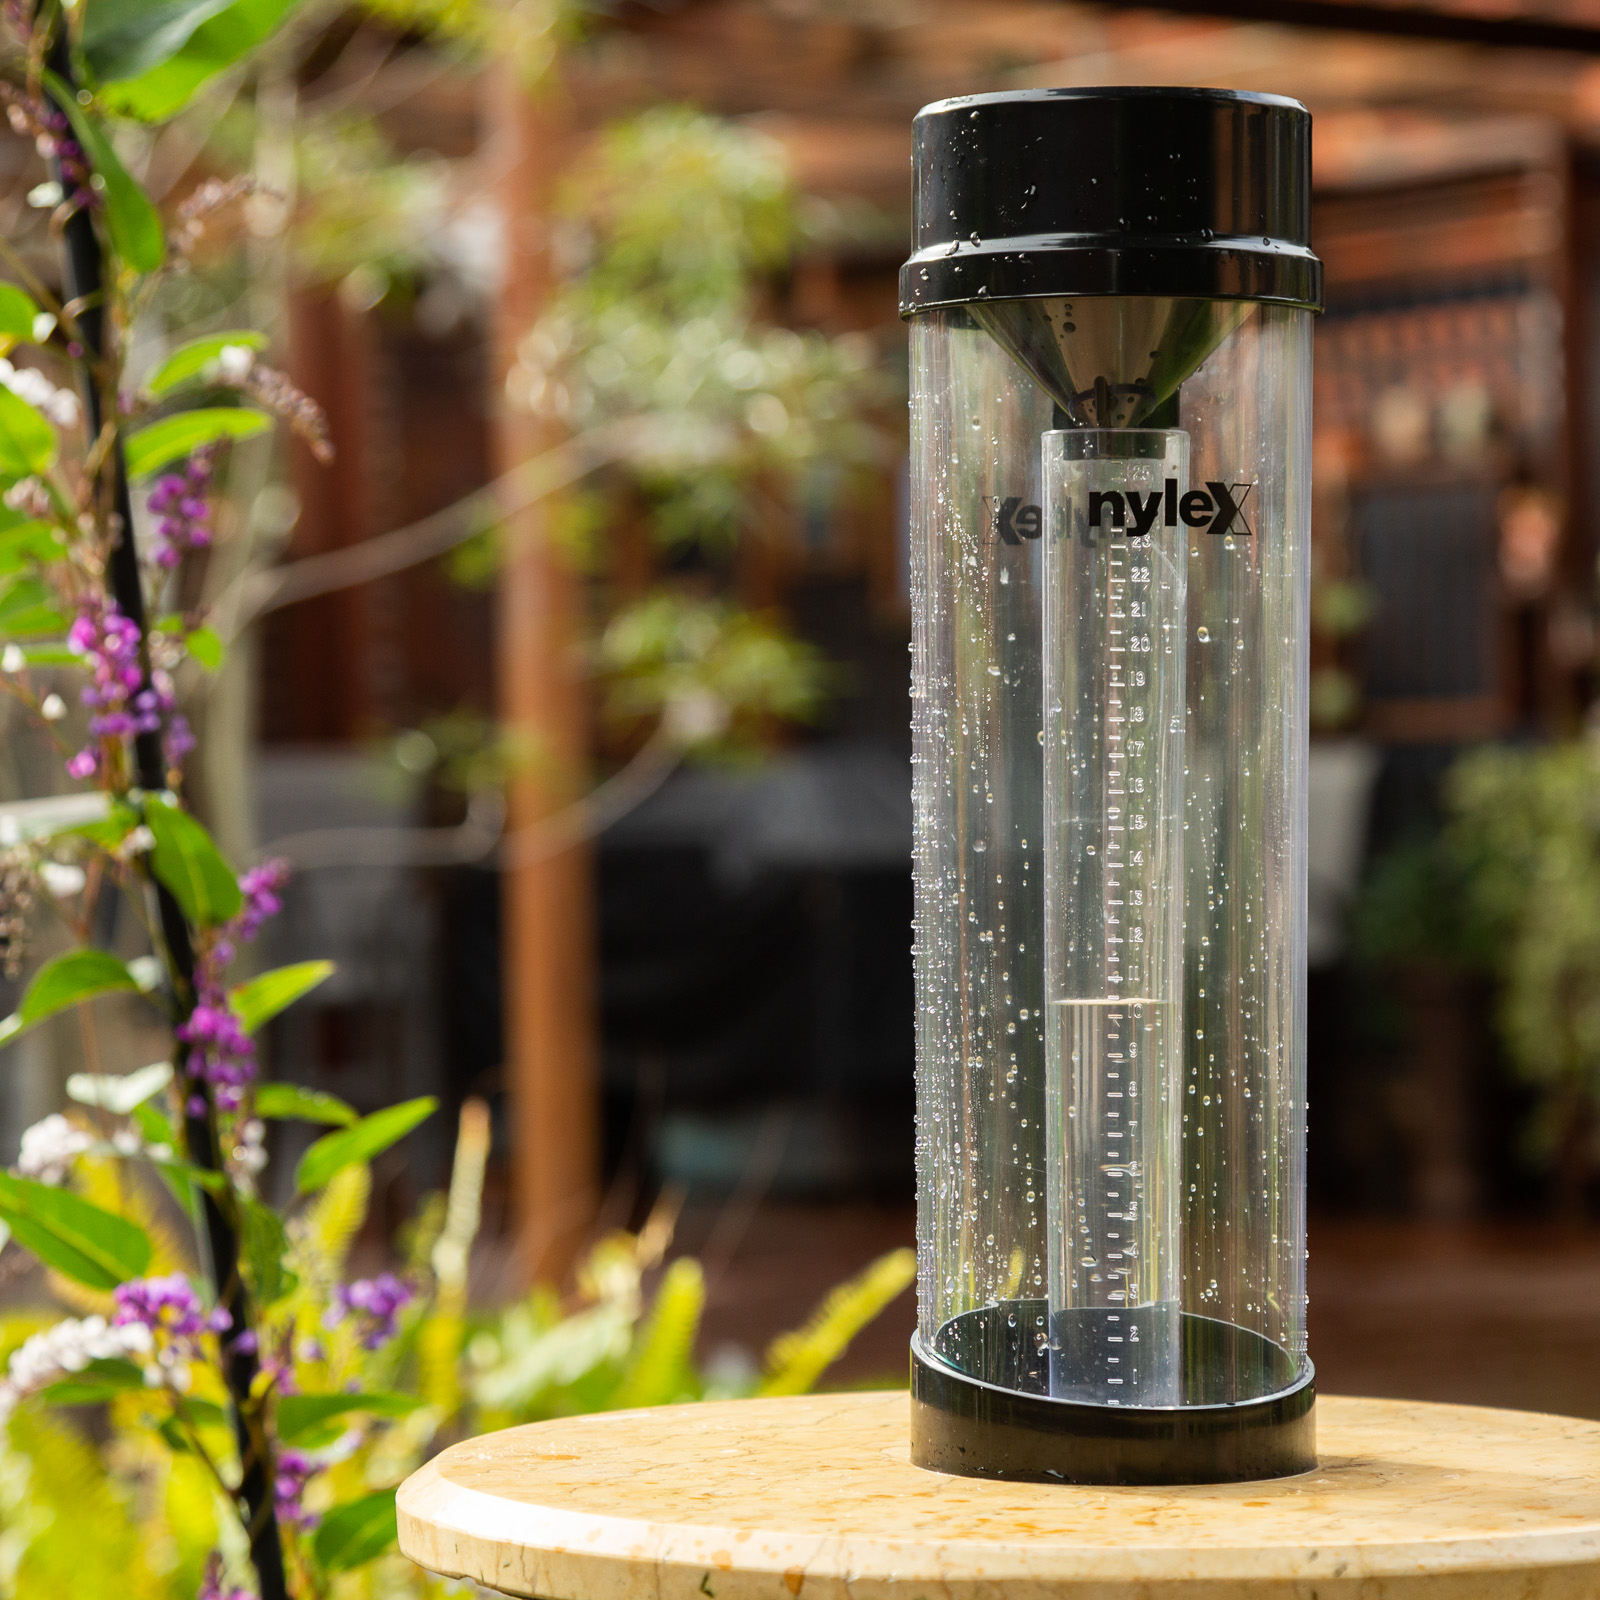
Step 3: Making the Rain Gauge
A rain gauge is an essential part of a weather instrument as it measures the amount of rainfall. Here’s how you can make your own rain gauge:
- Take a small plastic cup and remove any labels or stickers. Ensure that the cup has a straight, vertical shape.
- Using a ruler or tape measure, mark horizontal lines on the cup at regular intervals. These lines will help measure the amount of rainfall.
- Fill the cup with water almost to the brim.
- Place the cup in an open area where it will be exposed to rainfall without any obstructions above it.
- If you want to protect the cup from overflowing, you can attach a plastic bag or use waterproof tape to create a funnel shape on top of the cup. This will help collect water without allowing it to spill over.
- After a rainfall, carefully measure the amount of water collected in the cup by reading the height of the water level against the marked lines.
- Note down the measurement and empty the cup to prepare for future rainfall.
Well done! You have successfully created your own rain gauge to measure rainfall. Now, let’s move on to the final step to assemble all the components of our weather instrument.
Step 4: Assembling the Weather Instrument
Now that you have built the thermometer, wind vane, and rain gauge, it’s time to assemble the weather instrument using all the components. Here’s how you can do it:
- Find a sturdy base or platform where you can place the weather instrument. This could be a flat surface or even a small wooden board.
- Position the thermometer vertically on the base, ensuring that the water level is visible and the temperature scale is easily readable.
- Secure the thermometer in place using hot glue or strong adhesive.
- Attach the wind vane to the side of the base, making sure it is elevated and can rotate freely. Use hot glue or strong adhesive to secure the wind vane.
- If you have a rain gauge, place it next to the thermometer and wind vane, ensuring that it can collect rainfall without any obstructions.
- Make sure all the components are securely attached and positioned in a way that allows for easy observation and measurement.
- Once assembled, find a suitable location for your weather instrument, preferably outside in an area that is easily accessible.
- Encourage your kids to regularly check and record the readings from the thermometer, wind vane, and rain gauge.
- Discuss the observations and encourage them to analyze the data, noting any patterns or changes in weather conditions.
Congratulations! You have successfully assembled your homemade weather instrument. Now, your little ones can start their weather observations and learn more about the fascinating world of meteorology.
Remember, weather instruments like these provide valuable learning opportunities for kids to explore scientific concepts and develop a deeper understanding of the environment around them. Have fun, stay curious, and happy weather observing!
Conclusion
Creating a DIY weather instrument is not only a fun and engaging activity for kids but also a great way to introduce them to the fascinating world of weather and science. By building a thermometer, wind vane, and rain gauge, children can observe and measure different weather elements, such as temperature, wind direction, and rainfall, right in their own backyard.
Throughout the process, children learn important skills, such as following instructions, measuring, and problem-solving. They also develop a sense of curiosity and wonder as they explore the natural world around them.
With their very own weather instrument, kids can embark on a journey of weather exploration. They can make observations, record data, and start to understand the patterns and changes in weather conditions. This hands-on experience encourages critical thinking and scientific inquiry.
Moreover, engaging in weather-related activities helps children to understand the importance of weather forecasting and its impact on our daily lives. They become more aware of how weather conditions influence their environment and make connections between weather and natural phenomena.
So, gather the simple materials and follow the step-by-step instructions to create your own kids weather instrument. Building the thermometer, wind vane, and rain gauge will not only provide hours of fun, but also foster a deeper appreciation for the power and beauty of the natural world.
Encourage your little scientists to observe, measure, and analyze the weather using their homemade instrument. Who knows, they might even discover a passion for meteorology or become future weather forecasters!
So, let’s get started on this exciting weather adventure and let the exploration begin!
Frequently Asked Questions about How To Make A Kid's Weather Instrument
Was this page helpful?
At Storables.com, we guarantee accurate and reliable information. Our content, validated by Expert Board Contributors, is crafted following stringent Editorial Policies. We're committed to providing you with well-researched, expert-backed insights for all your informational needs.


0 thoughts on “How To Make A Kid’s Weather Instrument”