
Articles
How Do You Make A Weather Instrument
Modified: January 6, 2024
Learn how to make a weather instrument with our informative articles. Discover step-by-step instructions and useful tips to create your own at home.
(Many of the links in this article redirect to a specific reviewed product. Your purchase of these products through affiliate links helps to generate commission for Storables.com, at no extra cost. Learn more)
Introduction
Welcome to the fascinating world of weather instruments! If you’ve ever been curious about the weather patterns in your area or wanted to measure atmospheric conditions yourself, then you’re in the right place. In this article, we will explore the different types of weather instruments, guide you in selecting the right one for your needs, and even show you how to build your own.
Weather instruments play a crucial role in understanding and predicting weather patterns. They help meteorologists and weather enthusiasts gather data on temperature, humidity, atmospheric pressure, wind speed and direction, precipitation, and other climatic factors. By monitoring and analyzing this data, we can gain valuable insights that aid in weather forecasting and climate studies.
Choosing the right weather instrument depends on several factors such as your location, budget, and the specific weather information you’re interested in collecting. There are various types of instruments available, ranging from simple analog devices to advanced digital sensors. We’ll discuss the different options and their features so that you can make an informed decision.
If you’re feeling adventurous and want to take on a DIY project, we’ll guide you through the process of building your own weather instrument. It’s a rewarding experience that not only allows you to customize the instrument to your liking but also provides a deeper understanding of how these devices work.
In the step-by-step guide, we’ll cover the materials you’ll need, the construction process, and how to calibrate the instrument for accurate measurements. Whether you’re a hobbyist or an educator looking for a hands-on science project, building a weather instrument can be a fun and educational endeavor.
Understanding the measurements obtained from weather instruments is essential in interpreting the data they provide. We’ll dive into the different parameters measured by weather instruments and explain what they mean. From temperature and pressure to wind speed and rainfall, we’ll help you make sense of the numbers and units associated with each measurement.
Once you have your weather instrument up and running, it’s important to ensure its accuracy and reliability. We’ll discuss the testing and calibration procedures to ensure that your instrument is providing accurate readings. Additionally, we’ll cover maintenance tips and troubleshooting common issues that may arise with weather instruments.
So, get ready to explore the world of weather instruments and embark on a journey to understand the fascinating science behind weather measurements. Whether you choose to purchase a ready-made instrument or build your own, the knowledge and experience gained will undoubtedly deepen your appreciation for the forces of nature and the intricate world of meteorology.
Key Takeaways:
- Understanding the world of weather instruments is essential for predicting weather patterns, making informed decisions, and studying climate trends. Whether you’re a weather enthusiast or a professional, these devices offer valuable insights into our atmosphere.
- Regular testing, calibration, and maintenance of weather instruments are crucial for ensuring accurate and reliable data collection. By following these practices, you can extend the life of your instruments and contribute to effective weather monitoring and analysis.
Read more: How To Make A Kid’s Weather Instrument
Overview of Weather Instruments
Weather instruments are scientific devices designed to measure and record various atmospheric conditions. They provide valuable data that helps meteorologists, scientists, and weather enthusiasts better understand and predict weather patterns. By monitoring parameters such as temperature, humidity, atmospheric pressure, wind speed, and precipitation, these instruments allow us to study climatic conditions and make informed decisions related to outdoor activities, agriculture, aviation, and more.
There are several types of weather instruments, each designed to measure specific weather elements. Let’s explore some of the most commonly used instruments:
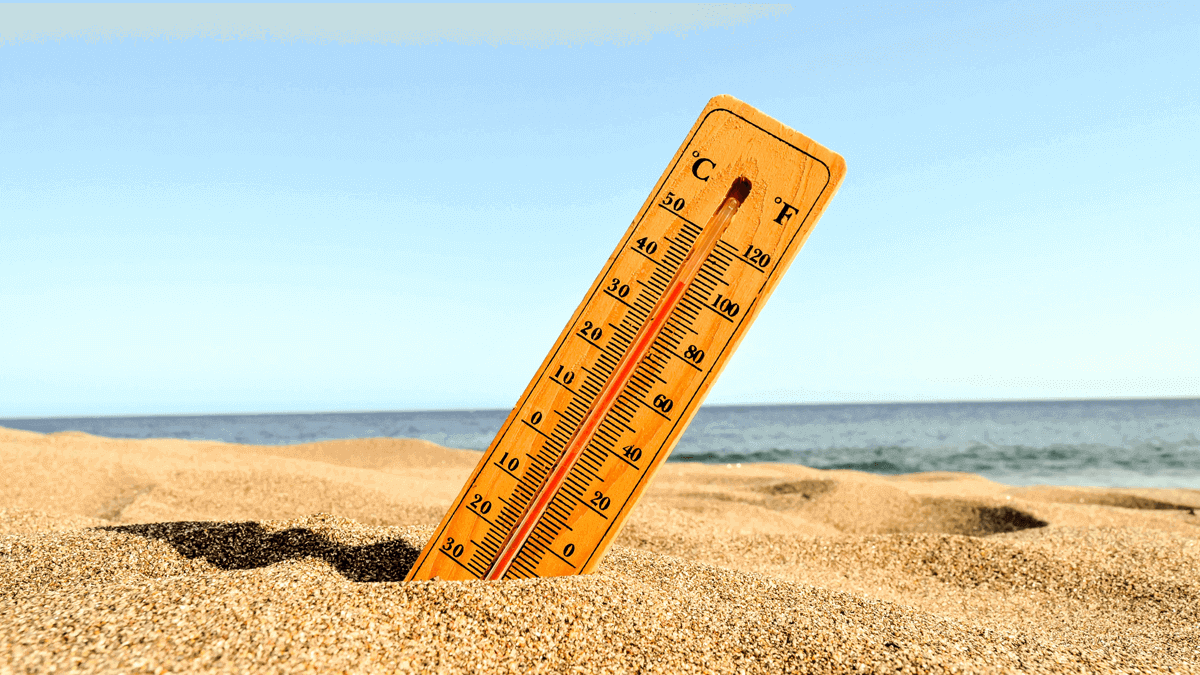
- Thermometer: A thermometer measures temperature. It consists of a bulb containing a temperature-sensitive liquid, such as mercury or alcohol, connected to a calibrated scale. Modern thermometers include digital versions that provide quick and accurate temperature readings.
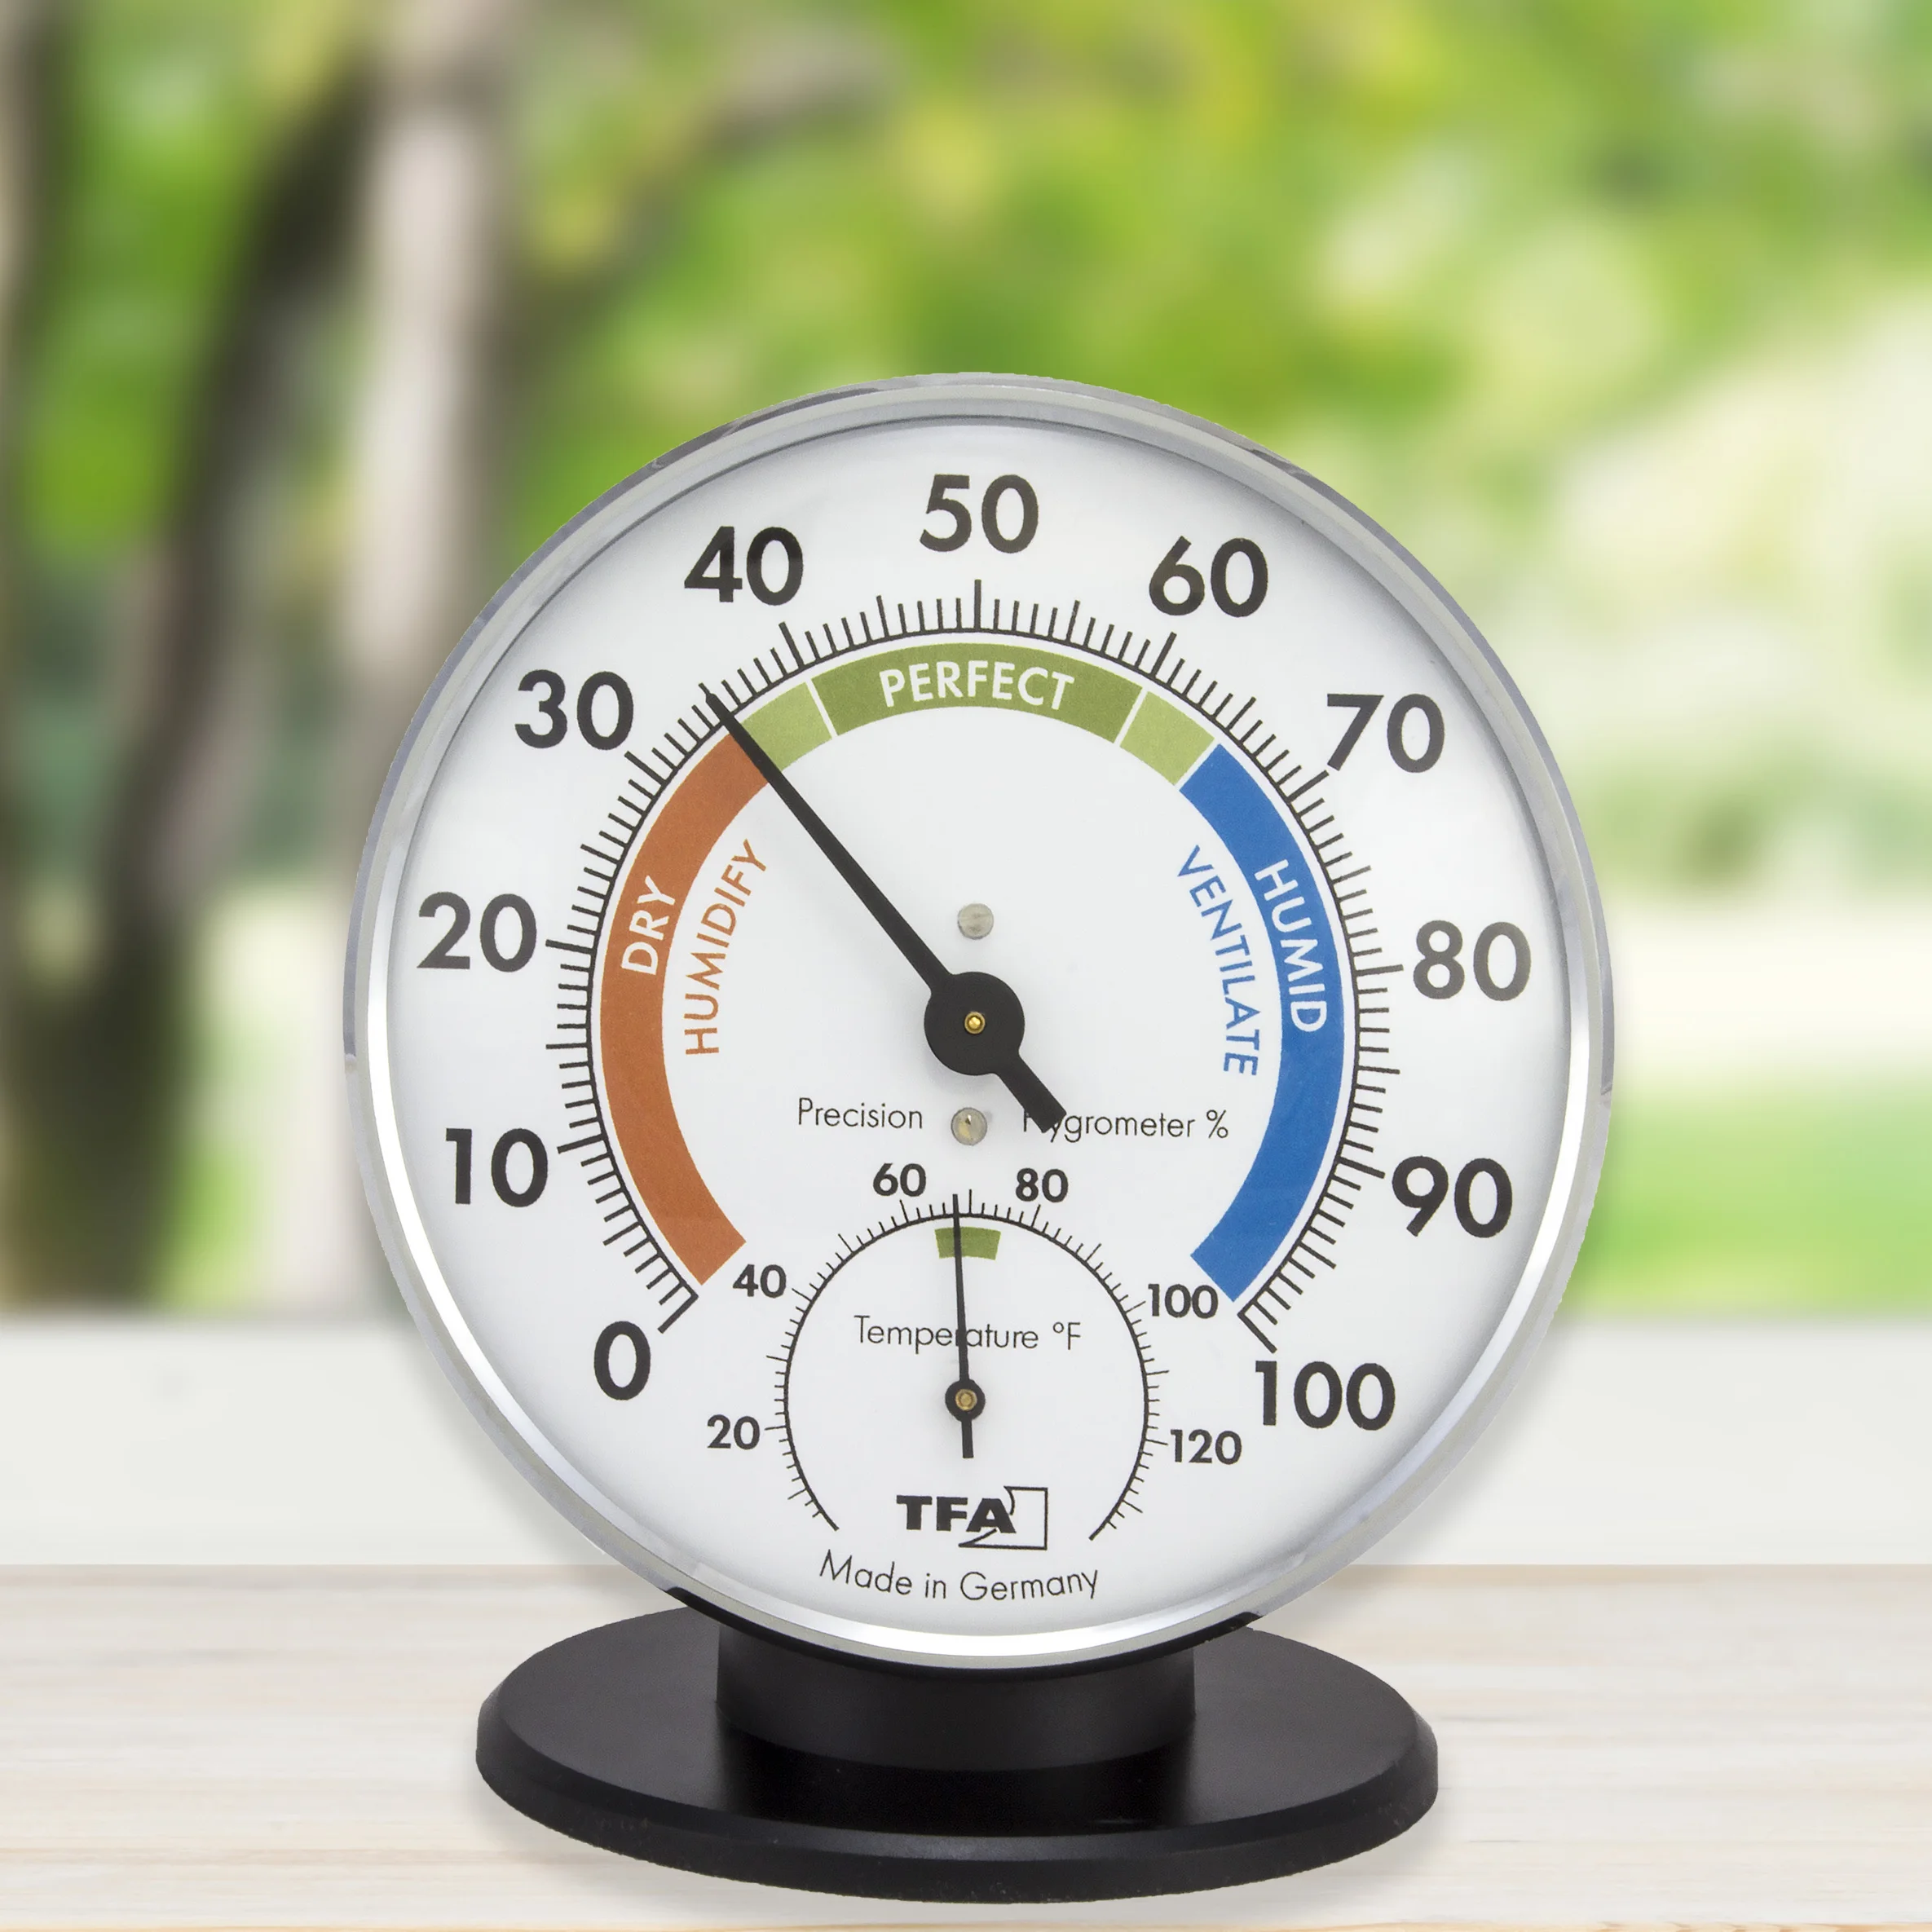
- Hygrometer: A hygrometer measures humidity levels in the air. It can be a mechanical instrument that uses a hair or metal coil to measure the moisture content or an electronic device that calculates relative humidity based on temperature and dew point.
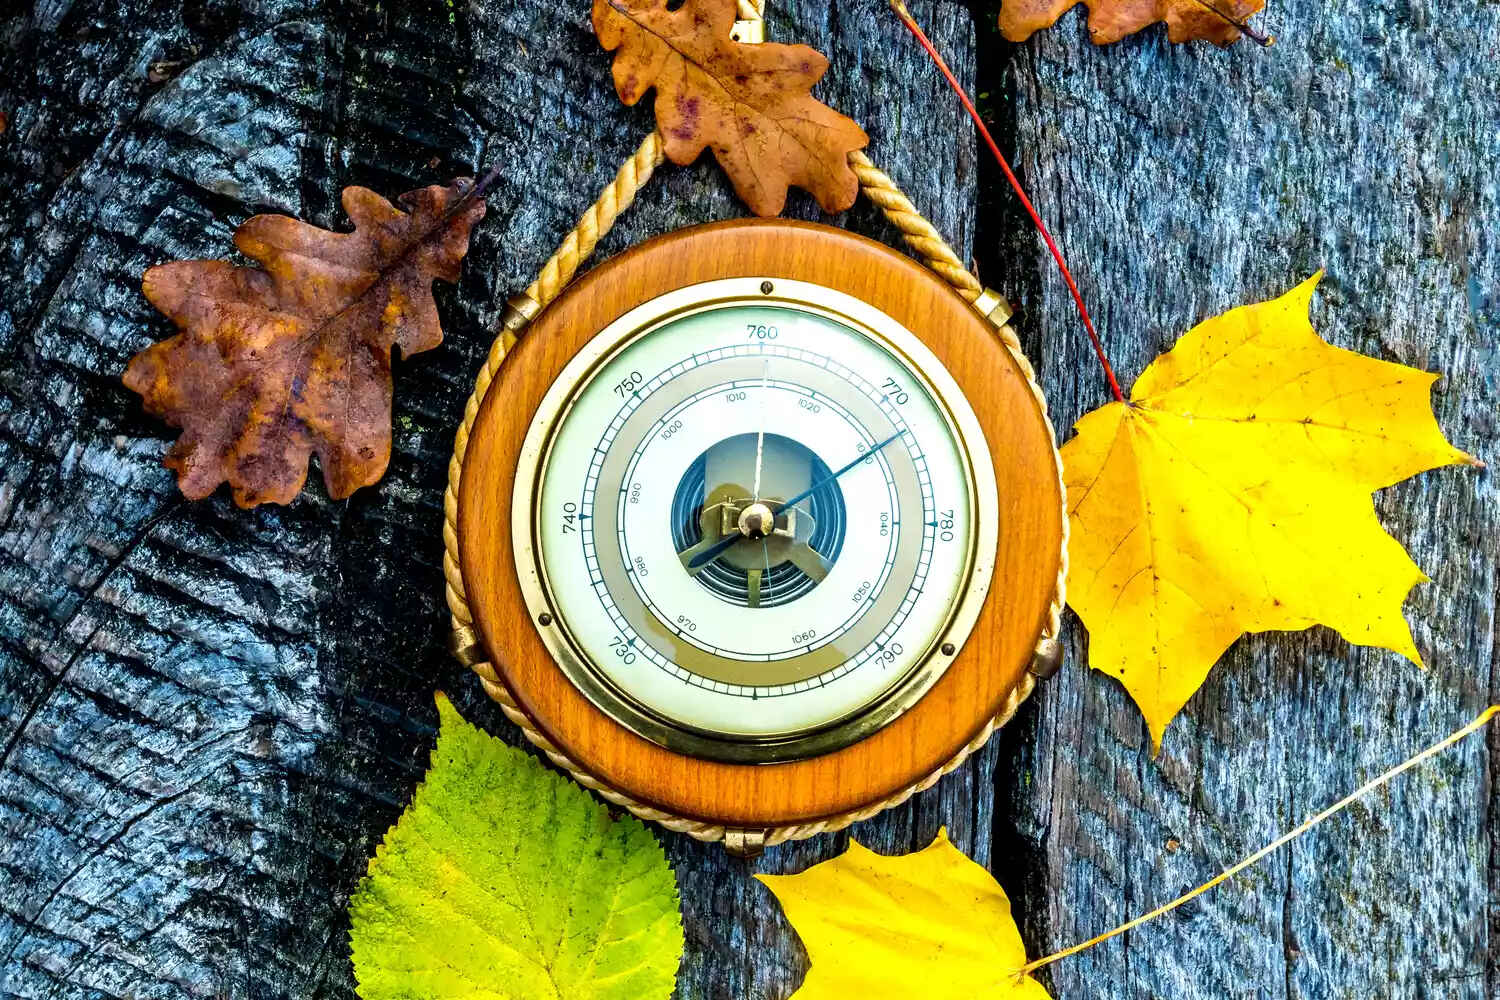
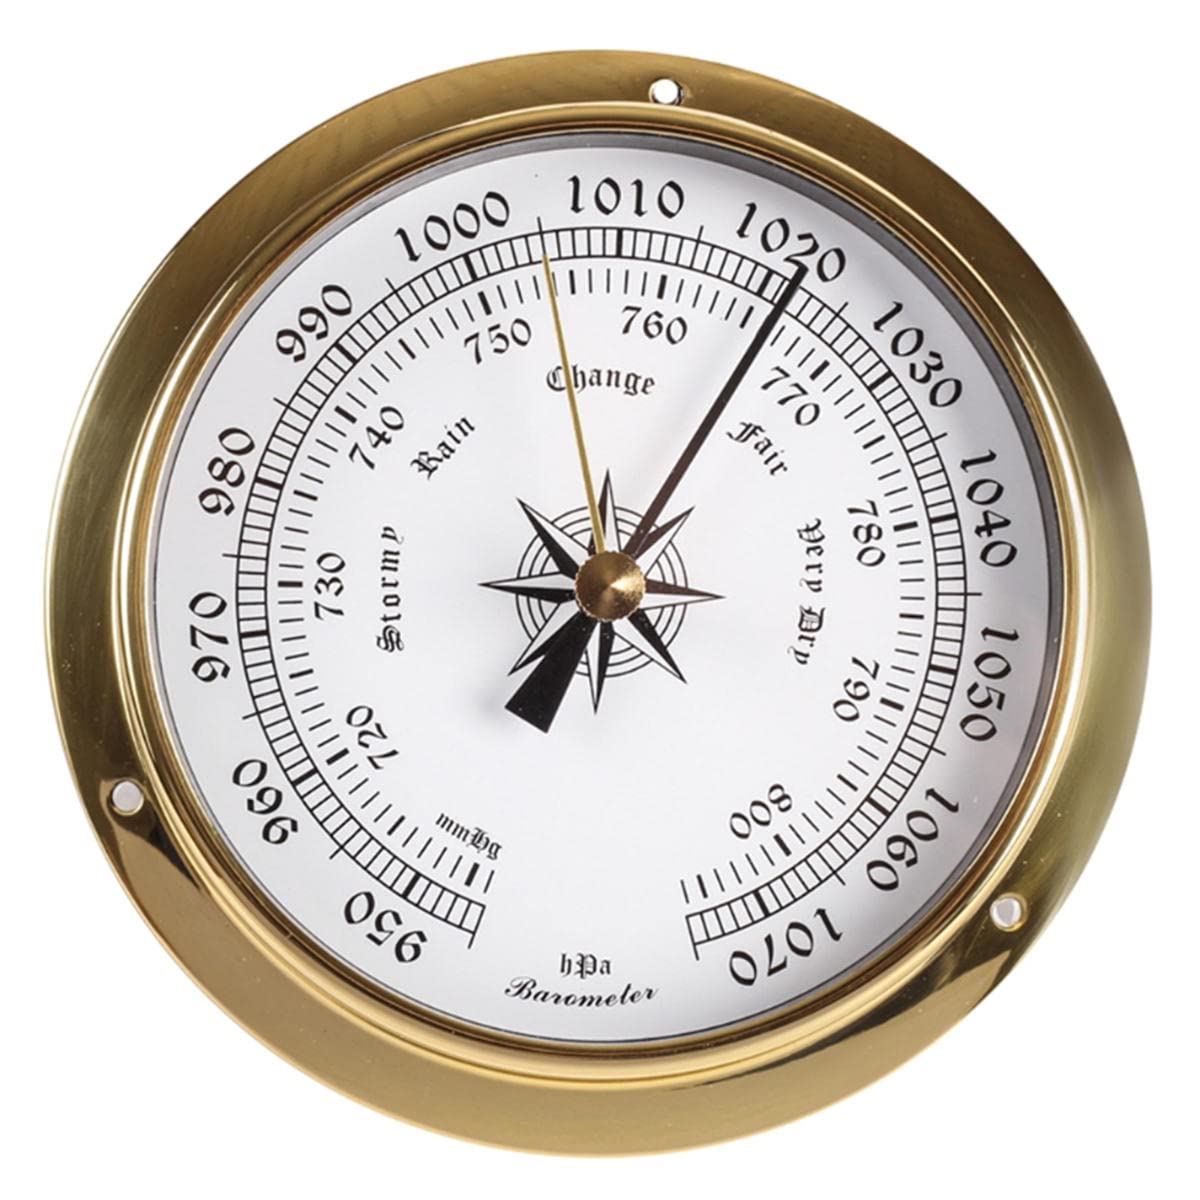
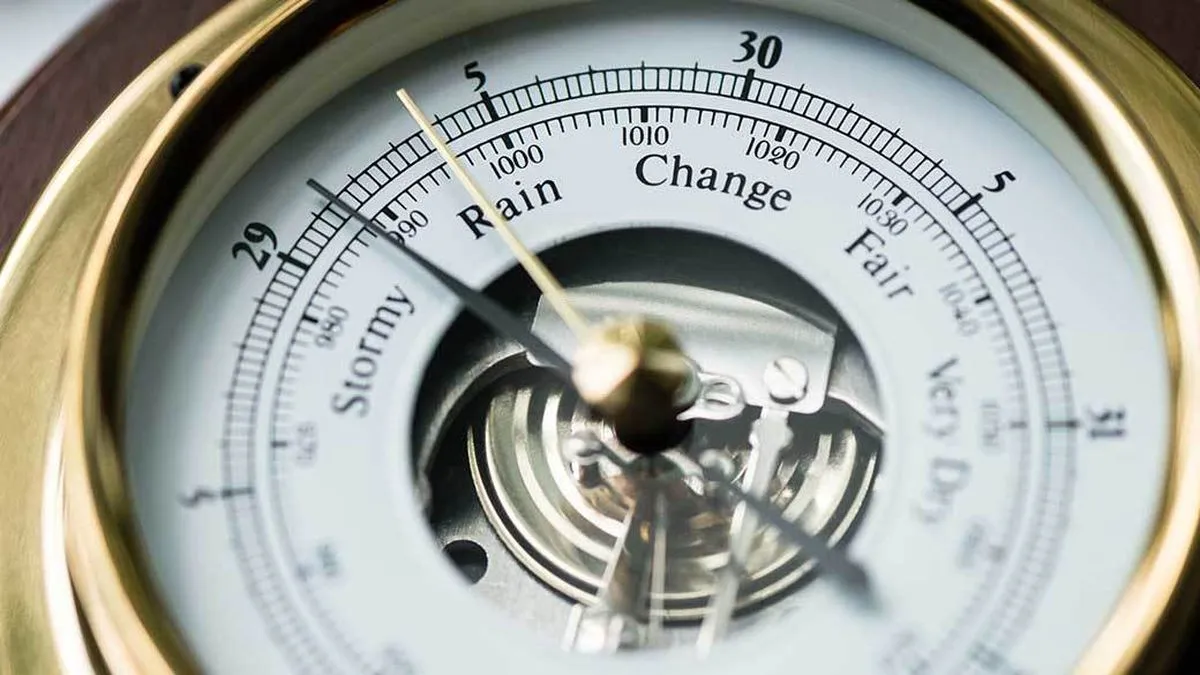
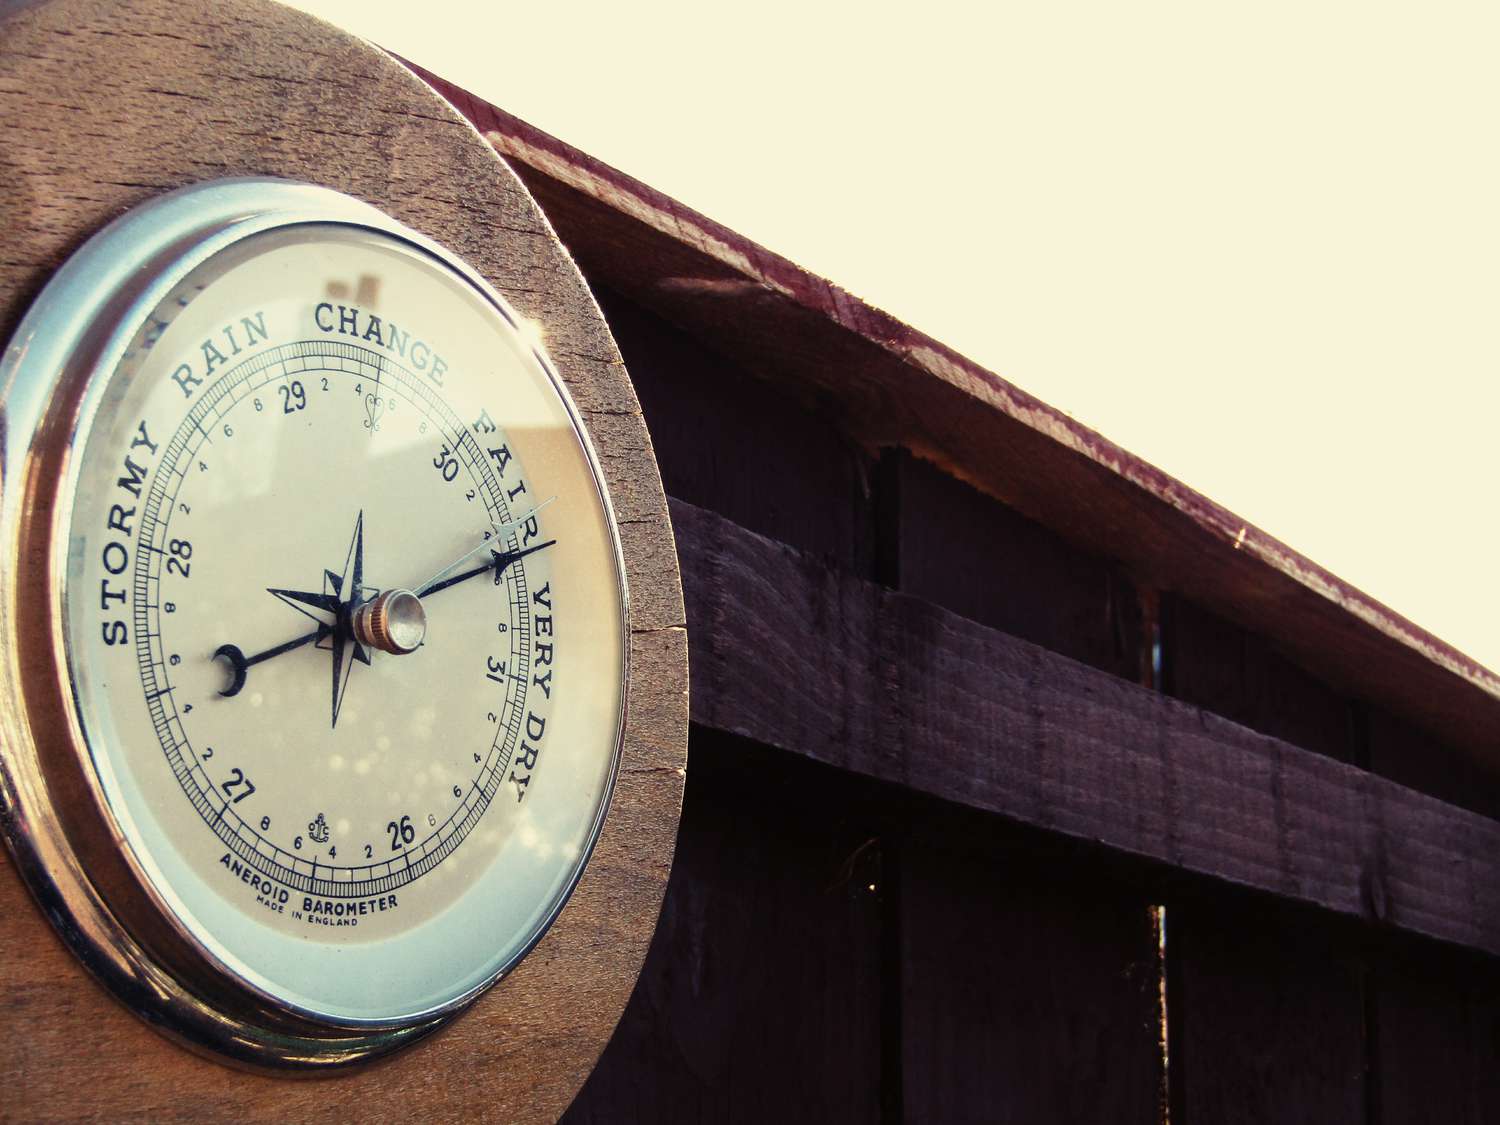
- Barometer: A barometer measures atmospheric pressure. It helps in forecasting weather changes, such as approaching storms or clear skies. The most common type is the mercury barometer, which uses a column of mercury to determine air pressure. Digital barometers are also available with built-in sensors for pressure readings.
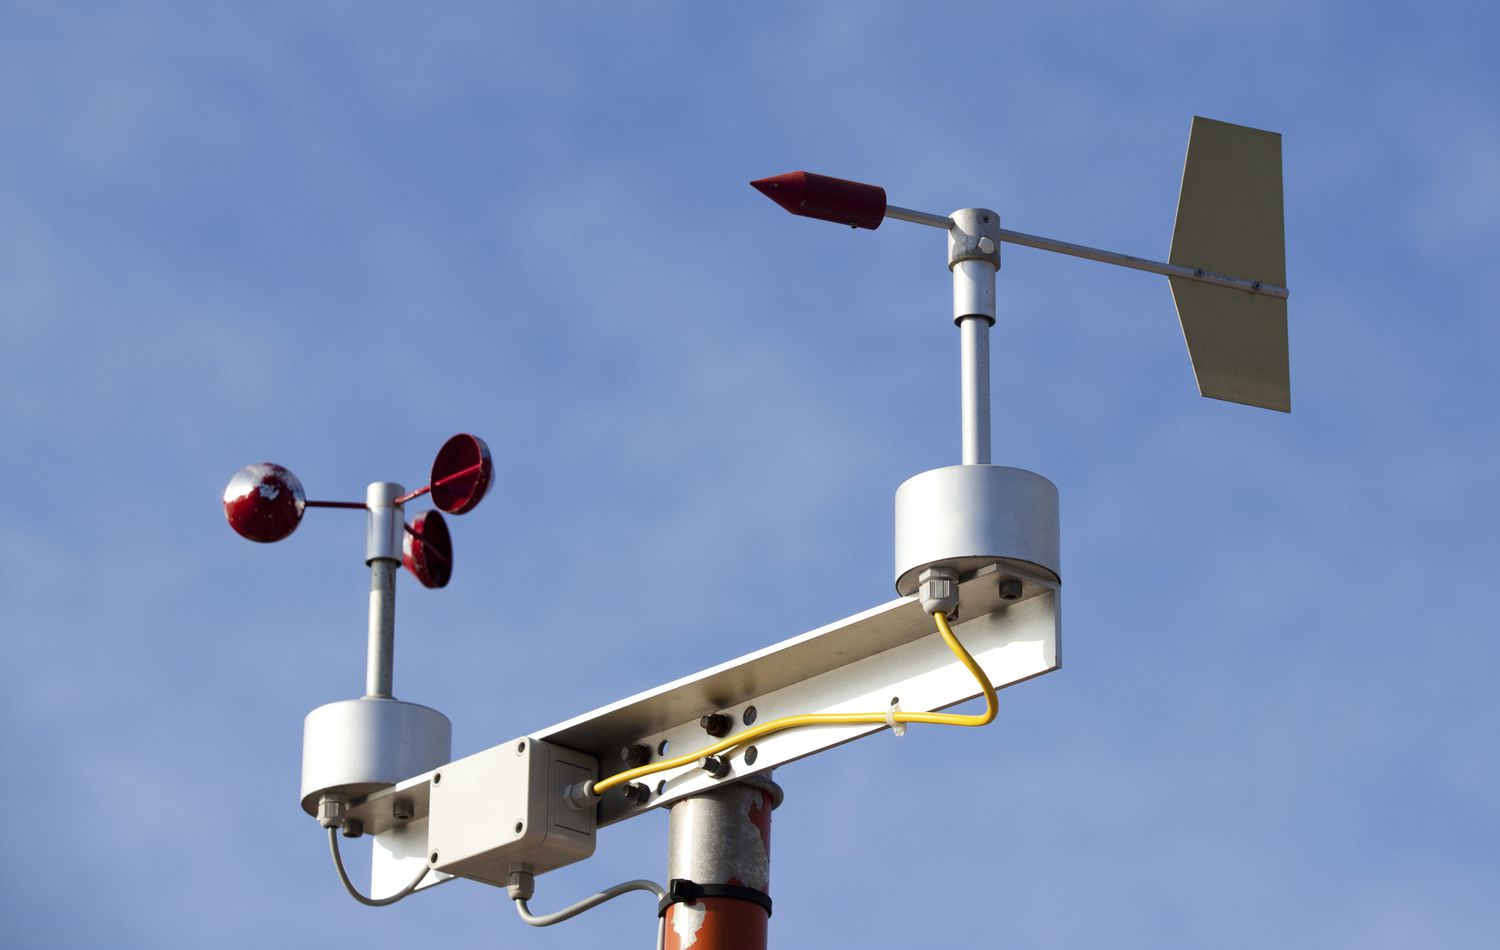
- Anemometer: An anemometer measures wind speed and direction. It typically consists of a rotating cup wheel or propeller that spins as the wind blows. The rotation speed is used to calculate the wind speed, and the instrument may also include a wind vane to determine wind direction.
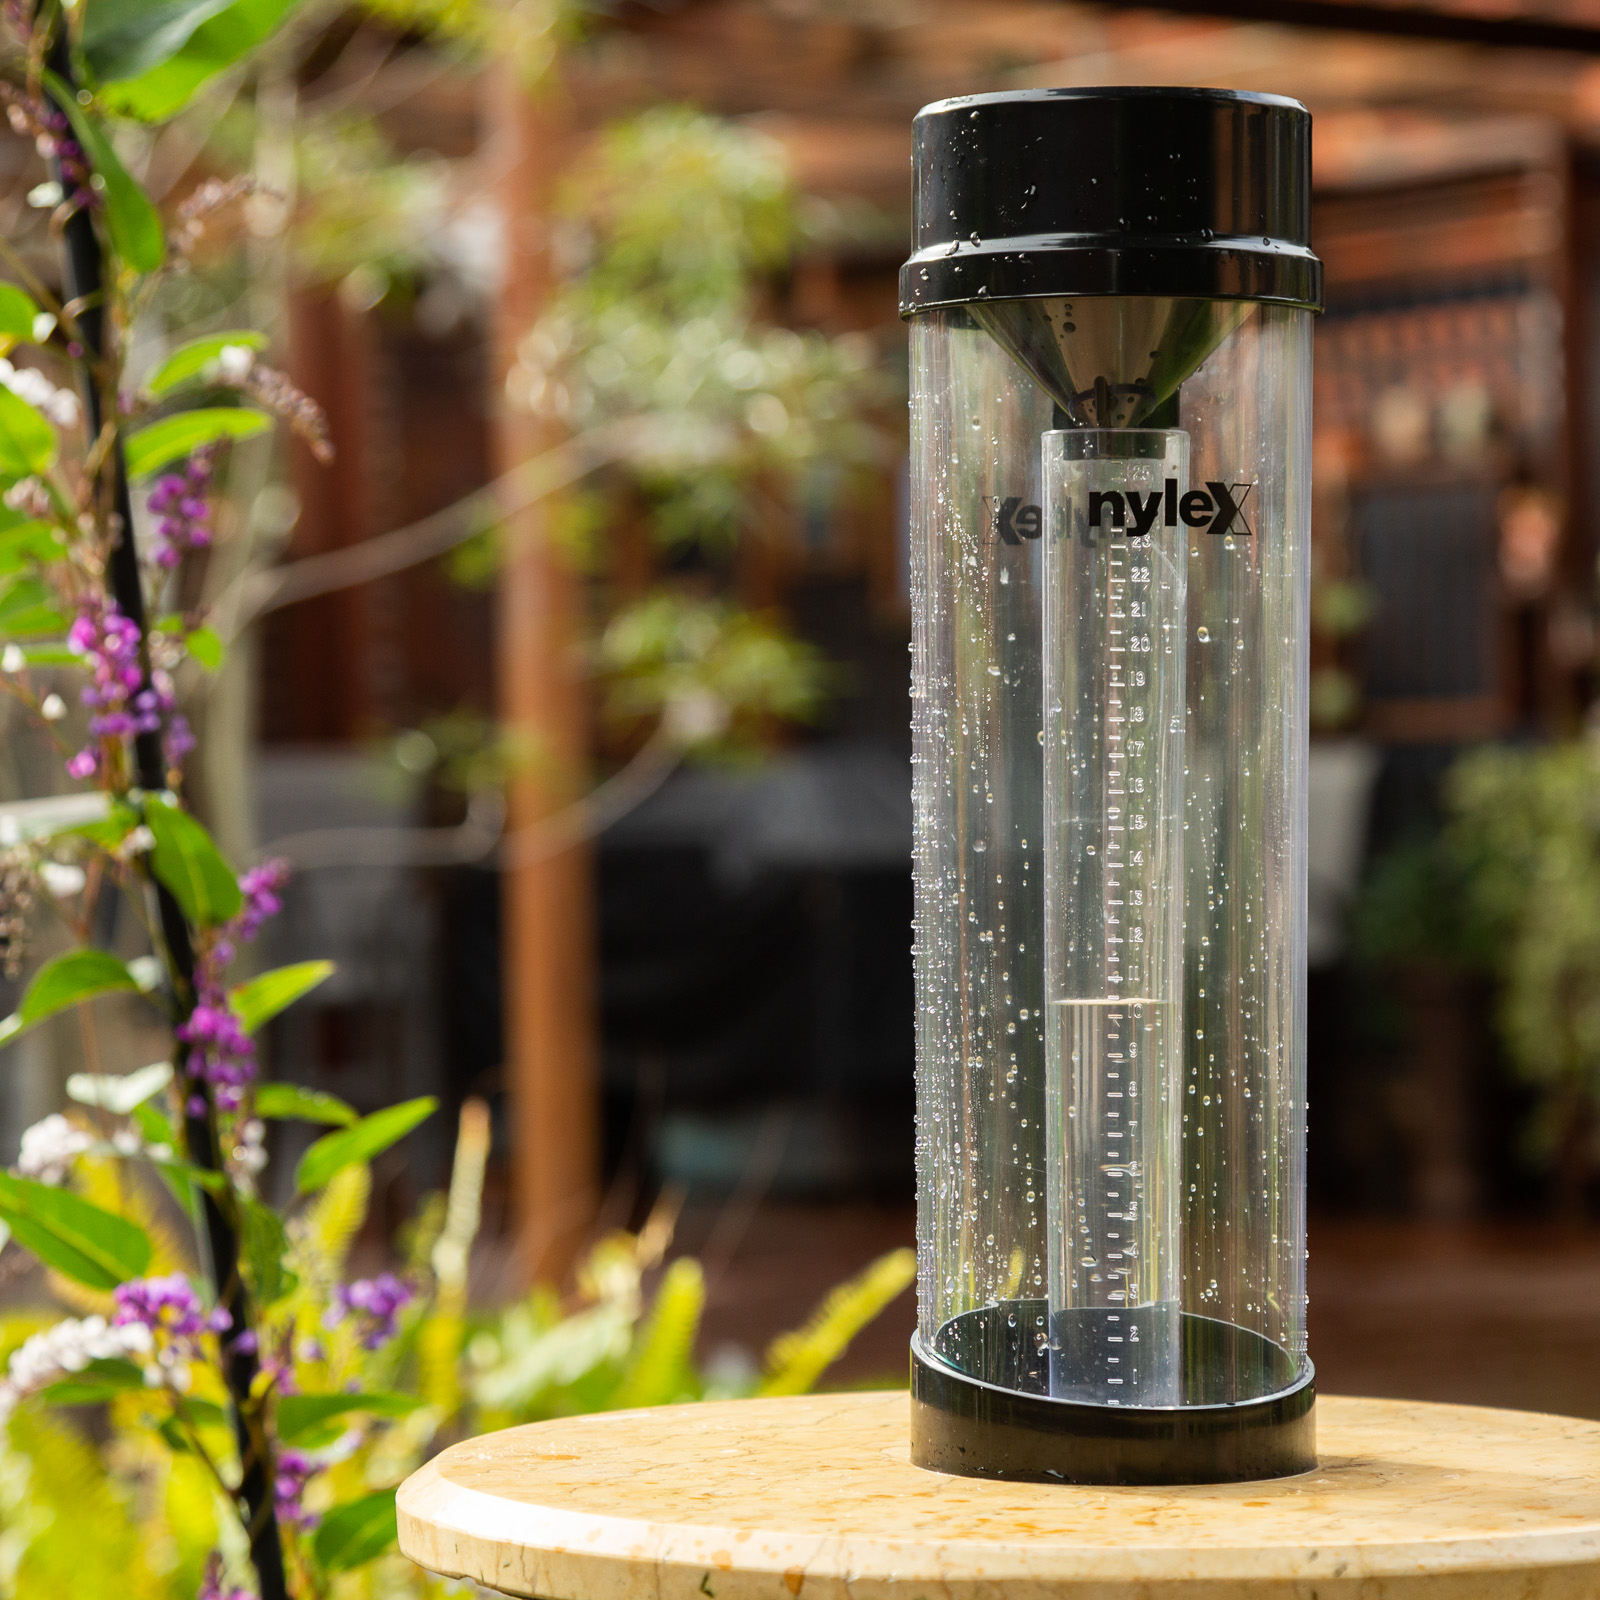
- Rain Gauge: A rain gauge measures the amount of rainfall. It usually consists of a cylindrical container with calibrated markings to measure the depth of the collected rainwater. Modern rain gauges may include electronic sensors that provide real-time data.
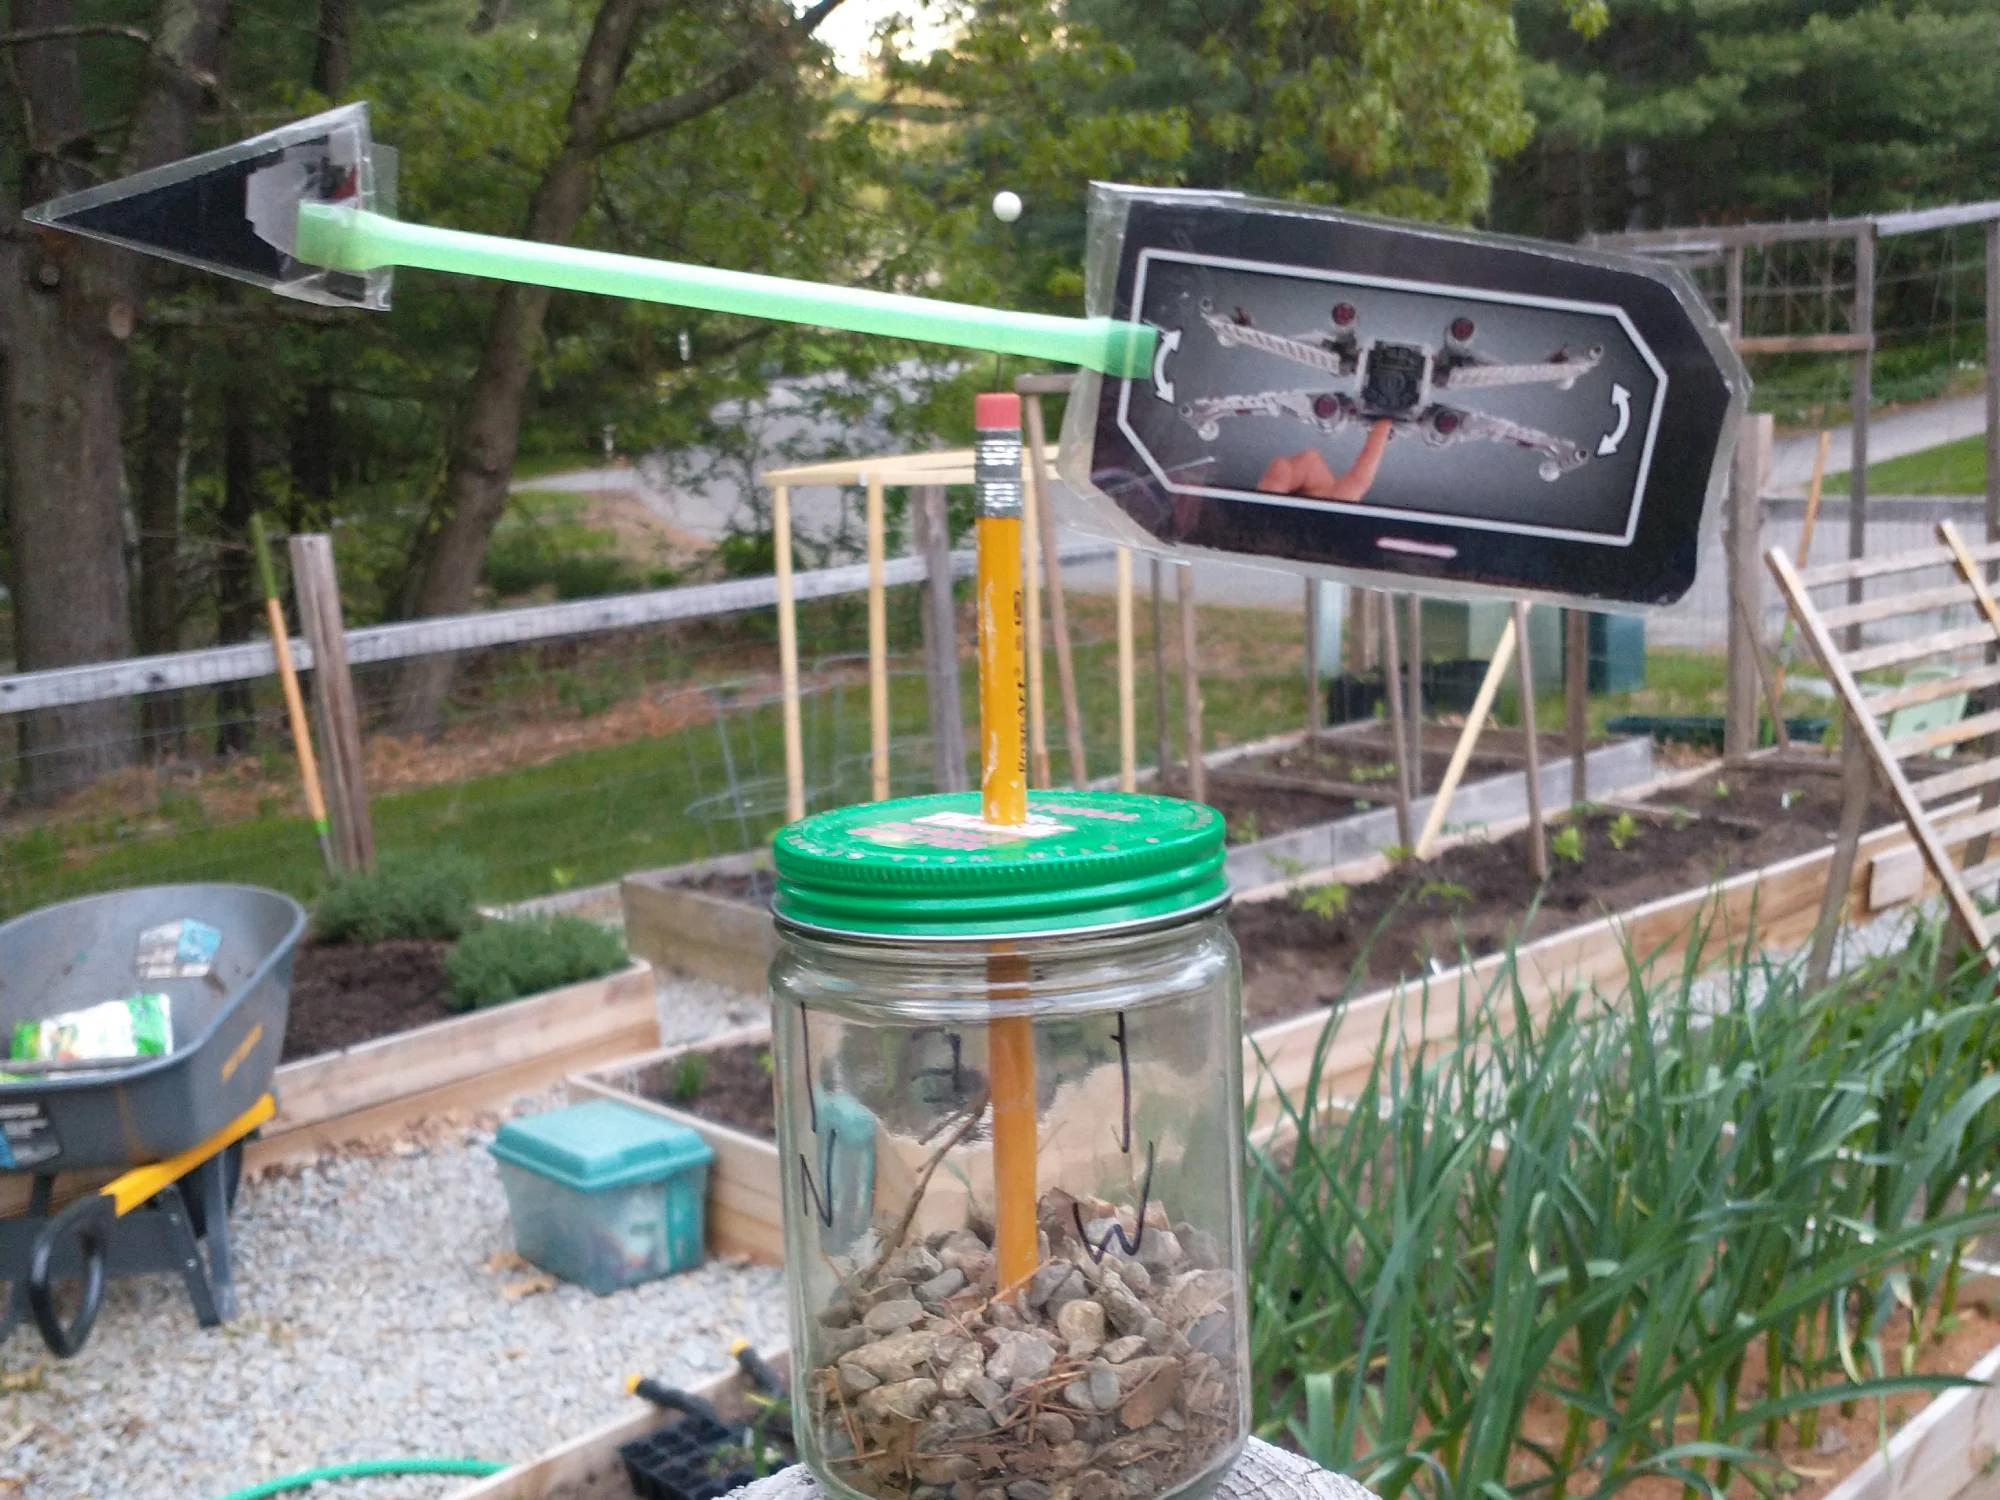
- Weather Vane: A weather vane, also known as a wind vane, indicates the wind direction. It typically features a rotating arrow or ornament mounted on a fixed base. The arrow points in the direction from which the wind is coming.
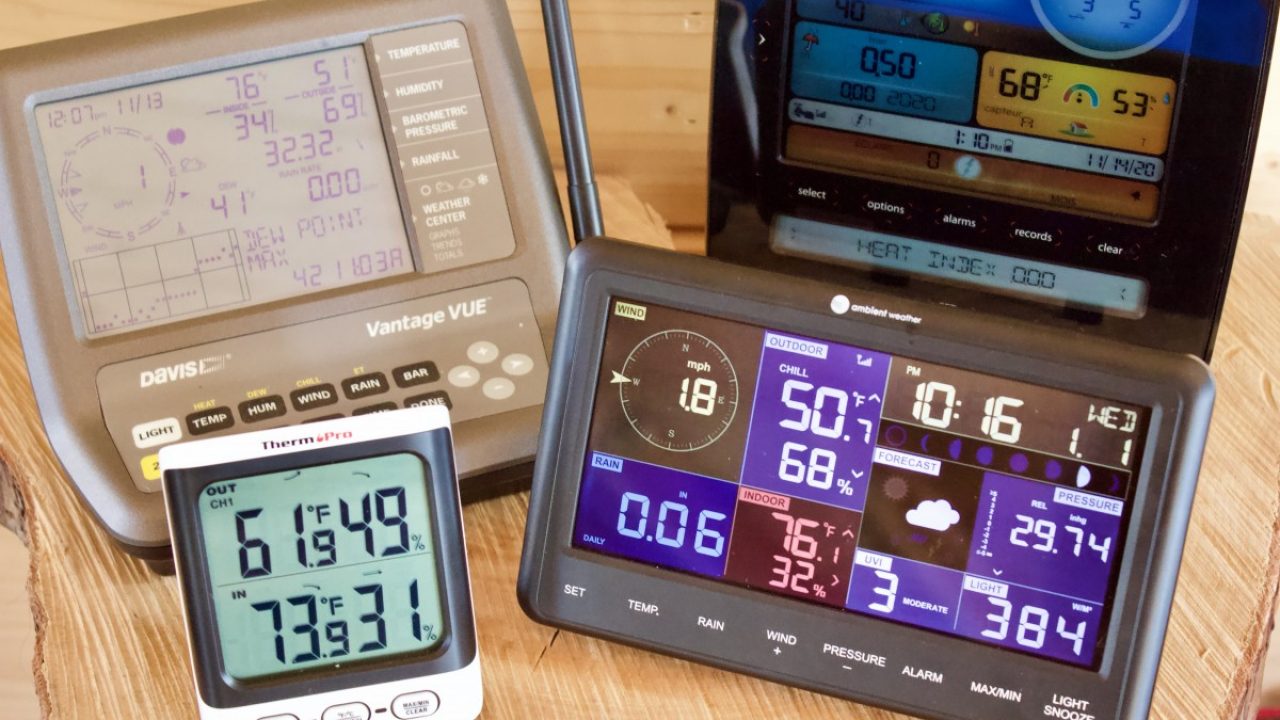
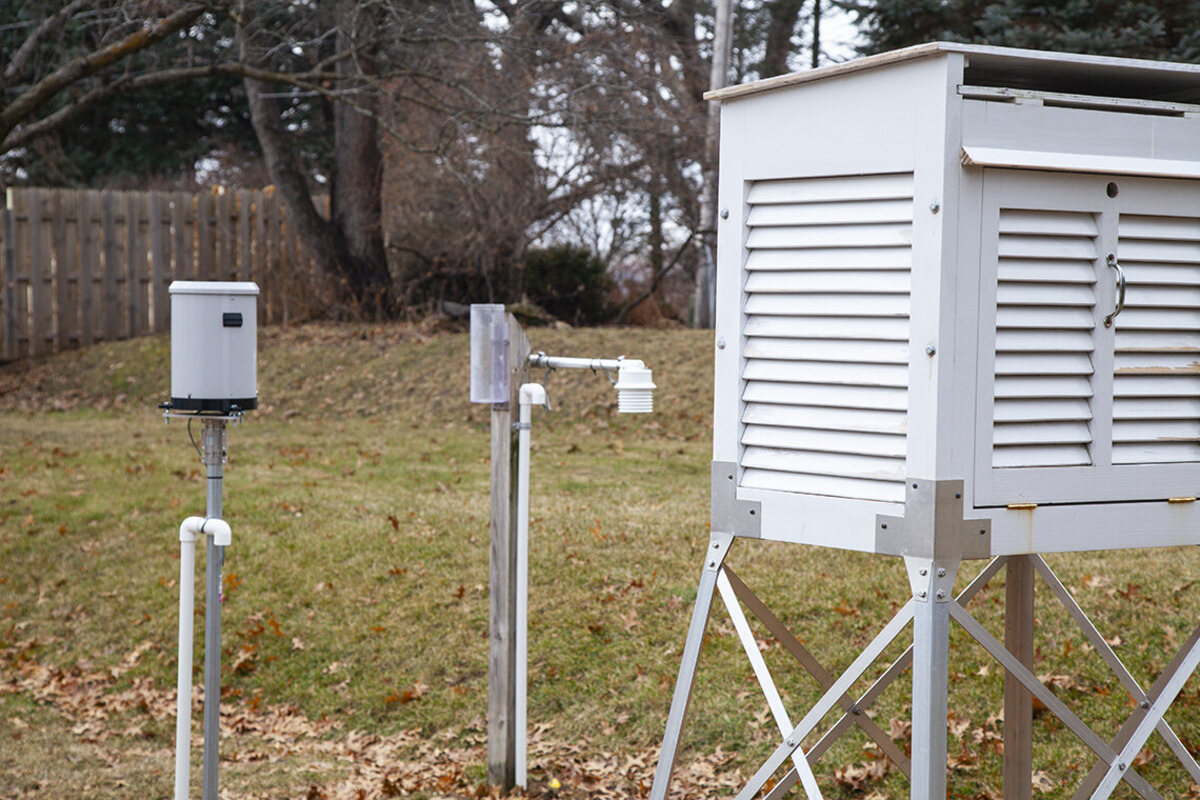
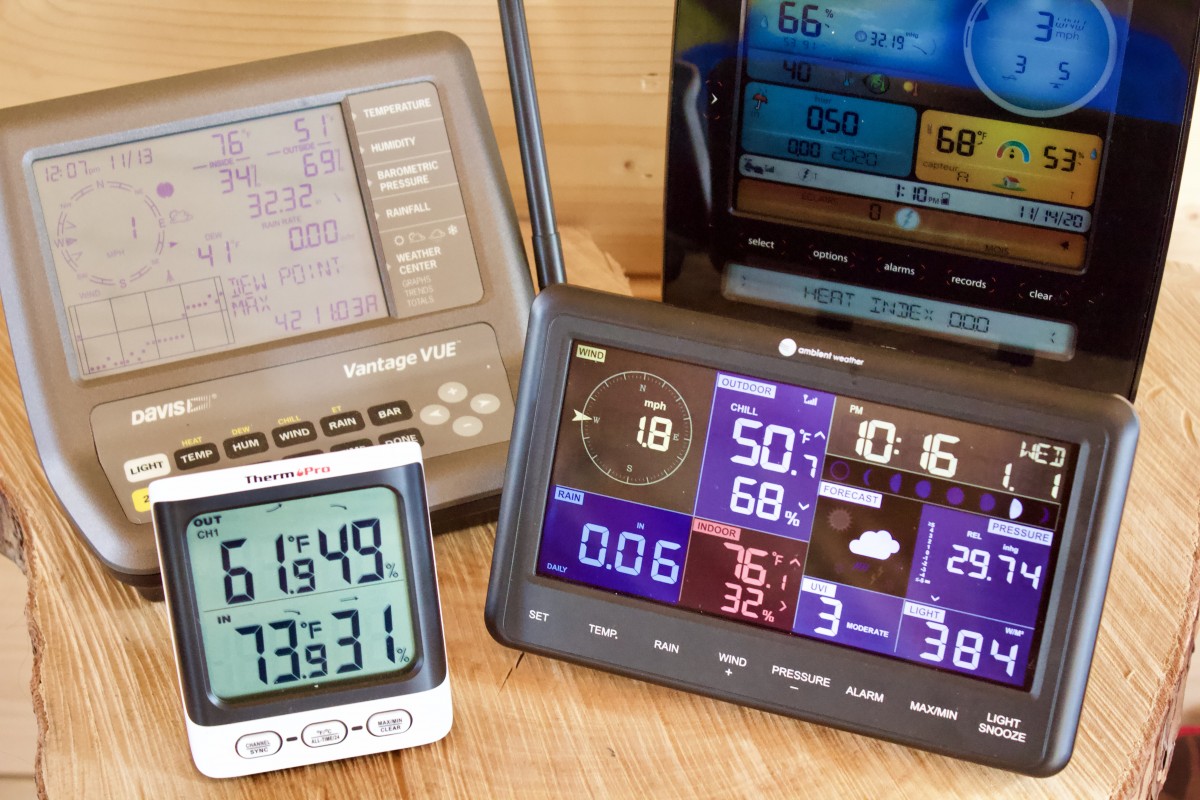
- Weather Station: A weather station is a comprehensive instrument that combines multiple sensors to measure various weather parameters. It may include a combination of thermometers, hygrometers, barometers, anemometers, rain gauges, and more. Weather stations are available in different sizes and levels of sophistication, from basic home weather stations to professional-grade systems used by meteorologists.
These instruments can be used individually or in combination to gather data on weather conditions. Whether you are an amateur weather enthusiast or a professional meteorologist, having a basic understanding of these instruments and their functions is essential for accurate weather monitoring and forecasting.
Selecting the Right Weather Instrument
Choosing the right weather instrument is crucial to ensure accurate and reliable measurements. There are a few factors to consider when selecting a weather instrument that best suits your needs:
- Location: Consider the geographical location where you will be using the weather instrument. Different regions have varying weather patterns and environmental conditions. For example, if you live in an area prone to strong winds, it would be important to select an anemometer that can withstand high wind speeds.
- Weather Parameters: Identify the specific weather parameters you want to measure. Do you need to monitor just temperature and humidity, or are you interested in a more comprehensive weather station that measures multiple parameters such as wind speed, rainfall, and atmospheric pressure? Assess your requirements to determine the appropriate instruments to include in your weather station.
- Accuracy and Precision: Look for instruments that provide accurate and precise measurements. Check the specifications and reviews for each instrument to ensure that they meet your desired level of accuracy. Keep in mind that higher accuracy usually comes with a higher price tag, so consider your budget as well.
- Budget: Determine your budget for purchasing weather instruments. The cost can vary depending on the type and quality of the instrument. Set a realistic budget and prioritize which parameters are most important to you. Consider investing in instruments that offer durability and long-term reliability, as weather instruments are meant to be used over an extended period.
- User-Friendly: Consider the ease of use and installation of the weather instrument. You will want an instrument that is straightforward to set up and operate, especially if you are new to weather monitoring. Look for instruments with clear instructions and user-friendly interfaces.
- Data Collection and Connectivity: Determine how you want to collect and access the weather data. Some weather instruments offer built-in data logging capabilities, allowing you to store and retrieve data later. Others may have connectivity features, enabling real-time data streaming and remote monitoring.
- Expandability: Consider the potential for future expansion of your weather station. Will you have the option to add additional sensors or upgrade your instrument in the future? Choosing a weather station that is expandable can be beneficial if you decide to delve deeper into weather monitoring or want to incorporate more parameters into your data collection.
It’s essential to research and compare different weather instruments before making a final decision. Consult product reviews, seek recommendations from weather enthusiasts or professionals, and carefully evaluate the specifications and features of each instrument. By considering these factors and choosing the instrument that best fits your requirements, you can ensure accurate and reliable measurements to satisfy your weather monitoring needs.
Building Your Own Weather Instrument
If you’re looking for a hands-on approach and enjoy do-it-yourself projects, building your own weather instrument can be a fascinating and rewarding experience. Not only does it allow you to customize the instrument to your needs, but it also provides a deeper understanding of the scientific principles behind weather measurements. Here’s a step-by-step guide to help you build your very own weather instrument:
- Choose Your Instrument: Decide which weather parameter you want to measure and build an instrument accordingly. For example, if you want to measure temperature, you can build a simple homemade thermometer using a glass jar, water, and a straw.
- Gather Materials: Collect the necessary materials based on the instrument you’ve chosen to build. This may include items like a glass jar, thermometer, water, straw, ruler, cardboard, adhesive, etc. Make sure you have everything you need before starting the construction process.
- Construct the Instrument: Follow the instructions or guidelines specific to your chosen instrument. For example, to build a homemade thermometer, fill the glass jar with water, attach the thermometer to a straw, and insert it into the jar. Use adhesive to secure the straw in place. Create a scale on a piece of cardboard and attach it to the jar to measure temperature changes.
- Calibrate Your Instrument: Calibration is essential to ensure accurate measurements. Compare your homemade instrument readings with a calibrated instrument, such as a digital thermometer, to adjust and calibrate your scale accordingly. This step helps you minimize any measurement errors.
- Test and Refine: Once you’ve built and calibrated your weather instrument, test its functionality and accuracy. Take measurements under different weather conditions and compare them with data from a reliable source. If necessary, make adjustments or refinements to improve the instrument’s performance.
- Record and Analyze Data: Use your homemade weather instrument to gather data over a period of time. Record the measurements and create a logbook or digital file to track the changes in weather variables. Analyze the data to identify trends and patterns, enhancing your understanding of local weather conditions.
- Share and Learn: Share your homemade weather instrument project with others who have an interest in weather monitoring. Connect with online communities, weather enthusiasts, or local schools to discuss your experience and learn from others’ projects. This sharing and learning process can broaden your knowledge and inspire further experimentation.
Building your own weather instrument not only allows you to engage in a hands-on learning experience but also encourages critical thinking and problem-solving skills. It’s an excellent project for students, educators, or anyone who wants to delve deeper into the world of meteorology. So, roll up your sleeves, gather your materials, and embark on a journey of creating your very own weather instrument!
Step-by-Step Guide to Making a Weather Instrument
If you’re interested in making your own weather instrument, here’s a step-by-step guide to help you get started:
- Select the Weather Instrument: Decide which weather parameter you want to measure and select the corresponding instrument. For example, if you want to measure wind speed, you can create an anemometer.
- Gather the Materials: Collect all the materials needed for building the instrument. This will depend on the type of instrument you’ve chosen. For an anemometer, you may need cups or propellers, a shaft, a base, and a support structure.
- Design and Construct the Instrument: Using your chosen design or following a guide, start constructing the weather instrument. Assemble the parts and ensure they are securely attached. Pay attention to details to maintain accuracy and functionality.
- Calibrate the Instrument: Once you’ve built the weather instrument, it’s essential to calibrate it for accurate measurements. Compare the readings of your instrument with a known reference, such as a commercial weather instrument, and make any necessary adjustments to ensure alignment.
- Test the Instrument: Take your newly built weather instrument outside and test it under various weather conditions. Observe and record its performance, checking for any inconsistencies or inaccuracies. This step helps you verify its functionality and reliability.
- Refine and Improve: Based on your testing results, make any necessary refinements or improvements to enhance the instrument’s performance. This could involve modifying the design, adjusting calibration, or strengthening the structure for better durability.
- Document Your Project: Once you’ve completed the construction and testing, document your project. Take photos or create diagrams to capture the steps and components involved. This documentation will be useful for future reference and sharing with others.
- Share Your Work: Share your handmade weather instrument with others who have an interest in weather monitoring. Present your project to classmates, friends, or online communities. Discuss your process, challenges, and success, inspiring others to explore DIY weather instruments.
- Continue Learning and Experimenting: Building a weather instrument is just the beginning of your journey. Maintain your curiosity and interest in meteorology by learning more about weather patterns, understanding the principles behind instrument readings, and exploring new projects and experiments.
- Expand Your Instrument Collection: Once you’ve mastered building one type of weather instrument, challenge yourself by building more. Explore different weather parameters and expand your instrument collection to gather comprehensive weather data.
Building your own weather instrument is a hands-on and educational activity that deepens your understanding of meteorology and the scientific principles behind weather measurements. It allows you to customize the instrument to your specific needs while fostering creativity and problem-solving skills. So, grab your tools and materials, follow the steps outlined above, and start your exciting journey into the world of DIY weather instruments!
When making a weather instrument, ensure that you use accurate and calibrated measuring devices to ensure the accuracy of your readings.
Read more: What Are The Weather Instrument
Understanding Weather Instrument Measurements
Understanding weather instrument measurements is key to interpreting the data collected by these devices accurately. Each weather instrument measures specific parameters that provide valuable insights into local weather conditions. Let’s explore some common weather instrument measurements and what they mean:
- Temperature: Temperature is measured using a thermometer and indicates the degree of hotness or coldness of the atmosphere. It is typically measured in degrees Celsius (°C) or Fahrenheit (°F). Understanding temperature variations helps monitor daily weather trends, seasonal changes, and potential climate patterns.
- Humidity: Humidity measures the amount of moisture present in the air relative to its maximum capacity. It affects human comfort, plant growth, and weather patterns. Relative humidity is expressed as a percentage and provides insights into the likelihood of precipitation, fog formation, and heat index calculations.
- Atmospheric Pressure: Atmospheric pressure, commonly measured with a barometer, represents the force exerted by the weight of the air molecules above a given location. It is crucial for predicting weather changes. Atmospheric pressure is often reported in units such as millibars (mb) or inches of mercury (inHg).
- Wind Speed: Wind speed measures the rate at which air molecules move horizontally. It is typically measured in units like kilometers per hour (km/h), miles per hour (mph), or meters per second (m/s). Knowing wind speed helps in understanding weather patterns, predicting storm conditions, and assessing potential hazards, particularly for maritime activities and aviation.
- Wind Direction: Wind direction indicates the compass direction from which the wind is originating. It is measured using a wind vane or a digital anemometer. Wind direction is usually reported using cardinal or ordinal directions (e.g., north, northeast, south-southeast) and is crucial for weather forecasting, climate analysis, and determining storm tracks.
- Rainfall: Rainfall measures the amount of precipitation over a specific period. It is commonly measured using a rain gauge, and the unit of measurement is usually millimeters (mm) or inches. Precise rainfall data helps assess water resources, agricultural needs, and flood risks in a particular region.
- Sunlight and UV Intensity: Instruments such as pyranometers and UV sensors measure sunlight intensity and ultraviolet (UV) radiation levels. These measurements are essential for monitoring solar energy production, understanding the impact of UV radiation on human health, and assessing the potential for skin damage. Units may vary depending on the specific instrument.
- Cloud Cover: Cloud cover indicates the extent to which the sky is obscured by clouds. It is often reported in octas (eighths) or in percentage form. Cloud cover data aids meteorologists in assessing weather patterns, predicting precipitation likelihood, and determining the amount of incoming solar radiation.
Understanding these weather instrument measurements helps you gain a comprehensive view of the current weather conditions and long-term climate trends in your area. Keep in mind that different instruments may have specific units or scales for measurements, so it’s important to familiarize yourself with the instrument’s specifications and calibration values for accurate interpretations.
By monitoring and analyzing these weather parameters, meteorologists, scientists, and weather enthusiasts can better understand atmospheric conditions, make informed predictions, and contribute to our knowledge of our dynamic planet’s climate system.
Testing and Calibration of Weather Instruments
Testing and calibration are crucial steps in ensuring the accuracy and reliability of weather instruments. Regular testing and calibration help maintain the integrity of the data collected, which is essential for accurate weather monitoring and analysis. Here are some important considerations when testing and calibrating weather instruments:
Testing:
Testing involves checking the performance of weather instruments under various conditions to ensure they are functioning correctly. Here are some steps to follow during the testing phase:
- Compare Readings: Compare the readings of your weather instrument with those of a reliable reference instrument. This could be a commercially available weather station, a calibrated instrument, or data from a reputable meteorological source. The readings should be fairly close, indicating that your instrument is providing accurate measurements.
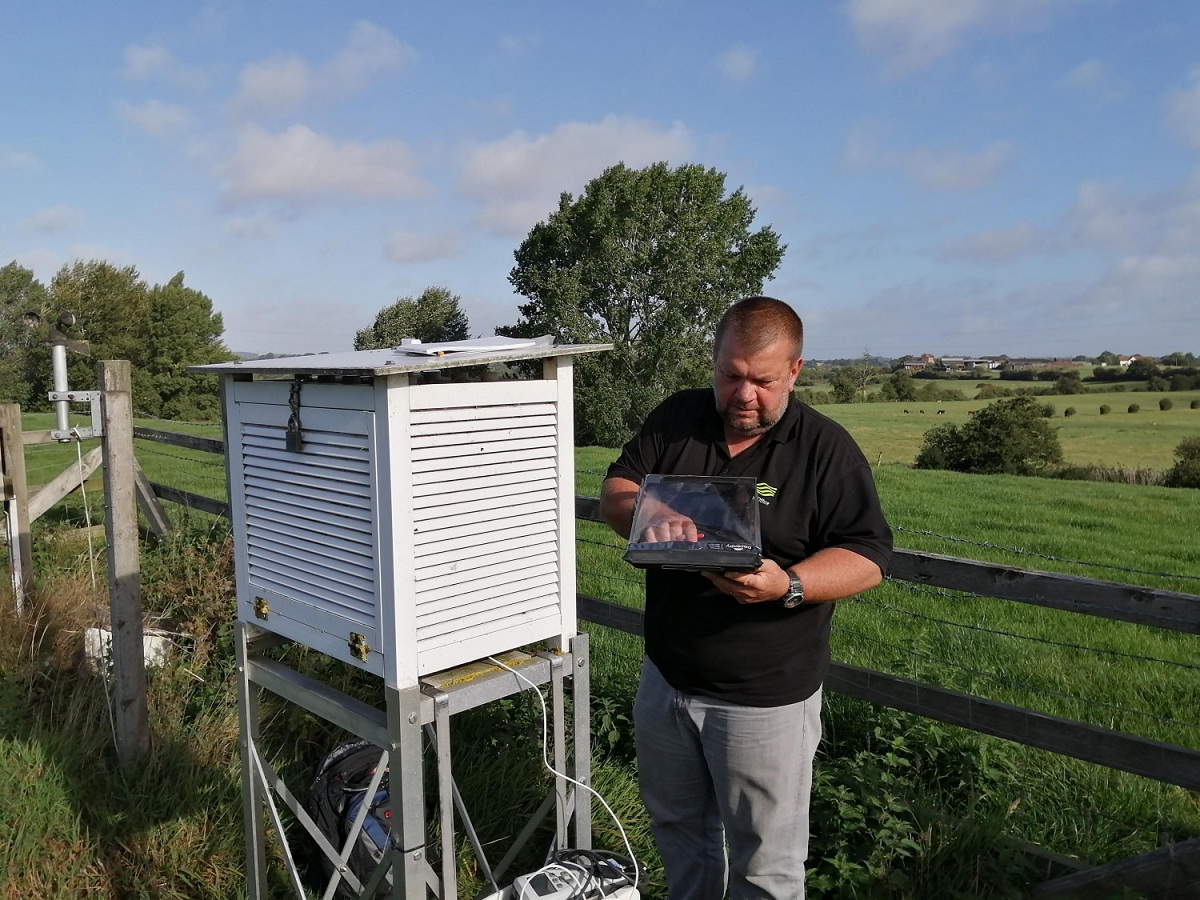
- Conduct Field Tests: Take your weather instrument outdoors and compare its readings with data from local weather stations or online sources. Place your instruments in open areas away from any obstructions that may affect readings. Take note of any discrepancies and make adjustments if necessary.
- Perform Controlled Experiments: Create controlled conditions to further test your weather instrument. For example, you can expose it to known temperature or humidity levels and compare the readings to the expected values. This helps validate the accuracy of your instrument under specific conditions.
- Check Instrument Response Time: Measure the time it takes for your weather instrument to respond to changes in weather conditions. For example, expose it to sudden temperature changes or gusts of wind and observe how quickly it reflects the changes. A fast response time is indicative of a well-functioning instrument.
Calibration:
Calibration ensures that the measurements provided by your weather instrument are accurate and aligned with recognized standards. Here are some steps to follow during the calibration process:
- Verify Reference Standard: Obtain a reliable reference standard or a calibrated instrument that measures the same parameter as your weather instrument. Ensure that the reference standard is traceable to national or international standards.
- Adjust Instrument Settings: Compare the readings of your weather instrument with those of the reference standard. If there are any deviations, adjust your instrument’s settings to align the readings. This may involve recalibrating sensors, adjusting calibration factors, or making mechanical adjustments.
- Perform Multiple Measurements: Take multiple measurements at different levels or points to assess the consistency of your instrument’s readings. This helps identify any issues with repeatability or non-linearity in measurements.
- Create Calibration Curves: Handle non-linearities by creating calibration curves or equations that relate the readings of your weather instrument to the reference measurements. This helps ensure accurate measurements across the entire range of values.
- Document Calibration Process: Keep detailed records of your calibration process, including adjustment values, reference instrument readings, and any other pertinent information. This documentation is useful for future reference and can be presented if your instrument’s measurements are questioned.
- Establish Calibration Schedule: Establish a regular schedule for calibrating your weather instruments. The frequency may depend on factors such as instrument stability, manufacturer recommendations, and the criticality of accurate measurements. Regular calibration helps maintain the accuracy and reliability of your instruments over time.
Regular testing and calibration of weather instruments are essential to ensure accurate and reliable measurements. By following these steps, you can maintain instrument accuracy, reduce measurement errors, and contribute to the overall quality of weather data. With calibrated instruments, you can confidently monitor and analyze weather patterns, making more informed decisions based on reliable data.
Maintenance and Troubleshooting
Maintenance and troubleshooting are essential for keeping weather instruments in optimal working condition. Regular maintenance helps prolong the lifespan of the instruments and ensures accurate and reliable measurements over time. Here are some maintenance tips and troubleshooting techniques to help you keep your weather instruments in top shape:
Maintenance Tips:
- Clean the Instruments: Regularly clean your weather instruments to remove dirt, dust, and debris that can affect their performance. Use a soft cloth or brush to gently clean the surfaces and sensors. Avoid using abrasive materials or harsh chemicals that may damage the instruments.
- Check Sensor Integrity: Inspect the sensors of your weather instruments for any signs of damage or wear. Look for any corrosion, loose connections, or malfunctioning parts. Replace or repair any faulty sensors to maintain accurate measurements.
- Protect from Extreme Conditions: Ensure that the instruments are protected from extreme weather conditions that could damage them. For example, shield them from direct sunlight or heavy rainfall by using protective covers or installing them in weather-resistant enclosures.
- Verify Instrument Alignment: Periodically check the alignment of your weather instruments, especially those that rely on precise positioning to measure wind direction or rainfall. Adjust and realign the instruments if necessary to ensure accurate measurements.
- Calibrate Regularly: Follow a regular calibration schedule to ensure the accuracy of your weather instruments. This will help correct any drift or inaccuracies that may occur over time. Refer to the manufacturer’s guidelines or consult professional calibration services to maintain measurement integrity.
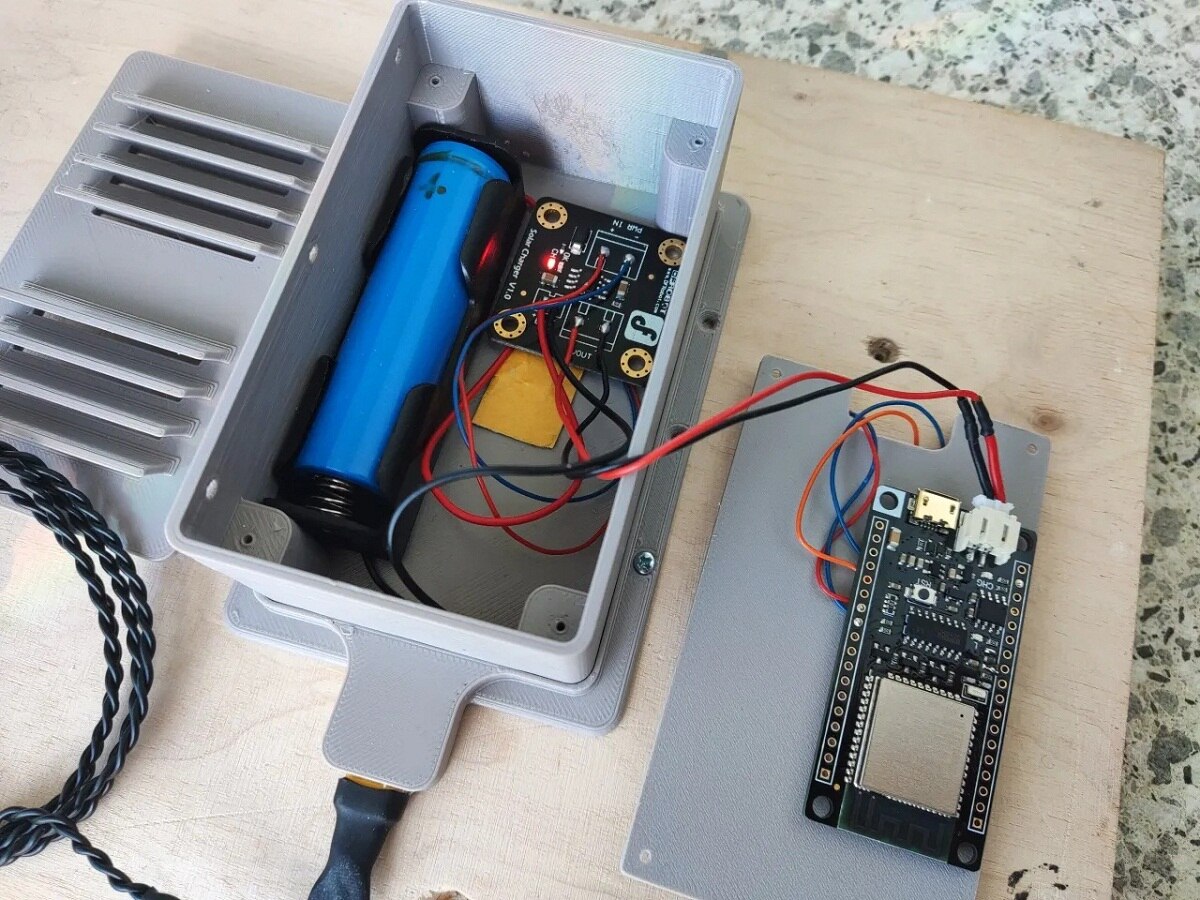
- Monitor Power Supply: If your weather instruments require power, regularly check the power supply to ensure it is functioning correctly. Replace batteries or address any issues with the power source to prevent disruptions in data collection.
- Keep a Maintenance Log: Maintain a logbook or digital record of all maintenance activities performed on your weather instruments. Document the date, type of maintenance performed, and any observations or adjustments made. This log will help track maintenance history and identify patterns or recurring issues.
Troubleshooting Techniques:
Despite regular maintenance, weather instruments may encounter occasional issues. Here are some troubleshooting techniques to address common problems:
- Check Connections: Ensure that all connections between the instruments and data loggers or display units are secure and properly connected. Loose or faulty connections can lead to data transmission errors or erratic readings.
- Ensure Proper Sensor Placement: Verify that sensors are correctly positioned and not obstructed. For example, wind sensors should be unobstructed by buildings or trees, and rain gauges should be clear of any debris that may affect rainfall measurements.
- Monitor for Sensor Drift: Keep an eye out for sensor drift, which occurs when measurements gradually deviate from their calibration values. Recalibrate the affected sensors to bring them back to accurate readings.
- Check for Condensation or Moisture: Moisture buildup or condensation on sensor surfaces can affect their accuracy. Periodically check for any signs of moisture and dry the sensors if necessary. Proper ventilation and moisture control in the instrument housing can help prevent condensation issues.
- Investigate Data Discrepancies: If you notice sudden or unexpected changes in your weather data, investigate the cause. Consider environmental factors such as nearby construction, changes in surroundings, or potential interference from other electronic devices.
- Seek Professional Help: If troubleshooting on your own doesn’t resolve the issue, don’t hesitate to seek professional help. Contact the manufacturer or a specialized weather instrument technician who can diagnose and repair complex problems.
By following these maintenance tips and troubleshooting techniques, you can ensure the accurate performance of your weather instruments. Regular maintenance practices and timely troubleshooting will help prevent issues, extend the life of your instruments, and maintain the reliability of your weather data for years to come.
Conclusion
Weather instruments play a vital role in understanding and monitoring the ever-changing atmospheric conditions. From temperature and humidity to wind speed and rainfall, these instruments provide valuable data that helps us predict weather patterns, make informed decisions, and study climate trends.
In this article, we explored the world of weather instruments, highlighting their importance and functionality. We discussed how to select the right instrument based on your needs, whether you opt for a pre-built device or take on the exciting challenge of building your own. We provided a step-by-step guide for constructing your weather instrument, emphasizing the significance of testing and calibration to ensure accurate measurements.
Furthermore, we focused on understanding the various measurements provided by weather instruments, such as temperature, humidity, atmospheric pressure, wind speed and direction, rainfall, and more. By comprehending the meaning and significance of these measurements, we gain a deeper understanding of the weather patterns around us.
We also delved into the maintenance and troubleshooting of weather instruments, emphasizing the importance of regular upkeep and addressing common issues that may arise. By properly maintaining and troubleshooting your instruments, you can ensure accurate and reliable data collection, facilitating effective weather monitoring and analysis.
Whether you are a weather enthusiast, a professional meteorologist, or simply curious about the world around you, weather instruments offer a fascinating gateway into understanding the complexities of our atmosphere. By harnessing the power of these instruments, we can better anticipate severe weather events, optimize outdoor activities, make informed agricultural decisions, and contribute to a deeper understanding of our planet’s climate system.
So, whether you’re planning to purchase a weather instrument, embark on a DIY project, or simply gather knowledge about how these devices work, this article provides you with the necessary insights and guidance to navigate the world of weather instruments with confidence and curiosity.
Frequently Asked Questions about How Do You Make A Weather Instrument
Was this page helpful?
At Storables.com, we guarantee accurate and reliable information. Our content, validated by Expert Board Contributors, is crafted following stringent Editorial Policies. We're committed to providing you with well-researched, expert-backed insights for all your informational needs.

0 thoughts on “How Do You Make A Weather Instrument”