Home>Dining>Table Decor>How To Style A Table Top With Photos
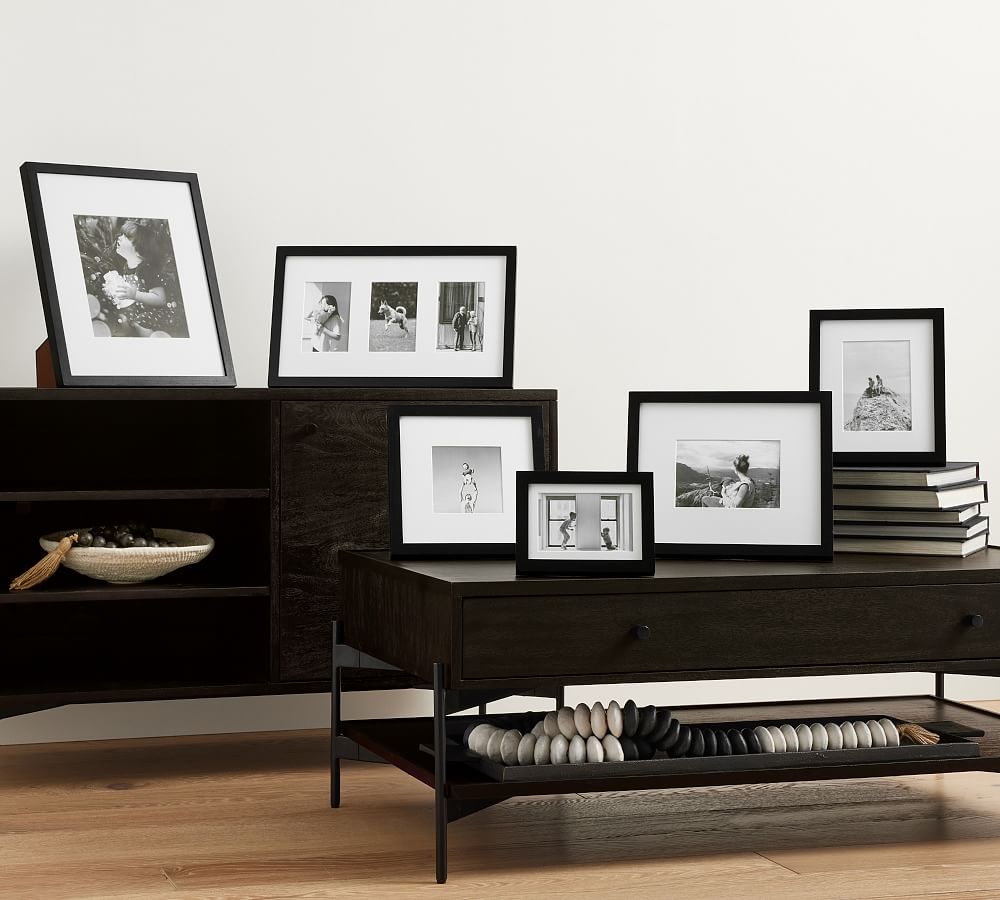
Table Decor
How To Style A Table Top With Photos
Modified: December 7, 2023
Learn how to elevate your table decor with beautiful photos. Discover tips and tricks for styling a stunning table top that will impress your guests.
(Many of the links in this article redirect to a specific reviewed product. Your purchase of these products through affiliate links helps to generate commission for Storables.com, at no extra cost. Learn more)
Introduction
Welcome to the exciting world of table decor! Whether you’re redecorating your dining room or simply looking to spruce up a table in your home, styling a tabletop with photos can add a personal touch and elevate the visual appeal of any space.
In this article, we will guide you through the process of selecting the right tabletop, choosing the perfect photos, framing and display options, arranging the photos, and adding personal touches to create a stunning table decor.
By the end of this article, you will be equipped with the knowledge and inspiration to transform your plain table into a captivating display that reflects your unique personality and style.
So, let’s dive in and discover how to style a tabletop with photos that will leave your guests in awe!
Key Takeaways:
- Transform your tabletop into a captivating display by choosing the right tabletop, selecting the perfect photos, framing them, arranging them thoughtfully, and adding personal touches. Let your creativity soar and create a visually stunning and meaningful tableau.
- Infuse your tabletop with your unique personality, cherished memories, and personal style. Experiment with different framing and display options, add personal touches, and apply final tips to create a visually captivating and personalized showcase that will be the envy of all who see it.
Read more: How To Style A Granite Table Top
Choosing the Right Tabletop
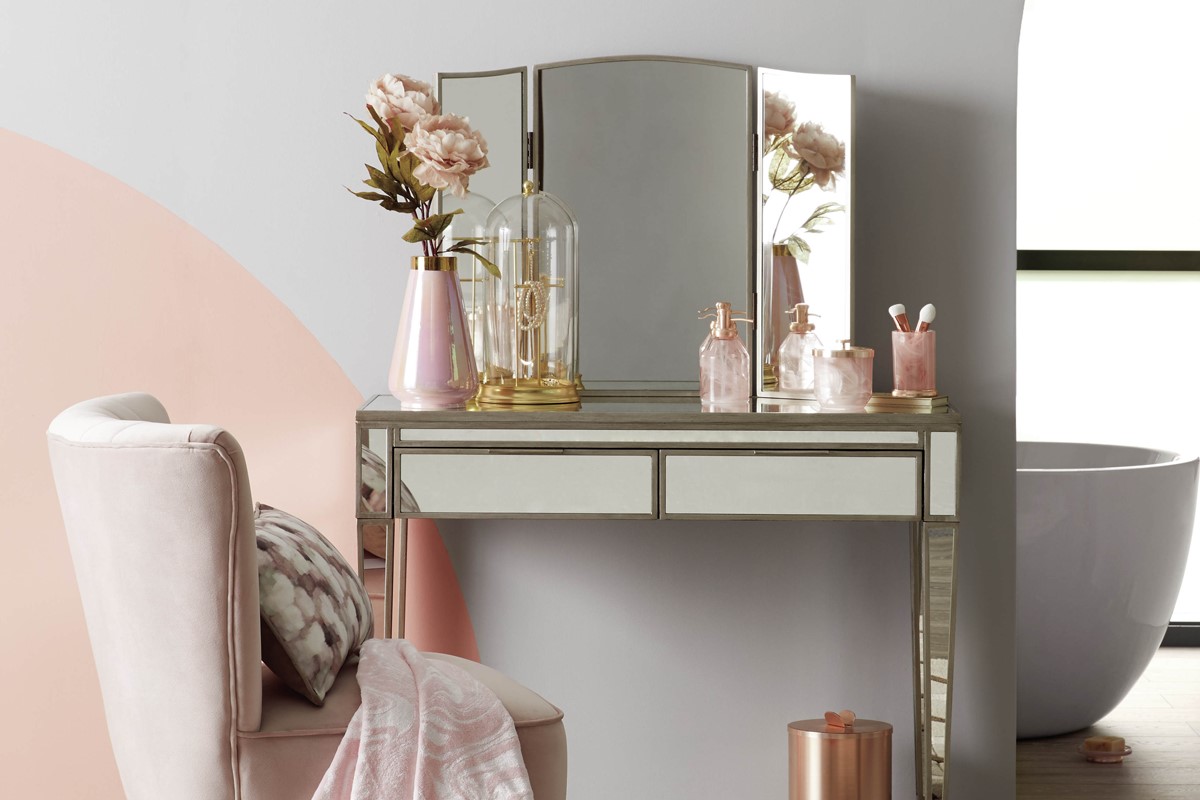
When it comes to styling a tabletop with photos, the first step is to choose the right tabletop surface. The tabletop will serve as the foundation for your photo display, so it’s important to select a material and color that complements the overall theme and aesthetic of your space.
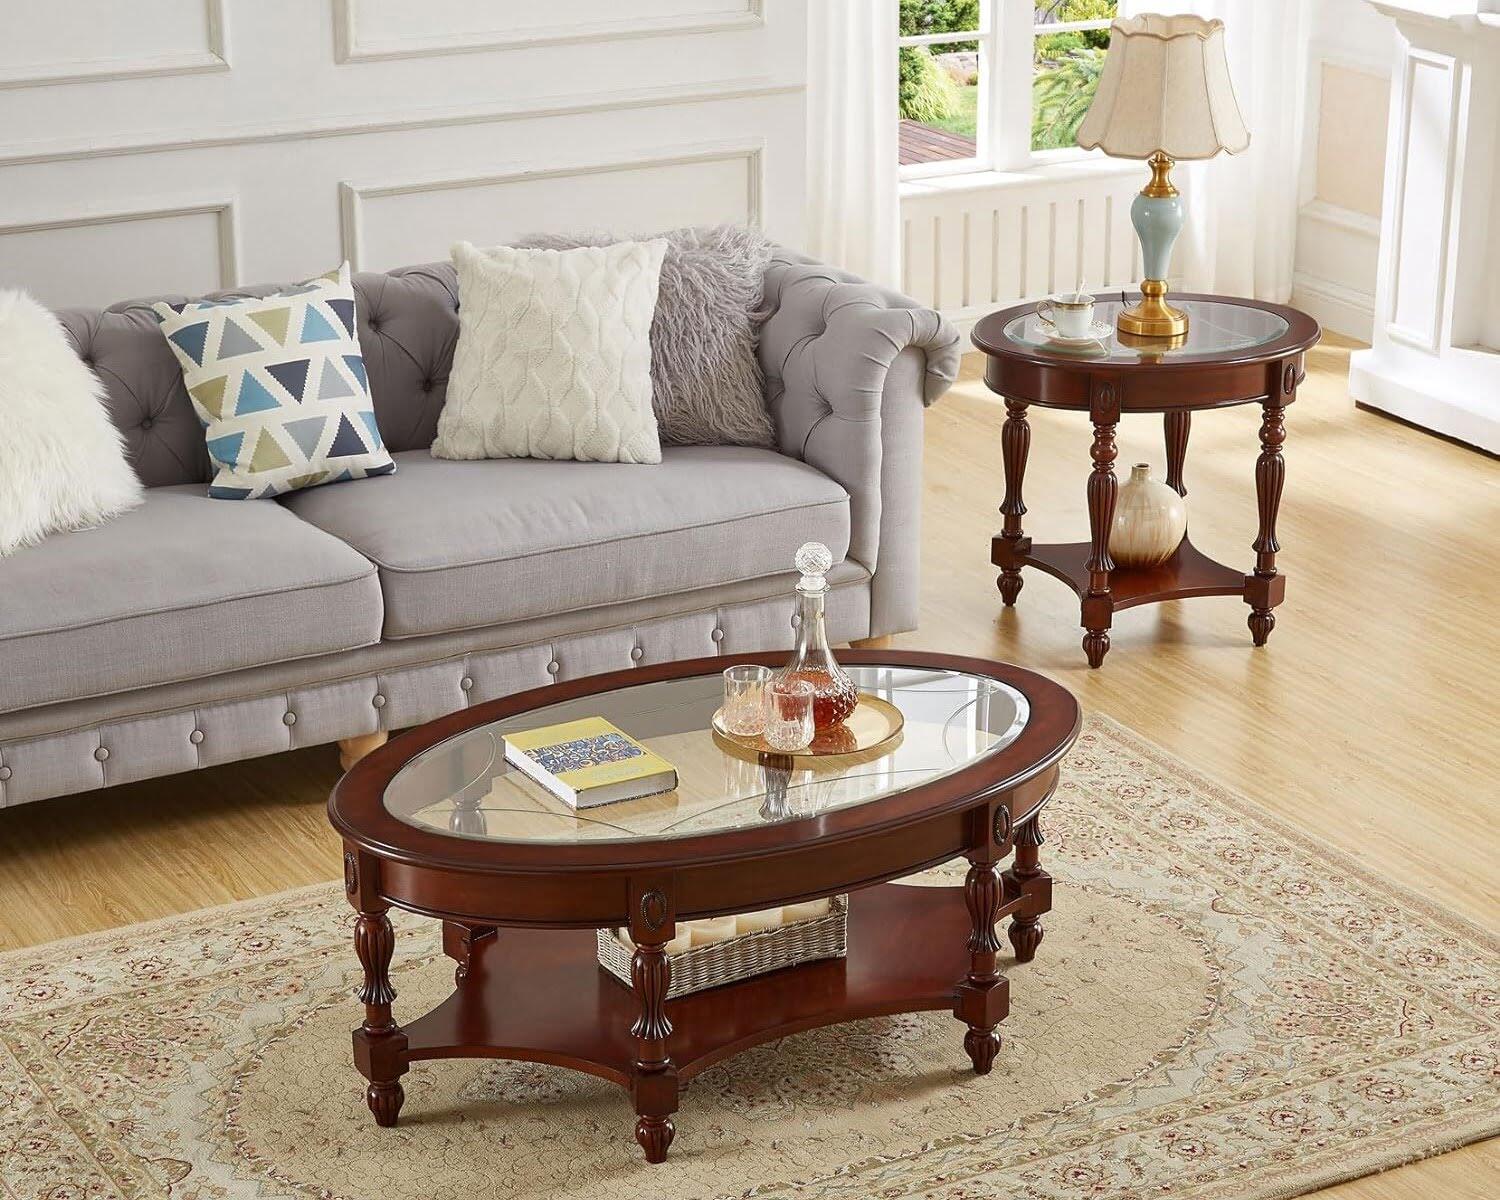
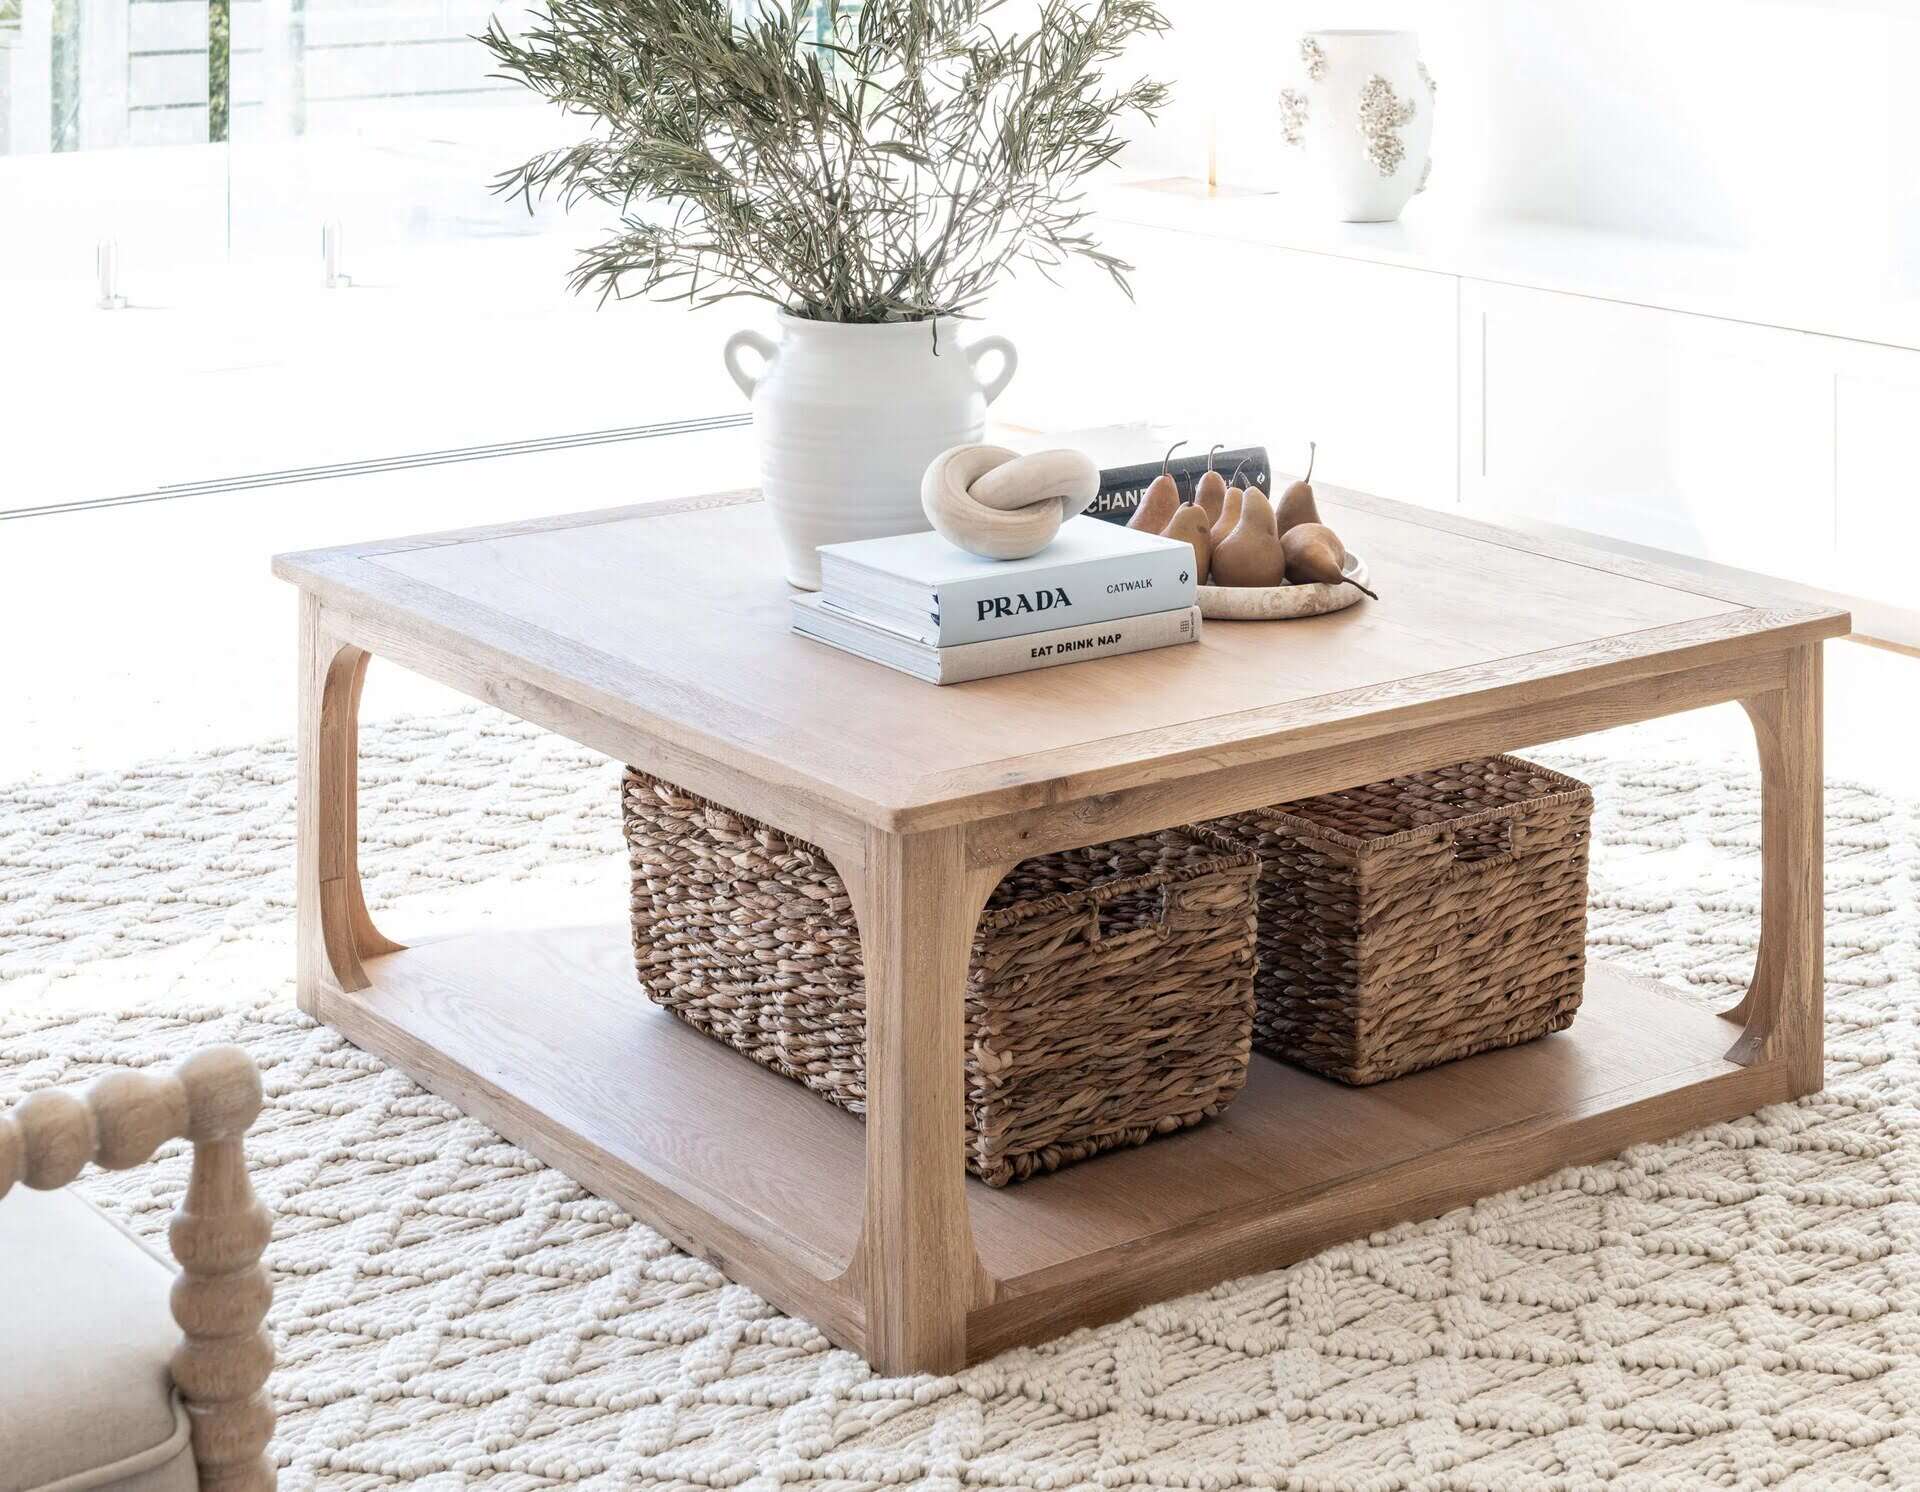
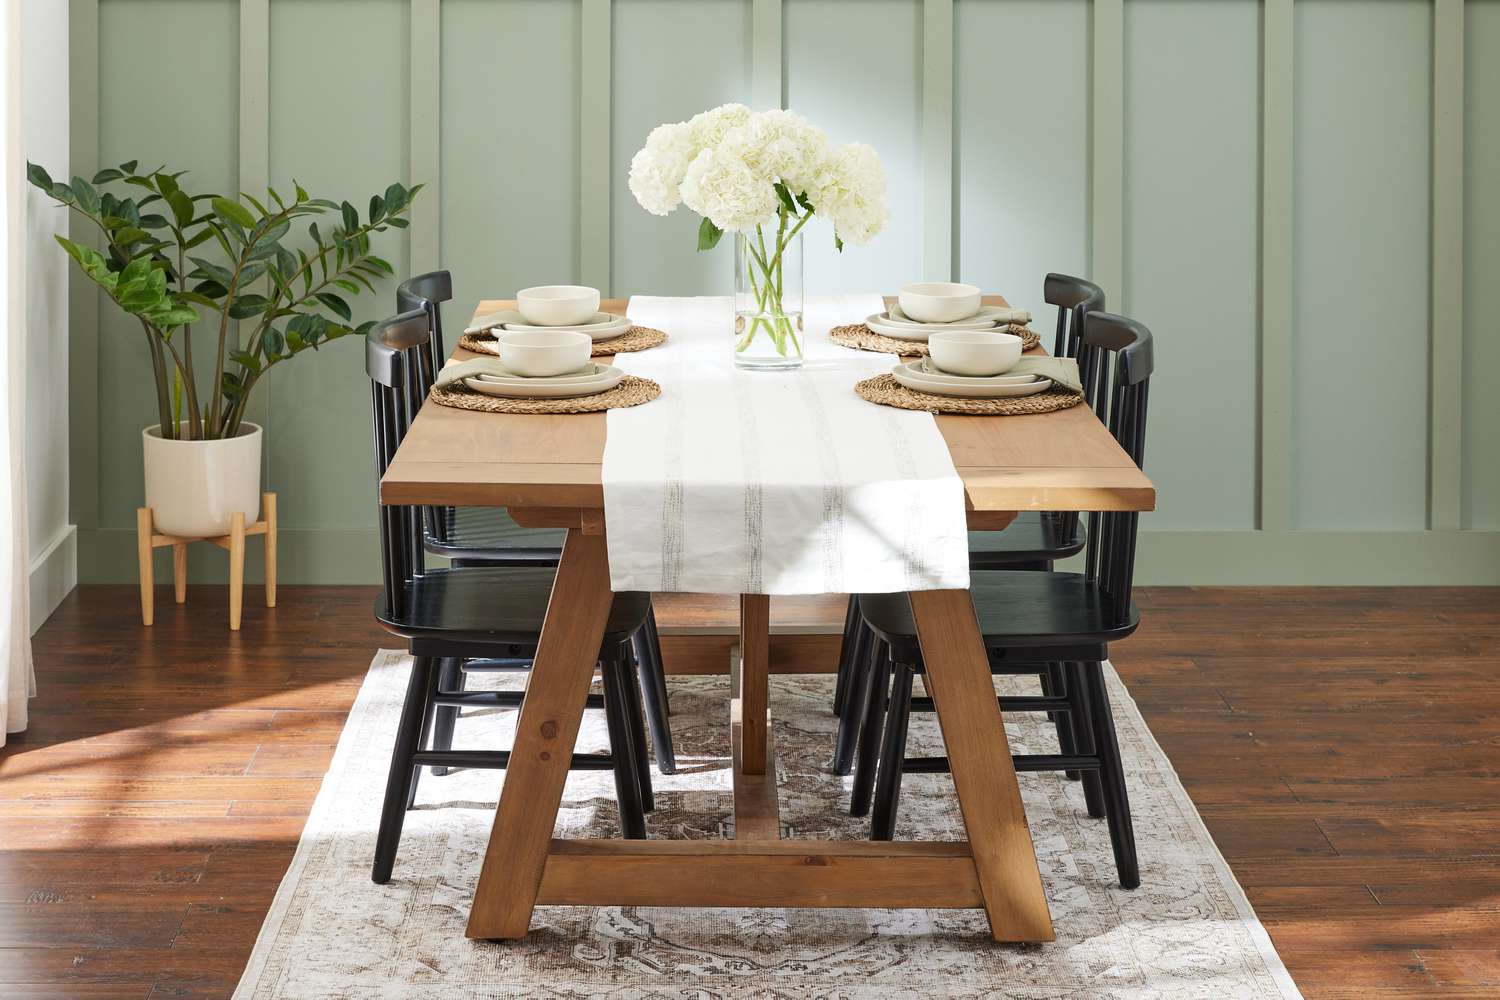
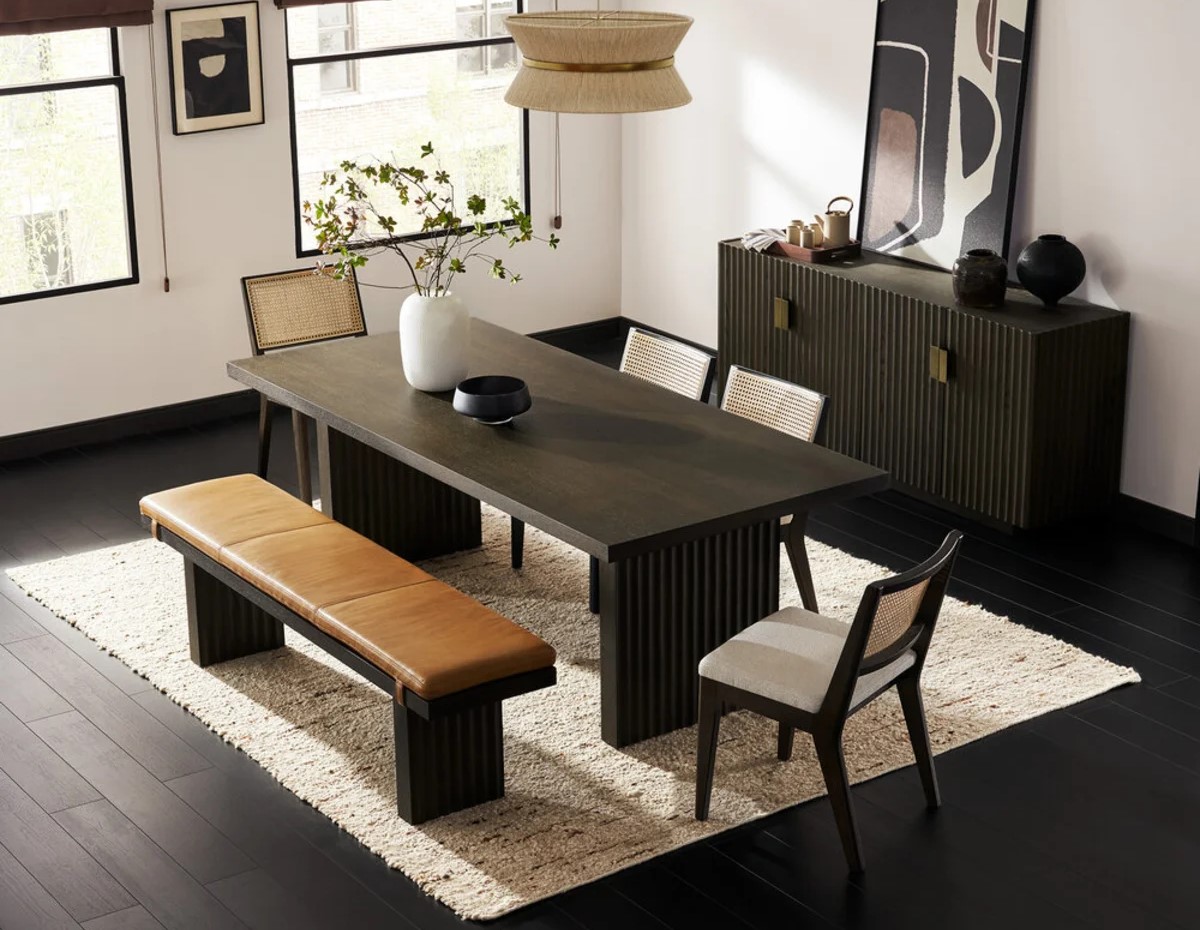
If you prefer a classic and elegant look, a wooden tabletop can be a great choice. You can opt for a rich, dark wood for a more traditional feel, or go for a lighter wood finish to create a contemporary ambiance.
For a sleek and modern look, a glass tabletop can work wonders. The transparent surface will allow your photos to take center stage and create a visually stunning display. Just make sure to clean the glass regularly to keep it looking its best.
If you are looking for something more unique and eclectic, consider a mosaic or tiled tabletop. This option allows you to incorporate different patterns, colors, and textures, adding visual interest to your photo display.
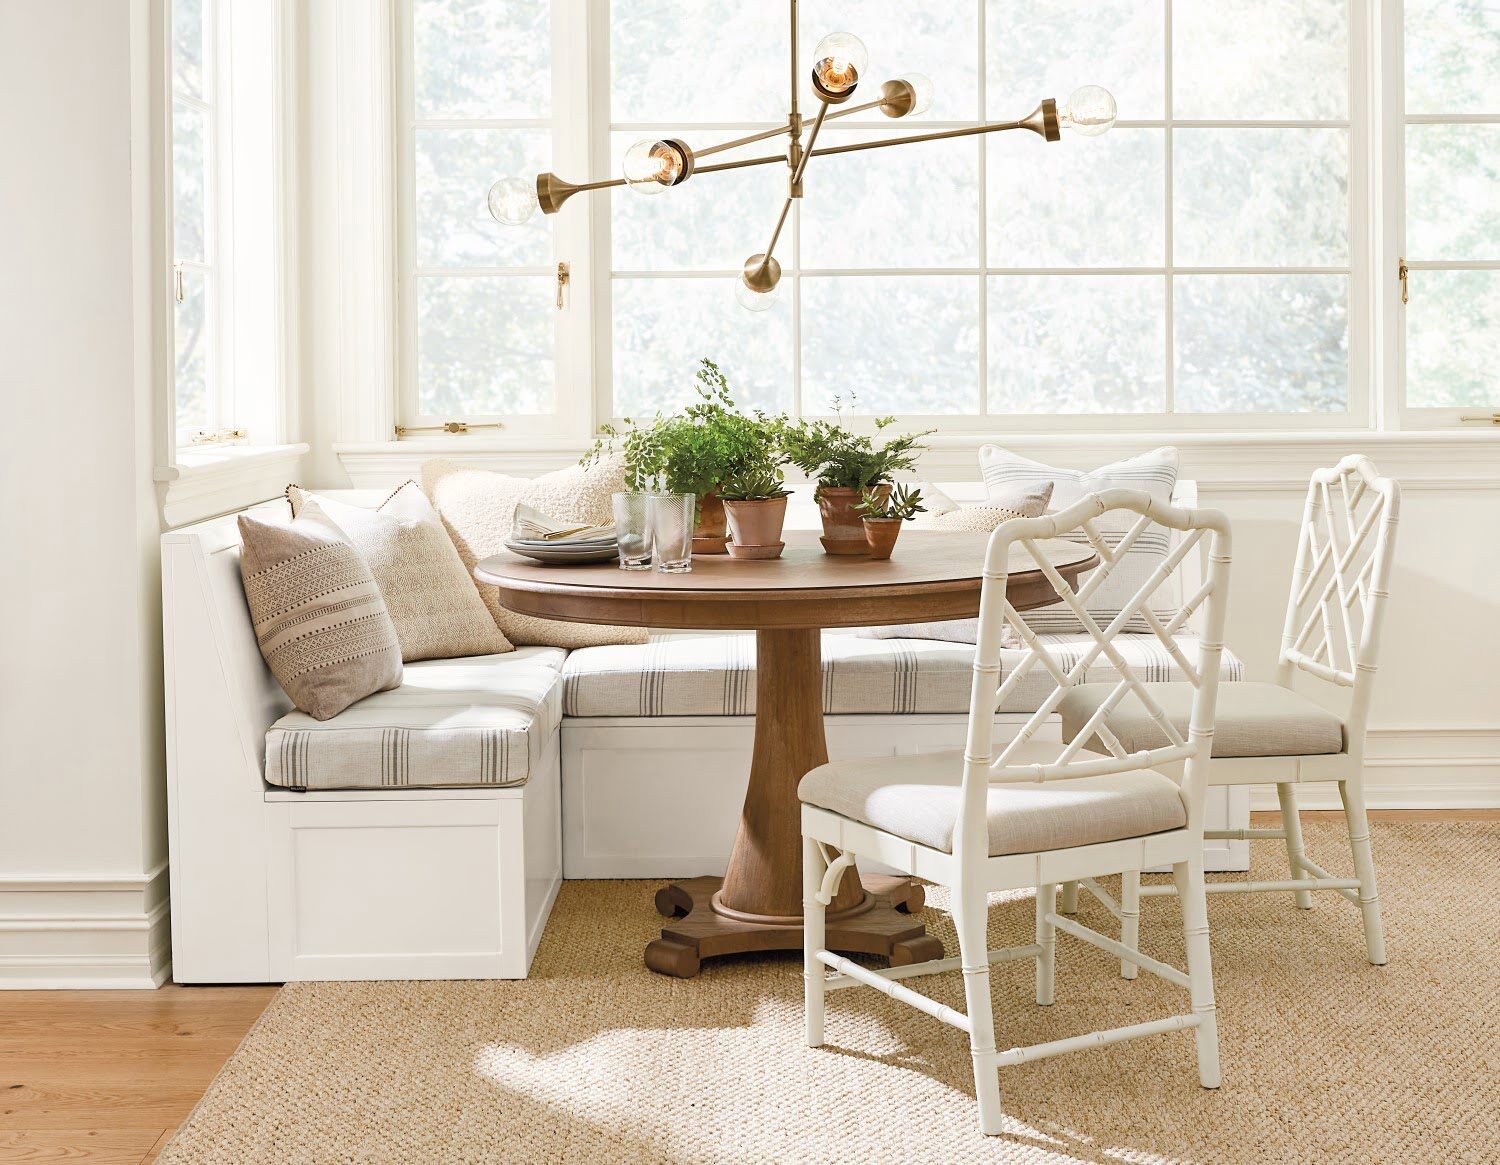
Keep in mind the size and shape of the tabletop as well. If you have a long rectangular table, you have more room to create a larger photo arrangement. On the other hand, if you have a small round table, a smaller photo display can still make a big impact.
Ultimately, the key is to choose a tabletop that reflects your personal style and complements the overall theme of your space. Once you have selected the perfect tabletop, it’s time to move on to the next step: selecting the perfect photos.
Selecting the Perfect Photos
Now that you have your tabletop ready, it’s time to choose the perfect photos to adorn it. Selecting the right photos will set the tone for your tabletop display and allow you to showcase your favorite memories and experiences.
Start by considering the theme or mood you want to convey. Are you looking for a nostalgic vibe? Choose photos from memorable family vacations or special moments with loved ones. If you want to create a more artistic and abstract display, opt for photos with unique angles, textures, or color schemes.
When selecting photos, think about the size and orientation as well. You can mix and match different sizes and orientations to create an eye-catching arrangement. Consider including a mix of portrait and landscape photos to add variety and visual interest.
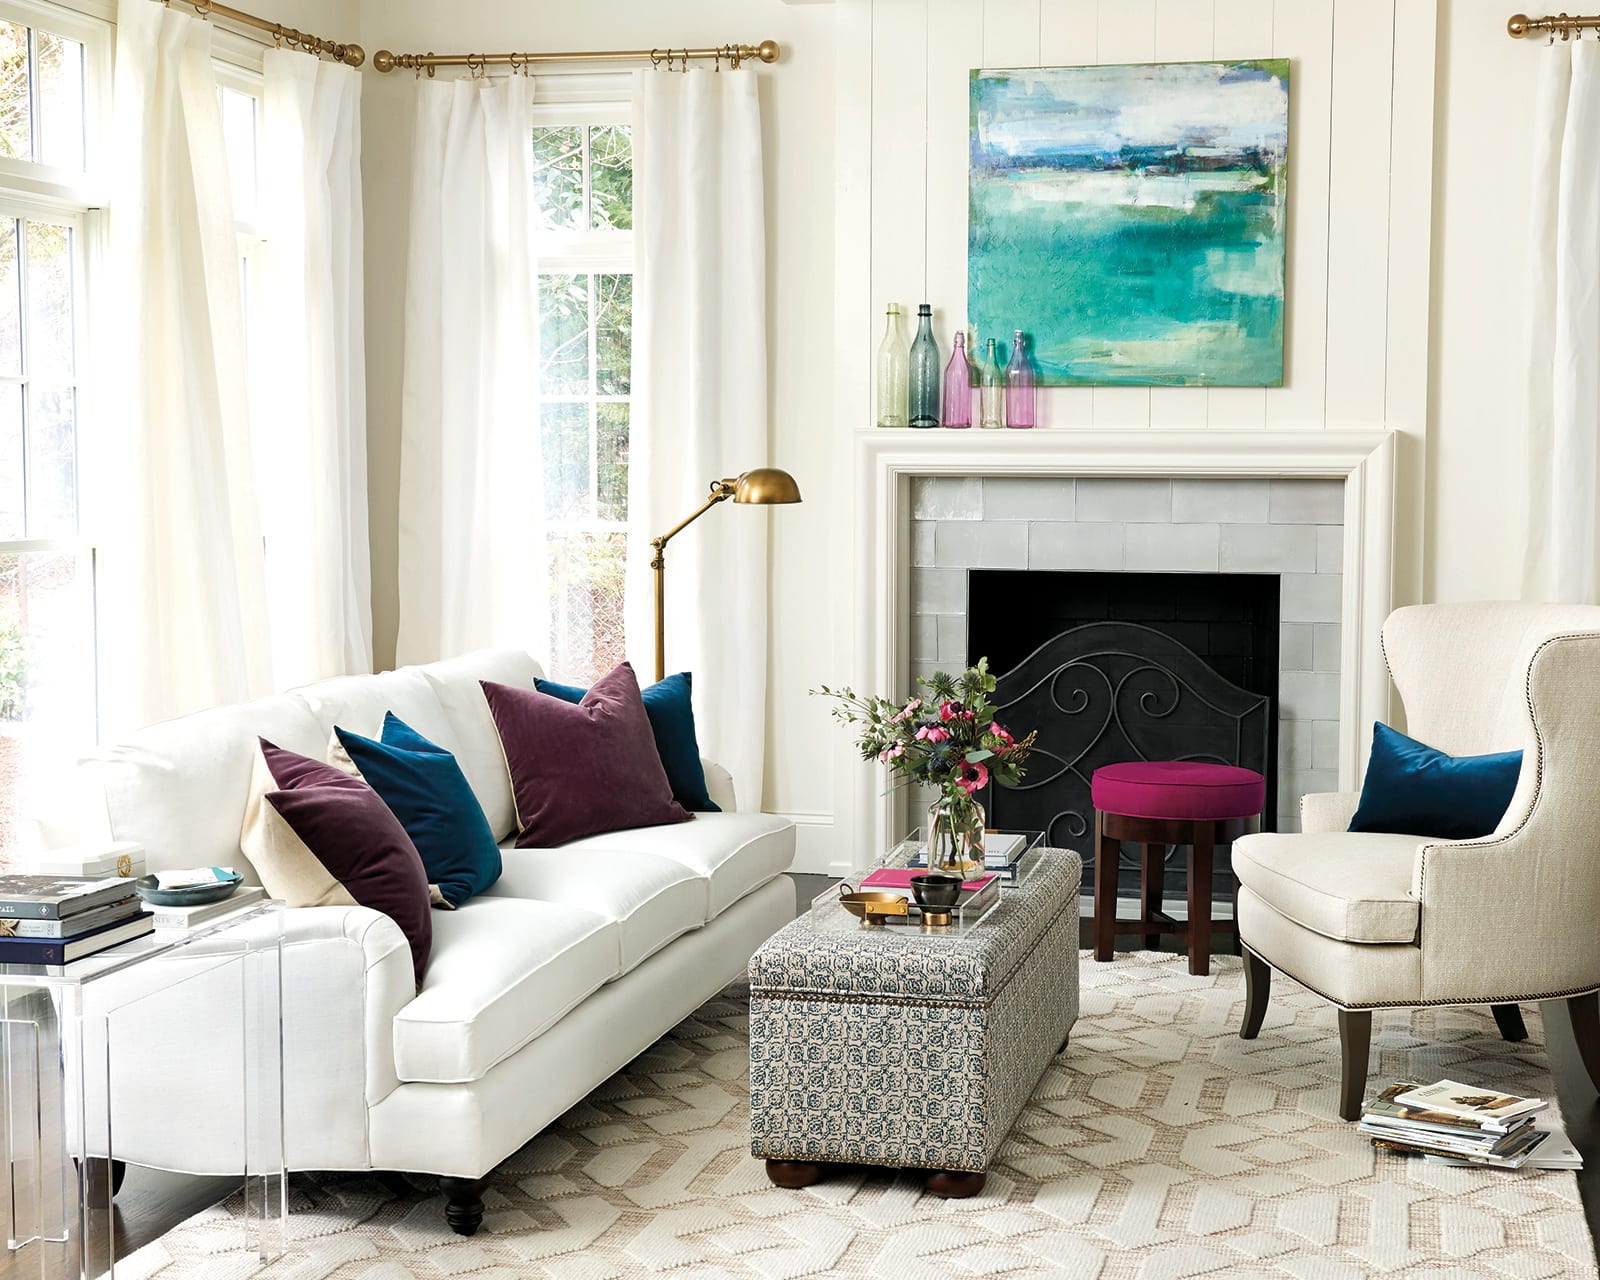
Think about the color scheme and overall aesthetic of your space. Do you want your photos to blend seamlessly with the existing decor, or do you want them to stand out as focal points? If you have a neutral color palette in your room, you can choose photos with pops of color to create a vibrant display. Alternatively, if you have a bold and colorful space, black and white photos can add an elegant and sophisticated touch.
If you’re feeling overwhelmed with the selection process, you can curate a theme for your photo display. For example, you can create a family-themed display with photos of your loved ones, or a travel-inspired display with photos from your adventures around the world. This approach can help you narrow down your choices and create a cohesive and meaningful arrangement.
Remember, selecting the perfect photos is a personal and subjective process. Trust your instincts and choose the photos that resonate with you and bring you joy. Once you have your selection, it’s time to move on to framing and display options.
Framing and Display Options
Now that you have selected the perfect photos, it’s time to think about framing and display options to enhance their visual impact on your tabletop. Framing your photos not only adds a polished and finished look but also helps protect them from damage over time.
There are various framing options to choose from, depending on your personal style and the overall aesthetic of your space. Here are a few popular choices:
- Classic Frames: Traditional wooden or metal frames with a matte or glossy finish can add an elegant and timeless touch to your tabletop display. Opt for frames in a color that complements your tabletop and photo color scheme.
- Gallery-style Frames: If you prefer a more contemporary and modern look, consider using gallery-style frames. These frames have a sleek and minimal design and often feature a thin border that allows your photos to take center stage.
- Collage Frames: If you have multiple photos you’d like to display but don’t want to overwhelm your tabletop, collage frames can be a great option. These frames allow you to showcase several photos in one piece, creating a visually compelling display.
- Shadow Boxes: For a three-dimensional effect, consider using shadow boxes. These frames have a depth that allows you to display objects alongside your photos, such as seashells from a beach vacation or small mementos.
Once you have chosen the framing style, you can experiment with different display options on your tabletop. Here are a few ideas to get you started:
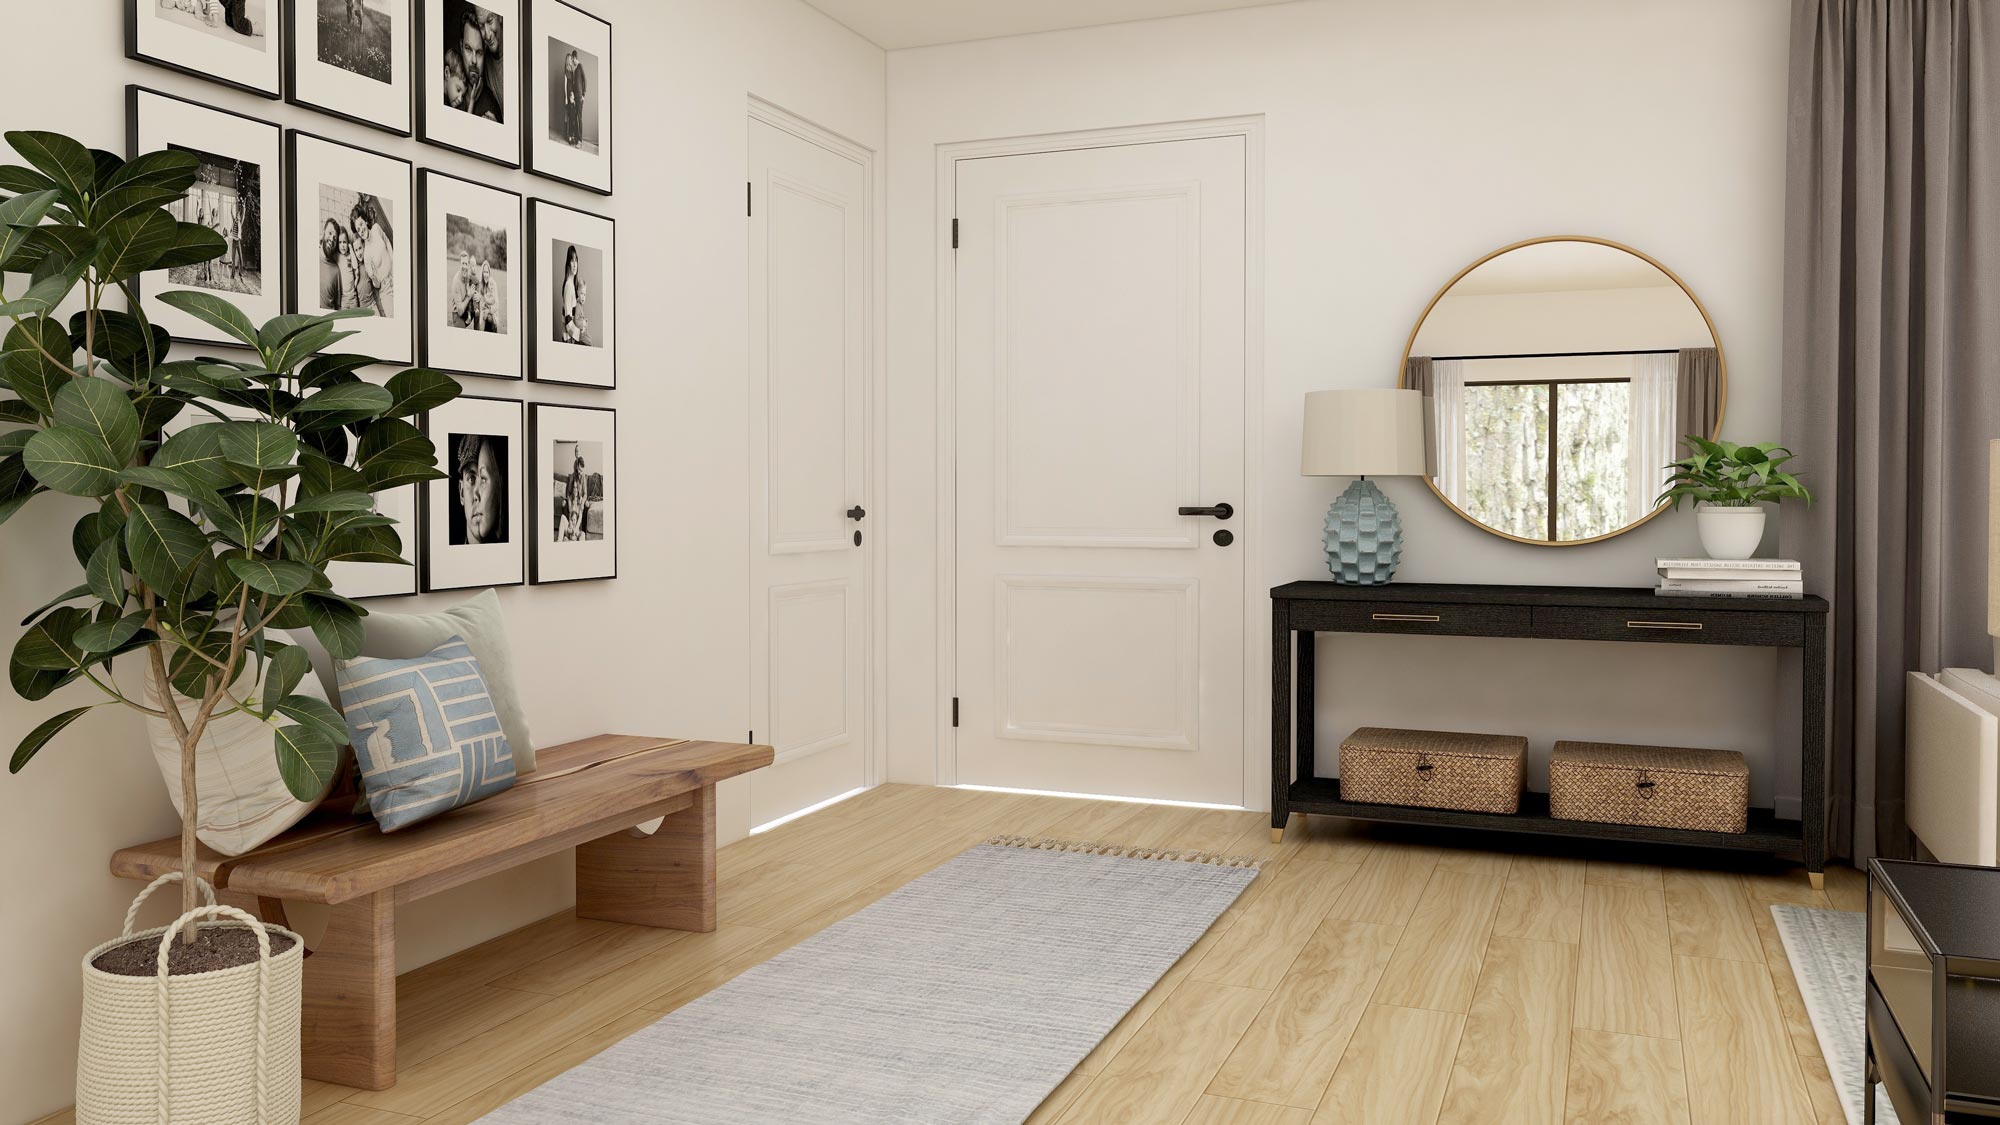
- Grid Layout: Arrange your framed photos in a grid formation for a clean and organized look. This layout works well with symmetrically shaped tables and creates a cohesive and balanced display.
- Asymmetrical Arrangement: If you prefer a more eclectic and whimsical look, try arranging your photos in an asymmetrical manner. Play around with different sizes, orientations, and angles to create a visually dynamic display.
- Layered Display: Create depth and dimension by layering your framed photos. Place larger frames in the back and smaller frames in the front to add visual interest. This technique works particularly well on larger tables.
- Vertical or Horizontal Line: If you have a long rectangular table, you can create a dramatic effect by arranging your photos in a straight line either vertically or horizontally. This simple yet impactful layout draws attention to the photos and elongates the space.
Remember to step back and assess your display from different angles to ensure it looks visually pleasing from all viewpoints. And don’t be afraid to experiment and rearrange until you find the perfect arrangement that speaks to you.
Now that you’ve framed your photos and arranged them on your tabletop, it’s time to add personal touches to make your display truly unique and meaningful.
When styling a table top with photos, consider using a mix of frame sizes and orientations to create visual interest. Vary the heights and angles of the frames for a dynamic display.
Arranging the Photos on the Tabletop
Arranging the photos on your tabletop is where the creative fun truly begins. This is your opportunity to transform your table into a captivating display that tells a story and showcases your favorite memories.
Before you start arranging the photos, consider the overall composition and balance of the display. Think about the size and shape of your tabletop and how much space you want to dedicate to the photo arrangement. You want to create a visually pleasing display that allows each photo to shine without overcrowding the table.
One approach is to start with a focal point and build the arrangement around it. Choose one photo that you want to highlight or that holds special significance, and place it in the center or at a prominent position on the table. This photo can set the tone for the rest of the arrangement and help guide the placement of other photos.
Once you have your focal point, start adding other photos around it. Experiment with different placement options such as overlapping, staggering, or angling the frames to create visual interest. Consider the colors, patterns, and themes of your photos and aim for a balanced and harmonious composition.
As you arrange the photos, take into account the size and orientation of each frame. Mix and match different sizes and orientations to create a dynamic and visually appealing display. Play around with the arrangement until you achieve a layout that speaks to you.
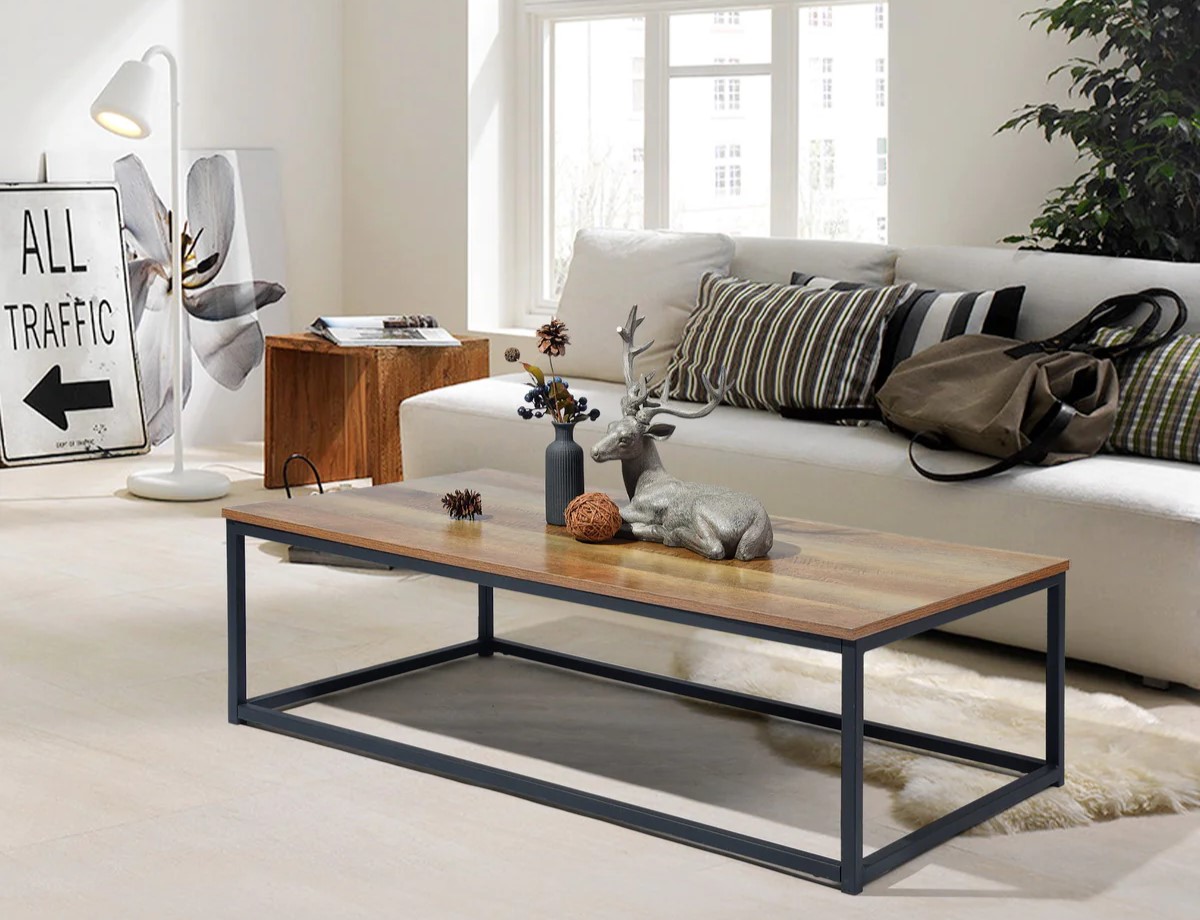
Don’t be afraid to add other elements to complement your photo display. Incorporating decorative objects, such as small sculptures, vases, or candles, can add depth and texture to the arrangement. Just make sure to keep the focus on the photos and use the additional elements sparingly so as not to overpower the display.
Consider the flow and visual movement of the arrangement. Place photos with similar colors, themes, or subjects next to each other to create a cohesive story. You can also create a sense of flow by arranging the photos in a diagonal or curved line, drawing the viewer’s eye from one photo to the next.
Lastly, remember to step back and assess your photo arrangement from different angles. This will help you identify any inconsistencies or imbalances and make necessary adjustments to achieve a visually pleasing display.
With a bit of creativity and experimentation, you can transform your tabletop into a captivating gallery of memories that will leave a lasting impression on anyone who sees it.
Now that your photos are beautifully arranged, it’s time to add personal touches to truly make the display your own.
Read more: How To Do A Chevron Style Table Top
Adding Personal Touches
Now that you have arranged your photos on the tabletop, it’s time to add personal touches to make your display truly unique and meaningful. Adding personal touches will not only enhance the visual appeal of your arrangement but also create a connection between the photos and your own personal story.
One way to personalize your photo display is by incorporating meaningful objects or memorabilia alongside the framed photos. For example, you can place small trinkets or souvenirs from special trips or events next to the corresponding photos. This adds depth and texture to your display and creates a visual narrative that reflects your experiences and memories.
If you have written notes, letters, or postcards that hold sentimental value, you can tuck them behind or alongside the framed photos. This adds a personal and intimate touch, allowing you and your loved ones to revisit cherished memories and messages.
Another way to add a personal touch is by including handwritten captions or labels for each photo. You can write the date, location, or a short description on small cards or attractive labels and place them in front of or below the corresponding frames. This not only adds an extra layer of storytelling but also serves as a helpful reference for anyone admiring the display.
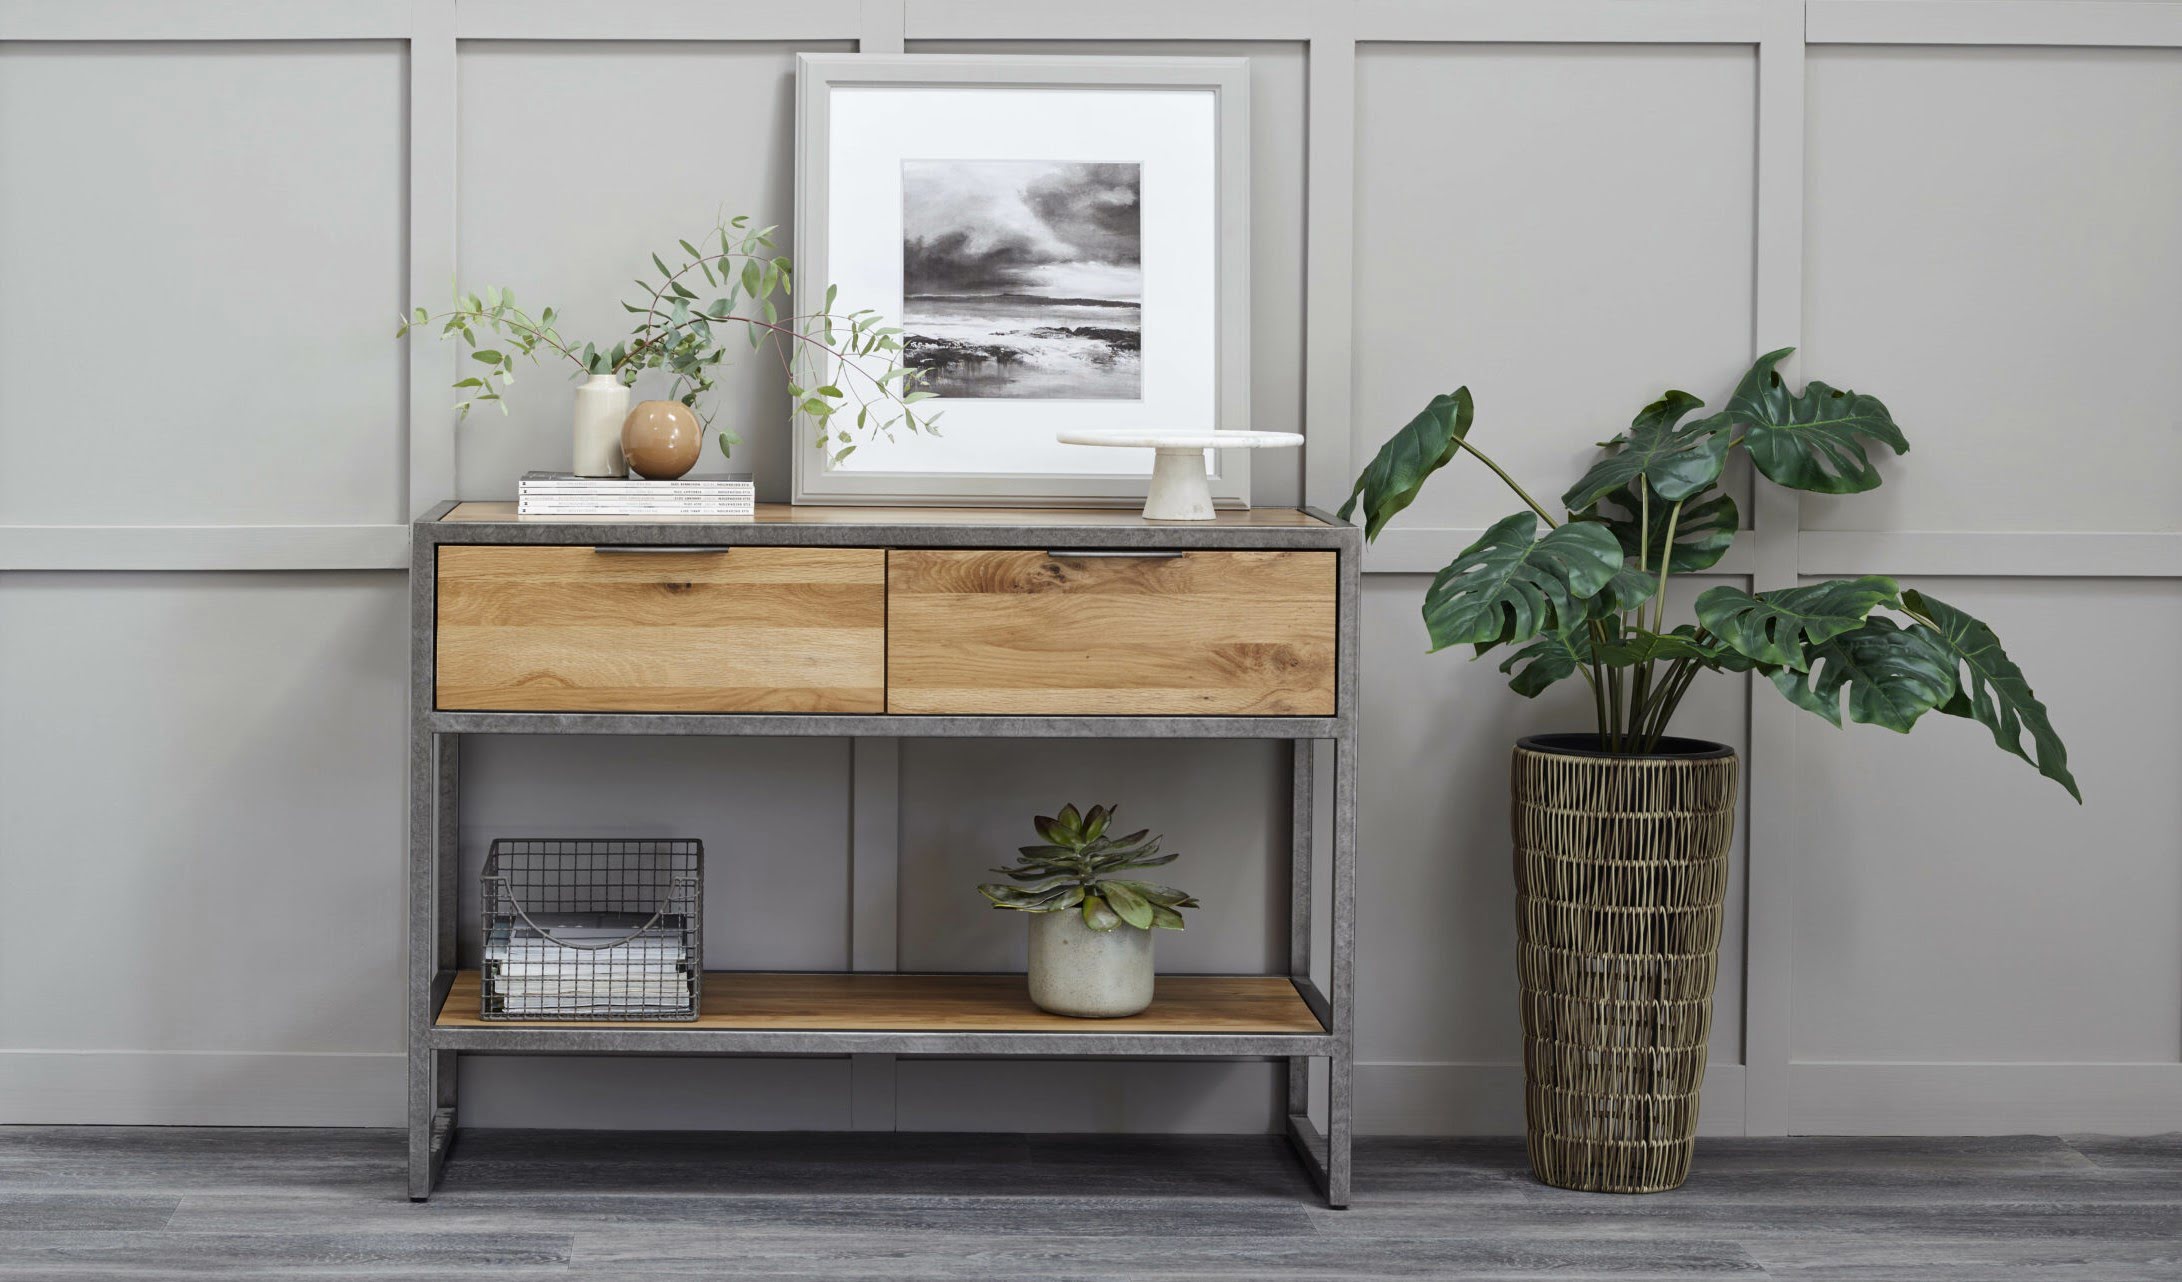
Consider incorporating elements that reflect your hobbies, interests, or passions. If you’re a nature lover, you can place small potted plants or flowers on your tabletop to add a fresh and vibrant touch. If you’re a bookworm, consider stacking a few favorite books next to your photo arrangement. These personal touches will create a display that is uniquely yours and showcases your individuality.
Don’t forget the power of lighting in enhancing your photo display. Consider adding soft, ambient lighting with table lamps or string lights to create a cozy and inviting atmosphere. Experiment with different lighting angles and intensities to find the perfect balance that highlights your photos and enhances the overall mood of the display.
Lastly, keep in mind that personal touches should complement the overall aesthetic of your space and not overpower the photo display. It’s important to strike a balance between adding personal elements and maintaining a cohesive and visually pleasing arrangement.
With the addition of personal touches, your tabletop photo display will not only be a visual delight but also a reflection of your unique personality and cherished memories. Take the time to curate and personalize your display, and be proud of the meaningful story it tells.
Now that your tabletop is beautifully adorned with photos and personal touches, let’s move on to the final touches and some additional tips to ensure your display captivates everyone’s attention.
Final Touches and Tips
Now that you have styled your tabletop with photos and added personal touches, it’s time to add some final touches and consider a few additional tips to make your display even more impressive. These finishing touches will help elevate the overall look and ensure that your tabletop becomes the centerpiece of your space.
1. Clean and polish: Before presenting your photo display, make sure to clean and polish the frames and glass surfaces to ensure they are free from dust and smudges. This will enhance the visual clarity and make your arrangement shine.
2. Consider the viewing angle: Think about the primary viewing angle of your display. Adjust the placement of the frames and personal touches to maximize the visual impact from the main seating area or the most frequently viewed angle of your space.
3. Evaluate the scale: Assess the overall scale of your display in relation to the size of the table and the room. Make sure your arrangement is neither too small that it gets lost on the table nor too large that it overwhelms the space.
4. Experiment with height: If you have enough vertical space on your tabletop, consider adding varying heights to your display. This can be achieved by using easels, stacking books, or incorporating taller decorative objects alongside the framed photos. This adds visual interest and makes your display more dynamic.
5. Coordinate with the room decor: Ensure that your tabletop photo display complements the existing decor of your room. Consider the colors, styles, and themes in your space and choose elements that harmonize with the overall aesthetic.
6. Rotate photos periodically: To keep your tabletop display fresh and interesting, consider rotating the photos from time to time. This allows you to showcase different memories and keep the arrangement relevant and engaging.
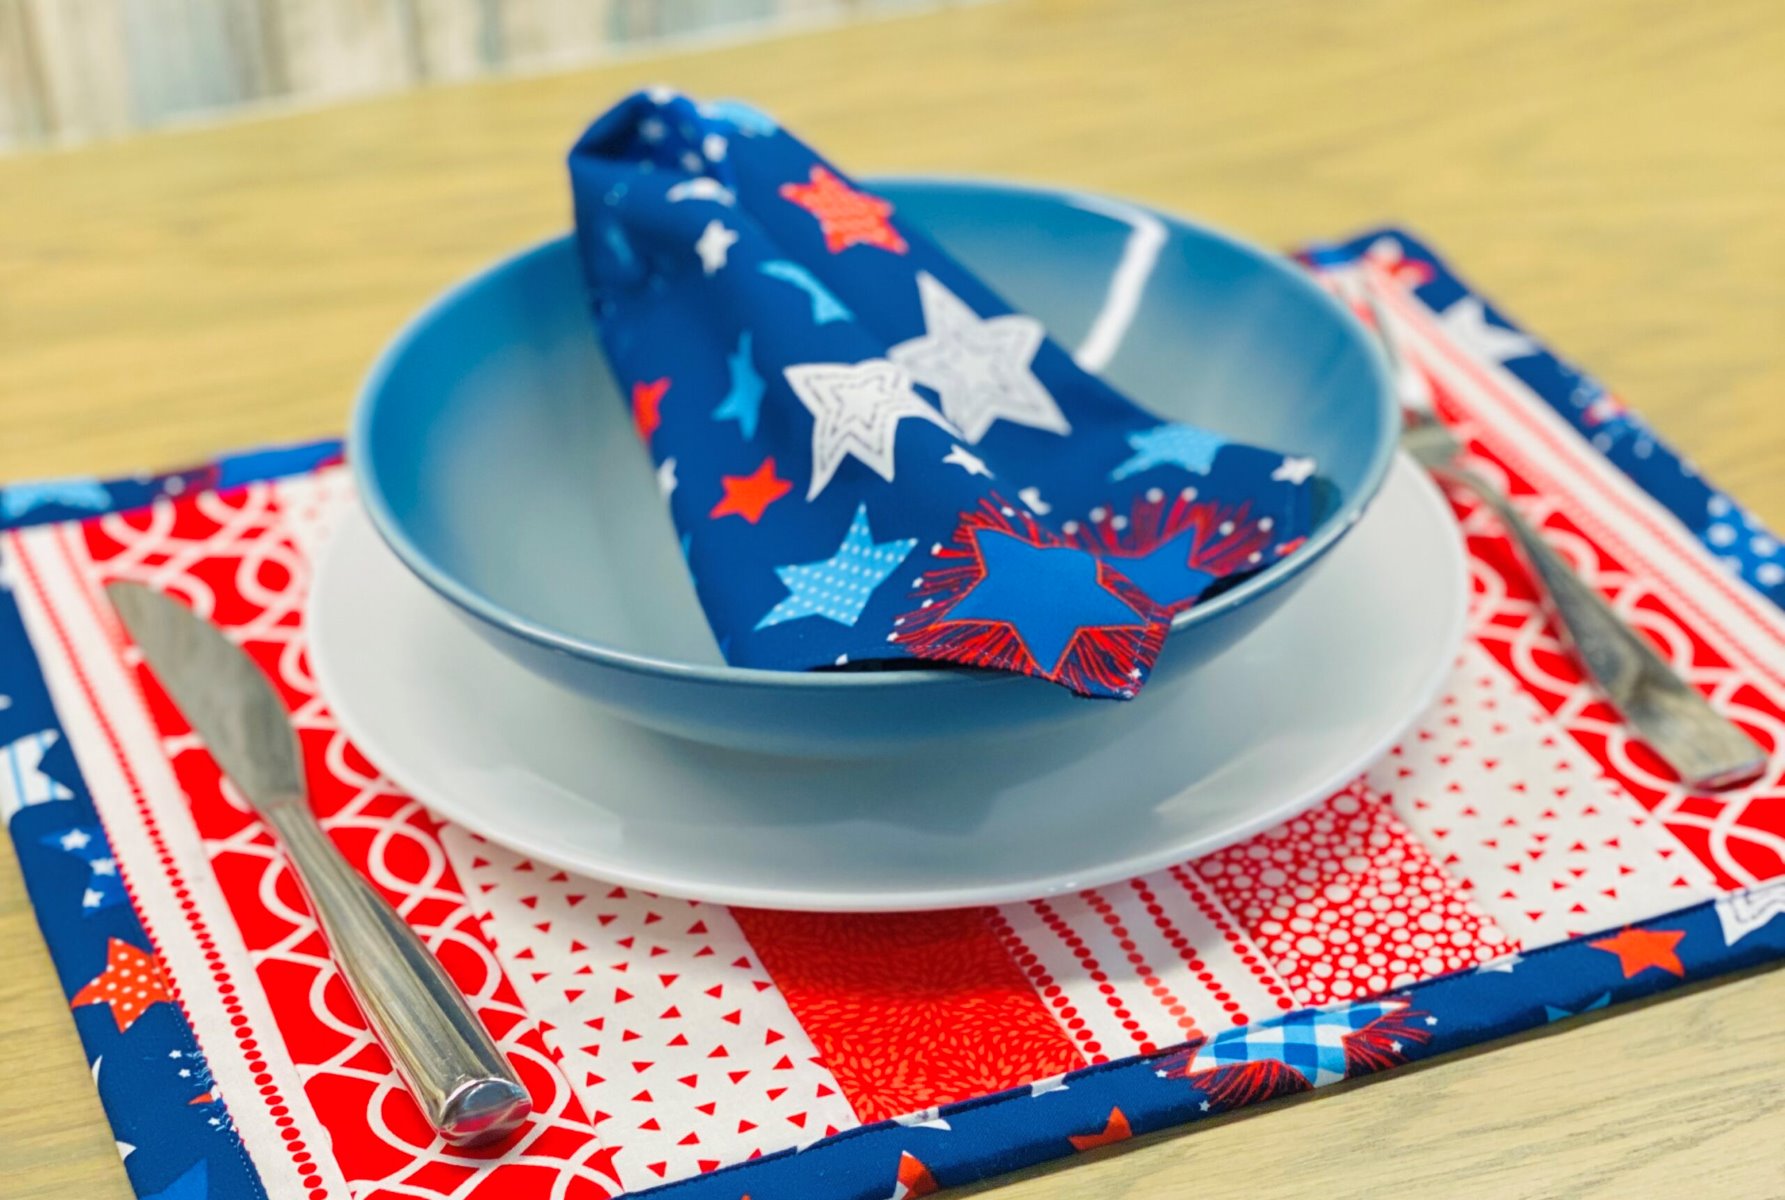
7. Reflect the season: Embrace the spirit of the season by incorporating seasonal elements into your display. You can swap out a few photos for seasonal images or add small seasonal decorations that enhance the overall theme and ambiance.
8. Share the story: When sharing your photo display with guests, take the opportunity to share the stories and memories behind the photos. This adds a personal touch and allows others to connect with your display on a deeper level.
9. Take photographs of your tabletop display: Capture the beauty of your styled tabletop by taking photographs. Share them on social media or create a photo album to preserve these cherished memories.
Remember, the key to a successful tabletop photo display is to infuse it with your personality, memories, and style. Be creative, experiment, and enjoy the process of creating a visually stunning and meaningful arrangement.
As you apply these final touches and tips to your tabletop photo display, you’ll have a visually captivating and personalized showcase that will be the envy of all who see it.
Congratulations on your beautifully styled tabletop! Enjoy the admiration and sweet memories it brings to your space!
Now, let’s wrap up this article.
Conclusion
Styling a tabletop with photos is a wonderful way to add a personal touch and elevate the visual appeal of any space. By following the steps outlined in this article, you have learned how to choose the right tabletop, select the perfect photos, frame them, arrange them on the tabletop, add personal touches, and apply final touches and tips to create a stunning display.
Remember, the key to successful table decor is to infuse it with your unique personality, cherished memories, and personal style. Each photo tells a story, and by arranging them thoughtfully, incorporating personal touches, and considering the overall aesthetic of your space, you can create a visually captivating and meaningful tableau.
Through careful consideration of tabletop materials, framing options, and arrangement techniques, you can transform a plain table into a gallery of cherished memories. The interplay of colors, textures, and personal touches will create a display that not only reflects your individuality but also captivates the attention and admiration of anyone who sees it.
Remember, as you embark on this creative journey, don’t be afraid to experiment and adapt the ideas presented here to suit your own taste and style. Your tabletop photo display should bring you joy and serve as a constant reminder of the beautiful moments in your life.
So go ahead, gather your favorite photos, select a suitable tabletop, and begin the process of transforming your space into a visual masterpiece. Let your creativity soar and watch as your tabletop becomes a conversation starter, a source of inspiration, and a cherished part of your home.
Thank you for joining us on this journey of table decor. We hope that this article has provided you with the guidance and inspiration to style your tabletop with photos in a way that reflects your unique personality. Enjoy the process and may your tabletop be a stunning showcase of memories and beauty.
Now it’s time to unleash your creativity and create a tabletop display that will leave everyone in awe!
Frequently Asked Questions about How To Style A Table Top With Photos
Was this page helpful?
At Storables.com, we guarantee accurate and reliable information. Our content, validated by Expert Board Contributors, is crafted following stringent Editorial Policies. We're committed to providing you with well-researched, expert-backed insights for all your informational needs.


0 thoughts on “How To Style A Table Top With Photos”