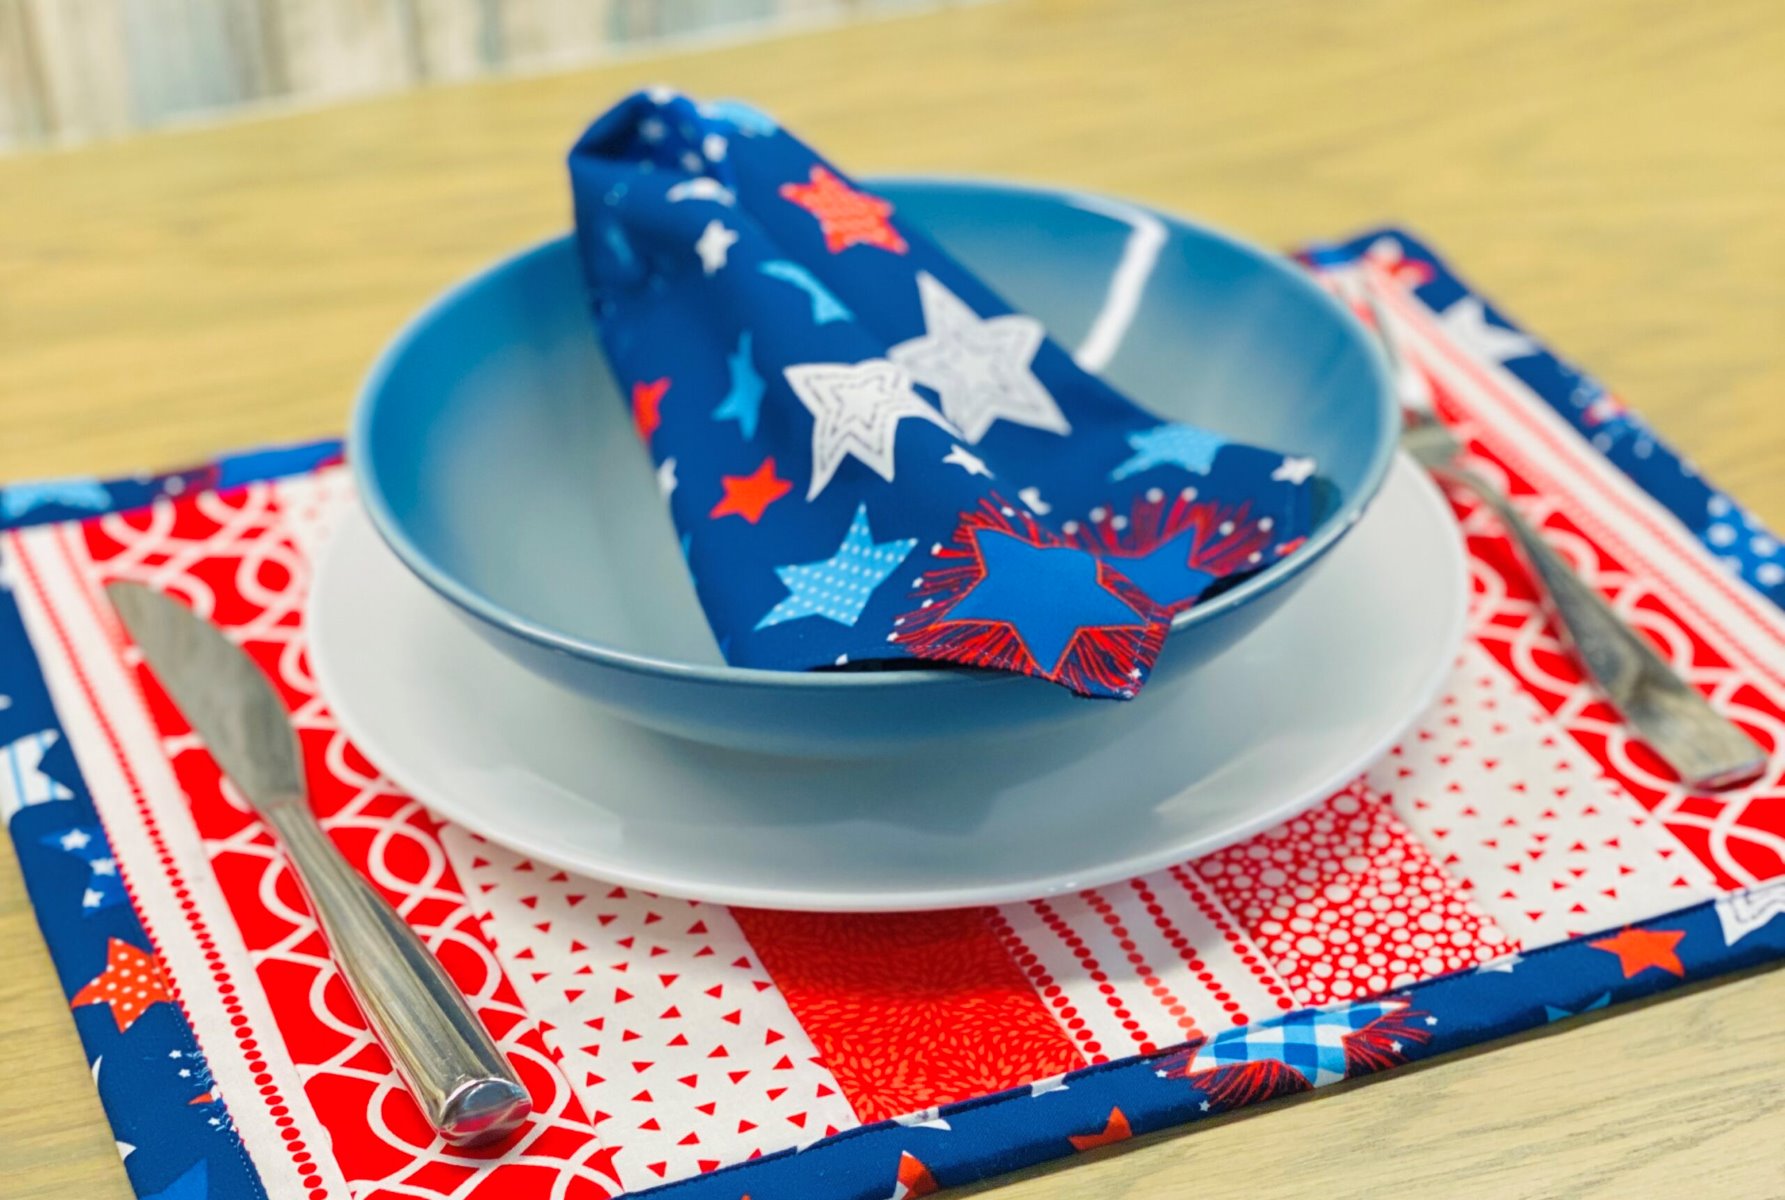
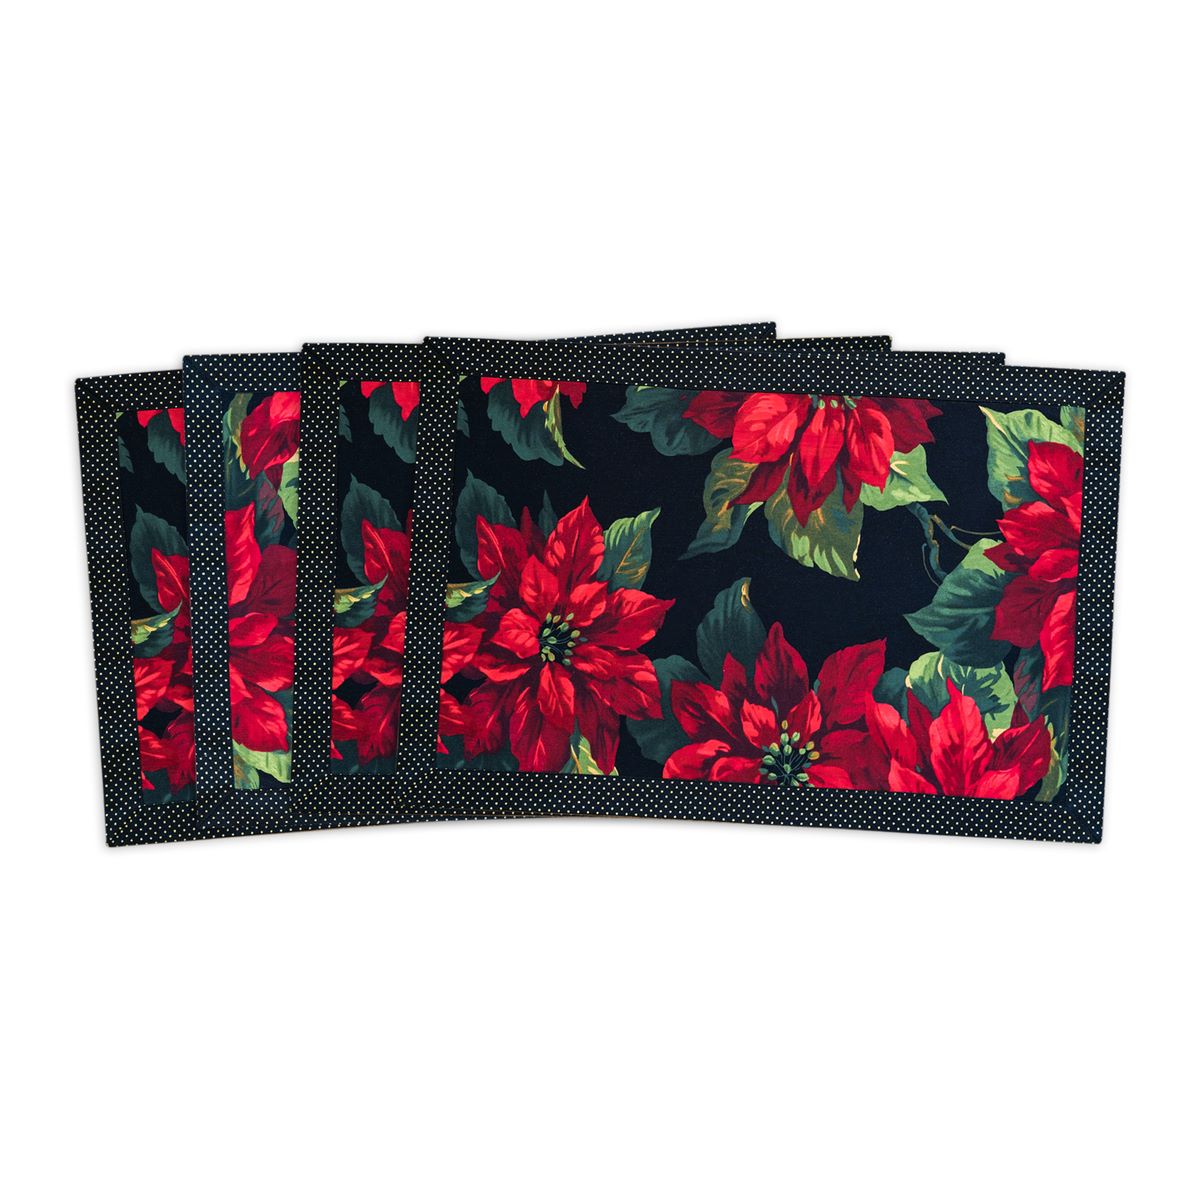
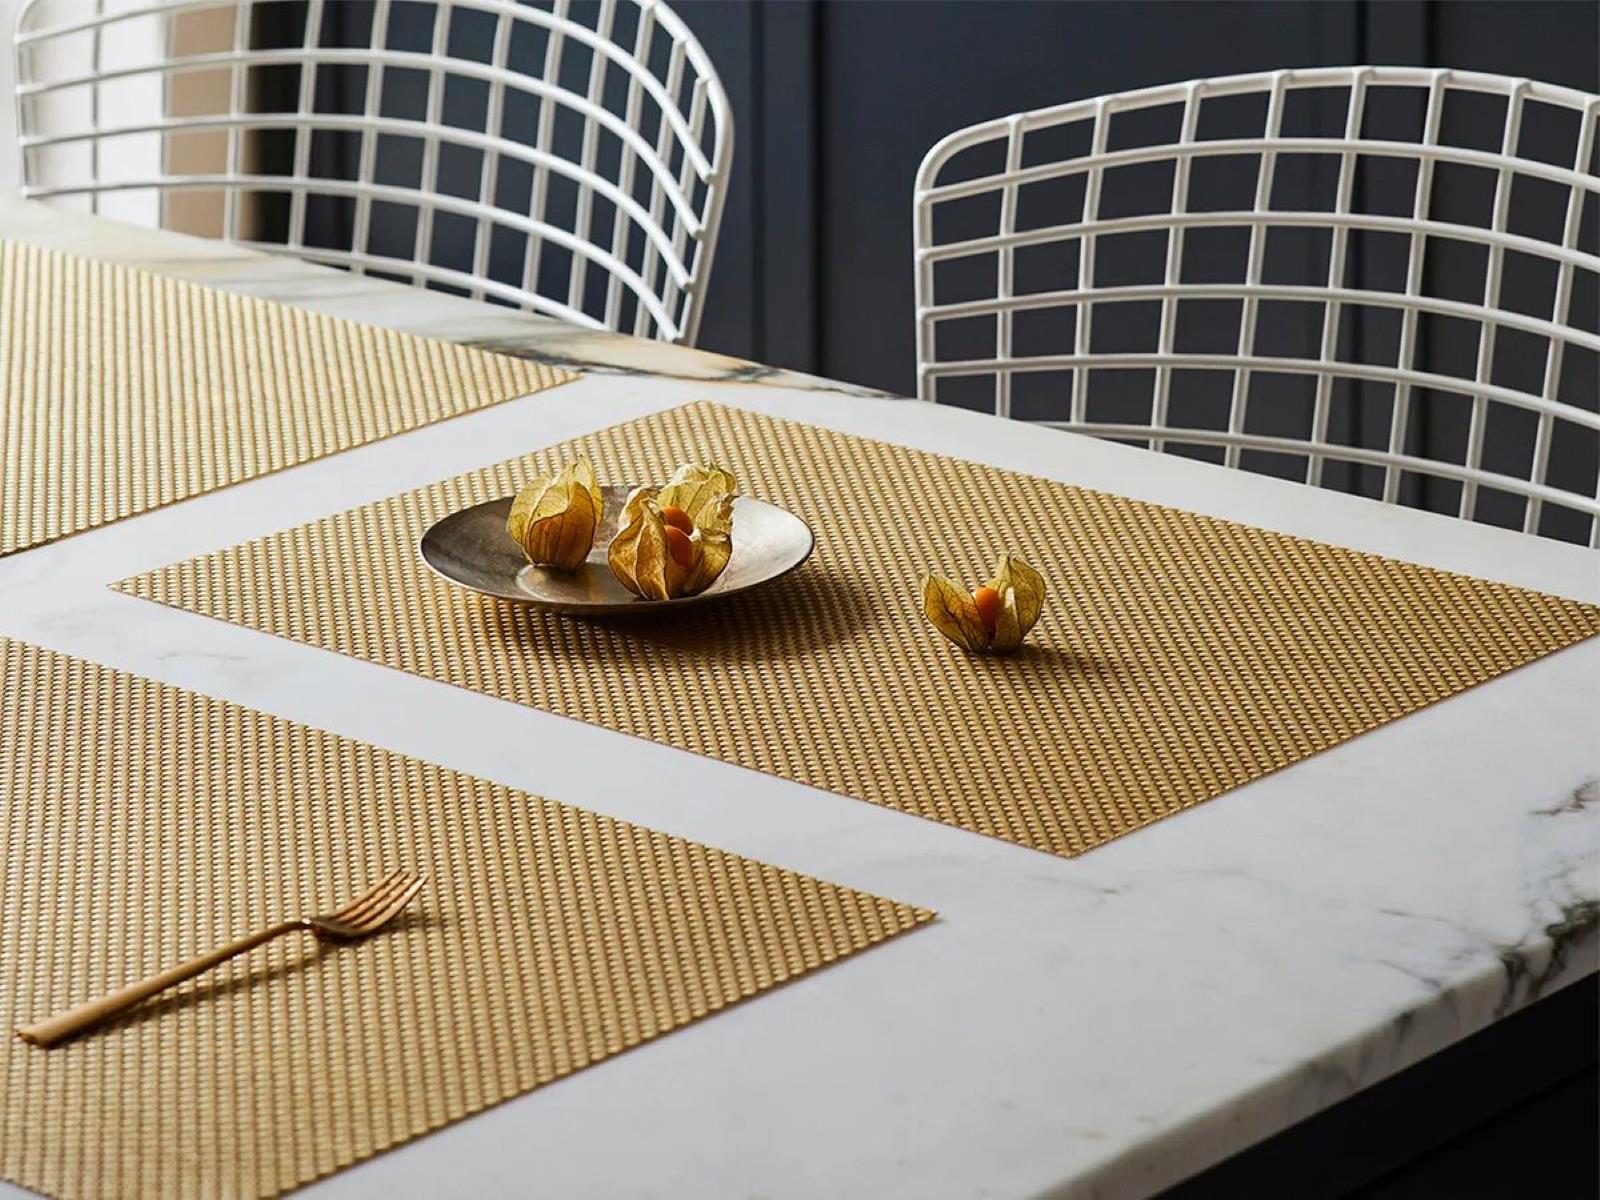
Tableware
How To Make Placemats From Photos
Modified: January 4, 2024
Learn how to transform your favorite photos into unique and personalized tableware with our easy step-by-step guide on making placemats. Create unforgettable dining experiences with custom table decor.
(Many of the links in this article redirect to a specific reviewed product. Your purchase of these products through affiliate links helps to generate commission for Storables.com, at no extra cost. Learn more)
Introduction
Welcome to the world of personalized tableware! If you’re looking to add a unique touch to your dining experience, why not consider making your own placemats using your favorite photos? Not only will these DIY placemats protect your table, but they will also serve as conversation starters and cherished mementos.
Creating photo placemats is a fun and creative project that allows you to showcase your favorite memories and bring a personal touch to your dining area. Whether you want to capture beautiful landscapes, precious family moments, or even your furry friends, making placemats from photos is a fantastic way to personalize your dining space.
In this article, we will guide you through the step-by-step process of making your own photo placemats, from choosing the right photos to sealing and finishing the final product. So, let’s get started and unleash your creativity!
Key Takeaways:
- Personalize your dining experience by creating unique photo placemats that showcase your favorite memories and add a special touch to mealtime conversations.
- Care for your photo placemats to ensure their longevity and preserve cherished memories for years to come, allowing you to continue enjoying personalized dining experiences.
Read more: How To Make A Handbag From A Placemat
Choosing the Right Photos
When it comes to making photo placemats, the first step is to select the perfect photos. Choose images that have special meaning to you or reflect your personal style. Here are a few tips to help you choose the right photos:
- Memorable Moments: Consider selecting photos that capture significant moments in your life, such as weddings, vacations, or family gatherings. These photos will not only add a sentimental touch to your dining experience but will also evoke fond memories.
- Visual Appeal: Look for photos that are visually appealing and have vibrant colors or interesting compositions. Consider images with a variety of subjects, including landscapes, portraits, or close-ups of objects, to add visual interest to your placemats.
- Theme or Style: If you have a specific theme or style in your dining area, choose photos that complement or enhance that aesthetic. For example, if your dining room has a rustic theme, select photos with a natural or vintage feel.
- Variety: Don’t be afraid to mix it up and choose photos that represent different aspects of your life. You can create a collage or choose a different photo for each placemat to add variety and individuality.
Remember to choose high-resolution photos to ensure optimal print quality. If you’re unsure about the resolution, consult with a professional printing service or check the specifications of your printer.
Once you’ve selected the photos, consider organizing them in a folder or digital album for easy access during the printing and crafting process. Now that you’ve chosen your photos, it’s time to bring them to life on your placemats!
Printing Your Photos
Once you have chosen the perfect photos for your placemats, the next step is to print them. Printing high-quality images is essential to ensure that your photo placemats turn out beautifully. Here are some tips to help you print your photos:
- Use a Professional Printing Service: Consider using a professional printing service that specializes in photo printing. They have the expertise and equipment to deliver high-quality prints with vibrant colors and sharp details.
- Choose the Right Paper: Select the appropriate photo paper for your printing needs. Glossy paper is ideal for achieving vibrant and glossy finishes, while matte paper offers a more subdued and refined look. Experiment with different paper types to find the one that best suits your style.
- Adjust Color and Brightness: Before printing, double-check the color and brightness settings of your photos. Adjust them if necessary to ensure accurate representation of your images. Most photo editing software allows you to make these adjustments easily.
- Print Test Photos: To avoid any surprises, it’s a good idea to print a few test photos before committing to the final print. This will allow you to make any necessary adjustments and ensure that the colors and details are as you envisioned.
- Print Size: Determine the desired size of your placemats and adjust the print settings accordingly. Ensure that you have enough white space around the edges of the photos to allow for trimming and placement on the placemats.
Whether you choose to print your photos at home or use a professional printing service, be sure to follow the instructions provided by the printer manufacturer or service provider. Once your photos are printed, it’s time to move on to the next step: preparing the materials!
Preparing the Materials
Before you can start assembling your photo placemats, it’s important to gather all the necessary materials. Here’s a list of the items you’ll need:
- Printed Photos: Make sure you have your printed photos ready to go. Ensure that they have dried completely to prevent smudging or damage during the crafting process.
- Placemat Blanks: Choose the type of placemats you’d like to use as the base for your project. You can find plain fabric placemats or opt for clear vinyl ones, which allow your photos to show through.
- Double-Sided Adhesive Sheets: These sheets will help you attach your photos securely to the placemat surface. Look for adhesive sheets that are specifically designed for fabric or vinyl.
- Scissors or Craft Knife: You’ll need sharp scissors or a craft knife to trim your photos and adhesive sheets to the desired size and shape.
- Ruler: A ruler will come in handy for measuring and ensuring precise cuts. It will help you achieve clean and straight edges.
- Surface Protection: To protect your working area, place a cutting mat or cardboard underneath when using the craft knife.
Having all your materials ready before you start will make the process more efficient and minimize any potential interruptions. Once everything is prepared, you can move on to applying the adhesive to your photos.
Applying the Adhesive
Now that you have your materials prepared, it’s time to apply the adhesive to your photos. The adhesive will ensure that your photos stick securely to the placemat surface, preventing them from peeling or shifting over time. Follow these steps to apply the adhesive:
- Cut the Adhesive Sheets: Use your scissors or craft knife and ruler to cut the adhesive sheets slightly larger than your printed photos. Ensure that the adhesive is big enough to cover the entire backside of each photo.
- Peel off the Backing: Carefully peel off the backing of the adhesive sheets, exposing the sticky side.
- Apply the Adhesive: Place each photo face down on the sticky side of the adhesive sheet. Press down firmly to ensure that the adhesive adheres to the backside of the photo.
- Trim the Excess Adhesive: Once the adhesive is applied, use your scissors or craft knife to trim any excess adhesive around the edges of the photo. This step will give your placemats a clean and professional finish.
Make sure to work slowly and precisely when applying the adhesive to avoid trapping air bubbles between the adhesive and the photo. Smooth out any bubbles or wrinkles with your fingertips as you go along. Repeat these steps for each photo you plan to use in your placemats.
Now that your photos are securely backed with adhesive, it’s time to arrange them on the placemats. Let your creativity shine as you design your personalized photo placemats!
When making placemats from photos, use a high-quality, laminated print to ensure durability and easy cleaning. Consider using a non-slip backing to prevent slipping on the table.
Read more: How To Make A Quilted Placemat
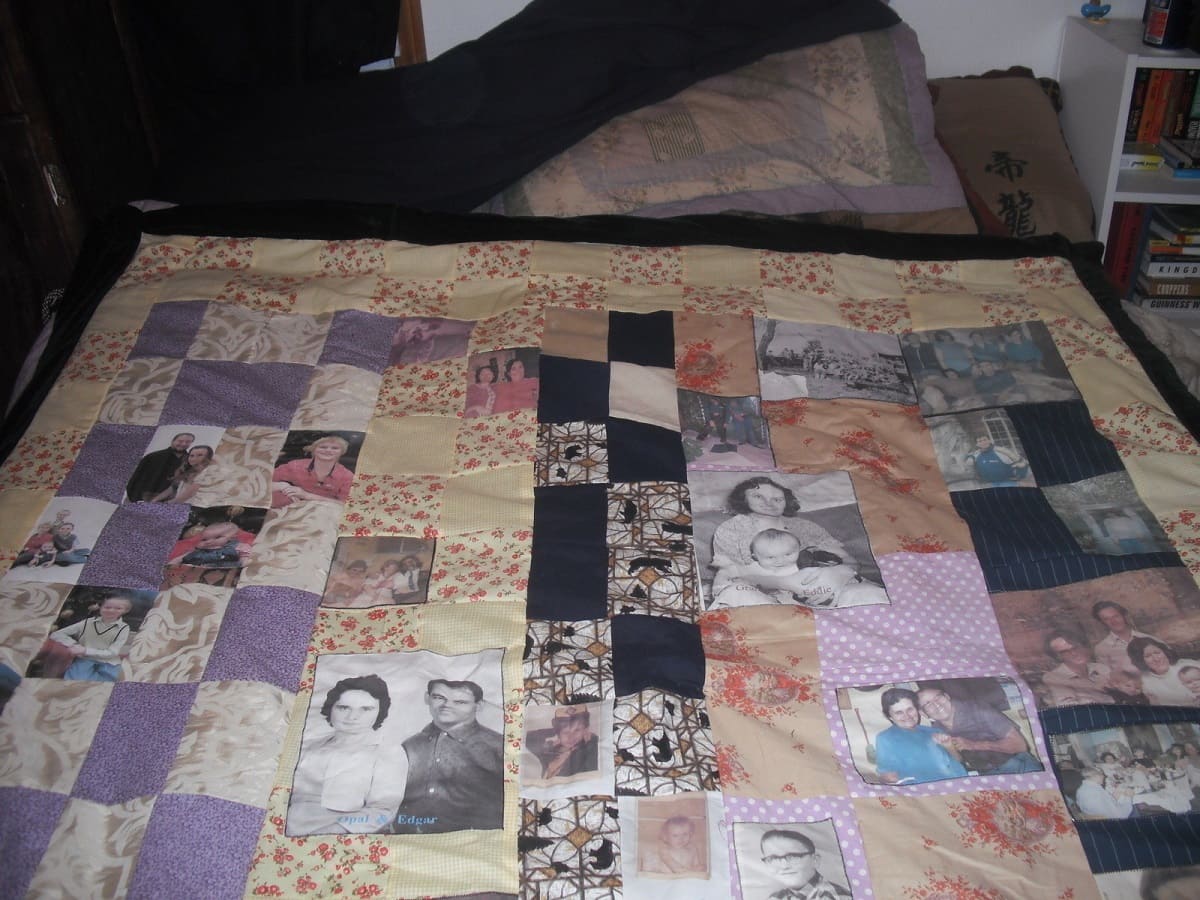
Arranging the Photos on the Placemat
With your adhesive-backed photos ready to go, it’s time to arrange them on the placemats. This step allows you to unleash your creativity and create a visually appealing design. Follow these tips to achieve a well-balanced and aesthetically pleasing arrangement:
- Plan the Layout: Before you start sticking the photos onto the placemat, take some time to plan the layout. Consider the size and orientation of each photo, as well as the overall composition you want to achieve. You can create a symmetrical or asymmetrical design, or even create a collage effect with overlapping photos.
- Start from the Center: Begin by placing the main focal point photo in the center of the placemat. This could be a larger photo or a particularly meaningful image that you want to highlight.
- Balance the Placement: Distribute the remaining photos evenly around the main focal point photo. Pay attention to the spacing, orientation, and alignment of the photos to create a visually balanced composition. You can also play with different angles and overlaps for a more dynamic design.
- Leave White Space: Don’t overcrowd the placemat with too many photos. Leave some white space or empty areas to give the design room to breathe. This will ensure that the photos don’t look cluttered and will create a more visually pleasing result.
- Experiment with Orientation: Try mixing up the orientation of the photos, alternating between vertical and horizontal placements. This will add visual interest and variety to the overall design.
As you arrange the photos, you can gently reposition them if needed. Take your time to step back and assess the placement, making any adjustments until you’re satisfied with the design. Once you’re happy with the arrangement, press down firmly on each photo to ensure a secure bond between the adhesive and the placemat.
Now that your photos are beautifully arranged, it’s time to move on to the final steps of sealing and finishing your photo placemats.
Sealing and Finishing the Placemats
After arranging the photos on the placemat, it’s important to seal and finish the placemats to protect the photos and make them durable for everyday use. Follow these steps to seal and finish your photo placemats:
- Choose a Protective Coating: There are several options for sealing your placemats. One popular choice is to use a clear, water-resistant spray sealant. Alternatively, you can use a clear adhesive laminate, which provides a protective layer over the photos.
- Prepare the Work Area: Find a well-ventilated area or work outside to ensure proper air circulation when applying the sealant. Cover your work surface with newspapers or a drop cloth to protect it from any overspray or spills.
- Apply the Sealant: Following the instructions on the product, hold the spray sealant nozzle about 6-8 inches away from the placemat surface. Apply a light, even coat, making sure to cover the entire photo and edges. Allow the sealant to dry completely before applying additional coats if necessary.
- Repeat the Process: You may need to apply multiple coats of sealant to achieve the desired level of protection. Follow the drying time instructions between each coat to ensure a smooth finish.
- Trim Excess Sealant: Once the sealant is completely dry, carefully trim any excess sealant that may have dripped or pooled along the edges of the placemat. This will give your placemats a clean and professional look.
Once the sealant has fully cured, your photo placemats are ready to be used and enjoyed! The sealant will protect the photos from spills and stains, allowing you to easily wipe them clean with a damp cloth. However, it’s important to note that excessive heat or prolonged exposure to direct sunlight may still affect the longevity of the photos, so it’s best to place the placemats away from direct heat sources and intense sunlight.
With your sealed and finished photo placemats, you can now impress your guests and add a personal touch to your dining experience. Remember to take proper care of your placemats to ensure they last for years to come.
Caring for Your Photo Placemats
To ensure the longevity and beauty of your photo placemats, it’s important to follow proper care instructions. Here are some tips for caring for your photo placemats:
- Wipe Clean: After each use, wipe your photo placemats with a damp cloth to remove any food or liquid spills. Avoid using harsh cleaning solutions or abrasive materials that could damage the photos or the sealant.
- Avoid Excessive Heat: Keep your photo placemats away from direct heat sources, such as hot plates or pots, as the heat can cause the photos to fade or warp. Use heat-resistant trivets or coasters underneath hot items to protect the placemats.
- Avoid Prolonged Sun Exposure: Although the sealant provides some protection against sunlight, it’s best to avoid placing your photo placemats in direct sunlight for prolonged periods. Over time, exposure to sunlight can cause the photos to fade or yellow.
- Store Flat: When not in use, store your photo placemats flat to prevent them from bending or warping. You can stack them neatly or place them inside a protective sleeve or folder to keep them safe and dust-free.
- Rotate Placement: To ensure even wear and prevent fading of the photos, consider rotating the placement of the placemats on your dining table. This will distribute the exposure to light and use more evenly across all placemats.
By following these care tips, your photo placemats will continue to look their best and preserve your cherished memories for years to come. Remember that even with proper care, over time, some wear and tear may occur. If you notice any significant damage or deterioration, you can always create new placemats with updated photos and enjoy the crafting process once again!
Now that you know how to care for your photo placemats, you can confidently showcase your creativity and personalized style during mealtime. Bon appétit!
Conclusion
Congratulations! You have reached the end of this guide on how to make placemats from photos. By following the steps outlined in this article, you can create personalized, one-of-a-kind placemats that showcase your favorite memories and add a special touch to your dining experience.
From choosing the right photos to printing them, preparing the materials, applying the adhesive, arranging the photos, and sealing and finishing the placemats, each step has been carefully outlined to help you achieve the best results. By caring for your photo placemats and following the maintenance tips provided, you can ensure their longevity and keep them looking beautiful for years to come.
Creating photo placemats is not only a fun and creative project, but it also serves as a reminder of the special moments and people in your life. Whether it’s family gatherings, vacations, or beloved pets, these placemats will bring a smile to your face as you enjoy meals with loved ones.
So, why settle for generic tableware when you can showcase your personal style and memories through unique photo placemats? Let your creativity soar and make every mealtime a journey down memory lane.
Now, gather your favorite photos, grab your materials, and start crafting your very own photo placemats. Get ready to impress your guests and create lasting memories around the dining table with these personalized treasures.
Remember, the possibilities are endless when it comes to creating photo placemats. Let your imagination guide you and have fun infusing your personality into every inch of your dining area. Enjoy the process, embrace the creativity, and savor the memories!
Frequently Asked Questions about How To Make Placemats From Photos
Was this page helpful?
At Storables.com, we guarantee accurate and reliable information. Our content, validated by Expert Board Contributors, is crafted following stringent Editorial Policies. We're committed to providing you with well-researched, expert-backed insights for all your informational needs.


0 thoughts on “How To Make Placemats From Photos”