Home>Dining>Tableware>How Can I Replace The Silver On My Vintage Crystal Stemware?

Tableware
How Can I Replace The Silver On My Vintage Crystal Stemware?
Modified: January 18, 2024
Learn how to restore the shine to your vintage crystal stemware by replacing the silver coating. Get expert tips and tricks for reviving your tableware.
(Many of the links in this article redirect to a specific reviewed product. Your purchase of these products through affiliate links helps to generate commission for Storables.com, at no extra cost. Learn more)
Introduction
Welcome to the world of vintage crystal stemware! Each piece tells its own story, bringing a touch of elegance and nostalgia to your dining table. But what happens when the silver on your cherished crystal stemware becomes tarnished, worn out, or damaged? Fear not, as there is a solution – replacing the silver.
In this article, we will delve into the art of replacing the silver on vintage crystal stemware. Whether you inherited a set from your grandmother or stumbled upon a beautiful piece at an antique store, understanding the process of silver replacement can help you restore these treasures back to their former glory.
Before we dive into the process, let’s take a moment to appreciate the beauty and significance of vintage crystal stemware. These delicate and intricately designed pieces have been sought after for centuries. Crafted with precision and artistry, they were often reserved for special occasions, adding a touch of glamour to any table setting.
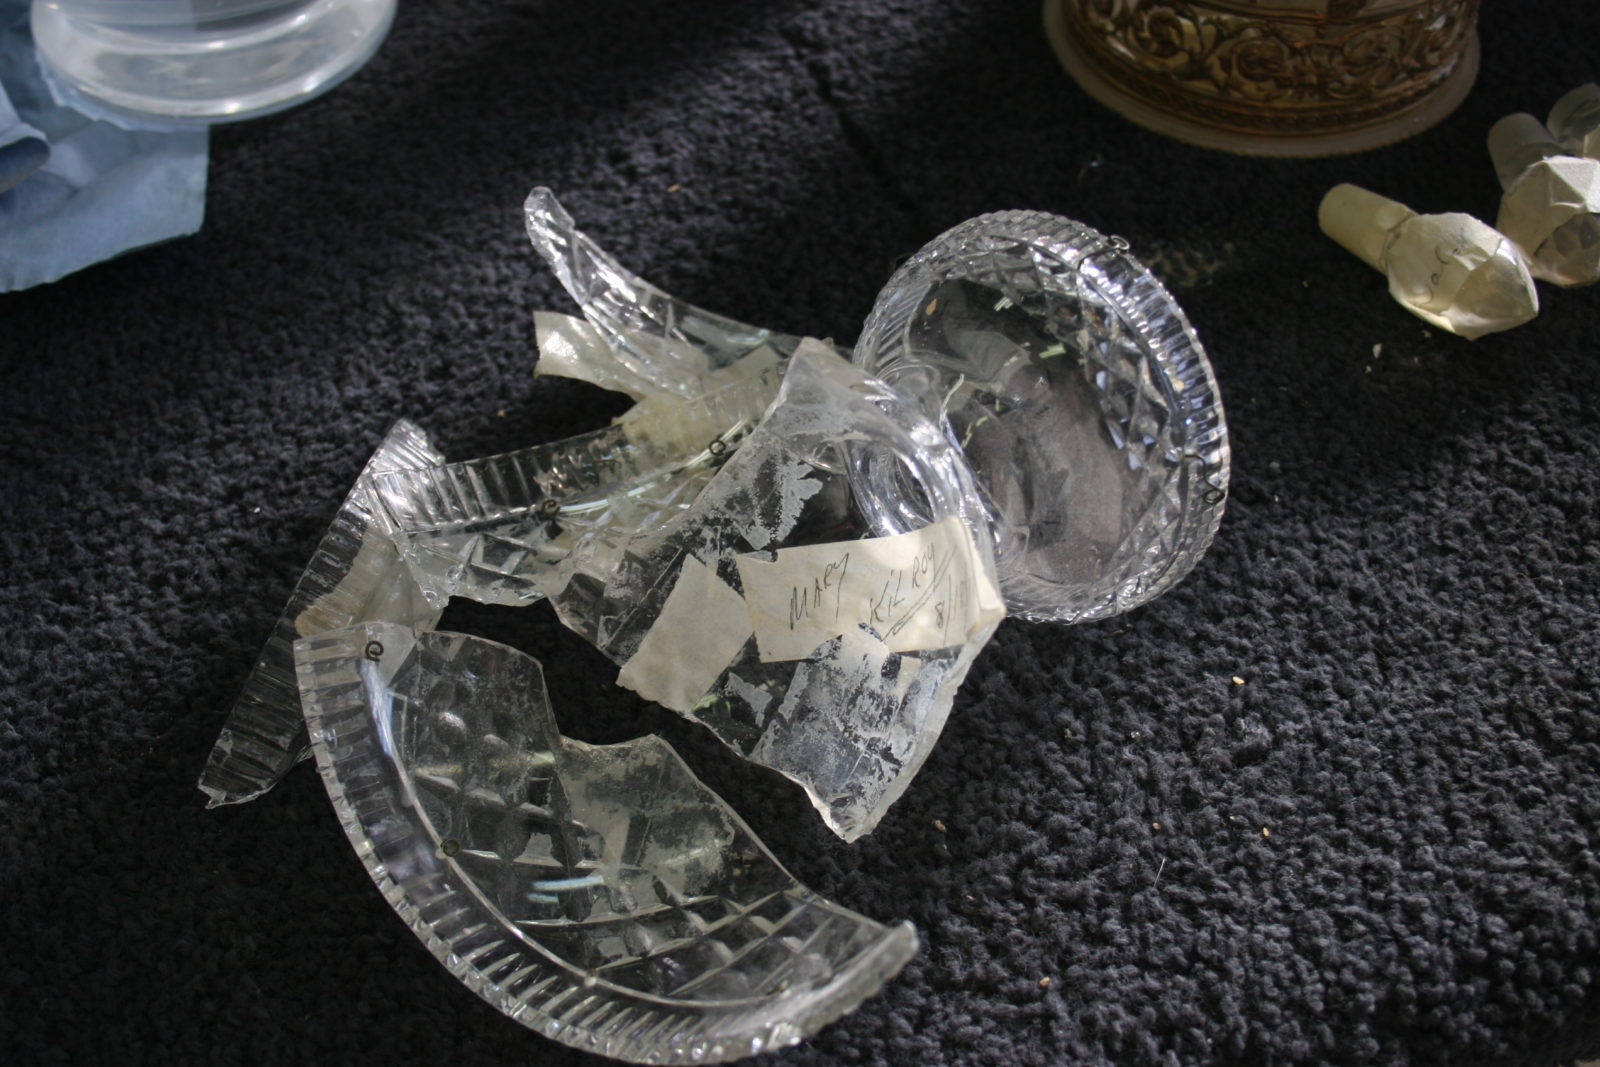
However, over time, the silver on vintage crystal stemware can become tarnished, worn, or even lost. This can be a heart-wrenching sight for collectors, as the silver not only enhances the aesthetic appeal but also acts as a protective barrier for the crystal.
Silver replacement is a delicate and meticulous process that requires patience, careful attention to detail, and the right tools and materials. In the following sections, we will guide you through the steps involved, helping you bring new life to your vintage crystal stemware.
So, if you are ready to embark on this journey of restoration and preservation, let’s dive into the world of silver replacement on vintage crystal stemware.
Key Takeaways:
- Restoring the silver on vintage crystal stemware involves careful assessment, meticulous silver removal, precise application of replacement solution, and thorough buffing and polishing to revive the elegance and charm of these cherished pieces.
- Proper care and maintenance, including handwashing, gentle drying, regular polishing, and cautious handling, are essential to preserve the replaced silver on vintage crystal stemware, ensuring its timeless beauty for generations to come.
Read more: How To Identify Vintage Crystal Stemware
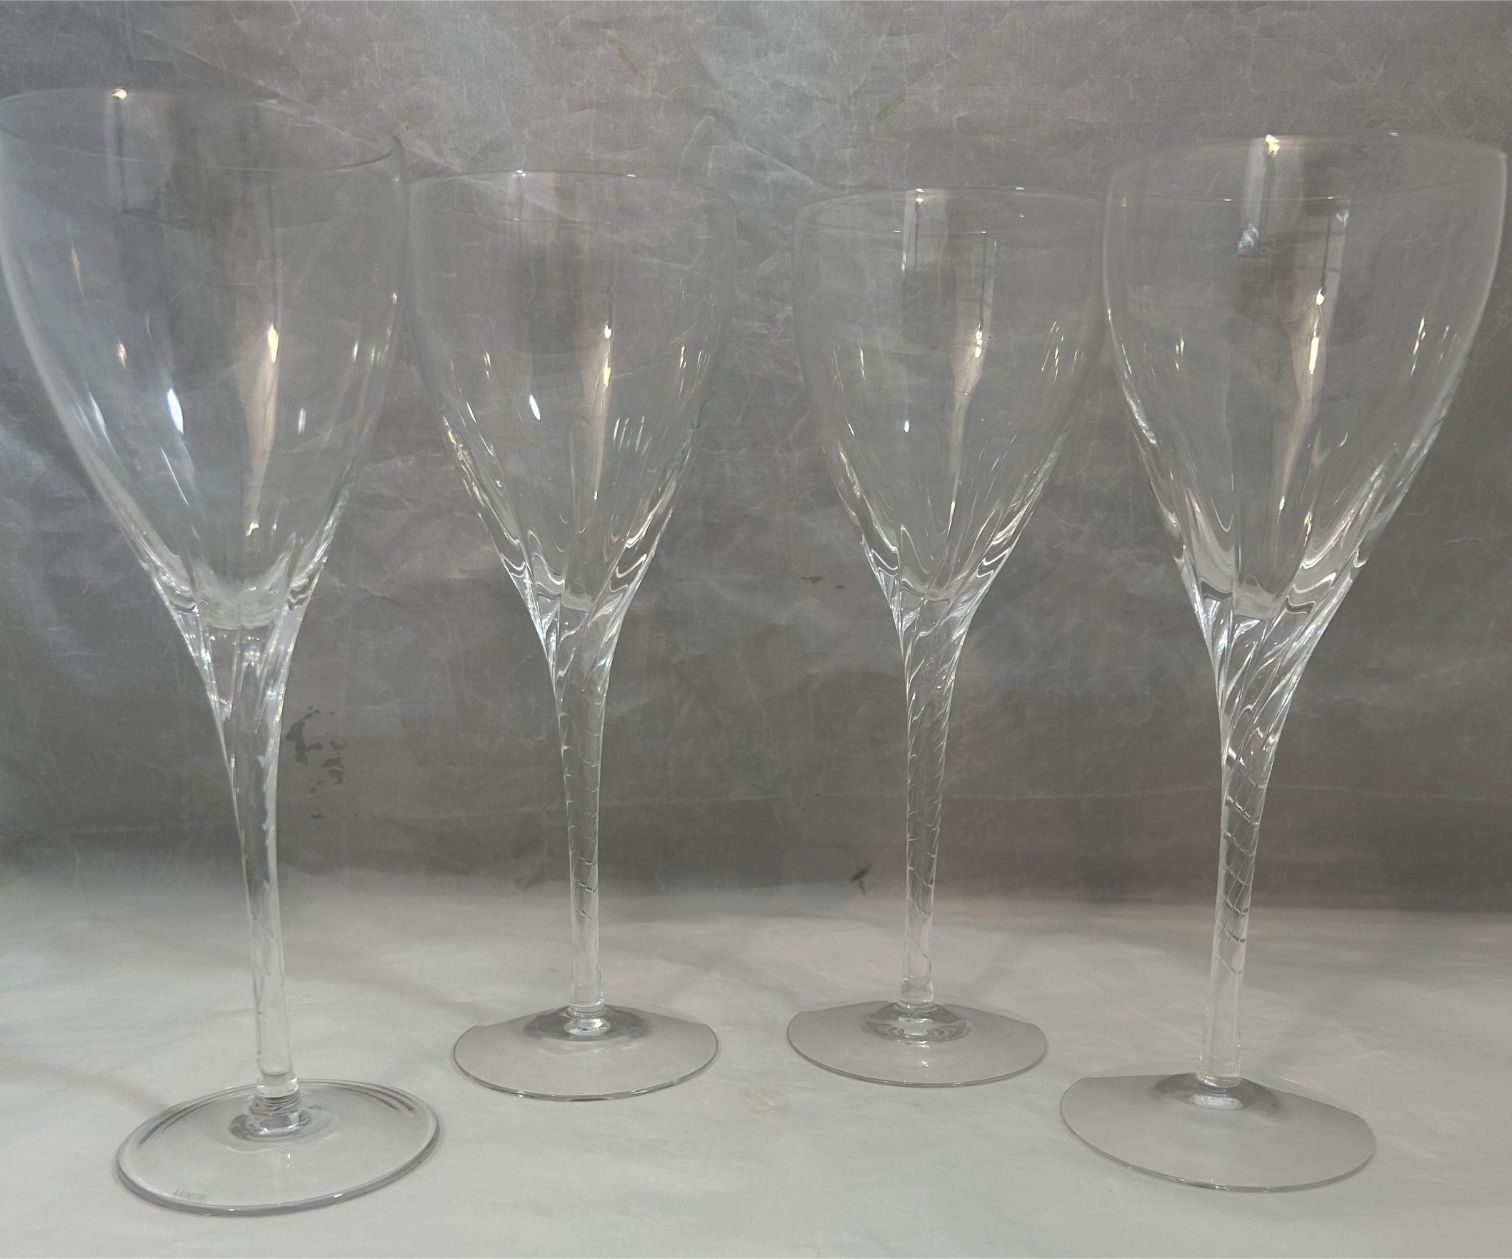
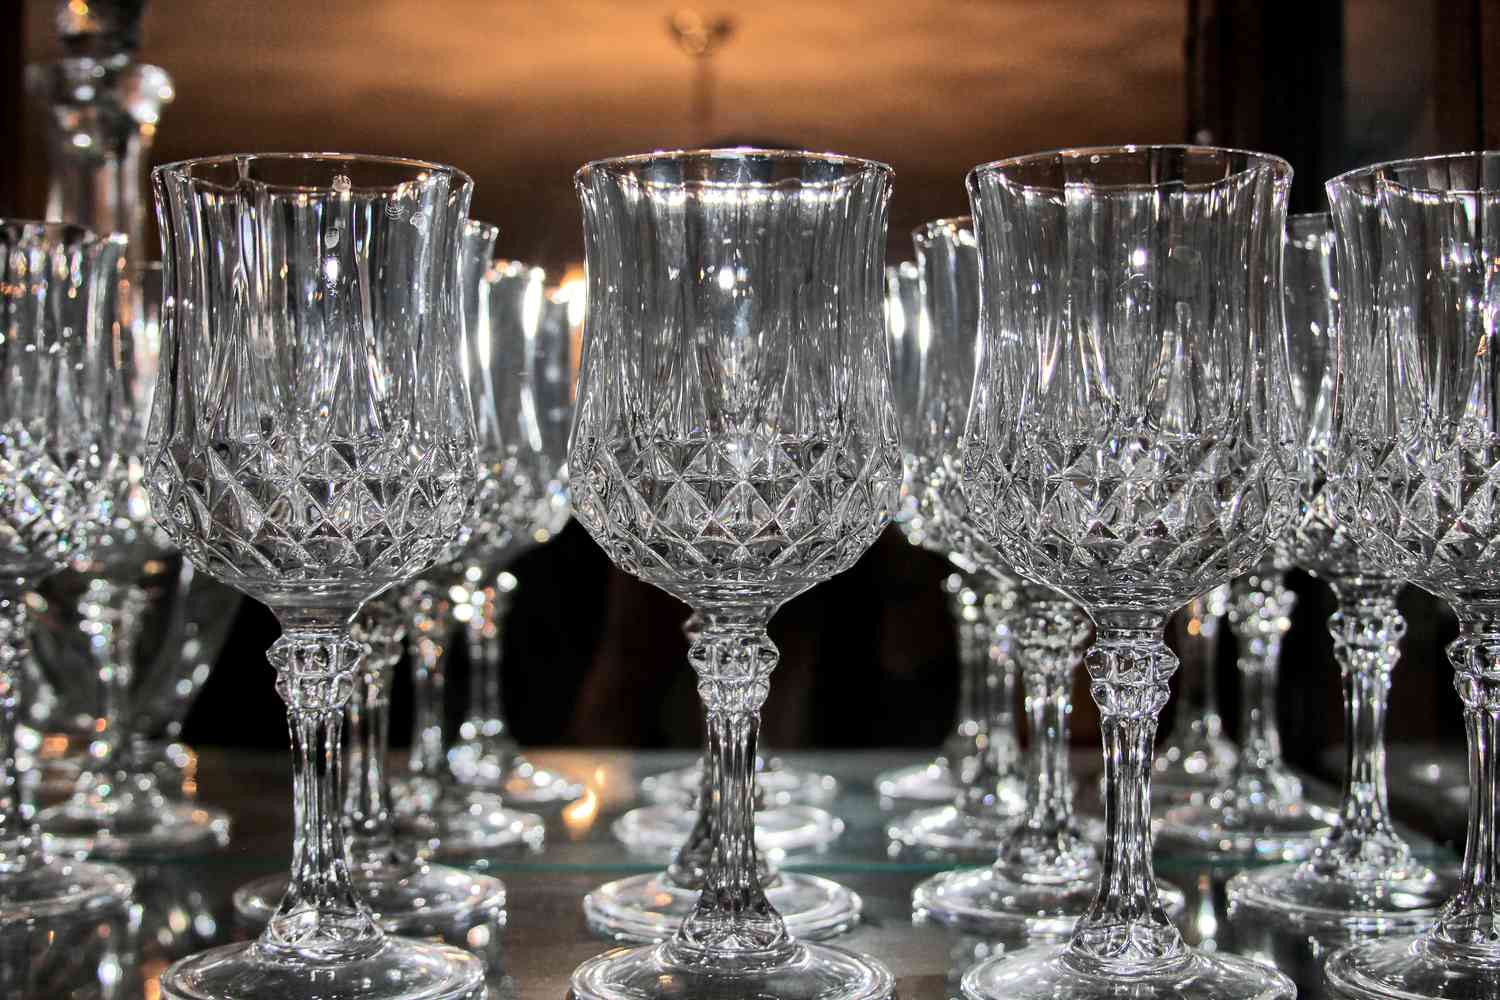
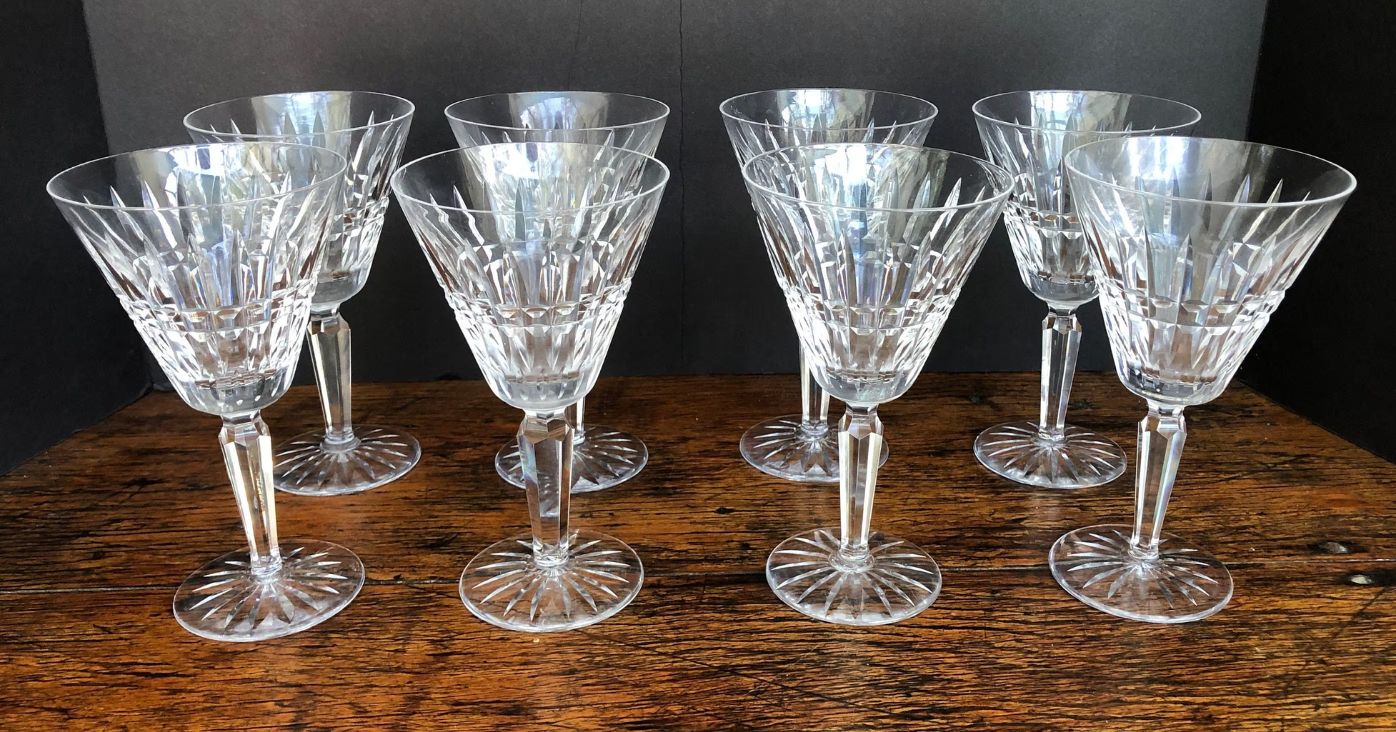
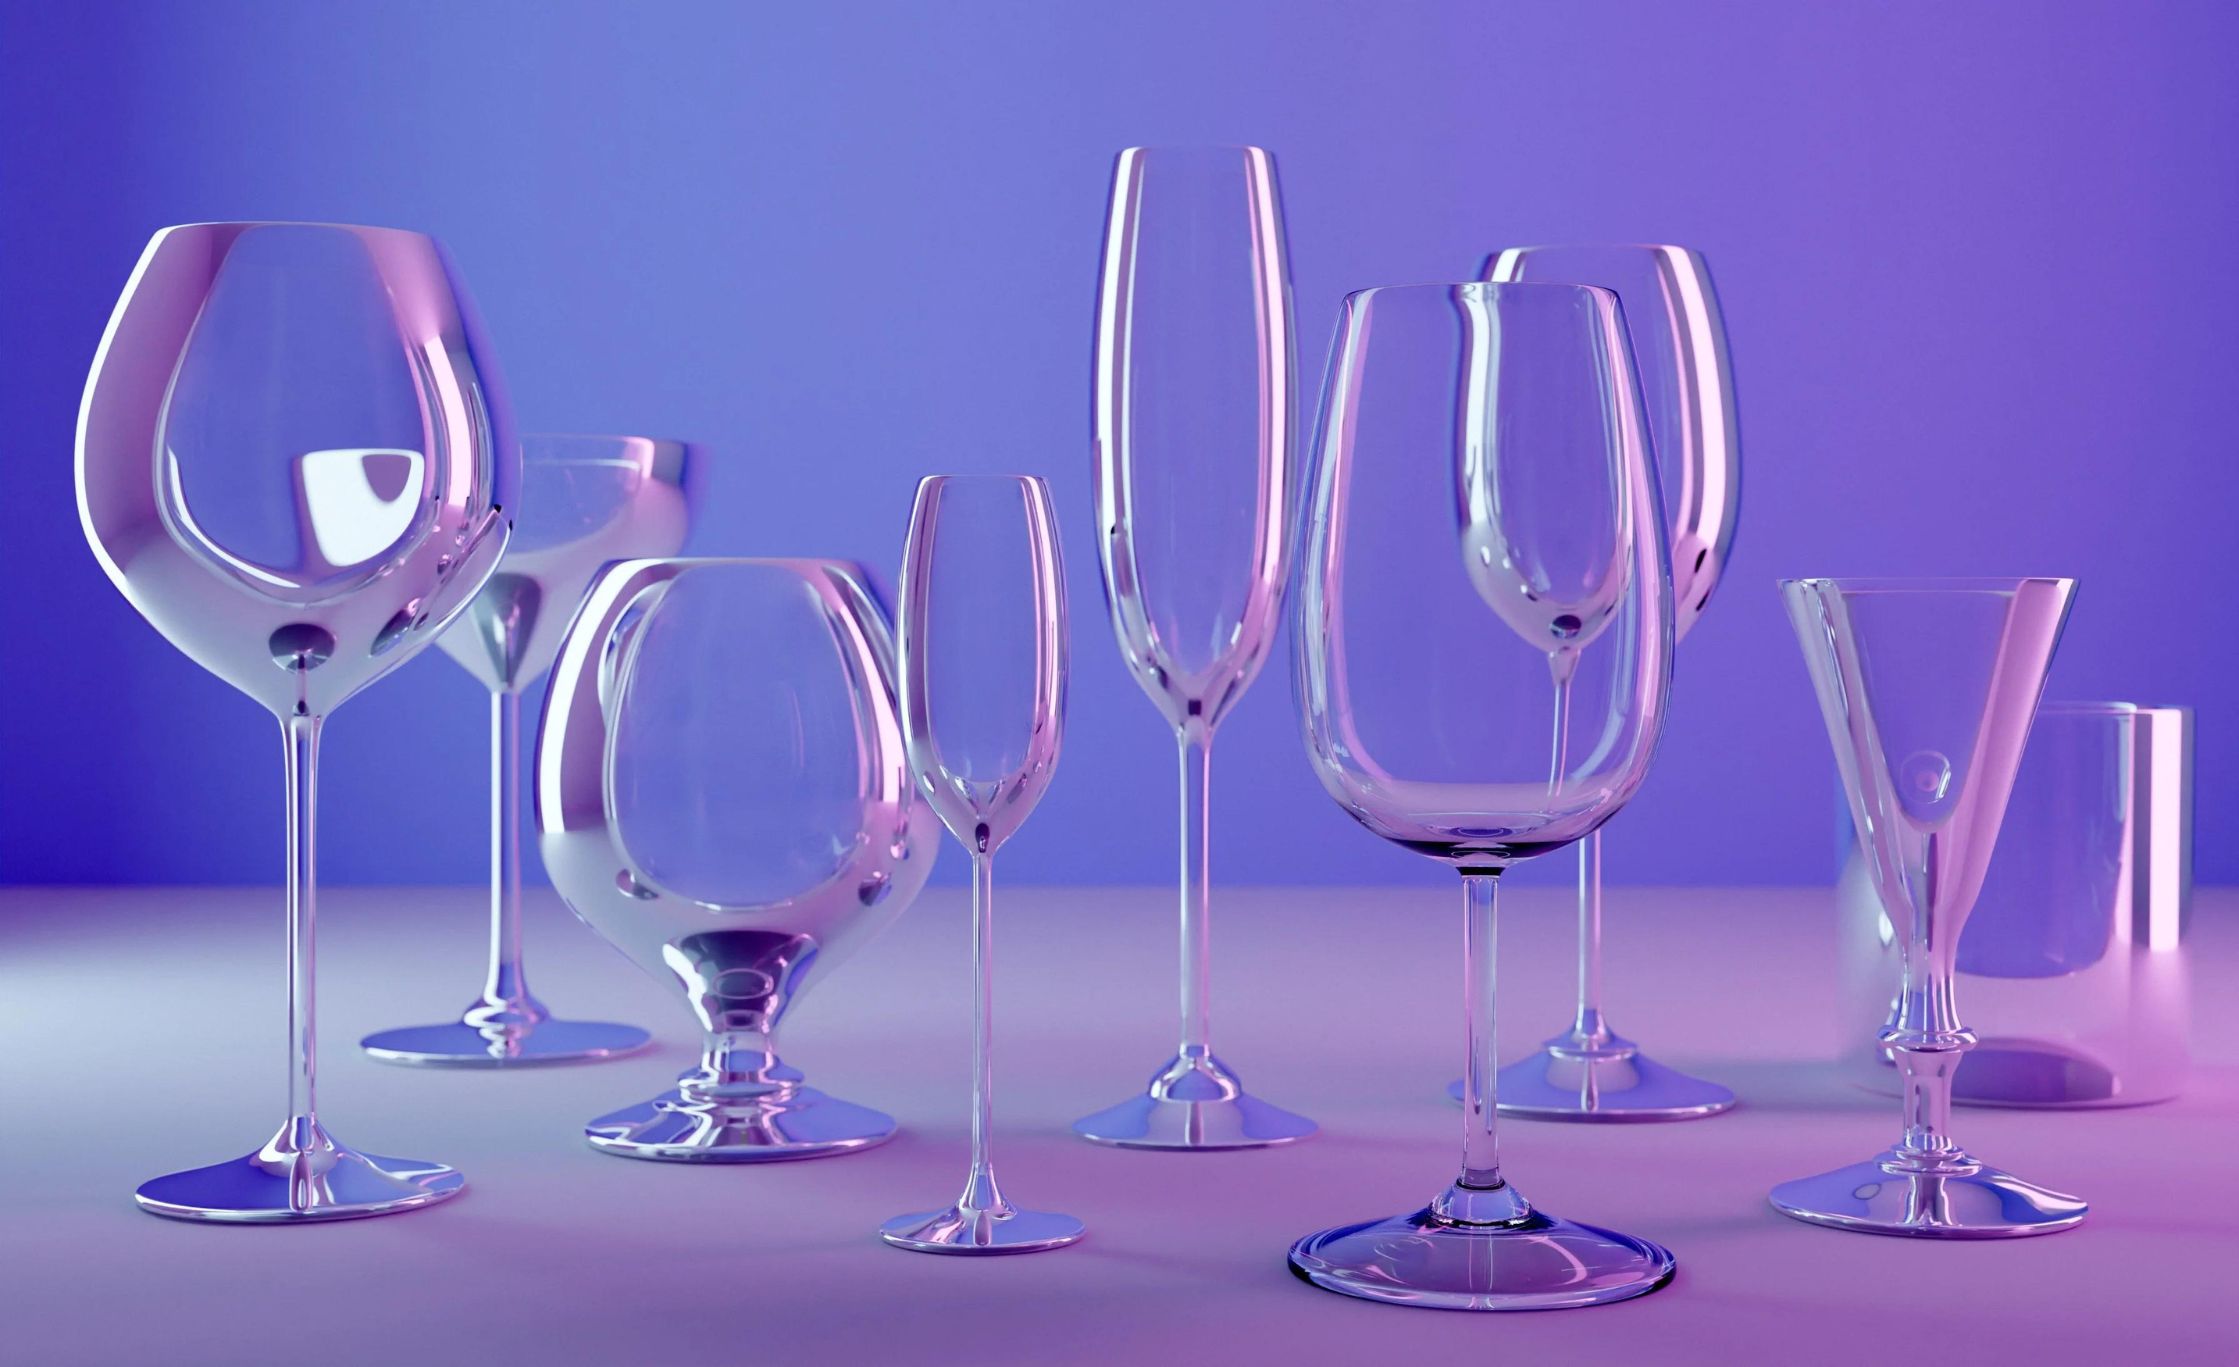
Understanding Vintage Crystal Stemware
Vintage crystal stemware holds a special place in the hearts of collectors and enthusiasts worldwide. Made from high-quality lead crystal, these pieces exude timeless elegance and sophistication. But what exactly makes crystal stemware different from regular glassware?
The term “crystal” refers to glass that contains a significant amount of lead oxide. The addition of lead gives the glass a higher refractive index, resulting in a sparkling and brilliant appearance. This unique quality is what sets crystal stemware apart from ordinary glassware.
Crystal stemware is often handcrafted by skilled artisans who meticulously shape the glass and apply intricate designs. The craftsmanship and attention to detail are evident in the delicate stems, finely cut patterns, and thin rims of these beautiful pieces.
In addition to their aesthetic appeal, vintage crystal stemware also offers functional advantages. The lead content enhances the glass’s strength and durability, allowing it to withstand regular use. The tall stems on wine glasses and champagne flutes help prevent the heat from your hands from warming the contents, ensuring that your beverages maintain their optimal temperature.
It’s important to note that vintage crystal stemware may differ from modern crystal in terms of lead content. Due to health concerns, the use of lead in crystal production has been significantly reduced in recent years. As a result, older vintage pieces often contain a higher percentage of lead, giving them a distinct brilliance and weight.
When collecting or using vintage crystal stemware, it’s essential to handle the pieces with care. The delicate nature of crystal requires gentle handwashing and drying to prevent breakage or damage. It’s also advisable to avoid exposing the stemware to extreme temperature changes, as this can cause the crystal to crack or shatter.
Now that we have a better understanding of vintage crystal stemware and its characteristics, let’s explore why replacing the silver on these pieces is sometimes necessary.
Reasons for Replacing the Silver on Vintage Crystal Stemware
Over time, the silver on vintage crystal stemware may start to show signs of wear and tear. This can be caused by a variety of factors, including regular use, exposure to air and moisture, and improper handling. Here are some common reasons why you might consider replacing the silver on your vintage crystal stemware:
1. Tarnishing: Silver naturally tarnishes over time, especially when exposed to air and certain substances. This can result in a dull and discolored appearance on the silver portion of your stemware. Replacing the silver can restore its shine and luster.
2. Wear and Damage: Vintage crystal stemware is often passed down through generations or acquired from antique shops. As a result, the silver may have endured years of use, leading to scratches, dings, or even missing silver areas. Replacing the silver can help repair and rejuvenate the damaged sections.
3. Mismatched or Missing Silver: Sometimes, vintage crystal stemware might have mismatched or incomplete silver decorations. This can detract from the overall beauty and uniformity of the set. By replacing the silver, you can ensure consistency and restore the original design.
4. Personalization: Vintage crystal stemware is often associated with special occasions and family gatherings. Replacing the silver provides an opportunity to personalize the pieces with custom engravings or monograms, adding a unique touch that enhances their sentimental value.
5. Preservation and Protection: The silver on vintage crystal stemware not only enhances its aesthetic appeal but also acts as a protective layer for the delicate glass. When the silver is worn down or damaged, it can leave the crystal vulnerable to scratches, stains, or even chipping. Replacing the silver helps preserve the integrity and longevity of the stemware.
By addressing these issues through silver replacement, you can breathe new life into your vintage crystal stemware and ensure that they continue to be cherished for years to come.
Assessing the Condition of Your Vintage Crystal Stemware
Before embarking on the task of replacing the silver on your vintage crystal stemware, it is crucial to assess its condition. This evaluation will help you determine the extent of the silver replacement needed and guide you in selecting the appropriate restoration techniques. Here are some steps to follow when assessing the condition of your vintage crystal stemware:
1. Visual Inspection: Begin by visually examining each piece of stemware. Look for any visible tarnishing, scratches, dents, or missing silver areas. Take note of the overall condition and identify any specific areas that require attention.
2. Handle with Care: When handling the stemware, use caution to avoid dropping or mishandling the delicate pieces. Be mindful of any loose or unstable silver decorations that may require immediate repair.
3. Check for Lifting or Peeling: Inspect the silver sections of the stemware to see if they are lifting or peeling away from the crystal. This can indicate that the silver was poorly applied or has been damaged over time.
4. Test the Silver: To determine the authenticity of the silver, you can perform a silver test. This involves using a silver testing solution or a silver testing kit to confirm if the silver is genuine. This step is particularly important when dealing with vintage stemware.
5. Assess Structural Integrity: While focusing on the silver, also pay attention to the overall structural integrity of the stemware. Check for any cracks, chips, or other damage that could impact the functionality and stability of the pieces.
6. Evaluate Collectible Value: If you suspect that your vintage crystal stemware may have significant historical or collectible value, it is advisable to consult with an expert or appraiser. They can provide insights into the value of your stemware and guide you in making appropriate restoration decisions.
By thoroughly assessing the condition of your vintage crystal stemware, you will have a better understanding of its specific restoration needs. This knowledge will guide you in selecting the appropriate tools, materials, and techniques to replace the silver effectively and restore these cherished pieces to their former glory.
Gathering the Necessary Materials and Tools
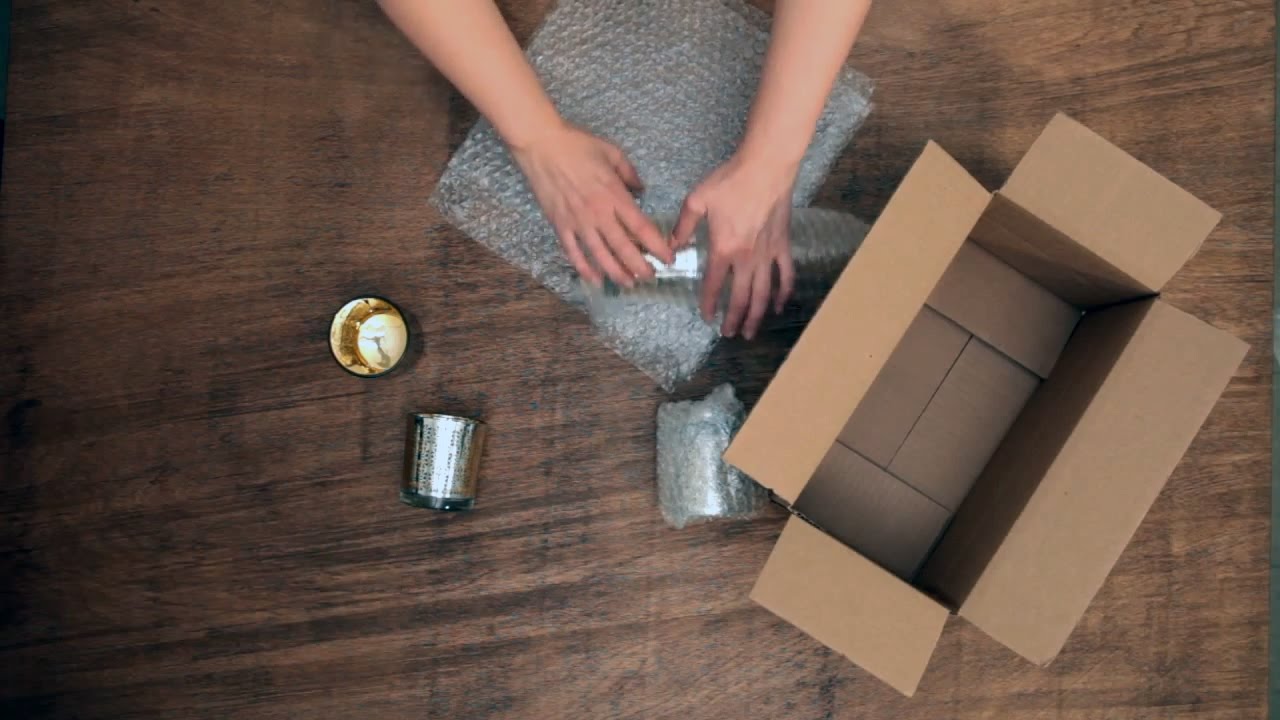
Before you can begin the process of replacing the silver on your vintage crystal stemware, it is essential to gather the necessary materials and tools. Having everything prepared ahead of time will help ensure a smooth and efficient restoration process. Here is a list of the items you will need:
1. Silver Replacement Solution: Look for a high-quality silver replacement solution that is specifically designed for restoring silverware. This solution will help create a new layer of silver on your stemware.
2. Cleaning Supplies: It’s important to clean your vintage crystal stemware thoroughly before beginning the silver replacement process. Gather mild dish soap, a soft-bristle brush, and polishing cloth to clean and remove any dirt, tarnish, or residue from the surface of the stemware.
3. Protective Gear: To protect yourself during the restoration process, it’s recommended to wear gloves and safety goggles. This will prevent any potential skin irritation or eye damage from the chemicals used in the silver replacement solution.
4. Applicators: Depending on the instructions provided with the silver replacement solution, you may need applicators such as brushes, cotton balls, or foam pads. These will help evenly apply the replacement solution to the silver areas of your stemware.
5. Buffing and Polishing Tools: After applying the silver replacement solution, you will need buffing and polishing tools to restore the shine and luster of the silver. These can include a soft polishing cloth, a polishing wheel, or a rotary tool with appropriate attachments.
6. Workstation Setup: Create a designated workstation for the restoration process. This area should be well-ventilated and have a flat, clean surface to work on. It’s also advisable to lay down a protective covering, such as a towel or a plastic sheet, to catch any drips or spills.
7. Adequate Lighting: Proper lighting is crucial for accurately assessing the condition of your stemware and ensuring precise application of the silver replacement solution. Make sure you have adequate lighting in your workstation area to see the fine details clearly.
Remember to follow the instructions provided with the silver replacement solution and any additional tools you are using. Taking the time to gather the necessary materials and set up your workspace properly will make the silver replacement process more efficient and enjoyable.
To replace the silver on your vintage crystal stemware, consider using a silver replating service or purchasing silver replacement parts online. Make sure to carefully measure the dimensions of the existing silver pieces to ensure a proper fit.
Read more: What Is My Crystal Stemware Worth?
Removing the Existing Silver from Vintage Crystal Stemware
Once you have gathered the necessary materials, it’s time to dive into the process of removing the existing silver from your vintage crystal stemware. This step is crucial as it prepares the surface of the stemware for the application of the new silver replacement solution. Here is a step-by-step guide on how to remove the existing silver:
1. Clean the stemware: Before proceeding, make sure your vintage crystal stemware is clean and free from any dirt, residue, or tarnish. Use mild dish soap, warm water, and a soft-bristle brush to gently clean the surface of the stemware. Rinse thoroughly and dry with a soft cloth.
2. Protect the stemware: To prevent any accidental damage to the crystal during the silver removal process, cover the glass portion of the stemware with masking tape or a protective film. This will create a barrier between the silver and the crystal.
3. Apply a silver stripping solution: There are several silver stripping solutions available on the market that can help remove the existing silver from your stemware. Follow the instructions provided with the solution and apply it to the silver areas. Let the solution sit for the recommended amount of time to allow it to dissolve the silver.
4. Scrub gently: Using a soft-bristle brush or a cloth, gently scrub the silver areas to aid in the removal process. Be careful not to apply too much pressure or use abrasive materials that can scratch or damage the surface of the stemware.
5. Rinse thoroughly: Once you are satisfied with the removal of the existing silver, rinse the stemware thoroughly with warm water to remove any residue from the silver stripping solution. Ensure that all traces of the solution are removed before moving on to the next step.
6. Inspect the results: After rinsing, remove the masking tape or protective film from the crystal and inspect the stemware. Look for any areas where the silver may still be present or areas that require further attention. If necessary, repeat the silver stripping process on those specific areas.
By following these steps, you can effectively remove the existing silver from your vintage crystal stemware, preparing it for the next phase of the restoration process. Remember to take your time and be cautious during this step to avoid any damage to the delicate stemware.
Applying Silver Replacement Solutions to Vintage Crystal Stemware
Now that you have successfully removed the existing silver from your vintage crystal stemware, it’s time to move on to the exciting step of applying the silver replacement solution. This process will restore the silver coating, bringing back the beauty and elegance to your stemware. Follow these steps to apply the silver replacement solution effectively:
1. Prep the stemware: Ensure that the stemware is clean and completely dry before applying the silver replacement solution. Any residual moisture can interfere with the bonding process.
2. Shake the silver replacement solution: Shake the silver replacement solution well to ensure that the ingredients are properly mixed. This will help achieve an even application and consistent results.
3. Apply the silver replacement solution: Dip an applicator, such as a brush, foam pad, or cotton ball, into the silver replacement solution. Begin applying the solution to the silver areas of the stemware, working in small sections at a time. Use gentle, even strokes to create a smooth and uniform coating.
4. Follow the manufacturer’s instructions: Each silver replacement solution may have slightly different instructions regarding the drying and curing time. Read and follow the manufacturer’s guidelines to ensure that you achieve the best results. Allow the applied solution to dry and cure for the recommended duration.
5. Apply additional coats if necessary: Depending on the desired thickness and coverage of the silver coating, you may need to apply multiple coats of the silver replacement solution. Make sure to let each layer dry before applying the next one. This will help build a durable and long-lasting silver finish.
6. Remove excess solution: After the silver replacement solution has dried, check for any excess or uneven application. Gently remove any drips or imperfections with a soft cloth or a clean brush. This will ensure a smooth and polished appearance.
7. Cure and seal the silver: Once you are satisfied with the silver coating, allow it to fully cure according to the manufacturer’s instructions. Some silver replacement solutions may also require additional steps, such as sealing the silver or applying a protective coating. Follow the recommended steps to enhance the longevity and shine of the restored silver.
By following these steps and carefully applying the silver replacement solution, you can transform your vintage crystal stemware back to its former grandeur. Take your time, work in a well-ventilated area, and remember to handle the stemware with care to preserve its delicate beauty.
Buffing and Polishing the Replaced Silver on Vintage Crystal Stemware
After successfully applying the silver replacement solution to your vintage crystal stemware, the next step is to buff and polish the replaced silver. This process will help enhance the shine, smooth out any imperfections, and bring out the full beauty of your restored stemware. Follow these steps to achieve a stunning, polished finish:
1. Gather your buffing and polishing tools: Before you begin, gather the necessary tools and materials. This may include a soft polishing cloth, a polishing wheel or pad attachment for a rotary tool, or a handheld silver polishing cloth specifically designed for silverware.
2. Choose the appropriate tool for your stemware: Consider the shape and intricacies of your stemware when selecting the tool for buffing and polishing. A soft cloth is suitable for more delicate pieces, while a rotary tool attachment with a polishing wheel can provide more precision for detailed areas.
3. Apply light pressure and gentle strokes: When using a polishing cloth, hold the stemware firmly but gently and use light pressure. Move the cloth in circular motions to buff the replaced silver. For a rotary tool, follow the instructions provided with the attachment and use a low speed setting to avoid any damage to the stemware.
4. Pay attention to detail: Take your time to buff and polish all the replaced silver areas, including intricate designs and patterns. Focus on creating a consistent and smooth finish across the stemware. Be mindful of any hard-to-reach areas and use appropriate tools to ensure every corner is polished.
5. Remove excess polish: After buffing and polishing, use a clean, soft cloth to remove any excess polish or residue from the silver. This will give your stemware a final shine and ensure no remnants of polish are left behind.
6. Inspect the results: Once you have completed buffing and polishing, take a step back and admire your restored vintage crystal stemware. Check for any missed areas or spots that may require further attention. Make any necessary touch-ups to achieve the desired finish.
7. Store and protect your restored stemware: After buffing and polishing, carefully store your restored stemware to prevent any damage or scratches. Use soft cloth liners in storage boxes or cabinets to keep the pieces separate and cushioned. Avoid stacking the stemware or exposing it to extreme temperature changes.
By following these steps and dedicating time and attention to buffing and polishing, you can bring out the full splendor of the replaced silver on your vintage crystal stemware. The result will be a dazzling display of elegance and a testament to your restoration efforts.
Proper Care and Maintenance of Replaced Silver on Vintage Crystal Stemware
After successfully restoring the silver on your vintage crystal stemware, it is important to understand how to properly care for and maintain the replaced silver. By following these care guidelines, you can ensure that your stemware remains beautiful and sparkling for years to come:
1. Handwashing: Always handwash your vintage crystal stemware with mild dish soap and warm water. Avoid placing them in the dishwasher, as the hot water and harsh detergents can cause damage to the silver and crystal.
2. Drying: After washing, carefully dry each piece using a soft, lint-free cloth. Avoid air-drying, as this can lead to water spots and tarnishing. Make sure to dry both the crystal and silver thoroughly to prevent any moisture from causing damage.
3. Polishing: Regularly polish the replaced silver using a soft, non-abrasive silver polishing cloth. This will help maintain its shine and prevent tarnish from building up. Avoid using chemical silver cleaners, as they can be abrasive and potentially damage the crystal stemware.
4. Storage: When not in use, store your vintage crystal stemware in a clean and dry environment. Use soft cloth liners or individual protective sleeves to separate the pieces and prevent scratching or chipping. Avoid stacking the stemware, as this can put pressure on delicate areas.
5. Handling: Handle the stemware with care, especially when transferring or serving beverages. Hold the stem rather than the bowl or silver areas to minimize the risk of accidents or damage. Avoid gripping the silver too tightly, as this can cause it to bend or become loose.
6. Avoid exposure to harsh chemicals: Keep your stemware away from household chemicals, abrasive cleaners, and strong perfumes, as they can tarnish or damage the replaced silver. Additionally, avoid contact with acidic foods or beverages, as they can cause discoloration or etching on the crystal.
7. Regular inspection: Periodically inspect the silver areas for any signs of damage, looseness, or tarnishing. Promptly address any issues to prevent further deterioration or potential damage to the crystal. Seek professional assistance if needed for intricate repairs or restoration.
By following these care and maintenance guidelines, you can ensure that the replaced silver on your vintage crystal stemware remains radiant and preserved for generations to come. With proper care, each use of your stemware will be a delightful reminder of its timeless beauty and the effort you put into its restoration.
Read more: How Can I Use Silver In My Table Settings?
Conclusion
Congratulations on successfully navigating the art of replacing the silver on your vintage crystal stemware! With careful assessment, the right tools, and proper techniques, you have breathed new life into these cherished pieces. By following the steps outlined in this guide, you have restored their elegance, preserved their beauty, and ensured their longevity.
Understanding the nuances of vintage crystal stemware and the reasons for replacing the silver has enabled you to appreciate the craftsmanship and artistry that goes into each piece. By assessing the condition of your stemware, you were able to identify the areas that required attention and carefully select the appropriate materials and tools.
The process of removing the existing silver, applying the silver replacement solution, and buffing and polishing the replaced silver has reinvigorated your stemware, bringing back their original glamour and shine. Through this journey, you have gained a deeper understanding of the care and maintenance required to keep the replaced silver pristine.
Remember to handle your vintage crystal stemware with care, always opting for handwashing and gentle drying. Regularly polish the silver to maintain its luster, and store the stemware properly to protect it from damage. By following these guidelines, your replaced silver will continue to captivate and impress for years to come.
Your restored vintage crystal stemware now holds a renewed sense of history and sentimental value. Whether gracing your dining table for everyday use or showcased on special occasions, these pieces will be a testament to your dedication and appreciation for their beauty.
So, gather your family, invite your friends, and toast to the brilliance of your restored vintage crystal stemware. Enjoy the elegance, charm, and unique character they bring to every gathering. Cheers to the art of silver replacement and the timeless splendor of vintage crystal stemware!
Frequently Asked Questions about How Can I Replace The Silver On My Vintage Crystal Stemware?
Was this page helpful?
At Storables.com, we guarantee accurate and reliable information. Our content, validated by Expert Board Contributors, is crafted following stringent Editorial Policies. We're committed to providing you with well-researched, expert-backed insights for all your informational needs.


0 thoughts on “How Can I Replace The Silver On My Vintage Crystal Stemware?”