Home>Dining>Tableware>How To Kasher Used Antique Crystal Stemware

Tableware
How To Kasher Used Antique Crystal Stemware
Modified: January 4, 2024
Learn how to properly kasher your used antique crystal stemware and make it safe to use for your tableware. Follow our step-by-step guide for a sparkling and hygienic dining experience.
(Many of the links in this article redirect to a specific reviewed product. Your purchase of these products through affiliate links helps to generate commission for Storables.com, at no extra cost. Learn more)
Introduction
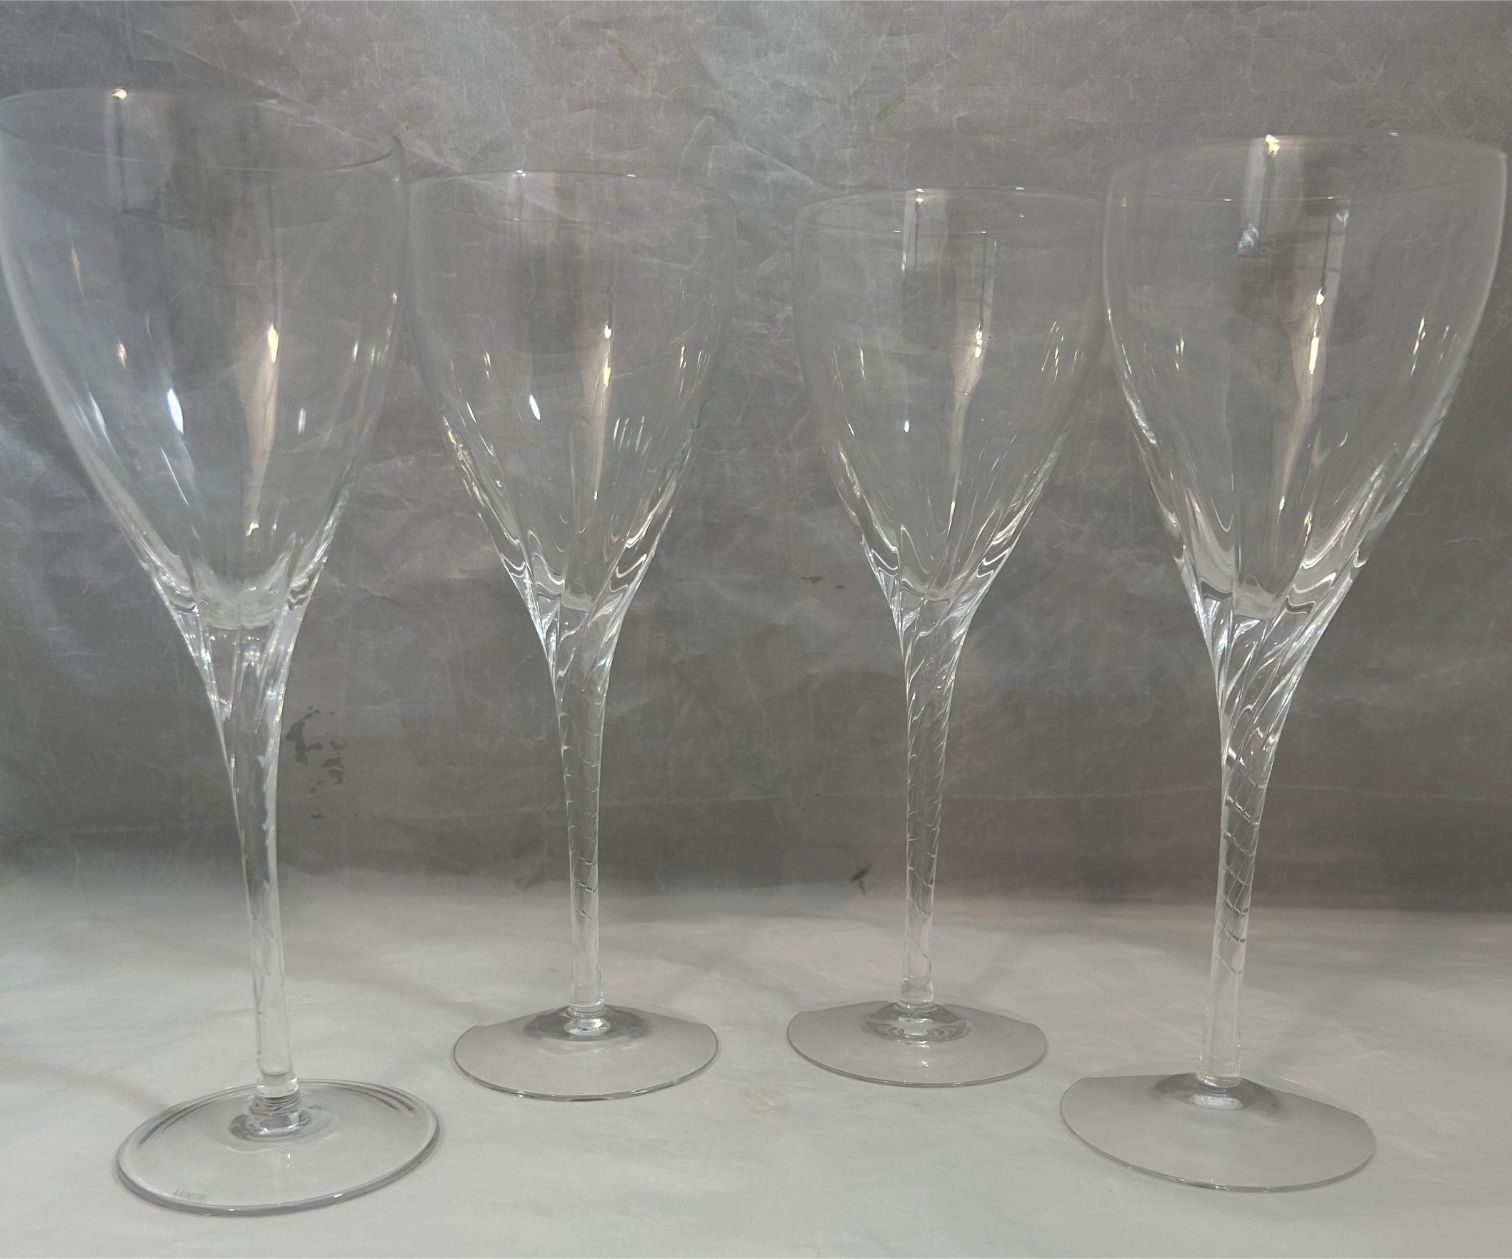
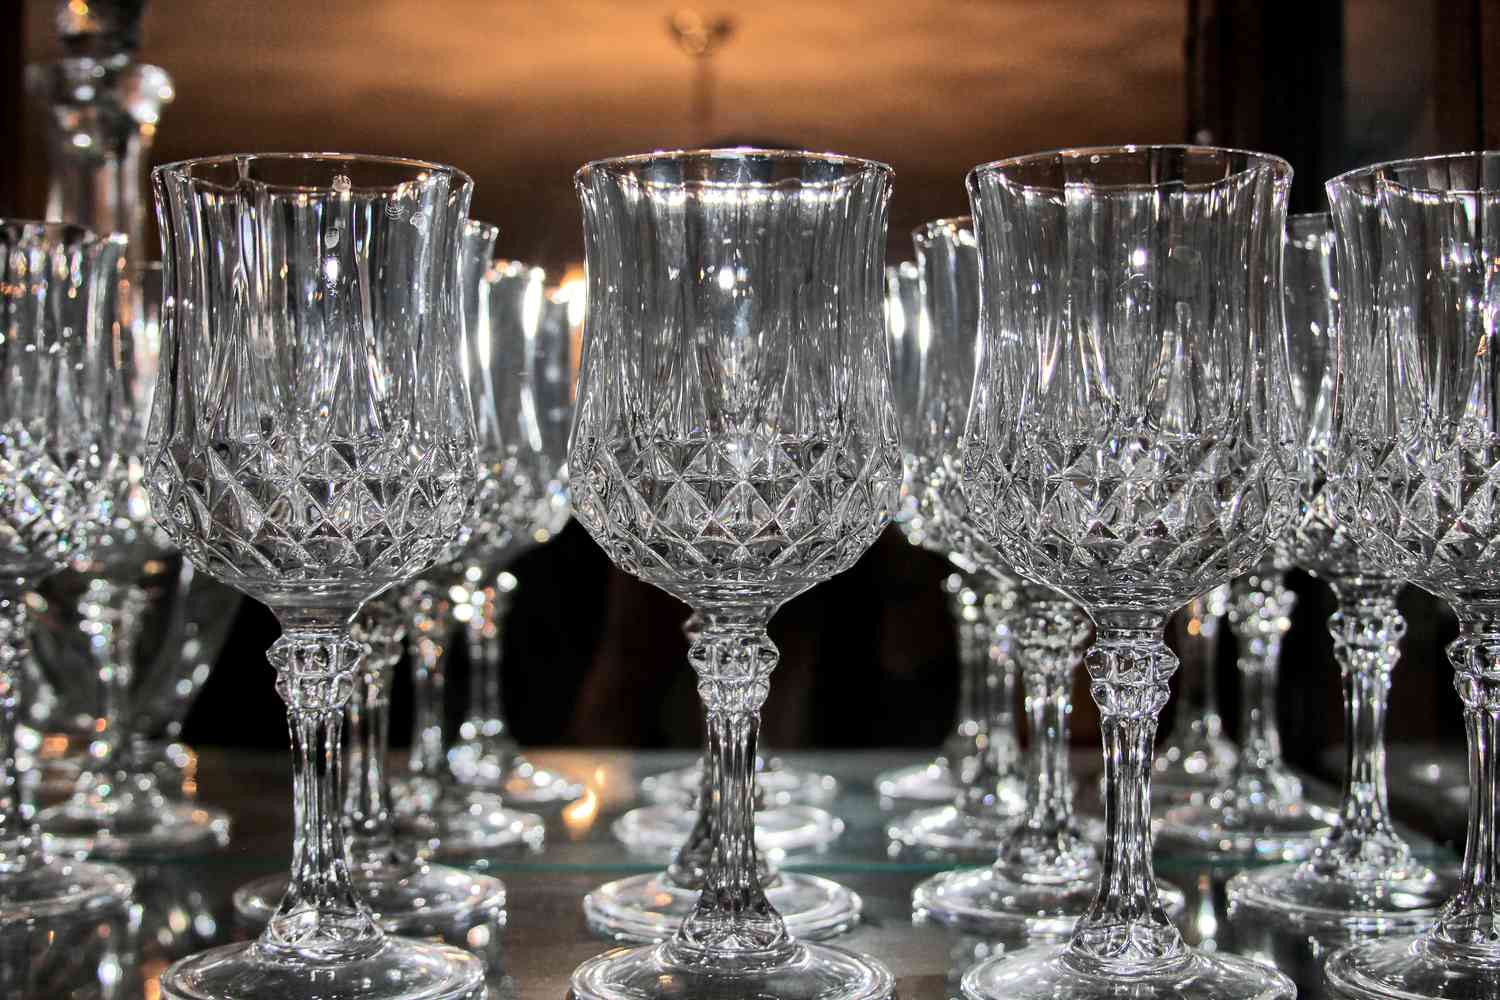
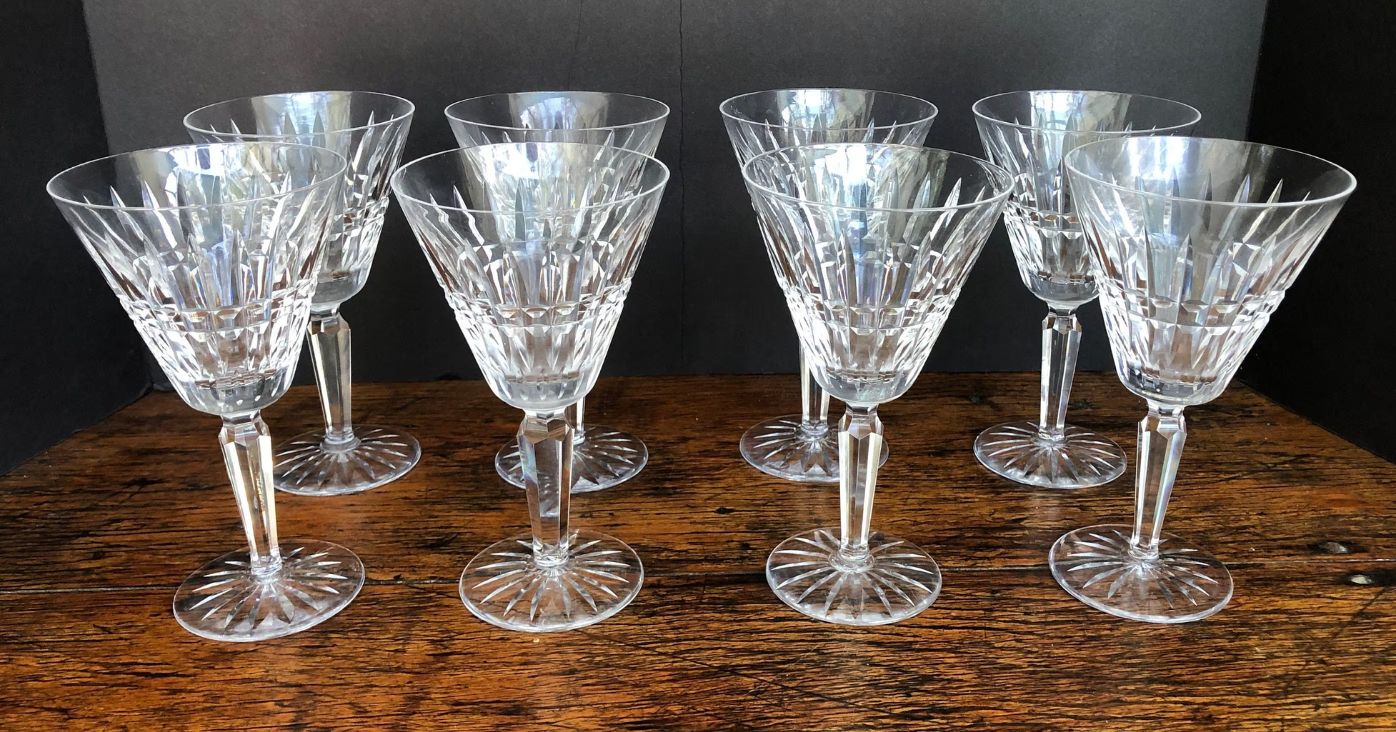
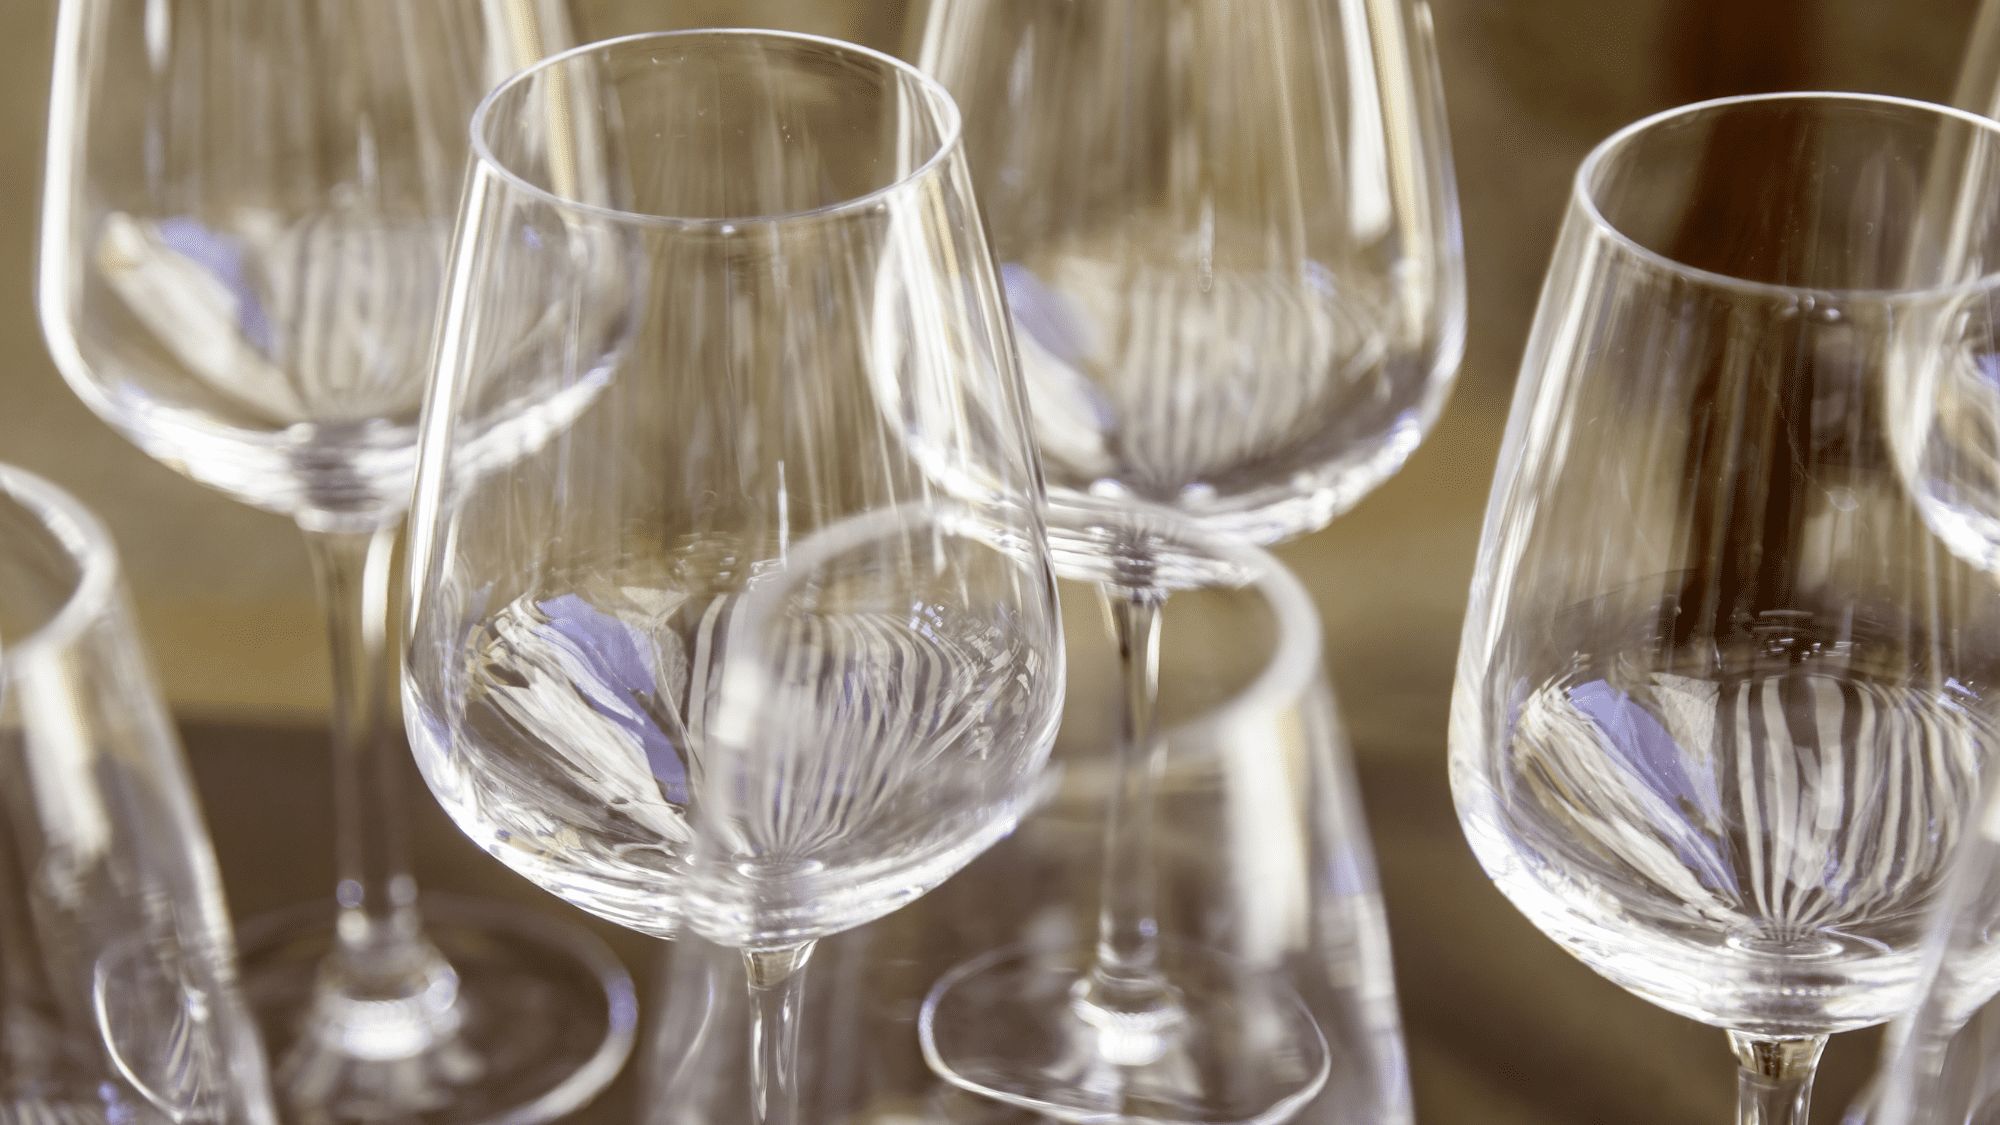
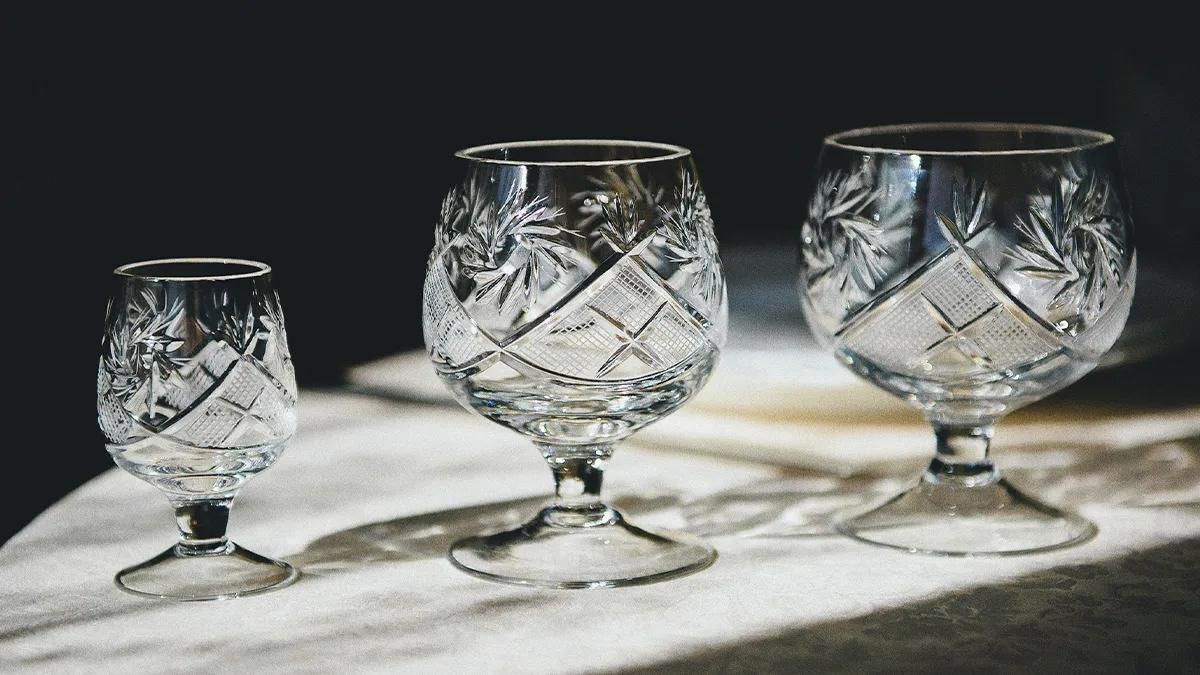
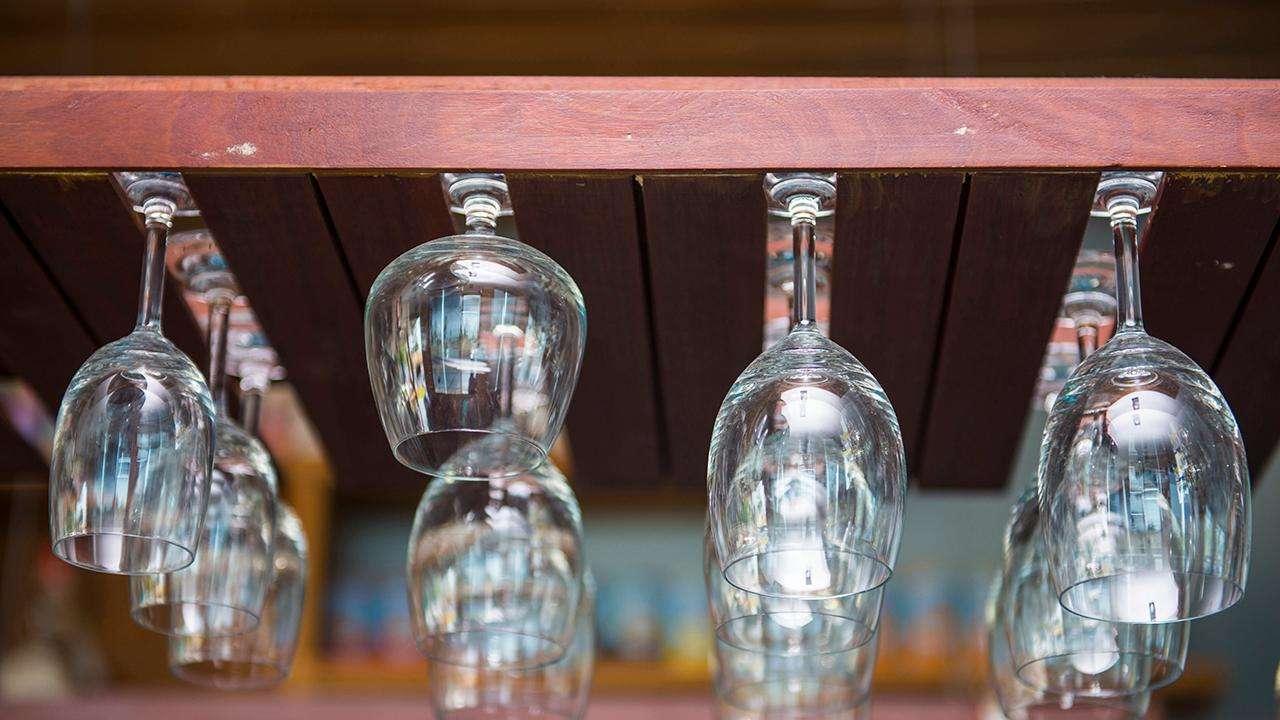
Welcome to the world of antique crystal stemware! These delicate and beautiful pieces of tableware have a unique charm and can add a touch of elegance to any dining experience. However, if you’ve recently acquired used antique crystal stemware or inherited it from a family member, you may be wondering how to properly sanitize and prepare it for use.
This is where the process of “kashering” comes into play. Kashering is a traditional method used to purify or make kosher various types of utensils, including crystal stemware. By following the proper steps, you can ensure that your antique crystal stemware is safe to use and ready to grace your table.
In this article, we will walk you through the process of kashering used antique crystal stemware, providing you with step-by-step instructions to help you effectively sanitize and prepare your pieces for use.
Before we dive into the kashering process, let’s first understand what kashering means and why it is important.
Key Takeaways:
- Ensure antique crystal stemware is thoroughly cleaned and sanitized before kashering to remove impurities and prepare it for use according to kosher standards.
- Handle antique crystal stemware with care throughout the kashering process to maintain its delicate beauty and ensure it is fit for special occasions or everyday dining.
Read more: How To Package Crystal Stemware For Shipping
What is Kasher?
To fully understand the process of kashering antique crystal stemware, it’s important to explore the concept of “kasher” itself. “Kasher” is a term derived from the Hebrew word “kasher,” which means “fit” or “proper.” In Jewish dietary laws, known as kashrut, kashering refers to the process of making utensils, such as tableware and cookware, permissible for use according to Jewish dietary guidelines.
Kashering is necessary when acquiring used tableware, particularly if it has been previously owned by individuals who may not have adhered to the specific kosher dietary laws and regulations. This is because some residual food or substances may still be present on the utensils, which need to be thoroughly cleaned and sanctified to ensure that they are fit for use.
Antique crystal stemware, being a type of tableware, also undergoes the kashering process to make it suitable for use according to kosher standards. This involves a series of steps designed to remove any impurities and render the stemware kosher.
While the kashering process primarily stems from religious practices, it can also be beneficial for individuals who prefer to sanitize and prepare their antique crystal stemware to ensure optimal cleanliness.
Now that we have a better understanding of what kashering is and why it’s important, let’s move on to the steps involved in preparing the crystal stemware for the kashering process.
Preparing the Crystal Stemware
Before diving into the kashering process, it’s crucial to prepare your antique crystal stemware properly. This involves a few initial steps to ensure that the stemware is clean and free from any residue that could impact the effectiveness of the kashering process.
Here’s what you need to do to prepare your crystal stemware:
-
Inspect the stemware: Carefully examine each piece of stemware to check for any visible dirt, chips, or cracks. It’s important to handle the pieces with care to avoid any damage that could impact their functionality and aesthetic appeal.
-
Remove any labels or stickers: If there are any labels or stickers on the stemware, take the time to carefully remove them. Residue from labels can interfere with the kashering process and may also affect the overall appearance of the stemware.
-
Wash the stemware: Before beginning the kashering process, thoroughly wash the crystal stemware with warm water and a mild dish soap. Gently scrub each piece with a soft sponge or cloth to remove any dust, dirt, or grime that may have accumulated over time.
-
Rinse and dry: After washing the stemware, rinse each piece thoroughly with clean water to remove any soap residue. Then, carefully dry the stemware with a lint-free cloth to prevent water spots or streaks from forming.
By following these steps, you will ensure that your antique crystal stemware is clean and ready for the kashering process. Now that the stemware is prepared, let’s move on to the step-by-step instructions for the kashering process itself.
The Kashering Process
Now that you have prepared your antique crystal stemware, it’s time to proceed with the kashering process. This process involves several steps designed to thoroughly sanitize the stemware and render it suitable for use according to kosher standards. Let’s walk through each step:
-
Step 1: Cleaning the Stemware
Before beginning the kashering process, ensure that the stemware is clean and free from any residue or impurities. This ensures that the kashering process is more effective in removing any lingering substances from previous uses.
-
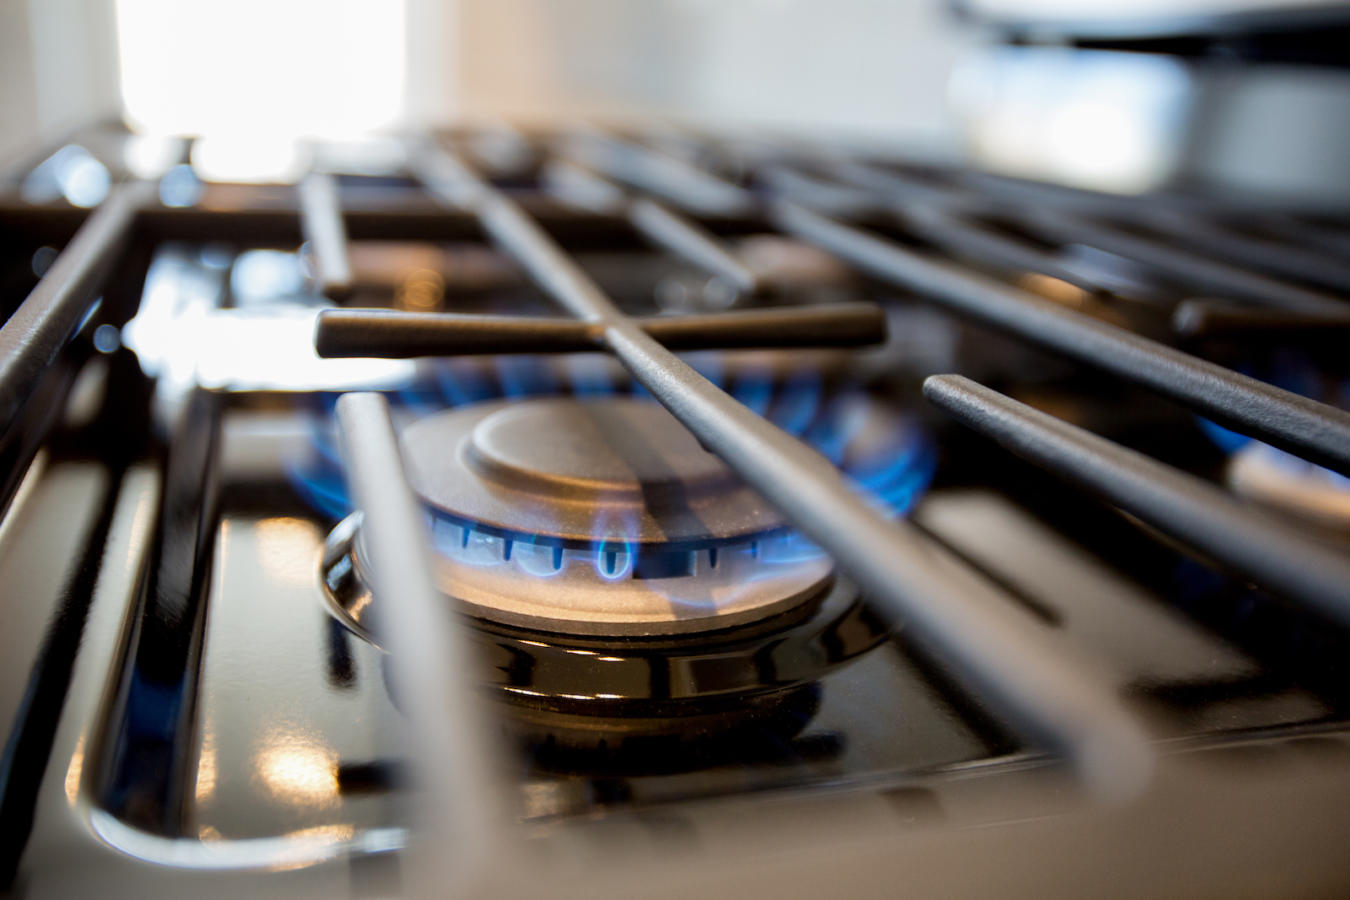
Step 2: Boiling the Stemware
Fill a large pot with water and bring it to a boil. Gently place the crystal stemware into the boiling water, ensuring that the pieces are fully submerged. Let the stemware boil for a few minutes to sanitize and remove any remaining impurities.
-
Step 3: Immersing in Hot Water
After boiling the stemware, carefully remove it from the pot using tongs or heat-resistant gloves. Immediately immerse each piece in hot water to assist in the removal of any remaining substances. Make sure all parts of the stemware, including the stem, bowl, and base, are fully submerged for a thorough cleansing.
-
Step 4: Applying Heat
To further sanitize the stemware, you can subject it to heat. You have a few options for this step:
- Place the stemware in a hot oven for a short period of time, ensuring that the temperature is appropriate for crystal glassware.
- Use a blowtorch or culinary torch to carefully apply heat to the entire surface of the stemware, focusing on the areas that come in contact with liquids.
Whichever method you choose, make sure to handle the glassware with caution and avoid extreme temperature changes that could lead to cracking or breakage.
-
Step 5: Checking for Complete Kashering
Once you have completed the previous steps, carefully examine each piece of stemware to ensure that the kashering process is complete. Look for any remaining residues or impurities, and repeat the necessary steps if needed.
Following these steps will ensure that your antique crystal stemware is thoroughly kashered and ready for use. It’s important to note that the kashering process should only be done on crystal stemware and not on stemware made from other materials, as the process and heat tolerance may differ.
Now that you have completed the kashering process, you can confidently enjoy using your antique crystal stemware, knowing that it has been properly sanitized and prepared according to kosher standards.
Step 1: Cleaning the Stemware
Before diving into the kashering process, it is crucial to start with clean antique crystal stemware. This step ensures that the kashering process can effectively remove any remaining residue or impurities and prepare the stemware for use according to kosher standards. Here’s how to clean the stemware thoroughly:
-
Inspect the stemware: Begin by carefully inspecting each piece of stemware. Look for any visible dirt, dust, or foreign substances on the glass. Pay close attention to the intricate details such as the stem, bowl, and base.
-
Remove any labels or stickers: If there are any labels or stickers on the stemware, take the time to remove them gently. Residue from labels can hinder the kashering process and impact the appearance of the stemware. Use a damp cloth or sponge to moisten the labels, making them easier to peel off without leaving any sticky residue behind.
-
Wash with warm, soapy water: Fill a sink or basin with warm water and add a mild dish soap. Submerge each piece of stemware in the soapy water. Use a soft sponge or cloth to gently scrub the glassware, paying particular attention to hard-to-reach areas and the inside of the bowl.
-
Rinse thoroughly: After washing, rinse the stemware under running water to remove any soap residue. Ensure that all soap is thoroughly rinsed off to avoid any soapy taste or residue when using the stemware.
-
Dry with a lint-free cloth: Once the stemware is clean and rinsed, carefully dry each piece with a lint-free cloth. This step helps prevent water spots or streaks from forming on the glassware. Ensure that the stemware is completely dry before proceeding to the kashering process.
By following these steps to clean the stemware thoroughly, you are ensuring that any visible dirt or residue is removed, setting the stage for a successful kashering process. Now that the stemware is clean, you are ready to move on to the next step of the kashering process: boiling the stemware.
To kasher used antique crystal stemware, first clean it thoroughly. Then, immerse it in boiling water for a few seconds, ensuring all surfaces come into contact with the water. Finally, rinse with cold water.
Read more: How To Identify Vintage Crystal Stemware
Step 2: Boiling the Stemware
After cleaning the antique crystal stemware, the next step in the kashering process is to boil the stemware. Boiling helps to further sanitize the glassware and remove any remaining impurities. Here is how to proceed with boiling the stemware:
-
Prepare a large pot: Select a pot that is large enough to accommodate the stemware without overcrowding. Fill the pot with enough water to fully submerge the stemware.
-
Bring the water to a boil: Place the pot on the stovetop and turn the heat to high. Allow the water to come to a rolling boil.
-
Add the stemware: Carefully lower the antique crystal stemware into the boiling water. Ensure that each piece is fully submerged and not touching any other pieces to prevent chipping or damage during the process.
-
Boil for a few minutes: Let the stemware boil in the water for approximately 3-5 minutes. This boiling process helps to sanitize the glassware and remove any lingering substances.
-
Remove the stemware: Using tongs or heat-resistant gloves, carefully remove the stemware from the boiling water. Be cautious to avoid any contact with the hot water or steam to prevent burns.
It is essential to be gentle while handling the antique crystal stemware during and after the boiling process to avoid any breakage. The boiling step effectively helps sanitize the stemware by killing bacteria and removing any remaining impurities.
Once the stemware has been boiled, it is ready for the next step in the kashering process: immersing it in hot water.
Step 3: Immersing in Hot Water
After boiling the antique crystal stemware, the next step in the kashering process is to immerse it in hot water. This step helps to further remove any residual impurities and ensure thorough sanitization of the glassware. Here’s how to proceed with immersing the stemware in hot water:
-
Prepare a container: Fill a basin or sink with hot water. The water should be hot enough to effectively sanitize the stemware but not so hot that it causes the glassware to crack or break.
-
Immerse the stemware: Carefully place each piece of boiled stemware into the hot water. Ensure that all parts of the stemware, including the stem, bowl, and base, are fully submerged for thorough cleansing.
-
Let it soak: Allow the stemware to soak in the hot water for around 10-15 minutes. This allows the hot water to effectively penetrate the glass and further eliminate any remaining impurities.
-
Gently agitate the water: Occasionally agitate the water with a spoon or your hand to create gentle movement. This helps to dislodge any stubborn residue from the stemware.
-
Remove the stemware: After the appropriate soaking time, carefully remove the stemware from the hot water. Be cautious not to touch the hot water or steam to prevent burns.
By immersing the stemware in hot water, you are providing an additional step of sanitization and ensuring that any remaining impurities are effectively removed. This process helps to ensure that your antique crystal stemware is clean and ready for the next step in the kashering process.
The next step involves applying heat to the stemware, which is covered in Step 4 of the kashering process.
Step 4: Applying Heat
After immersing the antique crystal stemware in hot water, the next step in the kashering process is to apply heat to further sanitize the glassware. Applying heat helps eliminate any remaining impurities and ensures the stemware is thoroughly cleaned. Here’s how to proceed with applying heat:
-
Choose a heat source: There are different options for applying heat to the stemware. You can either use a hot oven or a blowtorch, depending on your preference and the availability of equipment. Whichever method you choose, exercise caution and follow safety guidelines.
-
Using a hot oven: If using a hot oven, preheat it to a suitable temperature for crystal glassware. Place the stemware on a baking sheet or in a heat-resistant container, ensuring that they are spaced apart to prevent touching and potential breakage.
-
Using a blowtorch: If using a blowtorch, make sure you have a culinary torch or a blowtorch specifically designed for culinary purposes. Carefully move the flame across the surface of the stemware, focusing on areas that come into contact with liquids.
-
Apply heat evenly: Whether using an oven or a blowtorch, ensure that the heat is applied evenly to all parts of the stemware, including the stem, bowl, and base. This helps to eliminate any remaining impurities and sanitize the glassware thoroughly.
-
Handle with care: When removing the stemware from the oven or when extinguishing the blowtorch, use oven mitts or heat-resistant gloves to protect your hands from burns. Place the stemware on a heatproof surface and allow it to cool down before handling.
Applying heat is an essential step in the kashering process as it helps to sanitize the antique crystal stemware and ensure that it is fit for use according to kosher standards. However, be cautious when working with heat sources to prevent accidents or damage to the stemware.
Once you have applied heat, it’s time to move on to the final step of the kashering process: checking for complete kashering.
Step 5: Checking for Complete Kashering
After applying heat to the antique crystal stemware, it’s important to perform a final check to ensure that the kashering process is complete. This step allows you to verify that the stemware is fully sanitized and ready for use according to kosher standards. Here’s how to check for complete kashering:
-
Inspect visually: Carefully examine each piece of stemware to ensure that there are no visible signs of residue, impurities, or remaining substances. Check for any lingering stains or foreign particles that may indicate incomplete kashering.
-
Feel for cleanliness: Run your fingers along the surface of the stemware to feel for any rough or sticky areas. The glass should feel smooth and free from any residue or debris. If you notice any unusual textures, it may indicate incomplete kashering.
-
Check for odors: Give the stemware a sniff and ensure that there are no lingering odors that may suggest the presence of remaining substances. The stemware should have a neutral scent, indicating that it has been thoroughly cleaned and sanitized.
-
Repeat steps if necessary: If you notice any signs of incomplete kashering during the inspection, you may need to repeat certain steps of the process, such as boiling or applying heat. It’s better to err on the side of caution and ensure that the stemware is properly sanitized.
By performing a thorough inspection, tactile examination, and scent check, you can ensure that the antique crystal stemware is fully kashered and free from any remaining impurities. If you are satisfied that the stemware has undergone complete kashering, it is now ready to be used for special occasions or everyday dining.
Remember, the kashering process is specific to crystal stemware and should not be applied to stemware made from other materials, as the steps and heat requirements may differ. By following these steps, you can confidently enjoy using your antique crystal stemware while adhering to kosher standards and ensuring optimal cleanliness.
Read more: What Is My Crystal Stemware Worth?
Conclusion
Congratulations! You have successfully completed the kashering process for your antique crystal stemware. By following the steps outlined in this guide, you have ensured that your stemware is thoroughly cleaned, sanitized, and prepared for use according to kosher standards.
The kashering process is crucial for individuals who adhere to kosher dietary laws and want to make sure their tableware is free from any impurities. It not only allows you to enjoy your antique crystal stemware with peace of mind but also adds to the overall elegance and sophistication of your dining experience.
Remember to always handle your stemware with care throughout the kashering process, as antique crystal is delicate and prone to breakage if mishandled. Take your time with each step, ensuring that you follow the instructions and guidelines provided to maintain the integrity and beauty of your stemware.
Whether you are preparing for a significant celebration or simply wanting to elevate your everyday dining experience, properly kashering your antique crystal stemware ensures that it is not only visually stunning but also compliant with kosher dietary practices.
Now that you are well-versed in the kashering process, you can confidently showcase your beautiful antique crystal stemware, knowing that it has been thoroughly sanitized and prepared according to kosher standards. Enjoy the elegance and joy that these timeless pieces bring to your dining table.
Cheers to a beautiful and kosher table setting!
Frequently Asked Questions about How To Kasher Used Antique Crystal Stemware
Was this page helpful?
At Storables.com, we guarantee accurate and reliable information. Our content, validated by Expert Board Contributors, is crafted following stringent Editorial Policies. We're committed to providing you with well-researched, expert-backed insights for all your informational needs.


0 thoughts on “How To Kasher Used Antique Crystal Stemware”