Home>Dining>Tableware>How To Make A Mid-Century Modern Table
Tableware
How To Make A Mid-Century Modern Table
Modified: August 28, 2024
Discover how to create your own Mid-Century Modern tableware with our step-by-step guide. Learn the techniques and materials needed for a stylish and functional dining table.
(Many of the links in this article redirect to a specific reviewed product. Your purchase of these products through affiliate links helps to generate commission for Storables.com, at no extra cost. Learn more)
Introduction
Welcome to the wonderful world of mid-century modern tableware! If you’re a fan of sleek lines, organic shapes, and a touch of retro elegance, then you’re in for a treat. In this article, we will delve into the artistry and craftsmanship of creating your very own mid-century modern table.
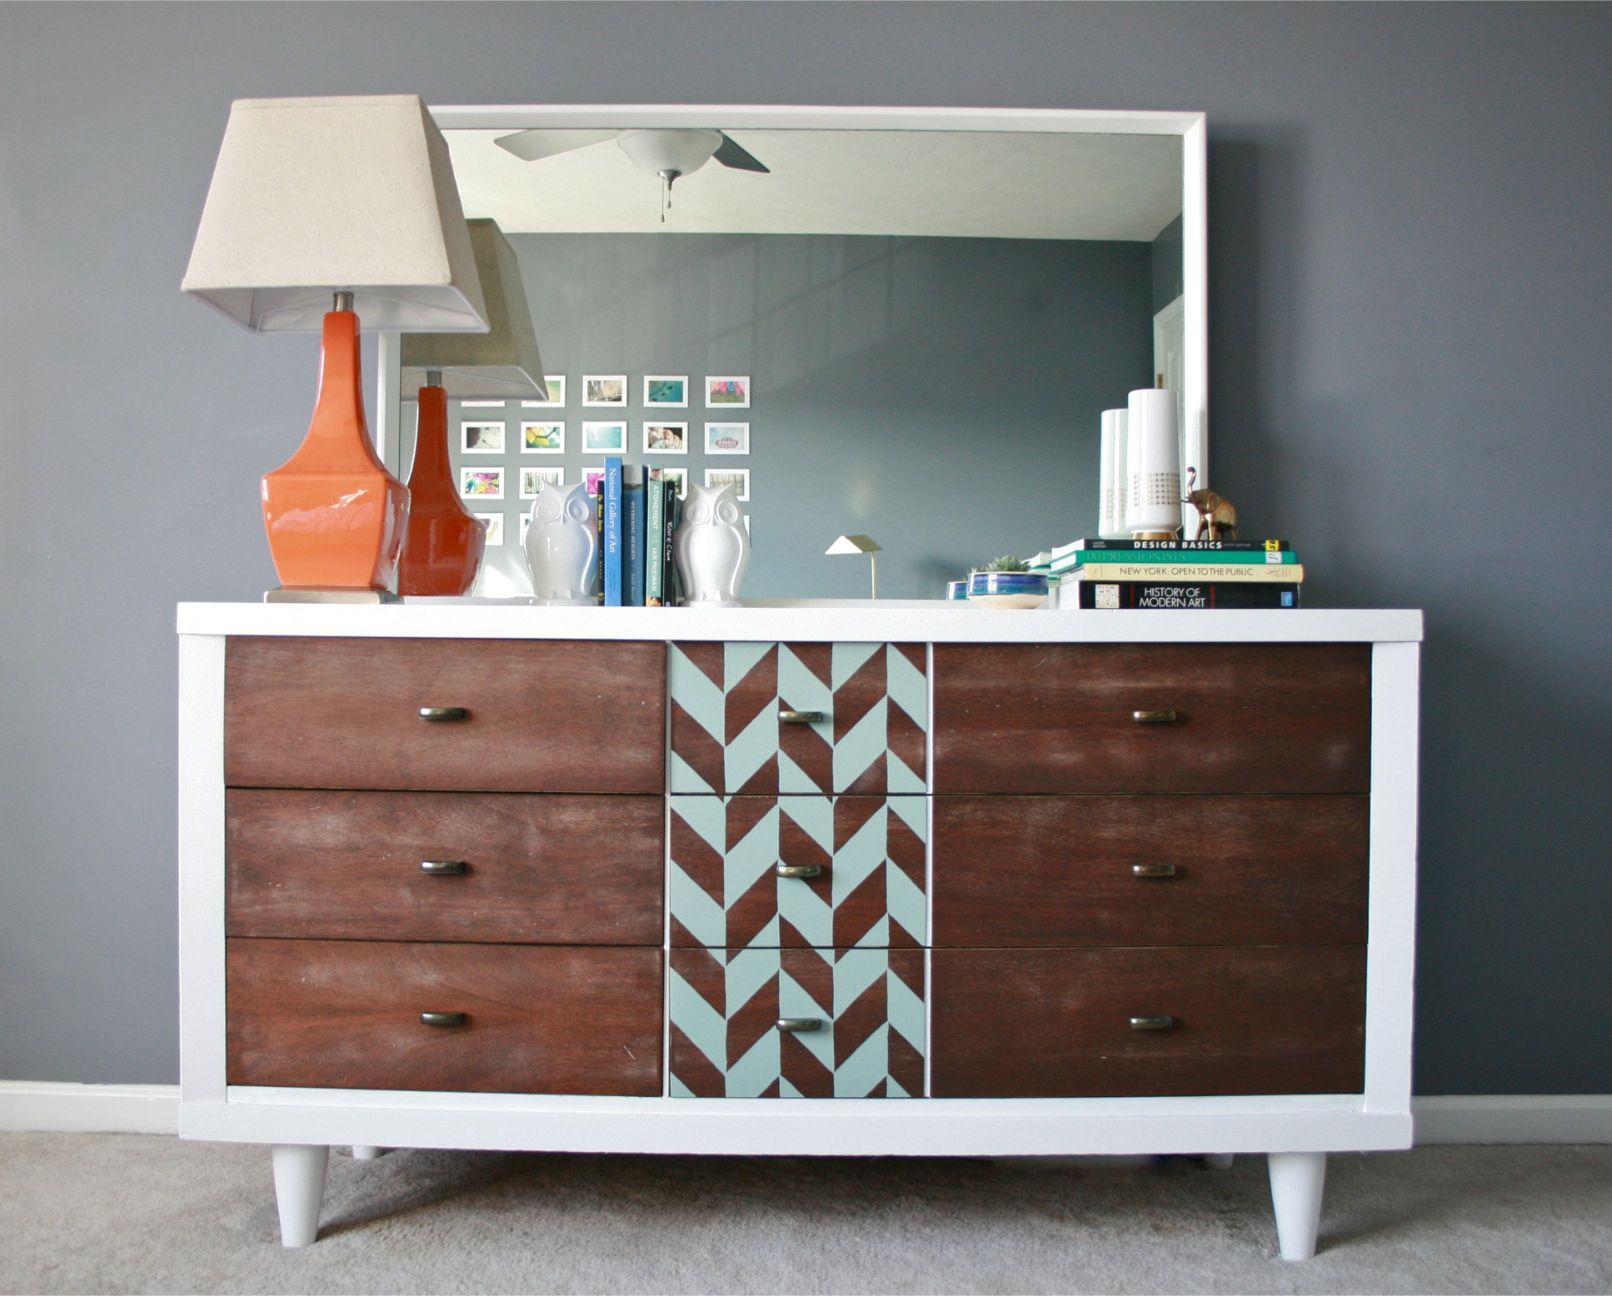
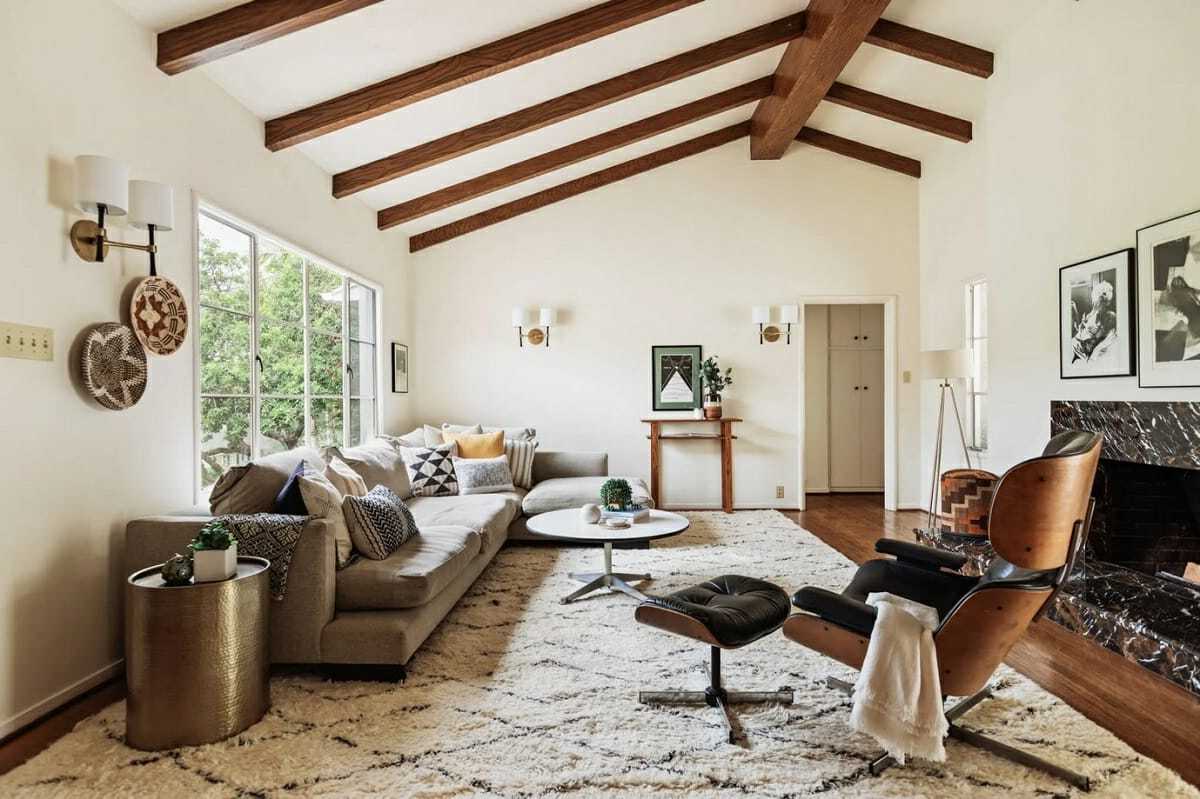
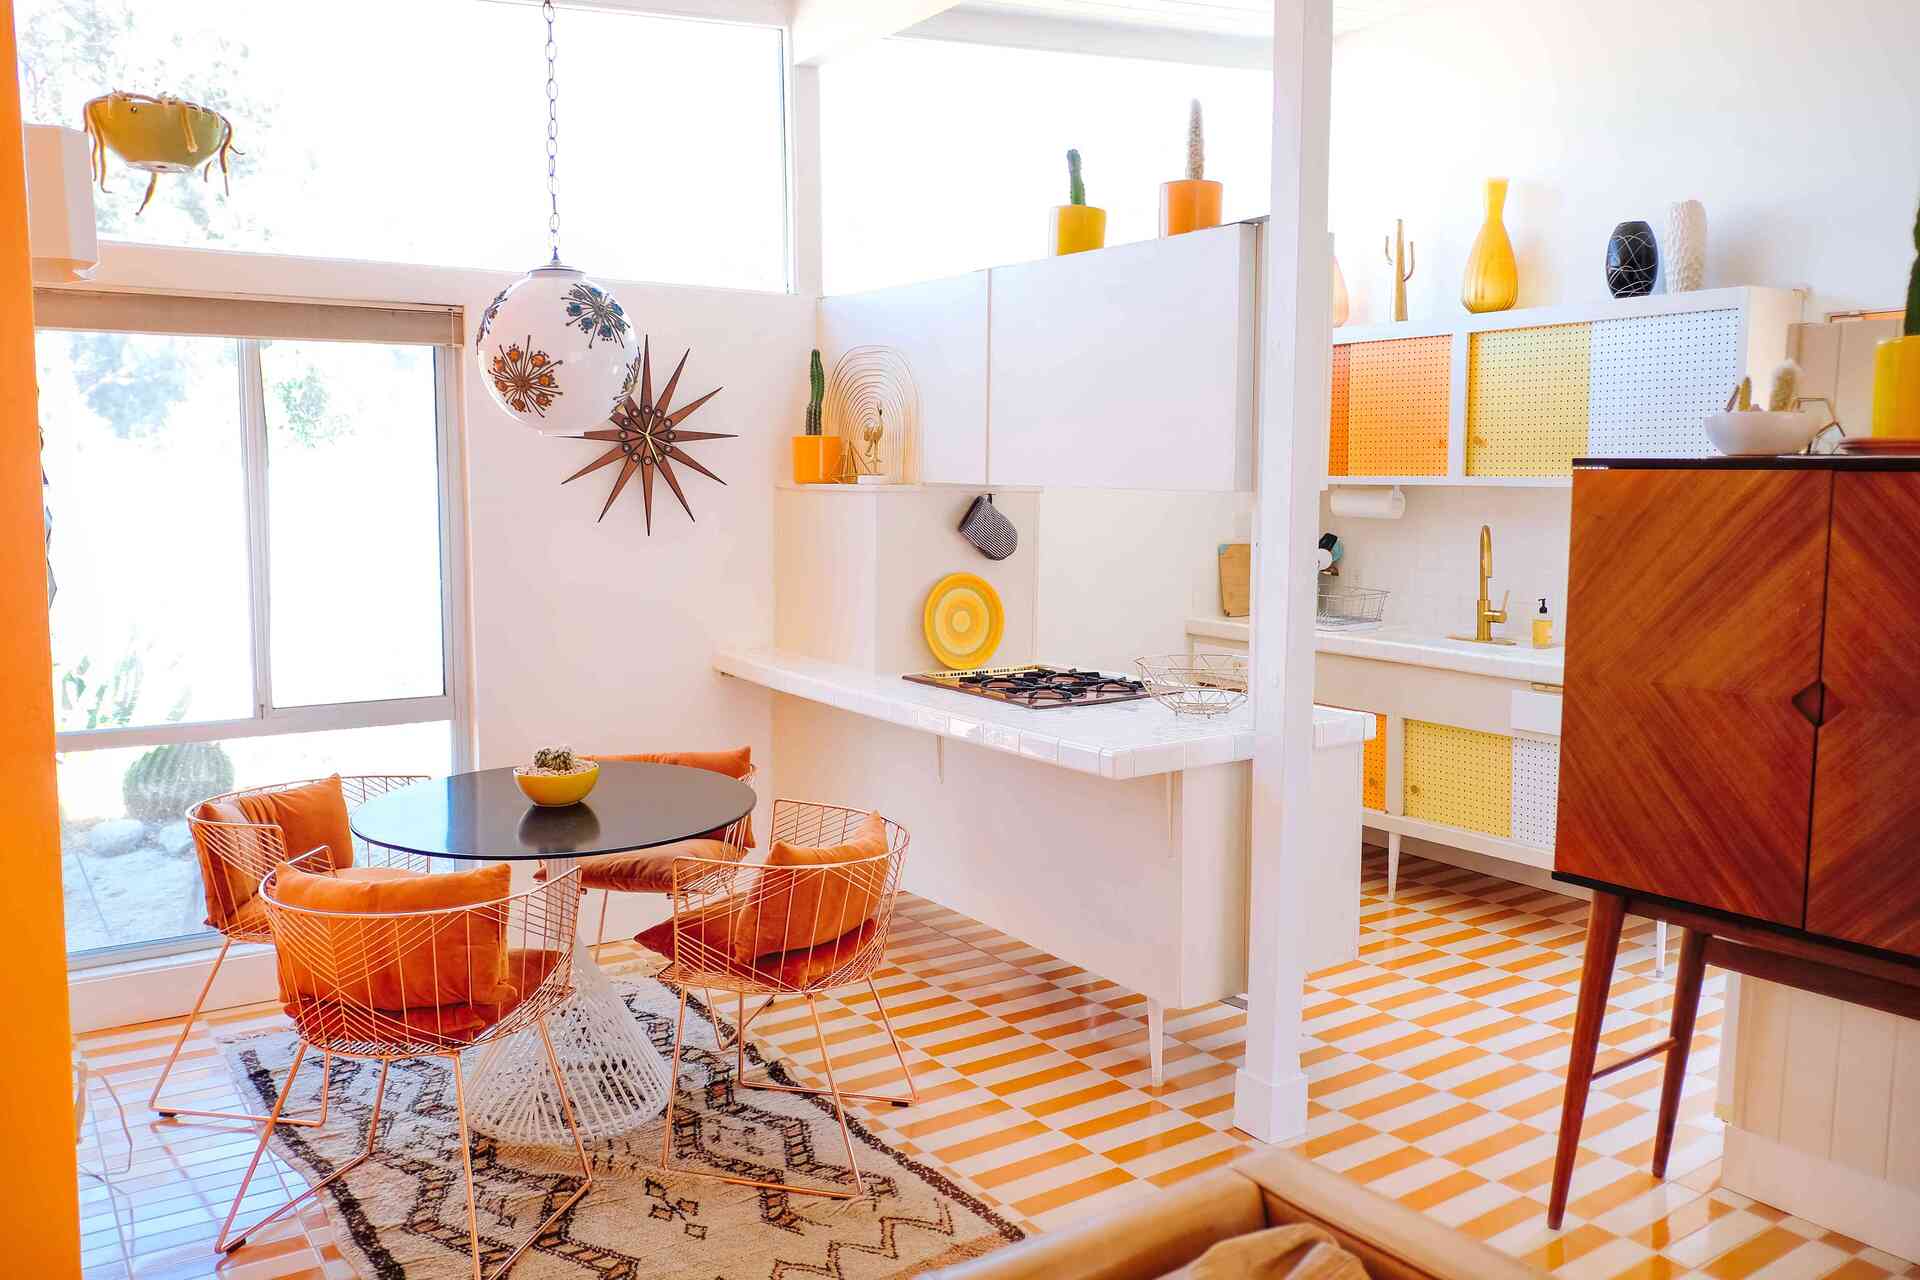
Mid-century modern style emerged in the mid-20th century as a response to the ornate and elaborate designs of the past. The movement celebrates simplicity, functionality, and a harmonious integration of form and function. It is characterized by clean lines, geometric shapes, and the use of natural materials, such as wood and glass.
Creating your own mid-century modern table is not only a rewarding DIY project but also an opportunity to showcase your personal style and creativity. Whether you’re an experienced woodworker or a beginner looking for a new challenge, this guide will provide you with the necessary steps and techniques to make your vision come to life.
Before we dive into the details, let’s take a moment to gather the materials you’ll need for this project.
Key Takeaways:
- Crafting a mid-century modern table involves meticulous planning, precise woodworking, and careful finishing to achieve the iconic style and functionality of this timeless furniture piece.
- From selecting high-quality wood to assembling the table and adding optional finish coats, creating a mid-century modern table is a rewarding DIY project that allows for personalization and creativity.
Read more: How To Make Mid-Century Modern Rugs
Materials Needed
To create a mid-century modern table, you’ll need the following materials:
- Wood: Choose a high-quality hardwood, such as oak or walnut, for the tabletop. You’ll also need wood for the legs.
- Measuring tape: Essential for accurately measuring the dimensions of the table.
- Saw: Use a table saw or circular saw to cut the wood to the desired size.
- Sanding tools: This includes sandpaper, sanding block, or an electric sander to smooth the wood surfaces.
- Wood glue: A strong adhesive for joining the tabletop pieces and the legs.
- Clamps: These will help hold the wood pieces in place while the glue dries.
- Screwdriver: Necessary for attaching the legs to the tabletop.
- Finishing materials: Choose a finish that matches the mid-century modern aesthetic, such as Danish oil or a clear polyurethane.
- Brushes: Used for applying the finish to the wood.
- Protective gear: Safety goggles, gloves, and a dust mask are essential for your safety while working with wood and finishing products.
It’s important to note that the exact materials and tools you’ll need may vary depending on the specific design and dimensions of your mid-century modern table. Feel free to customize and adapt this list to suit your project requirements.
Now that we have our materials ready, let’s learn how to build modern table, starting with the crucial first step: planning and design for your own mid-century modern table.
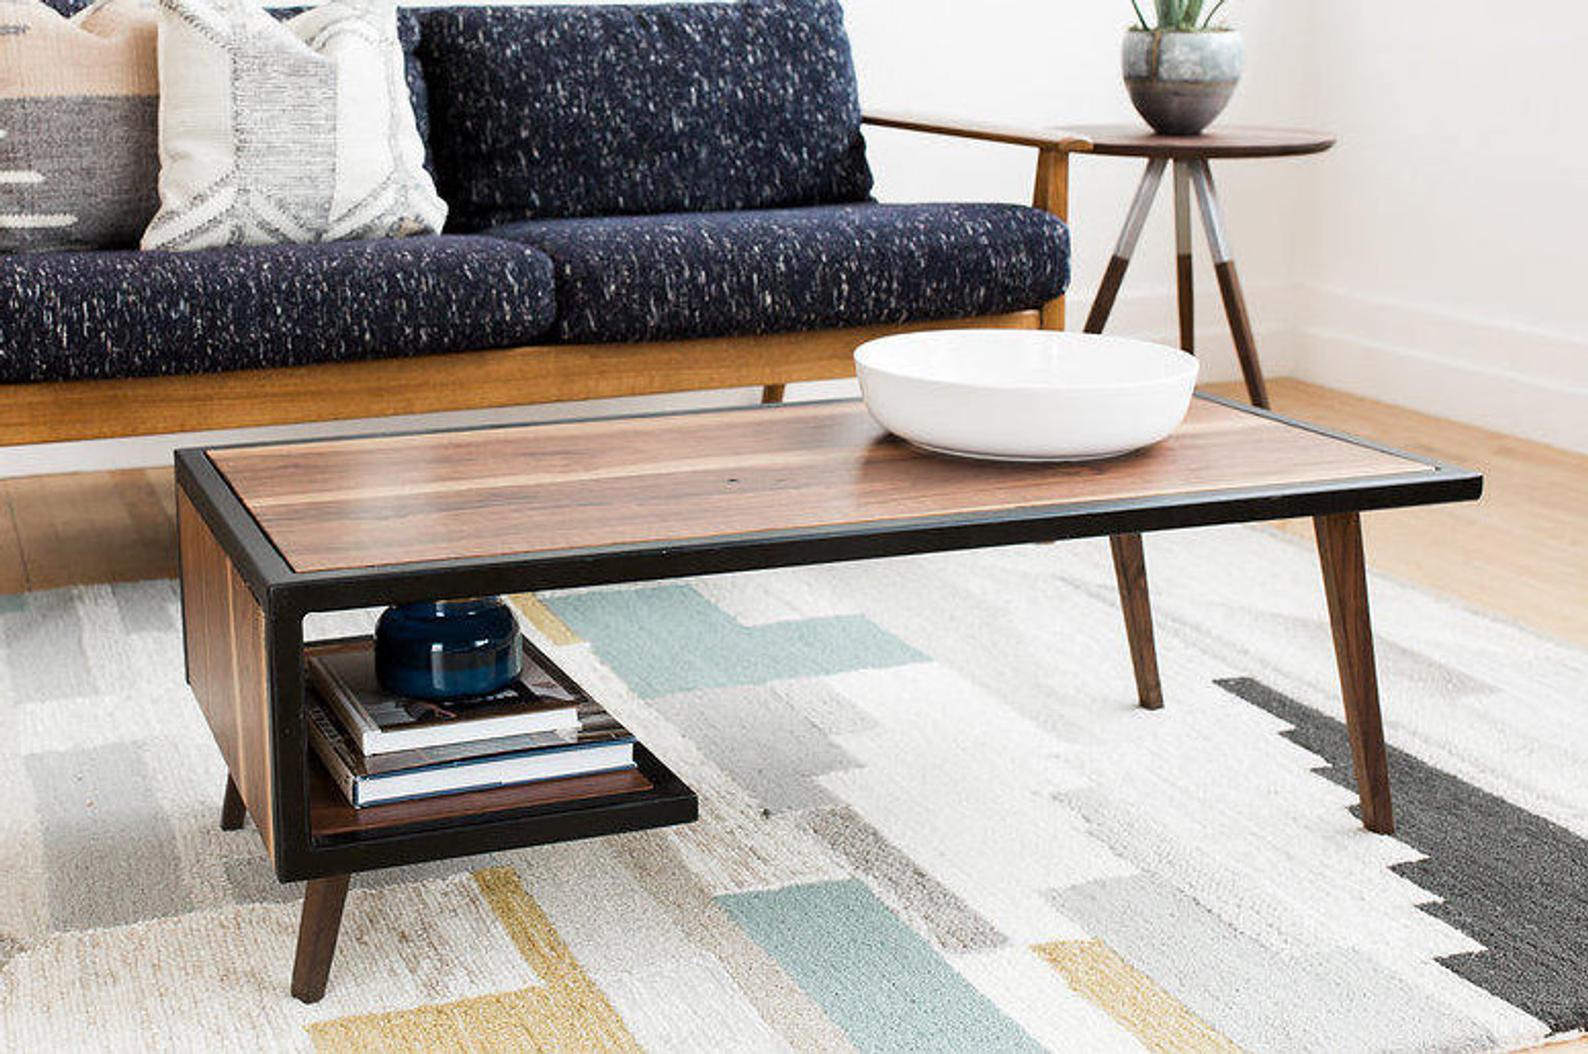
Step 1: Planning and Design
The first step in creating a mid-century modern table is to plan and design your desired piece. This step is crucial as it sets the foundation for the entire project. Here are some key considerations:
- Style and Dimensions: Determine the style and size of your table. Mid-century modern tables come in various shapes and sizes, such as rectangular, round, or oval. Consider the available space and how the table will fit into your existing decor.
- Materials: Choose the type of wood you want to use for the tabletop and legs. It’s important to select a high-quality hardwood that matches the mid-century modern aesthetic.
- Joinery: Decide on the type of joinery you’ll use to connect the tabletop pieces and attach the legs. Options include dowels, mortise and tenon, or pocket hole screws. Research and plan the appropriate joinery techniques based on your skill level and the tools available.
- Finish: Consider the type of finish you want for your table. Mid-century modern tables often feature a natural wood finish that highlights the beauty of the grain. Research different finishing methods such as Danish oil, varnish, or wax to achieve the desired look.
Take the time to sketch out your table design, including the dimensions, joinery details, and any specific features you want to incorporate. This will serve as a guide throughout the construction process and help you visualize the final product.
Once you have a clear plan and design in place, you can move on to the next step: gathering the materials.
Step 2: Gathering the Materials
Now that you have a clear plan and design for your mid-century modern table, it’s time to gather all the necessary materials. Here’s what you’ll need:
- Wood: Select high-quality hardwood for the tabletop and legs. Popular choices for mid-century modern tables include oak, walnut, and teak. Consider the size and thickness of the wood based on your design.
- Measuring Tape: An essential tool for accurately measuring the dimensions of the table and ensuring precise cuts.
- Saw: Choose a saw that suits your woodworking skills and the type of cuts you need to make. A table saw or circular saw can be used to cut the wood to the desired size.
- Sanding Tools: To create a smooth and refined surface, you’ll need sandpaper or an electric sander. Start with a coarse grit and gradually work your way up to finer grits for a polished finish.
- Wood Glue: A strong adhesive for joining the tabletop pieces and attaching the legs. Look for a wood glue that dries clear and bonds well.
- Clamps: Essential for holding the wood pieces in place while the glue sets. Choose clamps that provide enough pressure to ensure a tight and secure bond.
- Screwdriver: Depending on your chosen joinery method, you may need a screwdriver to attach the legs to the tabletop.
- Finish Materials: Consider the type of finish you want for your table. Options include Danish oil, varnish, or wax. Choose a finish that enhances the natural beauty of the wood and matches the mid-century modern aesthetic.
- Brushes: Use brushes for applying the finish to the wood. Ensure they are of good quality and suitable for the type of finish you’ve chosen.
- Protective Gear: Don’t forget to prioritize safety. Wear safety goggles, gloves, and a dust mask to protect yourself from wood chips and dust particles.
With all the materials gathered, you’re one step closer to building your mid-century modern table. In the next step, we’ll delve into cutting and preparing the wood.
Step 3: Cutting and Preparing the Wood
Now that you have gathered all the necessary materials, it’s time to start working with the wood. This step involves cutting and preparing the wood for the tabletop and legs of your mid-century modern table. Here’s what you need to do:
- Measure and Mark: Use a measuring tape to mark the dimensions on the wood according to your design. Double-check the measurements to ensure accuracy.
- Cut the Tabletop Pieces: Using a saw, carefully cut the wood into the desired shape and size for the tabletop. Take your time and follow your marked lines to achieve clean and precise cuts.
- Prepare the Legs: Determine the length and shape of the legs based on your design. Cut the wood to the appropriate size, making sure all legs are uniform.
- Sand the Wood: Use sandpaper or an electric sander to smooth the surfaces of the tabletop pieces and legs. Start with a coarse grit sandpaper to remove any roughness or imperfections, then gradually move to finer grits for a polished finish.
- Round the Edges (Optional): If desired, you can use a router or sandpaper to round the edges of the tabletop pieces and the legs. This will add a softer and more refined look to your mid-century modern table.
Throughout the cutting and preparation process, pay attention to safety precautions. Wear appropriate protective gear, such as safety goggles and gloves, and ensure you have a stable work surface to securely hold the wood pieces.
Once the wood is cut and prepared, it’s time to move on to the next step: assembling the tabletop. Stay tuned!
Step 4: Assembling the Tabletop
Now that the wood pieces for the tabletop and legs are ready, it’s time to assemble the tabletop of your mid-century modern table. This step requires precision and careful attention to detail. Follow these steps to ensure a sturdy and well-constructed tabletop:
- Dry Fit: Before applying any glue, do a dry fit by placing the tabletop pieces together to ensure they align properly and create a seamless surface.
- Apply Wood Glue: Once you are satisfied with the arrangement, apply a thin, even layer of wood glue to the edges of the tabletop pieces. Use a brush or a small roller to spread the glue.
- Connect the Pieces: Carefully put the tabletop pieces together, aligning the edges and corners. Apply gentle pressure to ensure a tight fit.
- Secure with Clamps: Place clamps along the edges of the tabletop to hold the pieces in place while the glue dries. Ensure even pressure is applied across the entire surface.
- Wipe off Excess Glue: Use a damp cloth or sponge to wipe away any excess glue that may have oozed out from the joints. It’s crucial to remove the glue before it dries, as it can interfere with the finishing process.
- Allow for Drying Time: Leave the clamps on for the recommended drying time specified on the glue bottle. This can vary depending on the type of glue used.
Once the glue has fully dried and the tabletop is secure, you can proceed to the next step: building the legs for your mid-century modern table. Keep reading to learn how!
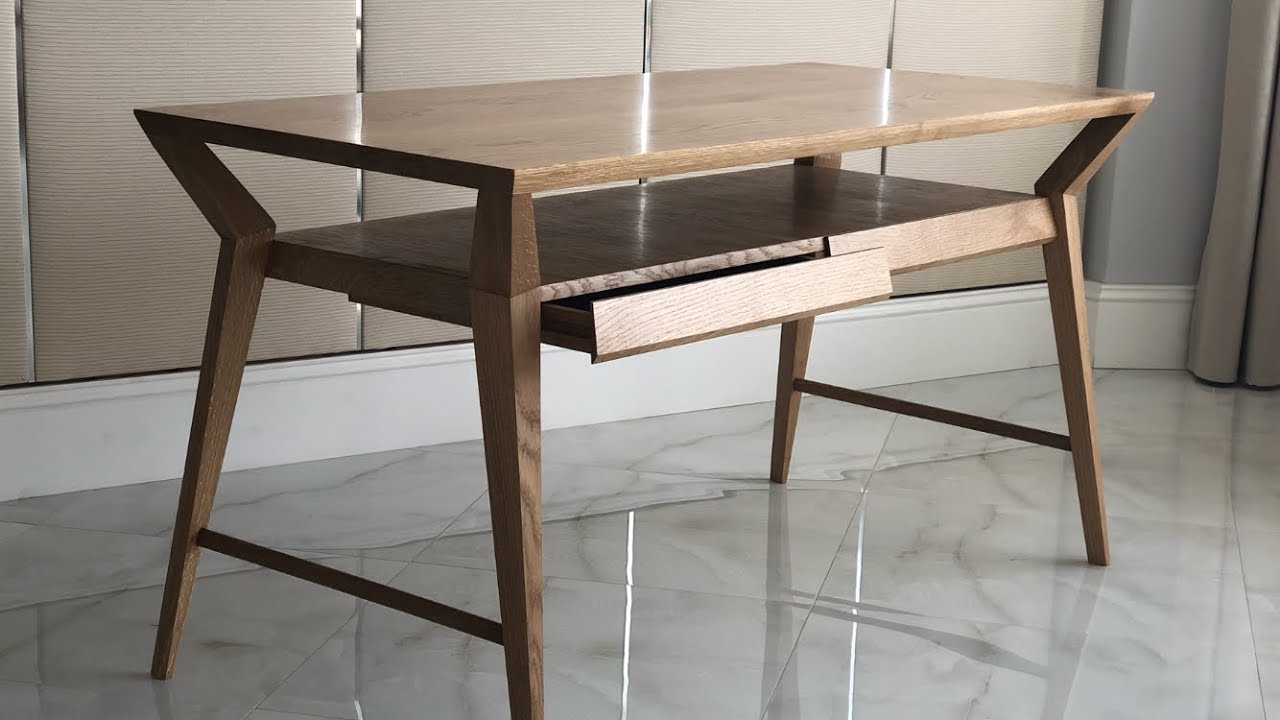
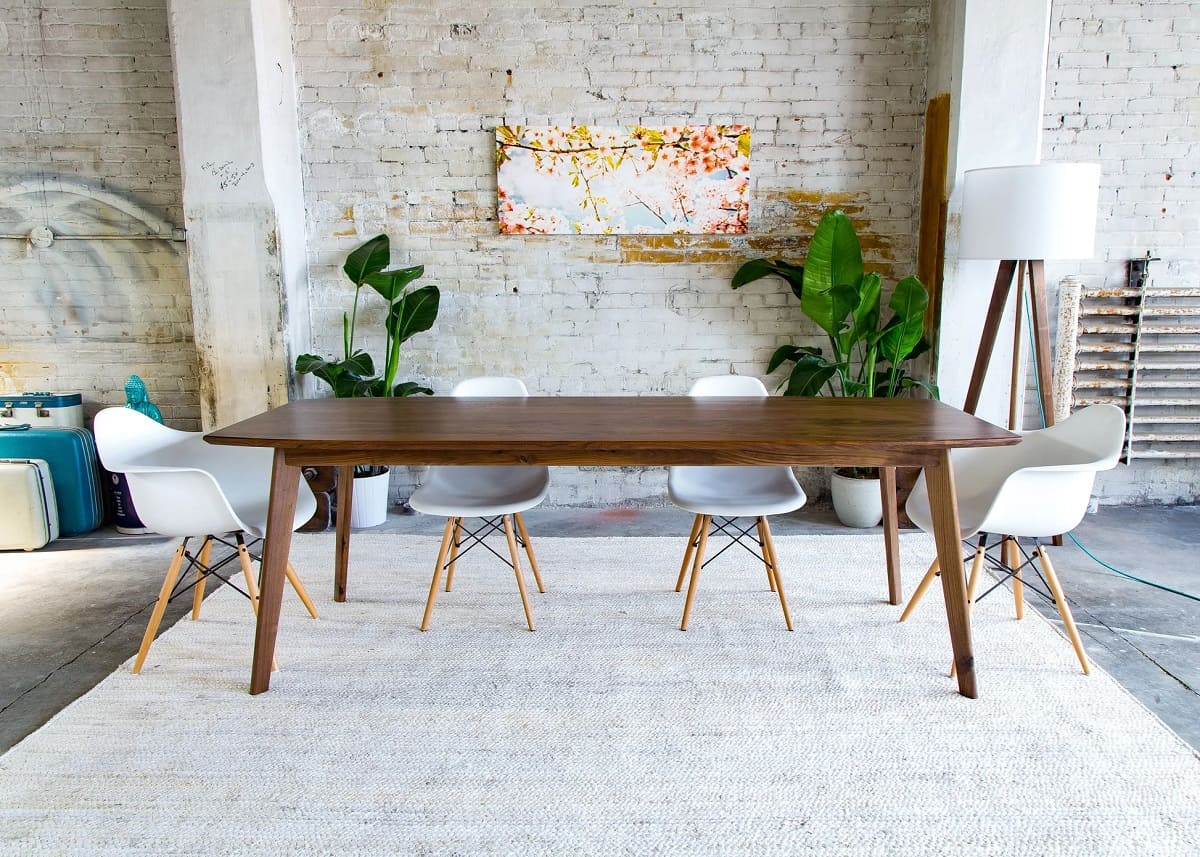
When making a mid-century modern table, focus on clean lines, minimal ornamentation, and natural materials like wood and metal. Choose a simple, sleek design and use a warm, earthy color palette for an authentic mid-century modern look.
Step 5: Building the Legs
Now that the tabletop is assembled, it’s time to focus on building the legs for your mid-century modern table. The legs provide the stability and support for the table, so it’s important to construct them carefully. Follow these steps to create strong and visually appealing legs:
- Measure and Mark: Determine the height and shape of the legs based on your design. Measure and mark the dimensions on the wood to ensure consistency.
- Cut the Leg Pieces: Use a saw to cut the wood into the appropriate lengths for the legs. Make sure all legs are uniform and match your desired height.
- Create Angled Cuts (Optional): If your mid-century modern design calls for angled legs, use a miter saw or table saw to make precise angled cuts on the leg pieces. Take your time to achieve the desired angle.
- Smooth the Surfaces: Use sandpaper or an electric sander to smooth the surfaces of the legs. Pay attention to any sharp edges or rough spots, ensuring a sleek and polished finish.
With the legs constructed and prepared, you’re one step closer to completing your mid-century modern table. The next step involves attaching the legs to the tabletop, so keep reading to learn how!
Step 6: Attaching the Legs to the Tabletop
Now that you have built the legs for your mid-century modern table, it’s time to attach them to the tabletop. Properly securing the legs ensures stability and durability, so follow these steps to safely attach the legs:
- Position the Tabletop: Place the tabletop upside down on a stable surface, ensuring it is well-supported and won’t shift during the attachment process.
- Mark the Leg Placement: Use a pencil or a marker to mark the desired locations for the legs on the underside of the tabletop. Take measurements and use a square to ensure accuracy.
- Drill Pilot Holes: Depending on your chosen joinery method, you may need to drill pilot holes to prevent the wood from splitting. Use an appropriate-sized drill bit for the screws or dowels you’ll be using.
- Attach the Legs: With the pilot holes in place, position the legs and use screws, dowels, or other joinery methods to attach them to the tabletop. Make sure to align the legs with the markings you made earlier.
- Tighten and Secure: Use a screwdriver or appropriate tools to tighten the screws or joinery hardware, ensuring a secure attachment. Double-check the alignment as you go.
- Test Stability: Carefully flip the table over and test its stability. Gently apply pressure to ensure the legs are securely attached and that the table does not wobble.
Once you have successfully attached the legs, your mid-century modern table structure is complete! The next step involves sanding and finishing the table to enhance its appearance and protect the wood. Keep reading to learn how!
Step 7: Sanding and Finishing the Table
After attaching the legs, it’s time to put the finishing touches on your mid-century modern table. Sanding and finishing not only enhance the appearance of the wood but also provide protection against wear and tear. Follow these steps to achieve a smooth and stunning finish:
- Sanding the Table: Start by sanding the entire table using a coarse-grit sandpaper. This helps remove any imperfections, rough spots, or excess glue. Move in the direction of the wood grain and apply even pressure. Gradually progress to finer-grit sandpaper to achieve a smooth surface.
- Clean the Surface: Once you’ve completed the sanding process, use a damp cloth or a tack cloth to remove any dust or debris. Ensure the surface is clean and dry before proceeding.
- Apply the Finish: Choose a finish that matches the mid-century modern aesthetic, such as Danish oil or a clear polyurethane. Using a brush or a clean cloth, evenly apply the finish to the tabletop and the legs. Follow the manufacturer’s instructions for application and drying times.
- Multiple Coats (Optional): For a more durable and polished finish, you may choose to apply multiple coats of the finishing material. Allow each coat to dry completely before applying the next. Lightly sand between coats for a smoother result.
- Finishing Touches: Once the final coat of finish has dried, inspect the table for any uneven areas or drips. Use fine-grit sandpaper to gently smooth out any imperfections.
Remember to work in a well-ventilated area during the finishing process and follow all safety precautions recommended by the manufacturer.
Congratulations! Your mid-century modern table is now complete. However, if you’d like to take it a step further, there is an optional step you can consider: adding a finish coat. Keep reading to learn more!
Read more: Where To Buy Mid Century Modern Furniture
Step 8: Optional: Adding a Finish Coat
If you want to give an extra layer of protection and a stunning sheen to your mid-century modern table, adding a finish coat is an optional step worth considering. Here’s a simple guide to help you achieve that flawless final touch:
- Choose the Finish: Select a finish coat that suits your desired look and provides the level of protection you desire. Some popular options include a clear polyurethane, lacquer, or epoxy resin.
- Prepare the Surface: Ensure the tabletop and the legs are clean, smooth, and free of any dust or debris. If needed, lightly sand the surface to remove any imperfections.
- Apply the Finish: Follow the manufacturer’s instructions for preparing and applying the finish coat. Use a brush, foam roller, or a spray application depending on the recommended method for your chosen finish.
- Allow Proper Drying Time: Make sure to allow the finish coat sufficient drying time between coats. This will ensure that each layer fully cures and provides optimal protection.
- Lightly Sand Between Coats: If desired, you can lightly sand the surface between each coat of the finish coat. This helps to create a smoother texture and promotes better adhesion between layers.
- Final Inspection: Once the finish coat has fully dried, inspect the table for any imperfections or uneven areas. Use a fine-grit sandpaper to gently smooth out any inconsistencies.
Adding a finish coat not only protects the wood from moisture and wear but also enhances its beauty by adding depth and richness to the color and grain. However, keep in mind that this step is optional, and your table will still look stunning even without the additional finish coat.
Congratulations on completing your mid-century modern table! Take a step back, admire your craftsmanship, and enjoy your beautiful and functional piece of furniture. It’s a testament to your skills and creativity, and it will undoubtedly become a centerpiece in your home or office!
Conclusion
Creating your own mid-century modern table is a rewarding and fulfilling DIY project that allows you to showcase your creativity and craftsmanship. By following the steps outlined in this guide, you can successfully build a stylish and functional table that embodies the timeless elegance of mid-century modern design.
From the planning and design stage to gathering the materials, cutting and preparing the wood, and assembling and finishing the table, each step plays a crucial role in bringing your vision to life. Remember to keep safety a priority throughout the entire process, using proper protective gear and following manufacturer’s instructions for any tools or finishing products used.
Whether you’re a seasoned woodworker or a novice ready to set your table on a new DIY adventure, creating a mid-century modern table allows you to customize a piece of furniture to fit your personal style and space. The clean lines, organic shapes, and natural materials characteristic of mid-century modern style will not only add a touch of sophistication to your decor but also stand the test of time.
So unleash your creativity, get your tools ready, and embark on this exciting journey of crafting your own mid-century modern table. Enjoy the process, take pride in your workmanship, and showcase your unique sense of style with a timeless piece of furniture that you can cherish for years to come.
Frequently Asked Questions about How To Make A Mid-Century Modern Table
Was this page helpful?
At Storables.com, we guarantee accurate and reliable information. Our content, validated by Expert Board Contributors, is crafted following stringent Editorial Policies. We're committed to providing you with well-researched, expert-backed insights for all your informational needs.

0 thoughts on “How To Make A Mid-Century Modern Table”