Furniture
How To Make A Dresser Look Mid-Century
Modified: August 24, 2024
Transform your dresser into a stylish mid-century furniture piece with our step-by-step guide. Upgrade your home decor with this easy DIY project.
(Many of the links in this article redirect to a specific reviewed product. Your purchase of these products through affiliate links helps to generate commission for Storables.com, at no extra cost. Learn more)
Introduction
Transforming a regular dresser into a mid-century masterpiece can bring a touch of nostalgia and timeless style to your home. The mid-century modern design movement, popularized in the mid-20th century, is known for its sleek lines, organic shapes, and minimalist aesthetic. By following a few simple steps, you can give your dresser a mid-century makeover that will make a statement in any room.
In this article, we will guide you through the process of making a dresser look mid-century. From choosing the right dresser to styling it with the perfect accessories, we will provide you with all the information and inspiration you need to achieve that iconic mid-century look.
So, roll up your sleeves and let’s dive into the world of mid-century design!
Key Takeaways:
- Transform a regular dresser into a mid-century masterpiece by choosing the right dresser, updating its finish, and enhancing it with mid-century design elements. Style it with vintage-inspired decor for a timeless and nostalgic appeal.
- Achieve the iconic mid-century look by following simple steps to transform your dresser. From selecting the right dresser to styling it with complementary furniture, create a cohesive and visually appealing mid-century-inspired space.
Read more: How To Make A Mid-Century Modern Table
Step 1: Choose the Right Dresser
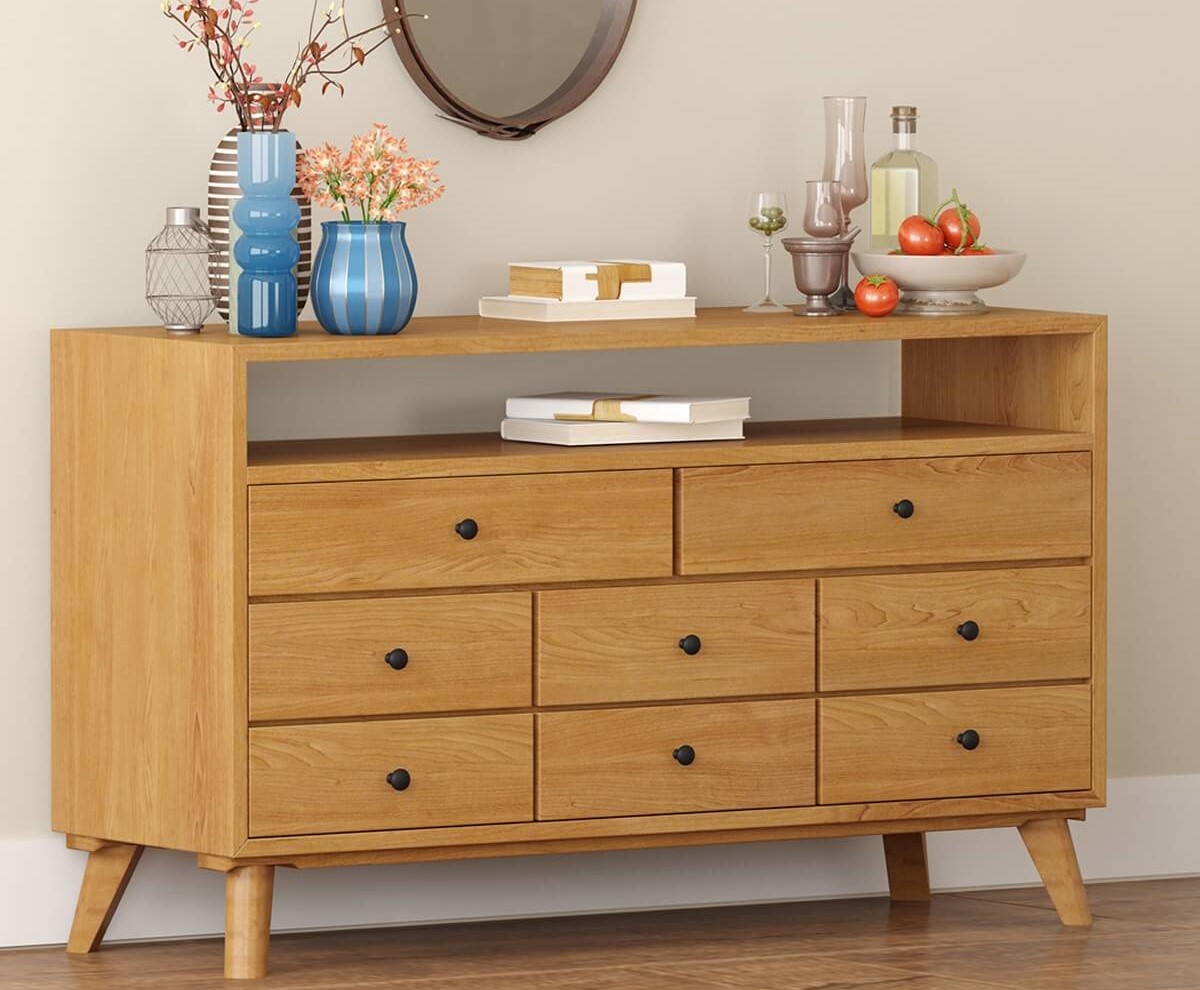
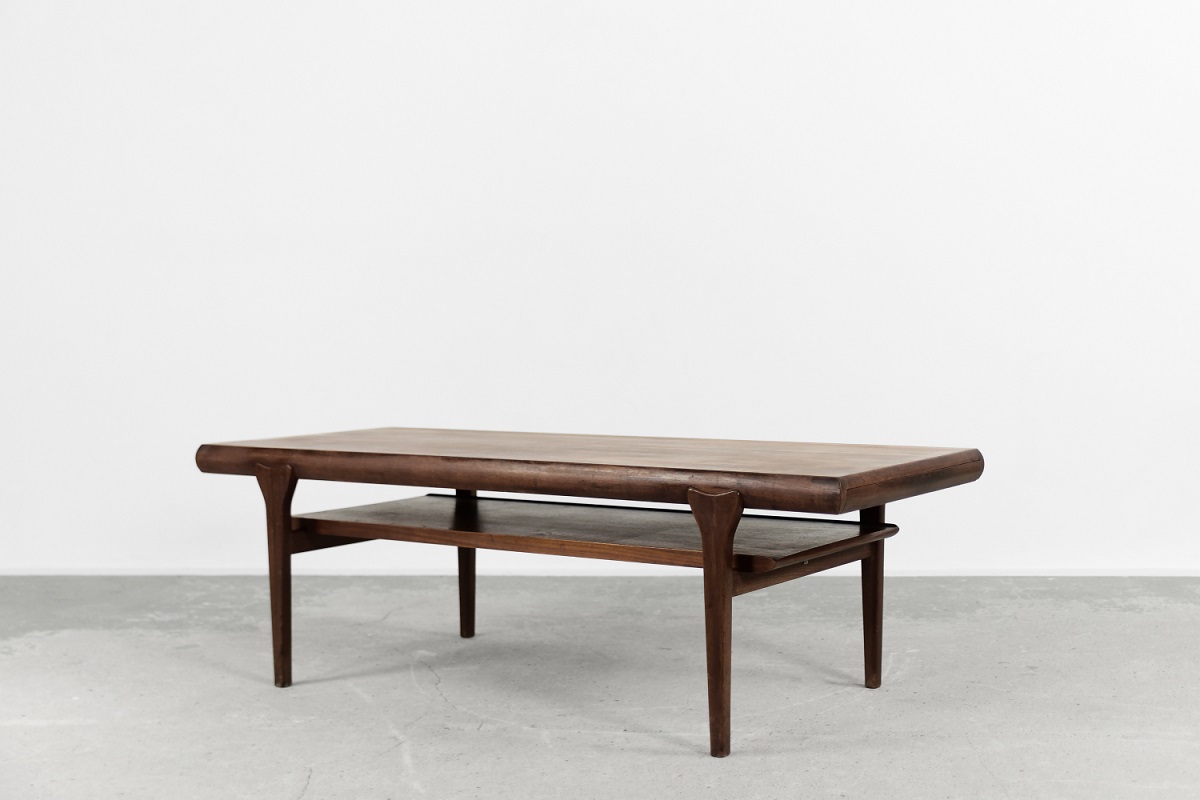
When it comes to transforming a dresser into a mid-century piece, the first step is selecting the right dresser. Look for dressers that have the classic mid-century design elements, such as clean lines, tapered legs, and minimalist hardware. Vintage furniture stores, thrift shops, and online marketplaces are great places to find authentic mid-century dressers.
Once you have found a potential dresser, make sure to assess its size and condition. Consider the dimensions of the dresser and whether it will fit well in your space. Additionally, inspect the dresser for any damage, such as scratches or dents. While minor imperfections can be fixed, major structural issues may require professional repairs or may not be worth the investment.
Budget and material options are also essential factors to consider. Keep in mind that authentic mid-century dressers made of solid wood can be quite pricey. However, you can find alternatives made of less expensive materials, such as MDF or plywood, that still capture the mid-century aesthetic. Determine your budget and weigh the pros and cons of different material options to find the best dresser for your project.
Once you have chosen the right dresser, you can proceed to the next step of transforming it into a mid-century masterpiece.
Step 2: Prepare the Dresser for Transformation
Before you can begin the transformation process, it’s essential to properly prepare the dresser. This involves cleaning and sanding the surface, removing old hardware and drawers, and repairing any damaged areas.
Start by thoroughly cleaning the dresser surface. Remove any dust, dirt, or grime using a gentle cleanser and a soft cloth. This step is crucial as it ensures a smooth and even finish when you paint or refinish the dresser.
Next, use sandpaper or an electric sander to gently sand the dresser surface. This step helps to remove any existing finish or paint, creating a clean and bare surface for the new paint or stain to adhere to. Be sure to sand evenly and pay extra attention to any rough or uneven areas.
Once the surface is cleaned and sanded, it’s time to remove the old hardware and drawers. Use a screwdriver or drill to remove the screws or nails holding the hardware in place. Set aside the hardware and carefully remove the drawers from the dresser.
While the hardware is removed, take the opportunity to assess and repair any damaged areas of the dresser. Fill in any cracks, scratches, or holes with wood filler and allow it to dry completely. Afterward, sand the repaired areas to ensure a smooth and seamless surface.
By properly preparing the dresser, you are laying the foundation for a successful transformation and ensuring that the final result will be both visually pleasing and long-lasting.
Step 3: Update the Dresser’s Finish
Now that the dresser is prepared, it’s time to update its finish and give it that mid-century charm. This step involves choosing a mid-century inspired paint color, applying primer, painting the dresser with a smooth finish, and adding a protective coat.
Start by selecting a paint color that reflects the mid-century aesthetic. Popular choices include muted tones like olive green, mustard yellow, or warm earthy browns. These colors evoke the nostalgic feel of the era and complement the clean lines of mid-century furniture.
Before applying paint, it’s essential to use a primer. Primer helps the paint adhere to the dresser surface and ensures a more even and durable finish. Apply a thin, even coat of primer using a paintbrush or roller, following the manufacturer’s instructions.
Once the primer is dry, it’s time to paint the dresser. Use a high-quality paint specifically formulated for furniture. Apply the paint in thin, even coats, allowing each coat to dry completely before applying the next. This technique ensures a smooth and professional-looking finish.
After the paint has dried, consider adding a protective coat to seal and preserve the finish. Polyurethane or furniture wax can provide a protective barrier against moisture, scratches, and general wear and tear. Apply the protective coat according to the product instructions, and allow it to dry thoroughly before moving on to the next step.
Updating the dresser’s finish is a key step in achieving the mid-century look. The right paint color and a smooth, protective finish will elevate the dresser’s appearance and make it truly stand out in your space.
To make a dresser look mid-century, consider adding tapered legs, replacing hardware with sleek, minimalist options, and applying a warm, wood-tone finish.
Step 4: Enhance the Dresser with Mid-Century Design Elements
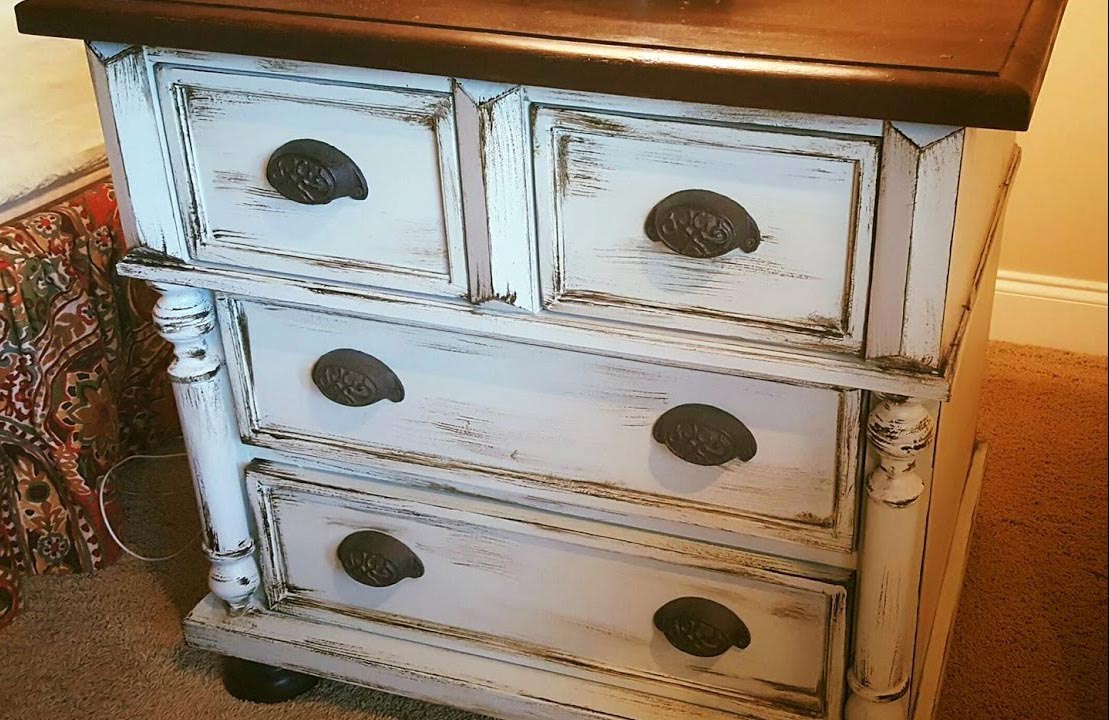
To complete the mid-century transformation of your dresser, it’s time to add those distinctive design elements that define the era. This step includes selecting appropriate hardware, installing new drawer pulls or knobs, and adding tapered legs or retro feet to the dresser.
Start by selecting hardware that complements the mid-century style. Look for drawer pulls or knobs with sleek and minimalistic designs. Brass, chrome, or matte black finishes are popular choices that add a touch of sophistication to the dresser. Consider the size and proportions of the dresser when choosing hardware to ensure a balanced and cohesive look.
Next, remove the old hardware and install the new drawer pulls or knobs. Use a screwdriver or a drill to attach the hardware securely. Make sure to align the new hardware properly and tighten the screws to ensure a secure fit.
In addition to new hardware, consider adding tapered legs or retro feet to the dresser. Tapered legs are a signature feature of mid-century furniture and can instantly update the look of the dresser. You can purchase pre-made tapered legs in various heights and finishes or even find vintage legs for an authentic touch. Simply remove the existing legs, if applicable, and attach the new tapered legs using screws or mounting plates.
If you prefer a more unique approach, retro feet can add a playful and whimsical element to the dresser. Look for fun designs or shapes that were popular during the mid-century era. Retro feet can be attached by screwing or gluing them to the bottom of the dresser, depending on the design and materials.
By enhancing the dresser with mid-century design elements, you will bring that iconic vintage flair to your piece, making it a true mid-century gem.
Read also: 10 Superior Mid Century Dresser for 2025
Step 5: Styling the Mid-Century Dresser
Now that your dresser has been transformed into a stunning mid-century piece, it’s time to style it to complete the look. This step involves incorporating vintage-inspired decor, displaying retro accessories and artwork, and pairing the dresser with complementary furniture.
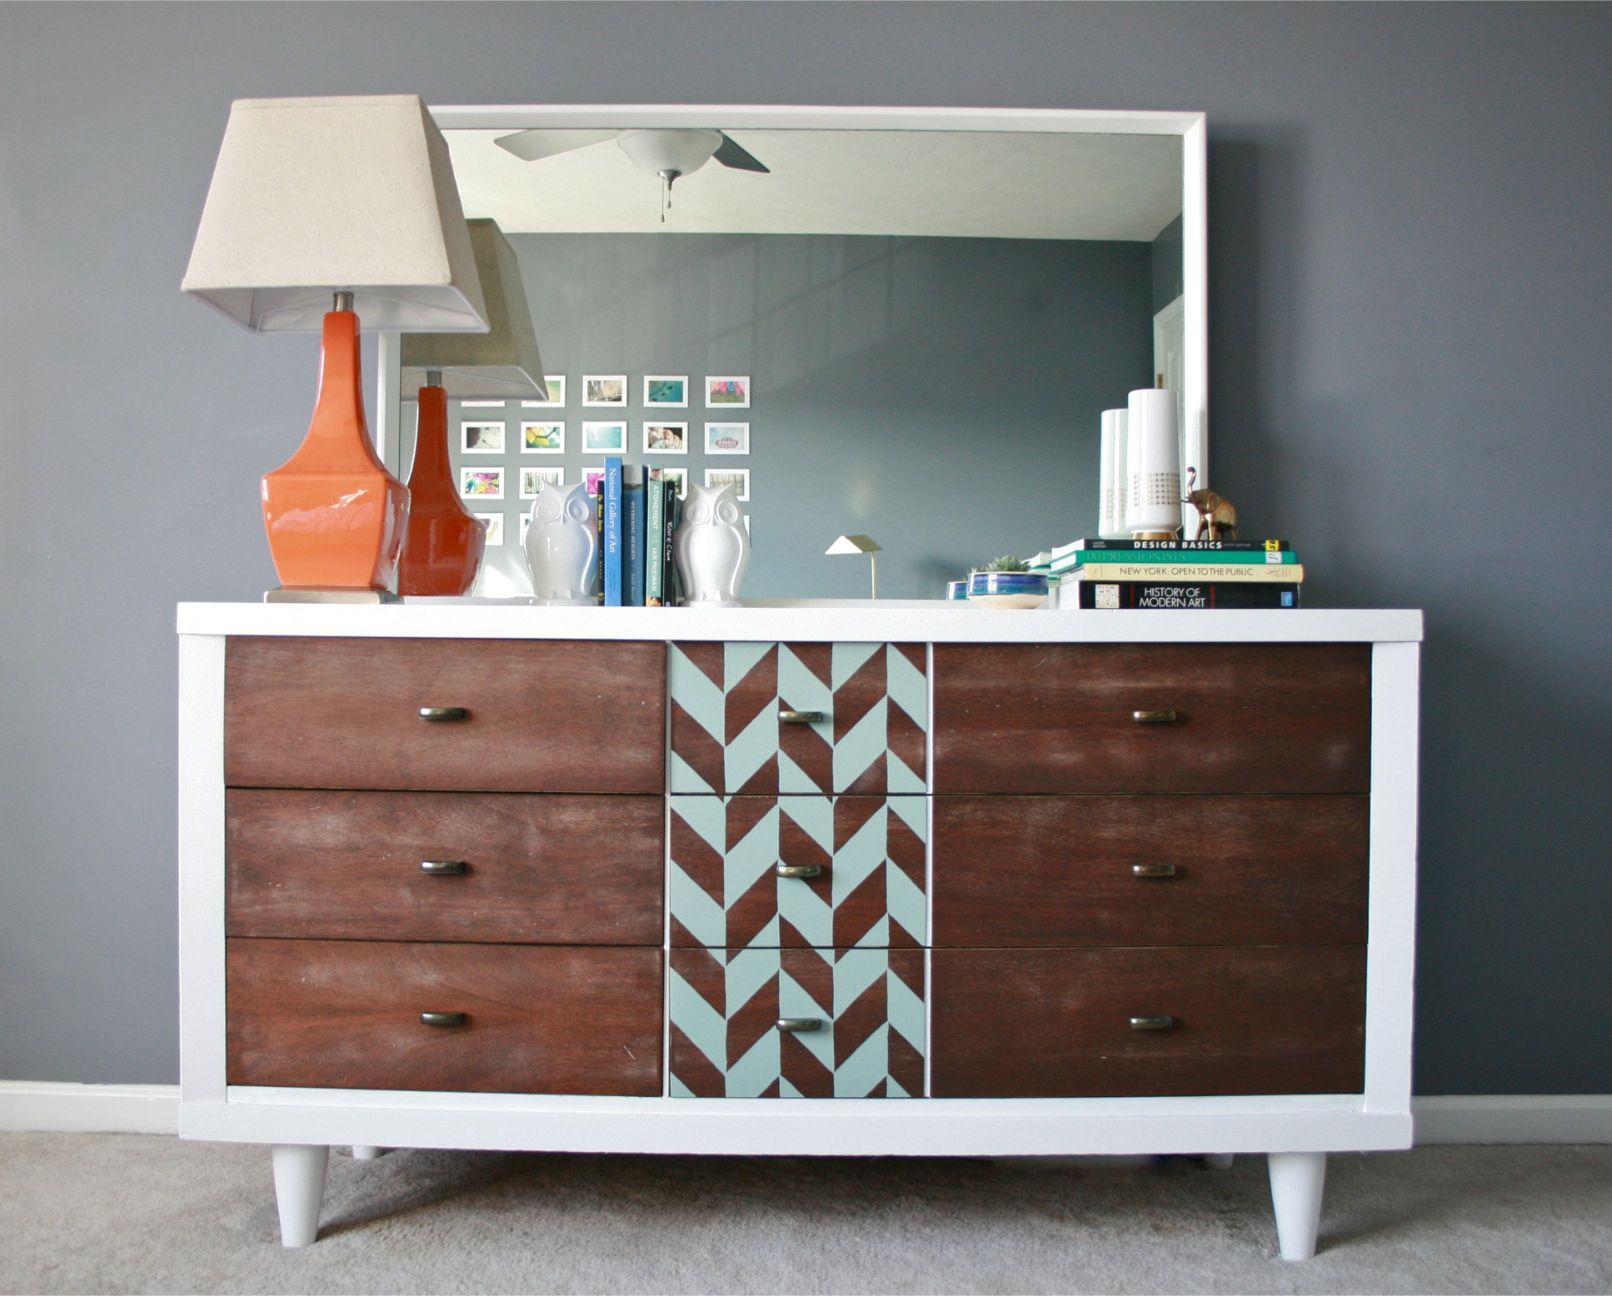
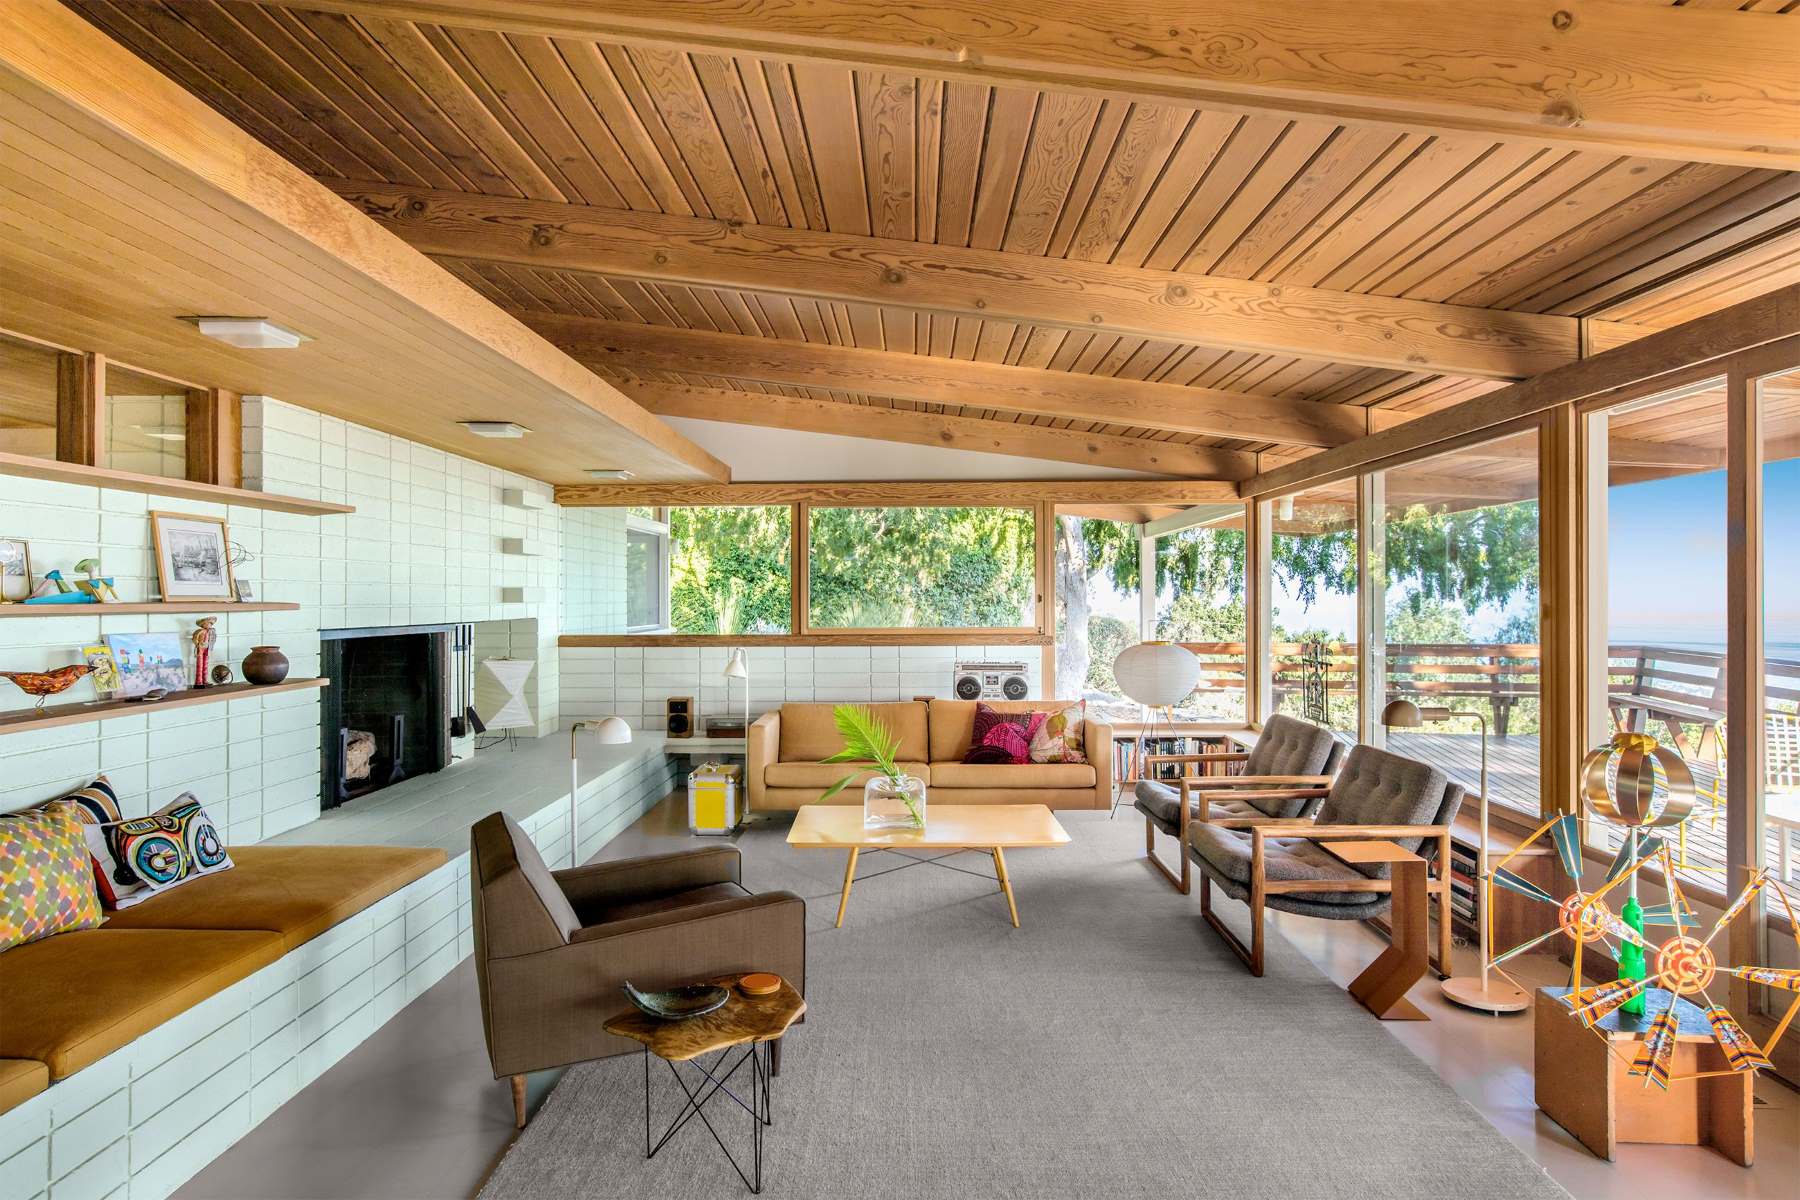
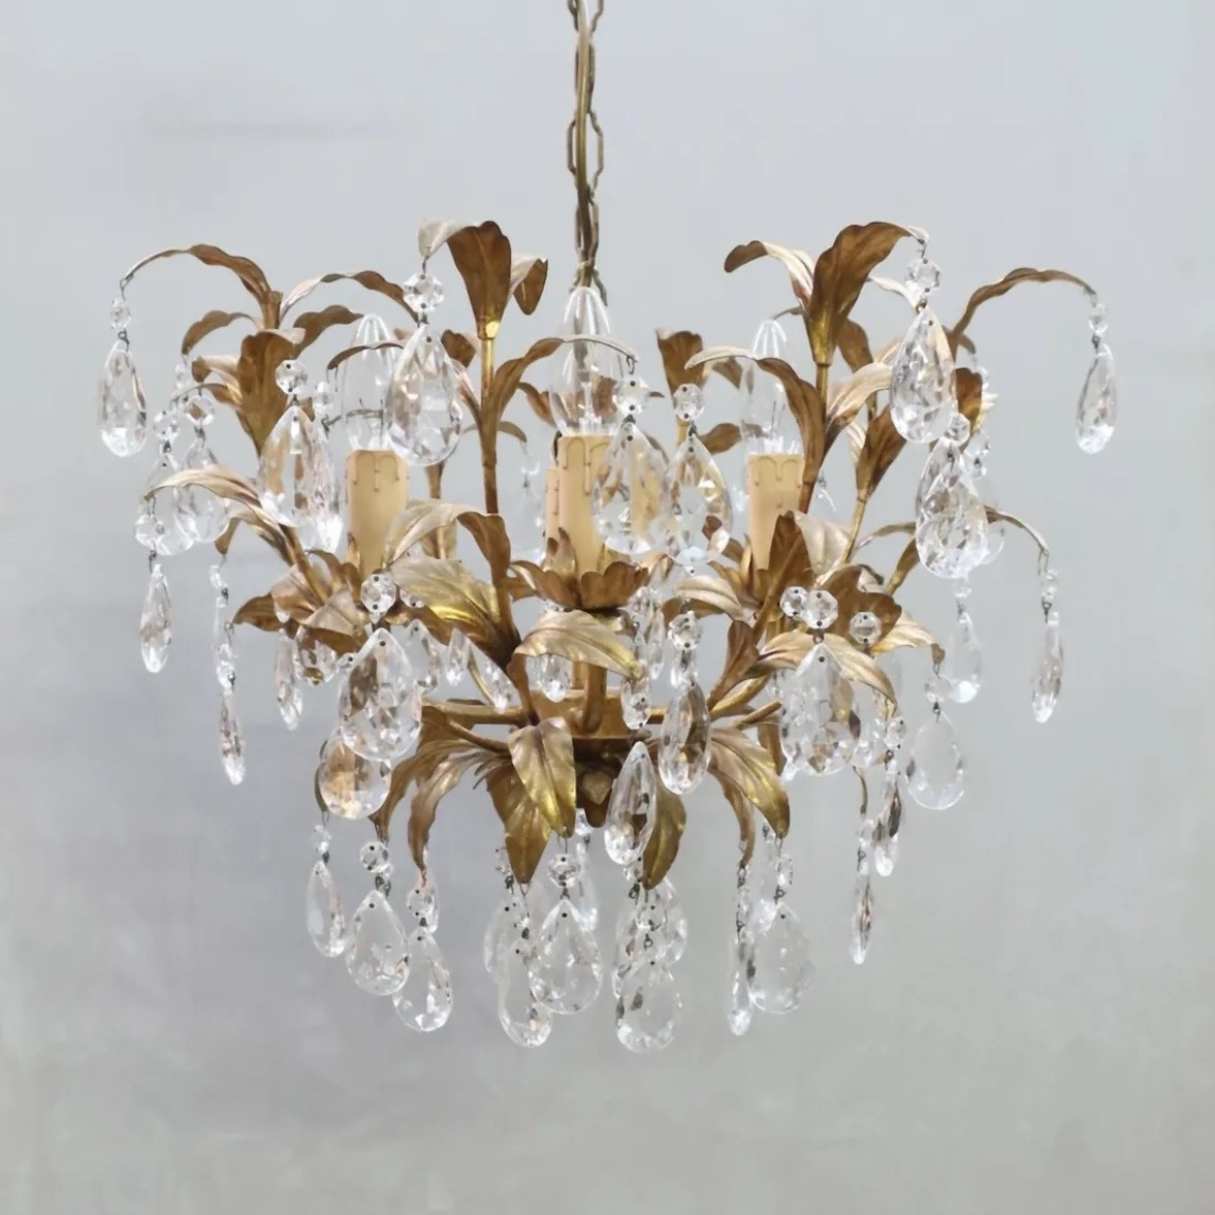
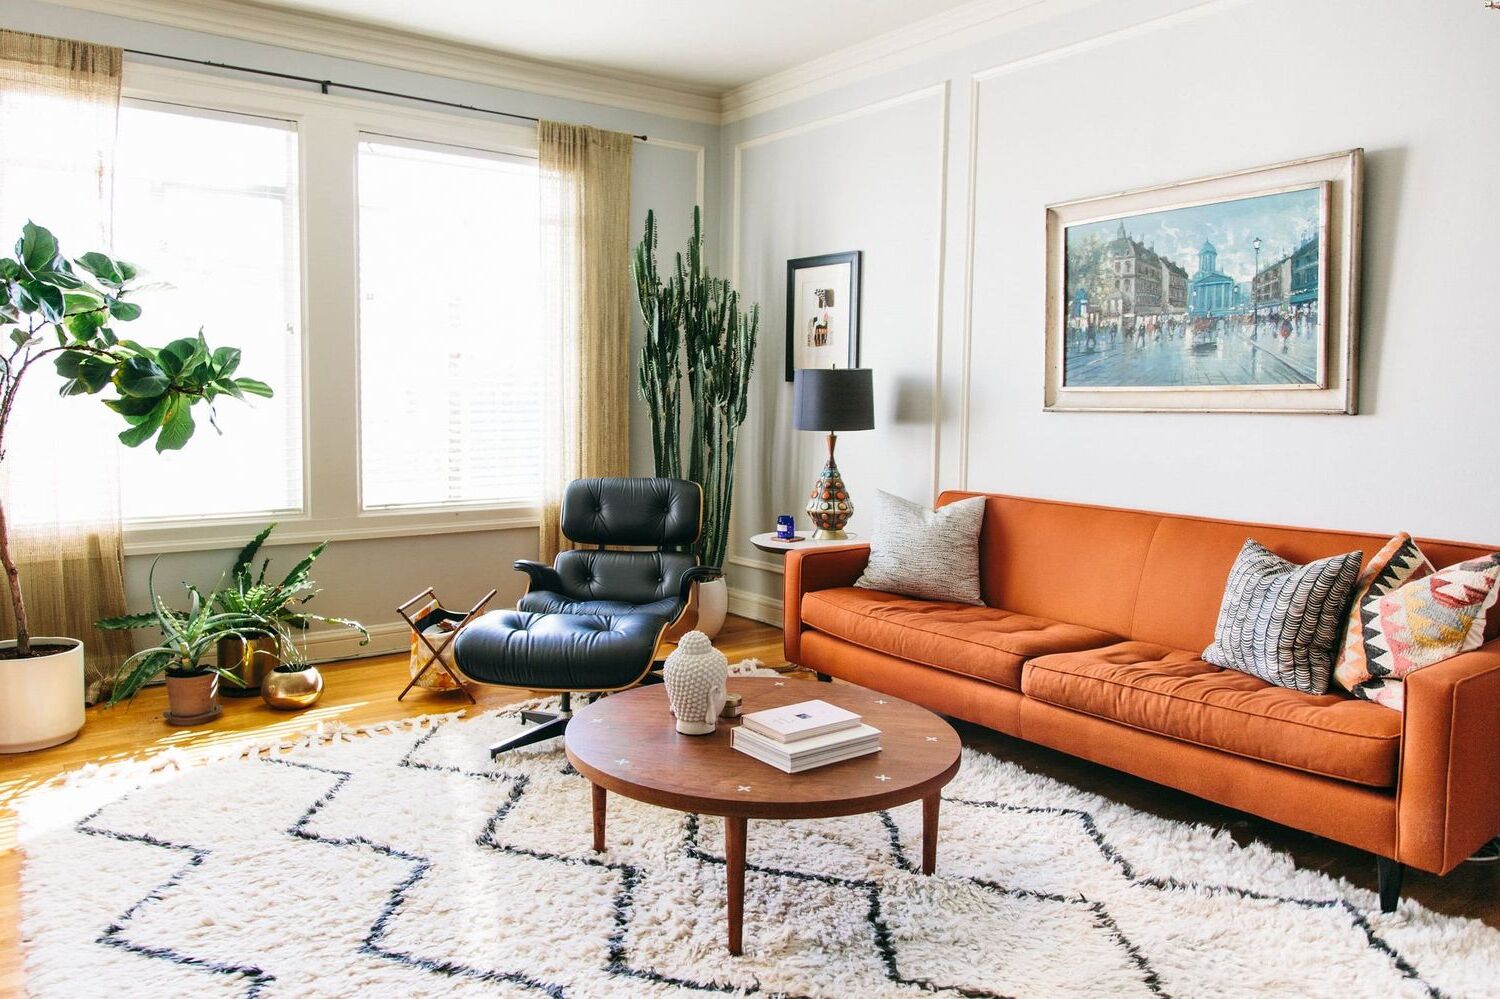
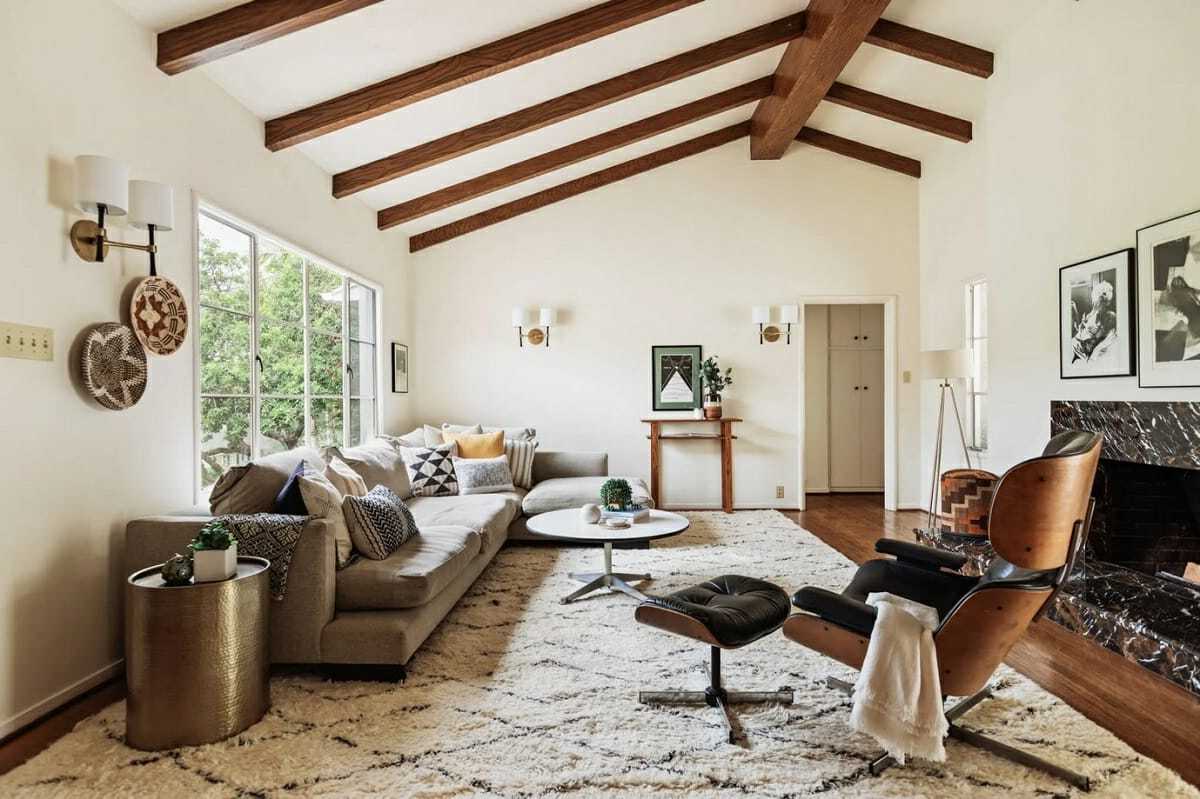
Start by incorporating vintage-inspired decor around the dresser. Look for items that complement the mid-century aesthetic, such as vintage lamps, geometric-patterned rugs, or abstract art pieces. These elements will create a cohesive and nostalgic atmosphere around the dresser.
In addition to decor, displaying retro accessories and artwork can further enhance the mid-century vibe. Consider adding vintage vases, retro clocks, or funky sculptures on top of the dresser. Hang vintage-inspired artwork on the wall above the dresser to complete the visual impact. These small details will add character and personality to your mid-century masterpiece.
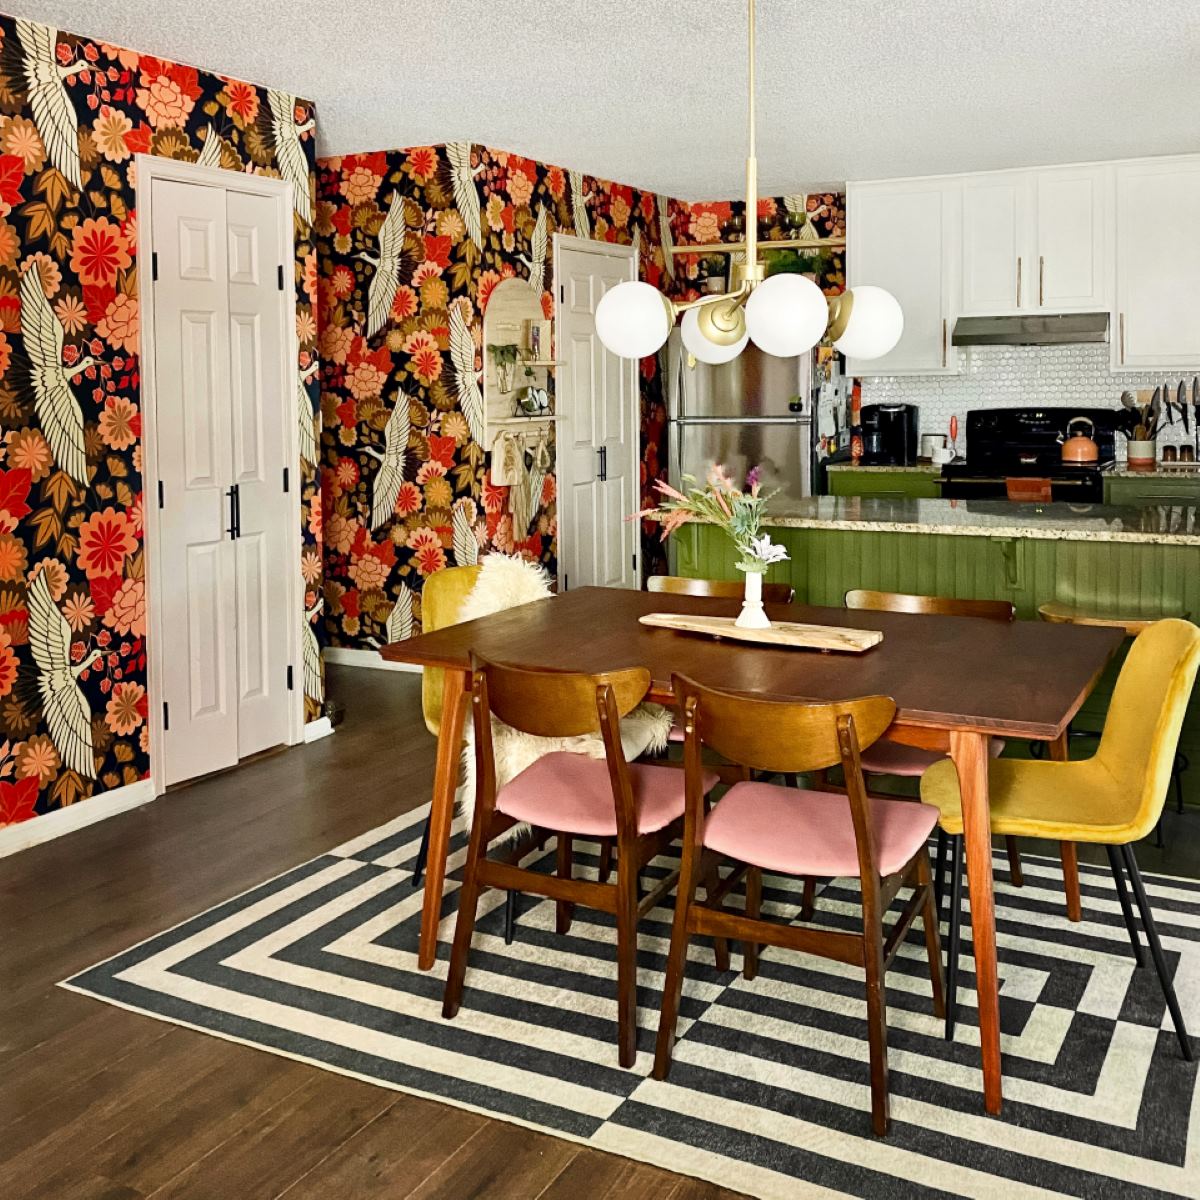
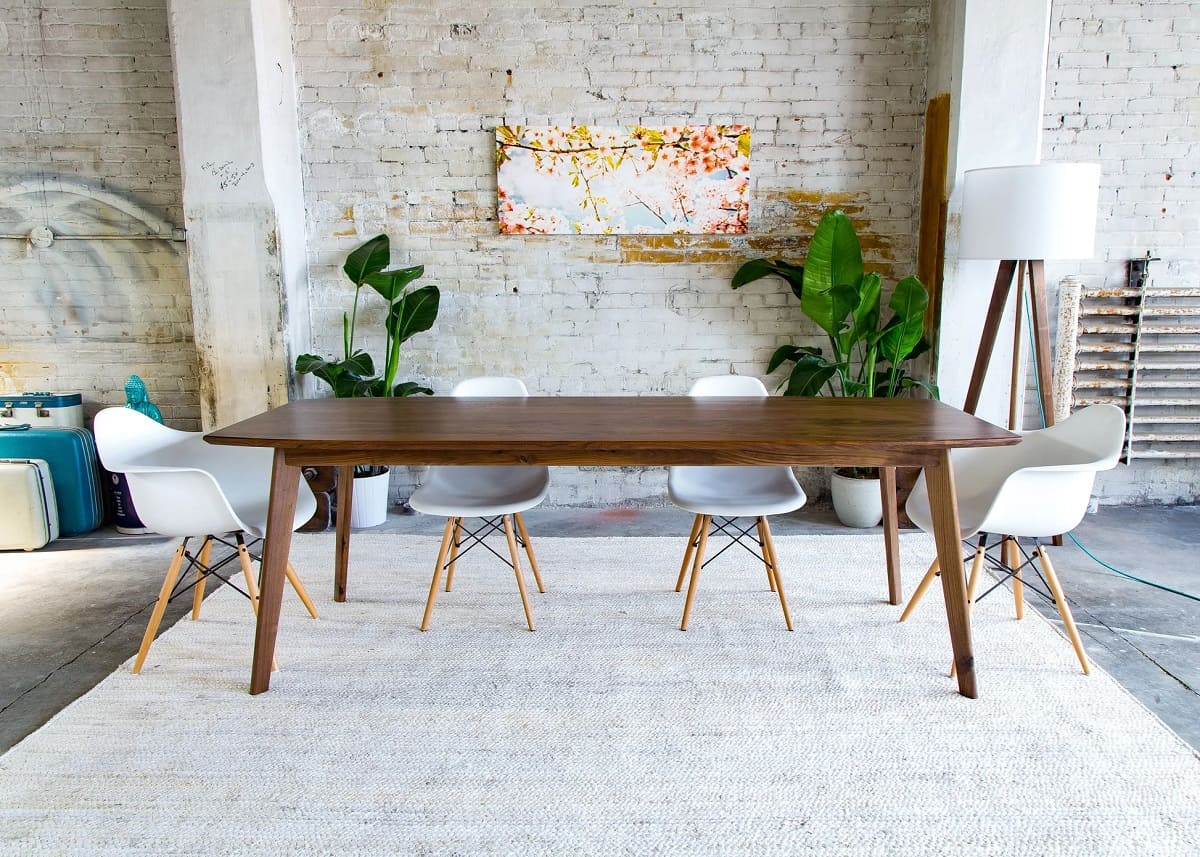
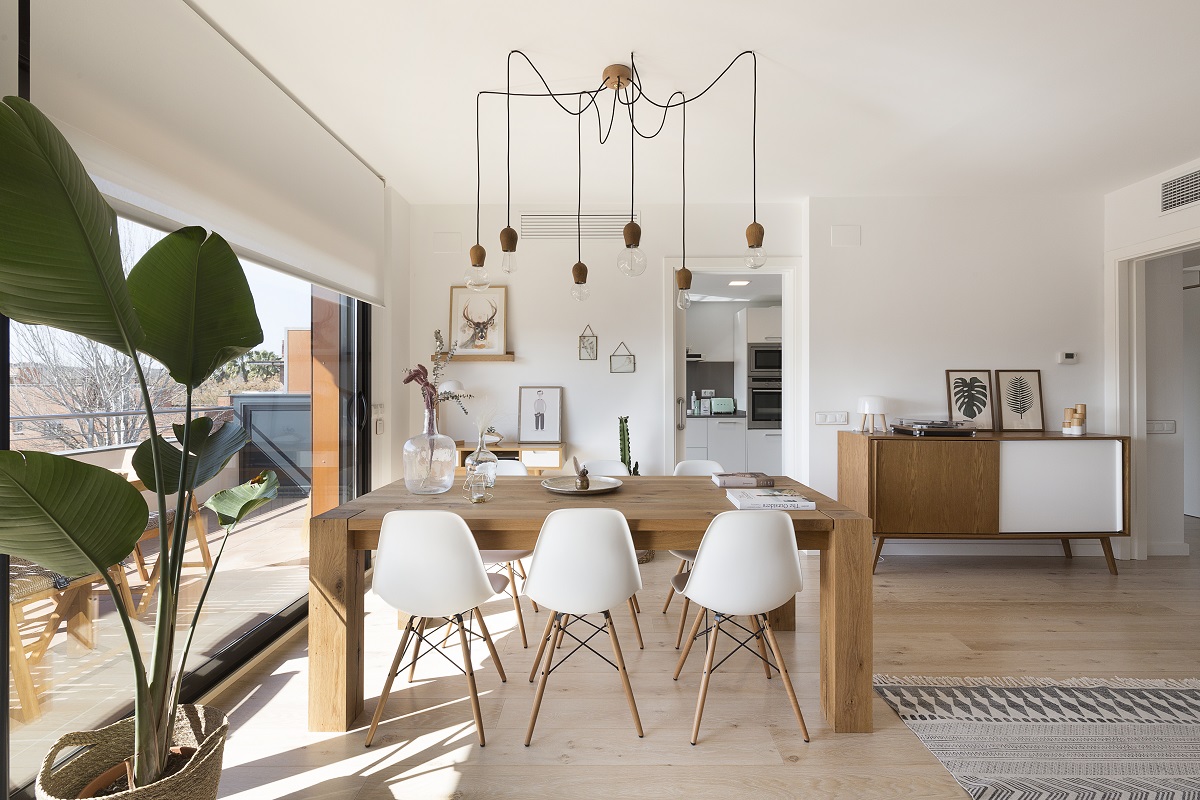
To complete the overall look, make sure to pair the dresser with complementary furniture pieces. Look for other mid-century furniture items, such as lounge chairs, coffee tables, or sideboards, that share the same design elements and colors. By curating a cohesive mid-century-inspired space, you create a harmonious and visually appealing environment.
Remember to maintain a balance between the dresser and the other furniture pieces in terms of scale and proportions. The mid-century style is known for its clean lines and minimalist approach, so avoid overcrowding the space with too many furniture items.
By styling the mid-century dresser with vintage-inspired decor, retro accessories, and complementary furniture, you will create an inviting and cohesive mid-century-inspired space in your home. Enjoy the nostalgic charm and timeless appeal of your transformed dresser!
Conclusion
Transforming a regular dresser into a mid-century masterpiece is a rewarding and creative project that can breathe new life into your furniture and your home. By following the steps outlined in this article, you can achieve that iconic mid-century look and create a focal point in any room.
Start by selecting the right dresser, one that embodies the clean lines and minimalist aesthetic of mid-century design. Assess the size and condition of the dresser, considering your budget and material options. Once you have the perfect dresser, prepare it for transformation by cleaning and sanding the surface, removing old hardware, and repairing any damaged areas.
Update the dresser’s finish by choosing a mid-century inspired paint color, applying primer, painting with a smooth finish, and adding a protective coat. These steps will ensure a professional and long-lasting outcome. Enhance the dresser with mid-century design elements, such as appropriate hardware, new drawer pulls or knobs, and tapered legs or retro feet.
Finally, style the mid-century dresser by incorporating vintage-inspired decor, displaying retro accessories and artwork, and pairing it with complementary furniture to create a cohesive and visually appealing mid-century-inspired space.
With your transformed mid-century dresser, you will not only have a functional piece of furniture but also a unique and timeless statement that showcases your style and personality. Enjoy the nostalgia and sophistication that the mid-century design brings to your home!
Frequently Asked Questions about How To Make A Dresser Look Mid-Century
Was this page helpful?
At Storables.com, we guarantee accurate and reliable information. Our content, validated by Expert Board Contributors, is crafted following stringent Editorial Policies. We're committed to providing you with well-researched, expert-backed insights for all your informational needs.


0 thoughts on “How To Make A Dresser Look Mid-Century”