Articles
How To Use A Table Saw
Modified: December 7, 2023
Learn how to use a table saw with our informative articles. Get expert tips and safety guidelines for using this powerful woodworking tool.
(Many of the links in this article redirect to a specific reviewed product. Your purchase of these products through affiliate links helps to generate commission for Storables.com, at no extra cost. Learn more)
Introduction
Welcome to this comprehensive guide on how to use a table saw. A table saw is a versatile and powerful tool that can make precise cuts in wood, making it a must-have for any DIY enthusiast or professional woodworker. Whether you are embarking on a home improvement project or working on a professional woodworking project, understanding how to safely and effectively use a table saw is essential.
Before we dive into the details, it is important to note that using a table saw requires knowledge and adherence to safety precautions. This guide will not only cover the necessary steps for operating a table saw but will also emphasize the importance of safety at every stage. Remember, safety should always be your top priority when using any power tool.
In this guide, we will cover everything you need to know to make the most out of your table saw. From adjusting the table saw to choosing the right blade, setting up the rip fence, making crosscuts, and performing rip cuts, we will walk you through each step in a clear and concise manner.
In addition, we will discuss the importance of using push sticks or blocks to ensure your safety while making cuts and provide tips on maintaining and cleaning your table saw to keep it in optimal condition.
Whether you are a beginner or have some experience with table saws, this guide will serve as a valuable resource to improve your skills and enhance your woodworking projects. So, let’s get started with the safety precautions you need to follow before using a table saw.
Key Takeaways:
- Prioritize safety by following essential precautions, adjusting the table saw, choosing the right blade, and using push sticks. Regular maintenance ensures optimal performance and longevity of the table saw.
- Master the art of making precise crosscuts and rip cuts with a table saw. Emphasize safety, proper alignment, and the use of push sticks for a successful woodworking experience.
Read more: How To Use A Hand Saw
Safety Precautions
When working with a table saw, it is incredibly important to prioritize safety to prevent accidents and injuries. Here are some essential safety precautions to follow:
- Read the Manual: Before using a table saw, thoroughly read and understand the manufacturer’s manual. Familiarize yourself with the specific safety features and guidelines for operating the saw.
- Wear Protective Gear: Always wear appropriate personal protective equipment (PPE), including safety glasses, ear protection, and a dust mask. Additionally, avoid loose clothing and secure long hair to prevent them from getting caught in the saw.
- Maintain a Clear Workspace: Keep your work area clean and free from clutter. Remove any unnecessary tools, debris, or distractions to maintain a safe and organized environment.
- Use a Sturdy Workbench: Ensure that your table saw is securely mounted to a stable workbench or surface. The workbench should be level and capable of handling the weight and vibrations of the saw.
- Inspect Materials: Carefully examine the wood or material you plan to cut for any nails, screws, or other metal objects. These can damage the saw blade and cause dangerous kickbacks.
- Use Proper Technique: Learn and practice the correct cutting techniques for various types of cuts. Always use both hands to control the material being cut and keep your fingers away from the blade at all times.
- Disconnect the Power: Before making any adjustments or changing the blade, disconnect the power and wait for the blade to come to a complete stop. This prevents accidental startup and potential injuries.
- Adjust Blade Height: Adjust the height of the blade so that it extends no more than 6mm (¼ inch) above the material being cut. This reduces the risk of kickbacks and provides more control over the cut.
- Use a Splitter or Riving Knife: A splitter or riving knife helps prevent the material from pinching the saw blade, reducing the chances of kickbacks. Make sure it is properly aligned with the blade.
- Keep Hands Clear: Never position your hands directly over or near the path of the blade. Use push sticks or blocks to guide the material through the cut, maintaining a safe distance from the blade.
Remember, these are just basic safety precautions, and it is essential to familiarize yourself with the specific safety guidelines provided by the manufacturer. By following these precautions, you can significantly reduce the risk of accidents and create a safer working environment.
Adjusting the Table Saw
Before using a table saw, it is crucial to ensure that it is properly adjusted for optimal performance and accurate cuts. Here are the steps to adjust the different components of a table saw:
- Align the Blade: Start by checking the alignment of the saw blade. It should be parallel to the miter slots and the rip fence. Use a combination square or a special alignment tool to make any necessary adjustments.
- Check the Rip Fence: The rip fence is used to guide the material during cuts. It should be perfectly parallel to the saw blade. Adjust the rip fence accordingly using the adjustment knobs or screws provided by the manufacturer.
- Adjust the Blade Angle: Most table saws allow you to tilt the blade for making bevel cuts. Refer to the instruction manual on how to adjust the blade angle and securely lock it in place.
- Set the Blade Height: The height of the blade affects the depth of the cut. Adjust the blade height using the elevation wheel or crank provided on the saw. Refer to the manufacturer’s recommendations for specific techniques and materials.
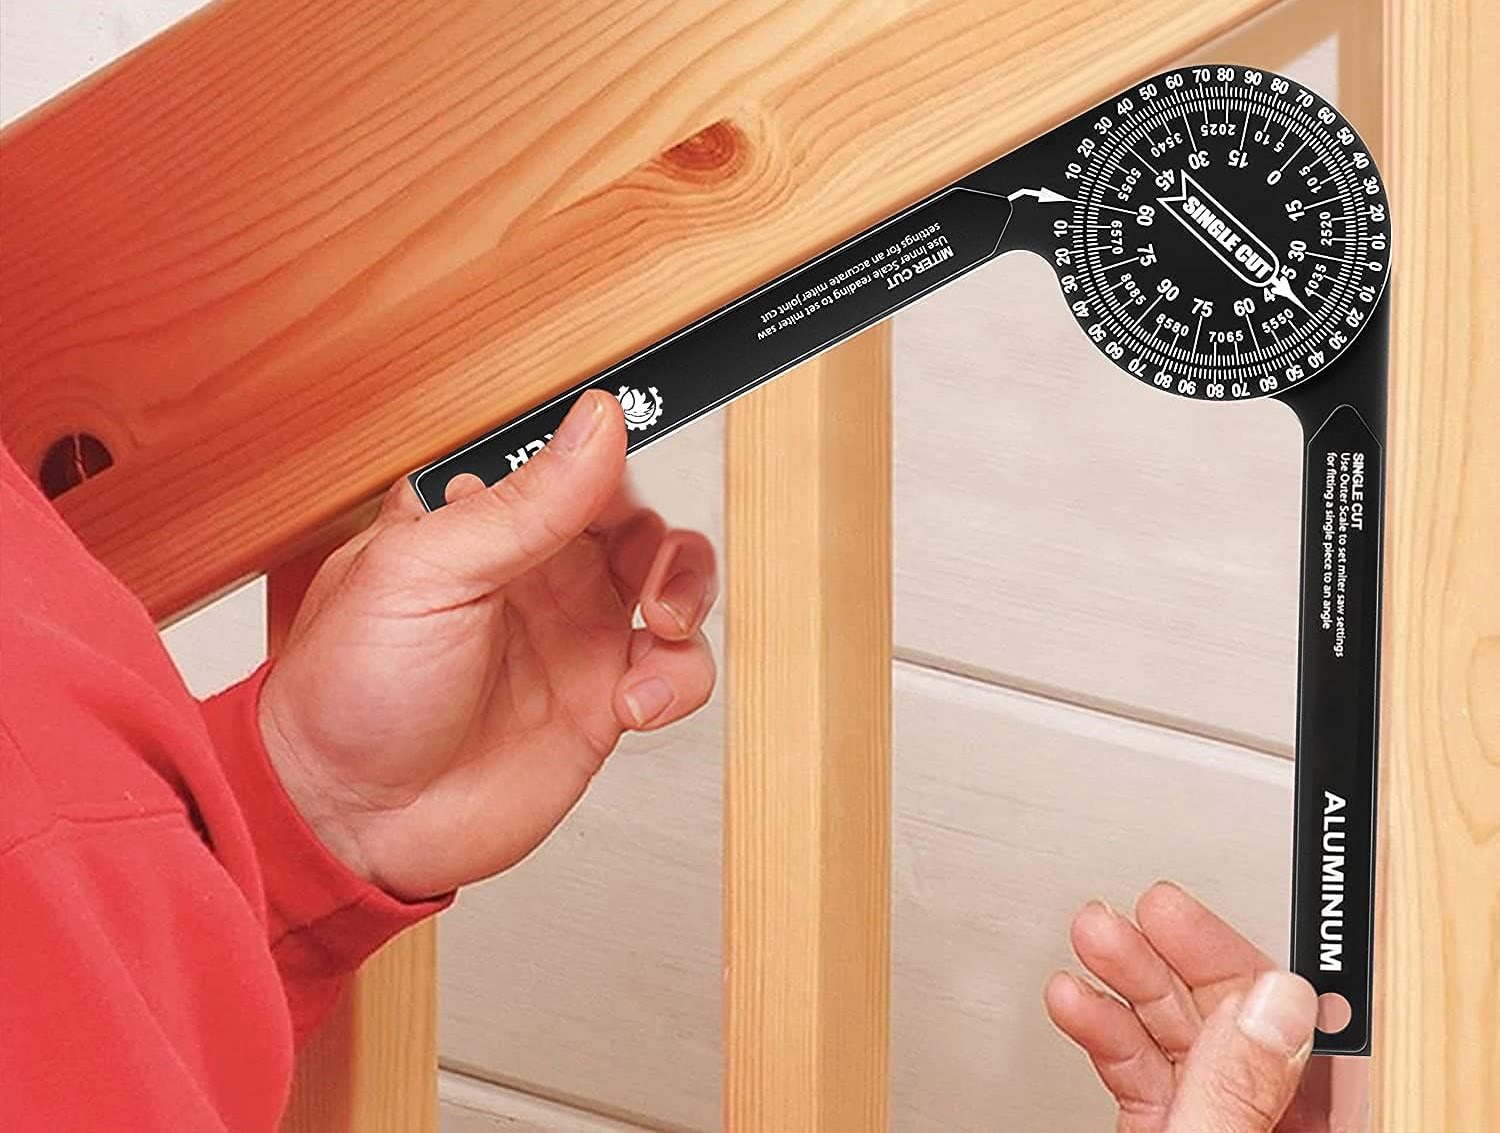
- Calibrate the Miter Gauge: The miter gauge is used for making crosscuts and angled cuts. Ensure that it is square to the saw blade and adjust it if necessary. Some miter gauges have a calibration feature to make this process more precise.
- Test the Adjustments: Once you have made the necessary adjustments, perform some test cuts on scrap material to verify if everything is properly aligned. Check for any issues such as blade wobble or misalignment and make further adjustments if needed.
It is important to note that the specific adjustment methods may vary depending on the model and manufacturer of your table saw. Always refer to the manual provided with your table saw for detailed instructions on adjusting its specific components.
By taking the time to properly adjust your table saw, you can ensure that it operates safely and provides accurate and clean cuts. Regularly check and maintain the adjustments to avoid any performance issues and to achieve consistent results with your woodworking projects.
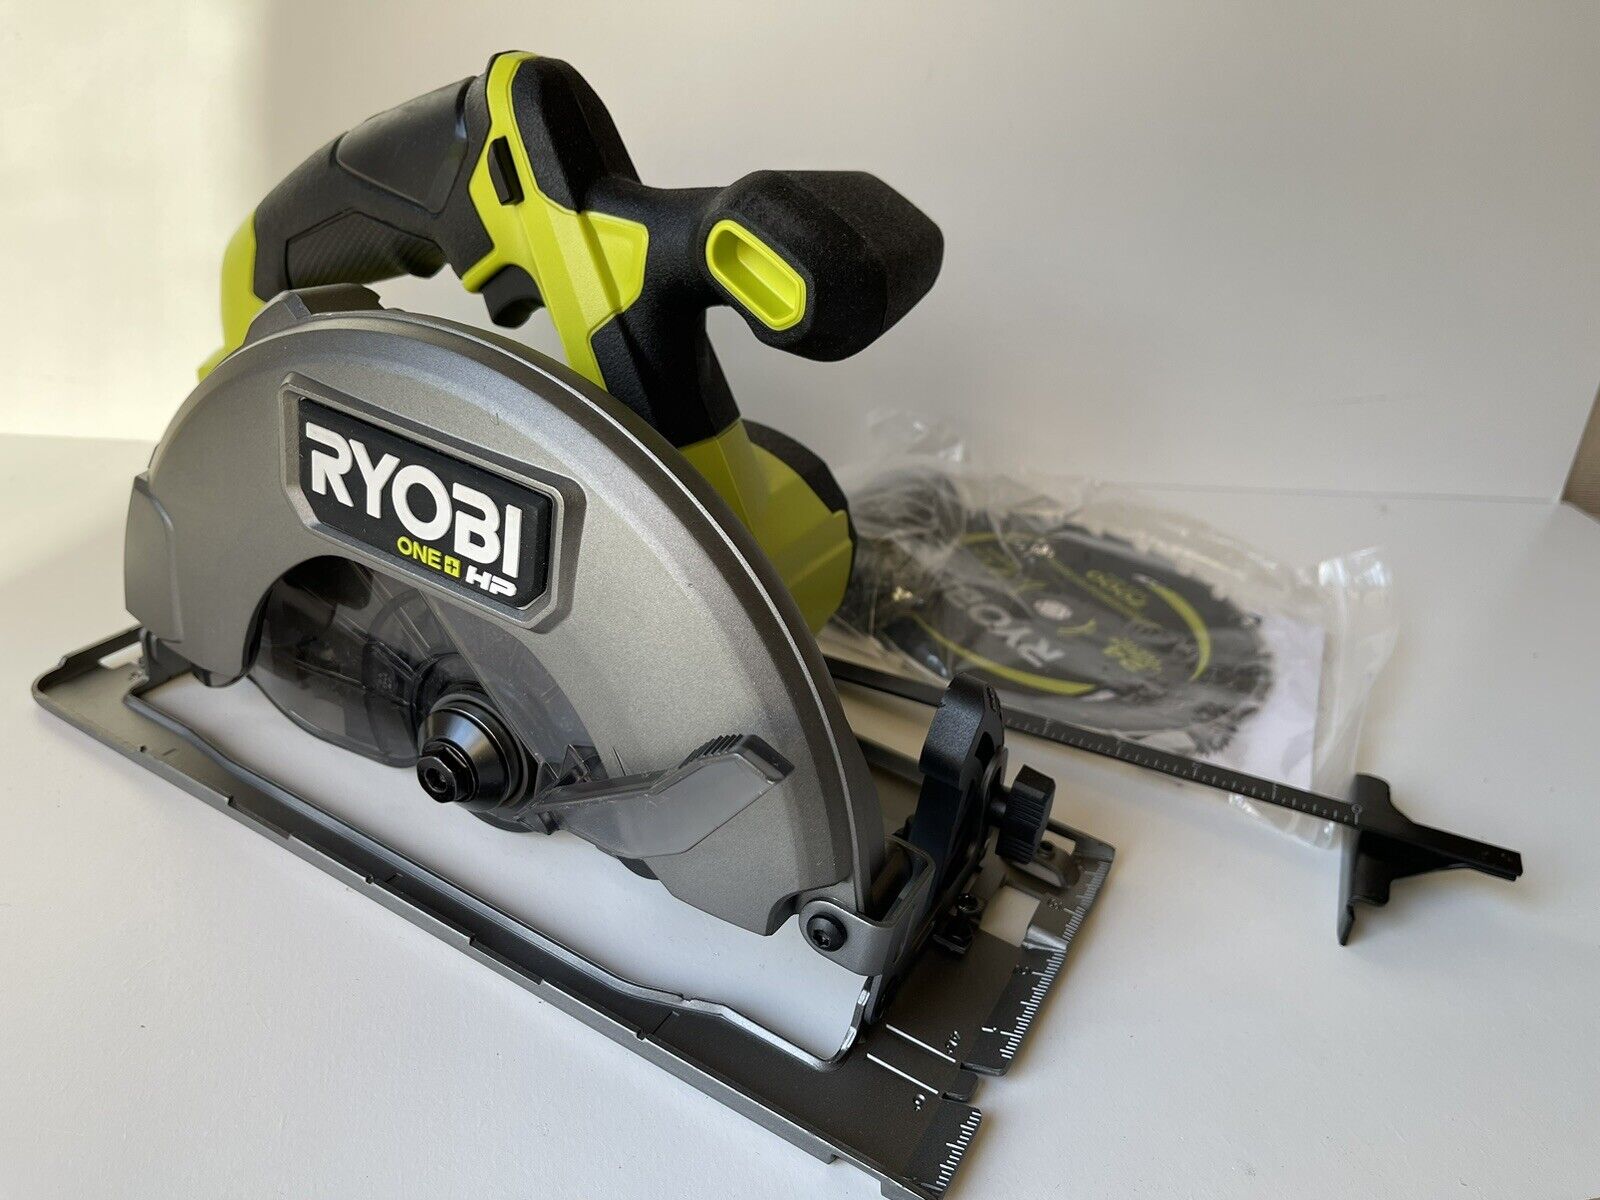
Choosing the Right Blade
Choosing the right blade for your table saw is crucial for achieving clean and accurate cuts. The type of blade you need depends on the material you will be cutting and the type of cut you want to make. Here are some factors to consider when selecting a blade:
- Blade Type: There are different types of blades available, including ripping blades, crosscut blades, combination blades, and dado blades. Ripping blades are designed for making parallel cuts along the grain, whereas crosscut blades are used for cutting across the grain. Combination blades are versatile and can handle both ripping and crosscutting tasks. Dado blades are ideal for making grooves and dado cuts.
- Tooth Configuration: The configuration of the teeth affects the cutting performance. Flat-top or combination teeth are ideal for general-purpose cuts, while alternate top bevel (ATB) or triple-chip grind (TCG) teeth are suitable for specific materials such as plywood, melamine, or laminate.
- Number of Teeth: Blades with more teeth provide smoother cuts with less tear-out, making them ideal for crosscutting or cutting materials with a delicate surface. Blades with fewer teeth are better for ripping through thicker materials.
- Blade Size: The size of the blade is determined by the diameter and arbor size. The most common size for a table saw blade is 10 inches in diameter with a 5/8-inch arbor. However, ensure that the blade is compatible with your specific table saw model before making a purchase.
- Quality: Invest in high-quality blades made from carbide-tipped or high-speed steel (HSS). These blades last longer and provide cleaner cuts compared to low-quality blades. Remember that a good blade is an investment that will enhance the performance of your table saw and improve the quality of your cuts.
Consider the specific requirements of your project when selecting a blade. For example, if you are cutting hardwood, a fine-tooth blade with a high tooth count would be suitable for achieving smoother cuts. On the other hand, if you are cutting thick plywood, a blade with fewer teeth and a larger gullet would be more efficient for ripping through the material.
It is essential to properly maintain and sharpen your blades for optimal performance. Dull blades can lead to rough cuts and increase the risk of kickbacks. Follow the manufacturer’s recommendations for sharpening and replace blades when necessary.
Remember, different projects may require different blades, so it’s important to have a collection of blades suitable for various tasks. By choosing the right blade, you can ensure precise and clean cuts, enhancing the overall quality of your woodworking projects.
Setting Up the Rip Fence
The rip fence is an essential component of a table saw that helps guide the material during rip cuts. Properly setting up the rip fence ensures accurate and consistent cuts. Here are the steps to set up the rip fence:
- Measure and Mark: Start by measuring and marking the desired width of the cut on the material you are working with. This will help you align the rip fence accurately.
- Position the Fence: Place the rip fence next to the saw blade, aligning it with the mark on the material. Ensure that the fence is parallel to the blade by measuring the distance between the fence and the blade at both the front and the back of the blade. The measurements should be the same.
- Lock the Fence: Once the fence is properly aligned, securely lock it in place using the locking mechanism provided on your table saw. This will prevent any movement during the cutting process, ensuring consistent and accurate cuts.
- Test the Alignment: Perform a test cut on scrap material to confirm that the rip fence is set up correctly. Measure the width of the cut to verify if it matches your desired measurement. If necessary, make slight adjustments to the fence alignment and retest until you achieve the desired results.
It is crucial to note that the rip fence should never be used for crosscuts or angled cuts. Use a miter gauge or sled for those types of cuts. Additionally, ensure that the material being cut is flat against the rip fence during the entire cutting process to prevent kickbacks and ensure a straight cut.
Regularly check the alignment and condition of the rip fence to ensure its accuracy. Over time, the fence may require adjustments or replacement if it becomes worn or damaged.
By setting up the rip fence accurately, you can achieve consistent and precise cuts on your table saw. Take the time to measure and align the fence properly to ensure optimal performance and safety during your woodworking projects.
Always wear safety goggles and use a push stick when cutting small pieces on a table saw. This will help prevent accidents and keep your hands a safe distance from the blade.
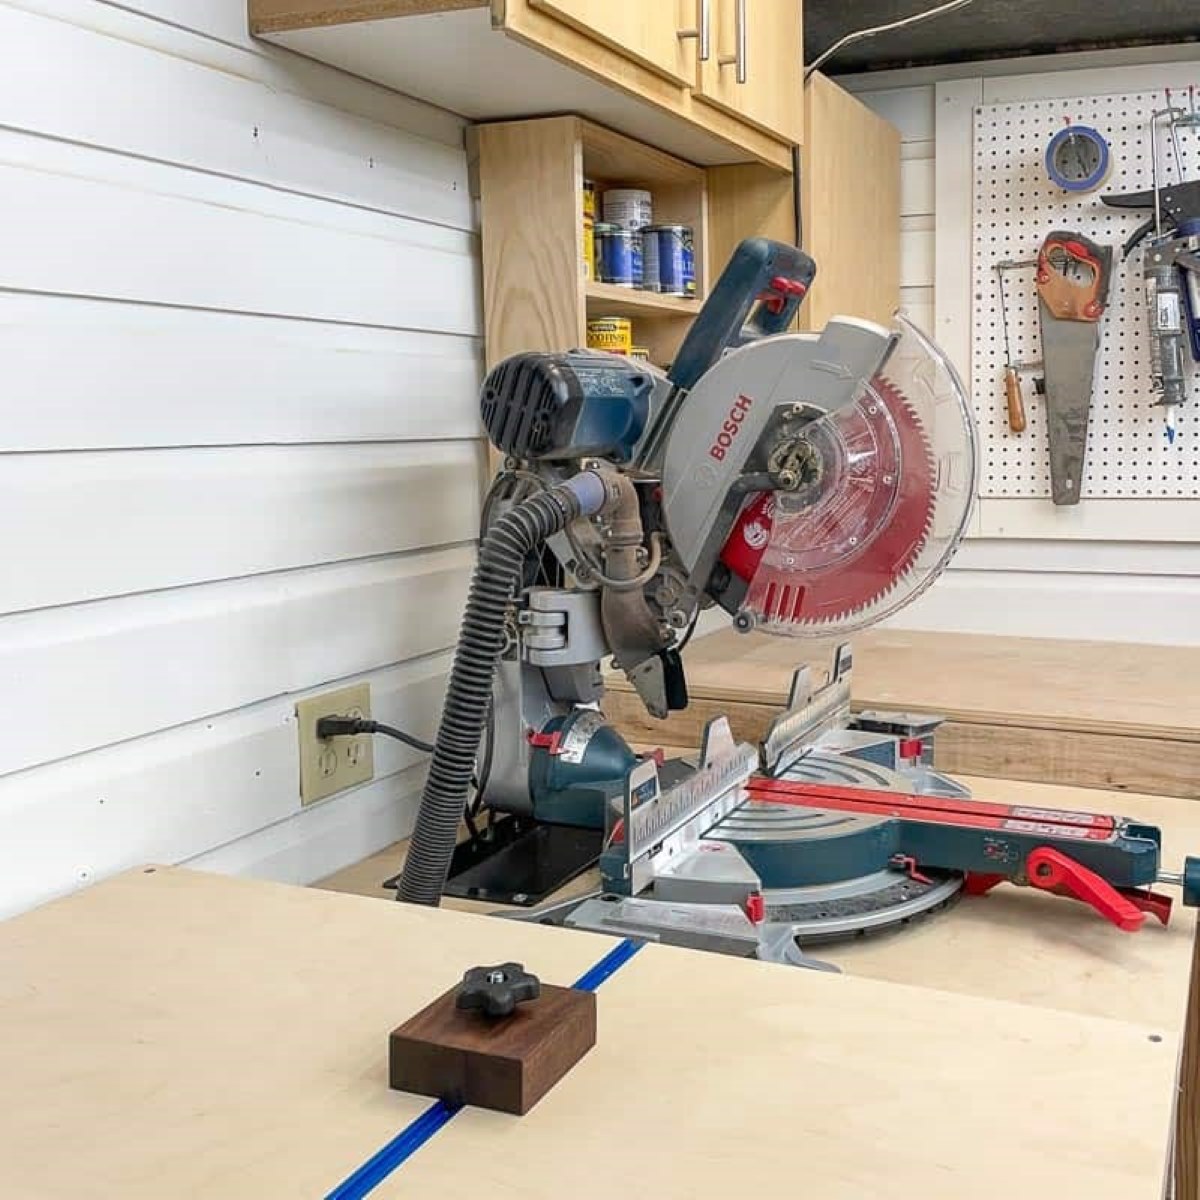
Read more: How To Use A Miter Saw
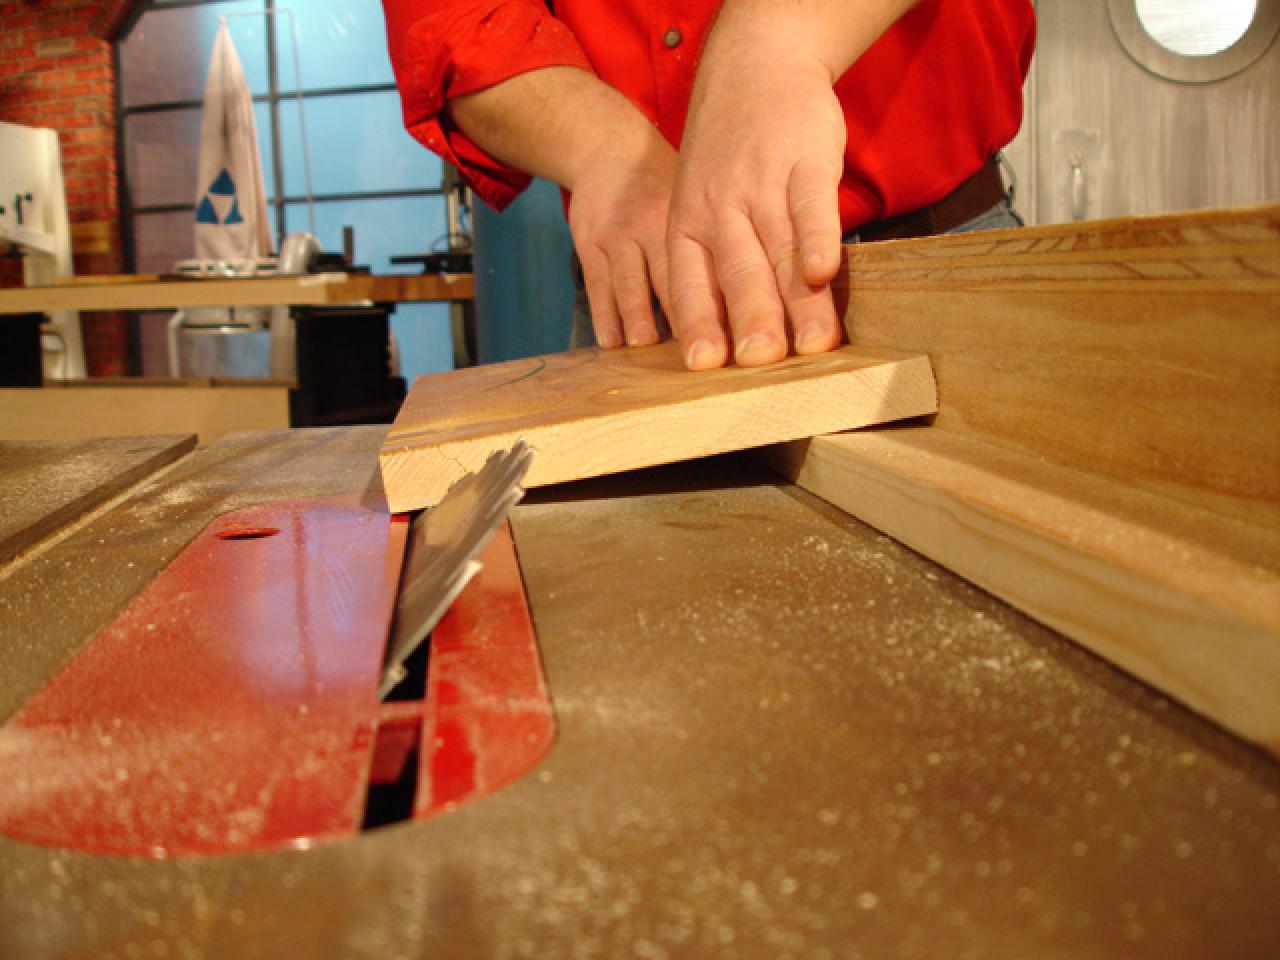
Making Crosscuts
Crosscuts are an essential part of woodworking projects, and a table saw can make this task quick and precise. Here are the steps to follow for making crosscuts on a table saw:
- Prepare the Material: Ensure that the material you are cutting is flat and free from any debris or obstructions. Measure and mark the location of the desired crosscut on the material.
- Set up the Miter Gauge: Position the miter gauge in the miter slot on the table saw. Align the gauge with the mark on the material to guide the crosscut. Secure the miter gauge in place using the locking mechanism provided by your table saw.
- Verify the Blade Height: Adjust the height of the blade so that it extends slightly above the thickness of the material being cut. Avoid raising the blade too high, as it can increase the risk of kickbacks and reduce the accuracy of the cut.
- Position the Material: Place the material against the miter gauge, ensuring that it is securely and evenly pressed against the gauge and the rip fence. Use clamps if necessary to hold the material in place during the cut.
- Make the Cut: Turn on the table saw and gently push the material through the blade using steady and even pressure. Keep your hands clear of the blade, using a push stick or block to guide the material as it passes through the blade.
- Support the Material: As the crosscut is completed, provide support to the material to prevent it from sagging or falling. Use an outfeed table or roller stand to support longer pieces or have an assistant help in supporting the material.
- Inspect and Repeat: Once the cut is complete, inspect the crosscut for accuracy and smoothness. If needed, make any necessary adjustments and repeat the process for additional crosscuts.
When making crosscuts, it is important to use the appropriate blade, usually a crosscut blade, to achieve cleaner and smoother cuts across the wood grain. Take your time to ensure that the material is properly positioned and supported throughout the cutting process to minimize the risk of accidents and produce precise results.
Remember to always prioritize safety by wearing appropriate protective gear, keeping your hands clear of the blade, and following the manufacturer’s instructions for your specific table saw model. With practice and attention to detail, you can confidently make accurate crosscuts on your table saw for your woodworking projects.
Making Rip Cuts
Rip cuts involve cutting a piece of material parallel to its grain, and a table saw is an excellent tool for making precise and straight rip cuts. Here is a step-by-step guide on how to make rip cuts on a table saw:
- Prepare the Material: Ensure the material you are cutting is flat and securely positioned on the table saw. Measure and mark the desired width of the rip cut on the material.
- Set the Rip Fence: Adjust the position of the rip fence to the desired width of the rip cut. Use a measuring tape or a ruler to ensure accurate alignment. Lock the rip fence in place securely.
- Verify Blade Height: Adjust the height of the blade according to the thickness of the material being cut. The blade should extend only slightly above the material’s thickness to minimize the risk of kickbacks and ensure a clean cut.
- Position the Material: Place the material against the rip fence, ensuring it is in firm contact with the fence throughout the cut. Use a push stick or push block to guide the material through the blade, keeping your hands clear of the spinning blade.
- Make the Cut: Start the table saw and push the material steadily and evenly through the blade, applying consistent pressure. Maintain control of the material, guiding it along the rip fence and ensuring it doesn’t bind or kickback during the cut.
- Support the Material: Once the rip cut is complete, support the material to prevent it from sagging or falling. Use an outfeed table or roller stand to support longer pieces, or have an assistant help in supporting the material.
- Inspect the Cut: After completing the rip cut, inspect the material for accuracy and smoothness. Check the width of the cut to ensure it matches your desired measurement. If needed, make any necessary adjustments and repeat the process for additional rip cuts.
When making rip cuts, it is essential to choose the appropriate blade for the task. A ripping blade, featuring large teeth with a flat-top or an alternate top bevel (ATB) configuration, is ideal for clean and efficient rip cuts.
Always prioritize safety by wearing the necessary protective gear, maintaining a clear workspace, and following the manufacturer’s instructions for your specific table saw. Remember to exercise caution, as rip cuts can be more challenging due to the higher risk of binding or kickbacks.
With practice and attention to detail, you can confidently make precise and straight rip cuts on your table saw for various woodworking projects.
Using Push Sticks or Blocks
When operating a table saw, using push sticks or blocks is essential for maintaining a safe distance between your hands and the spinning blade. These tools act as extensions of your hands and provide better control while cutting. Here is a step-by-step guide on how to use push sticks or blocks:
- Select a Suitable Push Stick or Block: Choose a push stick or block that is comfortable to hold and provides a secure grip. Ensure that it is made from sturdy material and has a nonslip surface to prevent accidents.
- Position the Material: Place the material to be cut on the table saw, making sure it is flat and secured against the fence. Ensure there is enough clearance for the push stick or block to be used without interference from the blade.
- Hold the Push Stick or Block: Hold the push stick or block firmly with one hand, positioning your hand towards the back for better control and leverage. Keep your fingers and thumb away from the path of the blade.
- Engage the Push Stick or Block: With the blade spinning and the material ready, use the push stick or block to guide the material through the cut. Apply even pressure and maintain a consistent forward motion. Keep your hand securely on the push stick or block and away from the blade.
- Complete the Cut: Continue pushing the material through the blade while maintaining control with the push stick or block until the cut is complete. Once the cut is finished, remove the push stick or block and turn off the table saw.
- Inspect the Cut: After completing the cut, inspect the material for accuracy and smoothness. If needed, make any necessary adjustments and repeat the process.
Using push sticks or blocks is especially important when making narrow or thin cuts that might require your fingers to get too close to the blade. These tools help prevent kickbacks and minimize the risk of injury, ensuring your safety while operating a table saw.
When choosing a push stick or block, consider the size and shape of the material being cut. Different types of push sticks or blocks are available, such as single-hook sticks, double-hook sticks, or even commercially designed push blocks that offer enhanced control and safety.
Remember, always prioritize safety and follow the manufacturer’s instructions when using push sticks or blocks. By incorporating these tools into your woodworking routine, you can significantly reduce the risk of accidents and make precise cuts on your table saw.
Maintaining and Cleaning the Table Saw
Regular maintenance and cleaning of your table saw is crucial to ensure its optimal performance and longevity. Here are some important steps to keep your table saw in good condition:
- Inspect and Lubricate Moving Parts: Regularly inspect the moving parts of your table saw, such as the blade elevation mechanism, tilt mechanism, and fence adjustment components. Clean these parts and apply a lubricant that is recommended by the manufacturer to ensure smooth operation.
- Check the Blade Alignment: Periodically check the alignment of the saw blade to ensure it is parallel to the miter slots and the rip fence. Refer to the manufacturer’s instructions to make any necessary adjustments.
- Replace Damaged or Dull Blades: Inspect the table saw blades for any signs of damage, such as bent or missing teeth. Dull blades should also be replaced to ensure clean cuts and reduce the risk of accidents. Follow the manufacturer’s instructions for safe blade replacement.
- Clean the Table Surface: Regularly clean the table surface to remove sawdust, dirt, and debris. Use a soft brush or a vacuum to remove the particles. Avoid using compressed air as it can blow the debris into sensitive parts of the table saw.
- Clean the Blade and Throat Plate: Remove the blade and throat plate to clean them thoroughly. Use a blade cleaner or a mild solvent to remove resin and pitch buildup on the blade. Clean the throat plate to prevent sawdust from impeding the material’s smooth movement across the table saw.
- Inspect and Replace Belts: Check the drive belts for signs of wear and tear, such as cracks or fraying. Replace worn-out belts as necessary to maintain proper power transmission and prevent unexpected failures.
- Check and Tighten Fasteners: Regularly inspect and tighten any loose screws, bolts, or other fasteners on your table saw. Vibrations from the sawing process can loosen these components over time.
- Store the Table Saw Properly: When not in use, store your table saw in a clean and dry area, preferably covered to protect it from dust and moisture. Ensure the power source is disconnected to prevent accidental startups.
By following these maintenance and cleaning practices, you can prolong the lifespan of your table saw and maintain its optimal performance. Additionally, be sure to refer to the manufacturer’s instructions and recommendations for specific maintenance tasks and intervals for your particular table saw model.
Remember, safety should always be a priority, even during maintenance and cleaning. Disconnect the power and allow the saw blade to come to a complete stop before performing any maintenance tasks or cleaning the table saw.
Regular maintenance and cleaning will not only keep your table saw in excellent working condition but will also contribute to safer and more accurate woodworking experiences.
Read more: How To Use A Coping Saw
Conclusion
Congratulations! You have now learned the essential steps to safely and effectively use a table saw. By following the guidelines we covered in this comprehensive guide, you can confidently operate a table saw and create precise cuts for your woodworking projects. Remember, safety is paramount when using any power tool, so always prioritize the necessary precautions and use protective gear.
We began by emphasizing the importance of reading the manual and understanding the safety precautions associated with using a table saw. We then moved on to adjust the table saw, including aligning the blade, setting up the rip fence, and adjusting the blade height. Choosing the right blade for your intended cuts and maintaining it properly is essential for achieving optimal results.
We also discussed the process of making crosscuts and rip cuts, highlighting the significance of using push sticks or blocks to maintain a safe distance from the blade. Finally, we covered the importance of regular maintenance and cleaning to keep your table saw in good working condition.
Remember to always refer to the specific instructions provided by the manufacturer of your table saw for detailed guidance. As you gain experience, continue to practice and refine your skills to become more efficient and proficient with the table saw.
Woodworking is a fulfilling hobby or profession, and with the proper knowledge and technique, the possibilities are endless. So, go ahead, unleash your creativity, and let your table saw assist you in bringing your woodworking projects to life!
Frequently Asked Questions about How To Use A Table Saw
Was this page helpful?
At Storables.com, we guarantee accurate and reliable information. Our content, validated by Expert Board Contributors, is crafted following stringent Editorial Policies. We're committed to providing you with well-researched, expert-backed insights for all your informational needs.


0 thoughts on “How To Use A Table Saw”