
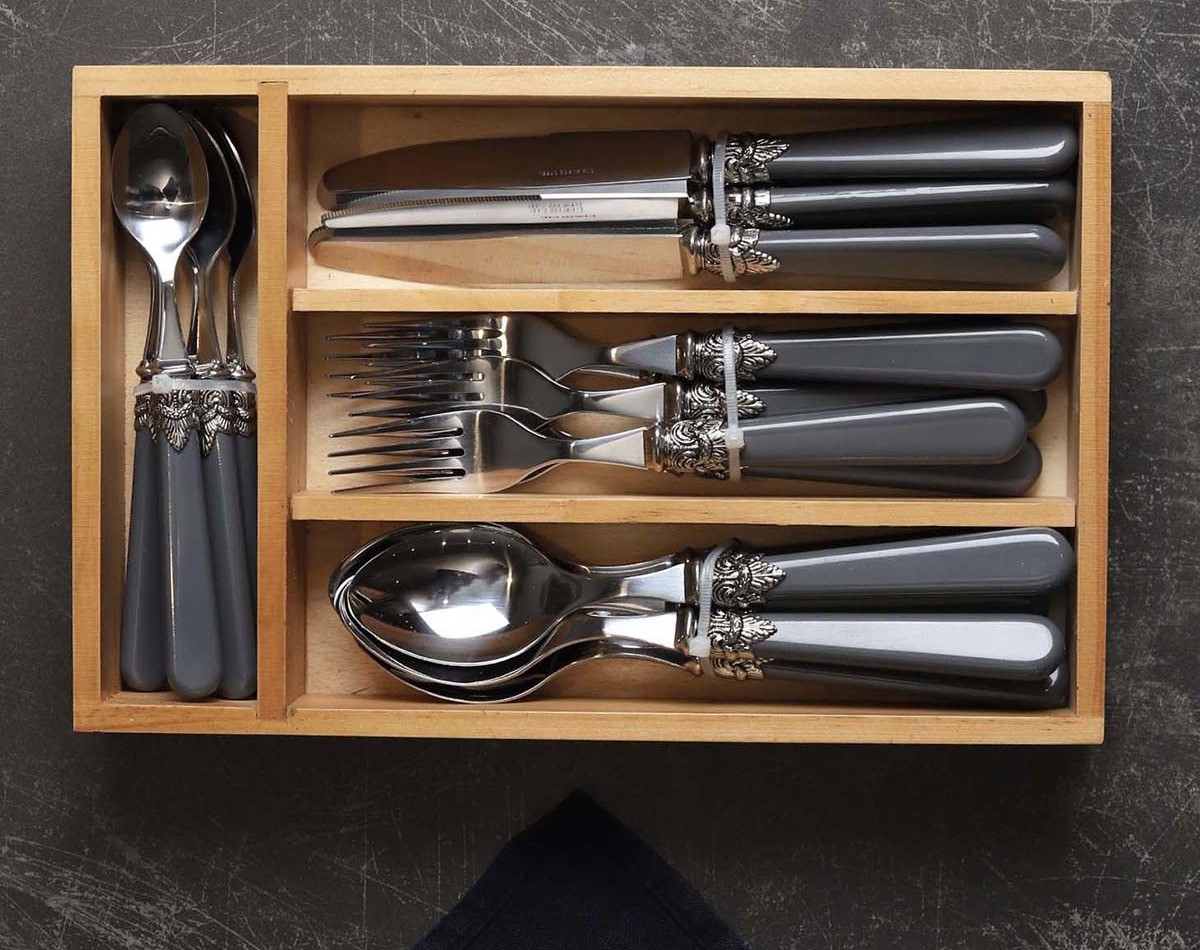
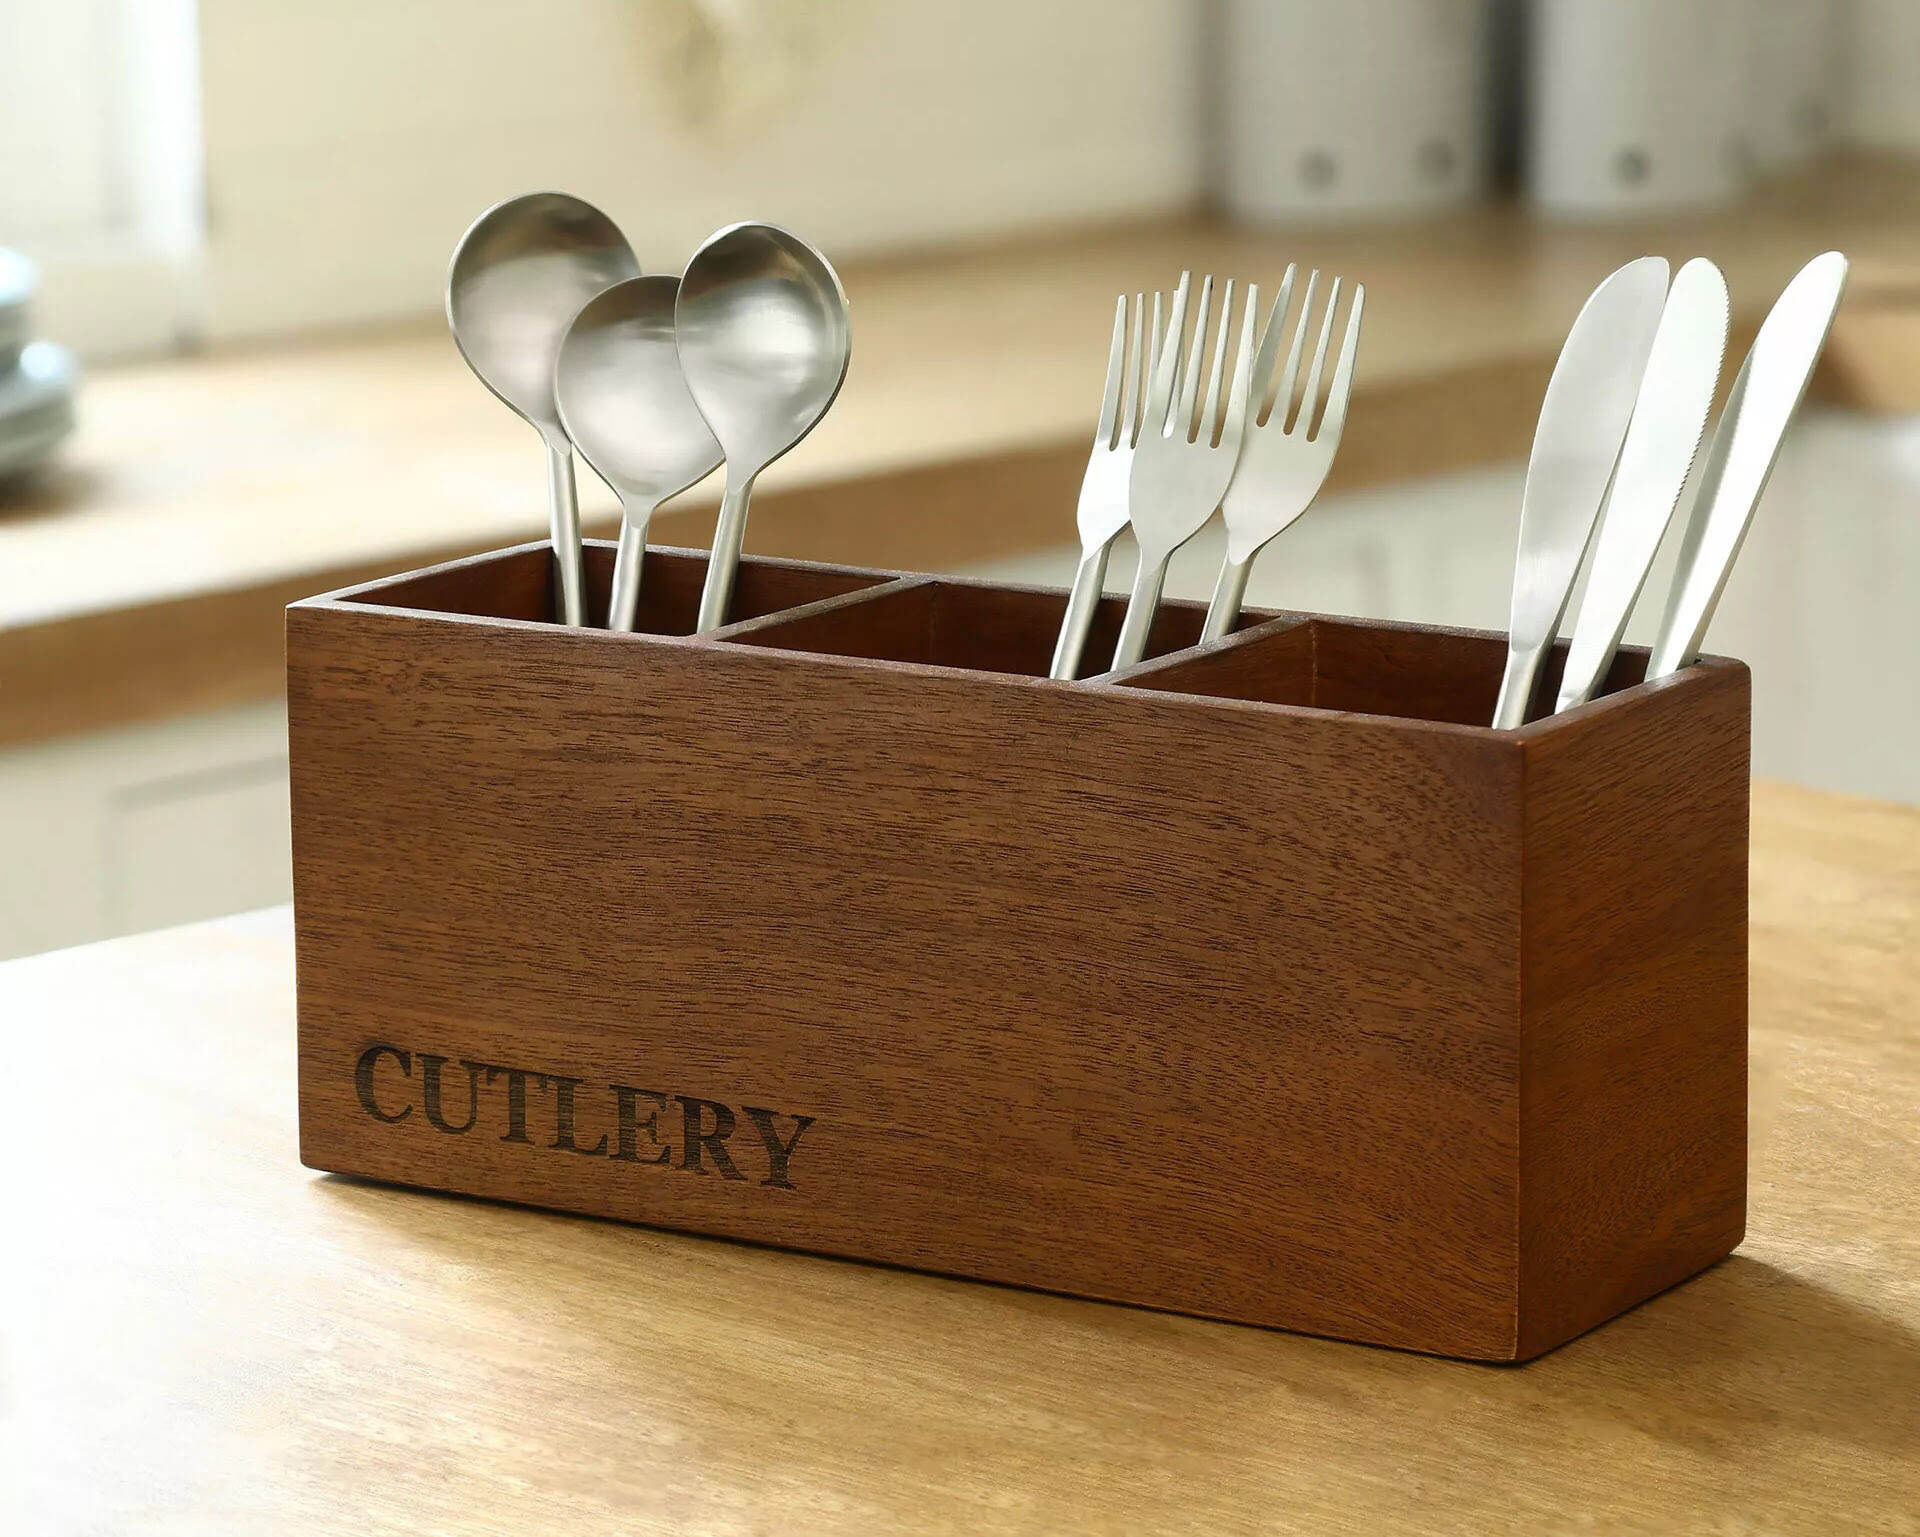
Tableware
How To Make A Travel Cutlery Case
Modified: January 9, 2024
Learn how to make a practical travel cutlery case to keep your tableware organized and easily accessible while on the go. Perfect for travelers and outdoor enthusiasts.
(Many of the links in this article redirect to a specific reviewed product. Your purchase of these products through affiliate links helps to generate commission for Storables.com, at no extra cost. Learn more)
Introduction
Are you tired of using plastic cutlery while traveling? Looking for a stylish and convenient way to carry your own cutlery set? Look no further! In this article, we will guide you through the steps of making your very own travel cutlery case. Not only will this help reduce waste and be environmentally friendly, but it will also add a personal touch to your travel essentials.
Having your own reusable cutlery set is not only practical but also hygienic. Instead of relying on flimsy disposable cutlery that can easily break or cause discomfort while eating, you can bring along your own set and enjoy your meals more comfortably. With a custom-made travel cutlery case, you can keep your cutlery organized and easily accessible wherever you go.
Creating your own travel cutlery case also allows you to choose the materials and design that suit your style and preferences. Whether you prefer a sleek and minimalist case or a vibrant and colorful one, you can tailor it to your taste. Plus, it makes for a fun and creative DIY project that you can enjoy on your own or with friends and family.
So, gather your materials and let’s get started on making your very own travel cutlery case. But first, let’s take a look at the items you will need for this project.
Key Takeaways:
- Say goodbye to disposable plastic cutlery and create your own stylish and hygienic travel cutlery case using durable, easy-to-clean fabric. Reduce waste and add a personal touch to your dining experience on the go.
- Customize your travel cutlery case to reflect your personal style and preferences while contributing to a greener future. Enjoy the practicality and convenience of having your own reusable cutlery set wherever your adventures take you.
Materials Needed
Before we dive into the steps of making your travel cutlery case, let’s gather all the materials you’ll need. Don’t worry, you won’t need anything too fancy or hard to find. Here’s what you’ll need:
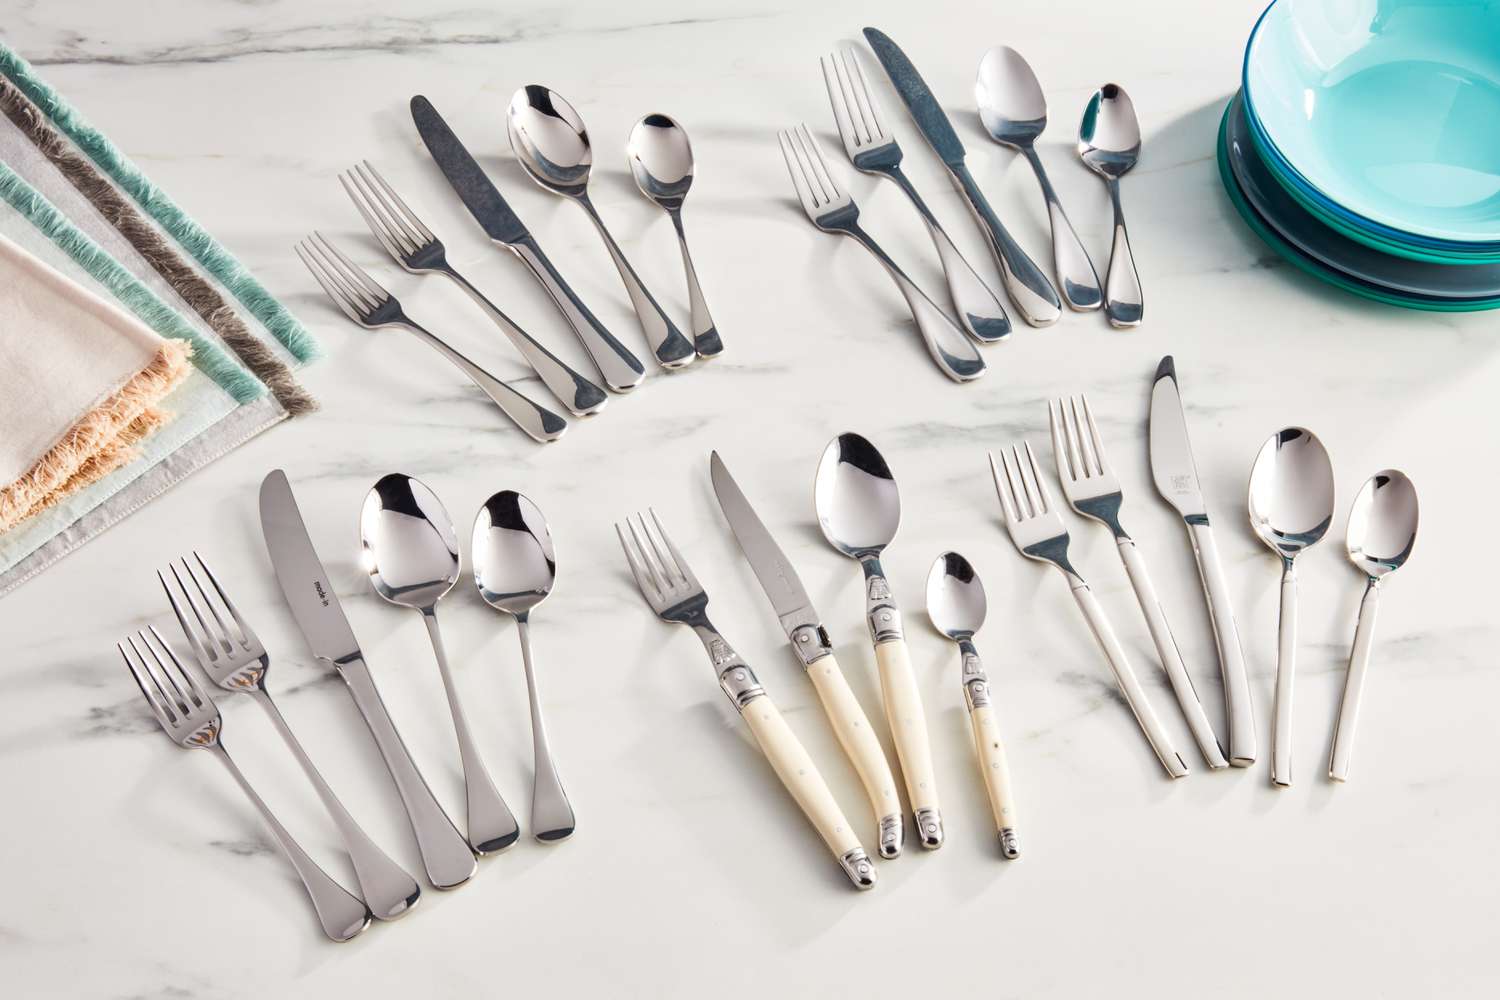
- Fabric: Choose a fabric that is durable and easy to clean, such as cotton or linen. You’ll need enough fabric to create the case and the pockets for your cutlery.
- Thread: Select thread that matches or complements the color of your fabric.
- Scissors: A good pair of fabric scissors will make cutting through the fabric much easier.
- Measuring Tape: Accurate measurements are essential, so make sure you have a measuring tape handy.
- Sewing Machine or Needle and Thread: Depending on your sewing skills, you can either use a sewing machine or sew by hand with a needle and thread.
- Pins: Use pins to hold the fabric together while sewing.
- Velcro: You’ll need Velcro to create a closure for your travel cutlery case.
- Iron: An iron will help you press the fabric and create neat and crisp edges.
Once you have gathered all the materials, you are ready to move on to the next step: choosing the fabric for your travel cutlery case.
Step 1: Choosing the Fabric
The fabric you choose for your travel cutlery case will determine its durability, aesthetics, and ease of cleaning. It’s important to select a fabric that is both functional and visually appealing. Here are some factors to consider when choosing your fabric:
- Durability: Since your travel cutlery case will be exposed to various environments and handled frequently, it’s important to choose a fabric that can withstand wear and tear. Look for a fabric that is sturdy and can hold up well over time.
- Easy to Clean: Traveling can be messy, so it’s essential to choose a fabric that is easy to clean. Opt for fabrics that are machine washable or can be wiped clean with a damp cloth. This will make it easier to maintain the cleanliness of your cutlery case.
- Visual Appeal: Your travel cutlery case can be an expression of your personal style. Choose a fabric that you find visually appealing and matches your aesthetic preferences. Consider selecting a fabric with patterns or colors that you enjoy.
- Size of the Print: If you opt for a fabric with patterns or prints, consider the size of the pattern. Larger prints may make it difficult to see the contents of your cutlery case, while smaller prints may create a more visually appealing look.
- Sustainability: If you’re conscious about the environmental impact of your choices, consider choosing a fabric that is made from sustainable materials, such as organic cotton or hemp.
Keep these factors in mind as you browse through fabric options. Take your time to find a fabric that meets your criteria and reflects your personal style. Once you have chosen the perfect fabric, you’re ready to move on to the next step: measuring and cutting the fabric for your travel cutlery case.
Step 2: Measuring and Cutting
Now that you have chosen your fabric, it’s time to measure and cut it to the appropriate size for your travel cutlery case. Follow these steps to ensure accurate measurements:
- Measure the size of the cutlery you plan to carry in your case. This will help determine the dimensions of the pockets.
- Decide how many pockets you want in your case. Consider the number of utensils you will be carrying and any additional items like napkins or straws.
- Using a measuring tape, mark and measure the length and width of the fabric for the main case. Add an extra inch to each side for seam allowances.
- Next, measure and mark the dimensions for each pocket. Leave enough space between each pocket to accommodate the utensils.
- Once you have all the dimensions marked, use fabric scissors to cut along the lines you have measured. Take your time and make sure your cuts are clean and straight.
Remember to double-check your measurements before cutting the fabric. It’s always better to be precise from the start to ensure a well-fitting travel cutlery case. Once you have finished cutting the fabric, you are ready to move on to the next step: sewing the pockets for your cutlery.
Step 3: Sewing the Pockets
Now that you have your fabric cut to the desired size, it’s time to sew the pockets for your cutlery. Follow these steps to create neat and functional pockets:
- Start by folding over one of the shorter edges of the fabric by approximately half an inch. Press the fold with an iron to create a clean edge.
- With the folded edge facing downwards, fold the fabric in half lengthwise, so that the right sides of the fabric are together.
- Using your sewing machine or needle and thread, sew along the three open sides of the folded fabric, leaving the top edge open. Make sure to backstitch at the beginning and end of each seam to secure the stitches.
- Turn the fabric right side out, gently pushing out the corners to create neat, crisp edges.
- Once the main pocket is complete, decide on the placement and size of the additional pockets for your cutlery. Measure and mark the pockets on the inside of the main pocket fabric.
- Using your sewing machine or needle and thread, sew along the marked lines to create individual pockets. Make sure to backstitch at the beginning and end of each pocket to secure the stitches.
Take your time while sewing the pockets to ensure accuracy and durability. Neatly sewn pockets will securely hold your cutlery and prevent them from moving around while in your travel cutlery case. Once you have finished sewing the pockets, it’s time to move on to the next step: adding a Velcro closure.
When choosing fabric for your travel cutlery case, opt for a durable and easy-to-clean material like cotton or canvas to ensure it lasts through your adventures.
Step 4: Adding the Velcro Closure
Adding a Velcro closure to your travel cutlery case will keep it securely closed while in transit and make it easy to open and access your cutlery. Here’s how you can add a Velcro closure:
- Measure and mark the desired location for the Velcro closure on the inside of the main pocket fabric. Make sure to leave enough space for the flap to fold over and secure the case.
- Take one side of the Velcro and sew it onto the marked location on the inside of the main pocket fabric. Ensure that you sew it securely in place by backstitching at the beginning and end of the stitches.
- Next, take the other side of the Velcro and sew it onto the corresponding location on the flap of the case. Again, secure it in place with backstitching.
Make sure the Velcro pieces align properly when you fold the flap over to close your travel cutlery case. This will ensure a secure closure. Test the closure by opening and closing the case a few times to ensure that it works smoothly.
Once you have added the Velcro closure, you are ready to move on to the next step: sewing the case together.
Step 5: Sewing the Case Together
Now that you have your pockets and Velcro closure in place, it’s time to sew the case together. Follow these steps to assemble your travel cutlery case:
- With the pockets facing outward, fold the fabric in half lengthwise, aligning the edges.
- Pin the sides and bottom of the fabric together to hold it in place while sewing.
- Using your sewing machine or needle and thread, sew along the two sides and bottom of the fabric, leaving the top edge open. Remember to backstitch at the beginning and end of each seam for added durability.
- Trim any excess fabric and clip the corners to reduce bulk and create clean edges.
Once you finish sewing the sides and bottom, turn the fabric right side out, gently pushing out the corners and edges to create a crisp look. Your travel cutlery case is now taking shape!
Now, let’s move on to the final step: adding the finishing touches to your travel cutlery case.
Step 6: Finishing Touches
Congratulations! You’re almost done with your travel cutlery case. Just a few more finishing touches, and it’ll be ready to accompany you on your adventures. Follow these final steps:
- Inspect your case for any loose threads or uneven stitches. Trim any excess threads and make any necessary adjustments to ensure a polished look.
- Using your iron, press the seams and edges of your travel cutlery case. This will create a crisp and professional finish.
- Take a moment to admire your handiwork. Your personalized travel cutlery case is now complete!
Now that you have your own travel cutlery case, you can pack your favorite cutlery set and embark on your next journey with confidence. This practical and stylish accessory will keep your cutlery organized and easily accessible wherever you go.
Feel free to get creative and add any additional embellishments or personalization to your case. You can sew on decorative buttons, embroider your initials, or even attach a small loop or strap for easy carrying.
Remember, creating your own travel cutlery case not only eliminates the need for single-use plastic cutlery but also allows you to showcase your creativity and individuality. Enjoy the process of making your case and revel in its functionality and aesthetic appeal.
With your travel cutlery case in hand, you’ll be able to enjoy delicious meals on the go while minimizing your environmental impact. Bon appétit and safe travels!
Now that you have completed all the steps, you can admire your handiwork and start using your brand new travel cutlery case on your next adventure. Safe travels and enjoy your sustainable dining experience!
Conclusion
By crafting your own travel cutlery case, you have not only created a functional and stylish accessory but also made a positive impact on the environment. With plastic pollution becoming a critical issue, opting for reusable cutlery is a small step towards a greener future.
Creating your travel cutlery case allows you to customize it according to your personal style and preferences. From choosing the fabric to adding the finishing touches, you have put your own unique touch on this essential travel item. The case will not only keep your cutlery organized but also reflect your individuality.
Having your own travel cutlery set at hand ensures that you are always ready for meals on the go. No need to rely on flimsy disposable cutlery that not only impacts the environment but can also detract from your dining experience. Your custom-made case will keep your utensils protected, clean, and easily accessible whenever you need them.
Remember, in addition to carrying your cutlery case for travel purposes, you can also use it for picnics, lunches at work, or any other outdoor dining adventures. It’s a versatile accessory that adds convenience and style to your meal times, wherever you may be.
So, the next time you embark on a journey, pack your travel cutlery case with pride, knowing that you are making a conscious choice to reduce waste and contribute to a more sustainable lifestyle. Lead by example and inspire others to follow suit by sharing your DIY process and the benefits of having a travel cutlery case.
Enjoy your travels, embrace sustainable living, and continue to explore ways to reduce your environmental footprint. With your stylish and practical travel cutlery case, you are on your way to creating a more eco-friendly future, one meal at a time.
Happy crafting and bon appétit!
Frequently Asked Questions about How To Make A Travel Cutlery Case
Was this page helpful?
At Storables.com, we guarantee accurate and reliable information. Our content, validated by Expert Board Contributors, is crafted following stringent Editorial Policies. We're committed to providing you with well-researched, expert-backed insights for all your informational needs.
0 thoughts on “How To Make A Travel Cutlery Case”