Tableware
How To Pack Cutlery For Moving
Modified: December 7, 2023
Learn how to pack tableware and cutlery properly for a move. Follow our step-by-step guide to ensure your delicate items arrive safely and well-organized.
(Many of the links in this article redirect to a specific reviewed product. Your purchase of these products through affiliate links helps to generate commission for Storables.com, at no extra cost. Learn more)
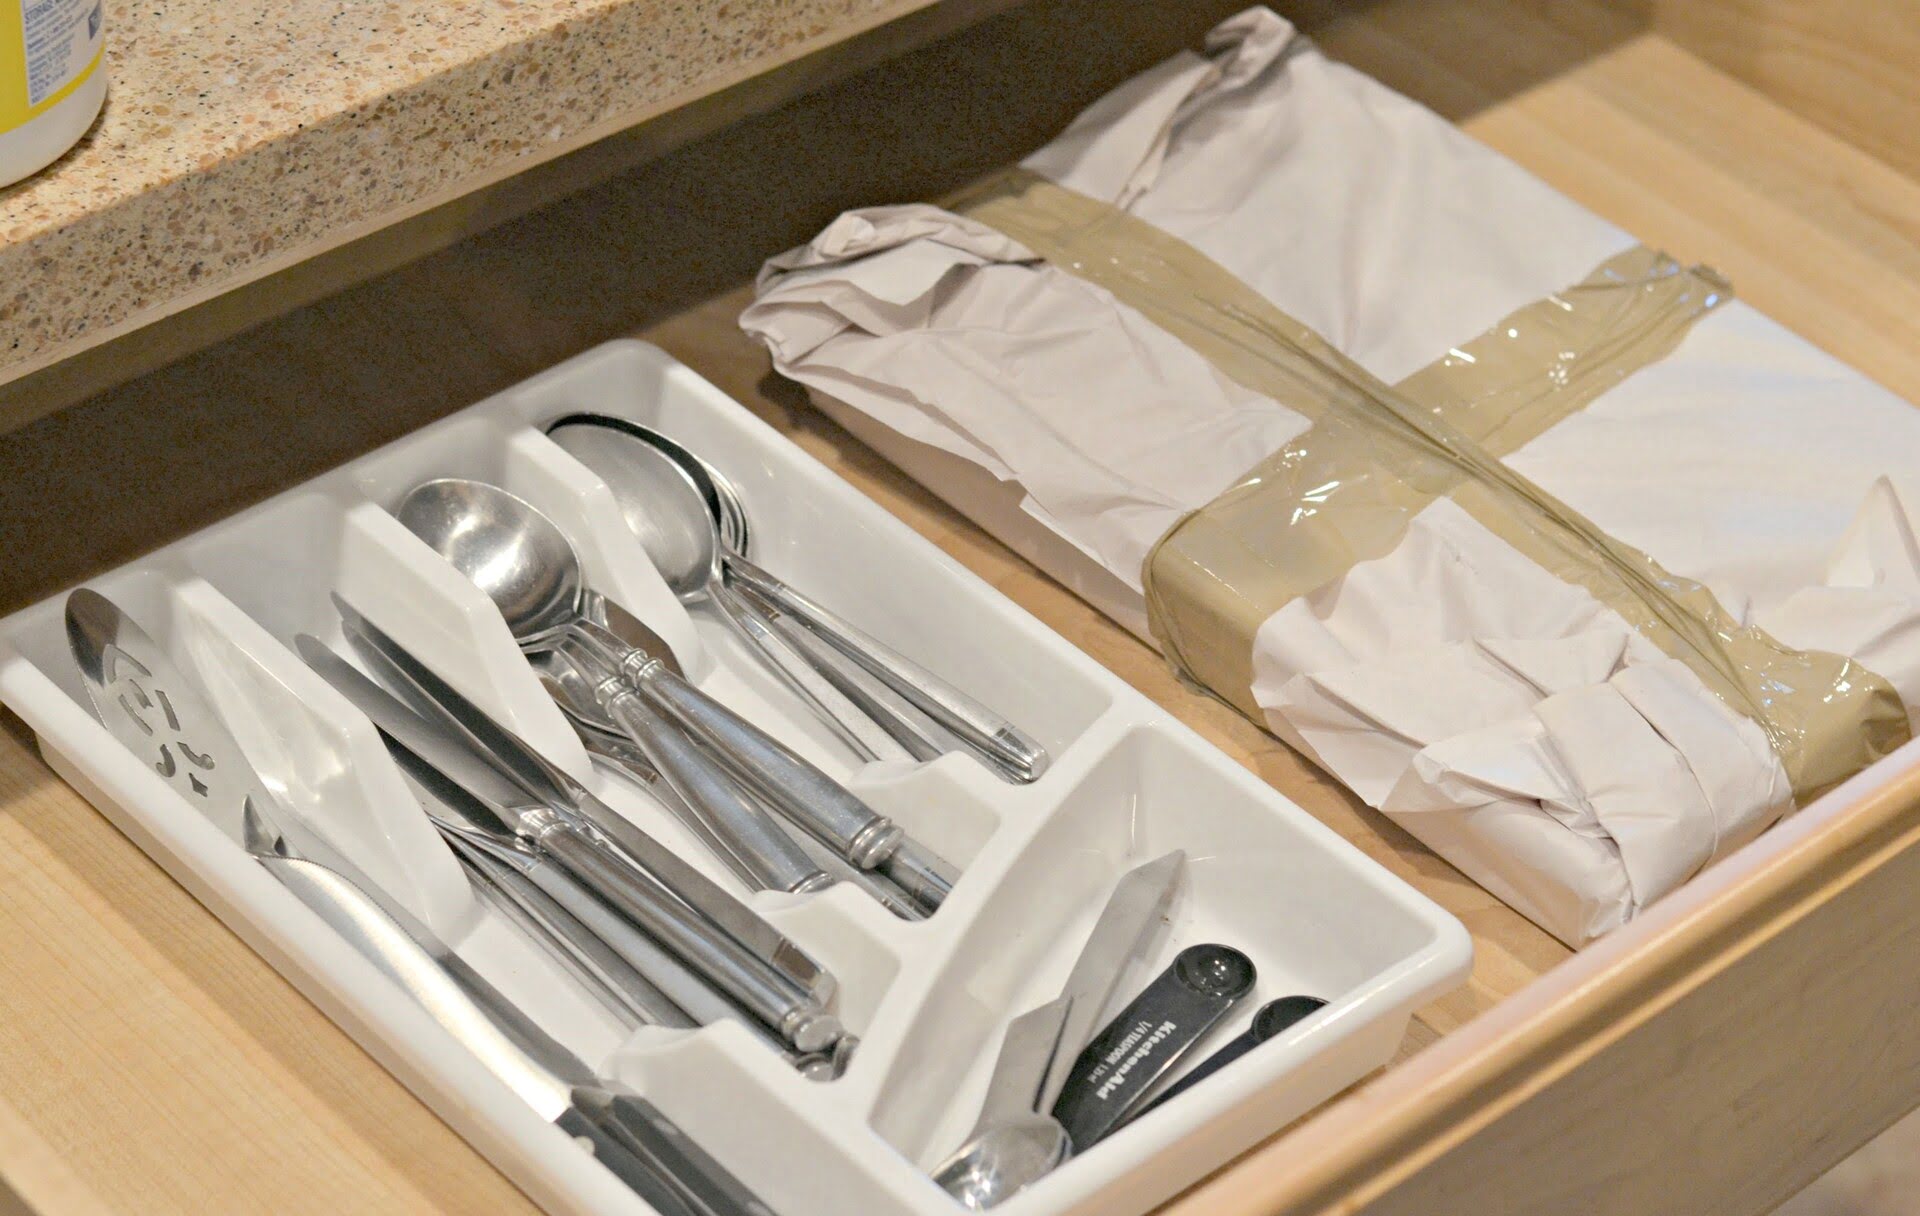
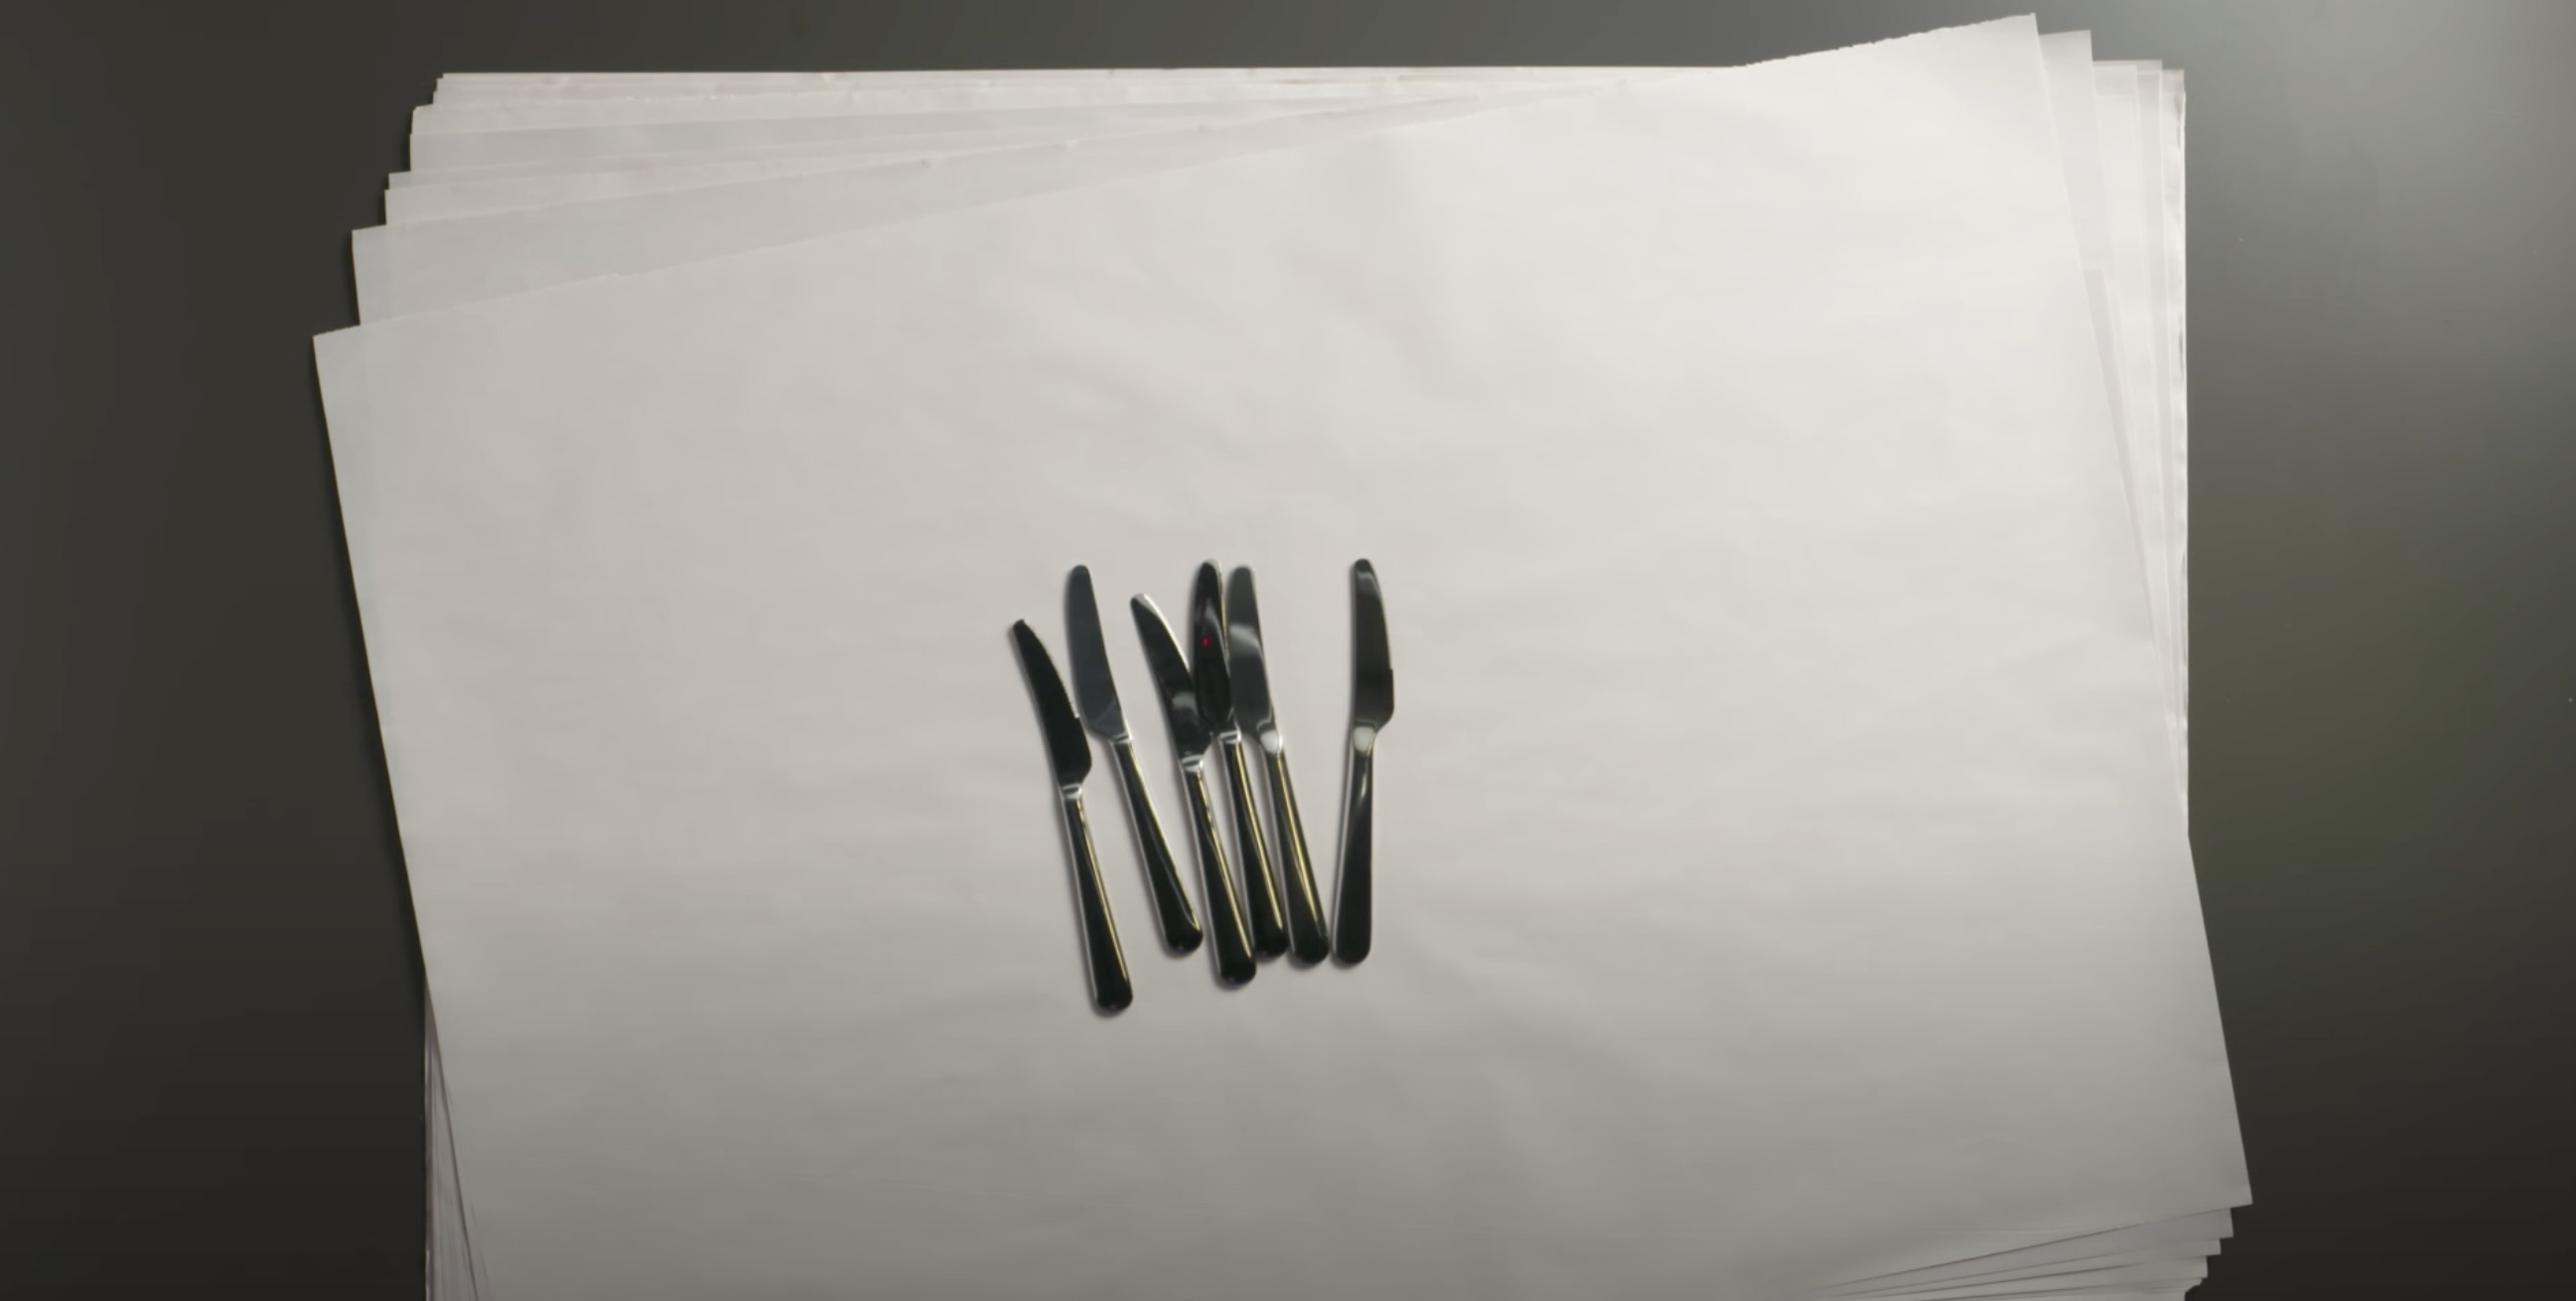
Knives
When it comes to packing knives for a move, it’s crucial to prioritize safety to avoid any accidents during the packing and unpacking process. Here are some steps to ensure your kitchen knives are packed securely:
- Wrap each knife individually: Begin by wrapping each knife blade with a layer of packing paper or bubble wrap. This will protect the blades from getting damaged and prevent accidental cuts while handling them.
- Use knife sleeves or blade guards: If you have knife sleeves or blade guards, use them to provide an extra layer of protection. These sleeves are specifically designed to cover the blades and keep them secure during transportation.
- Secure the wrapped knives: After wrapping each knife, make sure to secure them tightly by using rubber bands or tape. This will prevent the knives from shifting and potentially causing damage or injury.
- Separate sharp knives from other utensils: To ensure safety, it’s important to separate sharp knives from other utensils. Place them in a separate container or wrap them in a separate bundle to avoid any accidental contact.
- Choose a suitable container: Select a sturdy and properly-sized container for packing your knives. Ideally, opt for a container with a tight-fitting lid to keep the knives securely in place throughout the move.
- Pad the container: Before placing the knives inside the container, add a layer of padding at the bottom to provide extra cushioning during transportation. You can use crumpled newspaper, towels, or packing peanuts to create a soft base.
- Arrange the knives: Carefully place the wrapped knives in the container, ensuring that they are arranged in an orderly manner. Avoid overcrowding the container, as this can increase the risk of knives shifting and causing damage.
- Add more padding: Once the knives are inside the container, fill any empty spaces with additional padding. This will help keep the knives in place and prevent them from sliding or jostling during transit.
- Secure the lid: Finally, secure the lid of the container tightly to ensure it doesn’t open during the move. Use packing tape or straps to keep the lid securely in place.
By following these steps, you can pack your knives safely and ensure they arrive at your new home in perfect condition. Remember to handle knives with care during unpacking as well, and always keep them out of reach of children for their safety.
Key Takeaways:
- Safely pack cutlery for moving by wrapping knives individually, using suitable containers, and adding padding to prevent damage and ensure safety during transportation.
- Organize and secure cutlery by grouping similar utensils, using sturdy containers, and labeling boxes for easy unpacking and arranging in your new kitchen.
Read more: How To Pack A Mattress For Moving
Forks
Packing forks for a move requires some simple steps to ensure they stay organized and protected during transportation. Here’s how to pack your forks securely:
- Sort and count: Begin by sorting your forks and counting them to know the exact quantity you’ll be packing. This will help you keep track of them and ensure none are left behind.
- Wrap them together: Take a few forks and align them together in a neat stack. Wrap the stack with a layer of packing paper or bubble wrap, making sure to cover the tines (the pronged end) securely.
- Use rubber bands: Once the stack of wrapped forks is secure, use rubber bands to hold them together firmly. This will help prevent the forks from coming apart or shifting during the move.
- Repeat the process: Repeat the wrapping and securing process for the remaining forks, ensuring each stack is tightly wrapped and held together with rubber bands.
- Select a suitable container: Choose a box or container that is the right size to hold your wrapped forks. It should be sturdy and have a tight-fitting lid to keep the forks secure during transit.
- Add padding: Before placing the wrapped forks inside the container, add a layer of padding at the bottom. This can be crumpled newspaper, bubble wrap, or foam peanuts to provide cushioning and protect the forks.
- Arrange the wrapped forks: Carefully place the wrapped forks inside the container, making sure they are arranged in an organized manner. Avoid overpacking the container to prevent any damage or shifting.
- Add more padding: Fill any empty spaces between the wrapped forks with additional padding. This will minimize movement and keep the forks secure during transportation.
- Secure the lid: Finally, seal the container tightly with packing tape to prevent the lid from opening during the move. Make sure the lid is secure and won’t come off easily.
By following these steps, you can pack your forks efficiently and ensure they remain protected throughout the moving process. Remember to label the box containing your forks clearly to make unpacking easier in your new home.
Spoons
Packing spoons for a move requires careful organization and protection to prevent any damage or loss. Follow these steps to pack your spoons securely:
- Group spoons by type: Begin by sorting your spoons into categories, such as teaspoons, tablespoons, and dessert spoons. This will help keep them organized and make unpacking easier.
- Wrap each type separately: Take a handful of spoons from each category and wrap them together tightly with a layer of packing paper or bubble wrap. Ensure that the spoon heads (the concave part) are covered and secured.
- Secure wrapped spoons with rubber bands: Once your spoons are wrapped, use rubber bands to hold them together. This will keep them tightly secured and prevent them from coming undone during the move.
- Repeat the process for all spoon types: Repeat the wrapping and securing process for each type of spoon you have. Make sure to keep them separate by using different wrapping materials or by labeling the wrapped bundles.
- Choose a suitable container: Select a container that is spacious enough to hold all your wrapped spoons. It should have a tight-fitting lid to prevent any spillage or loss during transportation.
- Add cushioning at the bottom: Before placing the wrapped spoons inside the container, add a layer of padding at the bottom. You can use crumpled newspaper, packing peanuts, or foam to provide cushioning and protect the spoons.
- Arrange the wrapped spoons: Carefully place the wrapped spoons inside the container, arranging them in an organized manner. Avoid overcrowding the container to prevent any damage or shifting.
- Fill gaps with additional padding: Fill any empty spaces between the wrapped spoons with more padding material. This will help keep the spoons secure and minimize movement during transit.
- Close and secure the lid: Lastly, close the lid of the container tightly and secure it with packing tape or straps. Double-check to ensure it is properly sealed and won’t open during the move.
By following these steps, you can pack your spoons efficiently and ensure they arrive at your new home in perfect condition. Remember to label the container clearly to identify it as containing fragile cutlery.
Other Utensils
Packing other utensils, such as serving spoons, ladles, and tongs, for a move requires a few additional steps to ensure their safety. Here’s how to pack your other utensils securely:
- Group similar utensils together: Start by grouping similar utensils together, such as serving spoons, ladles, and tongs. This will help keep them organized and make unpacking easier.
- Wrap individually or in bundles: Depending on the size and shape of your utensils, you can choose to wrap them individually or in bundles. Use packing paper or bubble wrap to wrap each utensil or bundle.
- Secure bundles with rubber bands: If you choose to bundle utensils together, use rubber bands to secure them tightly. This will prevent the utensils from coming apart and getting damaged during the move.
- Choose a suitable container: Select a container that is large enough to hold your utensils. Consider using a plastic bin or a sturdy box with a lid that closes tightly.
- Add padding at the bottom: Before placing the utensils inside the container, add a layer of padding at the bottom. Use packing peanuts, crumpled newspaper, or towels to provide cushioning.
- Arrange the wrapped utensils: Carefully place the wrapped utensils inside the container, arranging them in an orderly manner. Avoid overpacking to prevent any damage or unnecessary shifting.
- Add more padding: Fill any gaps between the packed utensils with additional padding material. This will help keep the utensils secure and minimize the risk of movement.
- Secure the lid: Close the lid of the container tightly and use packing tape or straps to secure it. Make sure the lid is properly sealed and won’t open during transit.
Wrap each piece of cutlery individually in packing paper or bubble wrap to prevent scratching and tangling. Place them in a sturdy box with dividers or separate compartments to keep them organized and secure during the move.
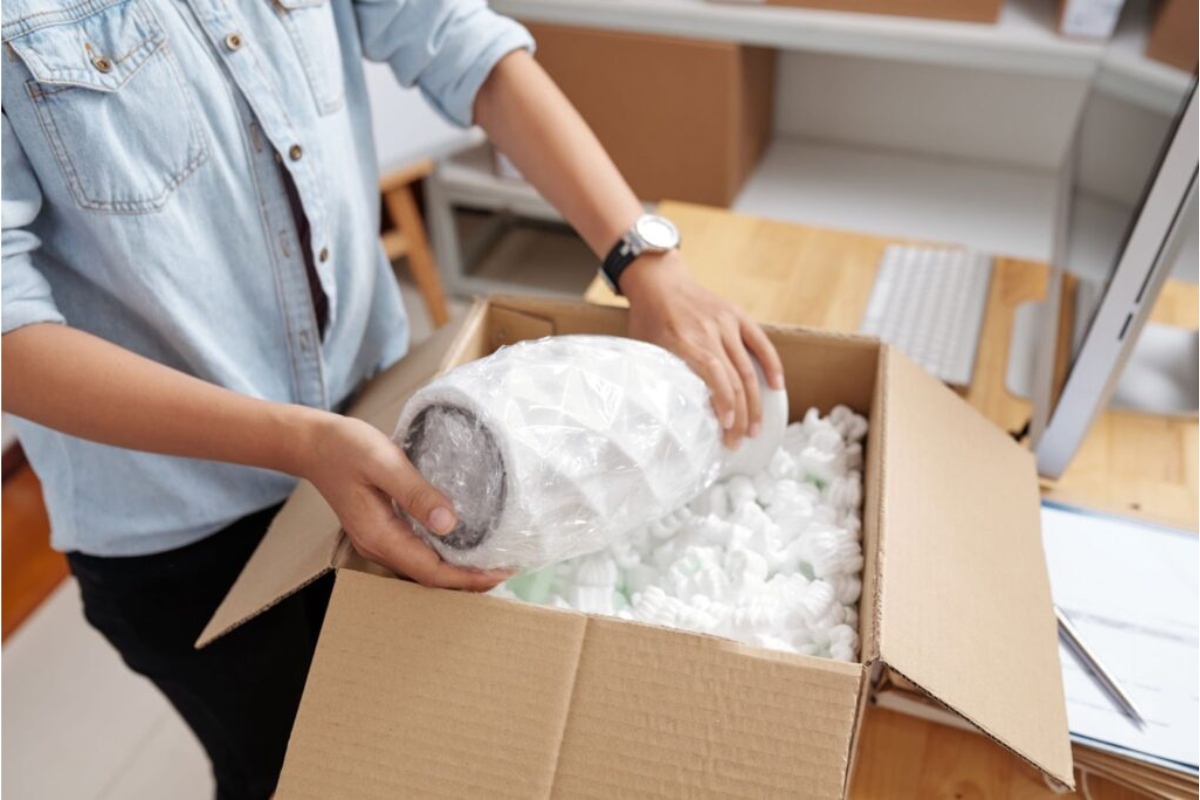
Additional Tips for Secure Packing
In addition to the specific instructions for packing different types of cutlery, here are a few extra tips to ensure secure packing:
- Use sturdy boxes or containers: Opt for strong and durable boxes or containers that can withstand the weight and protect your cutlery.
- Wrap fragile or delicate items separately: If you have any fragile or delicate cutlery, such as fine china or silverware, wrap them individually with extra layers of protective material.
- Label fragile items: Clearly label boxes or containers containing fragile cutlery to alert movers and yourself to handle them with care.
- Keep sets together: Whenever possible, keep sets of cutlery together to avoid any pieces getting lost or separated during the move.
- Consider using storage organizers: Utilize storage organizers, such as dividers or trays, to keep the cutlery neatly arranged and separated.
- Store sharp knives separately: Keep sharp knives in a separate container or wrap them in a protective sheath to prevent accidental injuries.
- Use cushioning between layers: If you are stacking multiple layers of cutlery in a box, place cushioning material, such as bubble wrap or kitchen towels, between each layer to provide extra protection.
Read more: How To Pack A Dresser For Moving
Labeling and Organizing Packed Cutlery
Properly labeling and organizing your packed cutlery is essential for easy unpacking and locating the items in your new home. Follow these tips:
- Label boxes: Clearly label the boxes or containers containing cutlery with a description such as “Kitchen Cutlery” and any relevant instructions, such as “Fragile” or “Sharp Objects.”
- Keep similar items together: Group similar cutlery items together in the same box or container to make unpacking and arranging them in your new kitchen easier.
- Create an inventory list: Make an inventory list of the cutlery you are packing, noting the items in each box. This will serve as a reference during unpacking and help you keep track of any missing or damaged items.
- Organize by frequency of use: If possible, pack the cutlery you frequently use in a separate box or container that is easily accessible upon arrival.
- Store in a designated area: Once you unpack your cutlery, allocate a specific area or drawer in your new kitchen for easy organization and access.
Conclusion
Packing cutlery for a move can be a simple and efficient process when done with care and proper planning. By following the steps outlined for wrapping and organizing your knives, forks, spoons, and other utensils, you can ensure they arrive at your new home safely and ready for use. Remember to label and organize your packed cutlery for easy unpacking and settling into your new kitchen. Happy moving!
Frequently Asked Questions about How To Pack Cutlery For Moving
Was this page helpful?
At Storables.com, we guarantee accurate and reliable information. Our content, validated by Expert Board Contributors, is crafted following stringent Editorial Policies. We're committed to providing you with well-researched, expert-backed insights for all your informational needs.


0 thoughts on “How To Pack Cutlery For Moving”