Home>Dining>Tableware>How To Paint Silver Serving Dishes With Oil Paint
Tableware
How To Paint Silver Serving Dishes With Oil Paint
Modified: January 4, 2024
Learn how to beautify your tableware with oil paint! Discover the step-by-step guide to painting silver serving dishes and create stunning pieces for your dining experience.
(Many of the links in this article redirect to a specific reviewed product. Your purchase of these products through affiliate links helps to generate commission for Storables.com, at no extra cost. Learn more)
Introduction
Welcome to the world of tableware painting! If you’re looking to add a touch of elegance and personalization to your silver serving dishes, oil painting is the perfect technique to achieve that. With its vibrant colors and rich textures, oil paint can transform a plain silver dish into a stunning work of art.
In this article, we will guide you through the step-by-step process of painting silver serving dishes with oil paint. From preparing the surface and applying the base coat to adding highlights, shadows, and intricate details, we’ll cover it all. So, grab your brushes and let’s dive into the art of tableware painting!
But before we get started, let’s go over the materials you’ll need for this project.
Key Takeaways:
- Elevate your tableware with oil paint! Transform silver serving dishes into unique works of art by following step-by-step painting techniques. Embrace creativity and showcase personalized pieces for a stunning dining experience.
- Care for your painted silver serving dishes! Handwash with mild detergent, avoid harsh chemicals, and handle with care to preserve the longevity and vibrancy of your artwork. Display with pride and enjoy the artistic flair they bring to your dining experiences.
Read more: What Are Serving Dishes?
Materials Needed
Before you begin, gather the following materials:
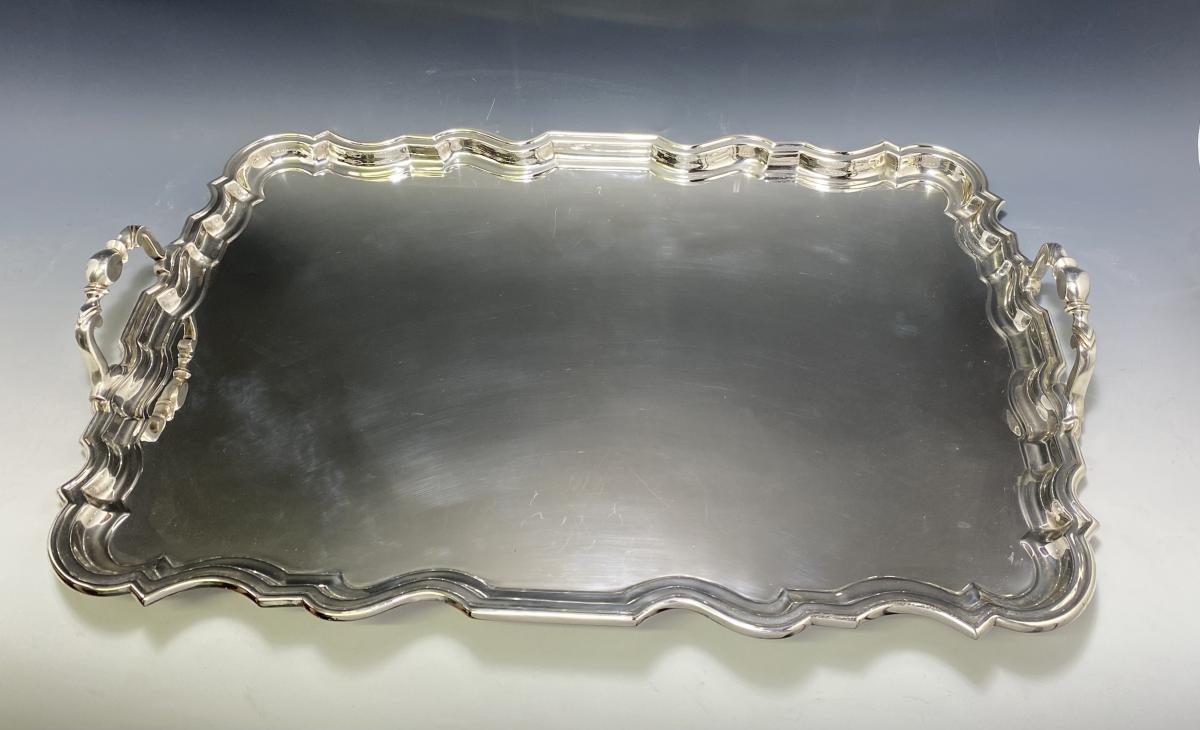
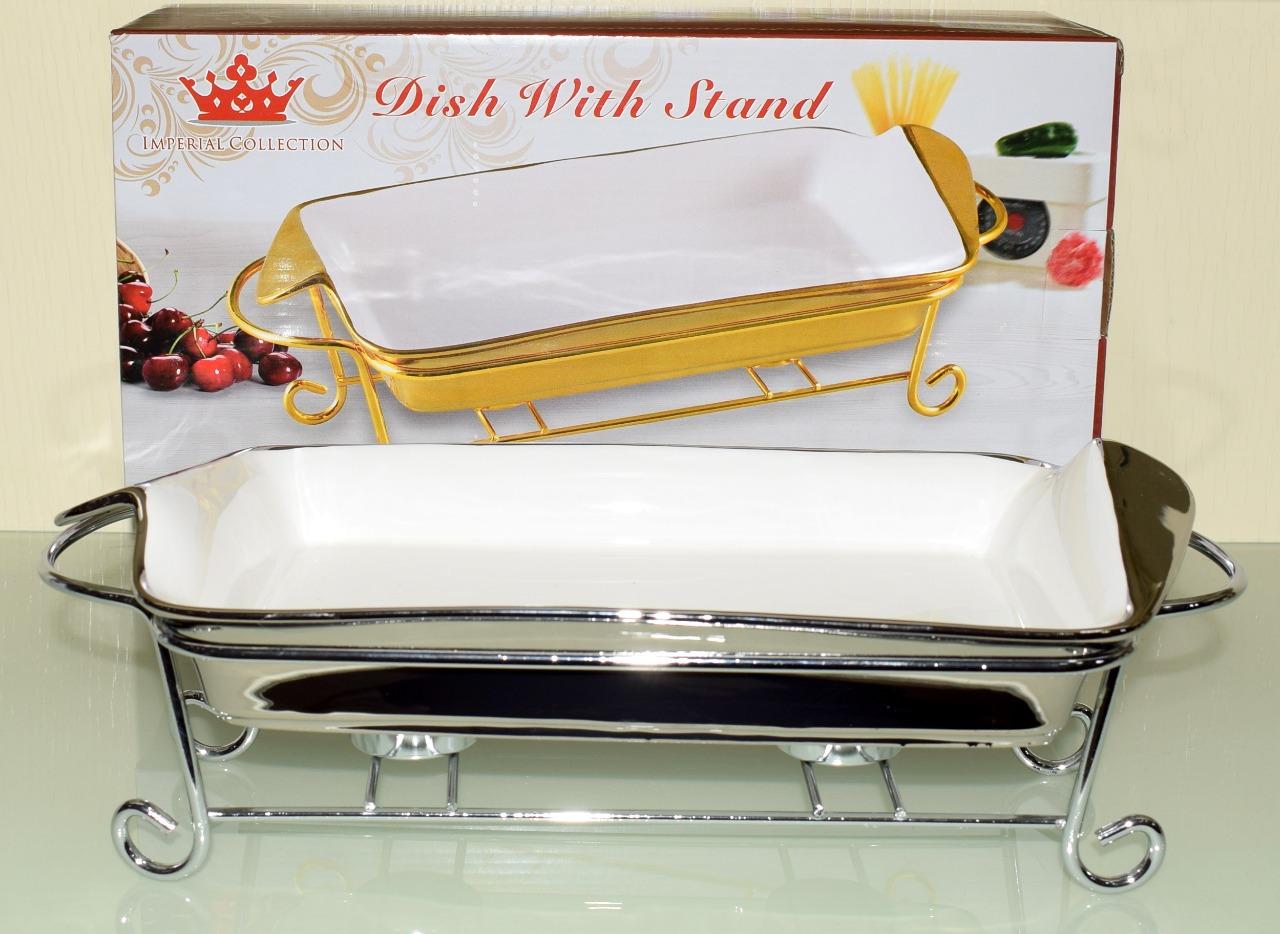
- Silver serving dishes – Choose dishes that have a smooth and clean surface. This will ensure that the paint adheres well.
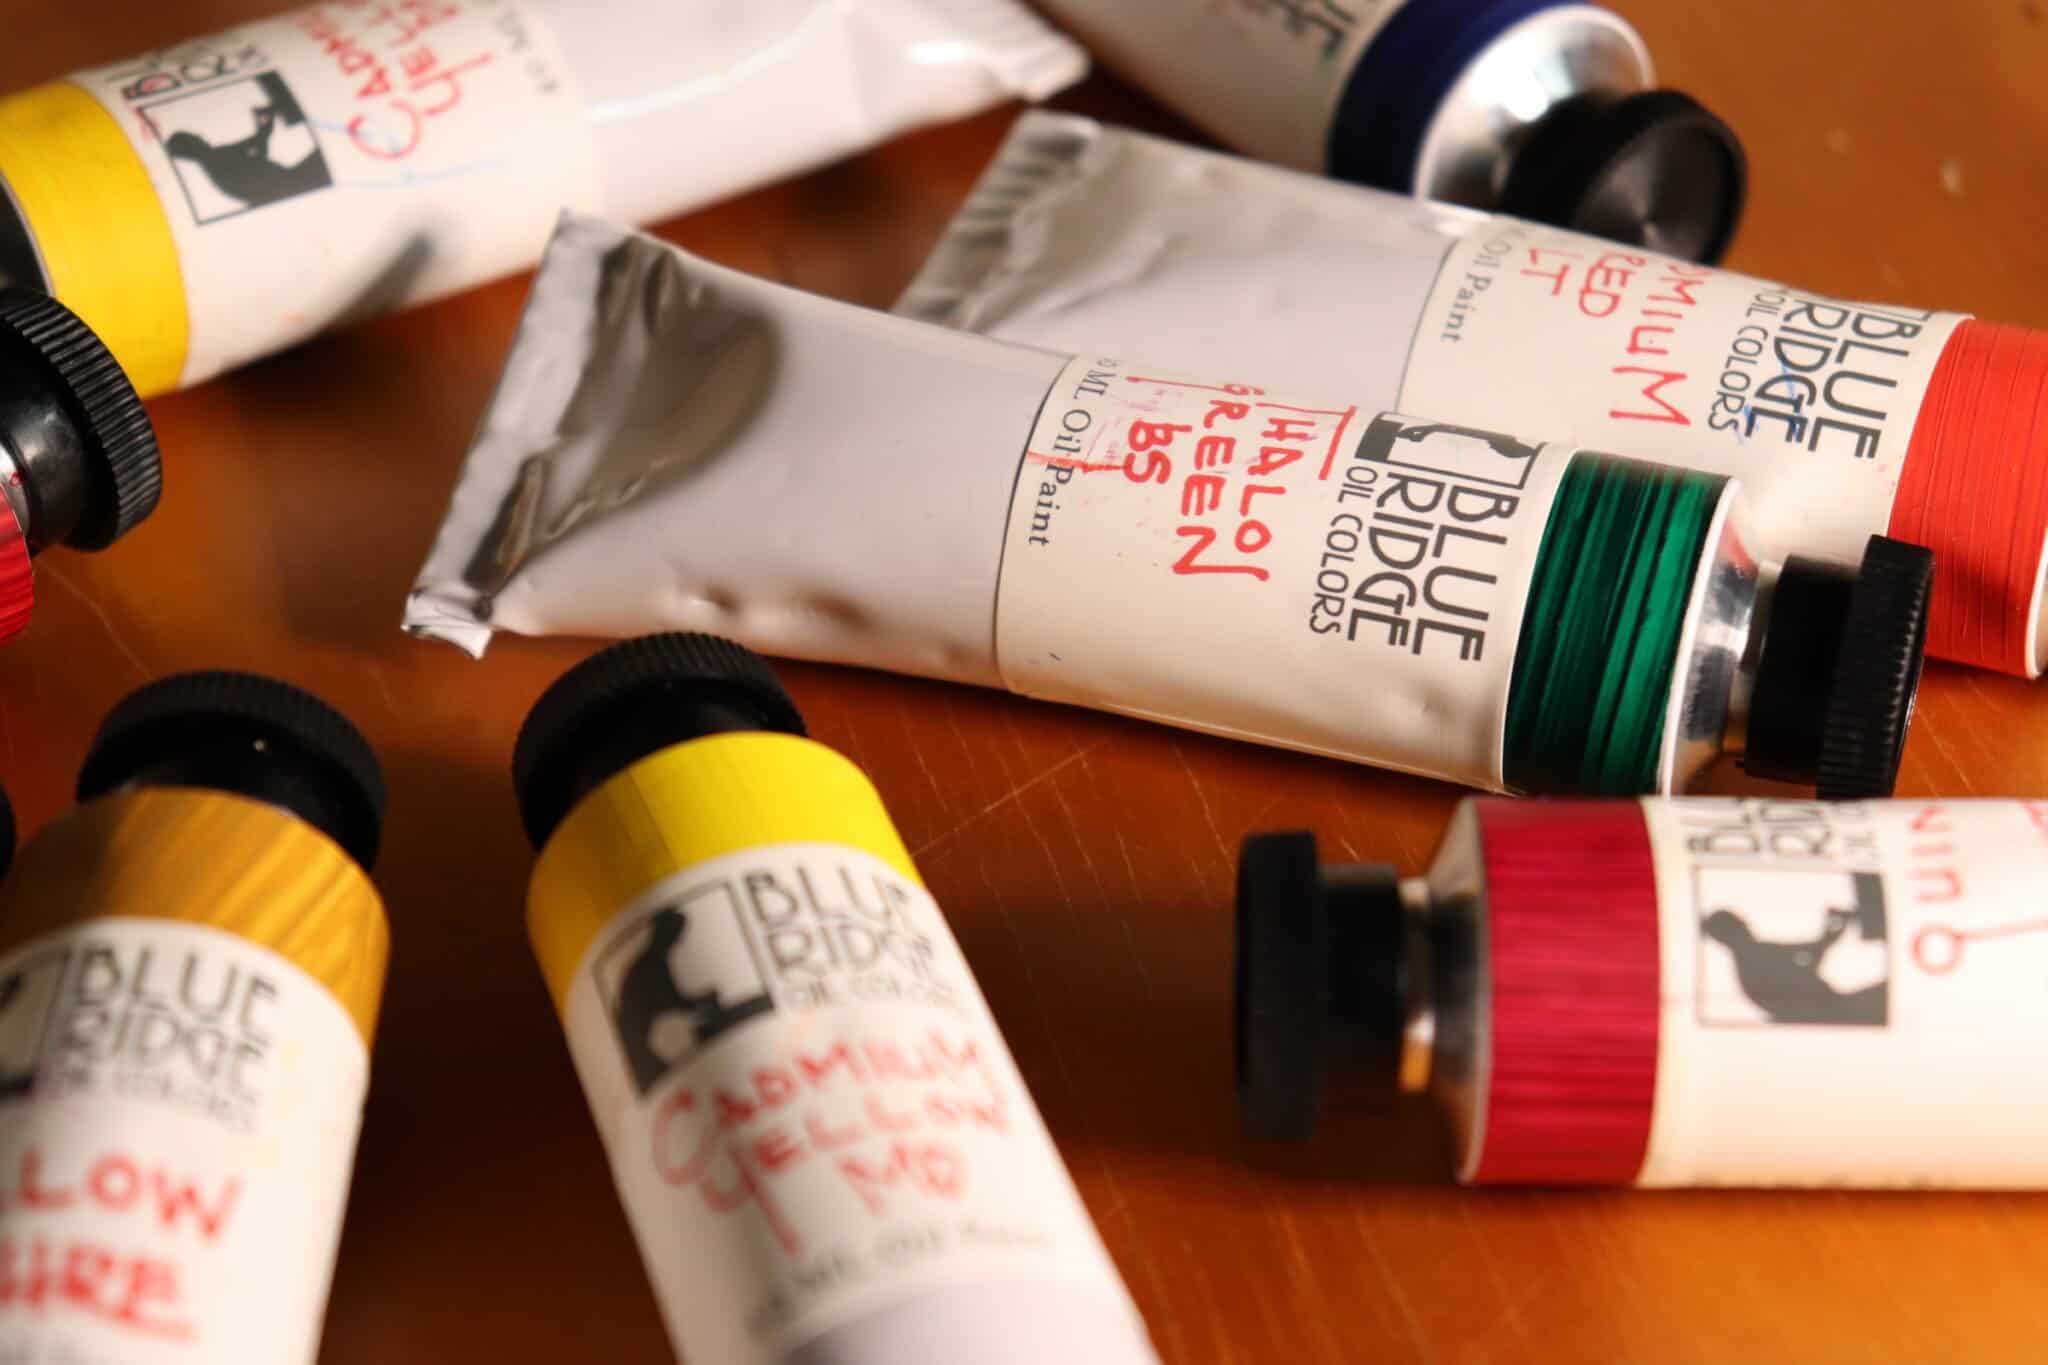
- Oil paint – Opt for high-quality oil paints in a variety of colors. Look for paints specifically formulated for use on metal surfaces.
- Paintbrushes – Get a selection of brushes in different sizes and shapes. Flat brushes are great for covering larger areas, while small detail brushes will help you add intricate designs.
- Palette – Use a palette or a flat surface to mix your paints. It can be a traditional artist’s palette or even a simple piece of glass or ceramic tile.
- Palette knife – This tool is essential for mixing paints and creating textured effects.
- Artist’s medium – Mediums are used to adjust the consistency and drying time of oil paint. Choose an appropriate medium based on the specific effects you want to achieve.
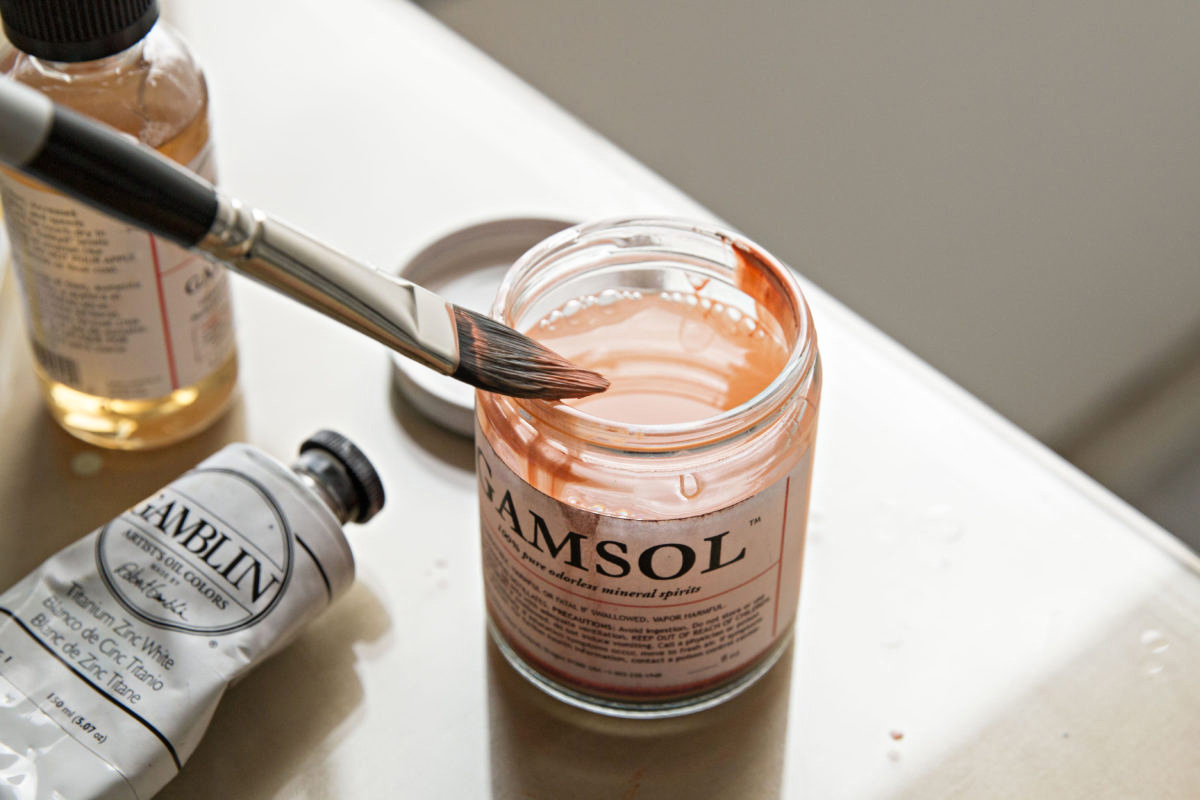
- Paint thinner – Use paint thinner to clean your brushes and thin the paint if needed.
- Drop cloth or newspaper – Cover your workspace to protect it from paint spills and splatters.
- Masking tape – Use masking tape to create clean edges and protect areas you don’t want to paint.
- Lint-free cloth – Keep a few lint-free cloths handy for wiping off excess paint and cleaning your brushes.
- Varnish or sealant – Once your painting is complete, use a varnish or sealant specifically made for metal surfaces to protect your artwork and give it a polished finish.
With these materials at hand, you’re ready to move on to the next step: preparing the surface of your silver serving dishes.
Preparing the Surface
Before you start painting your silver serving dishes, it’s crucial to properly prepare the surface to ensure the paint adheres well and lasts for a long time. Follow these steps to prepare the surface:
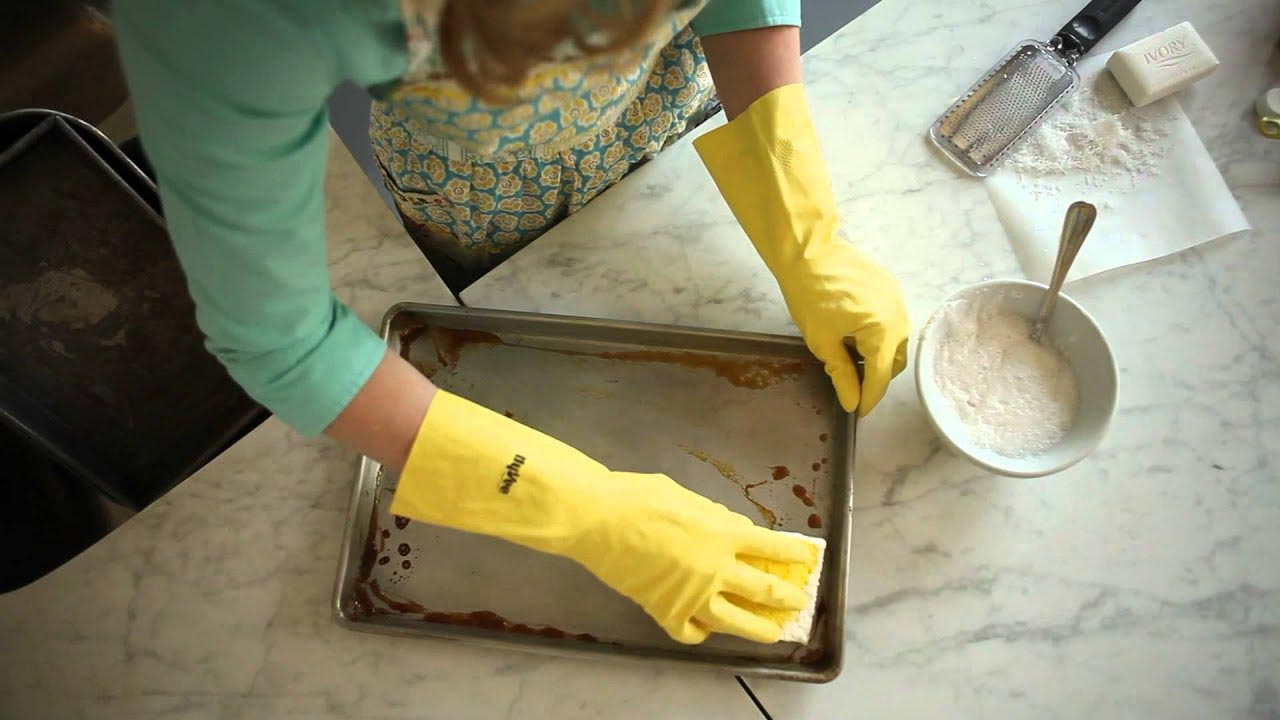
- Thoroughly clean the dishes – Use a mild detergent and warm water to clean the dishes, removing any dirt, grease, or residue. Rinse them thoroughly and pat dry with a lint-free cloth. Make sure the dishes are completely dry before proceeding.
- Sand the surface – Gently sand the surface of the dishes with fine-grit sandpaper. This helps create a rough texture that allows the paint to adhere better. Wipe away any dust or debris with a clean cloth.
- Apply primer (optional) – If you want to ensure even better adhesion of the paint, you can apply a metal primer. Choose a primer suitable for silver and follow the manufacturer’s instructions for application. Allow the primer to fully dry before continuing.
- Mask off areas (optional) – If you want to protect certain parts of the dish from paint or create clean edges, use masking tape to cover those areas. Make sure the tape is securely pressed down to prevent any paint bleed-through.
Once you’ve prepared the surface, it’s time to move on to applying the base coat.
Applying the Base Coat
The base coat serves as the foundation for your painting. It helps create an even surface and provides a solid background for the colors to come to life. Follow these steps to apply the base coat to your silver serving dishes:
- Choose your base color – Select a color for your base coat that will complement the overall design and style you have in mind. Metallic silver or gold are popular choices for a classic look, but feel free to experiment with other colors that suit your preference.
- Prepare the paint – Squeeze a small amount of the chosen base color onto your palette. Add a few drops of paint thinner or medium to the paint to achieve a smooth and workable consistency. Mix the paint well with a palette knife.
- Start painting – Dip your paintbrush into the mixed paint and begin applying the base coat to the silver serving dish. Use broad strokes to cover the surface evenly. If needed, apply a second coat once the first one has dried completely. Allow each coat to dry thoroughly before proceeding.
- Smooth out any imperfections – After the base coat has dried, inspect the dish for any streaks, uneven areas, or imperfections. If you notice any, gently sand them with fine-grit sandpaper and wipe away any dust with a clean cloth. Repeat this step until you achieve a smooth and even base coat.
Once the base coat is dry and the surface is smooth, you’re ready to add dimension and depth to your painted silver serving dishes by creating highlights and shadows.
Creating Dimension with Highlights and Shadows
Highlights and shadows are essential for adding depth and dimension to your painted silver serving dishes. They create the illusion of light and give your artwork a realistic and three-dimensional look. Follow these steps to create highlights and shadows:
- Study the form and lighting – Before you begin, take a moment to observe the shape of the dish and how light interacts with it. Note areas that would naturally catch more light and areas that would be in shadow.
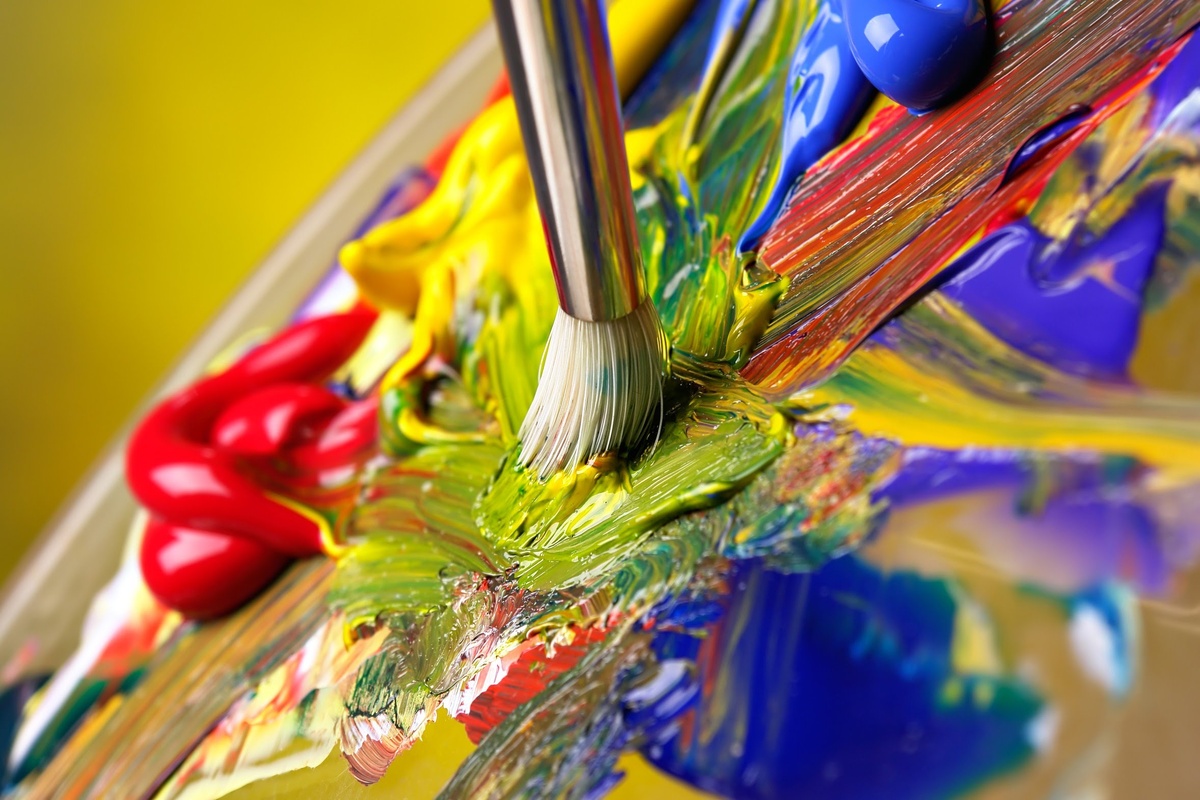
- Choose highlight and shadow colors – Select lighter shades as highlight colors and darker shades as shadow colors. Mix your chosen colors with a palette knife to achieve the desired shades.
- Apply highlights – Dip a small detail brush into your highlight color and lightly apply it to the areas that would catch more light. Use gentle strokes and build up the intensity gradually. Blend the highlight color smoothly into the surrounding areas to create a seamless transition.
- Create shadows – Switch to a different brush and dip it into your shadow color. Apply the shadow color to the areas that would be in shade or have less light. Again, use light strokes and blend the shadow color well to avoid harsh lines. Build up the shadow gradually, adding depth and contrast.
- Blend and soften – To create a more natural and realistic look, use a clean and slightly damp brush to blend and soften the transition between the highlights and shadows. This will help create a smoother gradation of colors.
- Review and adjust – Step back and assess your work. Pay attention to the overall balance of highlights and shadows. Make any necessary adjustments to ensure the dimension and form of the dish are well-defined.
Now that you’ve added depth and dimension, it’s time to add intricate details and embellishments to further enhance your painted silver serving dishes
.
When painting silver serving dishes with oil paint, make sure to clean and prime the surface first to ensure the paint adheres properly. Use thin layers of paint and build up the color gradually for a smooth and even finish.
Read more: How To Keep Serving Dishes Warm
Adding Details and Embellishments
Adding details and embellishments to your painted silver serving dishes can take them from ordinary to extraordinary. This is your chance to showcase your creativity and personal style. Here are some steps to help you add those finishing touches:
- Plan your design – Before you begin adding details, have a clear idea of the design you want to create. You can sketch it out on paper or visualize it in your mind.
- Choose your brushes – Select brushes that are suitable for the size and intricacy of the details you want to add. Fine detail brushes, liner brushes, and small round brushes are great for painting intricate patterns and designs.
- Pick your colors – Decide on the colors you want to use for the details and embellishments. Consider colors that will complement the base coat and the overall theme of your artwork.
- Create patterns and motifs – Use your brushes to paint delicate patterns, motifs, or intricate designs on the surface of the dish. This can be floral patterns, geometric shapes, or any other elements that resonate with your artistic vision.
- Add metallic accents – To enhance the metallic look of the silver serving dish, consider adding metallic accents. Use metallic gold or silver paint to highlight certain areas and add a touch of shimmer.
- Experiment with textures – If you want to add textural interest to your artwork, consider using a palette knife or other tools to create texture effects. This can be achieved by layering paint, scraping it, or creating raised patterns.
- Allow for drying time – Once you’ve completed the details and embellishments, allow the paint to dry thoroughly. Follow the instructions on the paint tubes for the recommended drying time.
Adding details and embellishments gives your painted silver serving dishes a unique and personal touch. Now it’s time to bring your artwork to completion with some final touches.
Finishing TouchesAs you near the completion of your painted silver serving dishes, it’s time to add the final touches that will elevate your artwork and ensure its longevity. Follow these steps for the finishing touches:
- Inspect for any touch-ups – Take a close look at your artwork and identify any areas that may need touch-ups or corrections. Use a fine brush and carefully fix any imperfections or uneven lines.
- Apply a protective sealant – To protect your artwork and give it a polished finish, apply a sealant or varnish specifically made for metal surfaces. Follow the instructions on the product for the correct application method.
- Allow for curing time – After applying the sealant, allow your painted silver serving dishes to cure according to the manufacturer’s instructions. This will ensure the longevity and durability of the paint.
- Review and appreciate your work – Step back and take a moment to admire your completed artwork. Appreciate the effort and creativity you put into transforming a plain silver dish into a unique and personalized piece.
- Display and enjoy – Once the paint is fully cured, you can proudly display your painted silver serving dishes. Use them for special occasions or as decorative pieces in your home. Just be sure to handle them gently and avoid abrasive cleaning methods to preserve the paint.
Congratulations on completing your painted silver serving dishes! With the finishing touches in place, your artwork is ready to be showcased and admired.
However, it’s important to note that painted silver serving dishes may not be suitable for direct food contact. To ensure the safety of your guests, consider using a food-safe liner or covering the painted areas with a food-grade sealant if you plan to serve food on these dishes.
Now that you have learned how to paint silver serving dishes with oil paint, you can embark on transforming other pieces of tableware and create a cohesive and stunning set. Enjoy the process, embrace your creativity, and continue to explore the world of tableware painting. Happy painting!
Cleaning and Caring for Painted Silver Serving Dishes
After putting so much effort into painting your silver serving dishes, it’s important to know how to properly clean and care for them to ensure their longevity and preserve the beauty of your artwork. Here are some tips to keep in mind:
- Handwashing is best – To protect the paint and prevent it from chipping or fading, it’s recommended to wash your painted silver dishes by hand. Avoid using harsh scrub brushes or abrasive cleaning pads that could damage the paint.
- Use mild detergent – When washing your dishes, use a mild dish detergent and warm water. Gently clean the surface with a soft sponge or cloth to remove any residue or dirt.
- Avoid soaking – Do not soak your painted silver dishes for extended periods of time. Prolonged exposure to water can weaken the paint and cause it to peel or fade.
- Dry thoroughly – After washing, make sure to dry the dishes thoroughly with a soft cloth. Avoid air drying, as water droplets can leave marks on the paint. Ensure there is no moisture left on the surface before storing or using the dishes.
- Prevent scratching – When storing your painted silver dishes, place a soft cloth or felt liner between each dish to prevent them from scratching each other. This will help preserve the paint and prevent any damage.
- Avoid harsh chemicals – Steer clear of harsh cleaning chemicals, bleach, or abrasive cleaners when caring for your painted silver dishes. These can corrode the paint and cause it to deteriorate over time.
- Handle with care – When using your painted silver dishes, handle them with care. Avoid scraping or banging them against hard surfaces, as this can chip or scratch the paint. Treat them as delicate pieces of art.
- Regularly inspect – Take the time to regularly inspect your painted silver dishes for any signs of wear or damage. If you notice any areas that need touch-ups, address them promptly to prevent further deterioration.
By following these cleaning and caring tips, you can keep your painted silver serving dishes in excellent condition and enjoy showcasing your artwork for years to come.
Remember that while oil paint is durable, it is still advisable to handle painted silver dishes with caution and avoid heavy use or exposure to extreme temperatures. With proper care, your painted silver serving dishes can continue to be a centerpiece of elegance and creativity in your tableware collection.
Now that you know how to clean and care for your painted silver serving dishes, let’s conclude our guide.
Conclusion
Congratulations on completing your journey into the world of tableware painting! By following the steps outlined in this guide, you have learned how to transform plain silver serving dishes into stunning works of art using oil paint. From preparing the surface and applying the base coat to adding dimension with highlights and shadows, and adding intricate details and embellishments, you have successfully created unique and personalized pieces that will impress your guests and elevate your dining experience.
Remember, the key to a successful painting project lies in careful planning, attention to detail, and embracing your artistic vision. Allow your creativity to flourish as you choose colors, patterns, and designs that reflect your personal style and taste.
As with any artwork, it’s important to handle your painted silver serving dishes with care and follow proper cleaning and maintenance techniques. By handwashing with mild detergent, avoiding harsh chemicals, and drying thoroughly, you can ensure the longevity and vibrancy of your artwork for years to come.
So, whether you plan to showcase your painted silver serving dishes on special occasions or simply admire their beauty on a daily basis, take pride in the fact that you have transformed ordinary tableware into extraordinary pieces that are truly one-of-a-kind.
Continue to explore the world of tableware painting, experiment with different techniques and materials, and let your creativity take center stage. Remember, the possibilities are endless when it comes to turning everyday objects into works of art.
Now go ahead, display your painted silver serving dishes with pride, and let them become a reflection of your artistic flair and unique style. Enjoy the compliments and the joy they bring to your dining experiences. Happy painting!
Frequently Asked Questions about How To Paint Silver Serving Dishes With Oil Paint
Was this page helpful?
At Storables.com, we guarantee accurate and reliable information. Our content, validated by Expert Board Contributors, is crafted following stringent Editorial Policies. We're committed to providing you with well-researched, expert-backed insights for all your informational needs.


0 thoughts on “How To Paint Silver Serving Dishes With Oil Paint”