Home>Gardening & Outdoor>Landscaping Ideas>How To Paint Grass With Oil Paint
Landscaping Ideas
How To Paint Grass With Oil Paint
Modified: March 25, 2024
Learn the best landscaping ideas and techniques for painting grass with oil paint. Enhance your art skills and create stunning landscape paintings.
(Many of the links in this article redirect to a specific reviewed product. Your purchase of these products through affiliate links helps to generate commission for Storables.com, at no extra cost. Learn more)
Introduction
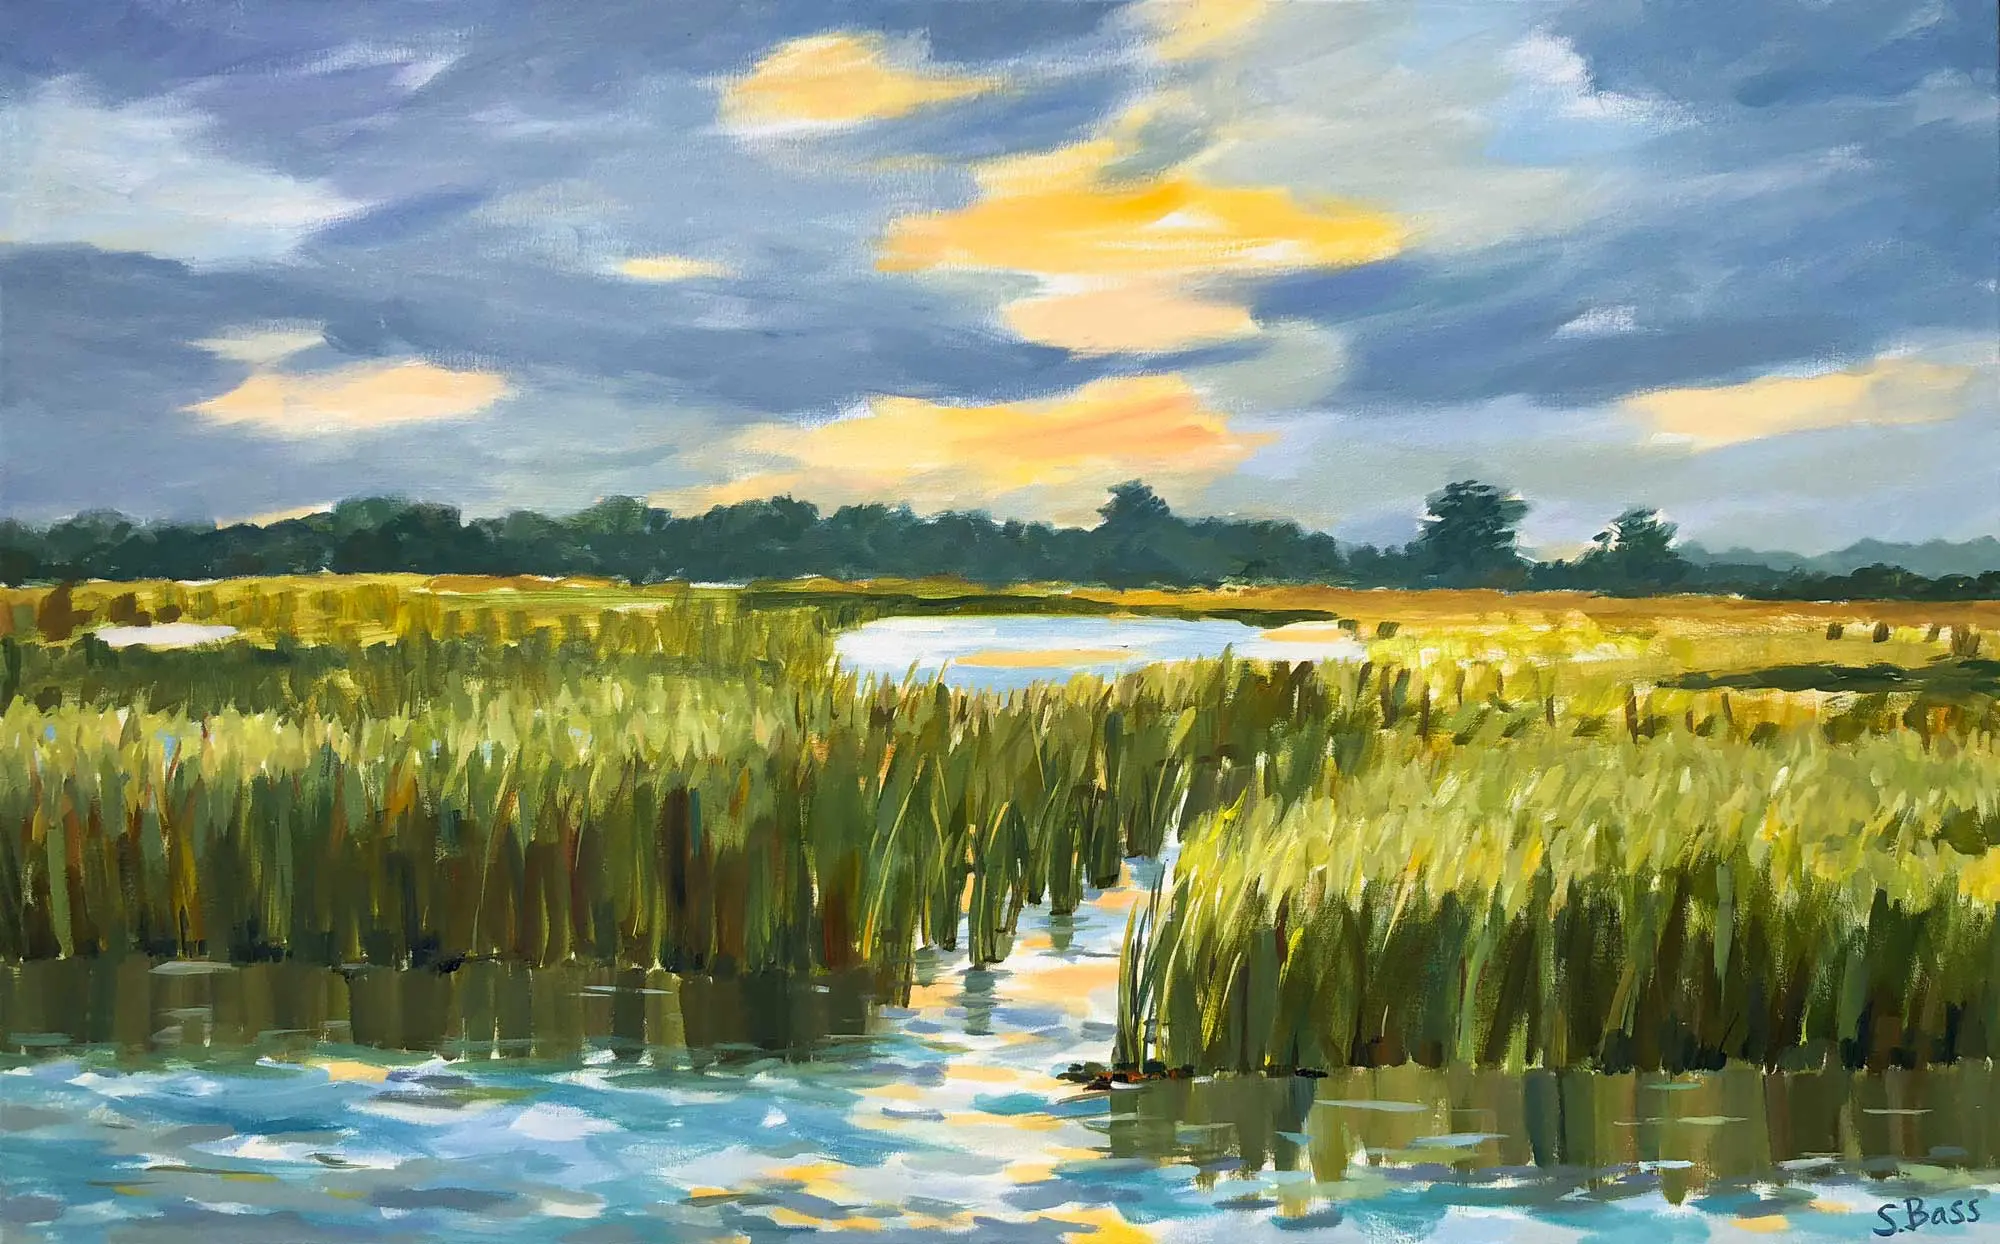
Welcome to the wonderful world of oil painting, where you can bring the beauty of nature to life on canvas. In this article, we will explore the art of painting grass with oil paints. Whether you are a seasoned artist or just starting out, mastering the technique of painting grass can add depth and realism to your landscapes.
From the vibrant green hues of spring to the golden tones of autumn, grass provides a versatile subject for artists to capture the essence of the outdoors. With the right materials, techniques, and a touch of creativity, you can learn to paint grass with confidence and skill.
Throughout this guide, we will delve into the essential materials needed, the process of choosing the right colors to depict various types of grass, and the step-by-step techniques for sketching, layering, and adding detail to your grassy landscape. By the end of this article, you will be equipped with the knowledge and inspiration to create stunning grassy scenes that leap off the canvas.
So, grab your paintbrushes, set up your easel, and let’s embark on an artistic journey to master the art of painting grass with oil paints.
Key Takeaways:
- To paint grass with oil paints, gather essential materials like a variety of green shades, suitable brushes, and a canvas. Choose colors wisely to capture the natural beauty of grass, and sketch the grass before applying the base layer.
- Adding texture and detail to the grassy landscape brings it to life. Use different brush techniques to create movement and depth, and pay attention to light and shadow. The final touches refine the painting, enhancing its visual impact and completeness.
Read more: How To Paint Grass In Oil
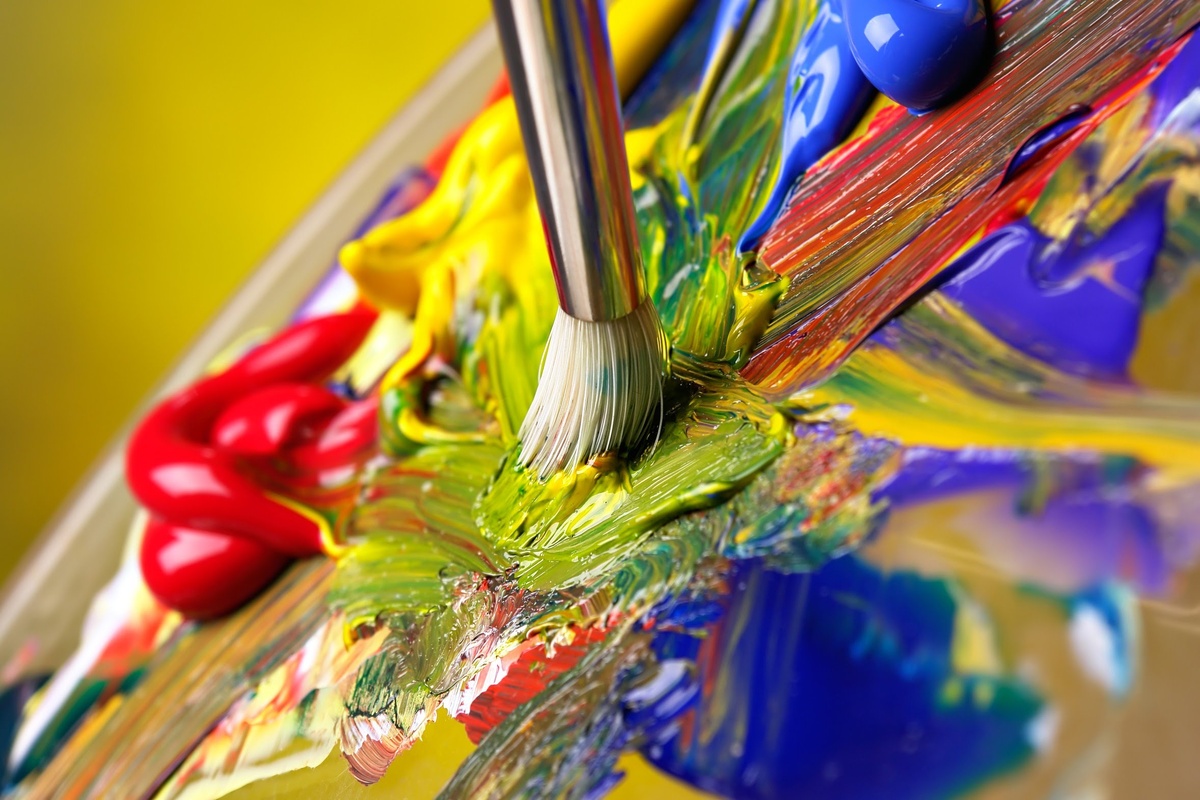
Materials Needed
Before you begin your artistic endeavor, it’s essential to gather the right materials to ensure a successful oil painting of grass. Here’s a list of the basic supplies you’ll need:
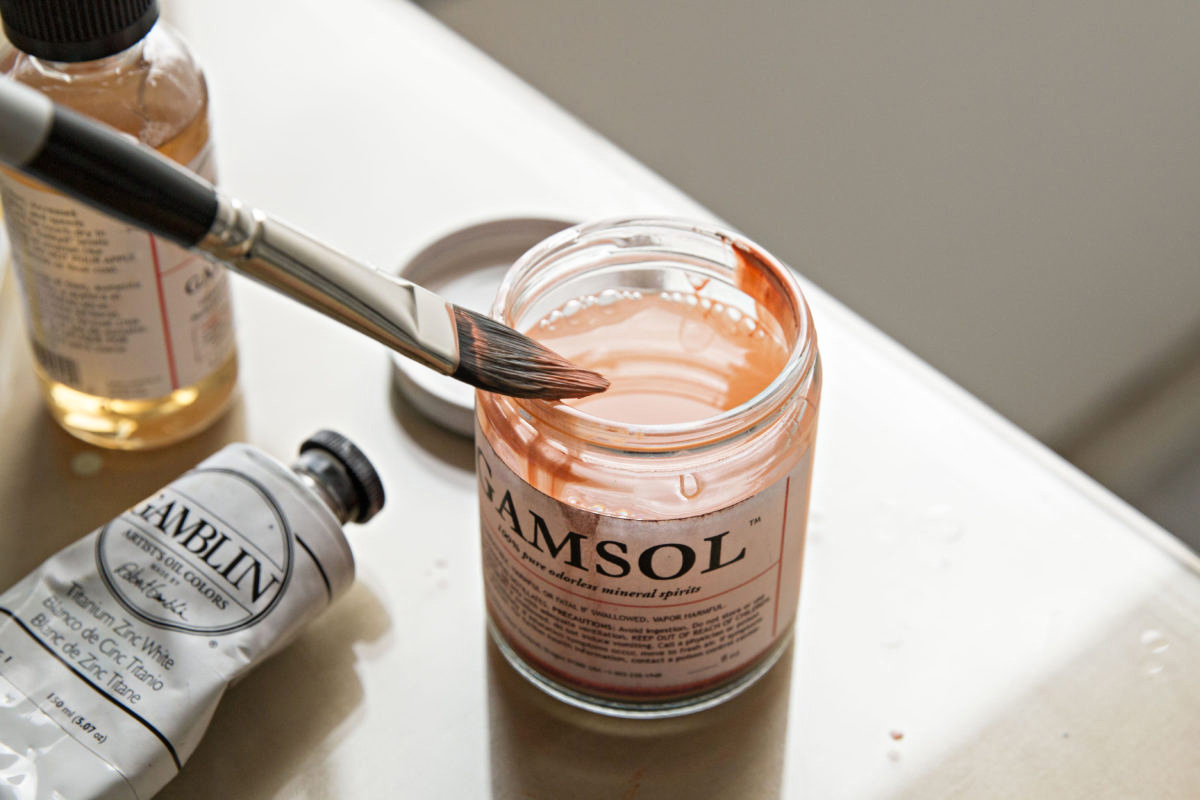
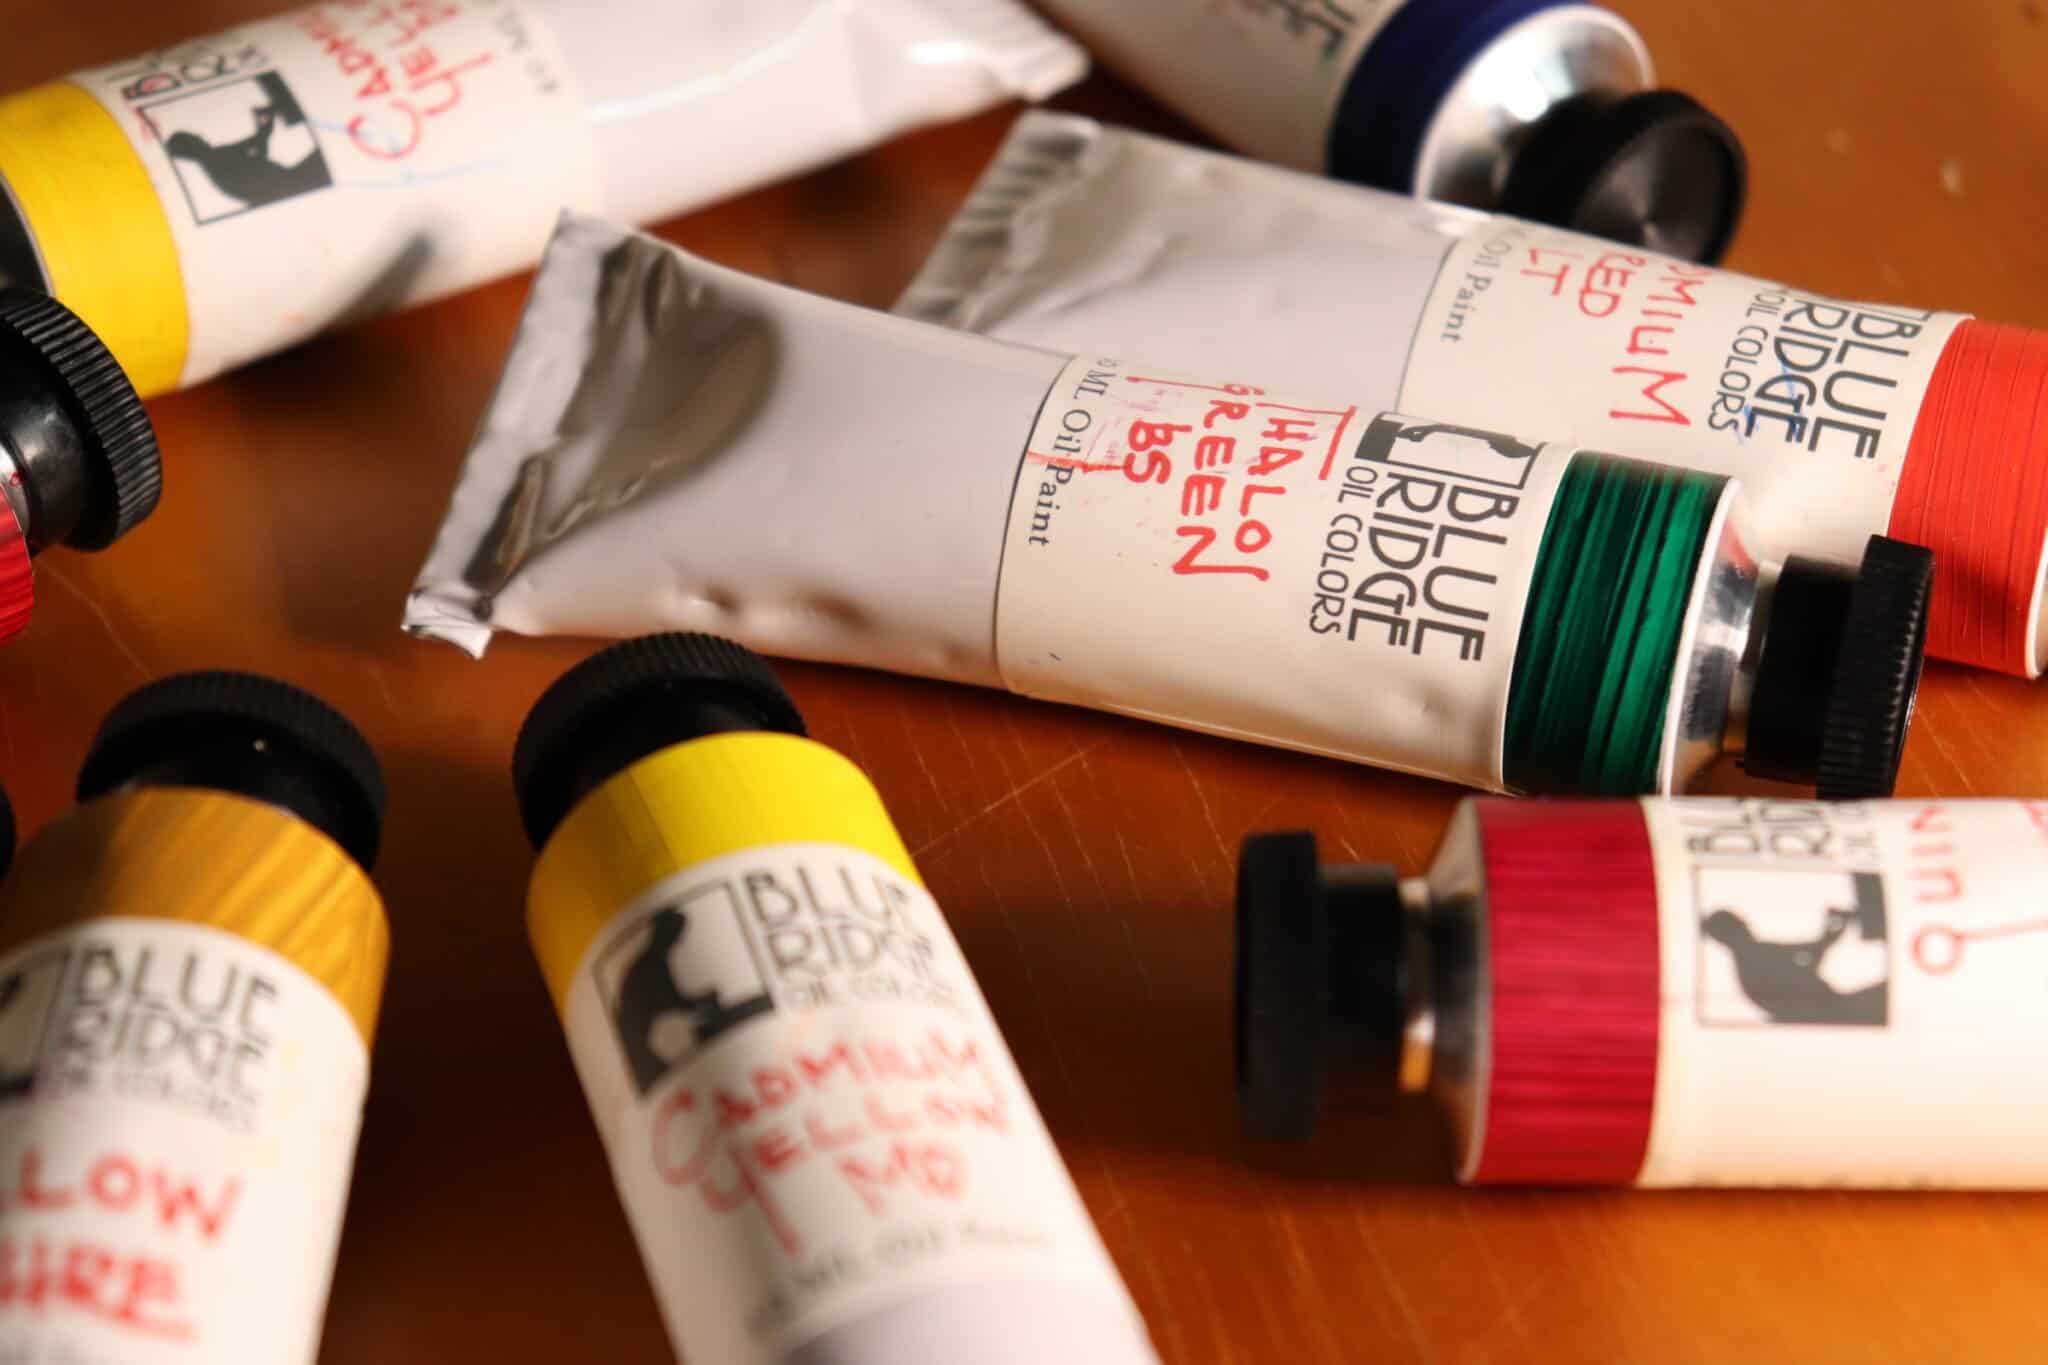
- Oil paints: Invest in a range of green shades, from bright lime to deep olive, as well as earthy tones for the soil and any additional elements in your landscape.
- Paintbrushes: Select a variety of brushes, including flat and round brushes in different sizes to accommodate various details and textures.
- Canvas or painting surface: Choose a canvas or painting panel suited for oil painting, ensuring it is properly primed to receive the oil paints.
- Palette: Use a palette for mixing and blending your oil paints. A wooden or disposable palette works well for oil painting.
- Palette knife: This tool is handy for mixing colors and applying textured layers to depict grass and foliage.
- Medium: Consider using a painting medium such as linseed oil or a solvent to adjust the consistency and drying time of your oil paints.
- Sketching materials: Have pencils, erasers, and sketching paper on hand for preliminary sketches and outlines.
- Reference images: Gather photographs or visual references of grassy landscapes to inspire and guide your painting.
- Easel: Set up an easel or a stable surface to support your canvas while you work.
- Protective gear: Since oil paints can be messy and difficult to clean, consider using gloves and aprons to protect your clothing and skin.
By ensuring you have these essential materials at your disposal, you’ll be well-prepared to embark on your journey to paint lush, verdant grass with the richness and depth that only oil paints can provide.
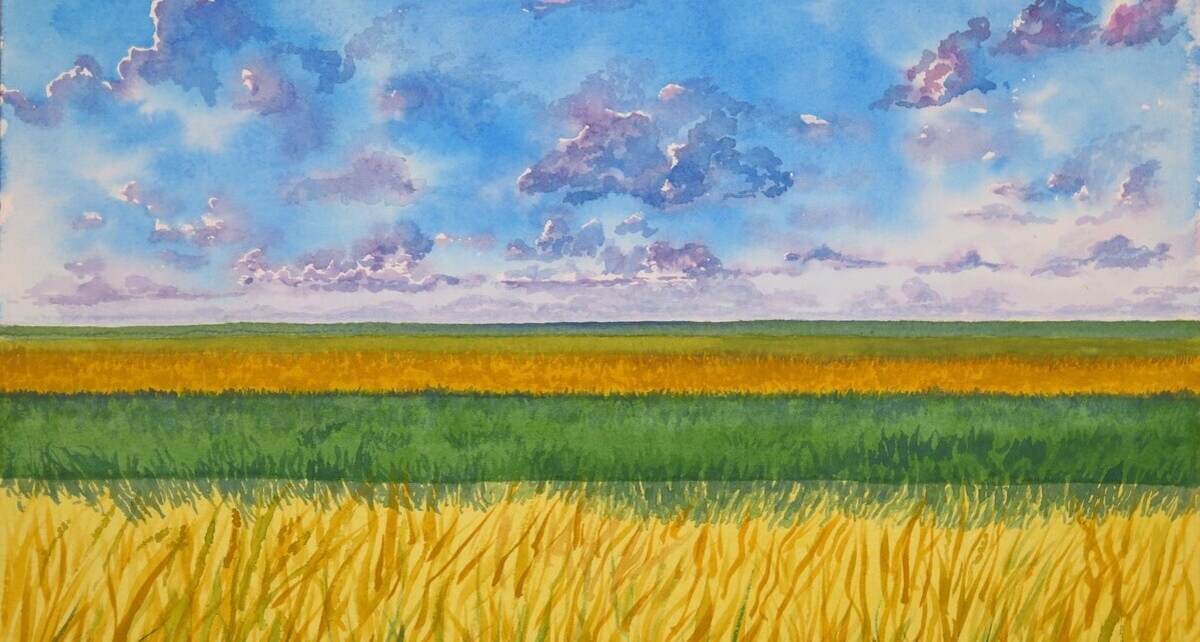
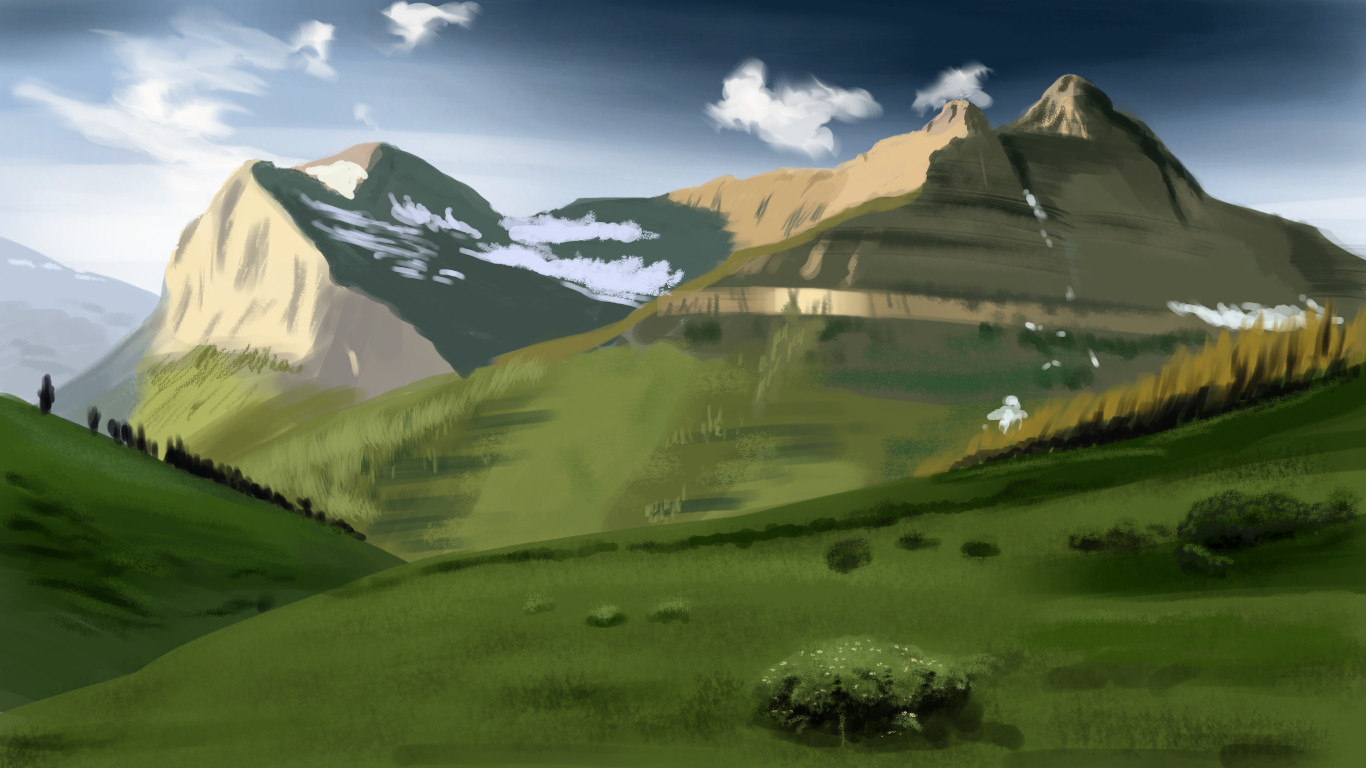
Choosing the Right Colors
When it comes to depicting grass with oil paints, selecting the right colors is crucial for capturing the natural beauty and diversity of grassy landscapes. From the vibrant green hues of fresh spring grass to the golden tones of sun-kissed meadows, understanding the nuances of color is essential to breathe life into your painting.
Begin by assembling a range of green shades in your oil paint collection. Consider hues such as sap green, hooker’s green, viridian, and olive green to portray the varying shades of grass. Additionally, mix in touches of yellow ochre, raw sienna, and burnt umber to capture the earthy undertones and highlights within the grassy terrain.
As you explore different types of grass and landscapes, observe the interplay of light and shadow on the grass blades. This will influence your color choices, as areas of direct sunlight will appear brighter and more saturated, while shaded areas will exhibit cooler, subdued tones.
Furthermore, consider the season and environmental conditions when choosing your colors. For instance, spring grass may feature bright, lively greens, while autumn grass could display warmer, golden hues. By observing and understanding the natural world, you can infuse your painting with authenticity and depth.
Experiment with mixing and layering various green shades to achieve a sense of depth and dimension within your grassy landscape. Don’t be afraid to incorporate subtle hints of complementary colors, such as touches of blue or violet, to add complexity and visual interest to your grassy scenes.
By carefully selecting and blending the right colors, you can elevate your oil painting of grass to evoke the rich, organic beauty of the natural world, captivating viewers with the lushness and vitality of your artistic expression.
Sketching the Grass
Before delving into the application of oil paints, it’s important to lay the groundwork for your grassy landscape through preliminary sketches. This initial step allows you to establish the composition, perspective, and arrangement of the grass within your painting.
Begin by lightly sketching the basic outlines and shapes of the grassy terrain using a pencil on your canvas. Pay attention to the direction and flow of the grass blades, considering factors such as wind patterns and the natural contours of the landscape. This stage serves as a roadmap for the placement and movement of the grass within your composition.
As you sketch, consider the focal points and areas of interest within your grassy scene. Whether it’s a sunlit clearing, a meandering path, or a cluster of wildflowers, these elements will influence the distribution and density of the grass, guiding the viewer’s gaze and adding narrative depth to your painting.
Don’t be overly concerned with intricate details at this stage; instead, focus on capturing the overall gestural quality and rhythm of the grassy expanse. Embrace spontaneity and fluidity in your sketches, allowing the natural character of the grass to emerge through your confident, expressive lines.
Once you are satisfied with the composition and arrangement of the grass, you can refine your sketches to include variations in height, density, and texture. This stage provides an opportunity to establish the foreground, midground, and background elements, creating a sense of depth and dimension within your grassy landscape.
By investing time in thoughtful and deliberate sketching, you lay a strong foundation for the subsequent application of oil paints, ensuring that your grassy scene unfolds with authenticity and visual impact. With the preliminary sketches in place, you are ready to infuse your canvas with the vibrant colors and dynamic textures that will bring your grassy landscape to life.
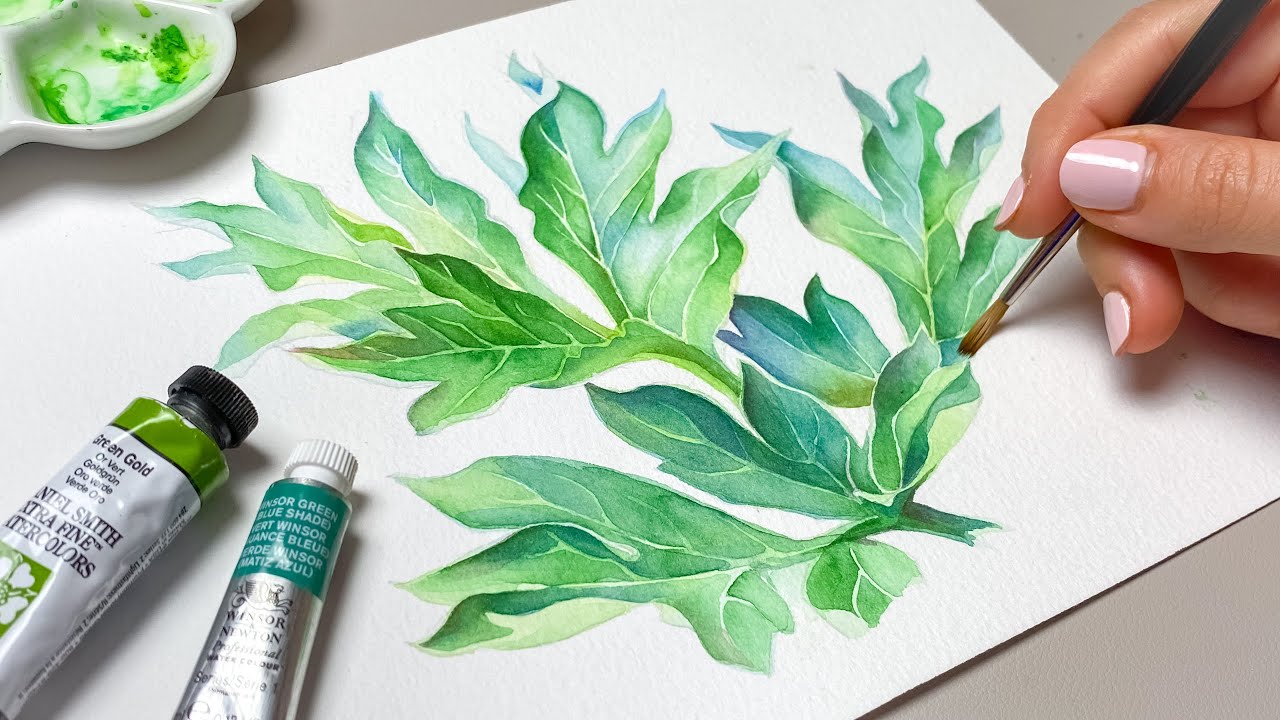
When painting grass with oil paint, start by using a thin layer of paint to establish the basic shapes and colors. Then, add texture and depth by using a variety of brushstrokes and shades of green. Don’t forget to add highlights and shadows to make the grass look more realistic.
Applying the Base Layer
With your sketches serving as a guide, it’s time to lay the groundwork for your grassy masterpiece by applying the base layer of oil paints. This foundational stage sets the tone for the overall composition and provides a solid backdrop for the subsequent layers of texture and detail.
Begin by mixing a suitable base color for the grass, considering the predominant hues and environmental factors in your scene. Use a large, flat brush to apply this base color evenly across the areas designated for the grass, covering the canvas with broad, sweeping strokes. This initial layer establishes the underlying tones and values, setting the stage for the lush, verdant landscape to come.
As you apply the base layer, consider the play of light and shadow within your composition. Highlight areas that catch the sunlight with slightly brighter tones, while incorporating cooler, darker shades in the shadowed regions. This nuanced approach adds depth and dimension to your grassy terrain, infusing it with a sense of realism and vitality.
Embrace the fluidity and organic nature of grass as you apply the base layer, allowing your brushstrokes to convey the natural movement and texture of the grass blades. Vary the pressure and direction of your brushstrokes to capture the dynamic interplay of light and wind on the grass, creating a sense of movement and liveliness within your painting.
Throughout this process, remain mindful of the overall composition and the focal points within your grassy landscape. Use the base layer to establish the spatial relationships and visual flow of the grass, ensuring a harmonious balance between the various elements within your painting.
By skillfully applying the base layer, you set the stage for the subsequent layers of texture and detail, laying a solid foundation for the vibrant, lifelike portrayal of grass with oil paints. With the base layer in place, your grassy landscape is poised to evolve into a captivating tapestry of natural beauty and artistic expression.
Read more: How To Store An Oil Painting
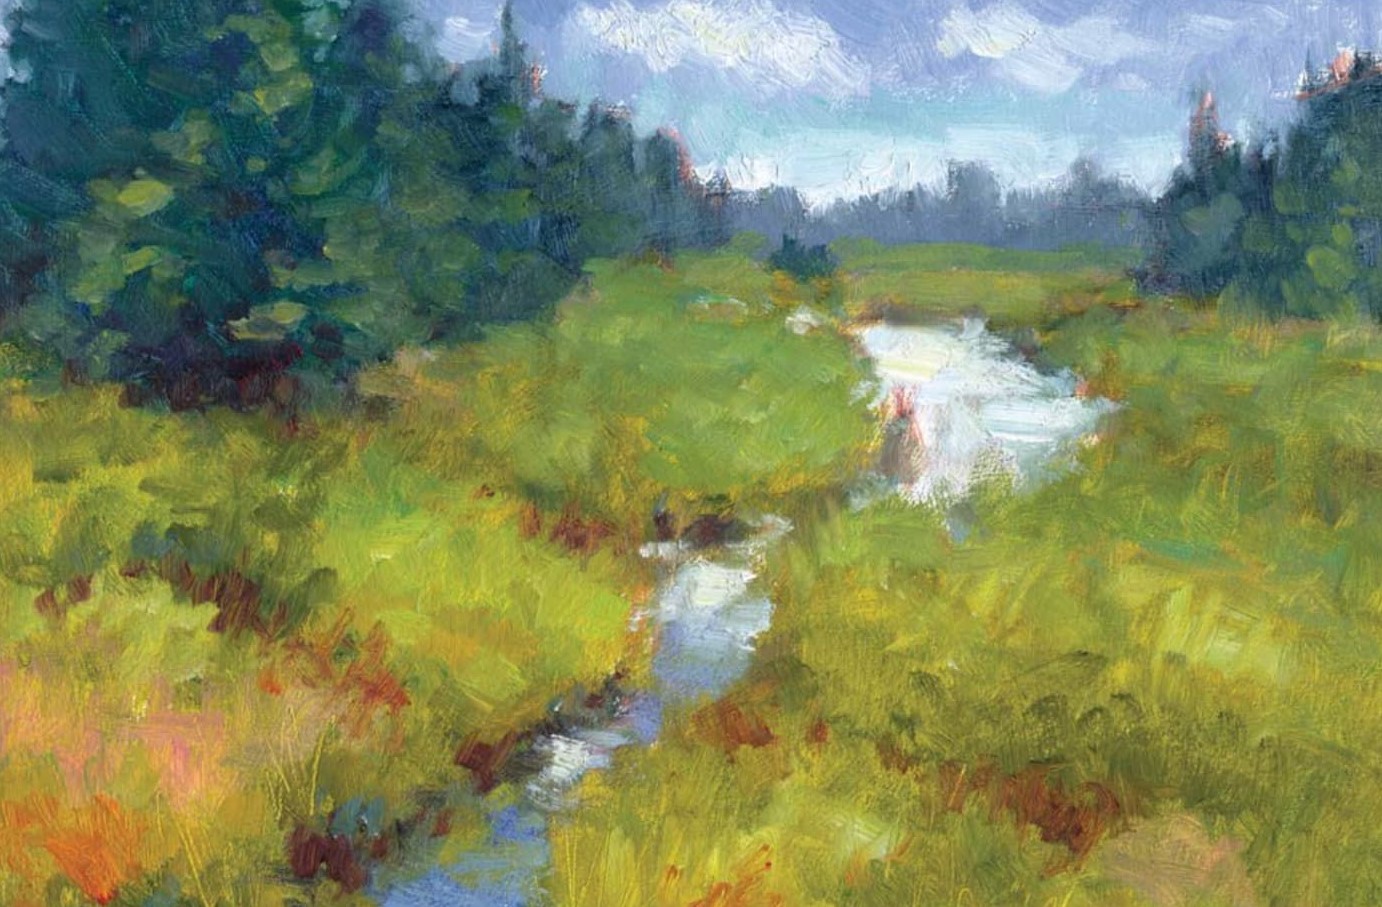
Adding Texture and Detail
With the base layer providing a solid foundation, it’s time to infuse your grassy landscape with texture and detail, bringing its natural vibrancy to life through the rich, tactile qualities of oil paints.
Begin by selecting a smaller, more nimble brush to add intricate textures and nuanced details to the grass. Consider the varied lengths and densities of grass blades, using a combination of short, controlled strokes and delicate touches to convey the lush, organic quality of the grassy terrain.
Embrace the interplay of light and shadow as you add texture, allowing your brushwork to capture the subtle highlights and intricate patterns within the grass. Use lighter, warmer tones to accentuate sunlit areas, while integrating cooler, darker shades to define the shadowed recesses, creating a sense of depth and dimension within the grassy expanse.
Explore the dynamic nature of grass by incorporating a variety of brush techniques, such as stippling, scumbling, and dry brushing, to emulate the intricate textures and movement of the grass blades. This tactile approach adds a sense of realism and vitality to your painting, inviting viewers to immerse themselves in the natural beauty of the grassy landscape.
As you add detail to the grass, consider the surrounding elements within your composition, such as wildflowers, rocks, or meandering pathways. Integrate these elements seamlessly into the grassy terrain, using subtle shifts in color and texture to create a cohesive, harmonious depiction of the natural world.
Throughout this process, allow your artistic intuition to guide your brushwork, embracing spontaneity and expression to capture the organic essence of the grass. Emphasize the unique character and personality of the grassy landscape, infusing it with a sense of vitality and movement that resonates with the viewer.
By skillfully adding texture and detail, you elevate your oil painting of grass to a captivating portrayal of nature’s intricate beauty, inviting viewers to immerse themselves in the verdant splendor of your artistic creation.
Final Touches
As you near the completion of your oil painting of grass, the final touches play a crucial role in refining and enhancing the overall visual impact of your masterpiece. These finishing details add depth, nuance, and a sense of completeness to your grassy landscape, elevating it to a captivating work of art that resonates with viewers.
One of the key aspects of the final touches is to revisit the interplay of light and shadow within your composition. Fine-tune the highlights and shadows on the grass blades, paying attention to the subtle variations in color and value that convey the natural luminosity and depth of the grassy terrain. This meticulous attention to light and shadow infuses your painting with a sense of realism and vitality.
Consider incorporating additional elements that complement the grassy landscape, such as delicate wildflowers, scattered leaves, or gently swaying blades of grass. These subtle details add visual interest and narrative depth to your painting, inviting viewers to immerse themselves in the rich tapestry of the natural world you have created.
Refine the edges and contours of the grass, ensuring that the transitions between foreground, midground, and background elements are seamless and harmonious. This attention to detail enhances the spatial depth and visual cohesiveness of your grassy scene, creating a captivating sense of immersion for the viewer.
Take a step back to assess the overall balance and harmony of your grassy landscape. Make any necessary adjustments to the composition, colors, and textures, ensuring that every element contributes to the cohesive, evocative portrayal of nature’s beauty.
Finally, consider the framing and presentation of your painting. Whether you choose a traditional frame or a contemporary gallery wrap, the presentation of your artwork can further enhance its impact and resonance. Select a framing option that complements and elevates the aesthetic qualities of your grassy masterpiece, inviting viewers to appreciate its beauty in a refined, polished manner.
With these final touches, your oil painting of grass is transformed into a captivating, immersive portrayal of the natural world, inviting viewers to connect with the timeless beauty and vitality of the grassy landscape you have brought to life on canvas.
Conclusion
Mastering the art of painting grass with oil paints offers a rewarding journey into the vibrant, verdant world of nature. Through the careful selection of colors, meticulous sketching, and skillful application of texture and detail, you can breathe life into your canvas, creating captivating grassy landscapes that resonate with authenticity and beauty.
As you immerse yourself in the process of painting grass, remember to embrace the organic character and dynamic movement of this natural element. Infuse your brushwork with a sense of spontaneity and expression, capturing the nuanced textures and interplay of light and shadow that define the essence of grassy landscapes.
Throughout this artistic exploration, allow your creativity to flourish, drawing inspiration from the ever-changing beauty of the natural world. Whether you are depicting sun-dappled meadows, windswept fields, or tranquil pastures, let your paintings reflect the timeless allure and vitality of grassy landscapes.
As you refine your technique and artistic vision, remember that each brushstroke is an opportunity to evoke the rich, immersive beauty of nature, inviting viewers to connect with the tranquil splendor and organic rhythms of the grassy terrain you have so skillfully portrayed.
So, as you embark on your artistic journey to paint grass with oil paints, embrace the vibrant hues, the intricate textures, and the timeless allure of this natural subject. With each stroke of your brush, you have the power to transport viewers to the heart of nature, where the lush, verdant beauty of grass awaits to captivate and inspire.
May your artistic endeavors continue to flourish, allowing you to weave the timeless charm and vitality of grass into your canvases, creating enduring works of art that celebrate the enduring allure of the natural world.
Frequently Asked Questions about How To Paint Grass With Oil Paint
Was this page helpful?
At Storables.com, we guarantee accurate and reliable information. Our content, validated by Expert Board Contributors, is crafted following stringent Editorial Policies. We're committed to providing you with well-researched, expert-backed insights for all your informational needs.
0 thoughts on “How To Paint Grass With Oil Paint”