Home>Dining>Tableware>How To Wrap Silverware In Paper Napkins
Tableware
How To Wrap Silverware In Paper Napkins
Modified: May 23, 2024
Learn how to perfectly fold and present silverware with this simple step-by-step guide.
(Many of the links in this article redirect to a specific reviewed product. Your purchase of these products through affiliate links helps to generate commission for Storables.com, at no extra cost. Learn more)
Introduction
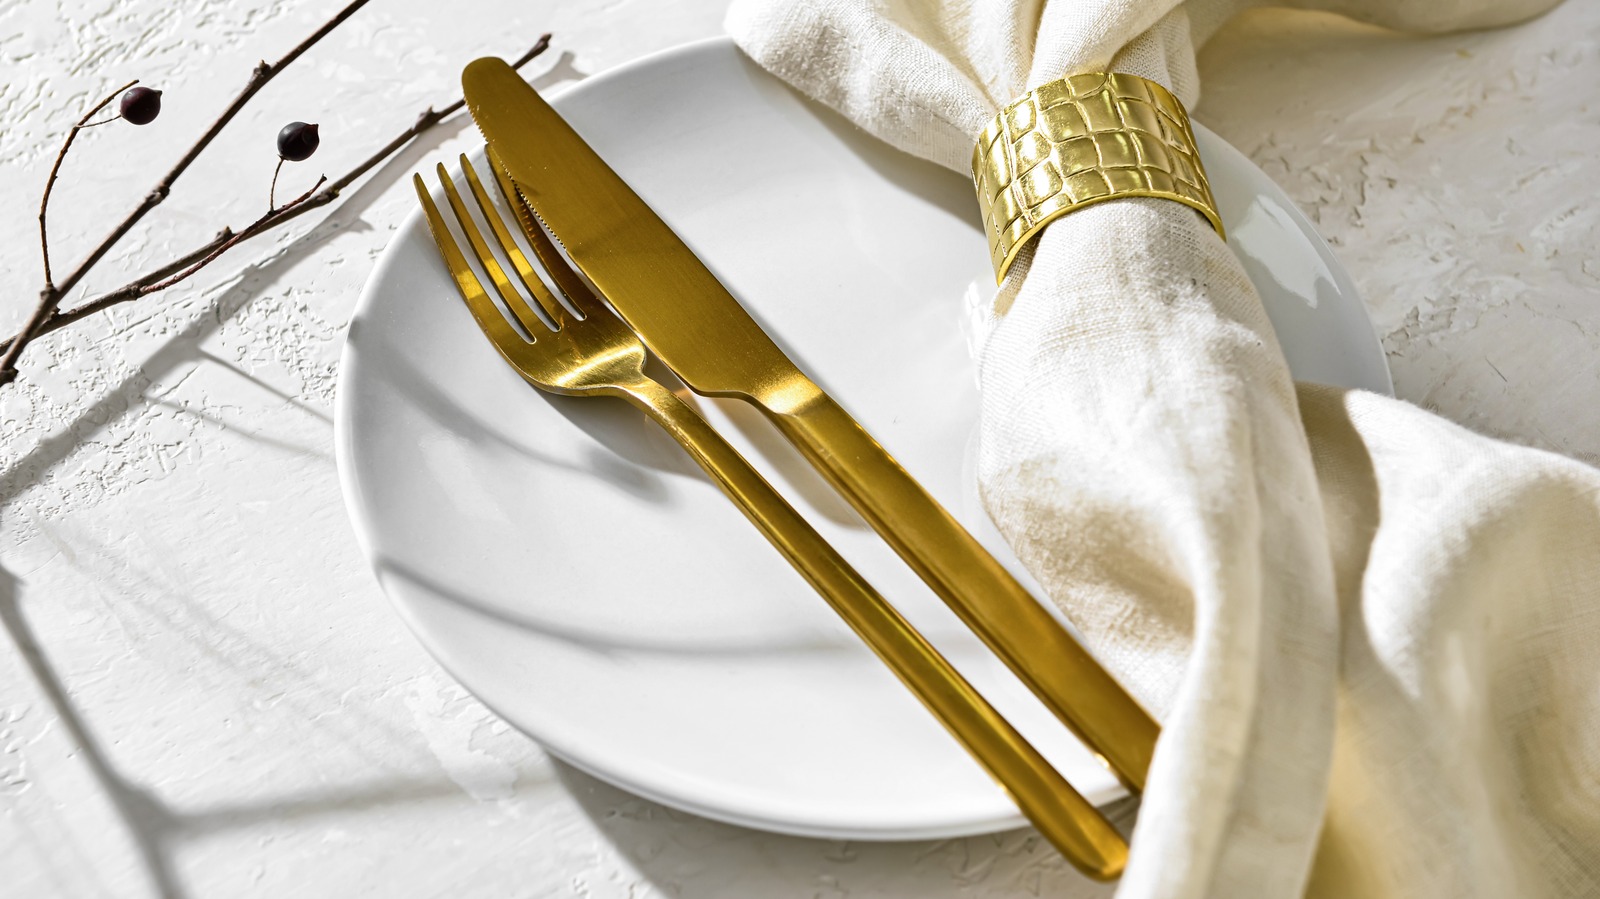
When it comes to setting a table for a special occasion or a dinner party, the presentation is just as important as the food itself. One way to elevate the table decor and add a touch of elegance is by wrapping the silverware in paper napkins. Not only does this create a polished and refined look, but it also adds a personal and thoughtful touch to each place setting.
In this article, we will guide you through the process of wrapping silverware in paper napkins, showcasing a simple yet stylish method that will impress your guests. Whether you are hosting a formal dinner or a casual gathering, this technique is versatile and can work for any occasion.
So, let’s gather our materials and get started on achieving that beautiful table setting!
Key Takeaways:
- Elevate your table decor and impress guests by wrapping silverware in paper napkins. Add a personal touch with decorative elements and create a memorable dining experience for any occasion.
- Quality paper napkins, careful silverware placement, and decorative touches are key to achieving an elegant table setting. Show attention to detail and elevate the dining experience effortlessly.
Read more: How To Wrap Silverware In A Napkin
Materials needed
Before we begin, let’s gather the materials required for this project. Don’t worry, you don’t need any fancy or expensive supplies. Here’s what you’ll need:
- Quality paper napkins: Choose napkins that are sturdy and made from a material that holds its shape when folded. You can select napkins in a color or pattern that complements the theme or color scheme of your event.
- Silverware sets: Gather a complete set of silverware including forks, knives, and spoons for each place setting.
- Ribbon or twine: Opt for a ribbon or twine that matches the colors of your napkins or adds a decorative touch. Make sure it is long enough to tie around the silverware securely.
- Optional embellishments: If you want to add a little extra flair, consider including small decorations such as mini flowers, name tags, or themed charms. These can be tied onto the ribbon for a personalized touch.
Once you have collected these materials, you are ready to move on to the next steps of folding and wrapping the silverware in paper napkins.
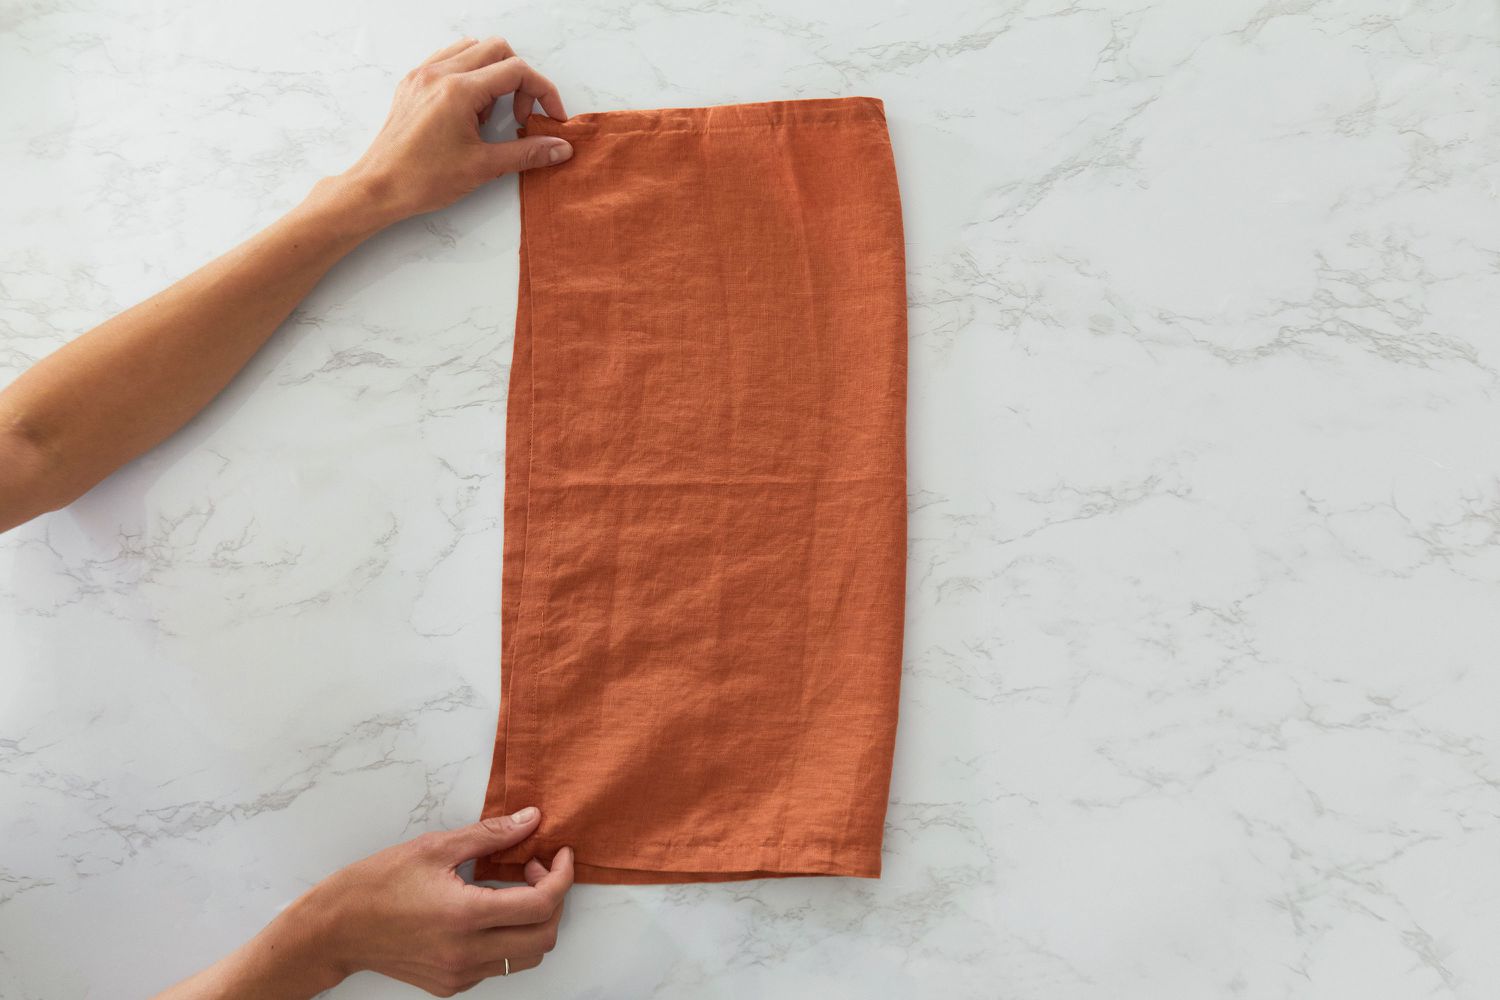
Step 1: Folding the napkin
The first step in wrapping silverware in paper napkins is to properly fold the napkin. The folding technique you choose will depend on your personal preference and the style you want to achieve. Here’s a simple folding method that works well for most occasions:
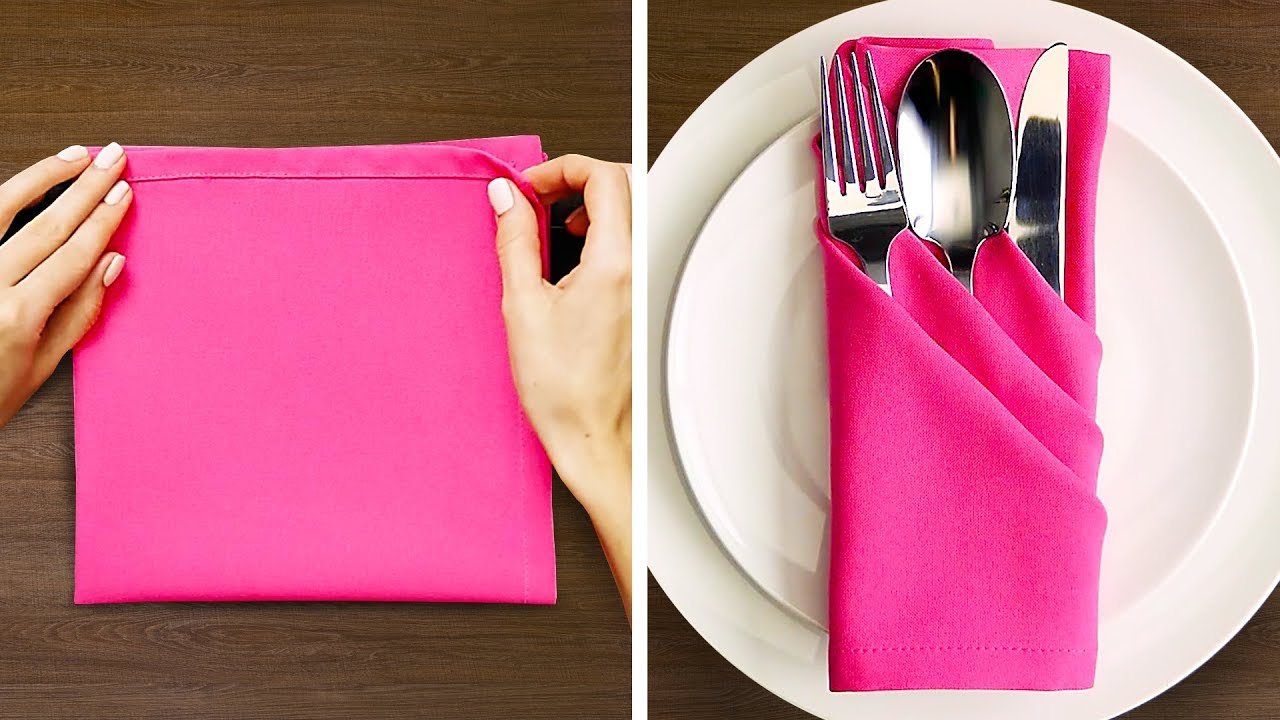
- Start by laying the paper napkin flat on a clean and flat surface. Smooth out any wrinkles or creases to ensure a neat and polished look.
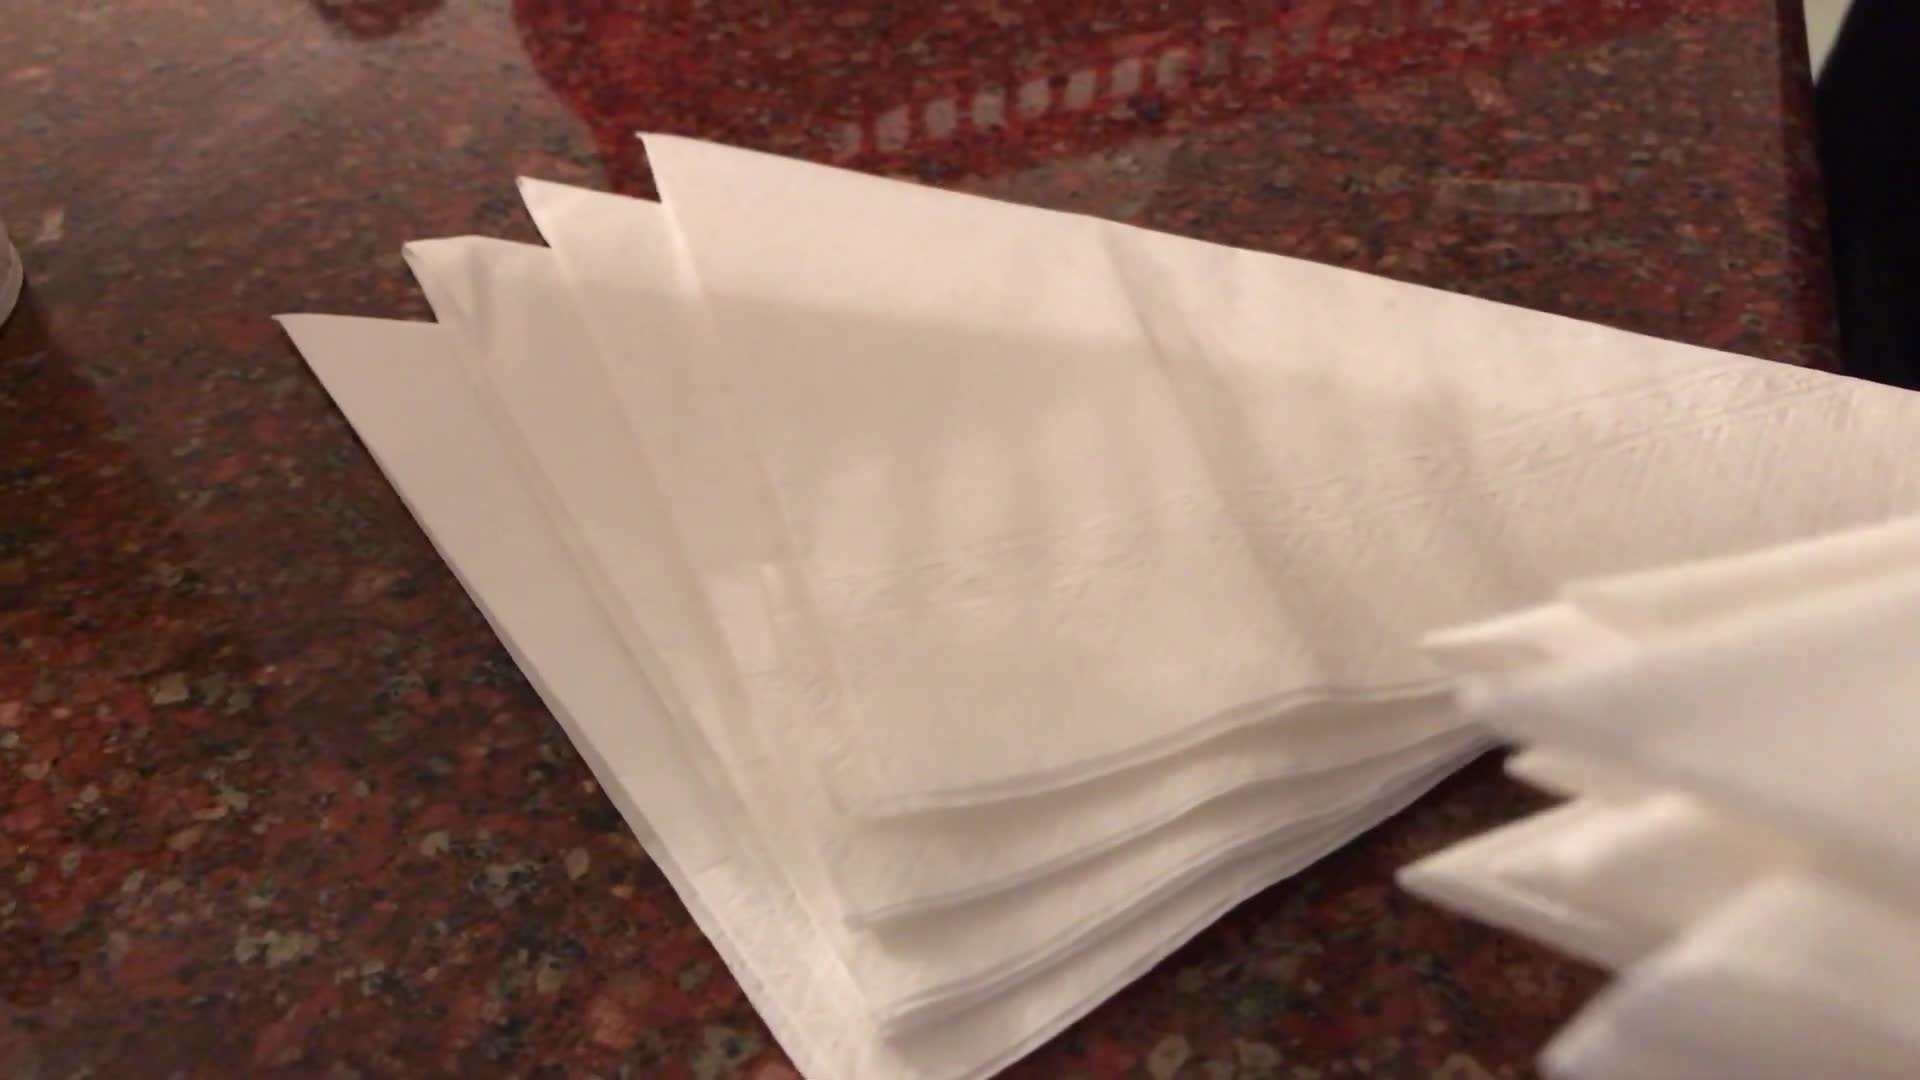
- Next, fold the napkin in half diagonally, creating a triangle shape. Ensure that all corners are aligned to achieve a precise fold.
- Now, take one corner of the triangle and fold it towards the center, about two-thirds of the way. Repeat this step with the other corner, so that both corners meet in the center.
- Flip the napkin over and fold the left and right corners towards the center, again meeting at the center point.
- Finally, flip the napkin over once more and give it a gentle tug to straighten out any imperfections. You should now have a neatly folded napkin that forms a compact shape.
This folding technique creates a pocket in the napkin where you can place the silverware. It also allows for a stable base when placing the wrapped silverware on the table.
Now that you have mastered the art of napkin folding, it’s time to move on to the next step: placing the silverware.
Step 2: Placing the silverware
Now that you have your beautifully folded napkin, it’s time to carefully place the silverware within it. Depending on your preference and the formality of the occasion, you can choose to include a full set of silverware or just the essentials. Here’s how:
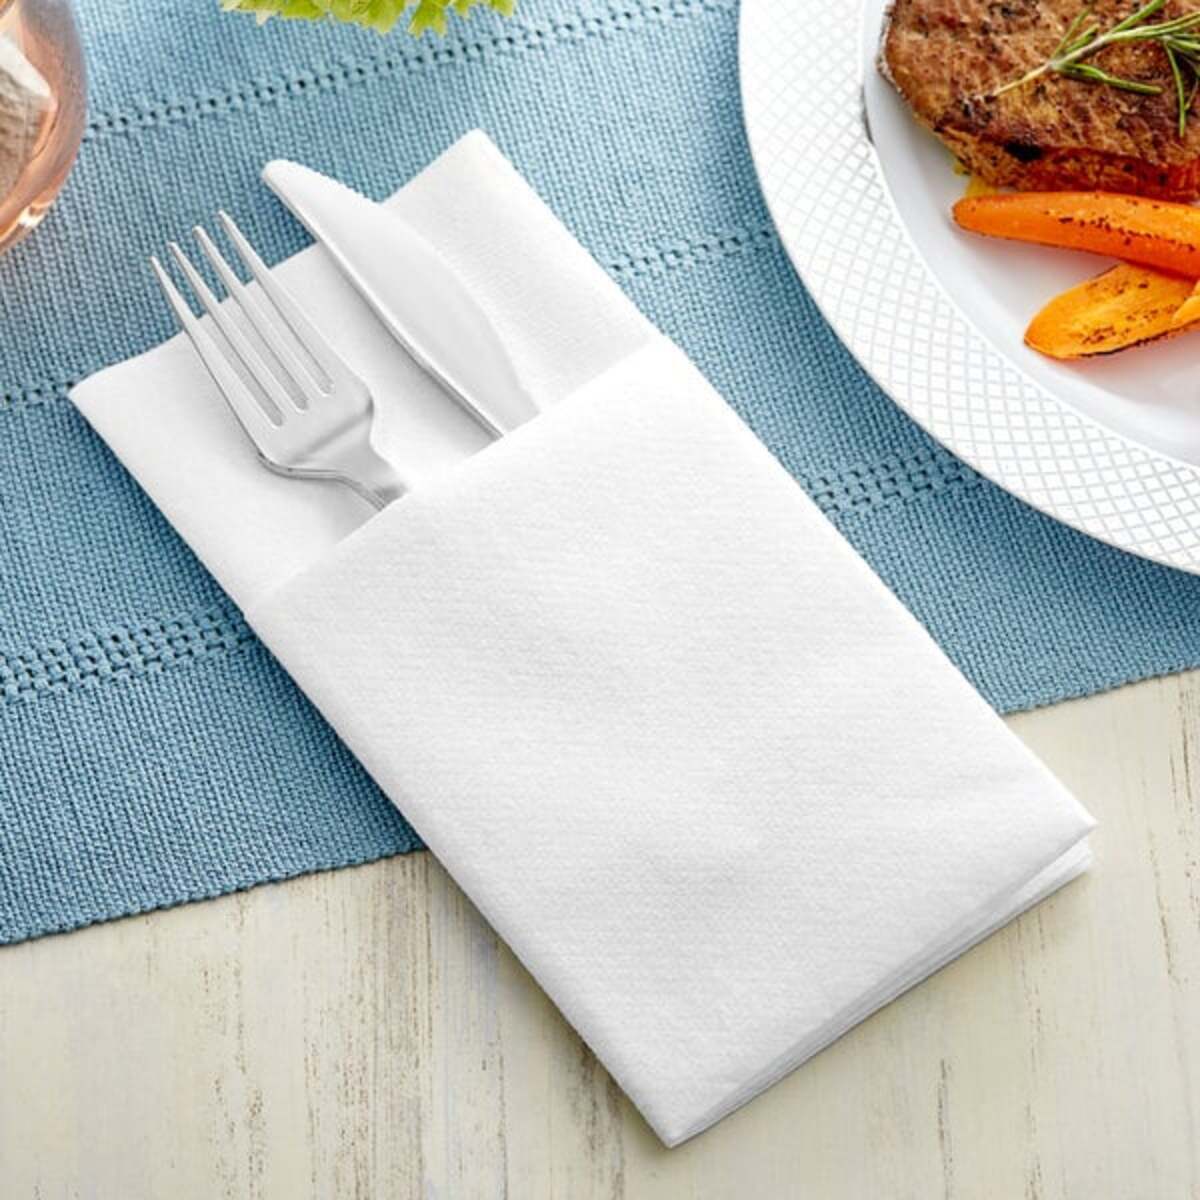
- Take the folded napkin and hold it with the pointy end facing away from you.
- Gently slide the silverware into the pocket of the napkin. Start with the fork, followed by the knife, and then the spoon. Alternatively, you can arrange them in any order you prefer.
- Ensure that the silverware is centered and aligned within the napkin’s pocket. Adjust if needed to create a balanced and visually pleasing look.
- If you are using additional utensils, such as a salad fork or a dessert spoon, you can place them next to the main silverware set or tuck them inside the pocket along with the others.
Remember, the alignment and presentation of the silverware are key to achieving an elegant and sophisticated look. Take your time to position them neatly within the napkin so that they are ready to be wrapped.
With the silverware properly placed, it’s time to move on to the next step: wrapping the silverware in the napkin.
When wrapping silverware in paper napkins, start by placing the silverware in the center of the napkin. Then, fold the sides of the napkin over the silverware and roll it up tightly. This will keep the silverware secure and presentable for serving.
Step 3: Wrapping the silverware
Now that the silverware is neatly placed within the folded napkin, it’s time to wrap them together to create a cohesive and polished look. Follow these steps to wrap the silverware:
- Hold the napkin with one hand, ensuring that the silverware remains in place.
- Use your other hand to bring one side of the napkin over the silverware, tucking it securely underneath the utensils.
- Take the opposite side of the napkin and fold it over the silverware, crossing over the previously folded side. Again, make sure it is tucked in tightly.
- If the napkin has excess length, you can fold the bottom edge up to create a clean and finished look. This step is optional, especially if you prefer a more relaxed and casual style.
The key is to ensure a snug and secure wrap that keeps the silverware enclosed within the napkin. Take a moment to adjust and align the napkin as needed to achieve a neat and visually appealing result.
With the silverware now securely wrapped, it’s time to move on to the next step: securing everything with a ribbon or twine.
Read more: How To Fold A Napkin To Hold Silverware
Step 4: Securing with a ribbon or twine
To add a final touch of elegance and keep the wrapped silverware in place, it’s time to secure everything with a ribbon or twine. Follow these steps to secure your wrapped silverware:
- Choose a ribbon or twine that complements the color and style of the napkins and the overall table decor.
- Take the ribbon or twine and wrap it around the center of the wrapped napkin and silverware. Make sure it is snug but not too tight.
- Tie a knot or a bow to secure the ribbon or twine in place. You can experiment with different types of knots and bows to add a decorative element.
- Trim the ends of the ribbon or twine, leaving a neat and clean finish.
By securing the wrapped silverware with a ribbon or twine, not only do you keep everything in place, but you also add a touch of sophistication and elegance to the overall table setting.
With the silverware now securely wrapped and tied, let’s move on to the final step: adding some finishing touches to complete the look.
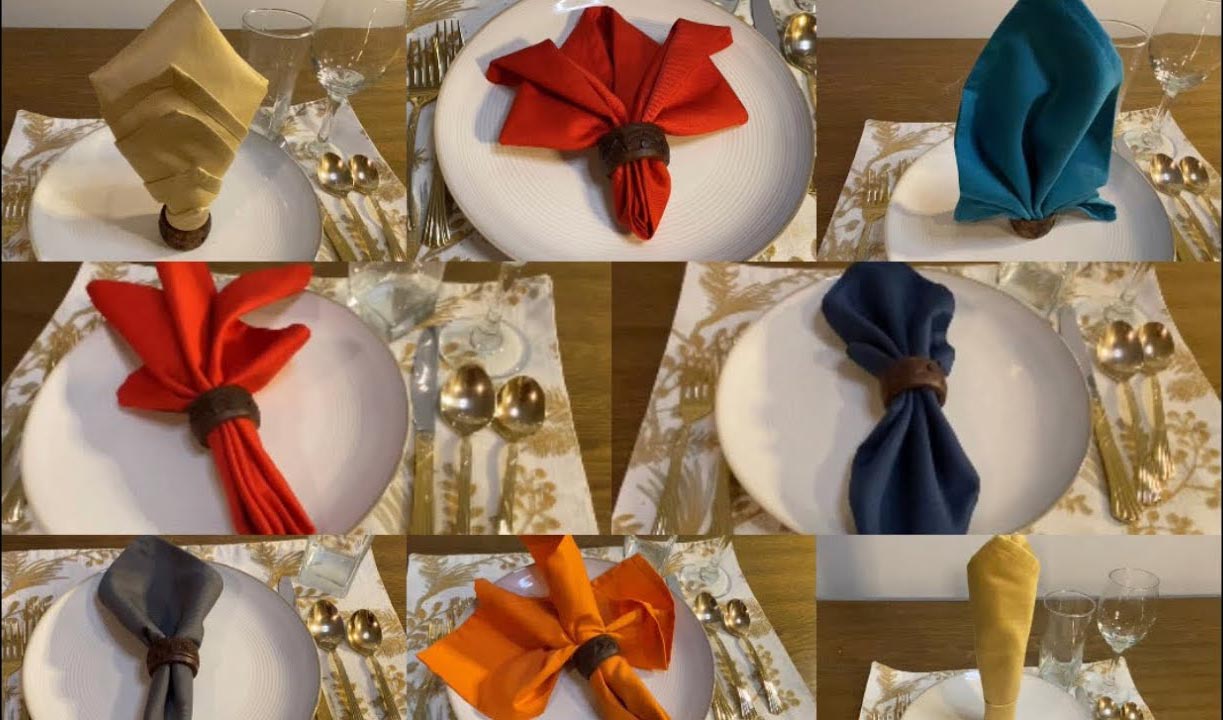
Step 5: Adding finishing touches
Now that you have wrapped and secured the silverware in the paper napkins, it’s time to add some final touches to elevate the presentation and personalize each place setting. Here are a few ideas to consider:
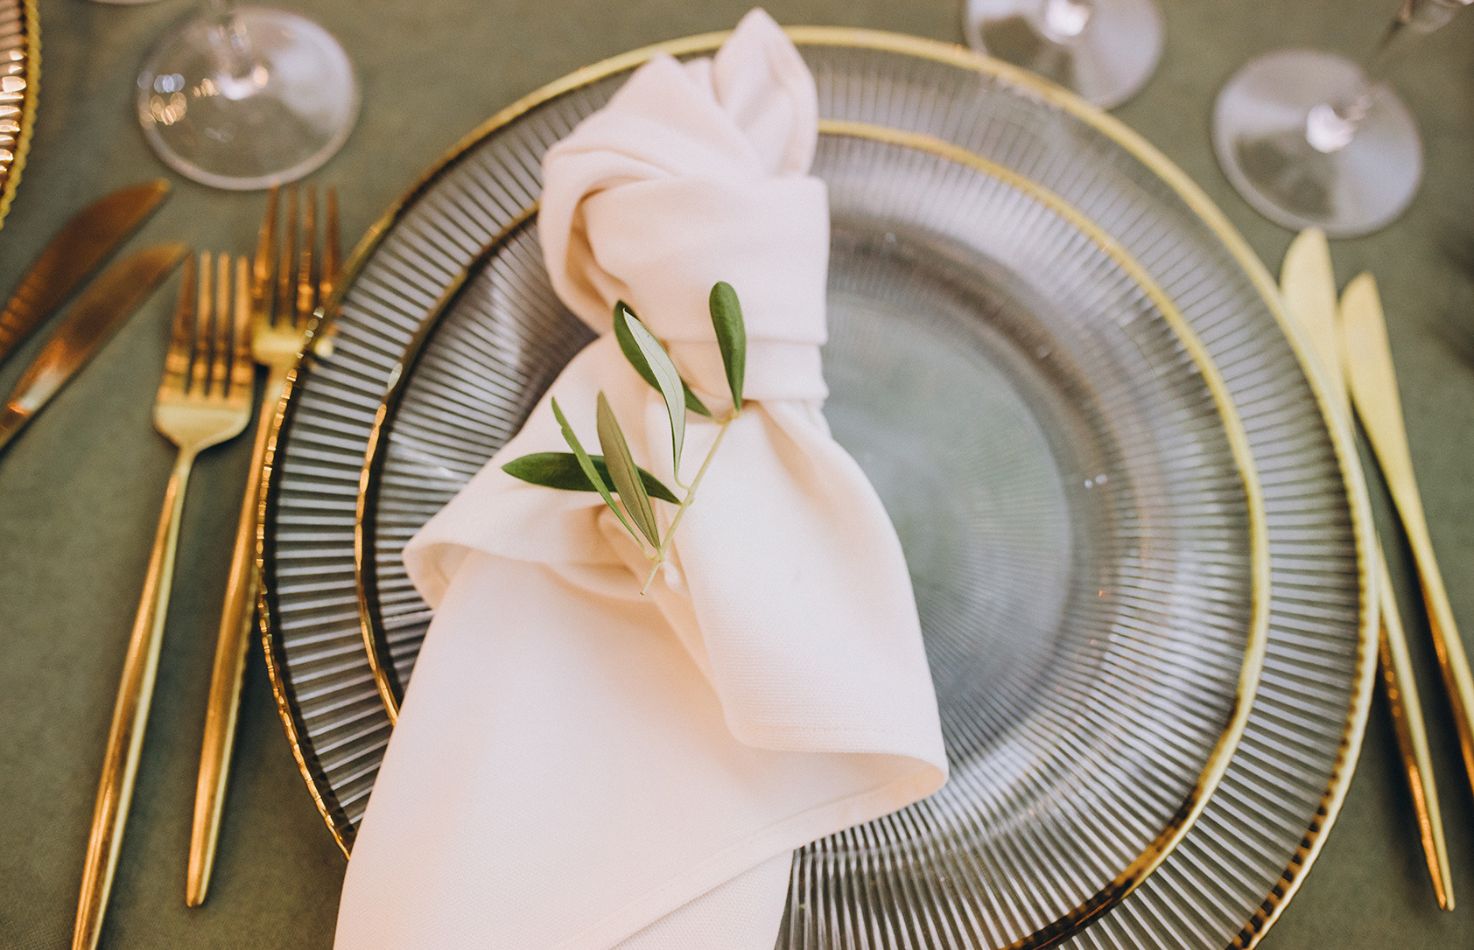
- Consider adding a decorative element to the wrapped silverware. You can tie a small charm, a sprig of fresh herbs, or a mini flower to the ribbon or twine. This adds a touch of color and elegance to each individual setting.
- If you’re hosting a themed event or a special occasion, consider adding personalized name tags to the wrapped silverware. This adds a personalized touch and helps guests find their assigned seats.
- Take a moment to straighten and adjust the napkin’s folds to ensure a neat and polished appearance. Smooth out any wrinkles or creases that may have occurred during the wrapping process.
- Arrange the wrapped silverware on each individual place setting, ensuring they are evenly spaced and aligned with the rest of the table decor.
- Step back and take a moment to admire your beautifully wrapped silverware in paper napkins. It adds a touch of elegance and sophistication to your table setting, making the dining experience even more memorable.
Remember, the key is to personalize and customize the wrapped silverware to suit the occasion and your personal style. Get creative and have fun while adding those final touches!
Congratulations! You have successfully learned how to wrap silverware in paper napkins for a beautifully presented table setting. Your guests will surely be impressed by your attention to detail and the thoughtful touch you put into every element of the dining experience.
Now, it’s time to enjoy the meal and the company of your loved ones at the beautifully set table!
Conclusion
Wrapping silverware in paper napkins is a simple yet effective way to elevate the presentation of your table setting. It adds a touch of elegance and sophistication, while also showcasing your attention to detail. By following the steps outlined in this article, you can easily create a beautifully wrapped silverware ensemble for any occasion.
Remember to choose quality paper napkins that hold their shape when folded and align with the theme or color scheme of your event. Take the time to fold the napkins neatly and place the silverware with care. Secure everything together with a ribbon or twine, adding a personal touch with decorative elements if desired.
Don’t forget the importance of the finishing touches, such as personalized name tags or small decorative charms. These added details can truly make each place setting feel special and unique.
Whether you’re hosting a formal dinner party, a casual gathering, or a themed event, wrapping silverware in paper napkins is an easy way to make a statement and impress your guests. It shows that you’ve put thought into every aspect of the dining experience, creating a memorable ambiance.
So, the next time you’re setting the table for a special occasion, don’t forget to incorporate this simple yet impactful technique. Your beautifully wrapped silverware will undoubtedly leave a lasting impression on your guests and set the stage for an unforgettable dining experience.
Frequently Asked Questions about How To Wrap Silverware In Paper Napkins
Was this page helpful?
At Storables.com, we guarantee accurate and reliable information. Our content, validated by Expert Board Contributors, is crafted following stringent Editorial Policies. We're committed to providing you with well-researched, expert-backed insights for all your informational needs.

0 thoughts on “How To Wrap Silverware In Paper Napkins”