Home>Furniture & Design>Living Room Furniture>What Kind Of Paint Do You Use On A Dining Table
Living Room Furniture
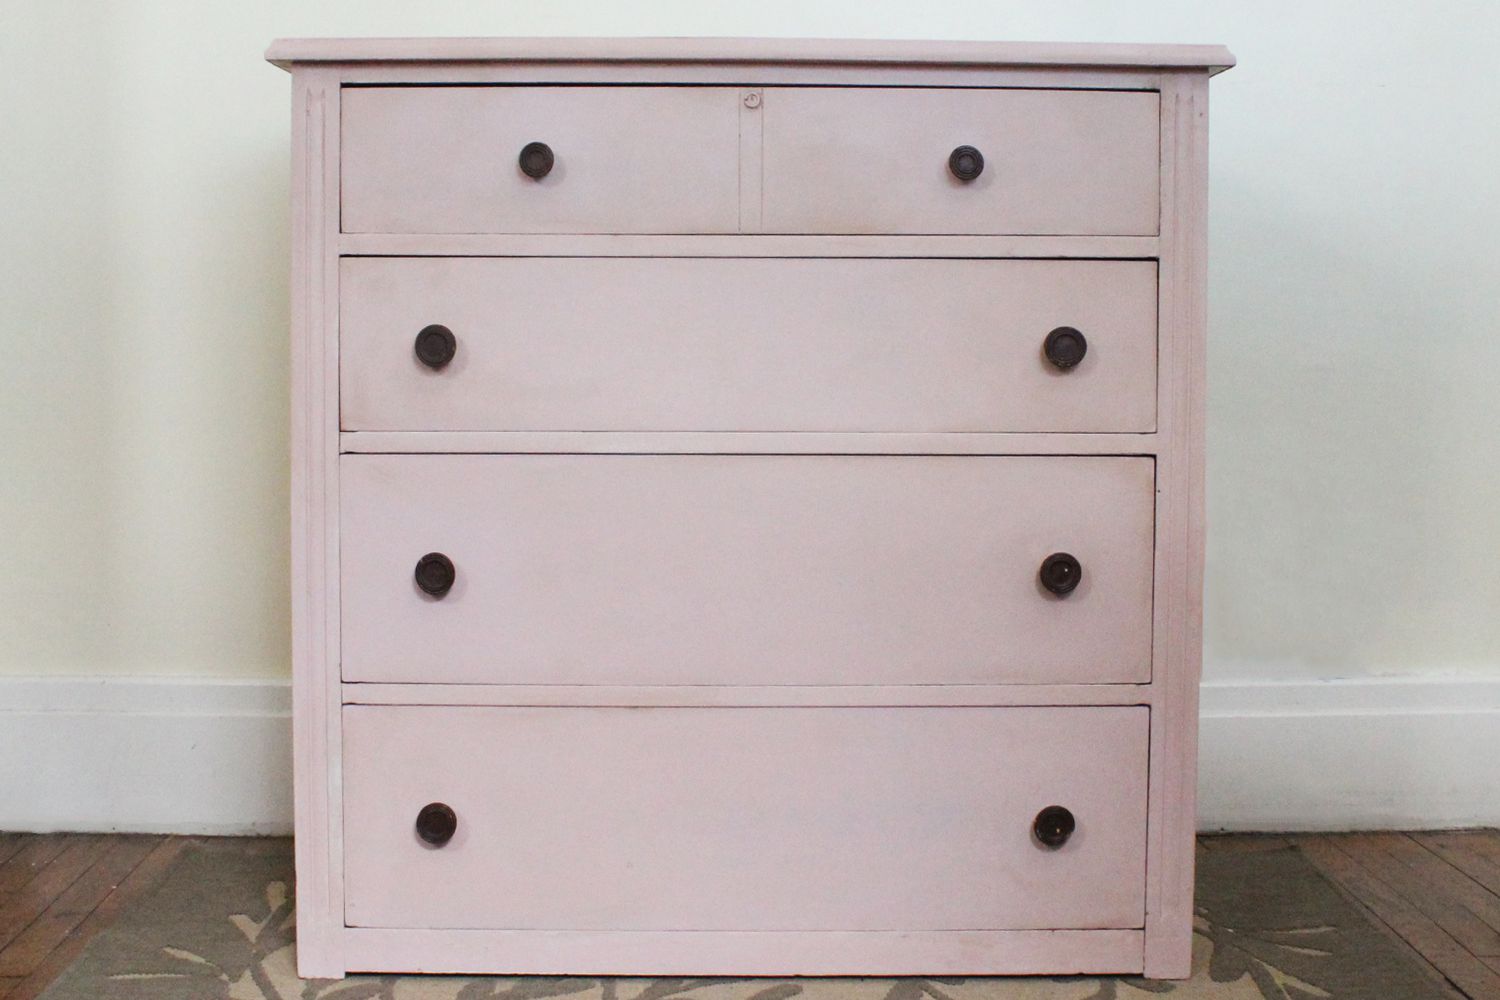
What Kind Of Paint Do You Use On A Dining Table
Modified: January 9, 2024
Discover the best paint for your dining table to revamp your living room furniture. Learn about the ideal options for a stunning design transformation. Elevate your space with expert tips.
(Many of the links in this article redirect to a specific reviewed product. Your purchase of these products through affiliate links helps to generate commission for Storables.com, at no extra cost. Learn more)
Introduction
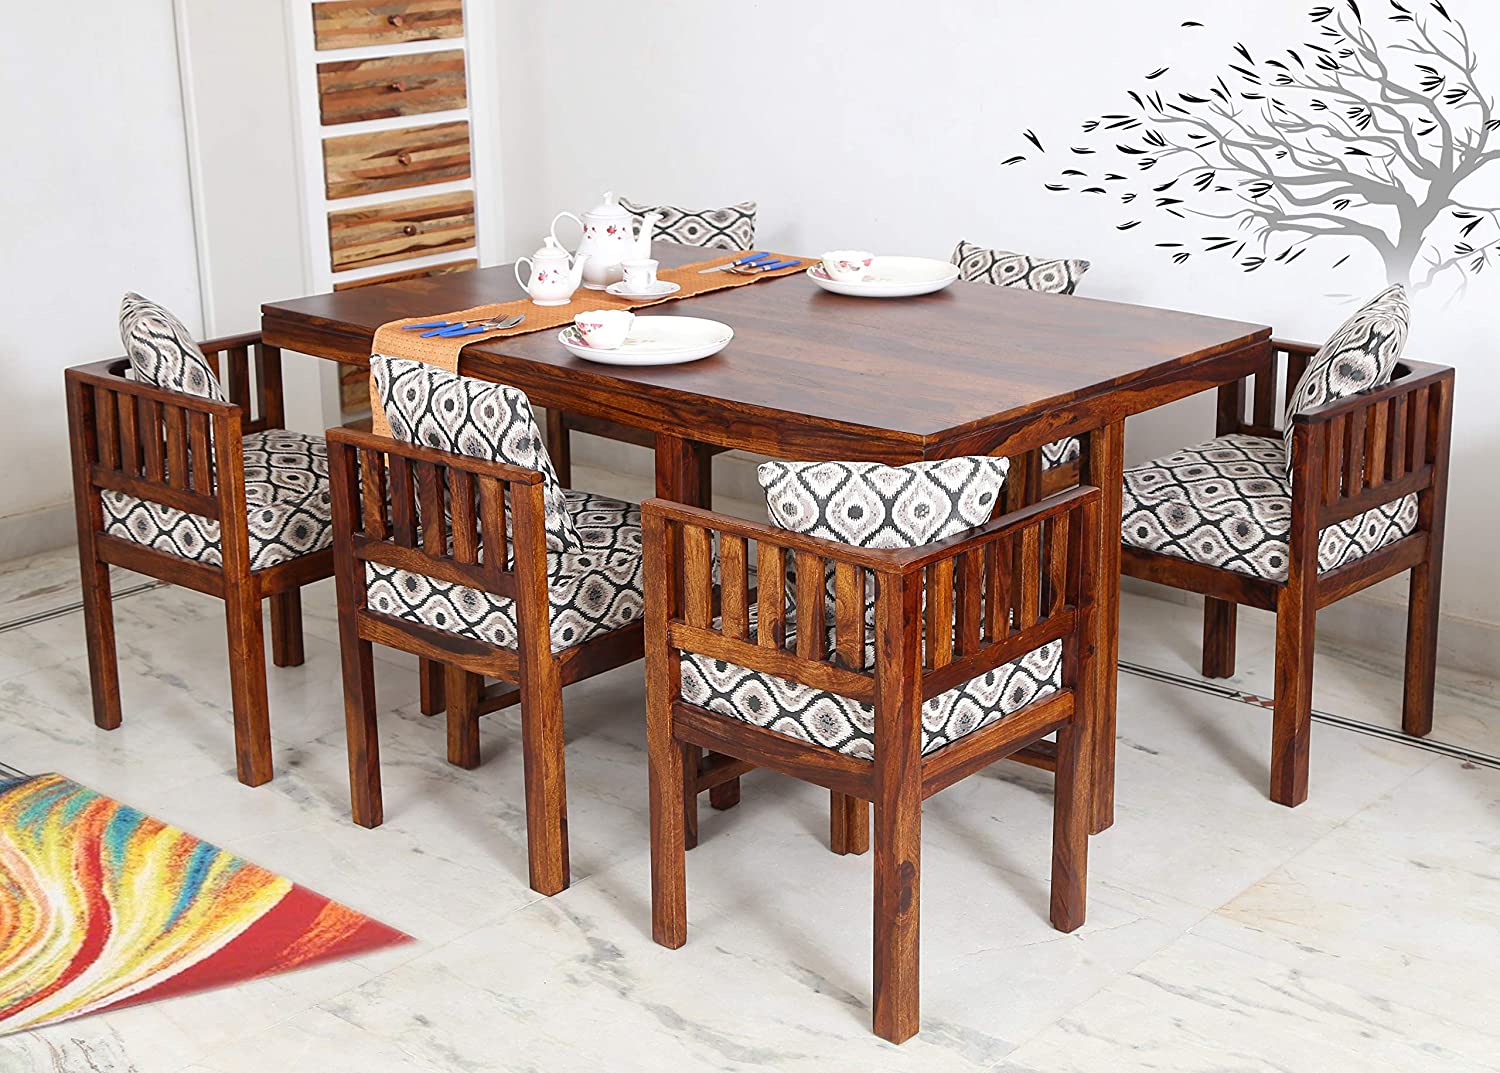
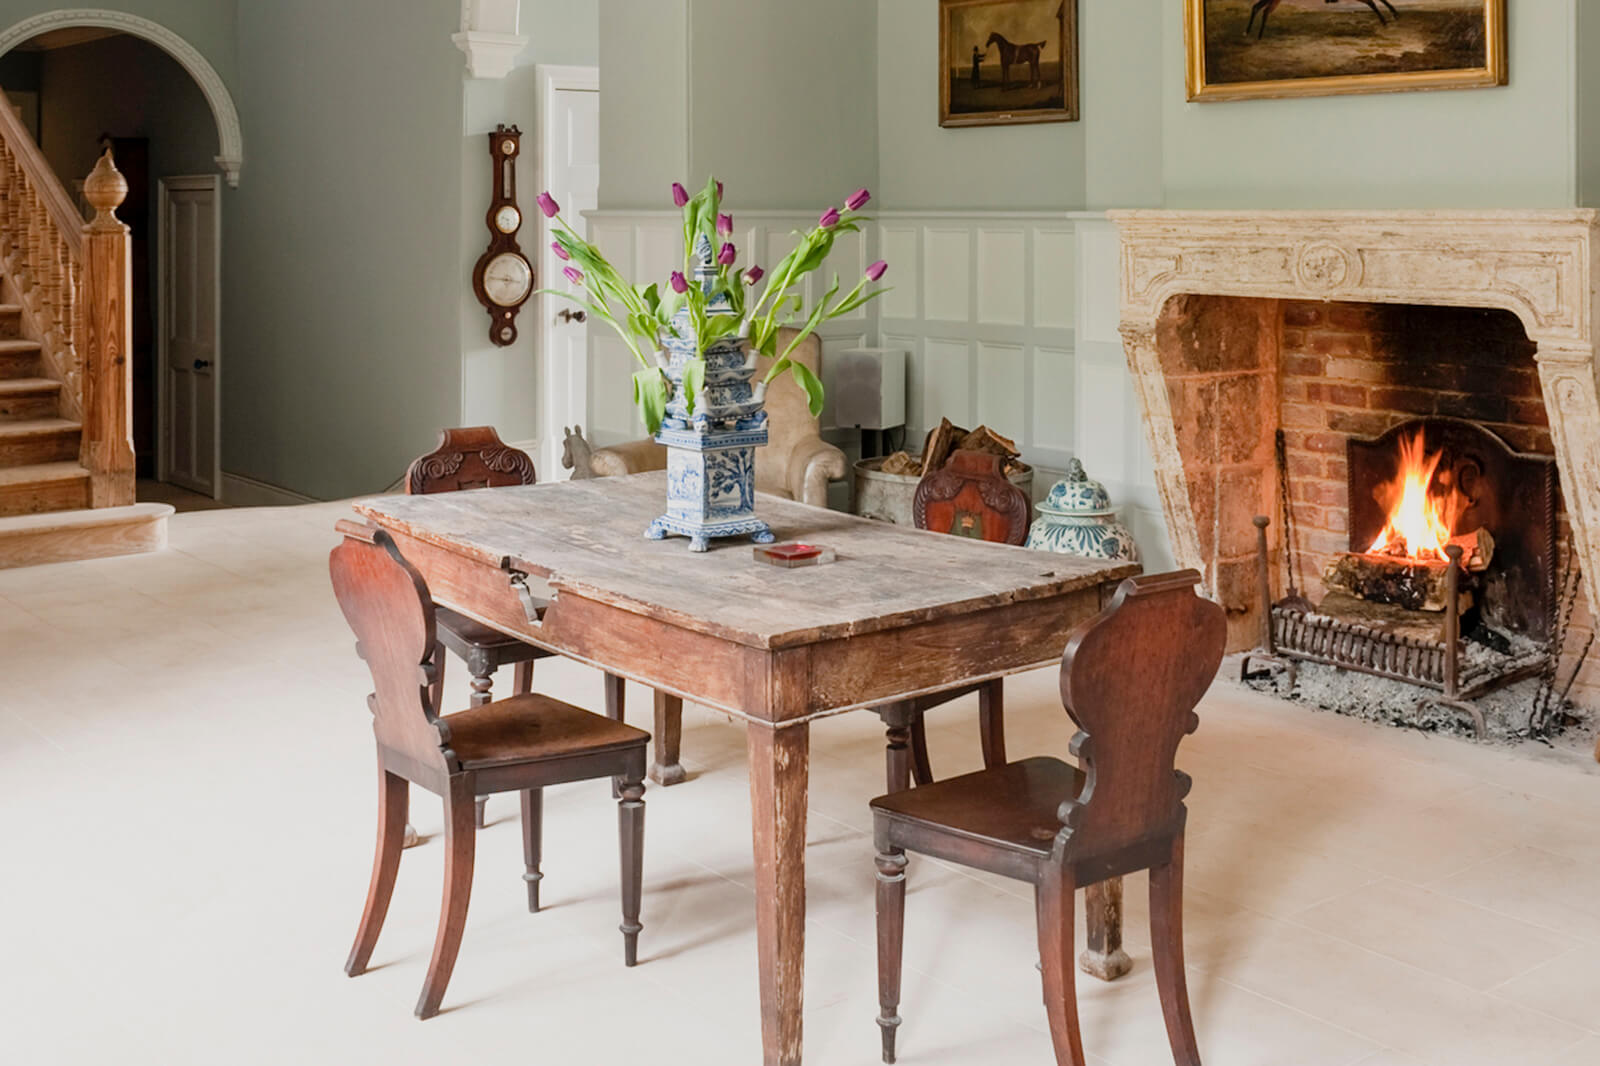
When it comes to home decor, the dining table serves as the focal point of the dining area. It's where friends and family gather to share meals, stories, and laughter. Over time, however, the once pristine finish of a dining table can become worn, scratched, or outdated. Fortunately, a fresh coat of paint can breathe new life into an old dining table, transforming it into a stunning centerpiece that complements your interior design.
Choosing the right paint for your dining table is crucial to achieving a durable, attractive finish. From traditional wood finishes to modern, eye-catching colors, the options are virtually endless. However, before diving into the world of dining table paint, it's important to consider a few key factors to ensure a successful and long-lasting outcome. In this article, we'll explore the various types of paint suitable for dining tables, the best options available, and essential tips for achieving professional results. Whether you're aiming for a rustic farmhouse look, a sleek modern finish, or a bold statement piece, the right paint can help you achieve your desired aesthetic. So, let's delve into the world of dining table paint and discover the possibilities that await!
Key Takeaways:
- Choose the right paint for your dining table based on material, usage, and aesthetic to achieve a stunning and durable finish that complements your home decor.
- Consider top-quality paints like Annie Sloan Chalk Paint and Benjamin Moore Advance Interior Paint for a long-lasting, professional finish that withstands daily use and cleaning.
Read more: What Kind Of Paint Do You Use On Stucco
Factors to Consider Before Choosing Paint
Before embarking on a dining table painting project, it’s essential to consider several key factors to ensure that the end result meets your expectations and stands the test of time. Here are some crucial considerations to keep in mind:
- Material of the Dining Table: The material of the dining table plays a significant role in determining the type of paint that will adhere well and provide a lasting finish. Whether your table is made of wood, laminate, metal, or another material, it’s important to choose a paint that is suitable for that specific surface.
- Usage and Durability: Assess how frequently the dining table will be used and the level of wear and tear it is likely to endure. If the table is a high-traffic area for meals, homework, and various activities, opt for a paint that offers exceptional durability and is resistant to scratches, stains, and heat.
- Preferred Aesthetic: Consider the overall design scheme and aesthetic of your dining area. Are you aiming for a classic, rustic, contemporary, or eclectic look? The paint color and finish should harmonize with the existing decor while reflecting your personal style.
- Application Method: Determine whether you prefer the convenience of spray paint, the precision of a brush, or the flawless finish achieved with a paint sprayer. The application method can influence the type of paint you choose and the overall painting process.
- Environmental Impact: For environmentally conscious individuals, selecting low-VOC or zero-VOC paints can minimize the release of harmful chemicals into the air, contributing to a healthier indoor environment.
- Budget and Long-Term Value: Evaluate your budget for the project and weigh it against the long-term value of the chosen paint. Investing in high-quality, durable paint may incur a higher initial cost but can save money in the long run by reducing the need for frequent repainting or touch-ups.
By carefully considering these factors, you can make an informed decision when selecting the ideal paint for your dining table, ensuring a successful and satisfying outcome.
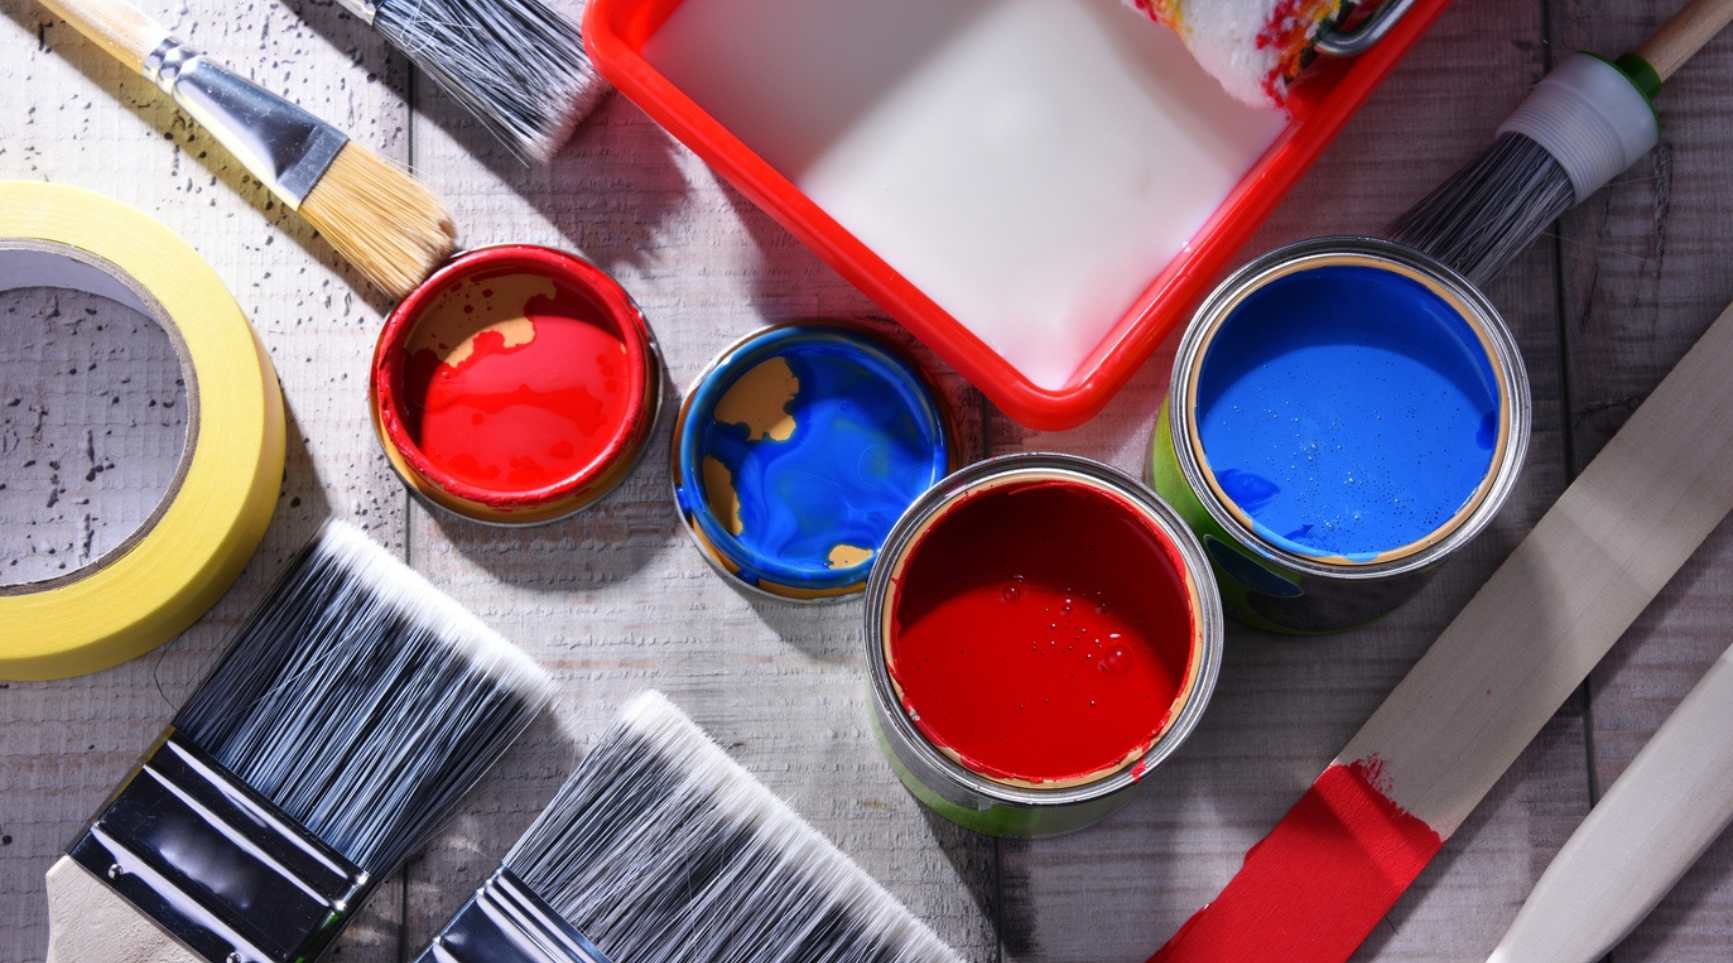
Types of Paint for Dining Tables
Choosing the right type of paint for your dining table is essential for achieving a beautiful, long-lasting finish. Various paint options are available, each offering unique benefits and considerations. Here are some common types of paint suitable for dining tables:
- Chalk Paint: Chalk paint has gained popularity for its matte, vintage-inspired finish and its ability to adhere to various surfaces without extensive prep work. It is known for its ease of use and can create a charming, distressed look when sanded or aged with wax.
- Acrylic Paint: Acrylic paint is versatile and available in a wide range of colors. It dries quickly, is easy to clean up, and can be used on wood, metal, or laminate surfaces. When sealed with a durable topcoat, acrylic paint provides a resilient finish.
- Latex Paint: Latex paint, commonly used for interior walls, can also be applied to dining tables. It offers a smooth, even finish and is available in an extensive array of colors. When paired with a protective sealant, latex paint can withstand daily use and cleaning.
- Oil-Based Paint: Oil-based paint is known for its durability and ability to create a hard, resilient finish. It is suitable for high-traffic dining tables and provides excellent resistance to stains and moisture. However, it requires longer drying times and proper ventilation during application.
- Spray Paint: Spray paint offers convenience and even coverage, making it an ideal choice for intricate designs or intricate table legs. It is available in various finishes, including matte, glossy, and metallic, allowing for versatile customization.
Each type of paint has its own application requirements and considerations, so it’s important to select the one that aligns with your preferences, the table’s material, and your desired aesthetic. Additionally, choosing a high-quality primer and topcoat designed for the specific type of paint can enhance the durability and longevity of the finish.
For a dining table, use a high-quality, durable paint that is specifically designed for furniture, such as a latex or oil-based paint. Make sure to properly prepare and prime the surface before painting for the best results.
Best Paints for Dining Tables
When it comes to revitalizing a dining table with a fresh coat of paint, selecting the best paint is crucial for achieving a stunning and durable finish. Here are some top-rated paints that are well-suited for dining table makeovers:
- 1. Annie Sloan Chalk Paint: Renowned for its exceptional coverage and ease of use, Annie Sloan Chalk Paint is a popular choice for transforming dining tables. Available in a wide range of colors, this versatile paint adheres well to various surfaces and can be distressed or aged to achieve a unique, vintage look.
- 2. Benjamin Moore Advance Interior Paint: This water-based alkyd paint offers the durability of oil-based paint with the easy cleanup of water-based paint. It provides a smooth, lustrous finish and excellent resistance to stains and scuffs, making it an ideal option for high-traffic dining tables.
- 3. Rust-Oleum Painter’s Touch Ultra Cover Paint: Available in spray form, this paint offers exceptional coverage and comes in a variety of finishes, including matte, satin, and glossy. It is suitable for both wood and metal surfaces, providing a smooth and long-lasting finish.
- 4. General Finishes Milk Paint: Offering a classic, velvety finish, General Finishes Milk Paint is a popular choice for achieving a timeless look on dining tables. It is easy to apply, dries quickly, and can be sealed with a topcoat for added protection against daily use.
- 5. Sherwin-Williams ProClassic Interior Waterbased Acrylic-Alkyd Enamel: This paint combines the durability of an alkyd finish with the easy application of an acrylic paint. It provides a rich, durable finish that resists yellowing over time, making it an excellent choice for dining tables that require a robust, long-lasting finish.
These top-quality paints offer excellent coverage, durability, and a wide range of color options, allowing you to achieve the desired look for your dining table while ensuring that the finish withstands daily use and cleaning. When paired with a suitable primer and topcoat, these paints can transform your dining table into a stunning centerpiece that complements your home decor.
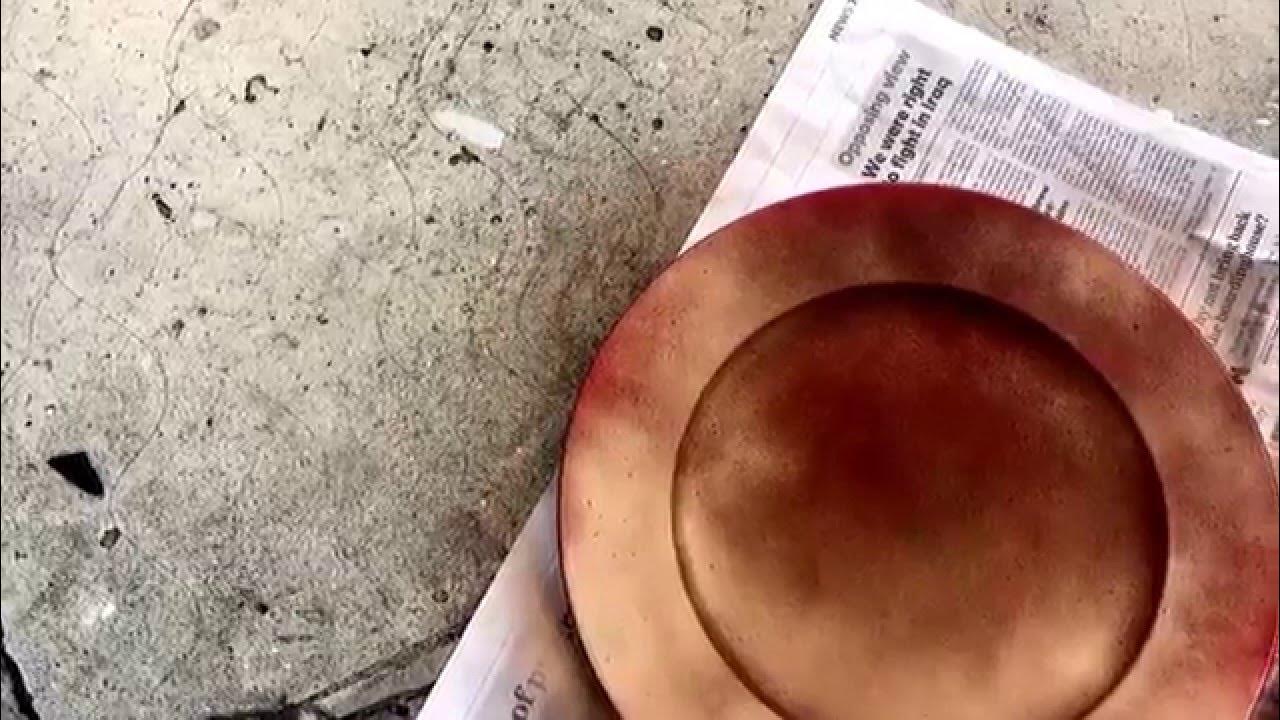
Tips for Painting a Dining Table
Embarking on a dining table painting project requires careful preparation and execution to achieve a professional, long-lasting finish. Here are some valuable tips to guide you through the process:
- Surface Preparation: Thoroughly clean the dining table to remove any dirt, grease, or previous finishes. Sand the surface to create a smooth, even texture, and ensure proper adhesion of the new paint.
- Primer Application: Apply a high-quality primer designed for the specific type of paint you will be using. The primer enhances adhesion, prevents stains from bleeding through, and creates a uniform base for the paint.
- Choosing the Right Tools: Select high-quality brushes, rollers, or a paint sprayer suitable for the chosen paint type. Quality tools contribute to a smooth, professional finish and make the application process more efficient.
- Layering and Drying Time: Apply multiple thin coats of paint, allowing each coat to dry completely before adding the next layer. This approach prevents drips, uneven coverage, and extends the life of the finish.
- Protective Topcoat: Once the paint has dried, apply a durable topcoat to protect the finish from scratches, moisture, and daily wear. Choose a topcoat that complements the chosen paint and provides the level of sheen you desire.
- Proper Ventilation: Ensure adequate ventilation in the painting area to facilitate proper drying and minimize the inhalation of paint fumes. Consider using a respirator mask and protective eyewear for personal safety.
- Curing Time: Allow the painted dining table to cure for the recommended duration before placing objects on its surface or using it for meals. Curing time ensures that the paint fully hardens and becomes resistant to damage.
- Maintenance and Care: Follow the manufacturer’s guidelines for cleaning and maintaining the painted dining table. Use gentle, non-abrasive cleaners and avoid placing hot items directly on the surface to preserve the finish.
By following these tips and taking a meticulous approach to the painting process, you can achieve a beautifully transformed dining table that enhances the aesthetic appeal of your home and withstands the rigors of daily use.
Read more: What Kind Of Paint Do You Use On Glass
Conclusion
Transforming a dining table with a fresh coat of paint offers an exciting opportunity to revitalize your dining area and infuse it with your personal style. By carefully considering the material of the table, the desired aesthetic, and the level of durability required, you can select the ideal paint to achieve a stunning and resilient finish.
From the versatility of chalk paint to the durability of oil-based and acrylic paints, there are numerous options to suit various preferences and project requirements. Investing in high-quality paints such as Annie Sloan Chalk Paint, Benjamin Moore Advance Interior Paint, or Rust-Oleum Painter’s Touch Ultra Cover Paint can ensure exceptional coverage, durability, and a wide range of color choices for your dining table makeover.
When embarking on a dining table painting project, meticulous surface preparation, the use of high-quality primers and paints, and the application of protective topcoats are essential for achieving a professional finish that withstands daily use and cleaning. By following best practices and allowing adequate drying and curing time, you can ensure that the painted dining table becomes a stunning centerpiece that enhances your home decor for years to come.
Whether you prefer a timeless, classic look, a modern and sleek finish, or a charming, distressed appearance, the right paint can bring your vision to life and elevate the ambiance of your dining area. With proper maintenance and care, your painted dining table will continue to be a cherished focal point for gatherings, meals, and cherished memories.
So, unleash your creativity, choose the perfect paint, and embark on a rewarding journey to transform your dining table into a captivating masterpiece that reflects your unique style and enhances the heart of your home.
Frequently Asked Questions about What Kind Of Paint Do You Use On A Dining Table
Was this page helpful?
At Storables.com, we guarantee accurate and reliable information. Our content, validated by Expert Board Contributors, is crafted following stringent Editorial Policies. We're committed to providing you with well-researched, expert-backed insights for all your informational needs.


0 thoughts on “What Kind Of Paint Do You Use On A Dining Table”