Home>Furniture & Design>Living Room Furniture>How To Seal A Dining Table

Living Room Furniture
How To Seal A Dining Table
Published: January 5, 2024
Learn how to properly seal your dining table to protect it from stains and damage. Our expert tips will help you maintain the beauty of your living room furniture for years to come. Discover the best sealing techniques and products at Furniture and Design.
(Many of the links in this article redirect to a specific reviewed product. Your purchase of these products through affiliate links helps to generate commission for Storables.com, at no extra cost. Learn more)
Introduction
Sealing a dining table is a crucial step in preserving its beauty and ensuring its longevity. Whether your dining table is crafted from wood, marble, or another material, the process of sealing it involves several key steps. By following these steps, you can protect the table from stains, scratches, and other forms of damage, while also enhancing its natural allure.
In this comprehensive guide, we will walk you through the process of sealing a dining table, providing detailed instructions and expert tips to help you achieve professional-quality results. From preparing the table for sealing to applying the sealant and allowing it to dry, each step plays a vital role in the overall outcome. By the end of this guide, you will be equipped with the knowledge and confidence to seal your dining table with precision and care.
So, roll up your sleeves and get ready to embark on this rewarding journey of table preservation and enhancement. Let's dive into the first step: preparing the table for the sealing process.
Key Takeaways:
- Sealing a dining table involves meticulous preparation, expert sanding, and precise application of sealant to protect and enhance its beauty, creating a stunning and resilient centerpiece for your home.
- By following the comprehensive steps in this guide, you can transform your dining table into a durable and captivating focal point, ensuring its enduring beauty and functionality for years to come.
Read more: How To Seal A Beer Pong Table
Step 1: Prepare the Table
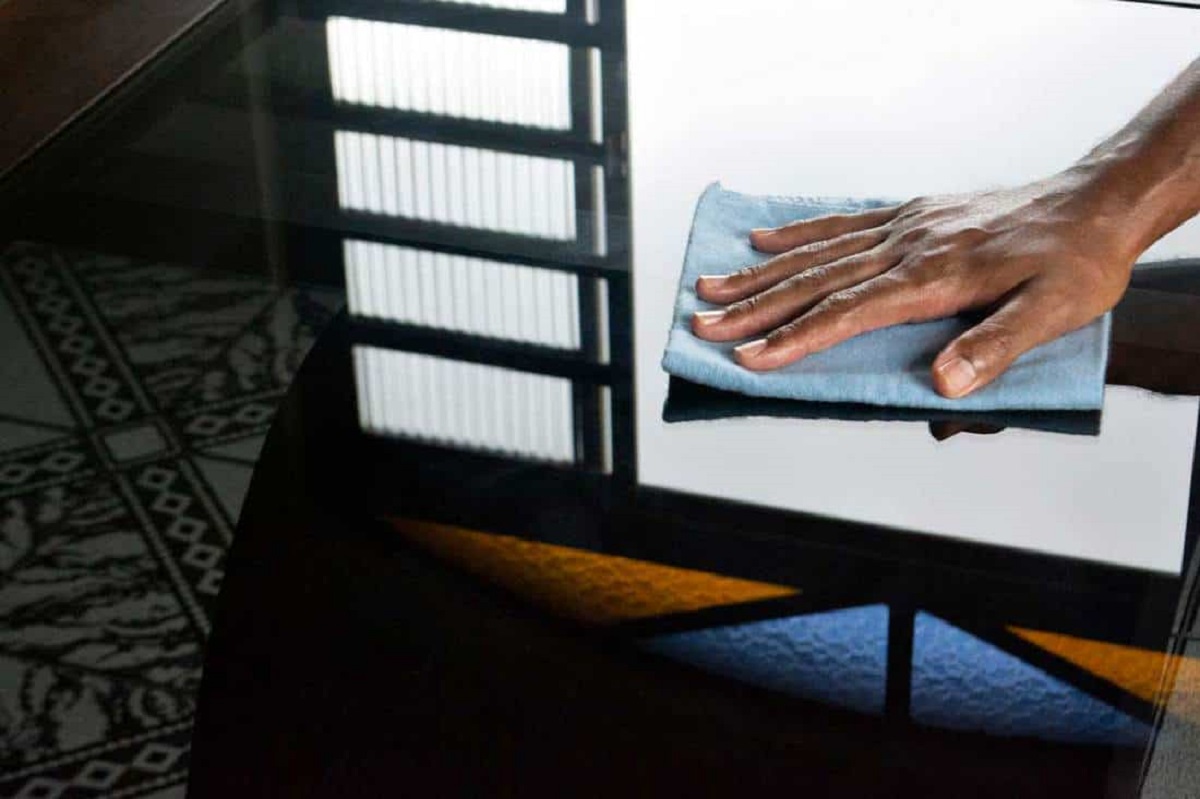
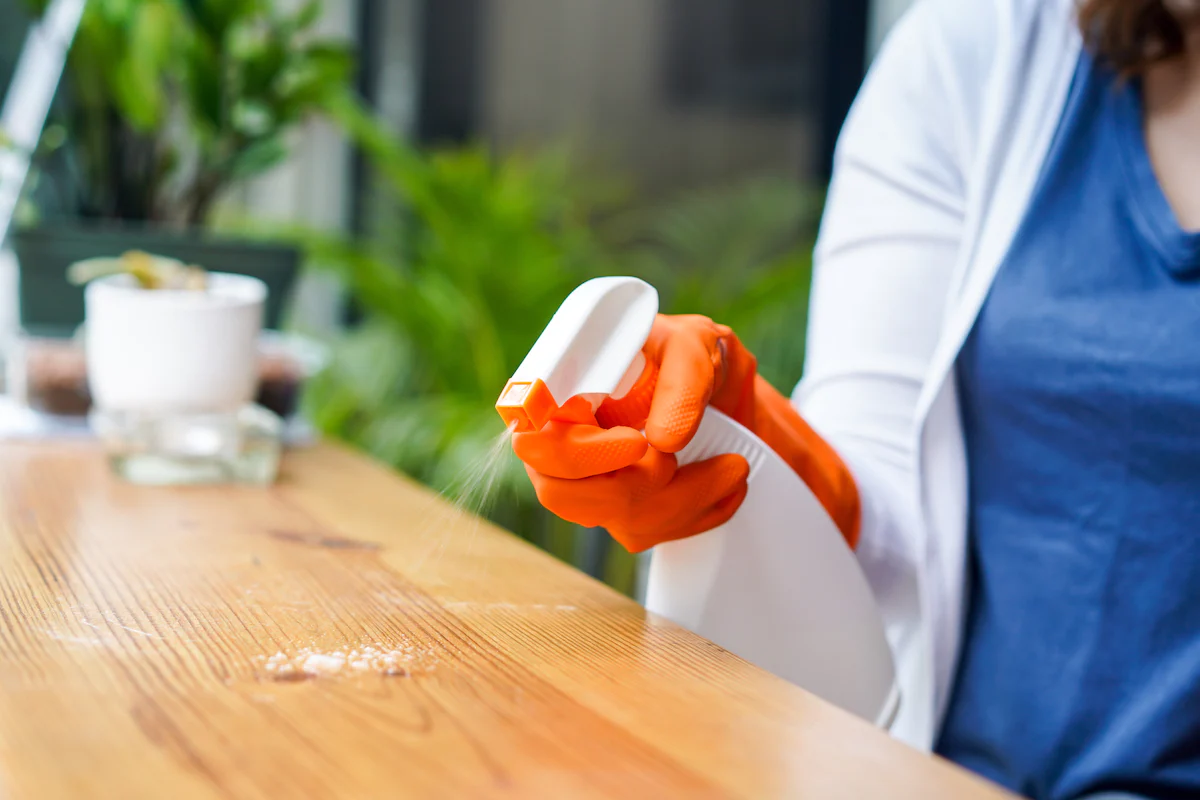
Before diving into the sealing process, it’s essential to prepare the dining table meticulously. Start by clearing the table of any objects, such as dinnerware, decorations, or other items. This will provide you with a clear and unobstructed surface to work on. Once the table is free from clutter, carefully clean it using a mild detergent and a soft cloth. This step is crucial for removing any dust, dirt, or residue that may have accumulated on the table’s surface.
If there are any existing finishes or coatings on the table, such as varnish or wax, they must be completely removed before proceeding with the sealing process. This can be achieved through sanding, using a fine-grit sandpaper to gently strip away the old finish. Be sure to sand evenly and thoroughly, paying close attention to any intricate details or edges of the table.
After sanding, wipe down the table with a tack cloth to eliminate any remaining dust particles. This will ensure a clean and smooth surface for the subsequent steps of the sealing process. Additionally, inspect the table closely for any imperfections or damages that may need to be addressed before applying the sealant. By preparing the table diligently, you set the stage for a successful and long-lasting sealing outcome.
With the table now meticulously prepared, we can move on to the next step: sanding the table to create an ideal surface for the sealant application.
Step 2: Sand the Table
Once the table is thoroughly cleaned and free of any existing finishes, it’s time to focus on sanding the surface to prepare it for the sealant. Begin by selecting a fine-grit sandpaper, such as 220-grit, to gently sand the entire surface of the table. The goal is to create a smooth and even texture that will facilitate optimal adhesion of the sealant.
When sanding, it’s important to move in the direction of the wood grain or the natural pattern of the table’s material. This technique helps prevent any visible scratches or inconsistencies in the surface. Take care to sand the edges and any intricate details of the table, ensuring that the entire surface is uniform and free of imperfections.
As you progress, periodically wipe the table with a tack cloth to remove any dust or debris generated during the sanding process. This step is crucial for maintaining a clean and pristine surface, which is essential for the successful application of the sealant.
Throughout the sanding process, pay close attention to the table’s surface, inspecting it for any rough spots, blemishes, or areas that may require additional attention. By taking the time to sand the table meticulously, you are laying the foundation for a flawless and professional-looking finish once the sealing process is complete.
With the table now expertly sanded and ready for the next phase, we can proceed to the pivotal step of applying the sealant, which will safeguard the table and enhance its natural beauty.
Step 3: Apply the Sealant
With the table meticulously prepared and expertly sanded, it’s time to embark on the pivotal step of applying the sealant. Before beginning this phase, carefully select a high-quality sealant that is compatible with the material of your dining table, whether it’s wood, marble, glass, or another type of surface. Additionally, choose a well-ventilated area for the application process, ensuring adequate airflow to support the drying and curing of the sealant.
Start by stirring the sealant thoroughly to achieve a consistent texture and composition. If the sealant requires dilution or mixing with a catalyst, follow the manufacturer’s instructions meticulously to ensure the optimal performance of the product. Once the sealant is prepared, use a high-quality brush or applicator to apply a thin and even coat to the entire surface of the table. Work methodically, moving in the direction of the wood grain or the natural pattern of the table’s material to maintain a uniform finish.
As you apply the sealant, be mindful of any drips, excess buildup, or uneven areas, and address them promptly to achieve a flawless result. Depending on the specific characteristics of the sealant, you may need to apply multiple coats to achieve the desired level of protection and enhancement. However, it’s crucial to allow each coat to dry completely before applying the next one, following the recommended drying times provided by the sealant manufacturer.
Throughout the application process, maintain a keen eye for detail, ensuring that the sealant is distributed evenly and that the entire surface of the table is adequately covered. By approaching this step with precision and care, you can elevate the table’s appearance while fortifying it against the rigors of daily use.
As the sealant is expertly applied, the next step involves allowing it to dry thoroughly, setting the stage for the table’s transformation and long-term protection.
Apply a clear polyurethane sealant to your dining table to protect it from spills and scratches. Sand the table first, then apply the sealant with a brush in thin, even coats, allowing each coat to dry before applying the next.
Step 4: Let the Sealant Dry
After the sealant has been meticulously applied to the dining table, it’s crucial to allow ample time for the drying and curing process. This phase is essential for ensuring that the sealant forms a durable and resilient layer that will safeguard the table against stains, spills, and other forms of damage.
Once the final coat of sealant has been applied, carefully review the manufacturer’s instructions regarding the recommended drying time. Factors such as humidity, temperature, and ventilation can influence the drying process, so it’s important to provide an optimal environment for the sealant to cure effectively. Ideally, the table should be placed in a well-ventilated area with consistent air circulation to support the drying process.
As the sealant dries, resist the temptation to touch or disturb the table, as this could compromise the integrity of the sealant layer. Depending on the type of sealant used, the drying process may take several hours to a few days. It’s essential to exercise patience and allow the sealant adequate time to cure fully before proceeding to the next step.
Throughout the drying period, periodically inspect the table to ensure that the sealant is drying uniformly and without any visible imperfections. If you notice any irregularities or areas that may require additional attention, it’s best to address them before moving on to the next phase of the sealing process.
As the sealant gradually dries and transforms the table’s surface, you are one step closer to achieving a stunning and resilient finish that will enhance the table’s aesthetic appeal and longevity. With the sealant drying methodically, the next step involves evaluating the need for additional coats to further fortify the table against wear and tear.
Read more: How To Paint A Dining Table
Step 5: Apply Additional Coats (If Necessary)
Upon the completion of the initial sealant application and the drying process, it’s essential to assess whether the table requires additional coats to achieve the desired level of protection and aesthetic enhancement. Carefully inspect the surface of the table, evaluating the uniformity and coverage of the sealant. If any areas appear uneven or inadequately sealed, applying additional coats can further fortify the table and elevate its visual appeal.
Prior to applying additional coats, lightly sand the surface of the table with a fine-grit sandpaper to create a smooth and receptive foundation for the new layers of sealant. Wipe the table with a tack cloth to remove any residual dust or debris, ensuring that the surface is pristine and ready for the subsequent application.
When applying additional coats of sealant, adhere to the same meticulous approach employed during the initial application, focusing on achieving a thin and even layer across the entire surface of the table. Take care to follow the manufacturer’s recommendations regarding the drying time between coats, allowing each layer to cure fully before proceeding to the next one.
Throughout the process of applying additional coats, maintain a keen eye for detail, addressing any imperfections or inconsistencies to ensure a flawless and resilient finish. By methodically building up the layers of sealant, you can enhance the table’s durability and aesthetic allure, creating a surface that is both stunning and well-protected.
As the final coats of sealant are expertly applied, the next step involves allowing the table to cure fully before reassembling it and enjoying the stunning results of the sealing process.
Step 6: Reassemble the Table
With the sealing process now complete, it’s time to reassemble the dining table, ushering in a moment of anticipation as the stunning results of your efforts come to fruition. Begin by carefully inspecting the table to ensure that the sealant has dried and cured uniformly, creating a resilient and visually captivating surface. This step is crucial for verifying that the table is ready to be reassembled and returned to its rightful place as the centerpiece of your dining area.
If the table was disassembled for the sealing process, meticulously reattach any components, such as table legs, extensions, or additional features, following the manufacturer’s assembly instructions. Take care to handle the table components with precision and care, ensuring that they are secured firmly and seamlessly integrated to restore the table to its original form.
As you reassemble the table, take a moment to admire the transformation that has taken place. The sealant has not only fortified the table against the rigors of daily use but has also accentuated its natural beauty, enhancing its grain, texture, and overall allure. The table now stands as a testament to your dedication to preserving and elevating its inherent charm.
Once the table is fully reassembled, take a moment to appreciate the stunning results of the sealing process. The table now boasts a durable and captivating finish that will serve as a focal point in your home, inviting cherished moments and gatherings for years to come.
With the table expertly reassembled and ready to reclaim its central role in your living space, you have successfully completed the journey of sealing a dining table, achieving a remarkable transformation and ensuring its enduring beauty and resilience.
Conclusion
Sealing a dining table is a labor of love, a process that combines meticulous preparation, expert application, and a dedication to preserving and enhancing the table’s natural allure. By following the comprehensive steps outlined in this guide, you have embarked on a journey that transcends mere maintenance, culminating in the transformation of your dining table into a stunning centerpiece that will endure for years to come.
From the initial step of preparing the table, clearing it of clutter and meticulously cleaning its surface, to the precise and methodical process of sanding the table to create an ideal canvas for the sealant, each stage has played a pivotal role in the overall outcome. The application of the sealant itself has not only fortified the table against stains and damage but has also accentuated its inherent beauty, creating a captivating surface that beckons admiration.
As the sealant has dried and cured, forming a resilient and visually striking layer, you have witnessed the culmination of your efforts, a testament to your commitment to preserving and elevating the dining table’s aesthetic and functional appeal. The application of additional coats, if necessary, has further fortified the table, ensuring that it will stand the test of time and daily use with grace and resilience.
Finally, as the table is expertly reassembled, it reclaims its central role in your living space, standing as a symbol of enduring beauty and functionality. It beckons cherished moments and gatherings, inviting laughter, conversations, and shared meals, all against the backdrop of a stunning and well-protected surface.
By sealing your dining table with precision and care, you have not only safeguarded it against the rigors of daily use but have also imbued it with a timeless allure that will continue to captivate and inspire. As you admire the table’s transformation, take pride in the knowledge that your dedication has ensured its enduring beauty and resilience, a legacy that will enrich your home for years to come.
So, as you gather around your newly sealed dining table, may it serve as a reminder of the transformative power of dedication and expertise, a testament to the enduring allure of a well-preserved and impeccably maintained centerpiece in your home.
Frequently Asked Questions about How To Seal A Dining Table
Was this page helpful?
At Storables.com, we guarantee accurate and reliable information. Our content, validated by Expert Board Contributors, is crafted following stringent Editorial Policies. We're committed to providing you with well-researched, expert-backed insights for all your informational needs.


0 thoughts on “How To Seal A Dining Table”