Home>diy>Home Improvement>How Much Does Basement Renovation Cost

Home Improvement
How Much Does Basement Renovation Cost
Modified: October 20, 2024
Looking to renovate your basement? Find out the average cost of a basement renovation and get tips on how to save money on your home improvement project.
(Many of the links in this article redirect to a specific reviewed product. Your purchase of these products through affiliate links helps to generate commission for Storables.com, at no extra cost. Learn more)
Introduction
Are you considering renovating your basement but wondering how much it will cost? Basement renovations are a popular home improvement project that can add value and functionality to your home. However, the cost of such a project can vary depending on numerous factors. In this article, we will explore the factors that can affect the cost of basement renovations and provide you with average cost estimates.
Basement renovations offer homeowners the opportunity to create additional living space, whether it’s a new bedroom, a home office, a play area for kids, or even a home gym. Before diving into the numbers, it’s essential to understand that every basement renovation project is unique, and costs will differ based on various factors such as location, size, materials used, and the complexity of the project.
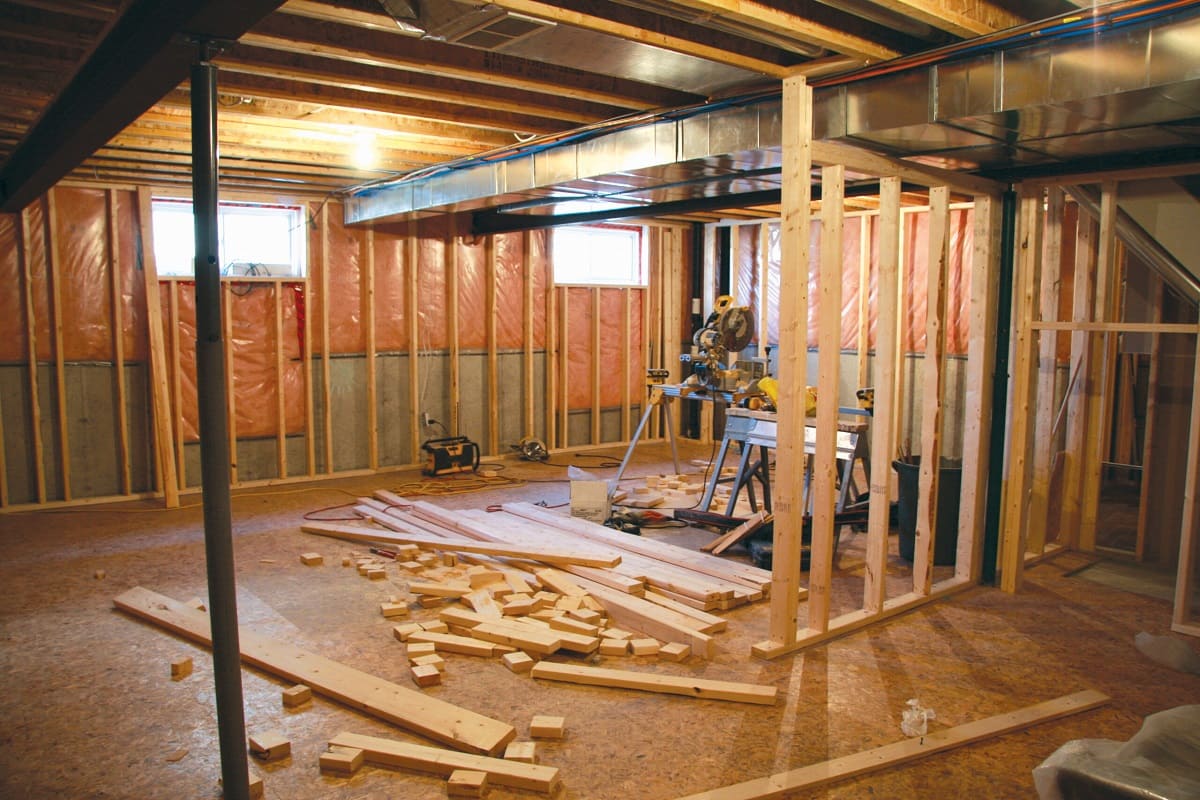
In general, renovating a basement involves several components, including framing, insulation, electrical work, plumbing, flooring, and finishing touches. The cost breakdown of these components will be discussed later in this article. However, it is crucial to consult with professionals and obtain accurate estimates specific to your renovation requirements.
Factors such as the purpose of the renovation, the level of customization and finishes desired, and whether any existing issues need to be addressed (such as water damage or mold remediation) can significantly impact the cost of your basement renovation. Additionally, geographical location plays a role, as labor and material costs can vary from one region to another.
It’s important to note that basement renovations can range from simple and budget-friendly updates to more extensive and luxurious transformations. A small basement finishing project may cost less, while a complete basement overhaul with custom features and high-end finishes will naturally result in a higher price tag.
In the following sections, we will delve into the average costs of basement renovations and provide a breakdown of the expenses typically associated with each component. This will give you a better understanding of what to expect when planning and budgeting for your basement renovation project.
Key Takeaways:
- Basement renovation costs vary based on factors like size, complexity, and customization. Plan a realistic budget, prioritize quality, and consider cost-effective strategies to achieve a successful and budget-friendly renovation.
- Consider factors like waterproofing, lighting, and permits when budgeting for a basement renovation. Smart decisions, DIY options, and cost-effective materials can help create a beautiful and functional space within your financial means.
Read more: How Much Does A Walkout Basement Cost
Factors Affecting Basement Renovation Costs
When it comes to basement renovation costs, there are several factors that can influence the overall price tag. Understanding these factors will help you make informed decisions and plan your budget accordingly. Here are some key factors to consider:
1. Size of the Basement: The size of your basement is one of the primary factors that affect the cost of renovation. Larger basements will require more materials, labor, and time, resulting in higher costs compared to smaller ones.
2. Complexity of the Project: The complexity of the renovation project also plays a significant role in determining costs. If your renovation involves moving plumbing or electrical fixtures, installing new windows or doors, or adding structural changes, the complexity increases, leading to higher expenses.
3. Customization and Finishes: The level of customization and finishes you desire for your basement can significantly impact the cost. Custom-built features, high-end finishes, and luxurious materials will naturally increase the overall expenses.
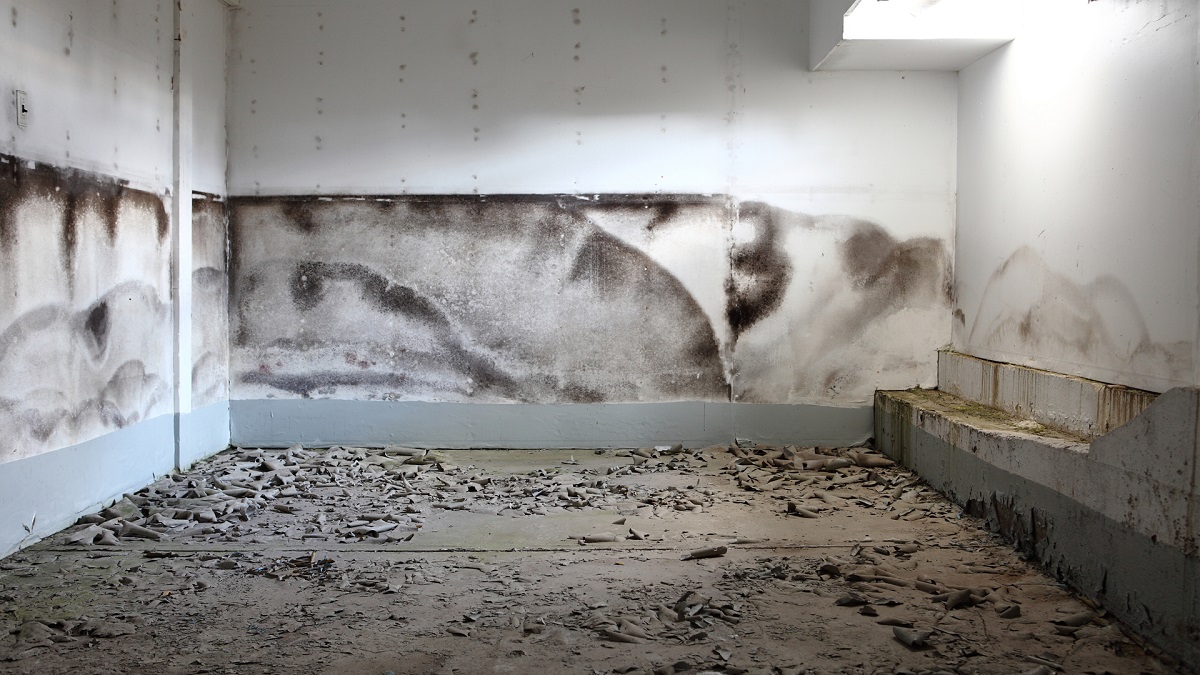
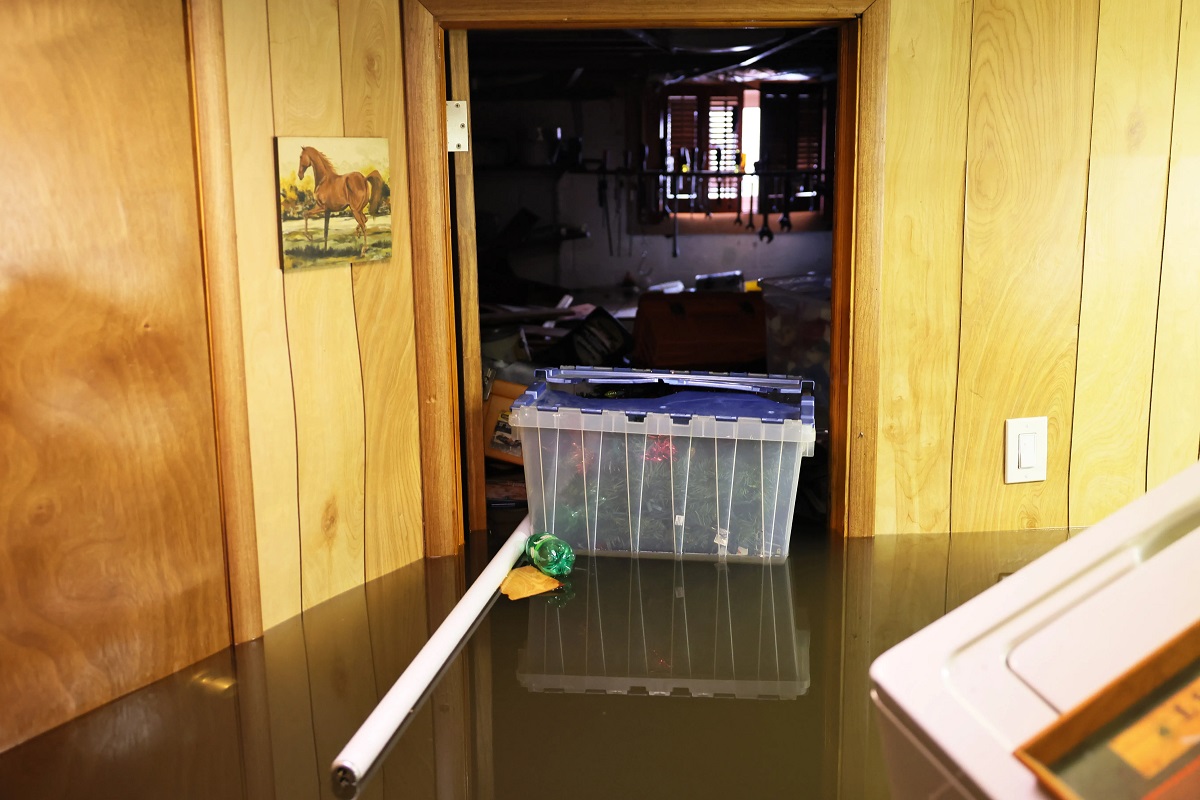
4. Foundation and Structural Issues: Before undertaking a basement renovation, it’s essential to inspect the foundation and address any structural issues. If your basement requires repairs, waterproofing, or reinforcement, these costs need to be factored into the renovation budget.
5. Plumbing and Electrical Work: If you plan to add a bathroom, a kitchenette, or a laundry room to your basement, the plumbing and electrical requirements will increase the overall cost. Extending the necessary plumbing lines and electrical wiring can be labor-intensive and may require permits.
6. Permits and Regulations: Depending on your local building codes, you may need to obtain permits for your basement renovation. The cost of permits and meeting regulatory requirements should be considered when budgeting for your project.
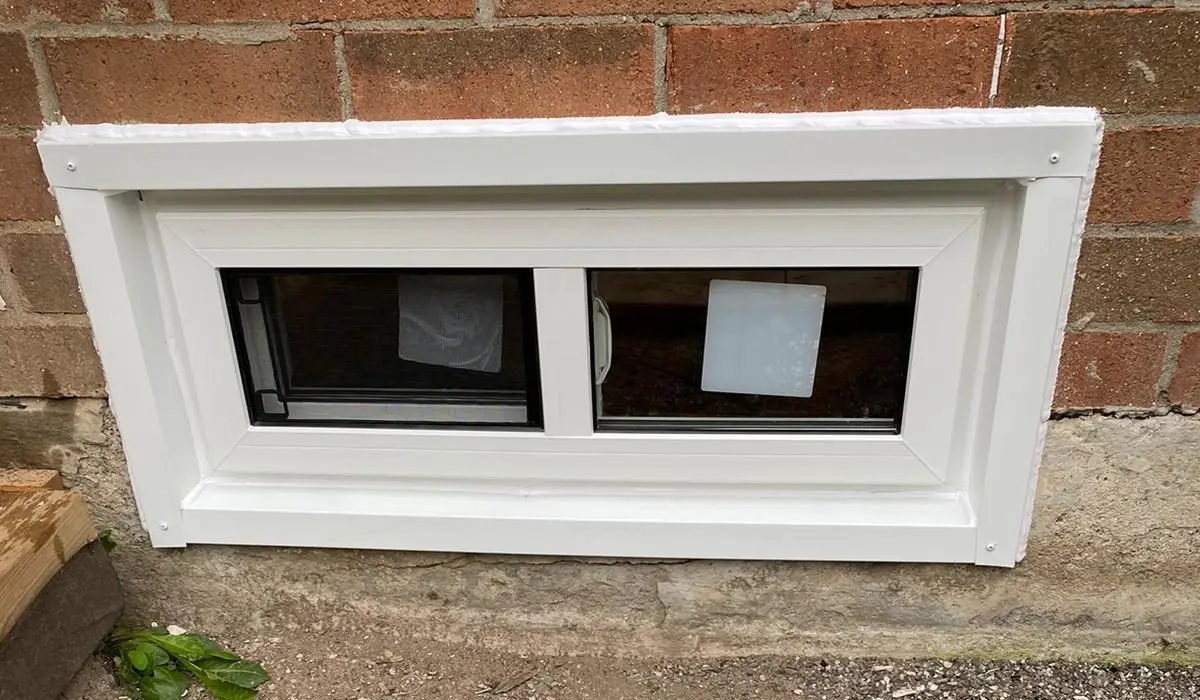
7. Accessibility: If your basement has limited accessibility, such as a steep staircase or low ceiling height, it may require additional work to make it more functional. This accessibility factor can impact the overall cost, especially if structural changes or modifications are needed.
8. Contractor and Labor Costs: Hiring professional contractors and laborers will incur costs. The rates can vary based on the experience and expertise of the professionals, as well as the region you are located in. It’s important to obtain multiple quotes and consider the reputation and qualifications of the contractors before making a hiring decision.
By taking these factors into account, you can better estimate and plan for the cost of your basement renovation project. It’s crucial to have a clear understanding of your vision and priorities, as well as your budgetary limitations, to ensure a successful and satisfying renovation experience.
Remember, while it may be tempting to cut corners and opt for cheaper alternatives, investing in quality materials and skilled labor will yield better long-term results. A well-executed basement renovation not only enhances the value and functionality of your home but also creates an inviting and enjoyable space for you and your family to enjoy.
Average Costs of Basement Renovations
When it comes to estimating the cost of a basement renovation, it’s important to consider that the costs can vary significantly depending on the scope of the project, the level of customization, and the location. However, we can provide you with some average cost estimates to give you a general idea of what to expect.
- Basic Basement Finishing: If you’re looking for a simple and budget-friendly basement finishing project, the average cost can range between $10,000 to $25,000. This typically includes basic framing, insulation, electrical work, drywall, and paint. However, it may not include additional features like a bathroom or kitchenette.
- Mid-Range Renovation: For a mid-range basement renovation with additional features, such as a bathroom or kitchenette, the average cost can range from $30,000 to $50,000. This cost includes higher-quality materials, custom finishes, and possibly some structural modifications.
- High-End Transformation: If you’re dreaming of a luxurious and custom-designed basement, be prepared for a higher price tag. High-end basement renovations can cost upwards of $50,000 to $100,000 or more. This includes premium materials, custom cabinetry, high-end finishes, advanced technologies, and possibly architectural design services.
It’s important to note that these average costs are rough estimates and can vary depending on various factors such as the size of the basement, geographic location, specific customization requirements, and the extent of the renovation. Obtaining multiple quotes from reputable contractors is the best way to get an accurate cost estimate for your specific project.
Additionally, it’s worth budgeting for unexpected expenses and contingencies. Renovation projects often encounter unforeseen issues, such as hidden water damage or wiring problems, which may require additional repairs and costs. Planning for these uncertainties can help you stay within your budget and avoid any financial surprises.
Remember, good communication with your contractors and a well-defined project plan can help you manage costs effectively. Clearly communicating your budget limitations, priorities, and desired outcomes will enable your contractor to propose appropriate solutions and make cost-saving recommendations without compromising the quality of the renovation.
Ultimately, the cost of your basement renovation is an investment in your home’s value and your family’s comfort and enjoyment. By carefully considering your needs, priorities, and budget, you can create a basement space that meets your expectations while staying within your financial means.
Cost Breakdown of Basement Renovation Components
A basement renovation involves various components, and understanding the cost breakdown can help you allocate your budget more effectively. Here is a breakdown of the typical components and their associated costs:
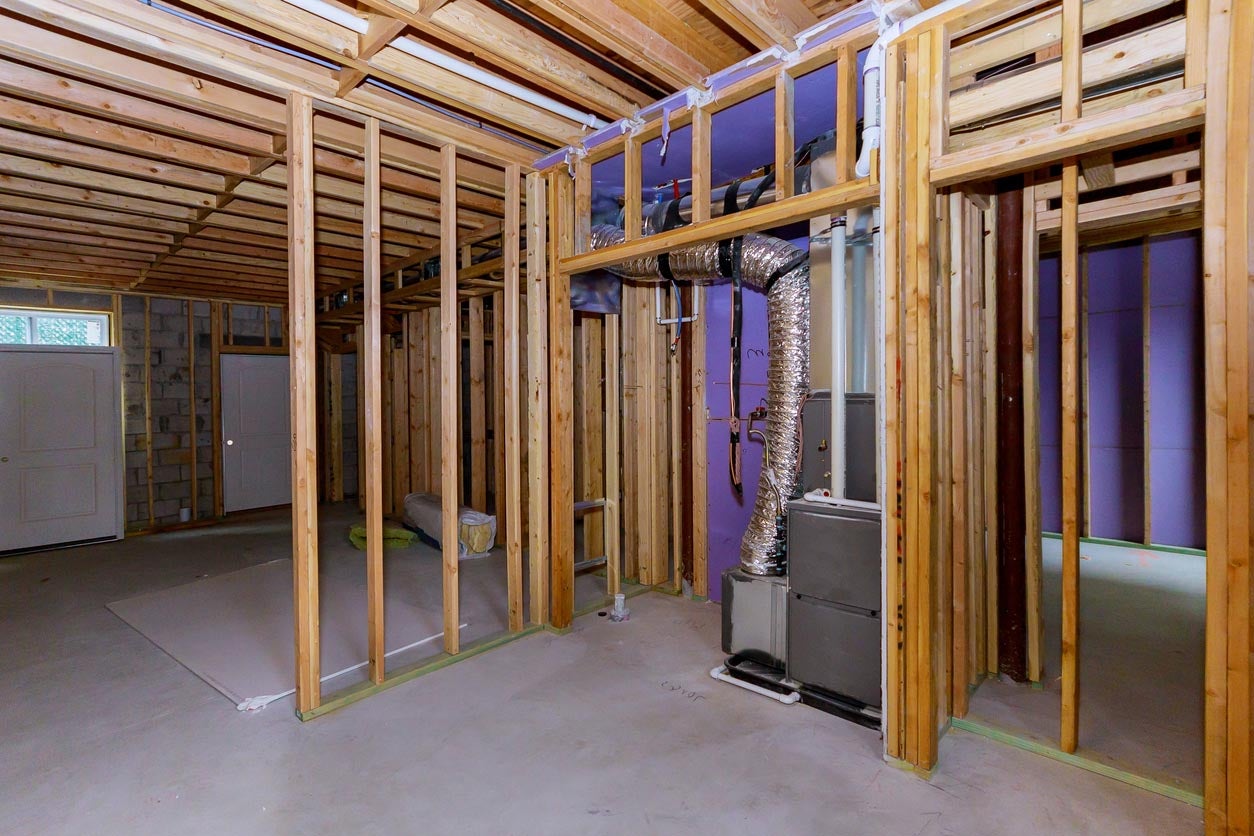
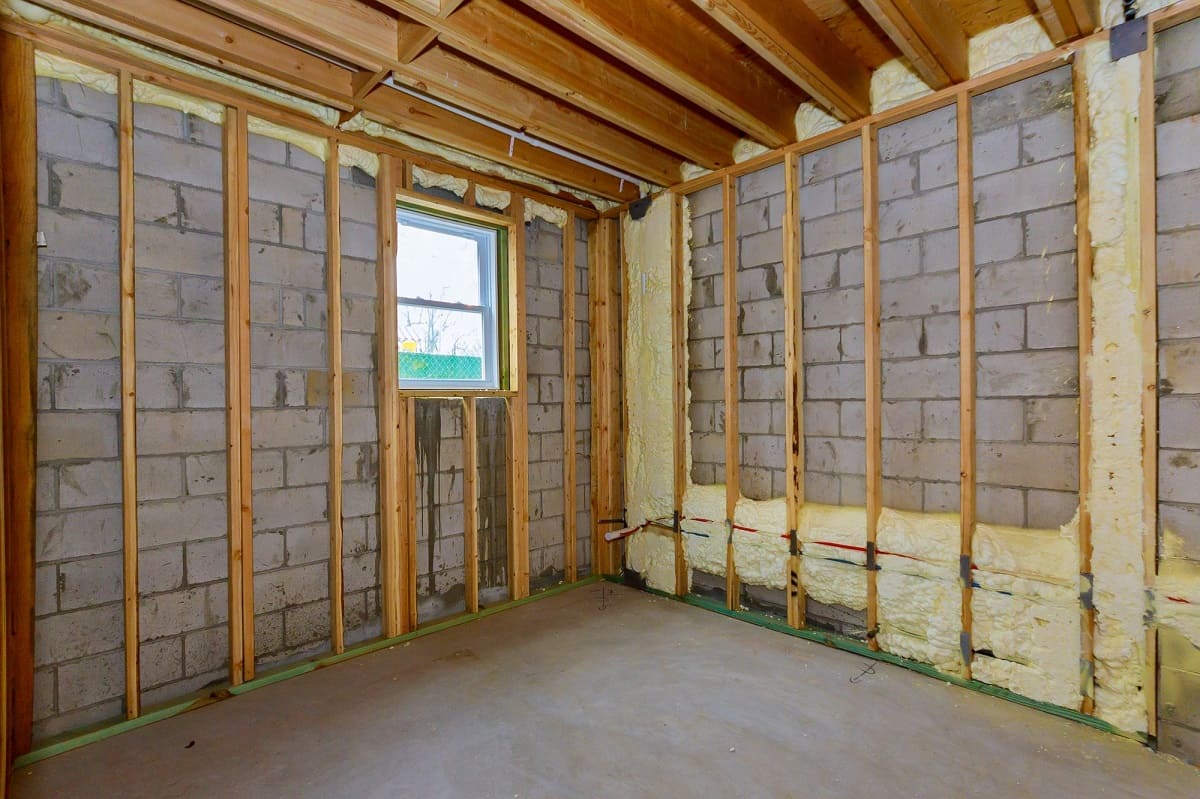
1. Framing and Insulation: Framing the walls and installing insulation is a critical step in the basement renovation process. On average, this component can cost between $2,000 to $5,000, depending on the size and complexity of the basement. Remember that using high-quality insulation materials can contribute to energy efficiency and long-term cost savings.
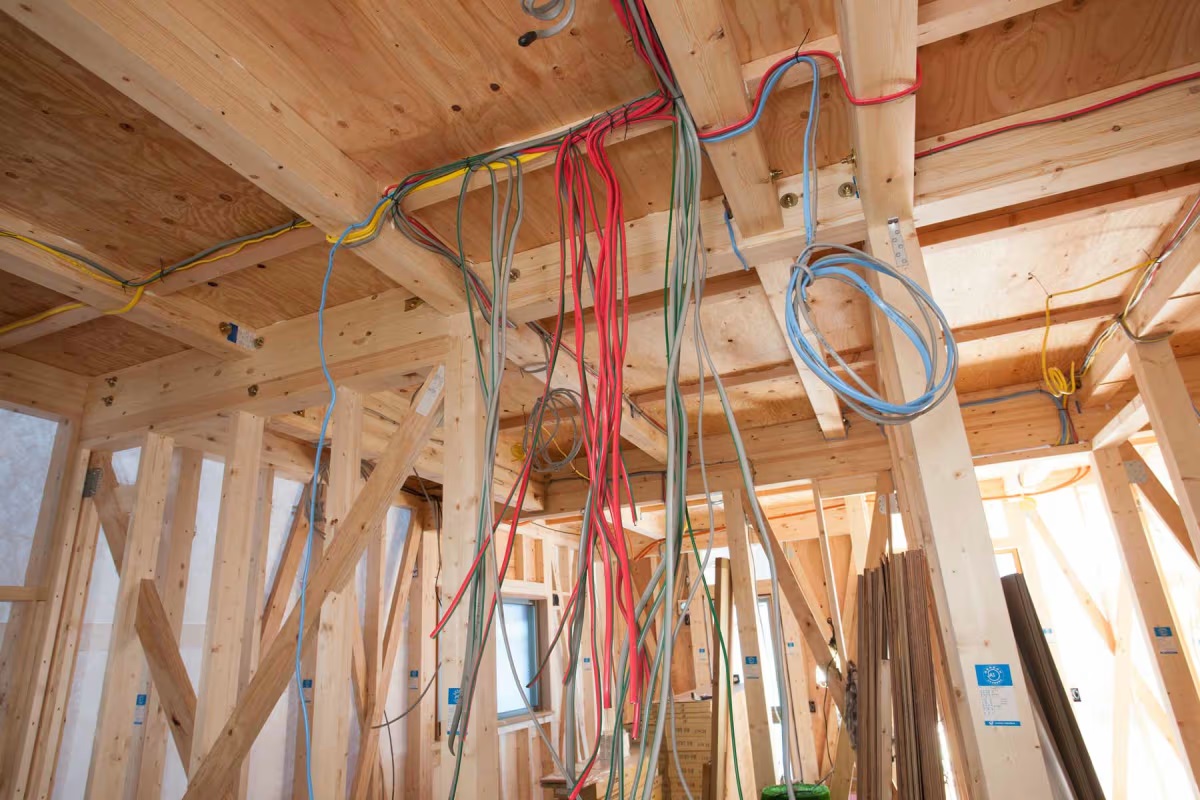
2. Electrical Work: The electrical requirements for a basement renovation can vary depending on your specific project. Adding outlets, lighting fixtures, and electrical wiring typically costs between $1,000 to $3,000. If you plan to include advanced technologies or media rooms, the cost may increase.
3. Plumbing: If you intend to add a bathroom, a kitchenette, or a laundry room to your basement, you’ll need to consider the cost of plumbing. This can range from $2,000 to $6,000, depending on the complexity and extent of the plumbing work required.
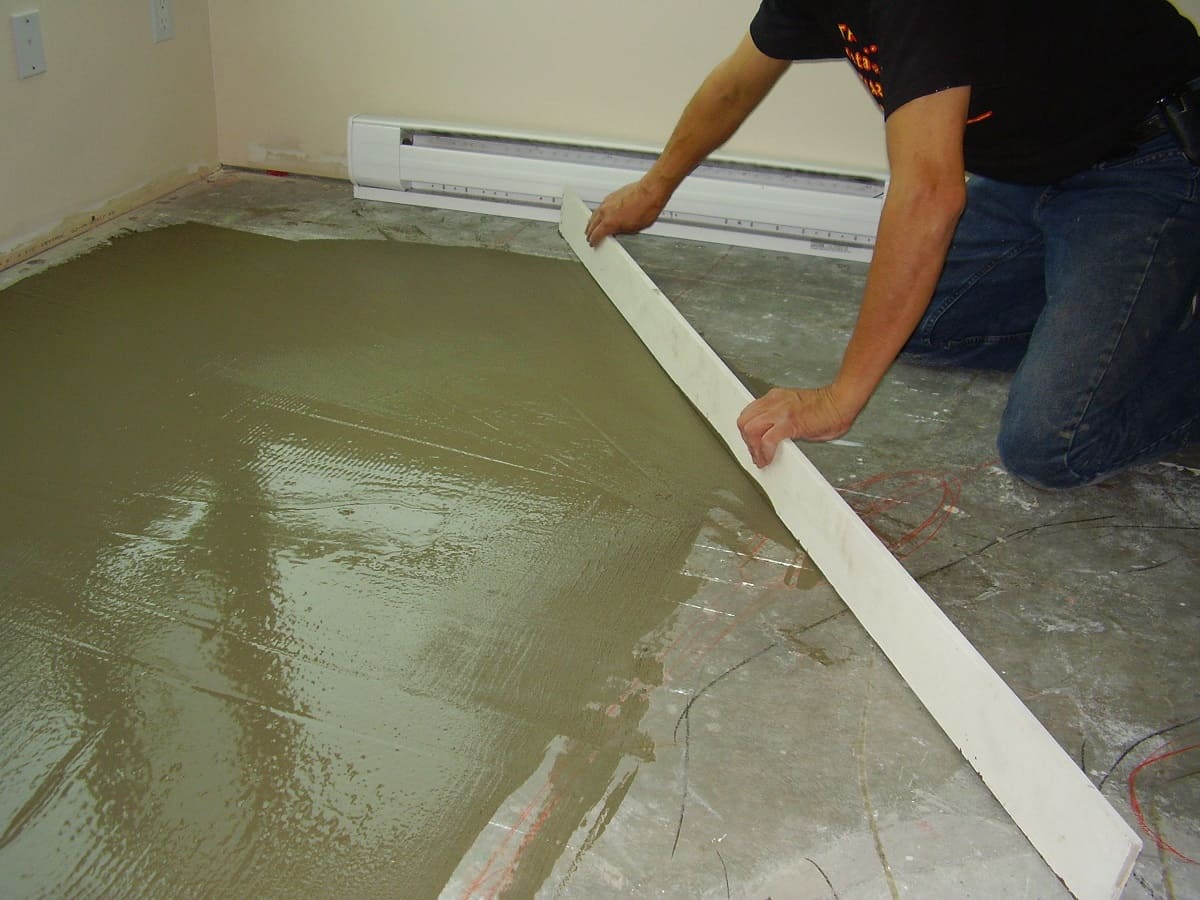
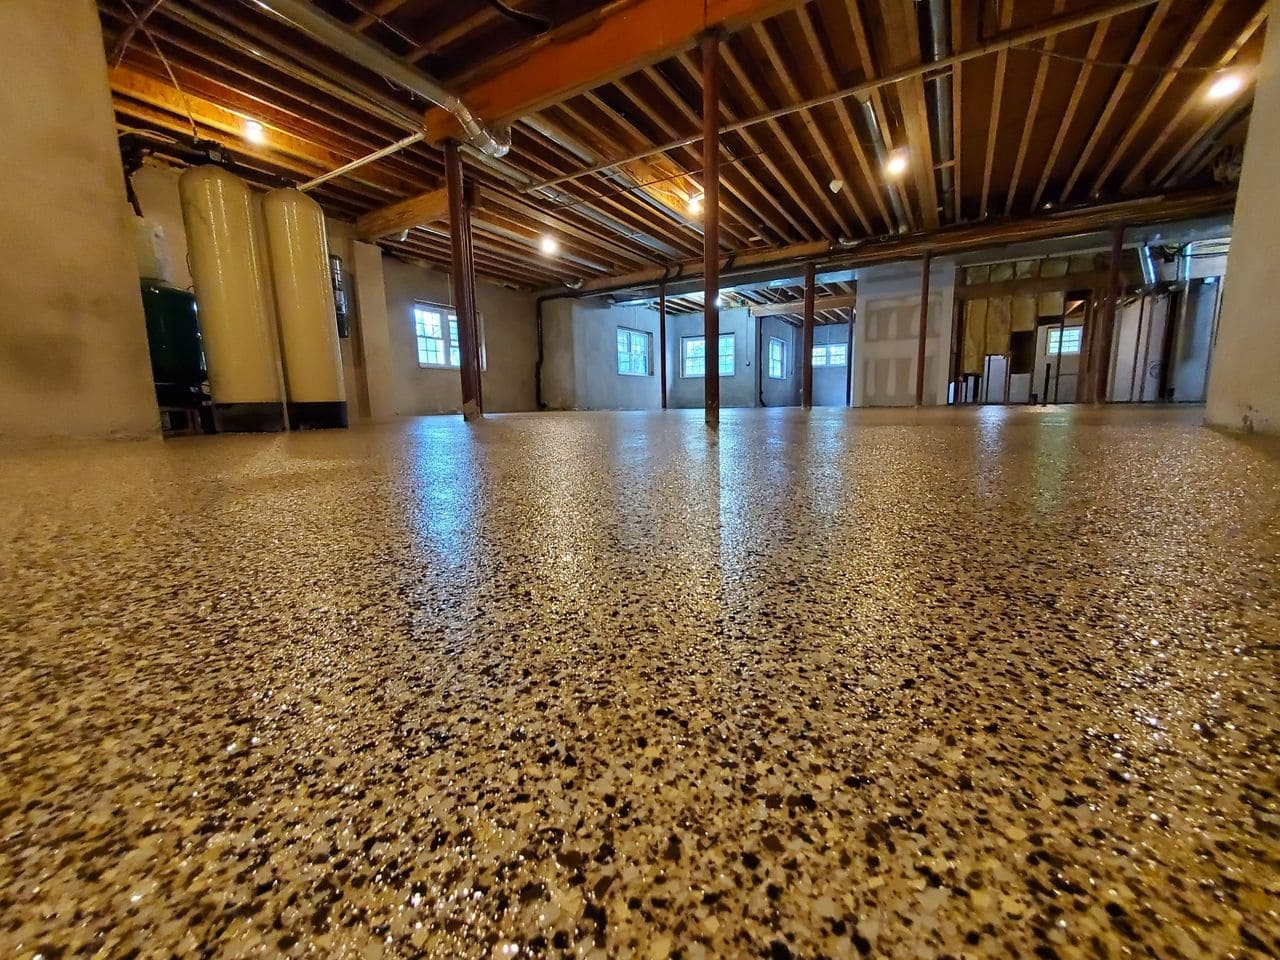
4. Flooring: Choosing the right flooring material for your basement is crucial, as it needs to withstand potential moisture issues. The cost of basement flooring can vary widely, depending on the material you choose. On average, you can expect to spend between $1,500 to $5,000 for flooring, including options such as vinyl, laminate, carpet, or tile.
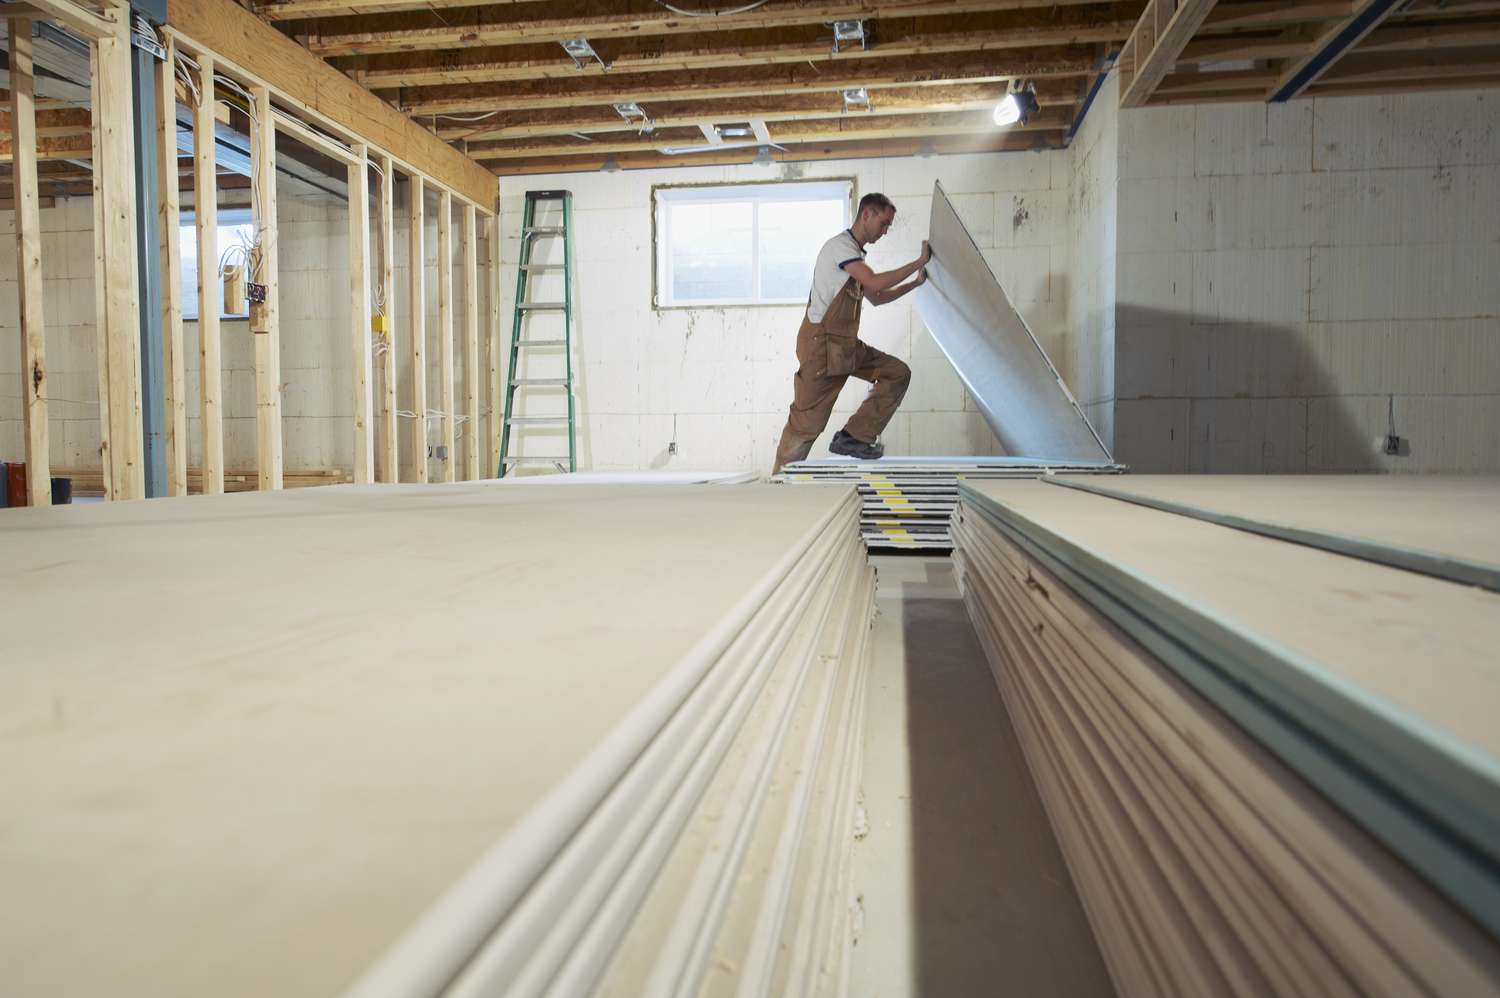
5. Walls and Ceilings: Drywall installation and finishing for walls and ceilings are essential for a polished basement look. The cost for this component typically falls in the range of $2,000 to $5,000, taking into account materials, labor, and any additional architectural details or custom finishes desired.
6. Finishing Touches: The finishing touches, such as paint, trim, and hardware, add the final touches of style to your basement renovation. The cost for these details can range from $500 to $2,000, depending on the size of the basement and the level of customization.
It’s important to note that these cost breakdowns are approximate and can vary based on factors such as the size of the basement, regional labor costs, and the specific materials and finishes you choose. Additionally, the costs mentioned above do not include any additional features or customizations, such as installing home theaters, wet bars, or built-in shelving units. These elements can significantly increase the overall cost of your basement renovation.
To get a more accurate cost breakdown for your specific project, it’s recommended to consult with professional contractors and obtain detailed quotes. They can assess your basement’s unique characteristics and provide you with a comprehensive breakdown based on your specific requirements.
By understanding the cost breakdown of each component, you can prioritize your budget, make informed decisions, and ensure that your basement renovation aligns with your financial goals and vision for the space.
When budgeting for a basement renovation, consider factors such as the size of the space, the extent of the renovations, and the cost of materials and labor. It’s also important to account for any unexpected expenses that may arise during the project.
Additional Factors to Consider
When planning a basement renovation, it’s important to consider additional factors that can impact the overall cost and success of your project. These factors go beyond the basic components of the renovation and can play a crucial role in the outcome of your basement transformation. Here are some additional factors to consider:
1. Waterproofing and Moisture Control: Basements are prone to moisture-related issues, such as water seepage or high humidity levels. It’s crucial to address these issues before proceeding with the renovation. Waterproofing measures, such as installing a sump pump, adding drainage systems, or sealing foundation cracks, may be necessary to prevent water damage and ensure a dry and comfortable basement. The cost of waterproofing can vary depending on the extent of the work required, with prices ranging from $1,000 to $10,000 or more.
2. Lighting and Ventilation: Basements typically lack natural light, making it important to plan adequate lighting to create a bright and inviting space. Consider investing in recessed lighting, track lighting, or even skylights to maximize natural light. Additionally, proper ventilation is crucial to prevent mold and ensure air quality. Ventilation systems, such as exhaust fans or dehumidifiers, may need to be included in the renovation, with costs ranging from $500 to $3,000 or more.
3. Permits and Regulations: Depending on your local building codes and regulations, you may need to obtain permits for your basement renovation project. The cost of permits can vary, depending on the scope of the renovation and the location. Be sure to research and factor in the cost of necessary permits and inspections when planning your budget.
4. Architectural and Design Services: In some cases, you may consider hiring architectural or design services to help plan and visualize your basement renovation. These professionals can provide expertise and guidance in optimizing space, creating custom layouts, and selecting appropriate finishes. Architectural and design fees typically range from 5% to 20% of the total project cost, depending on the level of involvement required.
5. Timeline and Project Duration: The duration of your basement renovation can affect the overall cost, especially if you need to find alternative accommodations during the construction phase. Consider the potential costs of temporary housing or storage if needed. Furthermore, delays and unexpected issues can have financial implications, so it’s important to factor in a buffer for unforeseen circumstances.
6. Quality of Materials: The quality of materials you choose for your basement renovation will impact the longevity and overall appeal of the space. Opting for higher-quality materials may initially result in higher costs, but they can offer better durability and require less maintenance in the long run.
By considering these additional factors, you can ensure that your basement renovation is a success both in terms of aesthetics and functionality. It’s crucial to plan and budget accordingly to account for potential expenses, obtain necessary permits, and address any underlying issues to create a basement space that exceeds your expectations.
Read more: How Much Does It Cost To Drywall A Basement
Tips for Cost-Effective Basement Renovations
Renovating your basement doesn’t have to break the bank. With careful planning and smart decisions, you can create a beautiful and functional space while keeping costs under control. Here are some tips for cost-effective basement renovations:
1. Create a Clear Plan: Before starting your basement renovation, establish a clear plan and set a budget. Determine your renovation goals and prioritize the elements that are most important to you. This will help you make informed decisions throughout the project and avoid unnecessary expenses.
2. Consider DIY: If you have the skills and experience, consider tackling some of the renovation tasks yourself. DIY projects can help save on labor costs, but be realistic about your abilities and only take on tasks you’re confident in completing effectively.
3. Optimize Layout: Instead of making significant structural changes, work with the existing layout of your basement. Avoid moving plumbing or electrical fixtures, as this can add significant costs to the project. By making the most of the available space and optimizing the layout, you can save both time and money.
4. Choose Cost-Effective Materials: Look for cost-effective materials that still offer durability and aesthetic appeal. For example, consider laminate flooring instead of hardwood, or use vinyl plank flooring as a budget-friendly alternative. Research and compare prices to find the best deals without compromising on quality.
5. Shop Smart for Finishes: Finishing touches, such as paint, trim, and hardware, can significantly impact the overall look of your basement. Look for sales or discounts on these items, or consider purchasing from outlet stores or online retailers. You can often find high-quality materials at a fraction of the cost.
6. Reuse and Repurpose: Get creative with repurposing existing furniture or decor items from other areas of your home or even thrift stores. With a fresh coat of paint or some simple modifications, you can give new life to old pieces and save money on buying new furnishings.
7. Focus on Energy Efficiency: Invest in energy-efficient lighting fixtures and appliances for your basement. Energy-efficient options may have a higher upfront cost, but they can save you money in the long run through reduced energy consumption and utility bills.
8. Get Multiple Quotes: Before hiring contractors, get multiple quotes from different professionals. This will allow you to compare prices and find the best value for your money. However, make sure to consider the reputation and expertise of the contractors as well, as quality work is crucial for long-term satisfaction.
9. Maintain a Contingency Fund: Prepare for unexpected expenses by setting aside a contingency fund. Renovations often uncover unforeseen issues or require adjustments along the way. Having a financial buffer will help you stay within your budget without compromising the quality of the renovation.
10. Consider Long-Term Value: While it’s important to focus on cost-saving strategies, don’t sacrifice long-term value. Investing in durable materials and quality craftsmanship will ensure that your basement renovation stands the test of time. It’s better to spend a bit more upfront for a durable and functional space that will require fewer repairs and replacements in the future.
By implementing these cost-effective tips, you can achieve a remarkable basement renovation on a budget. Remember, effective planning, smart decision-making, and prioritizing quality over quantity will help you create a beautiful and functional basement space that you and your family can enjoy for years to come.
Conclusion
Basement renovations are an excellent way to add value and usable space to your home. While the cost of such renovations can vary based on several factors, understanding these factors and implementing cost-saving strategies can help you achieve a successful and budget-friendly renovation.
Throughout the planning process, it’s crucial to have a clear vision of what you want to achieve with your basement renovation and set a realistic budget. Consider the size, complexity, customization, and additional features you desire to determine the potential costs. Obtaining multiple quotes from reputable contractors and factoring in permits, architectural services, and contingencies will help create a comprehensive budget.
When it comes to cost-effective renovations, making smart decisions is essential. Optimize the layout, consider DIY options, and choose cost-effective materials without compromising on quality. Shop for discounted finishes, reuse and repurpose items where possible, and focus on energy efficiency to save on long-term expenses. Maintain a contingency fund to account for unforeseen issues that may arise during the renovation process.
By considering these factors and following the cost-saving tips provided, you can successfully complete a basement renovation within your budget. Keep in mind that balancing affordability and quality is key. Prioritize durable materials and quality craftsmanship to ensure a long-lasting and functional basement that adds value to your home.
Remember, a basement renovation is an investment not only in your property but also in the comfort and enjoyment of your living space. By carefully planning, budgeting, and making informed decisions, you can transform your basement into a beautiful and functional area that meets your needs and exceeds your expectations.
Take the time to research, consult with professionals, and consider different options before starting your basement renovation project. With proper planning and cost-conscious strategies, you can create a basement space that enhances the overall value, functionality, and aesthetic appeal of your home for years to come.
Frequently Asked Questions about How Much Does Basement Renovation Cost
Was this page helpful?
At Storables.com, we guarantee accurate and reliable information. Our content, validated by Expert Board Contributors, is crafted following stringent Editorial Policies. We're committed to providing you with well-researched, expert-backed insights for all your informational needs.


0 thoughts on “How Much Does Basement Renovation Cost”