Home>Interior Design>How To Touch Up Paint On Walls
Interior Design
How To Touch Up Paint On Walls
Modified: August 17, 2024
Learn how to touch up paint on walls with our expert tips and techniques. Enhance the interior design of your space effortlessly and achieve a flawless finish.
(Many of the links in this article redirect to a specific reviewed product. Your purchase of these products through affiliate links helps to generate commission for Storables.com, at no extra cost. Learn more)
Introduction
Touching up paint on walls is a common task that many homeowners face. Whether you have small scratches, scuffs, or chips on your painted walls, learning how to effectively touch up the paint can help restore the appearance of your interior space. Not only does it save you money by avoiding the need to repaint the entire wall, but it also allows you to maintain the beauty and integrity of your home’s interior design.
In this article, we will guide you through the process of touching up paint on walls effectively and seamlessly. We will cover everything from assessing the damaged area to selecting the right paint color and applying it correctly. By following these steps, you will be able to achieve professional-looking touch-up results that seamlessly blend in with the existing paint.
Before we begin, it’s important to note that the success of your touch-up job will depend on various factors, such as the age and type of paint, the extent of damage, and the availability of matching paint color. However, with the right techniques and attention to detail, you can achieve satisfying results.
Now, let’s dive into the step-by-step process of how to touch up paint on walls and bring back the beauty of your interior space.
Key Takeaways:
- Achieve professional-looking touch-up results by carefully assessing the damage, preparing the wall, selecting the right paint, and applying it seamlessly with attention to detail.
- Blend the touch-up paint effectively, let it dry thoroughly, and complete the process with final touches and clean-up for a refreshed and cohesive interior space.
Read more: How To Store Touch Up Paint
Assessing the Damaged Area
The first step in touching up paint on walls is to assess the damaged area. This will help determine the extent of the damage and identify the necessary steps for a successful touch-up. Here are some key points to consider:
- Size of the Damage: Examine the size of the scratch, scuff, or chip on the wall. If it’s a small area, it can typically be easily repaired. However, if the damage is larger or more extensive, it may require additional work.
- Type of Damage: Different types of damage, such as scratches, scuffs, or chips, may require different approaches for touch-up. Scratches and scuffs can often be repaired by simply applying a new layer of paint, while chips may need additional preparation and filling.
- Paint Quality and Age: Take into account the quality and age of the existing paint on the wall. Older paints may have faded or undergone color changes, making it more challenging to achieve a perfect match. In some cases, it may be necessary to repaint the entire wall to ensure a seamless result.
- Paint Finish: Consider the finish of the existing paint on the wall, such as matte, satin, or glossy. It’s important to choose a touch-up paint with a similar finish to ensure a consistent appearance.
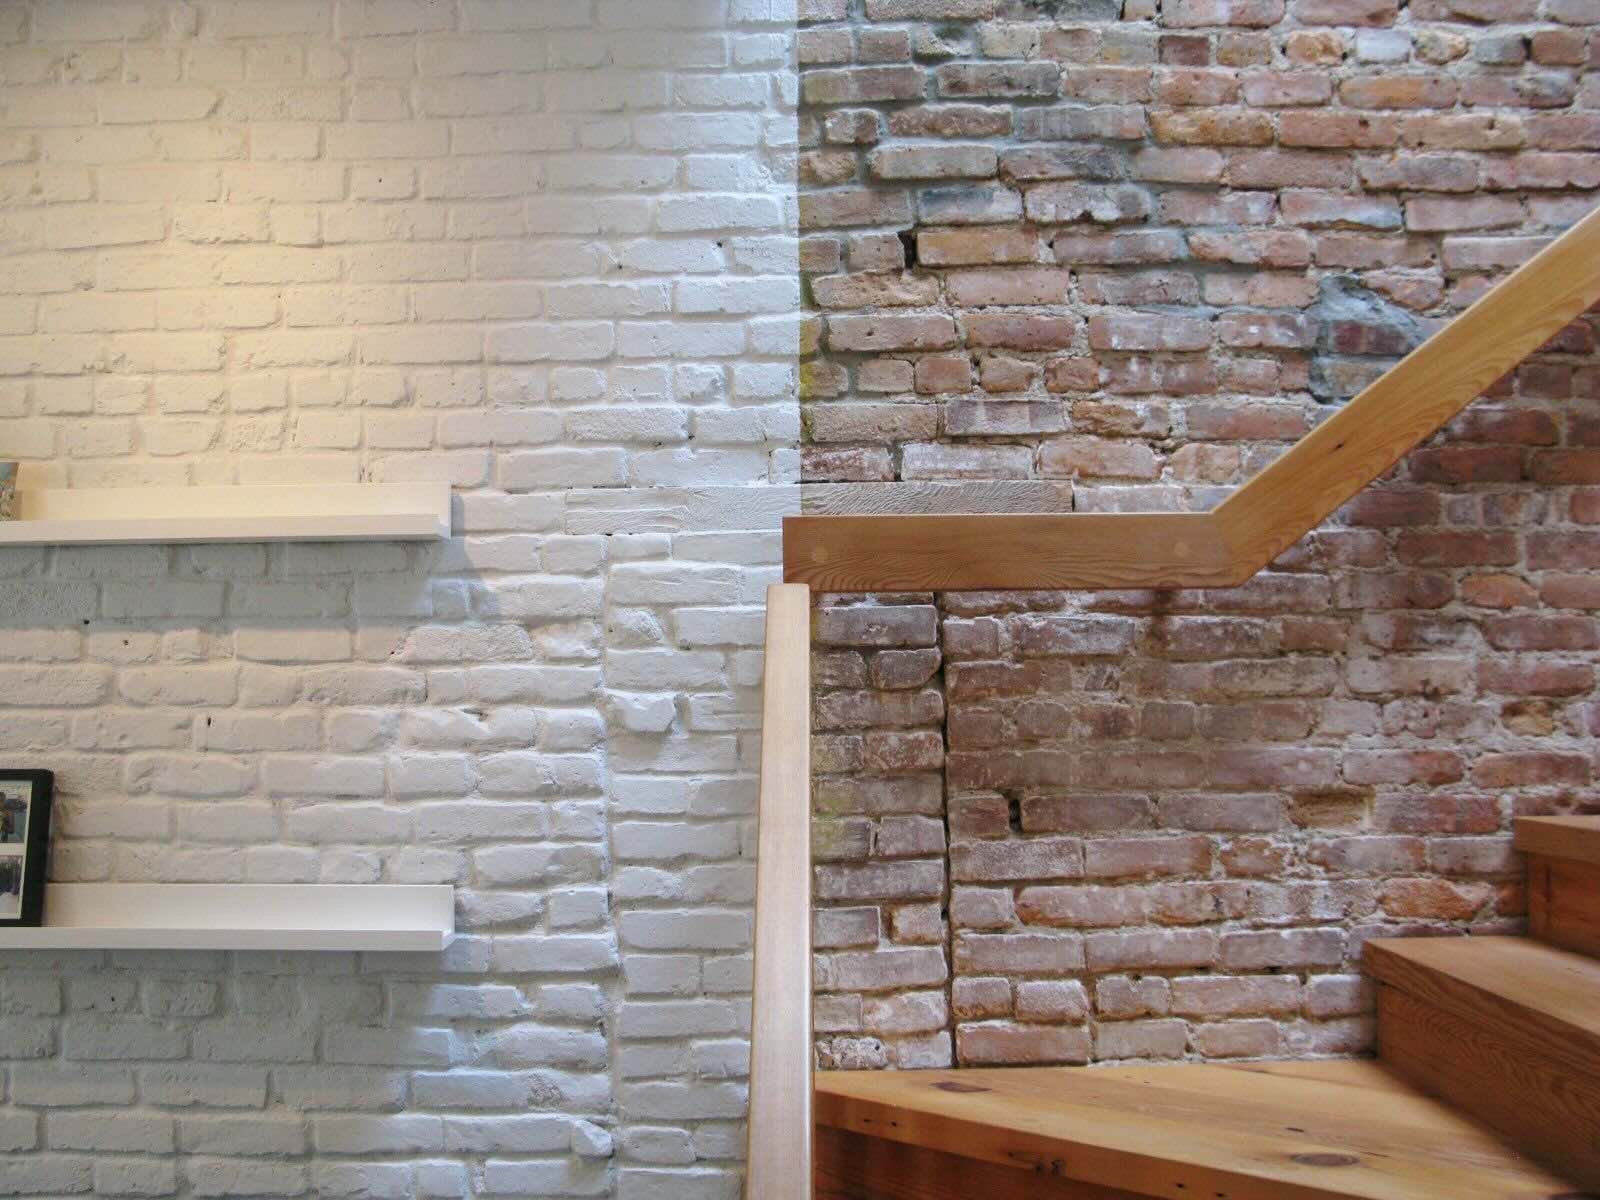
- Surrounding Area: Assess the surrounding area to ensure that the touch-up paint will blend well with the existing paint. Take note of any differences in texture or sheen that may affect the final result.
By carefully evaluating these factors, you can determine the best approach for touching up the paint on your walls. Keep in mind that achieving a seamless touch-up may not always be possible, especially if the damage is significant or the existing paint has faded or changed color over time. However, by following the subsequent steps in this guide, you can still achieve a satisfactory result that significantly improves the appearance of your walls.
Preparing the Wall
Before applying the touch-up paint, it’s essential to prepare the wall to ensure a smooth and long-lasting result. Here are the steps to follow when preparing the wall:
- Clean the Surface: Start by cleaning the damaged area and the surrounding wall. Remove any dirt, dust, or grease using a mild detergent solution and a soft cloth. Make sure the wall is completely clean and dry before proceeding.
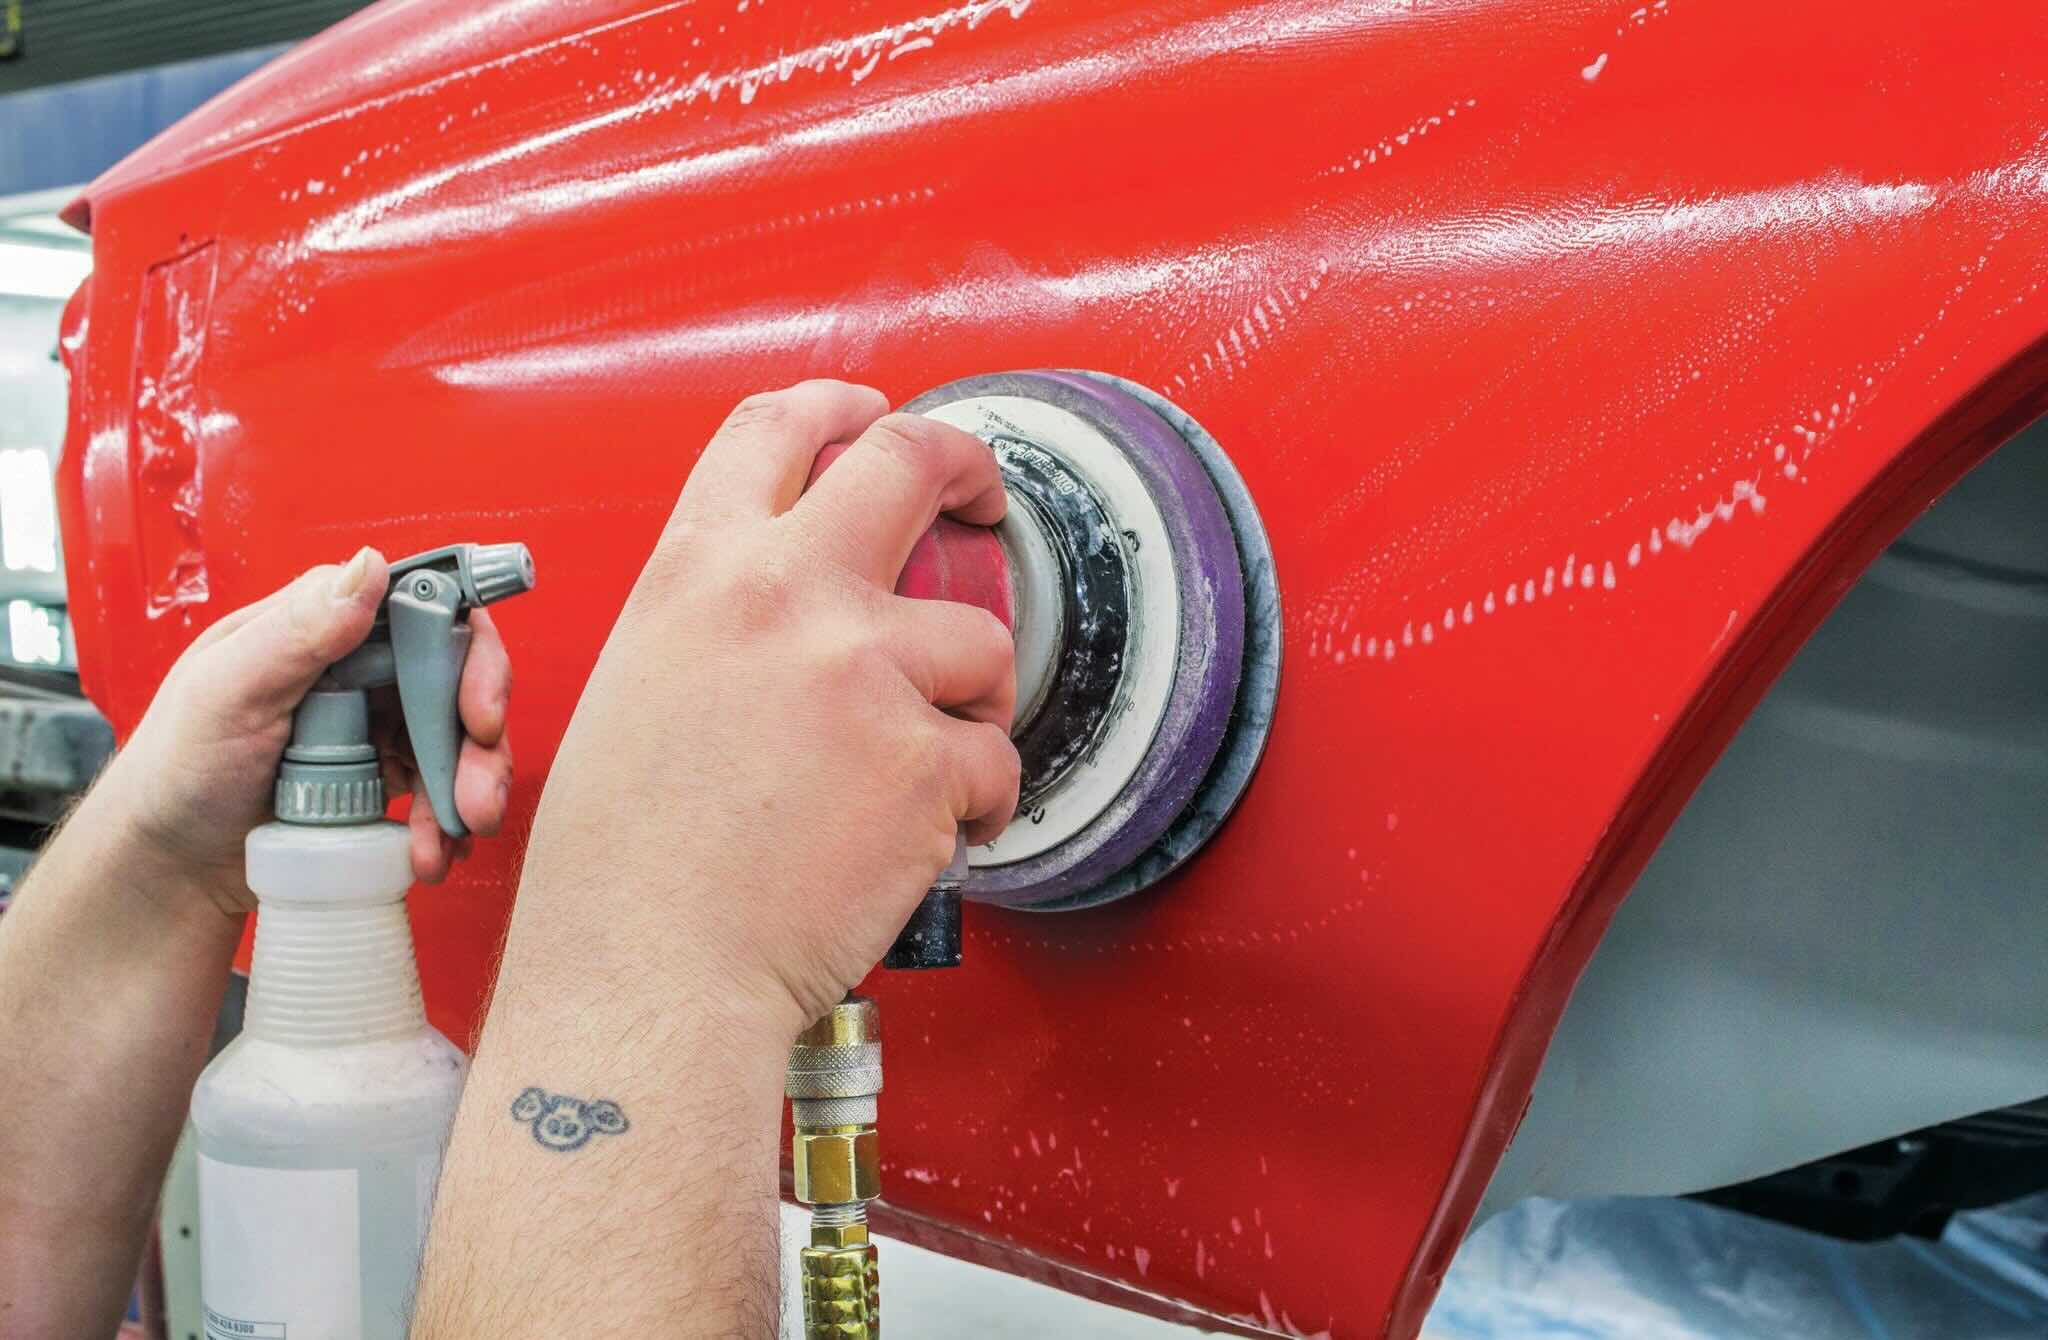
- Sand the Area: If the damaged area has any rough edges, such as chips or uneven paint, gently sand it using fine-grit sandpaper. This will help create a smooth surface for the touch-up paint to adhere to. Be careful not to over-sand or damage the surrounding area.
- Prime (If Required): In some cases, particularly when dealing with deep chips or stains, you may need to apply a primer to the damaged area. The primer will help the touch-up paint adhere better and provide a more even surface. Use a small brush to apply the primer and allow it to dry completely before proceeding.
- Mask Off Surrounding Area: To protect the surrounding wall from accidental paint spills or smudges, use painter’s tape to create a boundary around the damaged area. This will ensure clean lines and prevent the touch-up paint from spreading onto unaffected areas.
By properly preparing the wall, you create an ideal foundation for the touch-up paint application. Cleaning the surface helps to remove any contaminants that may prevent proper adhesion, while sanding and priming allow for a smooth and seamless touch-up. Additionally, masking off the surrounding area ensures a clean and professional-looking finish.
Once the wall is prepared, you are ready to move on to the next step: selecting the right paint color for the touch-up job.
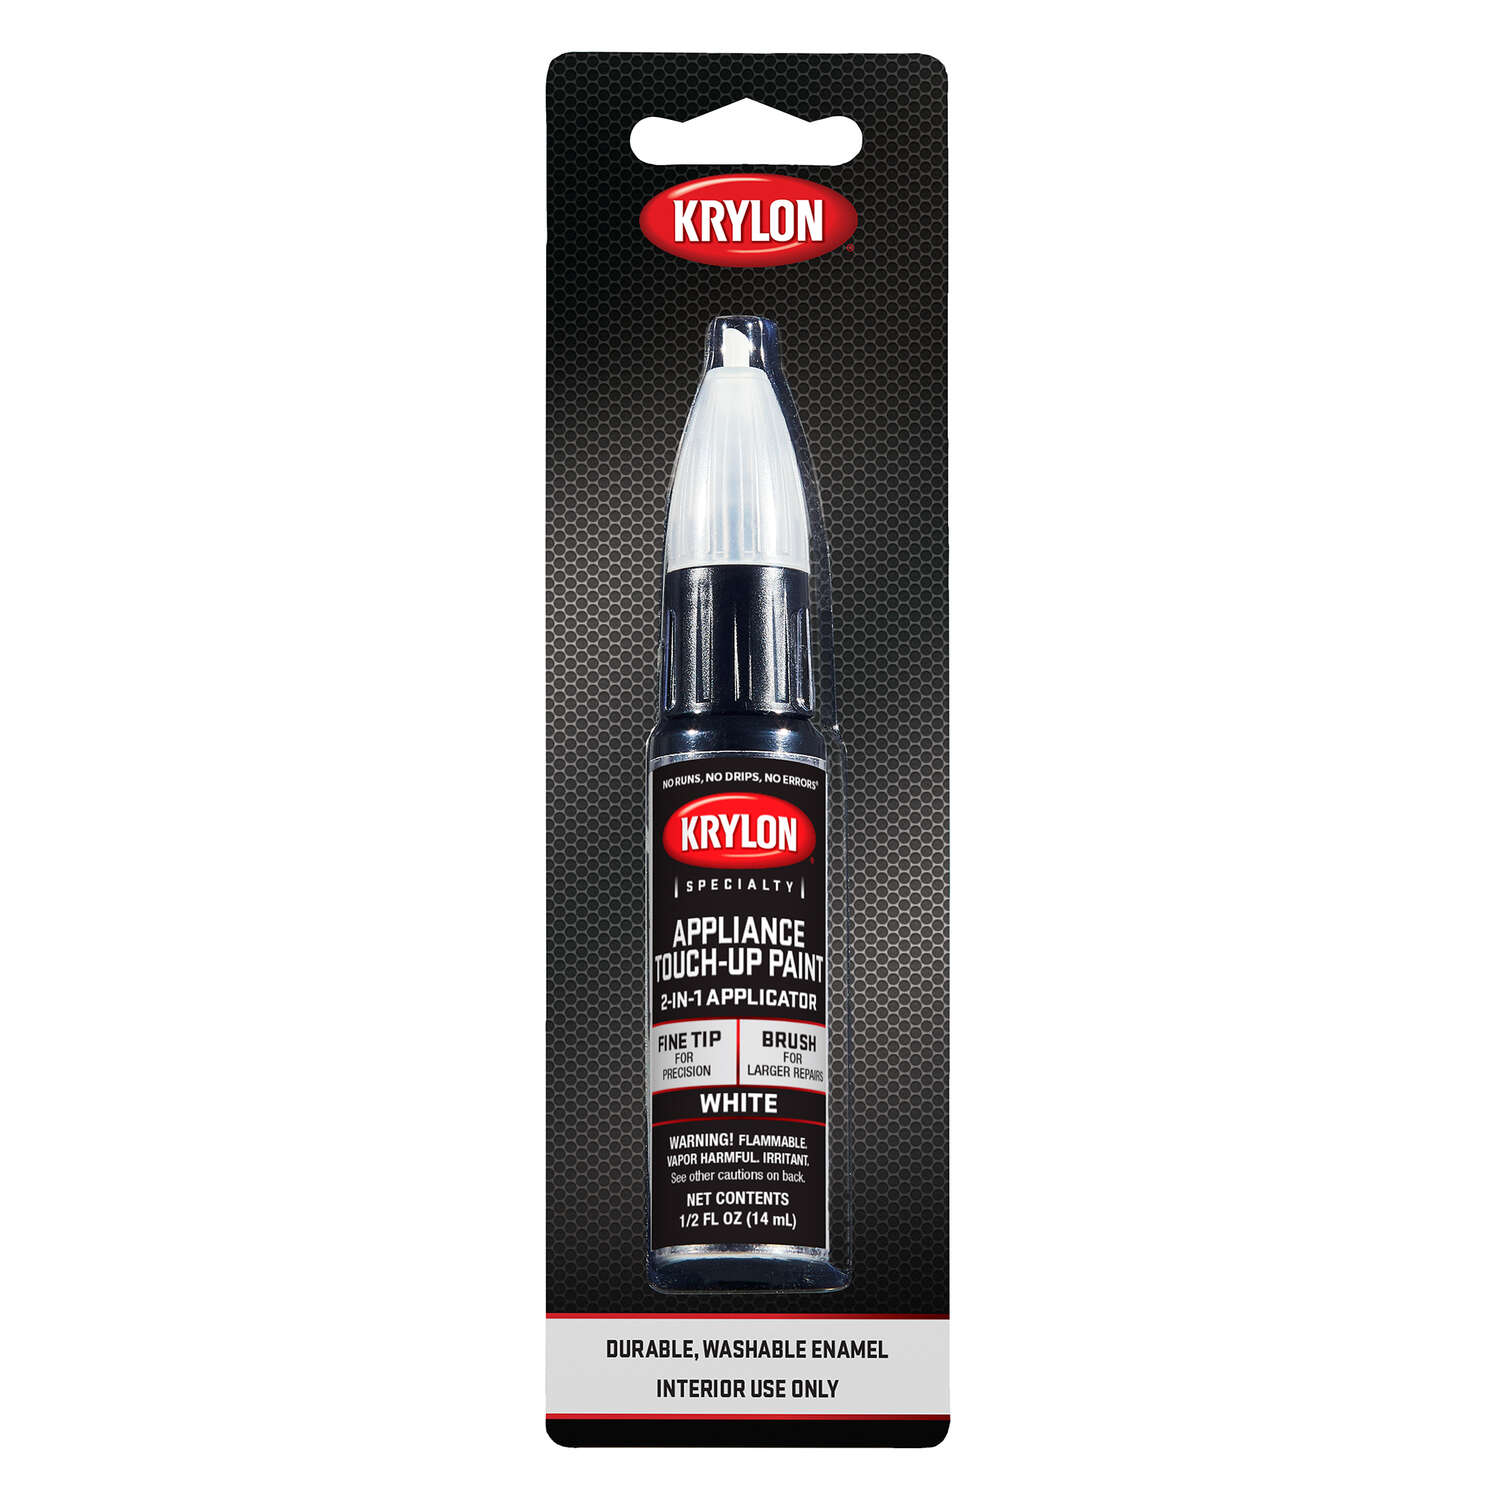
Selecting the Right Paint
Choosing the correct paint color for your touch-up job is crucial in achieving a seamless and professional-looking result. Here are some tips to help you select the right paint:
- Identify the Paint Brand and Color: If possible, try to determine the brand and color of the existing paint on your wall. This information can typically be found on the paint can or through your home improvement records. Having this information will make it easier to find a matching touch-up paint.
- Bring a Sample: If you don’t have access to the exact paint color information, take a small sample of the existing paint from an inconspicuous area of the wall. Bring this sample to a paint store for color matching. They can use specialized tools to analyze the color and create a custom match.
- Consider Paint Sheen: Pay attention to the sheen of the existing paint on the wall, such as matte, satin, or glossy. It’s important to choose a touch-up paint with a similar sheen to ensure a consistent appearance. The wrong sheen can make the touch-up area appear shiny or dull compared to the surrounding wall.
- Get a Small Test Can: If you are unsure about the color match or want to test it before applying it to the wall, ask the paint store for a small sample can of the selected paint. This will allow you to apply a small amount of paint on an inconspicuous area to check the color accuracy and how it blends with the existing paint.
- Consider Repainting the Entire Wall: If you are unable to find an exact match or if there are variations in the existing paint color due to fading or other factors, you may want to consider repainting the entire wall. This ensures a consistent finish and eliminates the need for touch-up paint matching.
Remember, selecting the right paint color is crucial for achieving a seamless touch-up result. Take the time to gather the necessary information or seek professional help to ensure the closest match possible. With the right paint color in hand, you are ready to move on to the next step: mixing the paint for touch-up.
Mixing the Paint
Once you have selected the right paint color for your touch-up job, it’s time to mix the paint. Mixing the paint ensures that the color is consistent and free of any clumps or separation. Follow these steps to properly mix the paint:
- Read the Instructions: Before you begin, carefully read the instructions on the paint can. Different types of paint may have specific instructions for mixing.
- Use a Stir Stick: Use a clean stir stick or a paint mixing tool to thoroughly stir the paint. Start at the bottom of the can and work your way up, making sure to scrape the sides and the bottom to incorporate any settled pigments.
- Check the Consistency: As you stir, pay attention to the consistency of the paint. It should be smooth and free of any lumps or clumps. If the paint is too thick, you can add a small amount of water to achieve the desired consistency. However, be cautious not to make the paint too thin, as it may affect the coverage and adhesion.
- Avoid Mixing Different Paint Brands: It’s best to avoid mixing paints from different brands, as they may have different formulations and could result in an inconsistent color match. Stick with the same brand as the existing paint whenever possible.
- Test the Color: Before applying the mixed paint to the wall, it’s a good idea to test the color on a small inconspicuous area, such as a spare piece of cardboard or an extra piece of drywall. This will give you an idea of how the color looks when it dries and help you ensure it matches the existing paint.
By properly mixing the paint, you ensure that the color is consistent and ready for application. Take your time to stir the paint thoroughly and test the color before moving on to the next step: applying the touch-up paint to the damaged area.
Use the same type of paint and a small brush to touch up small areas on walls. For larger areas, consider repainting the entire section for a seamless finish.
Read more: How To Blend Touch Up Paint On Ceiling
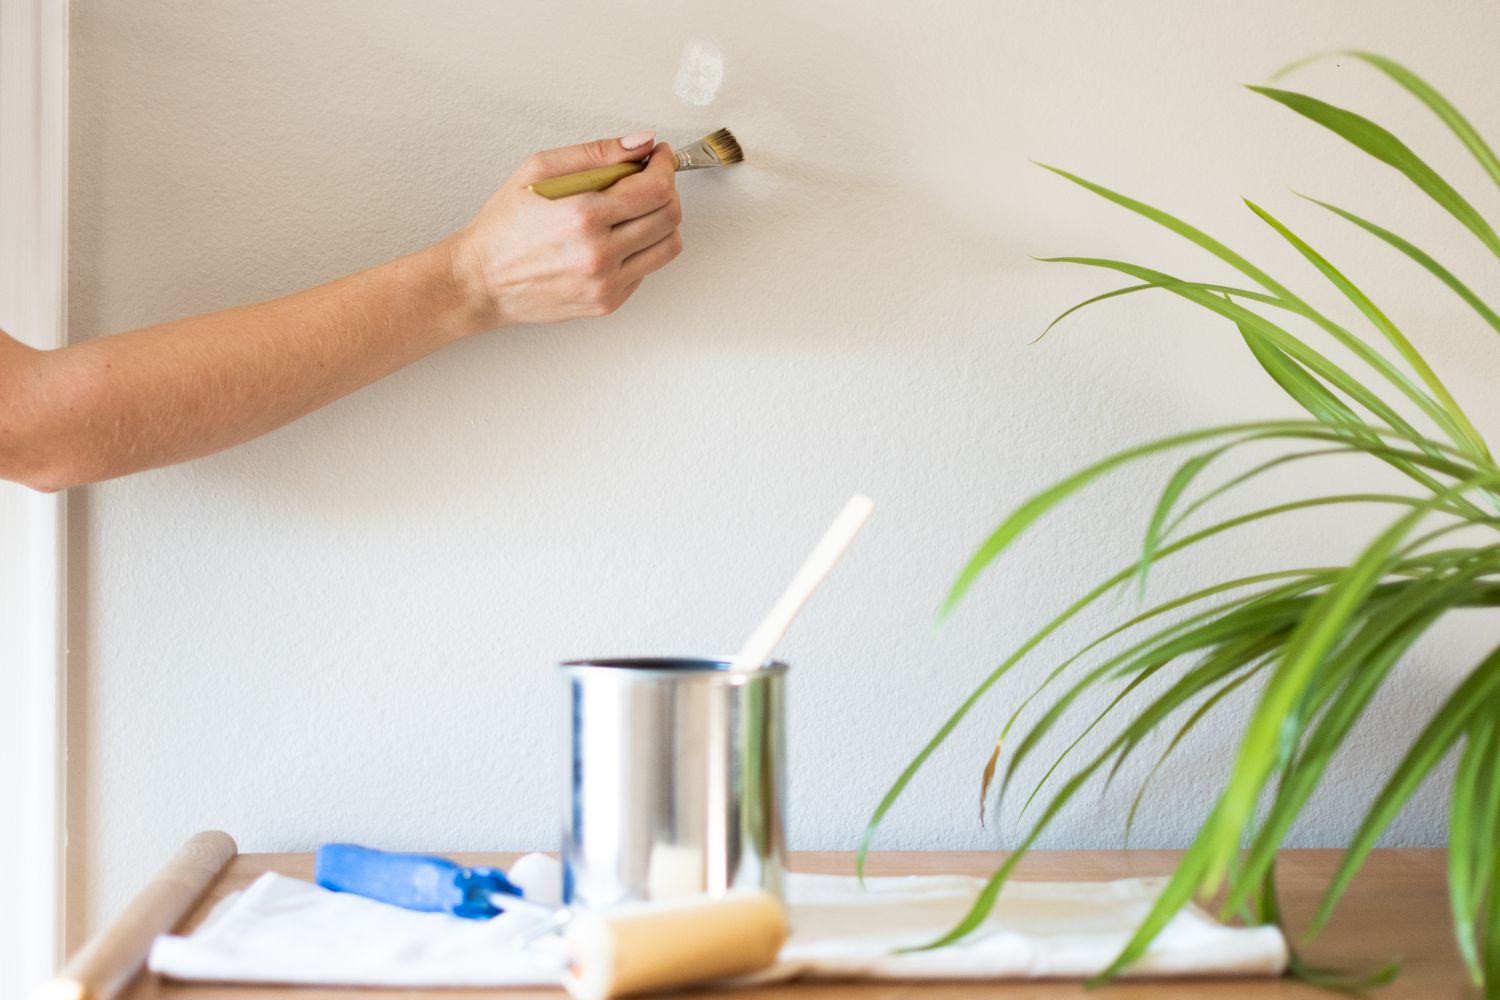
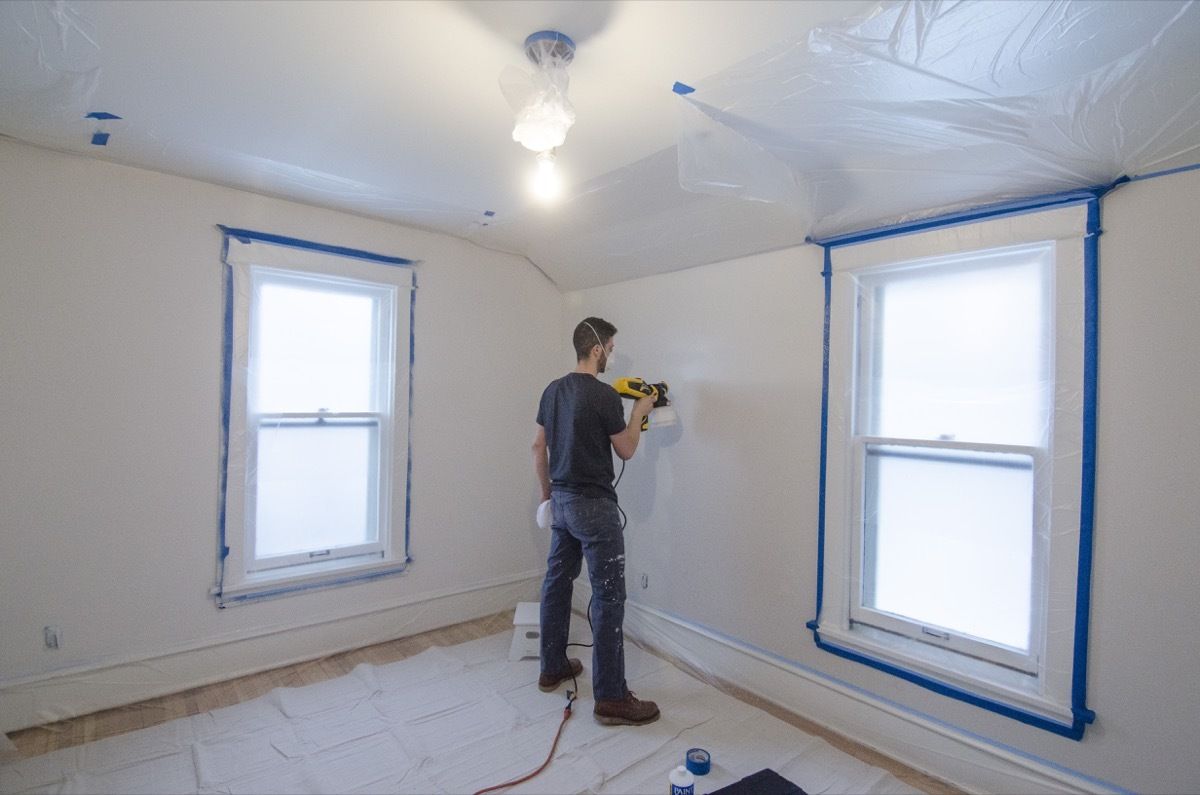
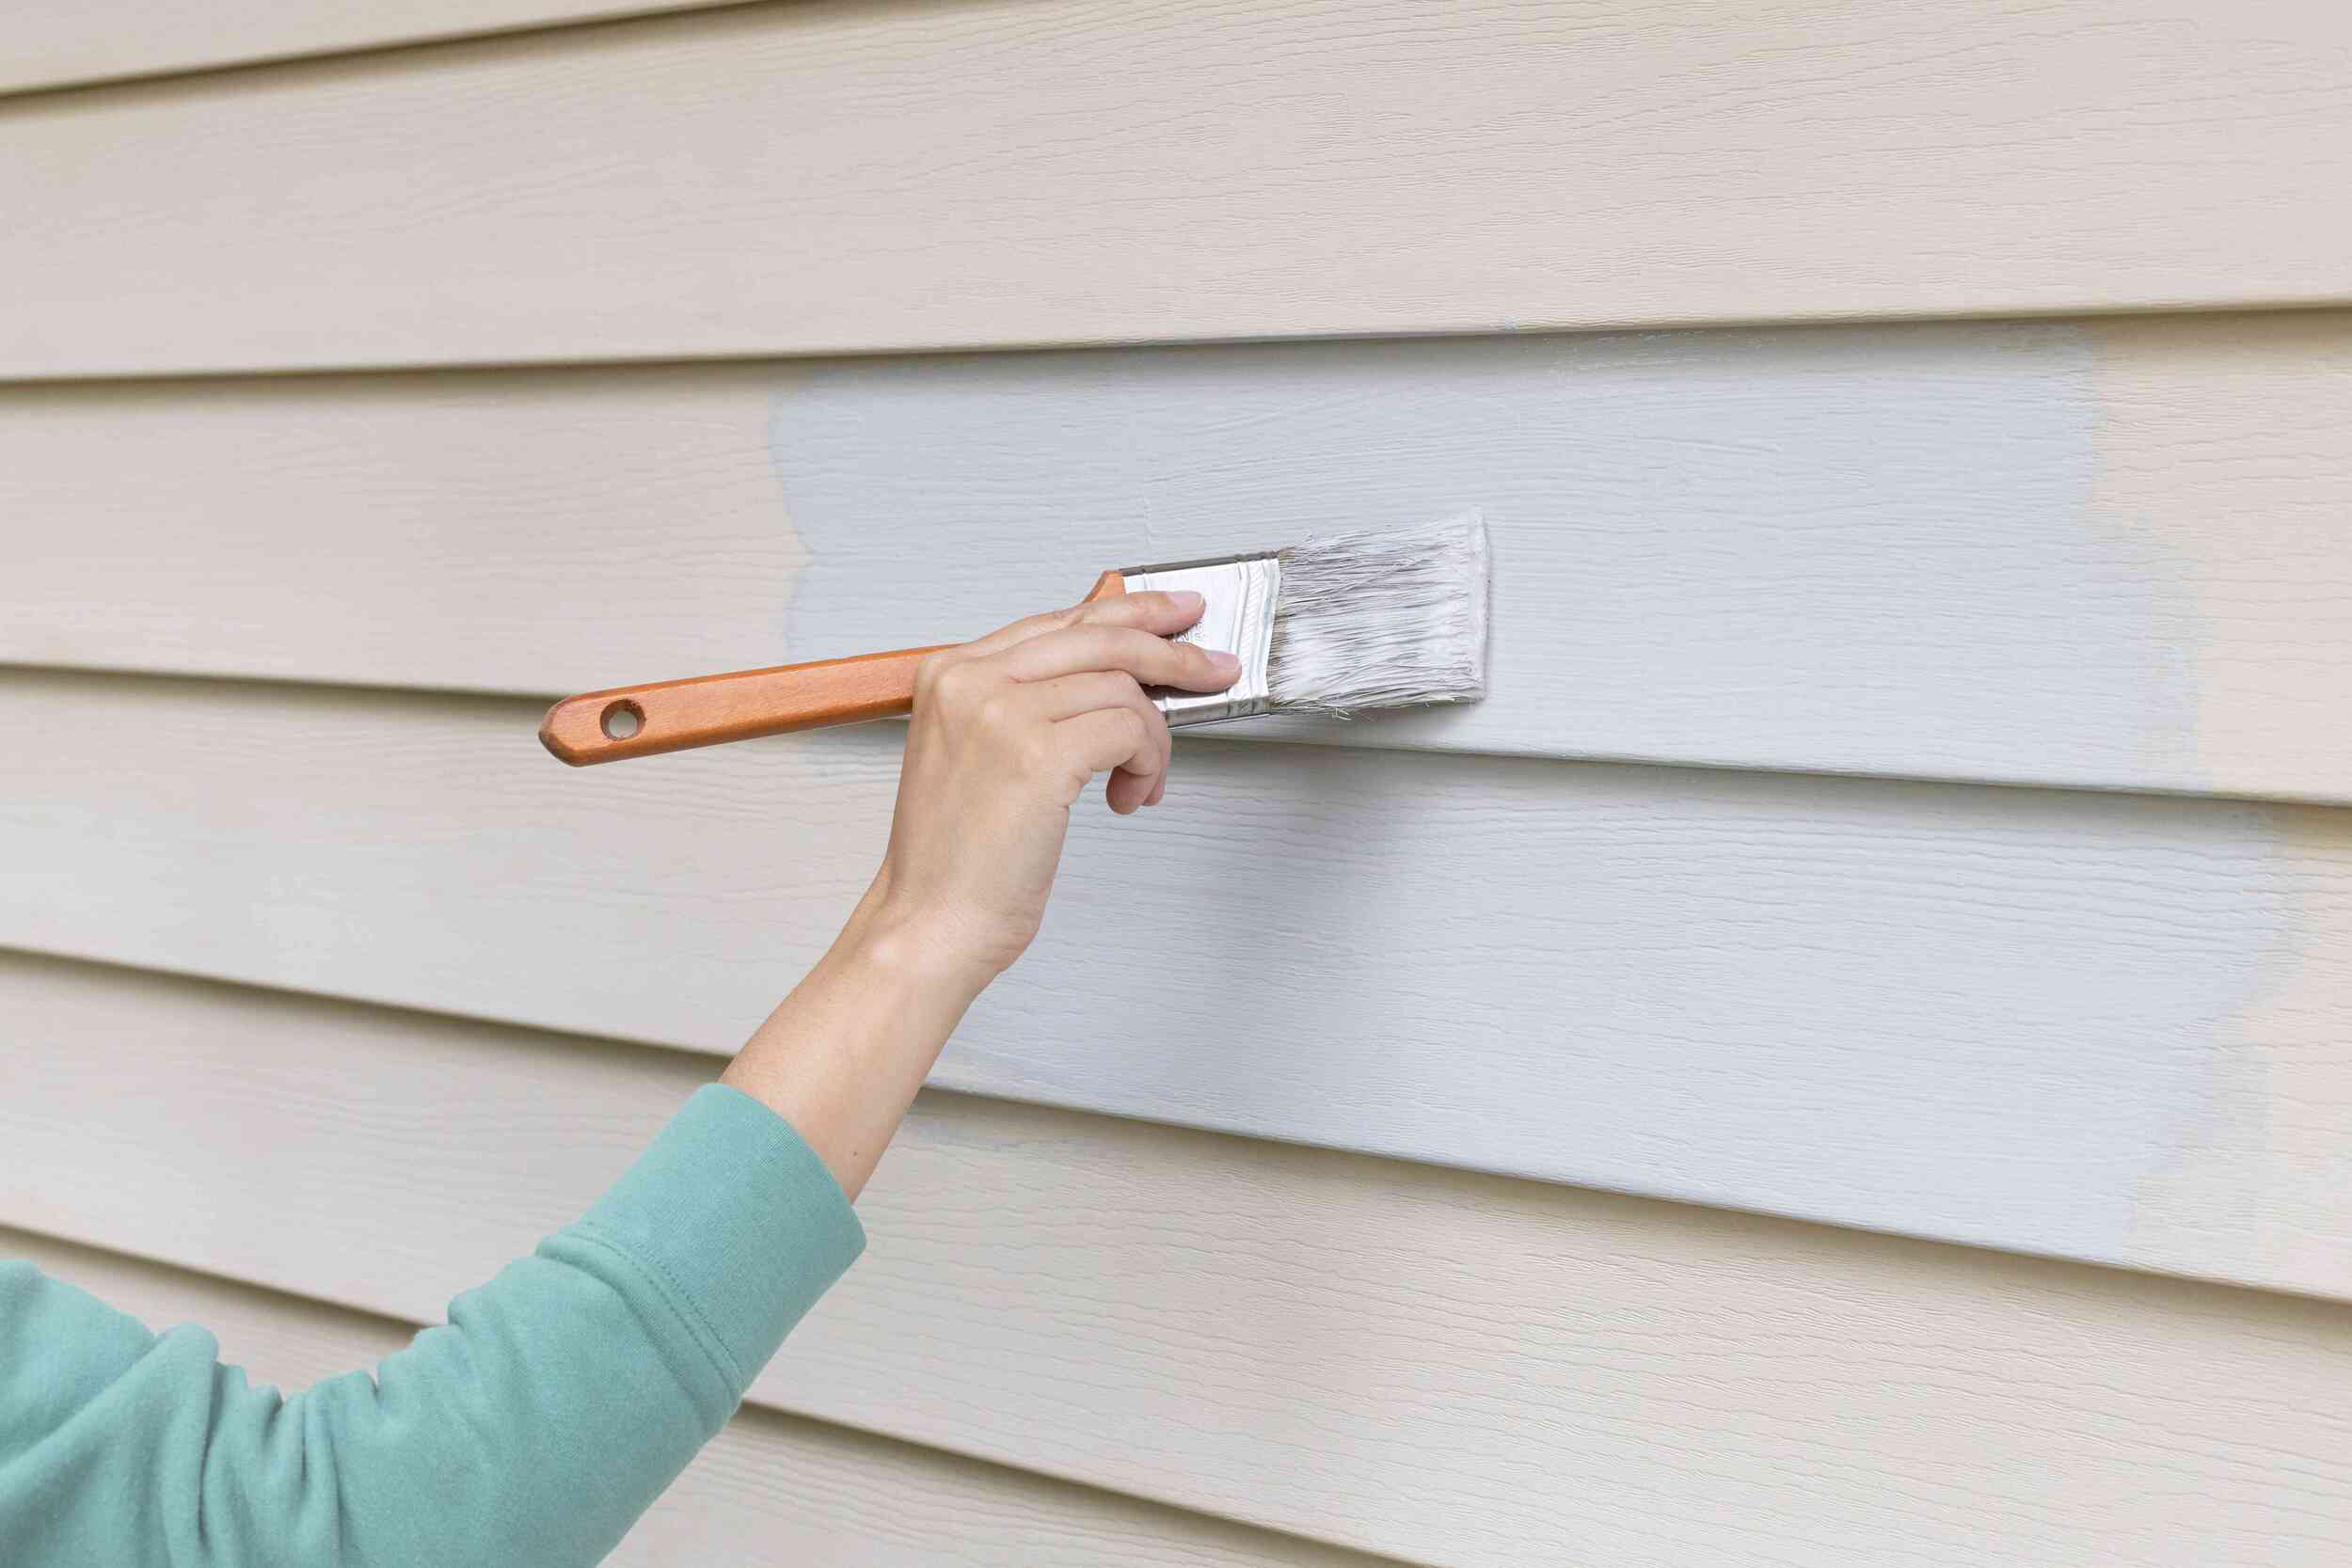
Applying the Touch-Up Paint
With your paint color mixed and ready, it’s time to apply the touch-up paint to the damaged area. Follow these steps for a successful application:
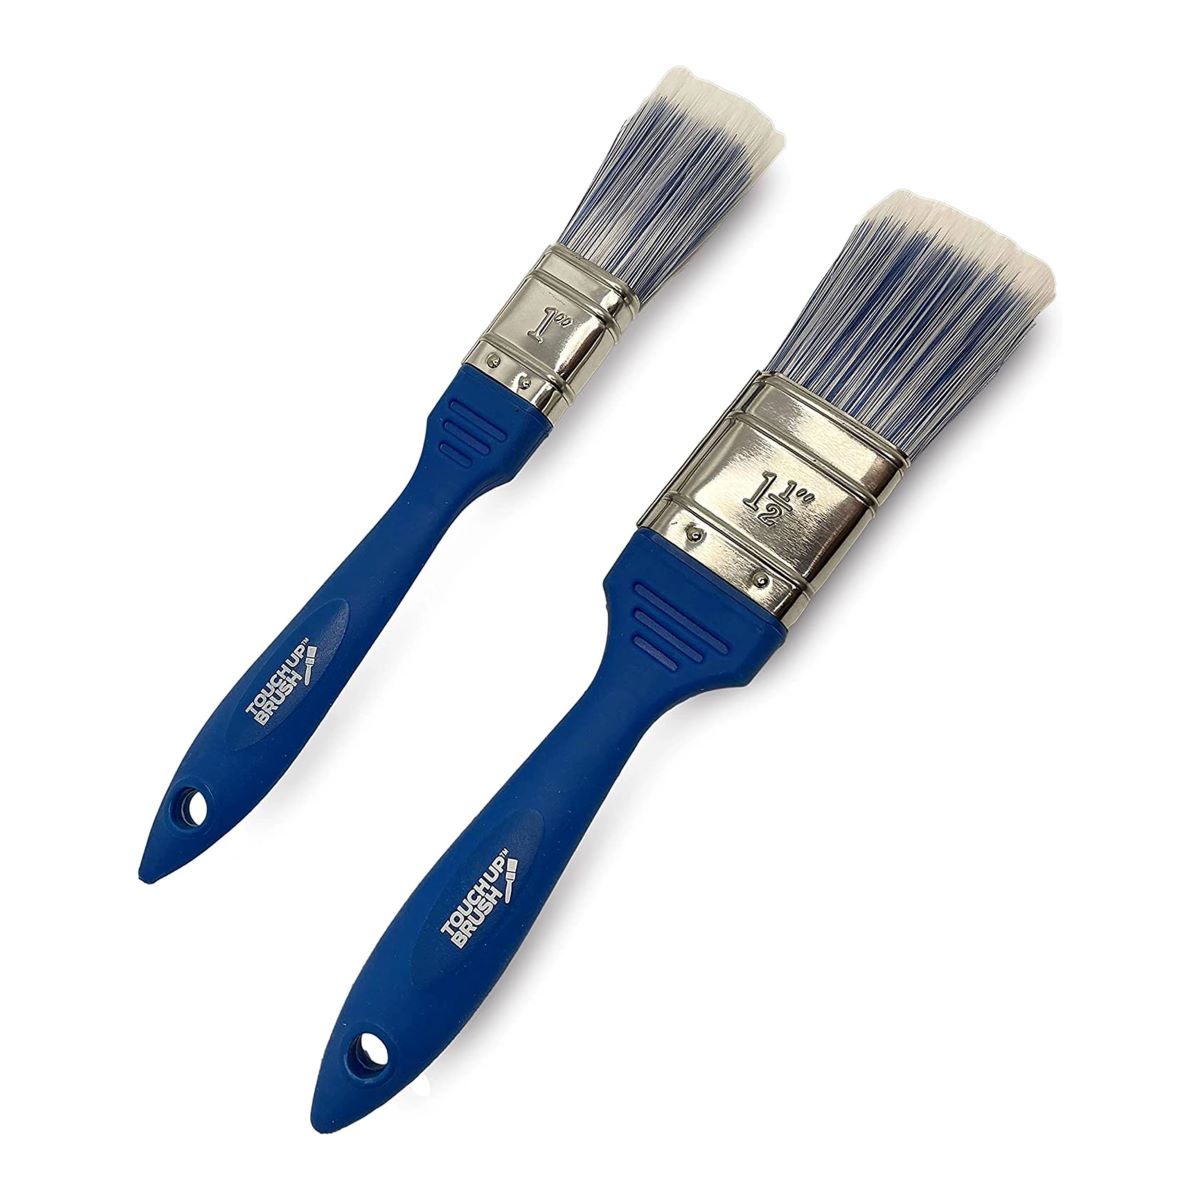
- Use a Small Brush: Choose a small brush specifically designed for touch-ups, such as a fine-tip brush or an artist’s brush. The size of the brush should be appropriate for the size of the damaged area.
- Dab, Don’t Brush: Rather than brushing the paint on like you would when painting a wall, gently dab or stipple the paint onto the damaged area. This helps to blend the fresh paint with the surrounding wall and prevents visible brush marks.
- Apply Thin Layers: It’s best to apply the touch-up paint in thin layers, building up the color gradually until it matches the surrounding wall. Allow each layer to dry completely before applying the next one. This approach helps achieve a more seamless blend with the existing paint.
- Blend Into the Surrounding Area: As you apply the paint, try to blend the edges of the touch-up area with the surrounding wall. Feather out the paint strokes to help the touch-up blend in seamlessly. This technique will minimize any noticeable lines or patches.
- Keep a Wet Edge: When working on larger touch-up areas, it’s important to keep a wet edge. This means overlapping the fresh paint with the previously applied paint while it’s still wet. This technique helps avoid visible boundaries between layers.
- Take Your Time: Touching up paint requires patience and attention to detail. Take your time and focus on achieving a natural and even blend. It’s better to apply multiple thin layers than to try and cover the damage with a single heavy coat.
Remember, the key to successful touch-up paint application is to blend the new paint with the existing paint. By using a small brush, dabbing rather than brushing, and applying thin layers, you can achieve a seamless result that matches the surrounding wall. Don’t rush the process and take the time to ensure that the touch-up area blends in naturally.
Once you have completed the application of the touch-up paint, the next step is to blend the paint for a more cohesive appearance.
Blending the Paint
After applying the touch-up paint to the damaged area, it’s important to blend it with the surrounding wall for a cohesive and seamless appearance. Here are some techniques to help you blend the paint effectively:
- Feather the Edges: Use a clean, dry brush or a soft cloth to feather out the edges of the touch-up paint. This technique involves gently blending the edges of the fresh paint with the surrounding wall, creating a gradual transition and minimizing any visible lines.
- Use a Dry Brush: To further blend the paint, lightly brush over the touch-up area and its immediate surroundings with a dry brush. This helps to soften the edges and distribute the paint more evenly.
- Blend with a Sponge: Another method to blend the touch-up paint is to lightly dab a clean sponge over the repaired area. This can help create a textured effect and further integrate the new paint with the existing wall.
- Consider the Paint’s Sheen: If the touch-up paint appears shinier or duller than the surrounding wall, you can try to match the sheen by applying a clear topcoat or a matte varnish over the repaired area. This can help create a consistent finish and minimize any noticeable differences.
- Step Back and Assess: Throughout the blending process, step back and assess the overall appearance. Look for any areas that may still require further blending or adjustments. Taking a fresh look from a distance can reveal subtle imperfections that may need to be addressed.
Remember, blending the paint is crucial in achieving a seamless result for your touch-up job. Take your time and pay attention to detail to ensure that the touch-up area is indistinguishable from the surrounding wall. By using techniques such as feathering, dry brushing, or using a sponge, you can achieve a more cohesive and natural finish.
Now that you have successfully blended the paint, the next step is to let it dry before doing any final touches or clean-up.
Letting the Paint Dry
Once you have finished applying and blending the touch-up paint, it’s important to allow it ample time to dry. Proper drying ensures that the paint adheres well and achieves its desired color and finish. Here are some key points to keep in mind when letting the paint dry:
- Follow Paint Manufacturer’s Instructions: Refer to the instructions on the paint can to determine the recommended drying time. Different types of paint may have varying drying times, so it’s important to follow the manufacturer’s guidelines.
- Ventilate the Area: Ensure that the room is well-ventilated during the drying process. Open windows or use fans to facilitate air circulation, which helps the paint dry faster and more evenly.
- Avoid Touching or Disturbing the Paint: During the drying period, avoid touching or disturbing the applied paint. This can lead to smudges, smears, or an uneven finish. Exercise caution when moving nearby objects or furniture to prevent accidental contact with the freshly painted area.
- Leave Sufficient Drying Time: Give the paint adequate time to dry completely. Even if the surface appears dry to the touch, it’s important to allow the paint to cure fully to ensure long-lasting results. This may take several hours or even overnight, depending on the type and thickness of the paint.
- Assess the Color and Finish: Once the paint has dried, carefully examine the touch-up area to ensure that the color and finish have dried evenly and match the surrounding wall. Make any necessary adjustments or additional touch-ups if needed.
Remember, patience is key when waiting for the paint to dry. Rushing the drying process may result in compromised results. Allow sufficient time for the paint to fully cure, and avoid any potential disturbances during this period.
With the touch-up paint now dried and settled, you can move on to the final step: applying any necessary finishing touches and cleaning up the surrounding area.
Final Touches and Clean-Up
After the touch-up paint has dried and you have assessed the final result, it’s time to add any necessary final touches and perform clean-up tasks. Here are some important steps to complete the process:
- Inspect the Touch-Up Area: Carefully examine the touch-up area to ensure that it blends seamlessly with the surrounding wall. Look for any imperfections or areas that may require additional touch-ups.
- Touch-Up as Needed: If you notice any areas that still require improvement, take the time to touch them up. Use the same techniques and methods as before to ensure a consistent appearance.
- Remove Painter’s Tape: If you used painter’s tape to protect surrounding areas during the touch-up process, carefully remove it. Peel it back slowly and at a 45-degree angle to prevent any paint from peeling off with the tape.
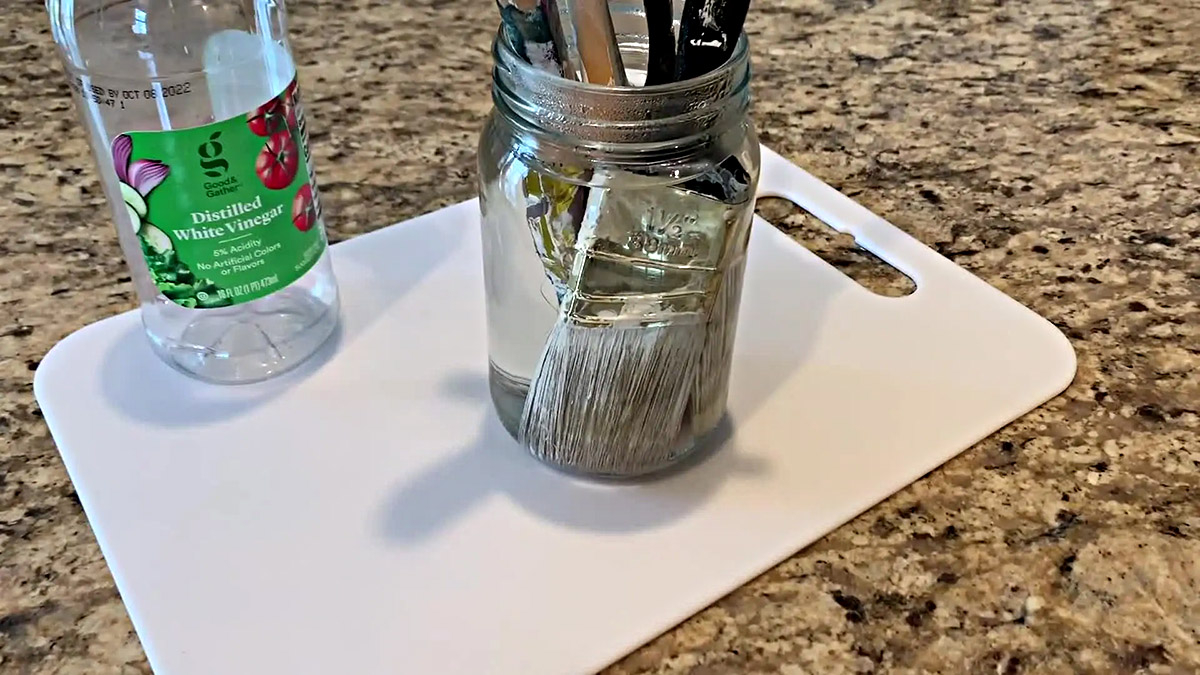
- Clean Brushes and Tools: Clean your brushes, stir sticks, and any other tools used during the touch-up process. Follow the manufacturer’s instructions for cleaning paintbrushes, and ensure they are properly dried before storing.
- Dispose of Waste Properly: Dispose of any leftover paint, empty paint cans, and other waste materials according to local regulations. Do not pour paint down the drain or throw containers in regular trash bins.
- Restore Furniture and Decor: If you moved or protected furniture or decor items during the touch-up process, carefully return them to their original positions. Ensure that everything is clean and free from any paint or dust.
- Step Back and Admire Your Work: Finally, take a step back and admire your completed touch-up job. Appreciate the effort you put into restoring the appearance of your walls and enjoy the refreshed and cohesive look of your interior space.
By completing these final touches and clean-up tasks, you wrap up the touch-up process with a professional finish. Your walls should now look revitalized and any imperfections smoothly addressed. Take pride in your work and revel in the renewed beauty of your home’s interior.
With the knowledge of how to effectively touch up paint on walls, you can now confidently tackle any small scratches, scuffs, or chips that may occur in the future. Remember to keep some of the leftover touch-up paint for future use and follow the same steps outlined in this guide to maintain the integrity of your interior design.
Frequently Asked Questions about How To Touch Up Paint On Walls
Was this page helpful?
At Storables.com, we guarantee accurate and reliable information. Our content, validated by Expert Board Contributors, is crafted following stringent Editorial Policies. We're committed to providing you with well-researched, expert-backed insights for all your informational needs.

0 thoughts on “How To Touch Up Paint On Walls”