Home>diy>Planning & Engineering>How To Import Materials Into Realtime Landscape Architect
Planning & Engineering
How To Import Materials Into Realtime Landscape Architect
Modified: December 7, 2023
Learn how to import materials into Realtime Landscape Architect with this step-by-step guide. Enhance your planning and engineering capabilities.
(Many of the links in this article redirect to a specific reviewed product. Your purchase of these products through affiliate links helps to generate commission for Storables.com, at no extra cost. Learn more)
Introduction
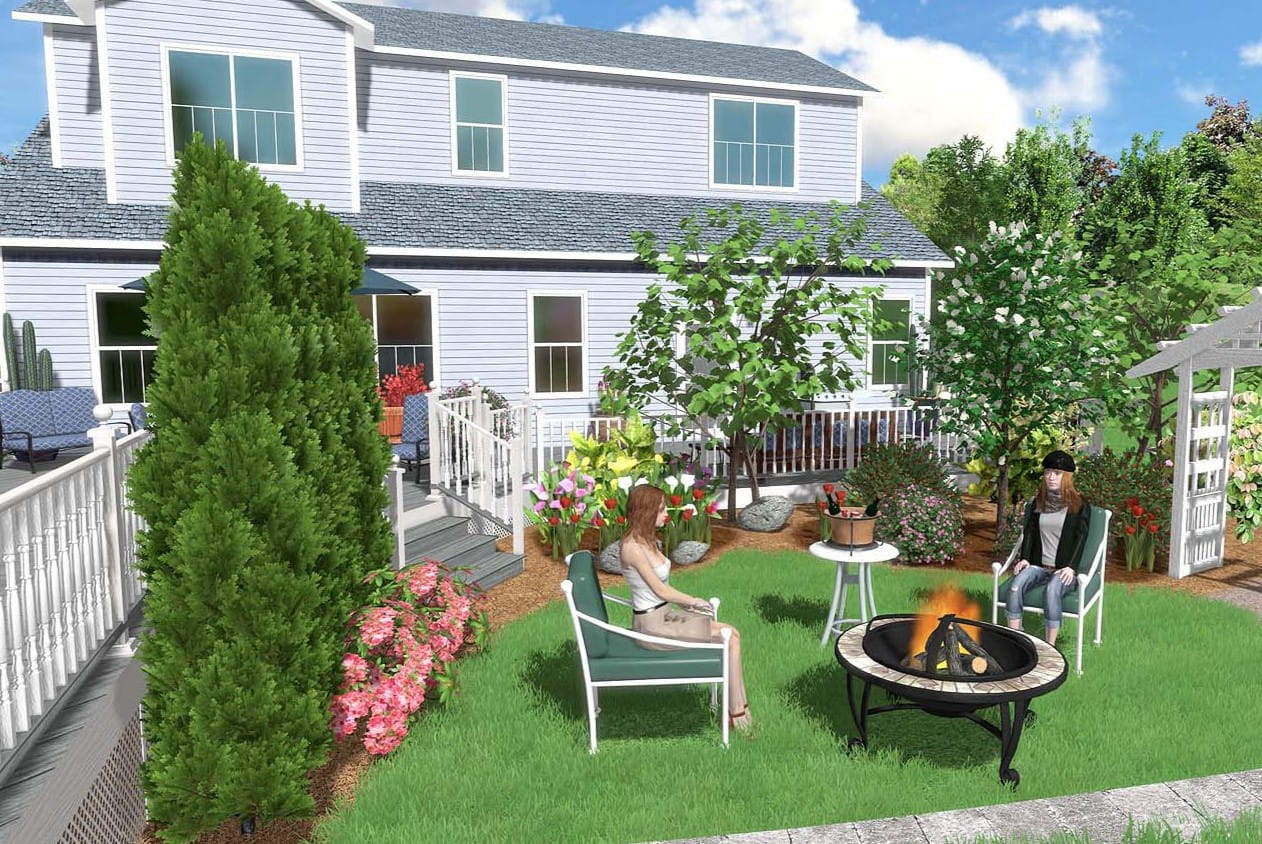
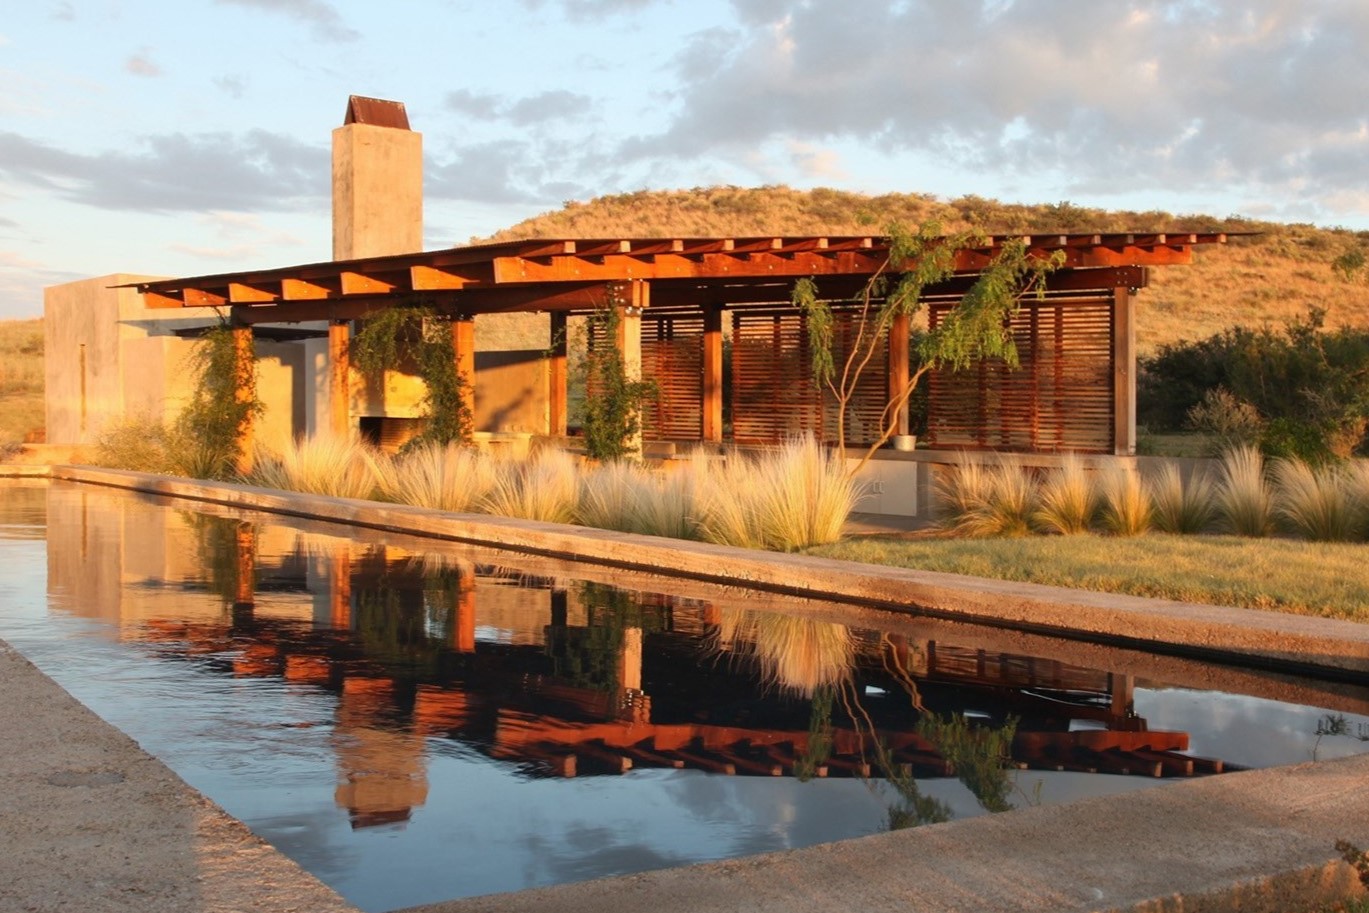
Welcome to the world of Realtime Landscape Architect, a powerful software designed for landscape designers and architects to bring their visions to life. One key feature of this software is the ability to import materials, allowing you to add realism and detail to your designs. Whether you’re looking to incorporate custom textures, vegetation, or other elements, this guide will walk you through the process of importing materials into Realtime Landscape Architect.
By importing materials, you have the freedom to bring your creativity to the forefront and design landscapes that reflect your unique vision. Whether you want to add specific types of plants, different types of paving materials, or even unique textures for 3D objects, the ability to import materials allows you to take your designs to the next level.
In this guide, we will cover the step-by-step process of importing materials into Realtime Landscape Architect, providing you with the knowledge and tools to enhance the realism and detail of your designs. From gathering the necessary materials to fine-tuning the settings, we will guide you through each stage of the process.
So, let’s dive in and unlock the potential that importing materials into Realtime Landscape Architect offers. Prepare to unleash your creativity and create stunning, lifelike landscapes that will impress clients and colleagues alike. Whether you’re a seasoned professional or just starting out, this guide will provide you with the insights and techniques you need to master the art of importing materials into Realtime Landscape Architect.
Key Takeaways:
- Unleash Your Creativity: Importing materials into Realtime Landscape Architect allows you to bring your unique vision to life, adding realism and detail to your designs with custom textures, vegetation, and 3D elements.
- Masterful Design Enhancement: By gathering, preparing, and fine-tuning materials, you can achieve visually stunning landscapes in Realtime Landscape Architect, showcasing consistency, realism, and attention to detail.
Getting Started
Before we begin importing materials into Realtime Landscape Architect, let’s make sure we have everything set up for a smooth and hassle-free process.
The first step is to ensure that you have a compatible version of Realtime Landscape Architect installed on your computer. Check the system requirements and make sure you have the necessary software updates installed to ensure compatibility.
Next, gather all the materials that you want to import into the software. This can include custom textures, images, 3D object files, or even vegetation libraries. Having these materials readily available will make the importing process more efficient.
It’s also important to have a clear vision of how you want to incorporate these materials into your landscape design. Take some time to plan and visualize how different elements will work together to achieve your desired outcome. This will help you make better decisions during the importing process.
Lastly, familiarize yourself with the interface and tools of Realtime Landscape Architect. Understanding the software’s capabilities and functionalities will enable you to maximize the potential of the imported materials and create stunning designs.
Now that you’re all set up and prepared, let’s move on to the step-by-step process of importing materials into Realtime Landscape Architect.
Step 1: Gathering Materials
Before you can import materials into Realtime Landscape Architect, it’s important to gather all the necessary resources. This includes finding or creating the textures, 3D models, and other elements that you want to incorporate into your landscape design. Here are some tips to help you gather your materials:
- Texture Library: Search for high-quality textures that match your design concept. There are many websites and online libraries that offer a wide variety of textures, such as wood, stone, grass, and concrete. Make sure to download these textures to your computer for easy access during the importing process.
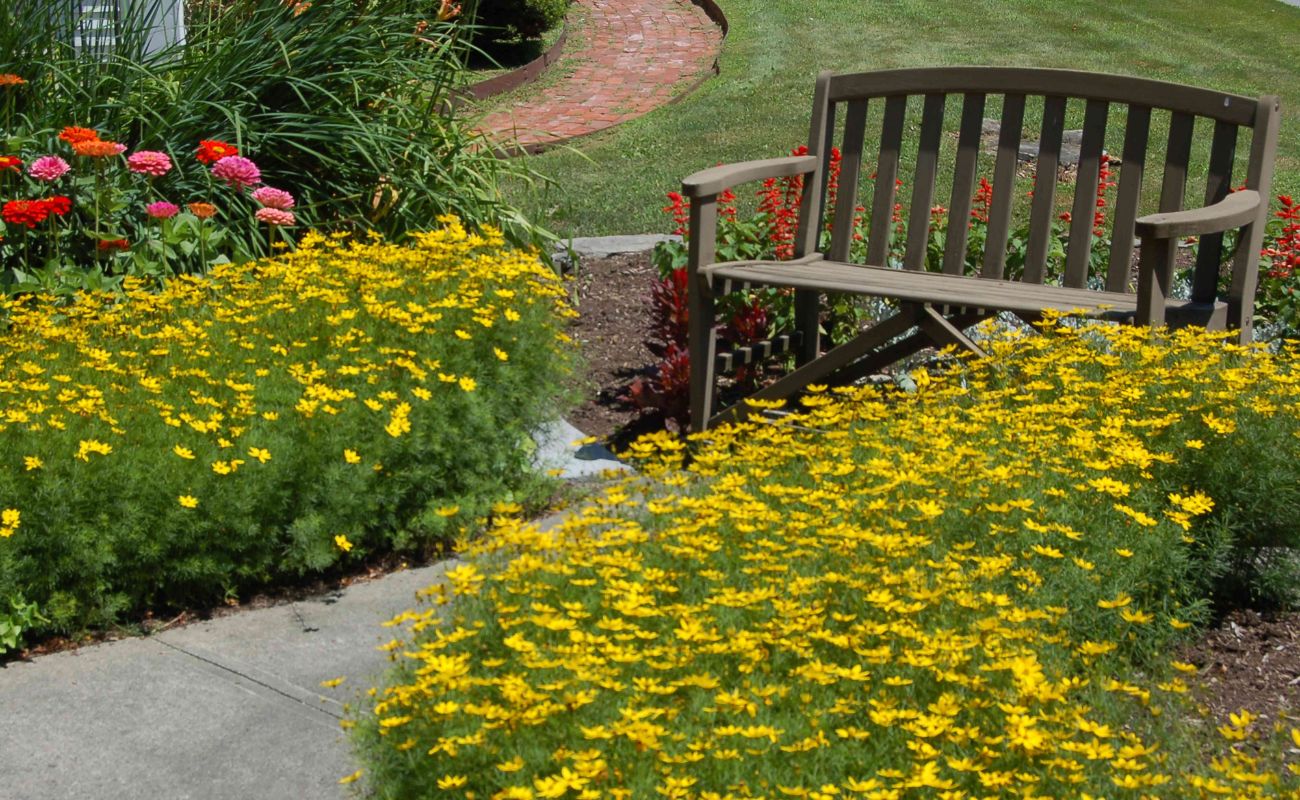
- Vegetation Resources: If you want to include specific types of plants, flowers, or trees in your design, consider using vegetation resources. Some software platforms provide built-in vegetation libraries that you can import directly, or you can search for third-party libraries that are compatible with Realtime Landscape Architect. These resources will help you add realistic vegetation to your landscape design.
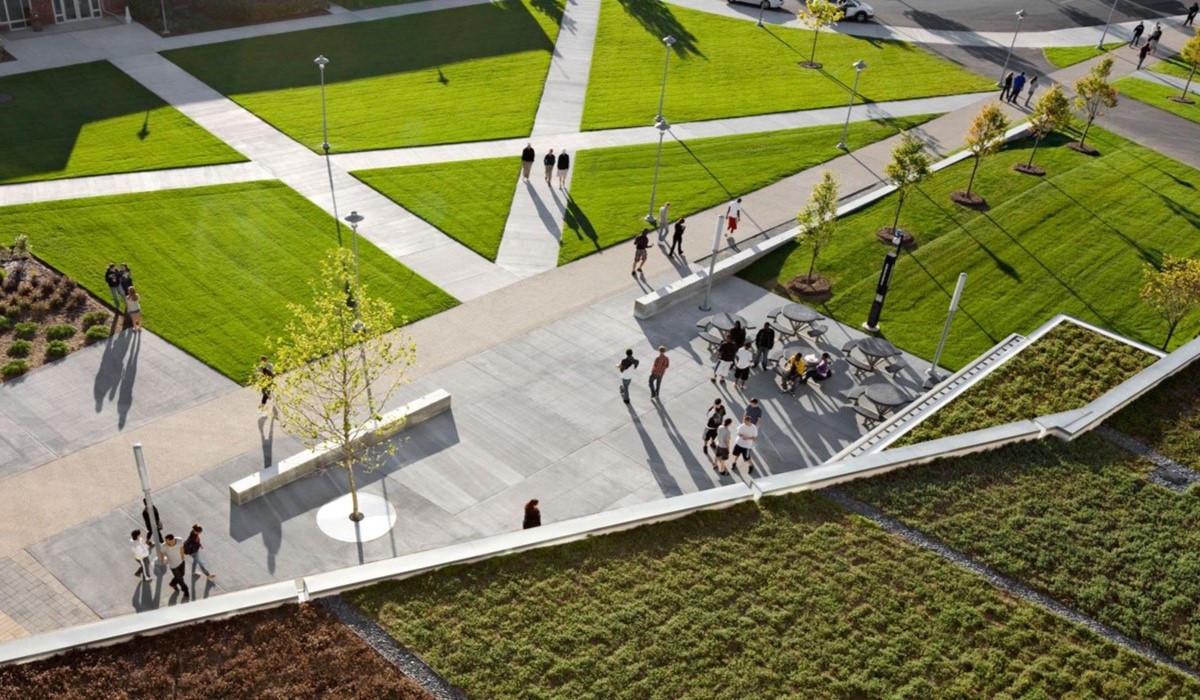
- 3D Models: If you’re looking to incorporate 3D elements, such as furniture, structures, or decorative objects, search for 3D model libraries. These libraries offer a vast collection of 3D objects that you can import into Realtime Landscape Architect. Make sure to choose models that are in a compatible format, such as .FBX or .OBJ.
- Custom Elements: If you have your own custom elements, such as textures or 3D models, ensure that they are in the appropriate file formats for importing. You may need to convert them to a compatible format if necessary.
By gathering these materials beforehand, you’ll have everything you need to bring your design vision to life. Once you have your materials prepared, you’re ready to move on to the next step: preparing the materials for import into Realtime Landscape Architect.
Step 2: Preparing the Materials
Now that you have gathered the necessary materials for your landscape design, it’s time to prepare them for import into Realtime Landscape Architect. This step is crucial to ensure that the materials are optimized and ready to be seamlessly integrated into your project. Here are some key considerations for preparing the materials:
- Texture Optimization: If you have downloaded textures from external sources, it’s important to optimize them for Realtime Landscape Architect. Resize and scale the textures to an appropriate resolution that balances quality and performance. Consider converting the textures to formats supported by the software, such as .JPG or .PNG, and ensure they are saved in the RGB color space.
- Texture Naming: To maintain organization and ease of use, it’s recommended to establish a consistent naming convention for your textures. Use meaningful names that reflect the texture type, such as “wood_floor.jpg” or “stone_wall.png”. This will make it easier to locate and apply the materials within Realtime Landscape Architect.
- 3D Model Adjustments: If you are working with 3D models, ensure that they are properly optimized and adjusted for the software. Remove any unnecessary geometry or details that may impact performance. Check for proper material assignments and ensure that the models are scaled appropriately for the scene.
- Organize Material Library: As you prepare your materials, consider organizing them into a coherent library structure. This will save time when applying materials to different elements within your landscape design. Create folders or categories based on material type, such as “vegetation,” “textures,” or “3D models.”
- File Management: Proper file management is essential to keep track of your materials. Create a dedicated folder for your project and subfolders for textures, 3D models, and other resources. This will ensure that all files are easily accessible and prevent any confusion or loss of materials during the import process.
By taking the time to prepare and optimize your materials, you’ll ensure a smoother workflow and achieve better results when importing them into Realtime Landscape Architect. Once your materials are ready, you can move on to the exciting step of actually importing them into the software and bringing your designs to life.
When importing materials into Realtime Landscape Architect, make sure to use high-quality texture images for a more realistic and professional look in your designs.
Step 3: Importing Materials into Realtime Landscape Architect
With your materials gathered and prepared, it’s time to import them into Realtime Landscape Architect to incorporate them into your landscape design. Follow these step-by-step instructions to import materials into the software:
- Open Realtime Landscape Architect: Launch the software on your computer and create or open the project you want to work on.
- Access Material Manager: Look for the Material Manager, which is typically located in the toolbar or menu at the top of the software’s interface. Click on it to open the Material Manager window.
- Import Textures: In the Material Manager, locate the section or option for importing textures. Click on it, and a window will open prompting you to select the textures you want to import. Browse your computer and select the textures you prepared earlier. Click on “Open” or “Import” to import the selected textures into Realtime Landscape Architect.
- Import 3D Models: If you have 3D models to import, locate the option for importing models within the Material Manager. Click on it, and a window will open allowing you to browse for the 3D model files (.FBX, .OBJ, etc.). Select the models you want to import and click on “Open” or “Import” to bring them into Realtime Landscape Architect.
- Apply Materials to Design Elements: Once the materials are imported, you can start applying them to different elements within your landscape design. Select the element (such as a ground surface or a 3D object) that you want to assign a material to. In the Material Manager, browse through the imported textures and select the one you want to use. Click on the apply button to assign that material to the selected element.
Repeat the process for each element you want to assign a material to, ensuring that you choose the appropriate textures or models from the Material Manager. Take your time to explore different combinations and experiment with different materials to achieve the desired look for your landscape design.
By following these steps, you can easily import and apply materials within Realtime Landscape Architect, adding depth, texture, and realism to your designs. Next, we’ll move on to step 4, where we’ll explore how to adjust material settings to further enhance the visual impact of your landscape design.
Step 4: Adjusting Material Settings
Once you have imported materials into Realtime Landscape Architect and assigned them to different elements in your landscape design, you have the flexibility to adjust the material settings to achieve the desired look and feel. Here are some key steps to follow when adjusting material settings:
- Access Material Properties: Select the element in your design that has the material assigned to it. Look for the material properties panel or window in Realtime Landscape Architect. This panel will provide you with various settings and options to customize the appearance of the material.
- Texture Mapping: Adjust the texture mapping settings to control how the texture is applied to the surface of the element. Options may include scaling, rotation, and offset. Experiment with different values to achieve the desired texture placement and alignment.
- Adjusting Colors and Transparency: Modify the color properties of the material to match the desired aesthetic. Realtime Landscape Architect usually provides options to adjust diffuse, specular, and ambient colors. You may also have the option to adjust transparency or opacity to create materials with more realistic effects.
- Bump and Normal Maps: If you want to add depth and texture to your materials, consider utilizing bump or normal maps. These maps simulate surface details, such as bumps or grooves, without adding extra geometry. Import and map these textures to your materials to enhance their realism.
- Reflection and Refraction: Depending on the type of material, you may have the option to adjust reflection and refraction settings. This is particularly useful for materials like glass or water. Adjusting these properties can add depth and realism to your design.
- Specular Highlights: Control the specular highlights of your materials to achieve the desired level of shininess or glossiness. Realtime Landscape Architect usually provides options to adjust glossiness, specular intensity, and specular power.
- Mapping and Tiling: Fine-tune the mapping and tiling settings to control the size and repetition of the texture on the element. This can be useful when working with materials like tiles or bricks, where you want to maintain a consistent pattern across the surface.
Experimentation is key when adjusting material settings. Don’t be afraid to try different combinations, values, and effects to achieve the desired visual impact. Realtime Landscape Architect offers a range of options and settings to give you full control over the appearance of your materials.
Once you’re satisfied with your adjustments, move on to the next step to fine-tune the materials and create a cohesive and visually stunning landscape design.
Step 5: Fine-tuning the Materials
After adjusting the material settings in Realtime Landscape Architect, it’s time to fine-tune the materials to achieve a polished and cohesive landscape design. Here are some important considerations when fine-tuning your materials:
- Consistency: Ensure that the materials you’ve applied across different elements in your design are visually consistent. This includes maintaining a similar color palette, texture quality, and level of reflectivity or transparency. Consistency in materials will help create a unified and harmonious overall look.
- Realism: Strive for realism in your materials by paying attention to the details. Consider the lighting conditions in your design and adjust the material properties accordingly. Fine-tune the reflection, refraction, and glossiness settings to mimic real-world effects. Incorporate subtle imperfections or variations to add authenticity to your materials.
- Scale and Proportion: Ensure that the scale of the textures and patterns on your materials is appropriate for the size of the design elements. Avoid textures that appear too stretched or pixelated. Adjust the texture mapping settings to align with the proportions of the surface and maintain a realistic appearance.
- Test Renderings: Regularly generate test renderings within Realtime Landscape Architect to evaluate the look of your materials in different lighting conditions and camera angles. This will help you identify areas that may need further adjustment or refinement to achieve the desired visual impact.
- User Feedback: Don’t hesitate to seek feedback from colleagues, clients, or other design professionals. They may offer valuable insights and suggestions on improving the materials or achieving a specific aesthetic goal.
Remember, the goal of fine-tuning is to create materials that enhance the overall visual impact of your landscape design. Take your time to carefully assess and make adjustments as needed until you are satisfied with the final result.
Once you have fine-tuned the materials to your liking, it’s time to save and export your project, bringing us to the final step of this guide.
Step 6: Saving and Exporting the Project
After putting in all the hard work to import, prepare, and fine-tune the materials in Realtime Landscape Architect, it’s important to save and export your project to preserve your progress and share your design with others. Follow these steps to save and export your project:
- Save Your Project: Regularly save your project within Realtime Landscape Architect to prevent any loss of data. Use the software’s built-in save function or the keyboard shortcut to save your project to a designated location on your computer.
- Backup Your Files: It’s always a good practice to create backups of your project files, especially if you’re working on a complex or extensive design. Make copies of your project files and save them to an external hard drive, cloud storage, or any other secure location. This ensures that your work is safeguarded in the event of any unforeseen issues.
- Export for Sharing: If you want to share your design with others who may not have Realtime Landscape Architect, consider exporting your project in a compatible format. Realtime Landscape Architect typically offers options to export your design as images, videos, or even interactive virtual tours that can be viewed using common file formats or compatible software.
- Choosing Export Options: When exporting your project, consider what you want to showcase and the purpose of the export. If you want to present static images, select the desired resolution and file format for optimal quality. If you want to create a video walkthrough, choose the appropriate settings for frame rate, resolution, and file format. Consider the intended audience and medium of display when making these decisions.
- Sharing and Collaboration: Once your project is exported, you can easily share it with clients, colleagues, or other stakeholders. Use file sharing services, email, or online platforms to distribute your design and gather feedback. Realtime Landscape Architect also offers collaboration features that allow multiple users to work on a project simultaneously.
By saving and exporting your project, you can showcase the hard work and creativity you’ve put into creating your landscape design. It also allows you to collaborate effectively with others and gain valuable feedback. Remember to regularly save your work and keep backups of your project files to avoid any potential data loss.
Congratulations on successfully importing materials into Realtime Landscape Architect, fine-tuning them, and taking the necessary steps to save and export your project. Your dedication and attention to detail will shine through in your final design. Keep exploring and pushing the boundaries of your creativity to create breathtaking landscapes that leave a lasting impression.
Frequently Asked Questions about How To Import Materials Into Realtime Landscape Architect
Was this page helpful?
At Storables.com, we guarantee accurate and reliable information. Our content, validated by Expert Board Contributors, is crafted following stringent Editorial Policies. We're committed to providing you with well-researched, expert-backed insights for all your informational needs.


0 thoughts on “How To Import Materials Into Realtime Landscape Architect”