Home>Furniture & Design>Bathroom Accessories>How Do You Remove Oral-B Toothbrush Head
Bathroom Accessories
How Do You Remove Oral-B Toothbrush Head
Modified: November 1, 2024
Learn how to easily remove the Oral-B toothbrush head in just a few simple steps. Find out the best way to maintain your bathroom accessories.
(Many of the links in this article redirect to a specific reviewed product. Your purchase of these products through affiliate links helps to generate commission for Storables.com, at no extra cost. Learn more)
Introduction
When it comes to maintaining good oral hygiene, using an electric toothbrush can be a game-changer. Oral-B, a leading brand in dental care, offers a range of electric toothbrushes with replaceable brush heads. Over time, the bristles on the toothbrush head wear down, making it essential to replace the head to ensure effective cleaning. However, many people may find themselves unsure of how to remove the old toothbrush head and attach a new one. In this comprehensive guide, we will walk you through the step-by-step process of removing and replacing the toothbrush head on your Oral-B electric toothbrush. Whether you're a first-time electric toothbrush user or simply need a refresher on this essential maintenance task, this guide will equip you with the knowledge and confidence to keep your toothbrush in optimal condition. So, let's dive in and explore the simple yet crucial process of maintaining your Oral-B electric toothbrush by replacing its toothbrush head.
Key Takeaways:
- Keep your Oral-B electric toothbrush in top condition by replacing the toothbrush head. Follow simple steps to remove the old head and attach a new one for effective cleaning and personalized oral care.
- Regularly replacing the toothbrush head maintains optimal cleaning performance and caters to specific oral care needs. Enjoy a refreshed toothbrush head for a reliable ally in your quest for a healthy smile.
Read more: Which Oral-B Toothbrush Head Is The Best
Step 1: Preparing the toothbrush
Before diving into the process of removing and replacing the toothbrush head, it's important to ensure that the toothbrush is properly prepared for this maintenance task. Here's a detailed look at the steps involved in preparing your Oral-B electric toothbrush:
-
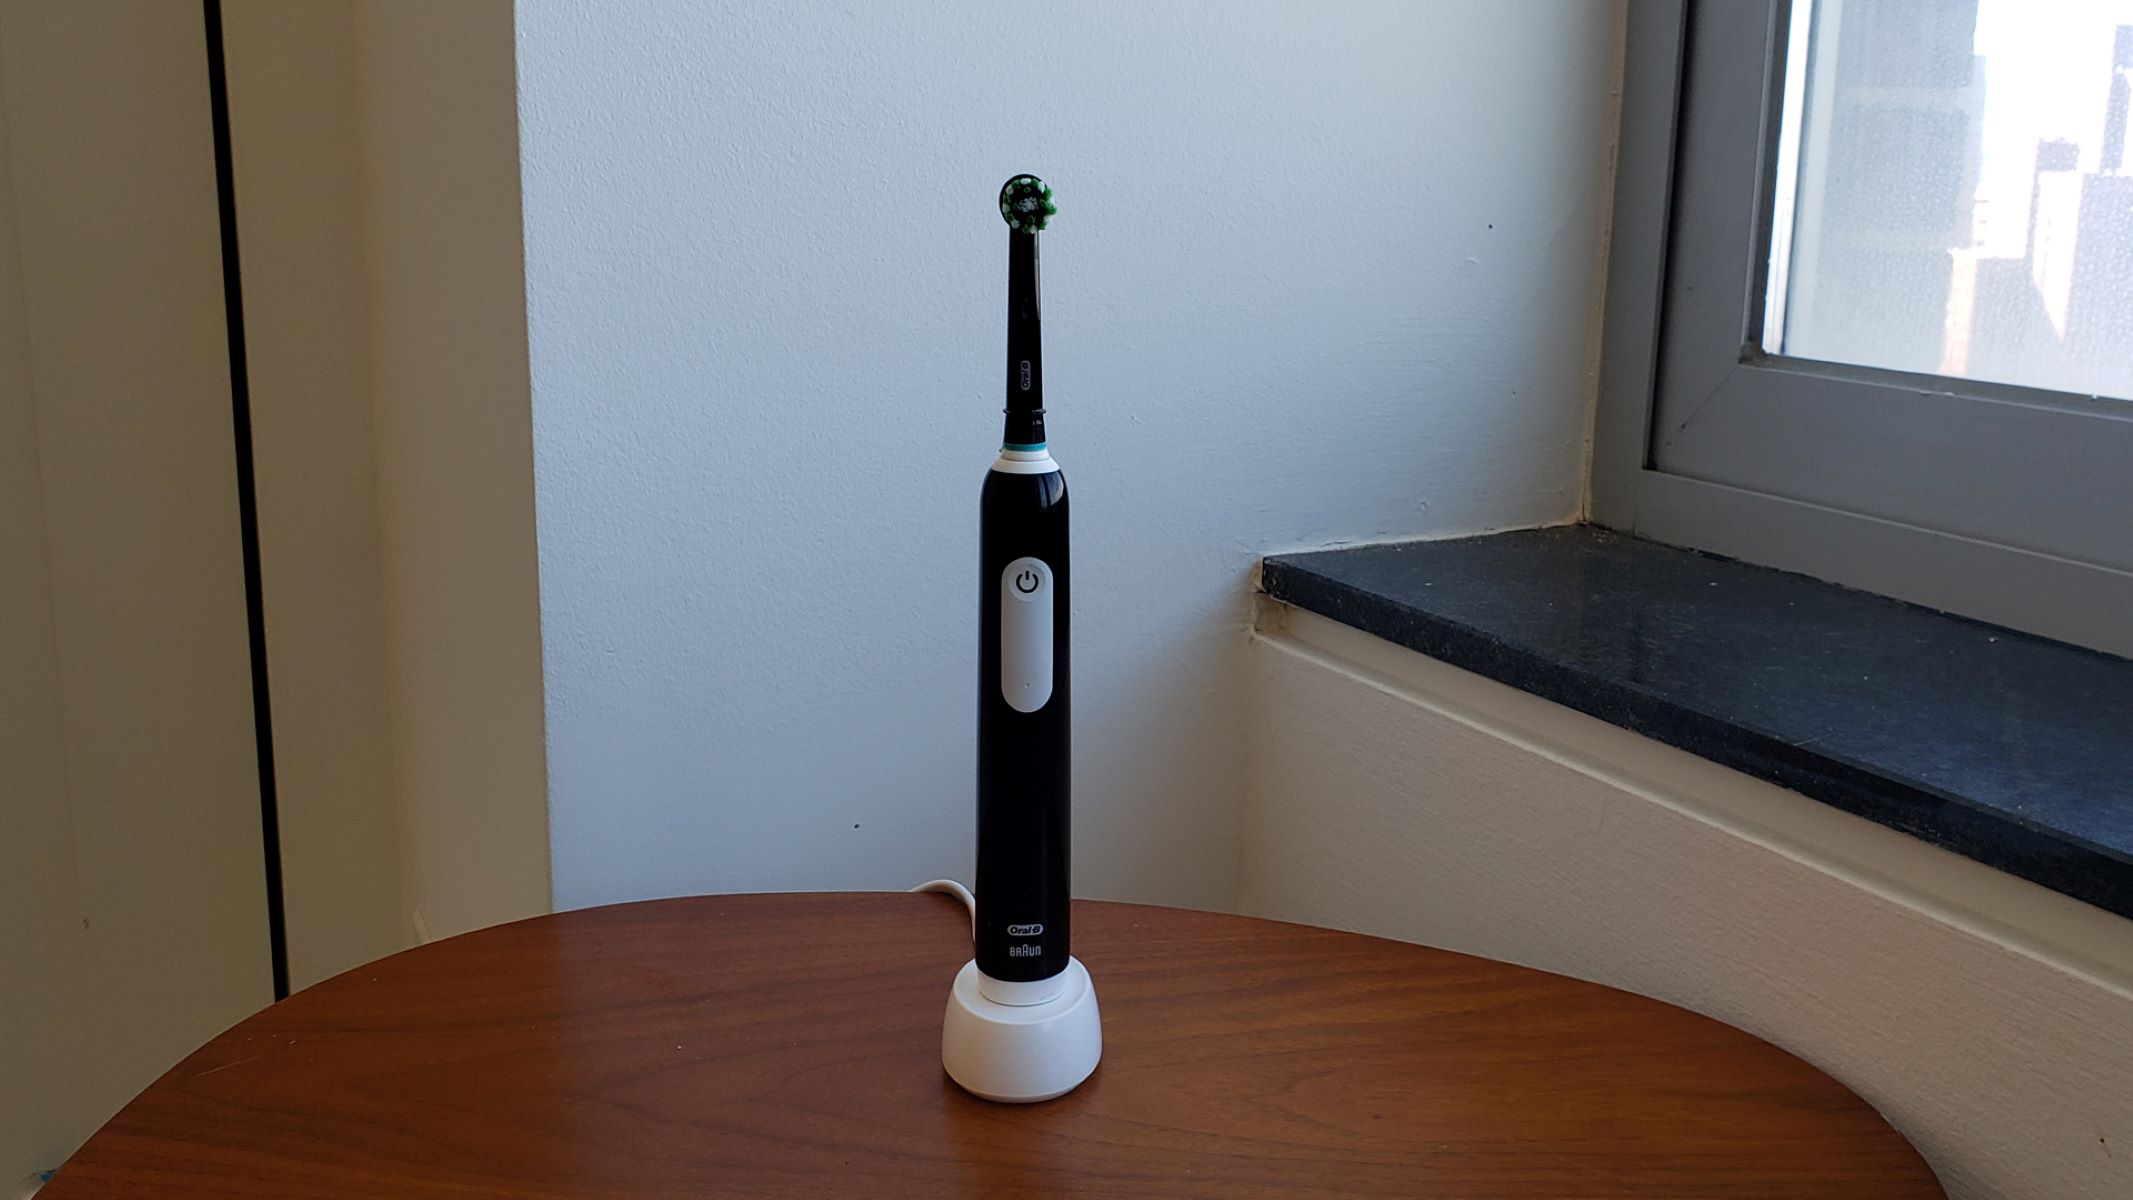
Turn Off the Toothbrush: Start by turning off your electric toothbrush. This is a crucial safety measure to prevent any accidental activation of the toothbrush during the head replacement process.
-
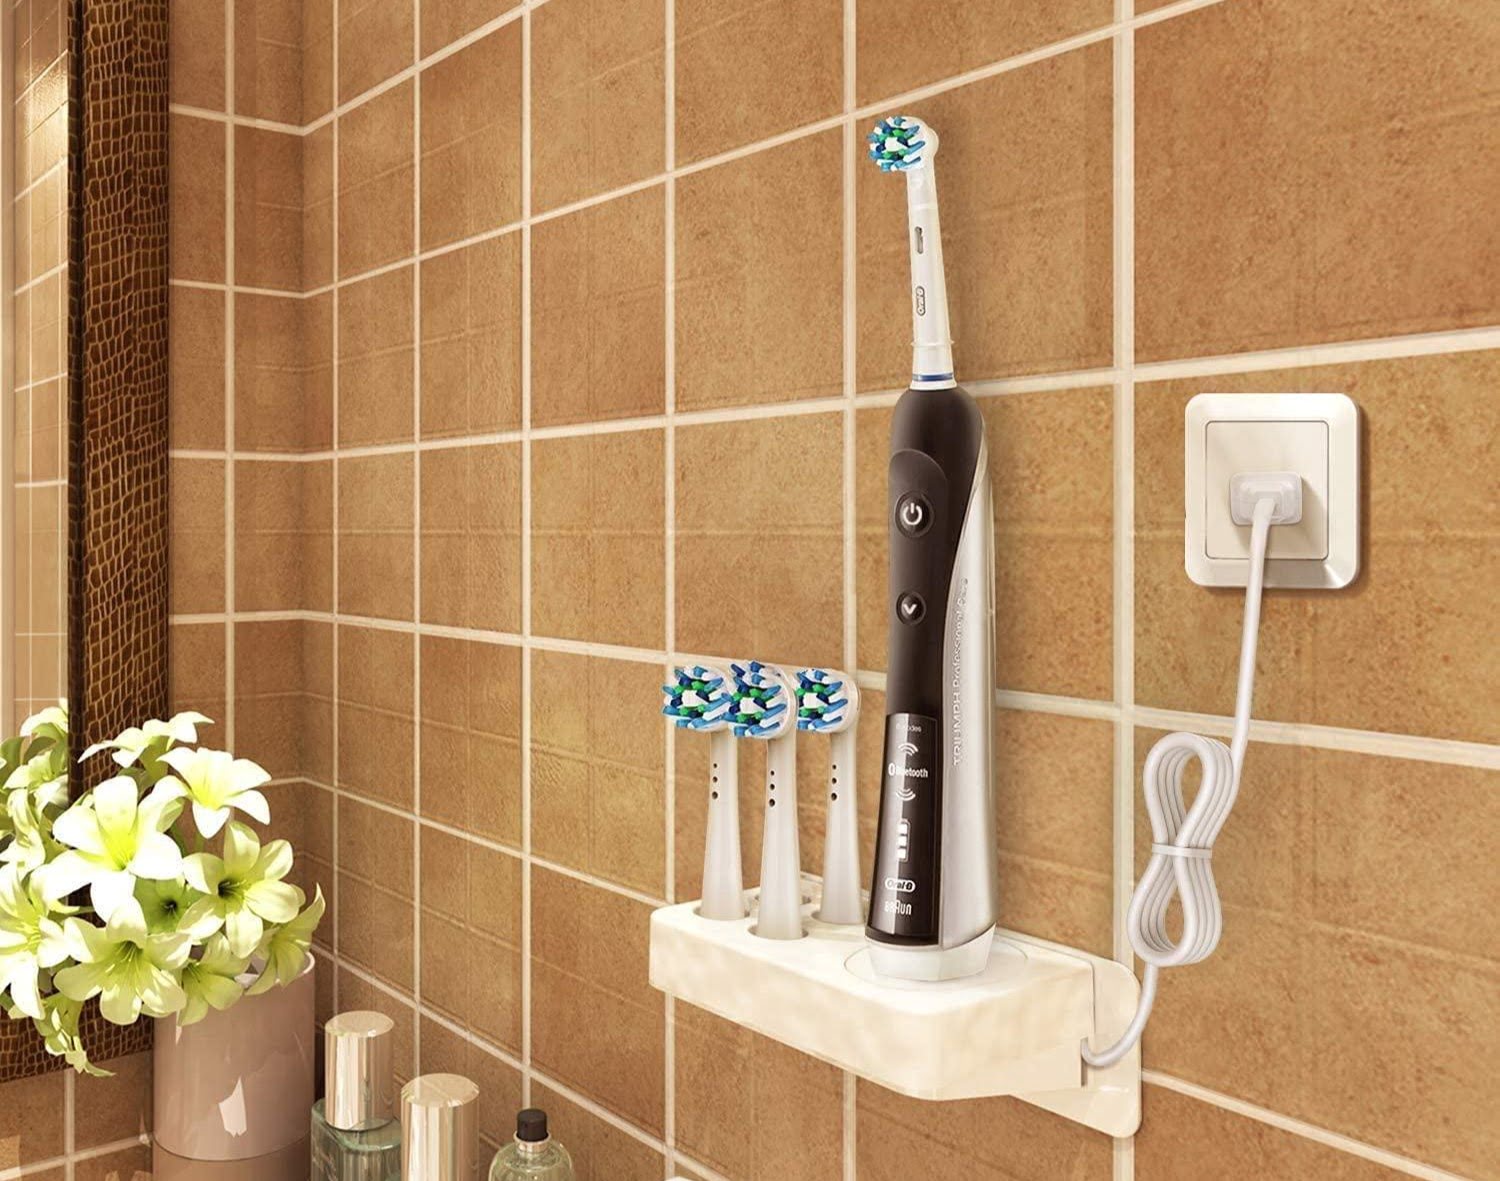
Unplug the Toothbrush: If your electric toothbrush is rechargeable and currently connected to a charging station, unplug it from the power source. This step is essential to avoid any electrical mishaps while handling the toothbrush.
-
Inspect the Toothbrush Handle: Take a moment to inspect the handle of the toothbrush for any signs of damage or wear. Ensure that the handle is clean and free from any debris or toothpaste residue. If necessary, gently wipe the handle with a damp cloth to remove any buildup.
-
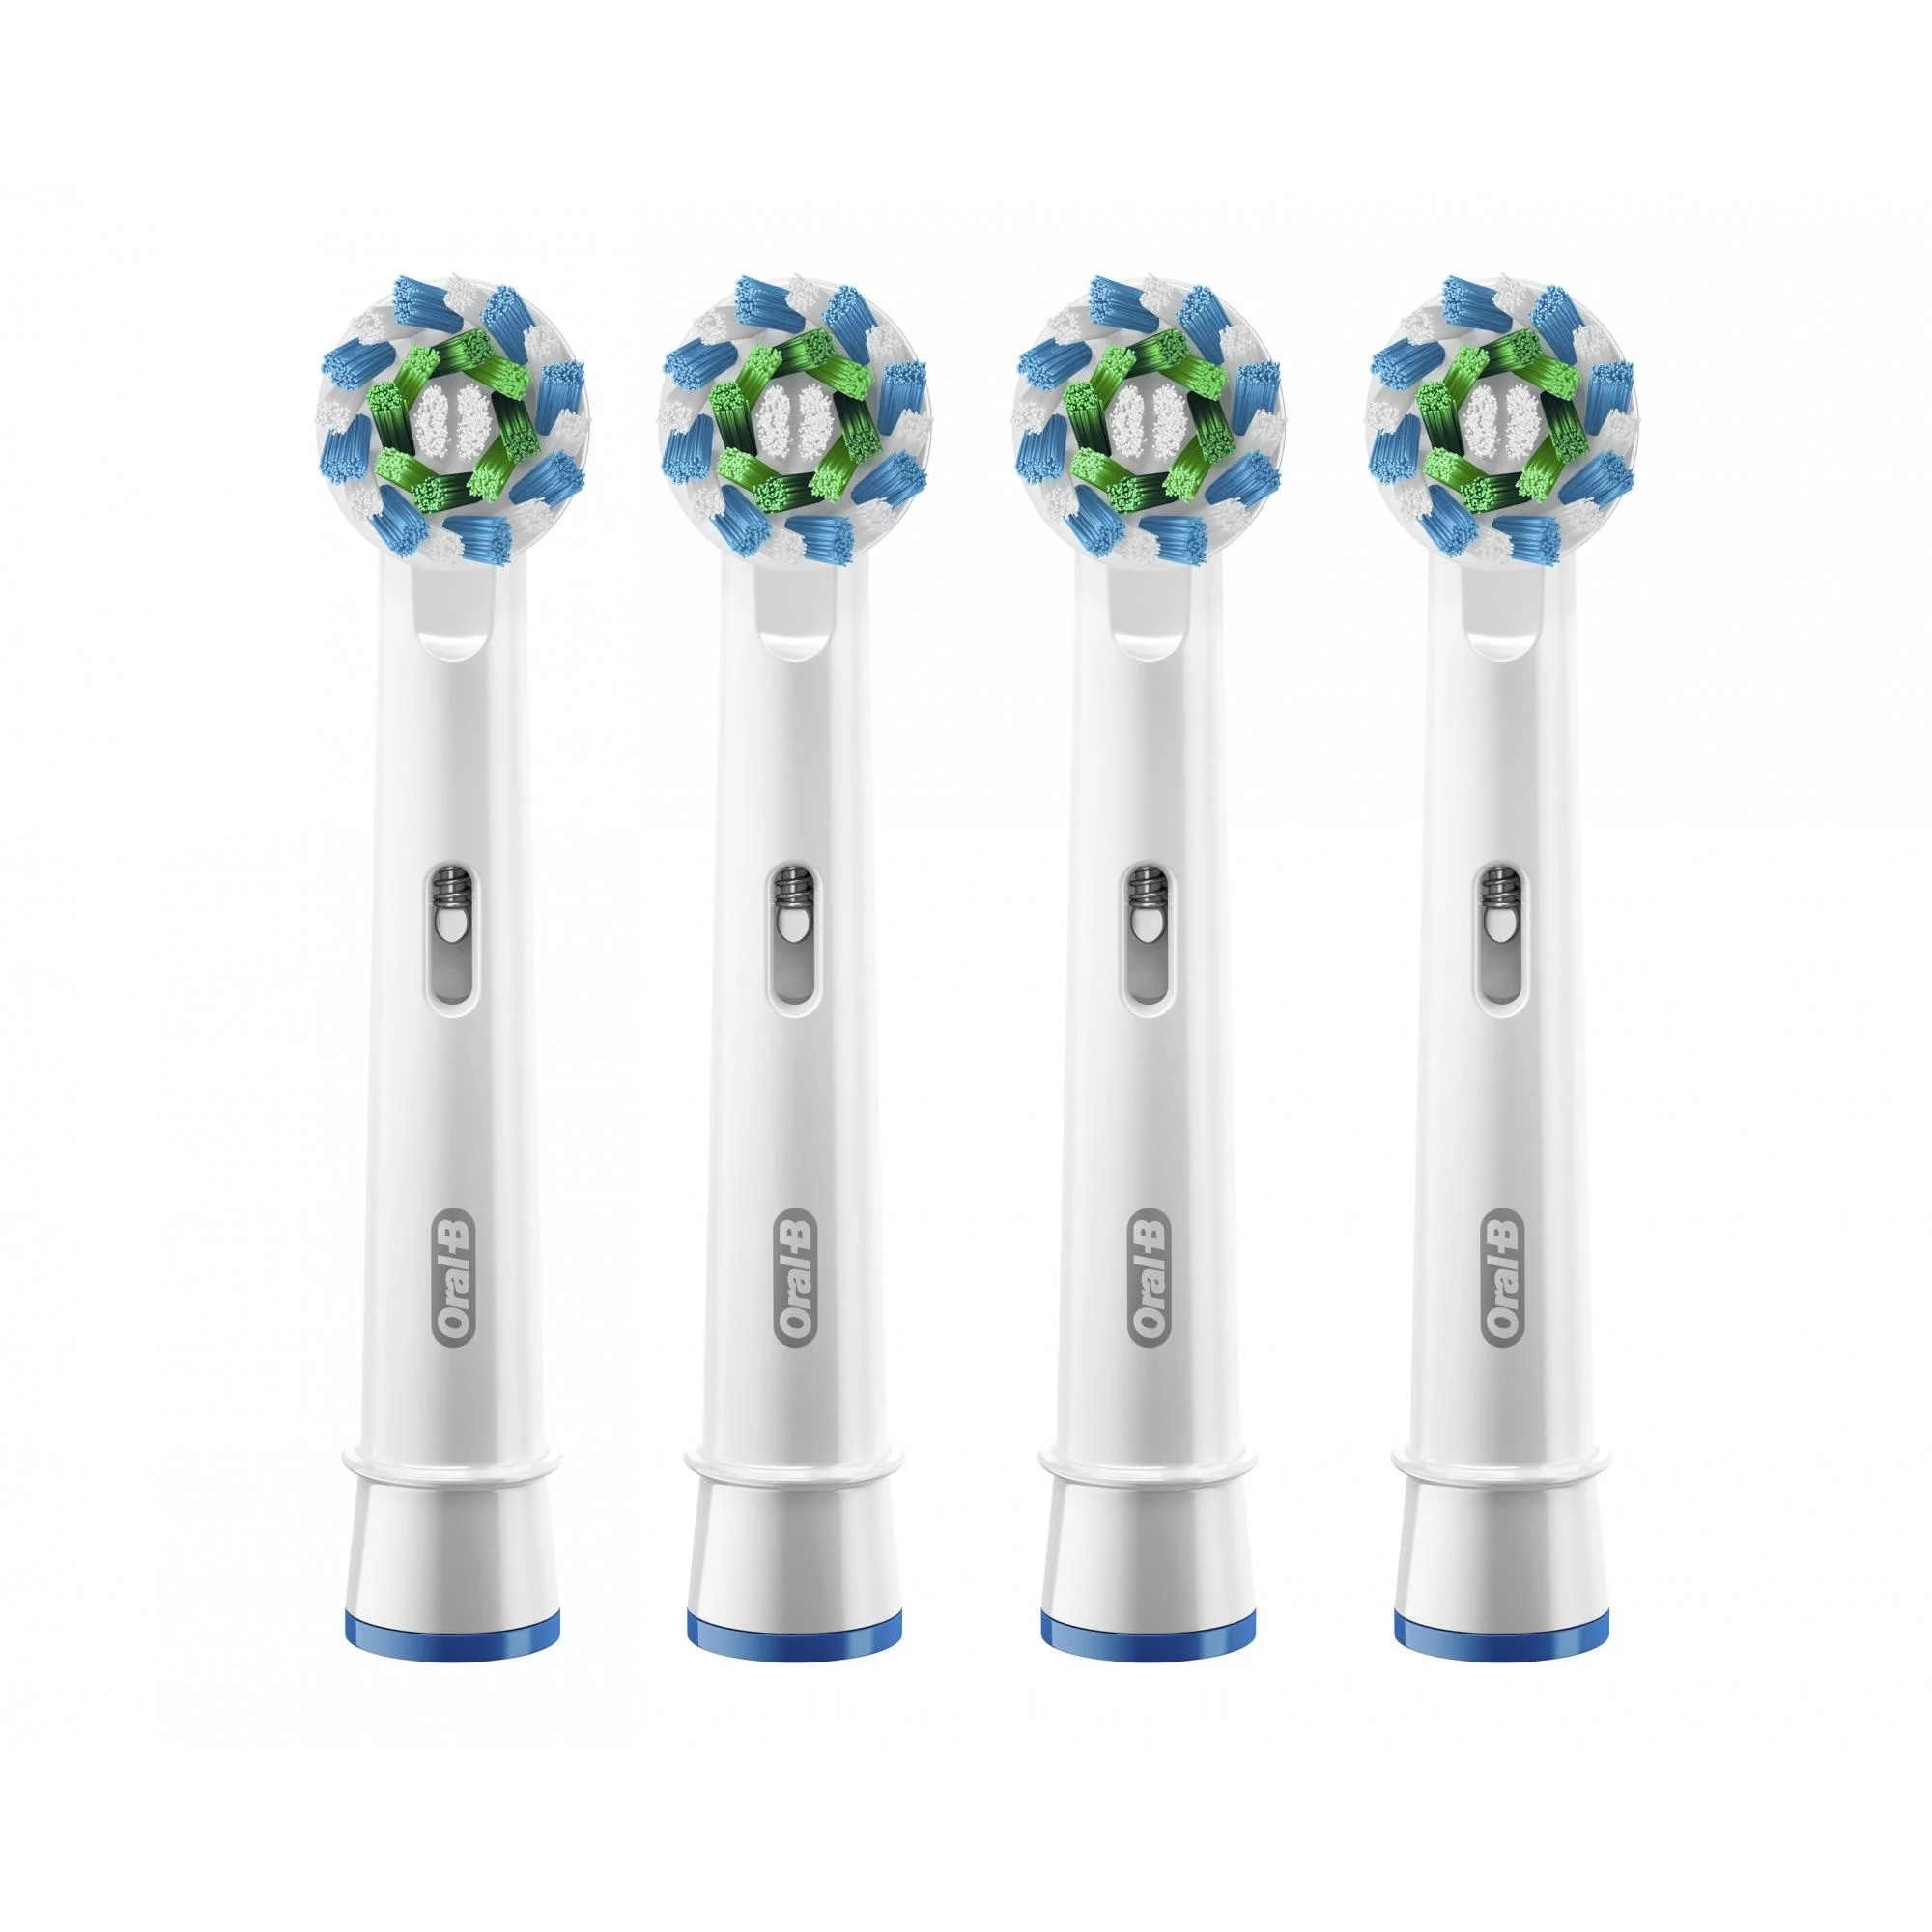
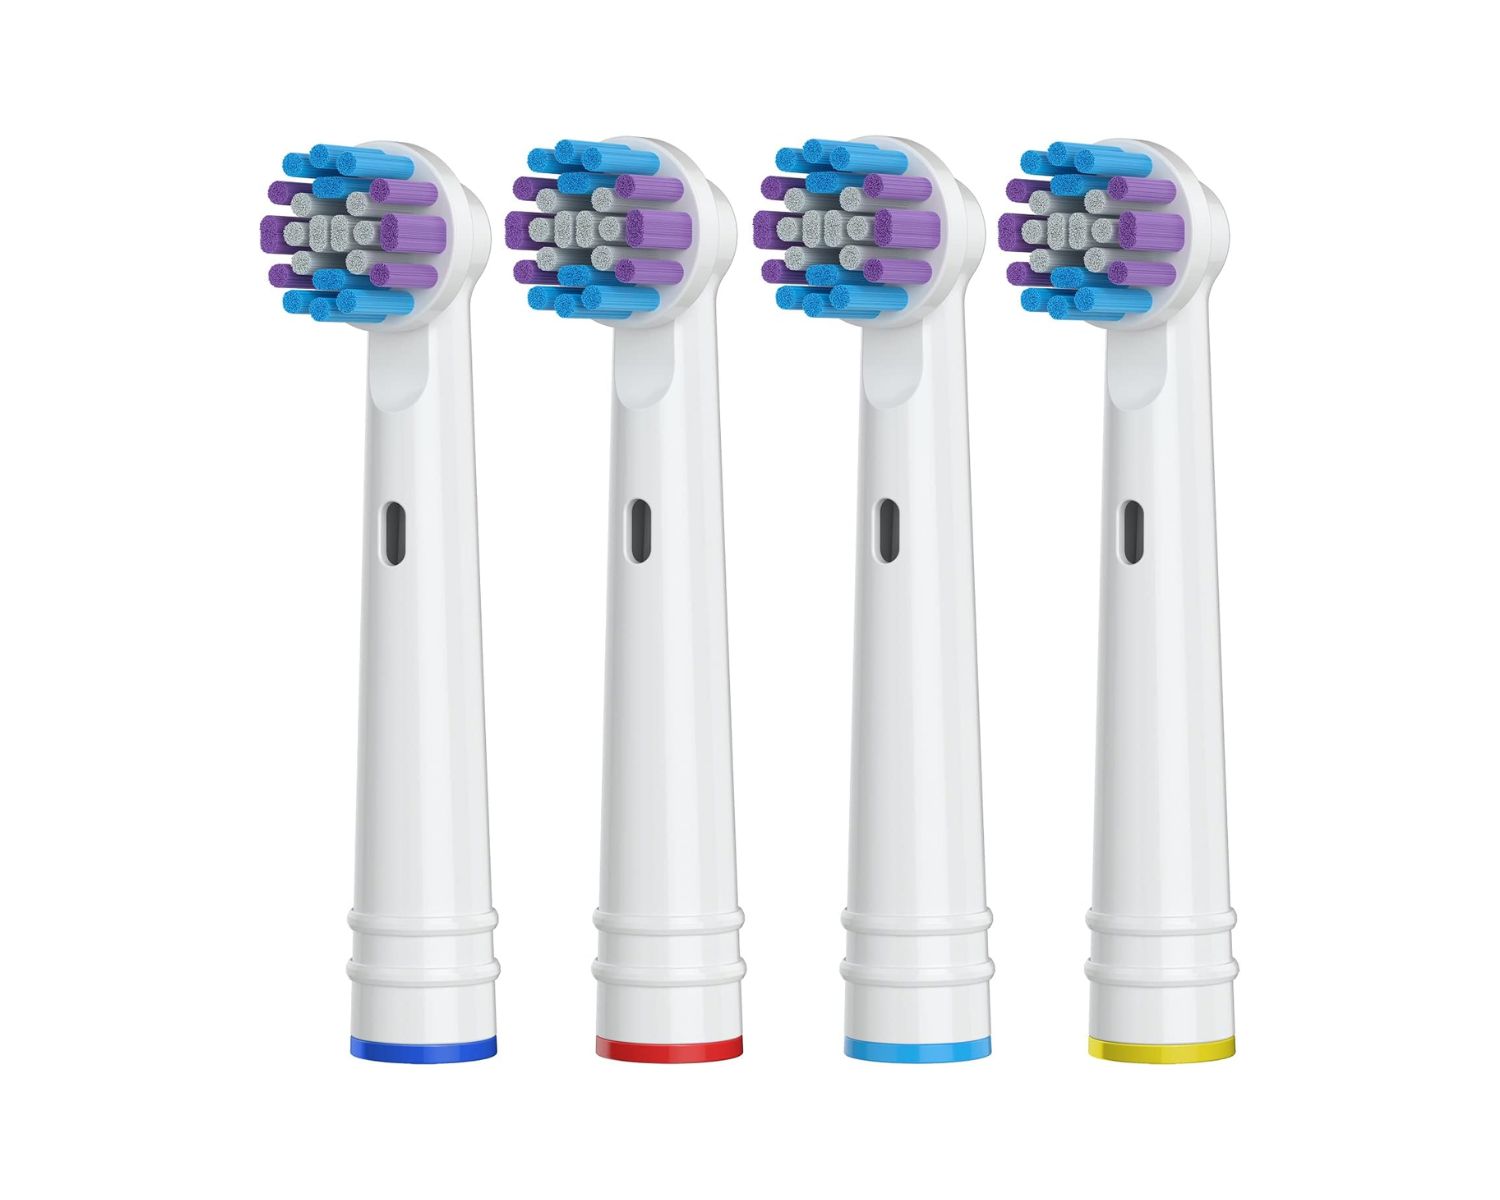
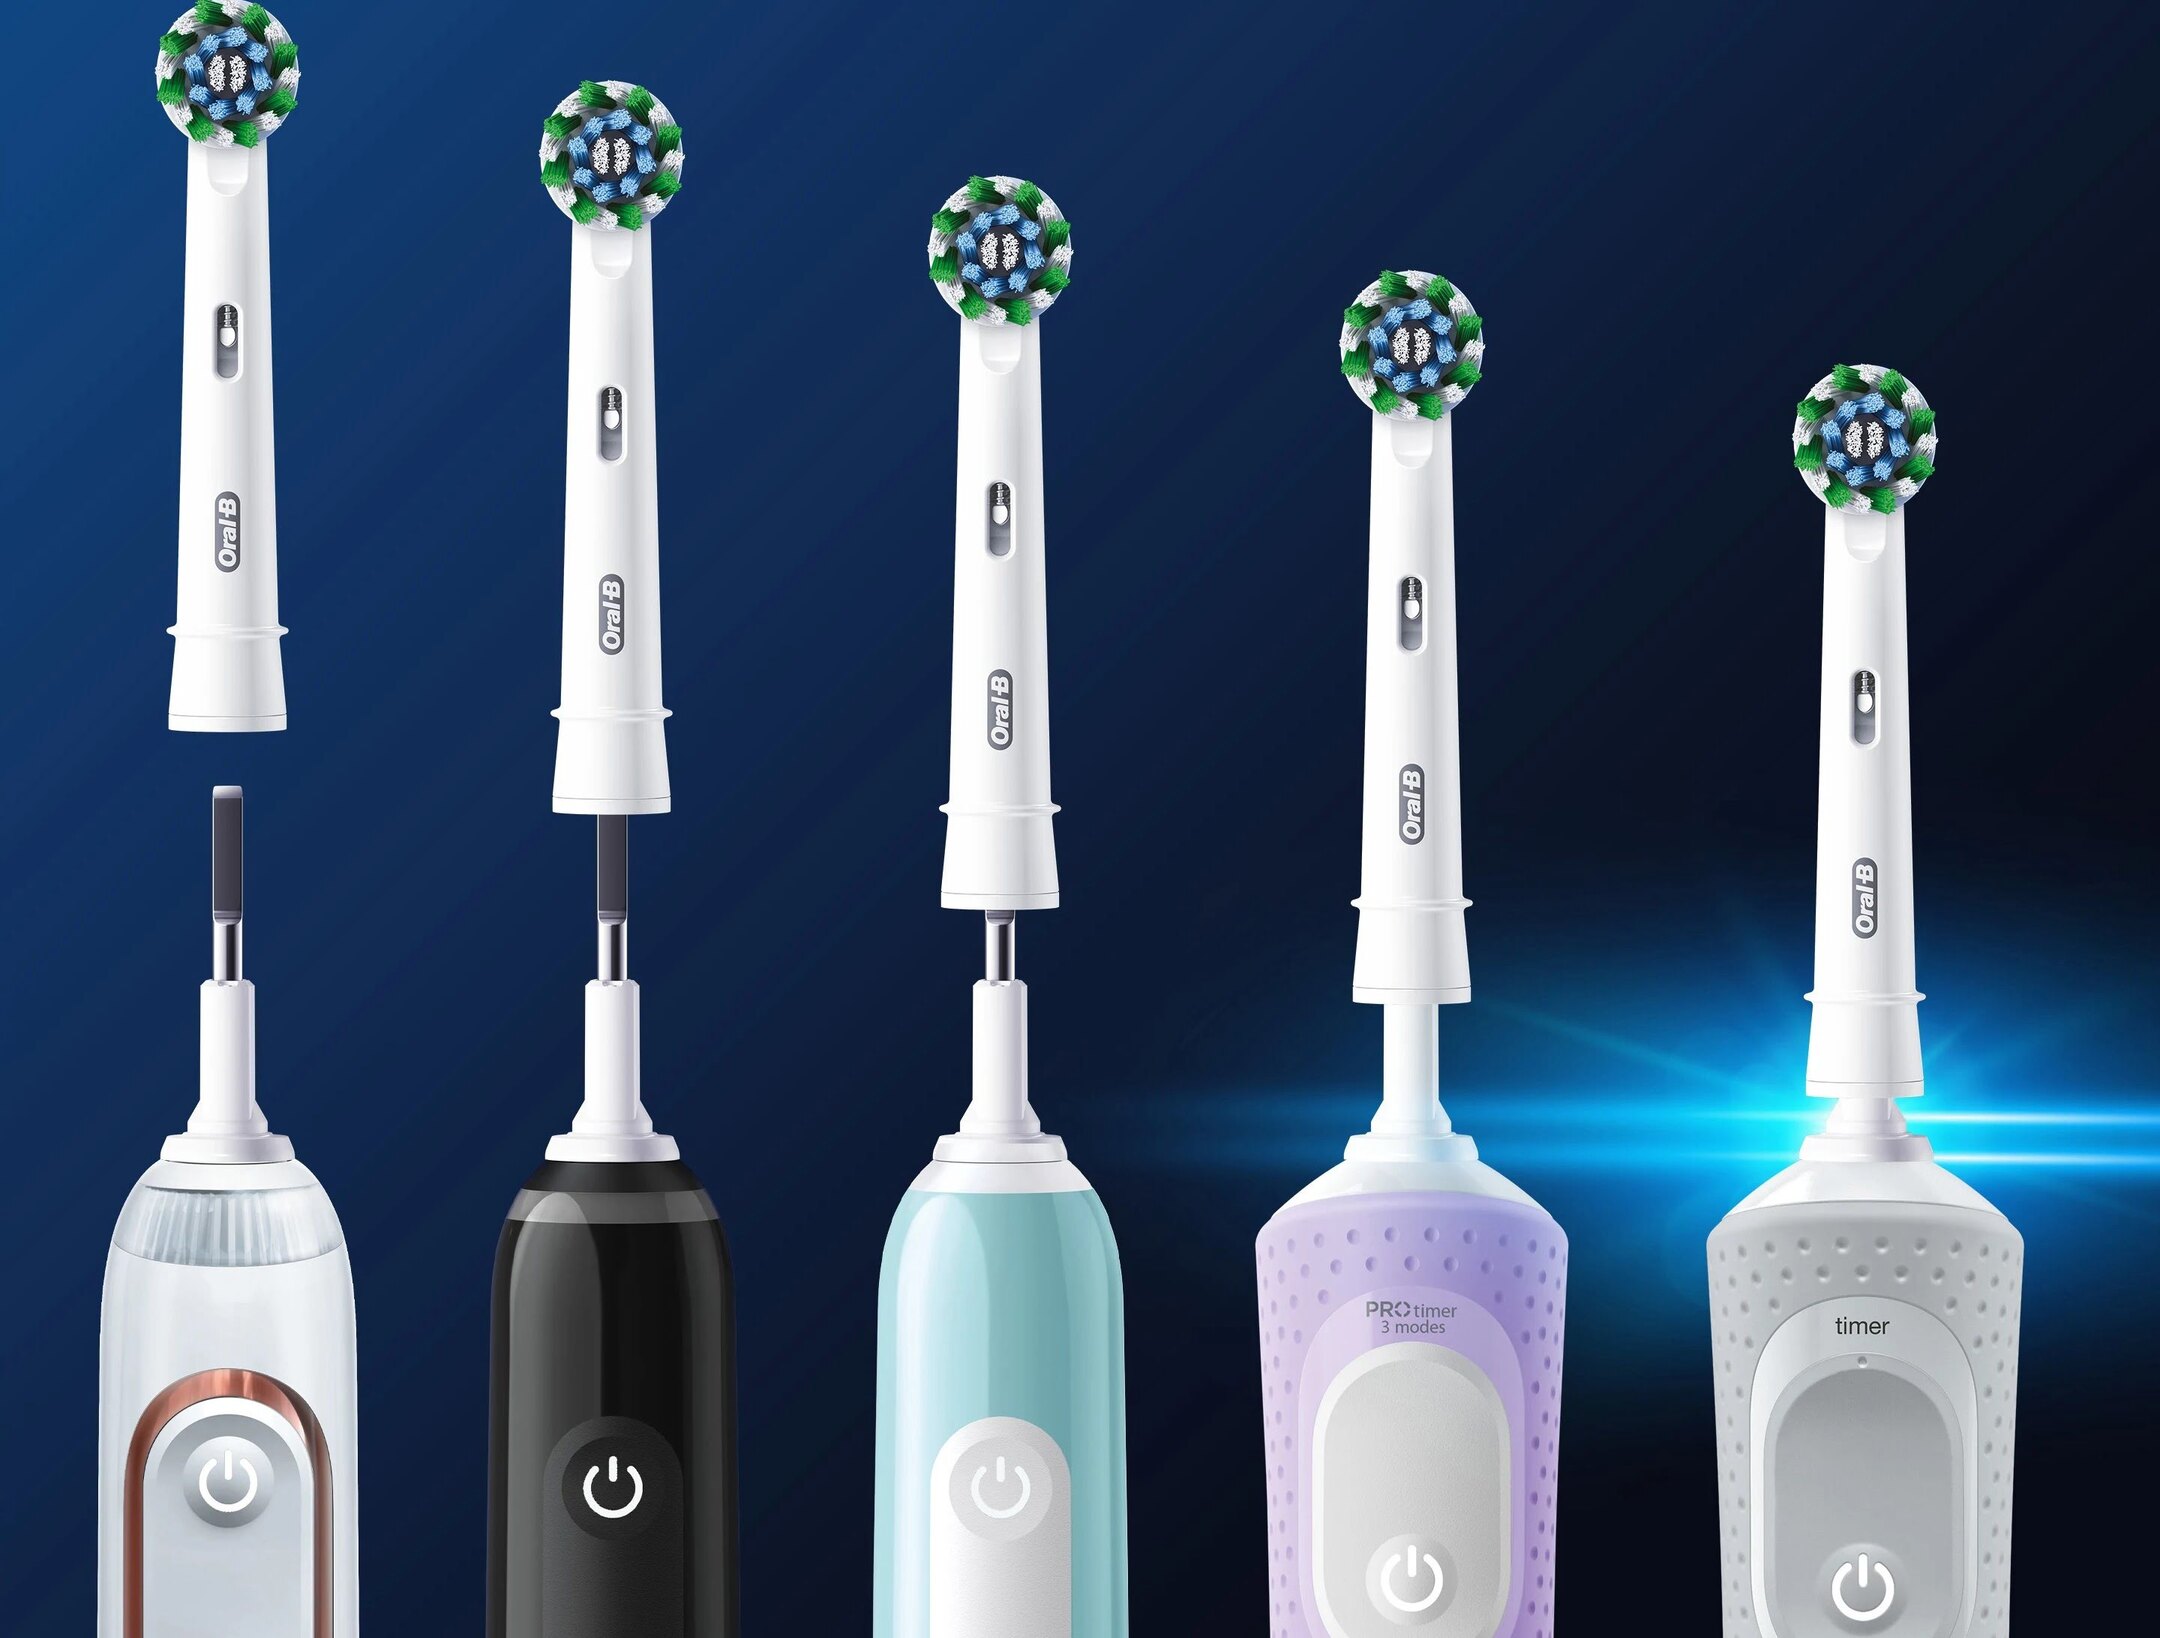
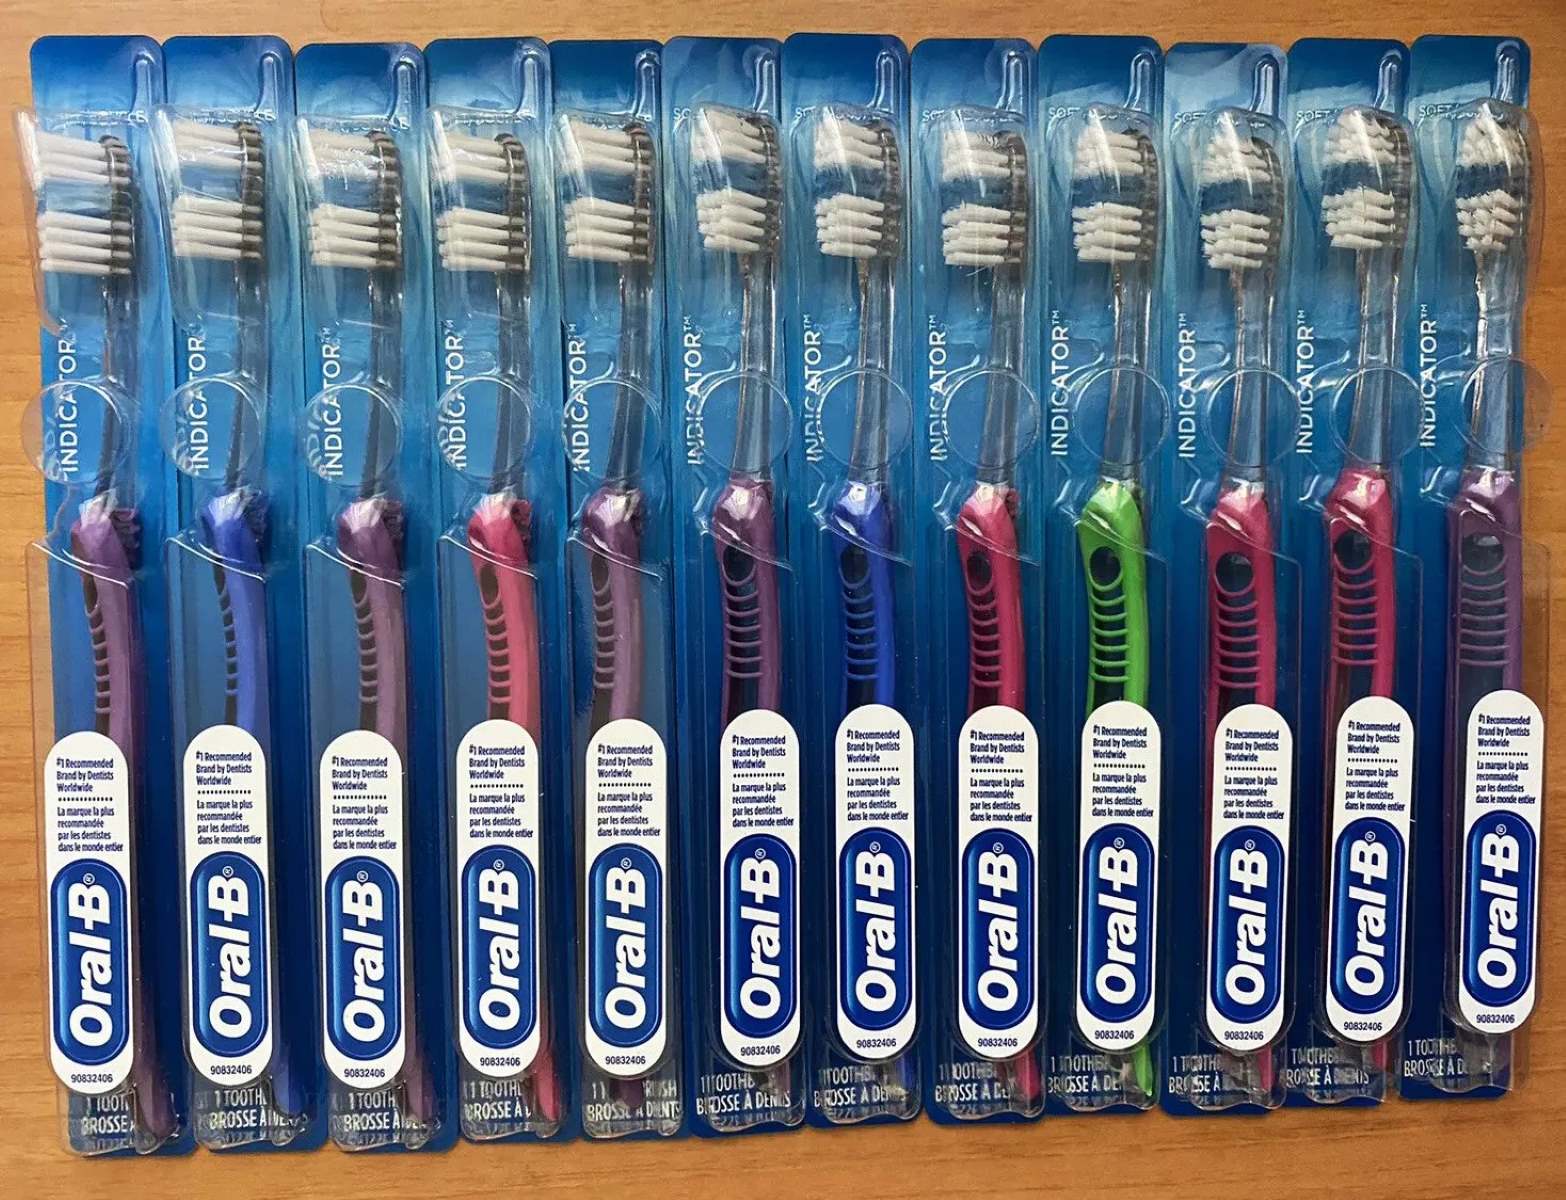
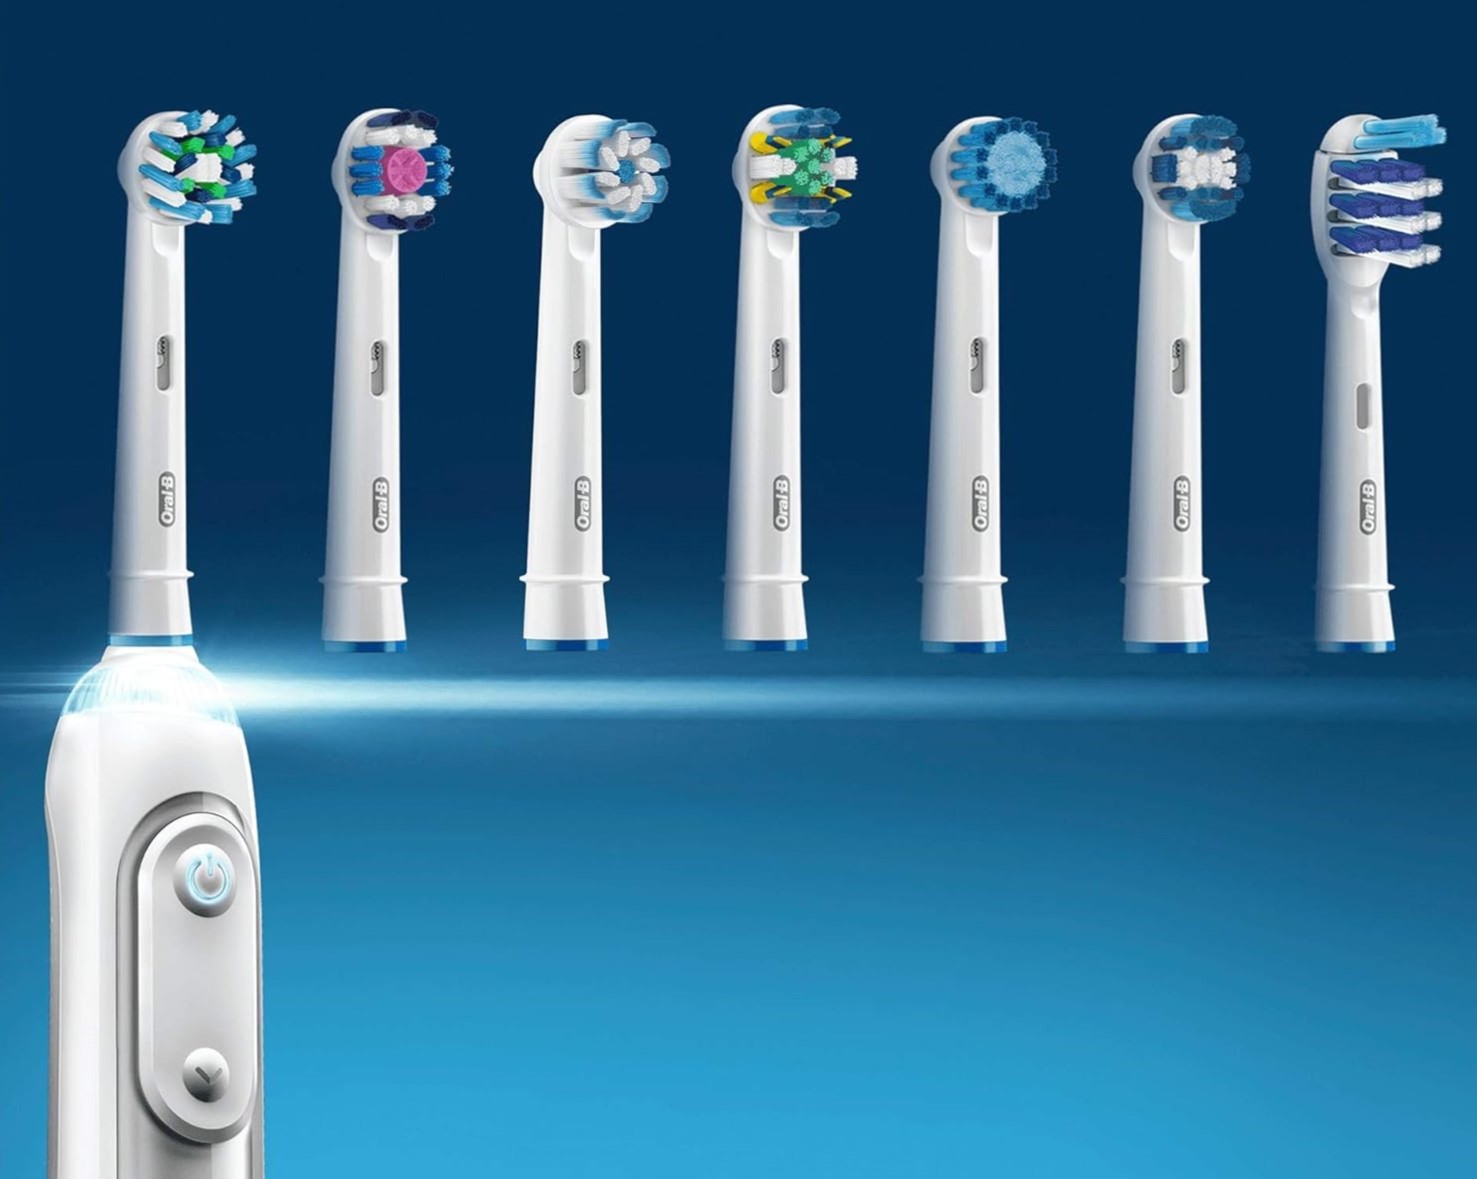
Select the Replacement Head: If you haven't already chosen a replacement toothbrush head, now is the time to select the appropriate one for your needs. Oral-B offers a variety of toothbrush head options, including those designed for specific cleaning purposes such as plaque removal, gum care, or whitening. Choose the head that best aligns with your oral care requirements.
-
Familiarize Yourself with the Locking Mechanism: Take a moment to familiarize yourself with the locking mechanism of the toothbrush head. Understanding how the head attaches to the handle and locks into place will make the removal and replacement process much smoother.
By following these preparatory steps, you'll set the stage for a seamless and efficient toothbrush head replacement process. With the toothbrush properly prepared, you're now ready to move on to the next step of removing the old toothbrush head from your Oral-B electric toothbrush.
Step 2: Removing the old toothbrush head
Now that your Oral-B electric toothbrush is prepared for the head replacement process, it's time to focus on removing the old toothbrush head. This step is essential for maintaining the effectiveness of your toothbrush and ensuring that it continues to provide optimal oral care. Here's a detailed guide on how to remove the old toothbrush head with ease:
-
Grip the Toothbrush Handle: Hold the handle of your electric toothbrush firmly in one hand, ensuring that you have a secure grip. This will provide stability and control as you proceed with the head removal process.
-
Locate the Release Button: On most Oral-B electric toothbrush models, there is a release button located near the top of the handle, just below the head. This button is designed to facilitate the removal of the toothbrush head.
-
Press the Release Button: Using your thumb or index finger, press the release button firmly. As you press the button, you may need to apply a slight amount of pressure to disengage the locking mechanism that holds the toothbrush head in place.
-
Simultaneously Twist and Pull: While continuing to press the release button, gently twist the old toothbrush head counterclockwise. This twisting motion helps to loosen the head from its locked position on the handle. Once the head feels loosened, pull it straight off the handle with a smooth, steady motion.
-
Dispose of the Old Head: After successfully removing the old toothbrush head, it's important to dispose of it properly. If the head is no longer suitable for use, consider recycling it in accordance with local waste disposal guidelines. Alternatively, if the head is still in good condition, it can be set aside for cleaning and potential reuse.
By following these steps, you can effectively remove the old toothbrush head from your Oral-B electric toothbrush. This process sets the stage for the final step of attaching a new toothbrush head, which is essential for maintaining your oral hygiene routine. With the old head removed, you're now ready to proceed to the next step of this maintenance process.
To remove an Oral-B toothbrush head, simply grip the head firmly and twist it counterclockwise until it comes off. It should detach easily for replacement or cleaning.
Step 3: Attaching a new toothbrush head
With the old toothbrush head successfully removed, the next crucial step is to attach a new head to your Oral-B electric toothbrush. This process ensures that your toothbrush continues to deliver effective cleaning and meets your specific oral care needs. Here's a detailed guide on how to seamlessly attach a new toothbrush head:
-
Select the New Toothbrush Head: Before attaching the new head, ensure that you have selected the appropriate replacement for your oral care requirements. Whether you prefer a head designed for plaque removal, gum care, or whitening, Oral-B offers a range of options to cater to diverse needs.
-
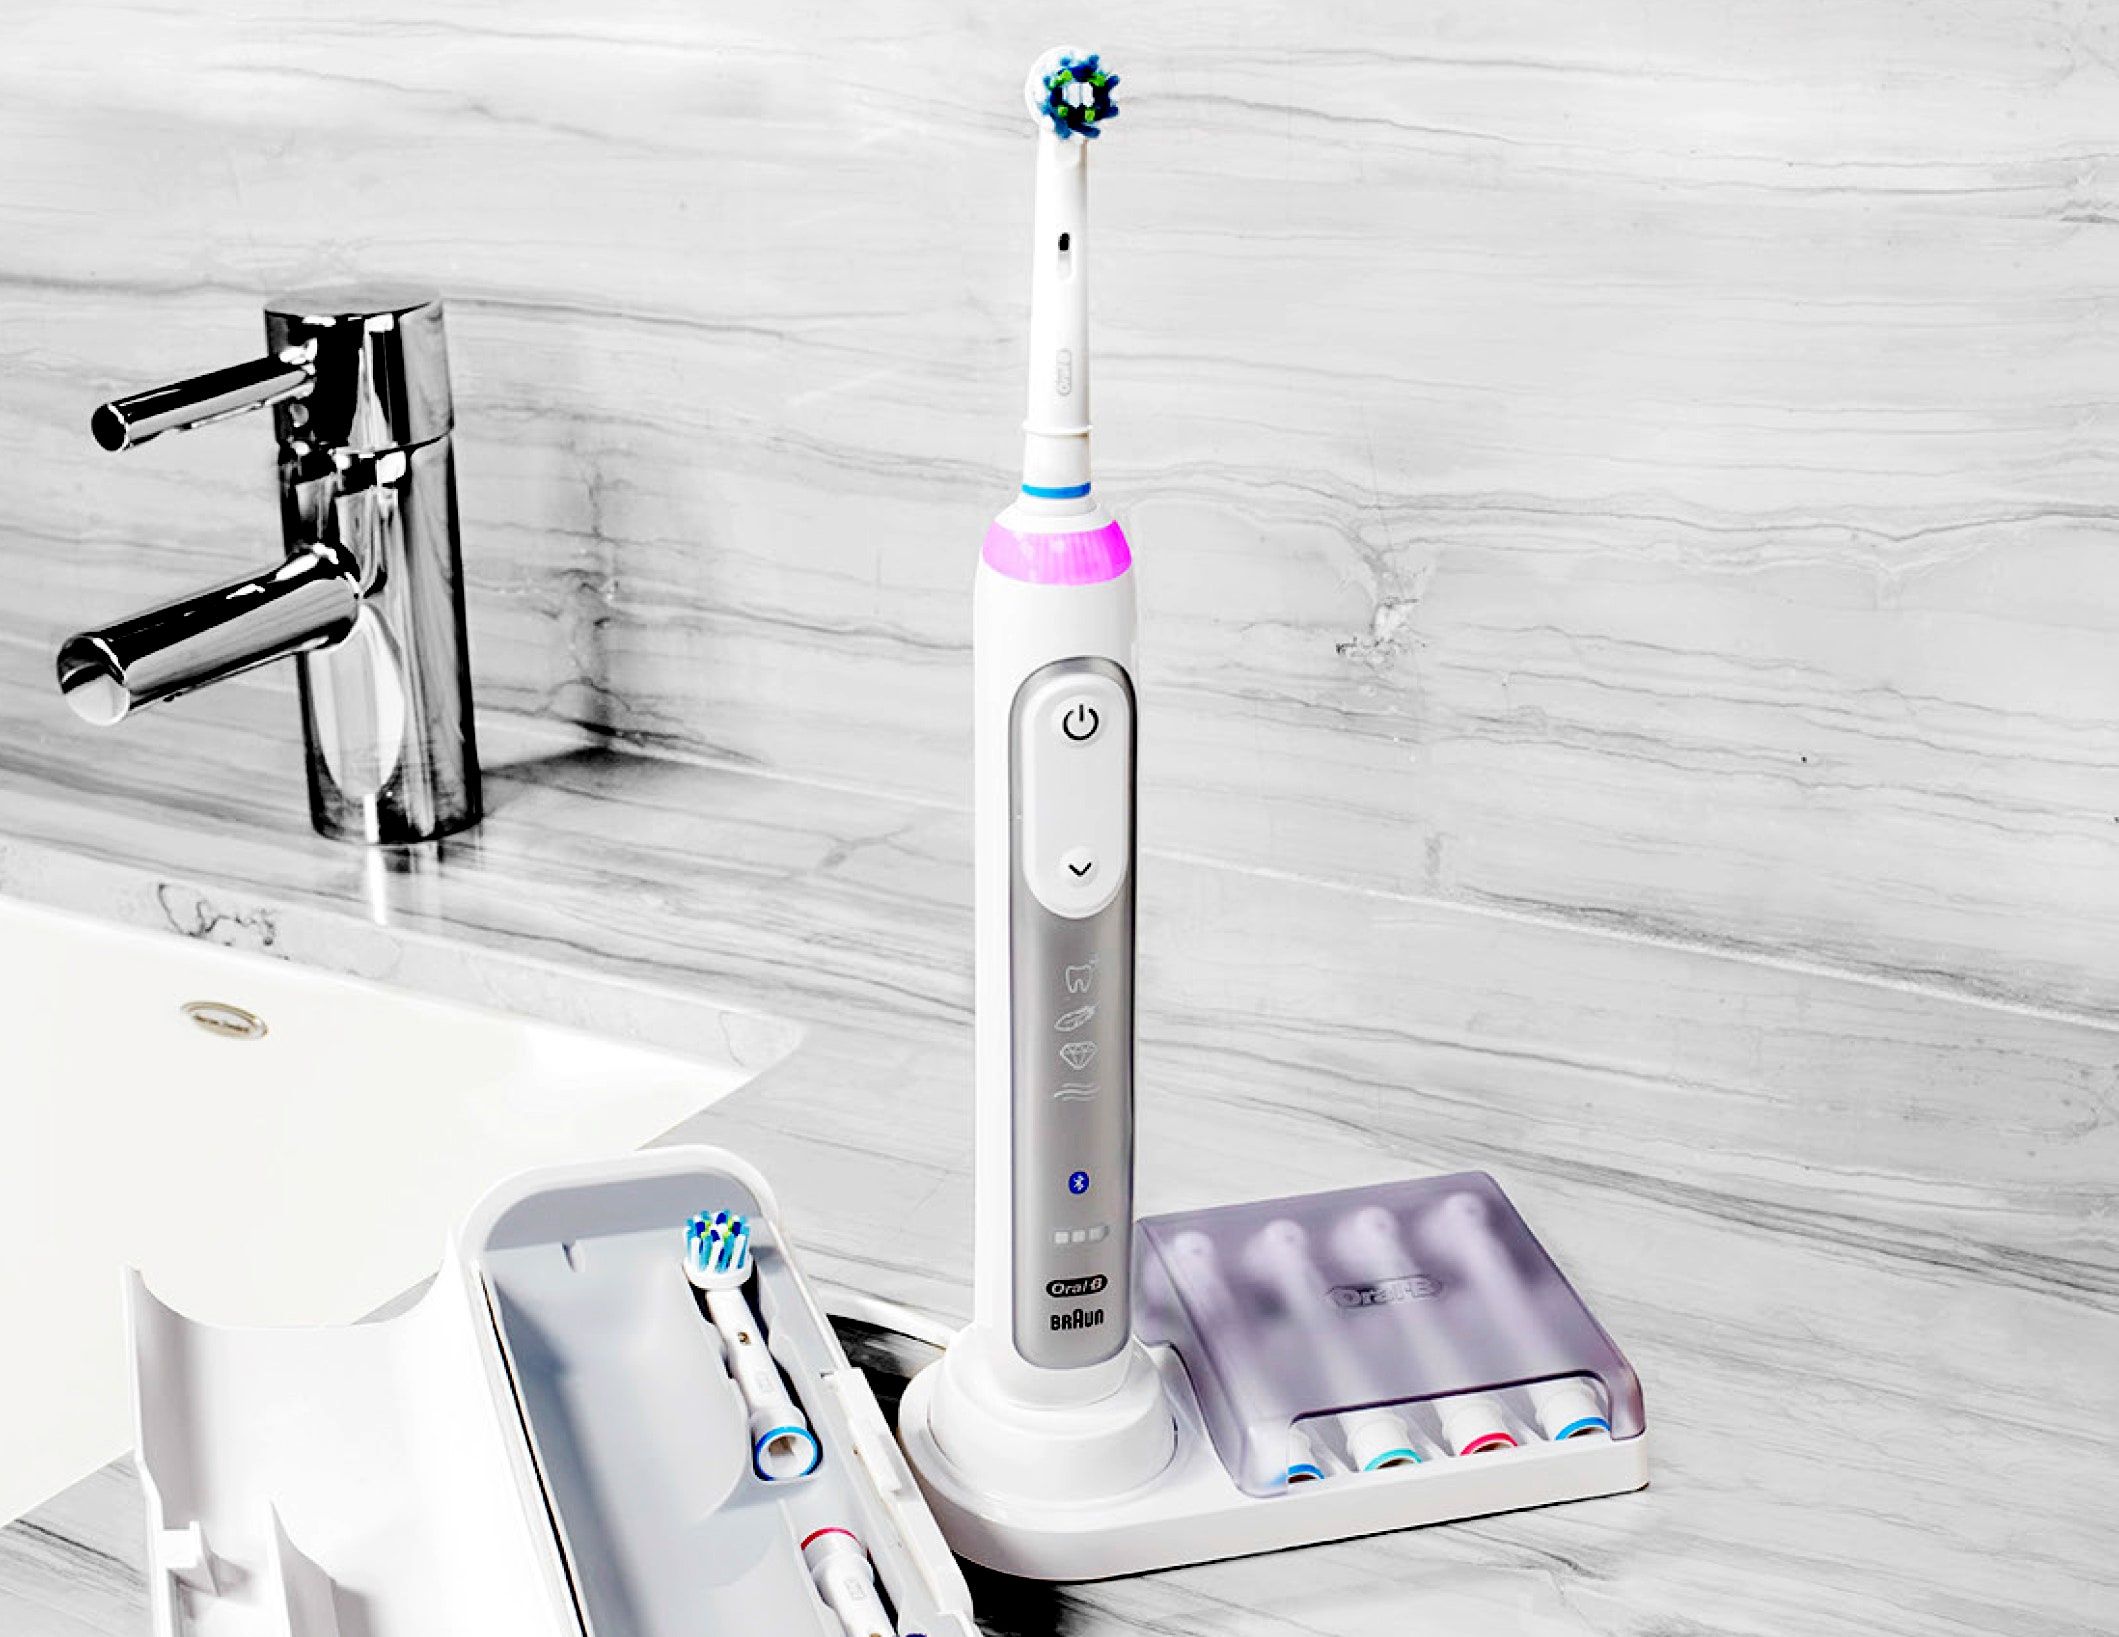
Align the Head and Handle: Take the new toothbrush head and align it with the top of the toothbrush handle. The head should fit snugly onto the handle, with the bristles facing outward and the head's base aligned with the top of the handle.
-
Push and Twist: Once the head is aligned, gently push it onto the handle while simultaneously twisting it clockwise. This motion helps engage the locking mechanism, securing the head in place. As you push and twist, you may feel a slight click, indicating that the head is securely attached to the handle.
-
Confirm the Attachment: After pushing and twisting the new head, give it a gentle tug to ensure that it is firmly locked onto the handle. If the head remains in place without any wobbling or movement, it is successfully attached and ready for use.
-
Test the Toothbrush: Before resuming your oral care routine, briefly turn on the toothbrush to ensure that the new head operates smoothly. This quick test allows you to confirm that the head is securely attached and that the toothbrush functions as expected.
By following these steps, you can confidently attach a new toothbrush head to your Oral-B electric toothbrush, ensuring that it continues to provide effective cleaning and meets your specific oral care needs. With the new head securely in place, you can seamlessly integrate it into your daily oral hygiene routine, maintaining optimal dental health.
Whether you're replacing the head for routine maintenance or exploring different head options for specialized cleaning purposes, the process of attaching a new head is straightforward and essential for the ongoing care of your electric toothbrush. With this maintenance task completed, you can enjoy the benefits of a refreshed toothbrush head, ready to support your oral health journey.
Conclusion
In conclusion, maintaining your Oral-B electric toothbrush by replacing its toothbrush head is a simple yet essential aspect of oral care. By following the step-by-step process outlined in this guide, you can ensure that your toothbrush continues to deliver optimal cleaning performance while meeting your specific oral care needs.
The process begins with preparing the toothbrush, including turning it off, unplugging it if necessary, and selecting the appropriate replacement head. Familiarizing yourself with the locking mechanism sets the stage for a smooth transition to the next step.
Removing the old toothbrush head involves a few straightforward yet crucial steps. By gripping the handle, locating the release button, and gently twisting and pulling the old head, you can seamlessly detach it from the handle. Proper disposal or recycling of the old head is an important consideration for environmental consciousness.
Attaching a new toothbrush head completes the maintenance process, ensuring that your toothbrush is ready to support your oral hygiene routine. Selecting the new head, aligning it with the handle, and securely pushing and twisting it into place are the key steps in this phase. A quick test to confirm the attachment sets the stage for continued use with confidence.
By regularly replacing the toothbrush head, you not only maintain the effectiveness of your toothbrush but also cater to your specific oral care needs. Whether you opt for a head designed for plaque removal, gum care, or whitening, the ability to customize your toothbrush enhances your overall oral hygiene experience.
Incorporating this maintenance task into your oral care routine ensures that your Oral-B electric toothbrush remains a reliable ally in your quest for optimal dental health. With a refreshed toothbrush head in place, you can confidently embrace each brushing session, knowing that your toothbrush is equipped to deliver the cleaning performance you expect.
So, as you embark on this simple yet impactful maintenance journey, remember that replacing the toothbrush head is not just a task; it's a commitment to the ongoing care of your oral health. With each replacement, you reaffirm your dedication to maintaining a healthy and vibrant smile, supported by the reliable performance of your Oral-B electric toothbrush.
Frequently Asked Questions about How Do You Remove Oral-B Toothbrush Head
Was this page helpful?
At Storables.com, we guarantee accurate and reliable information. Our content, validated by Expert Board Contributors, is crafted following stringent Editorial Policies. We're committed to providing you with well-researched, expert-backed insights for all your informational needs.


0 thoughts on “How Do You Remove Oral-B Toothbrush Head”