Home>Furniture & Design>Bathroom Accessories>How To Reset Oral-B IO Toothbrush
Bathroom Accessories
How To Reset Oral-B IO Toothbrush
Modified: May 6, 2024
Learn how to easily reset your Oral-B iO toothbrush and keep it functioning smoothly. Find out the best bathroom accessories for your oral care routine.
(Many of the links in this article redirect to a specific reviewed product. Your purchase of these products through affiliate links helps to generate commission for Storables.com, at no extra cost. Learn more)
Introduction
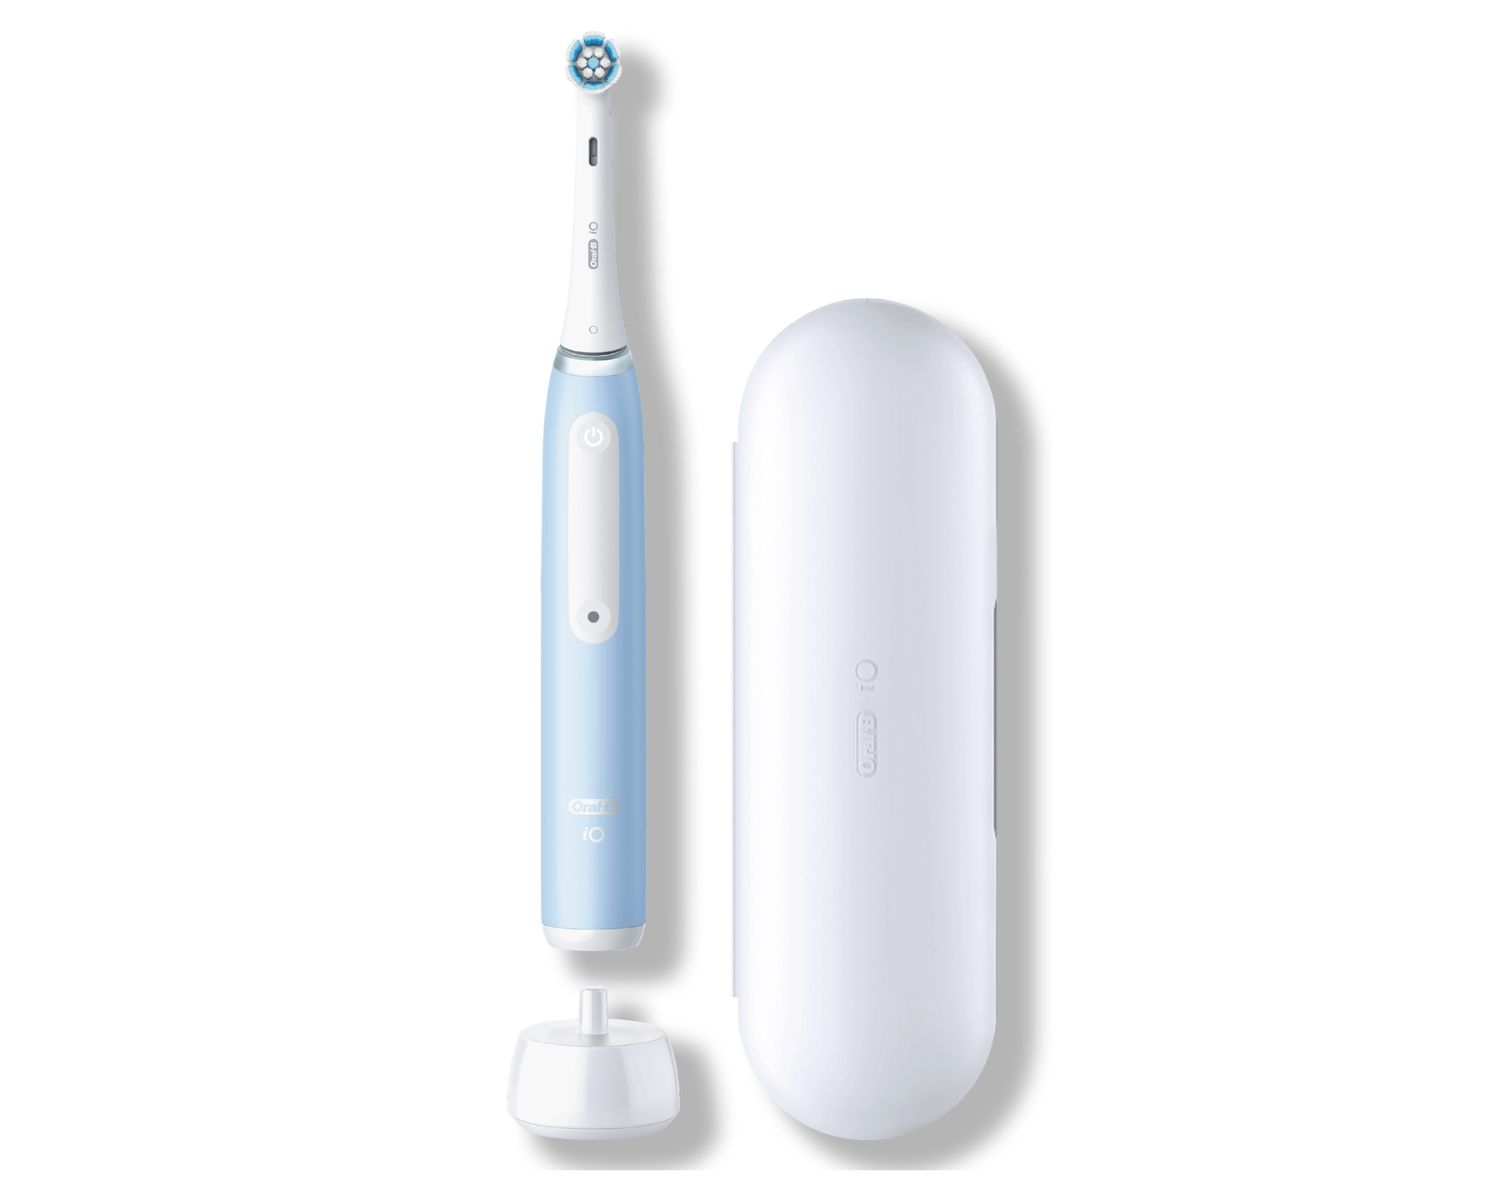
Resetting your Oral-B iO toothbrush can resolve various issues, such as connectivity problems, software glitches, or performance issues. Whether you're encountering difficulties with the toothbrush's functionality or simply want to start afresh, knowing how to reset it can be incredibly useful. This article will guide you through the step-by-step process of resetting your Oral-B iO toothbrush, ensuring that you can effectively address any issues and optimize its performance.
Resetting your toothbrush is a straightforward process that can often resolve common issues without the need for professional assistance. By following the simple steps outlined in this guide, you can quickly and easily reset your Oral-B iO toothbrush, allowing you to enjoy its full functionality and benefits once again.
Understanding the importance of maintaining your toothbrush's optimal performance is crucial for ensuring effective oral care. With regular use, toothbrushes can encounter minor issues that may impact their performance. By learning how to reset your Oral-B iO toothbrush, you can take proactive steps to address any potential issues and maintain its efficiency over time.
Now, let's delve into the step-by-step process of resetting your Oral-B iO toothbrush, empowering you to effectively troubleshoot and optimize its performance.
Key Takeaways:
- Easily troubleshoot and optimize your Oral-B iO toothbrush by following simple steps to reset it. Enjoy consistent and reliable performance for effective oral care.
- Master the reset process to address issues and ensure your Oral-B iO toothbrush operates at its best, enhancing your overall oral care experience.
Read more: How To Use Oral-B IO Toothbrush
Step 1: Turn Off the Toothbrush
To initiate the reset process for your Oral-B iO toothbrush, the first step is to ensure that the device is turned off. This is a fundamental step that sets the stage for the subsequent actions required to reset the toothbrush effectively.
To turn off the Oral-B iO toothbrush, press the power button located on the handle. Hold the button down for a few seconds until the device powers down completely. You may notice the indicator lights turning off, indicating that the toothbrush is no longer active.
Ensuring that the toothbrush is turned off before proceeding with the reset is essential for safety and to prevent any potential interruptions during the reset process. By following this initial step, you can prepare the toothbrush for the subsequent actions required to perform a successful reset.
Turning off the toothbrush also allows you to have a clear understanding of its current state, ensuring that the reset process can be carried out smoothly and without any unexpected issues. This step sets the foundation for the reset process, enabling you to proceed with confidence and clarity as you work towards optimizing the performance of your Oral-B iO toothbrush.
By taking the time to ensure that the toothbrush is turned off before proceeding, you are setting the stage for a successful reset, laying the groundwork for the subsequent steps that will ultimately restore the toothbrush to its optimal functionality.
With the Oral-B iO toothbrush turned off, you are now ready to move on to the next step in the reset process, which will further guide you through the necessary actions to effectively reset the toothbrush and address any potential issues that may have arisen.
Step 2: Press and Hold the Power Button
Pressing and holding the power button is a crucial step in the process of resetting your Oral-B iO toothbrush. This action initiates the reset mode, allowing you to proceed with the necessary steps to restore the toothbrush to its default settings and address any potential issues that may have affected its performance.
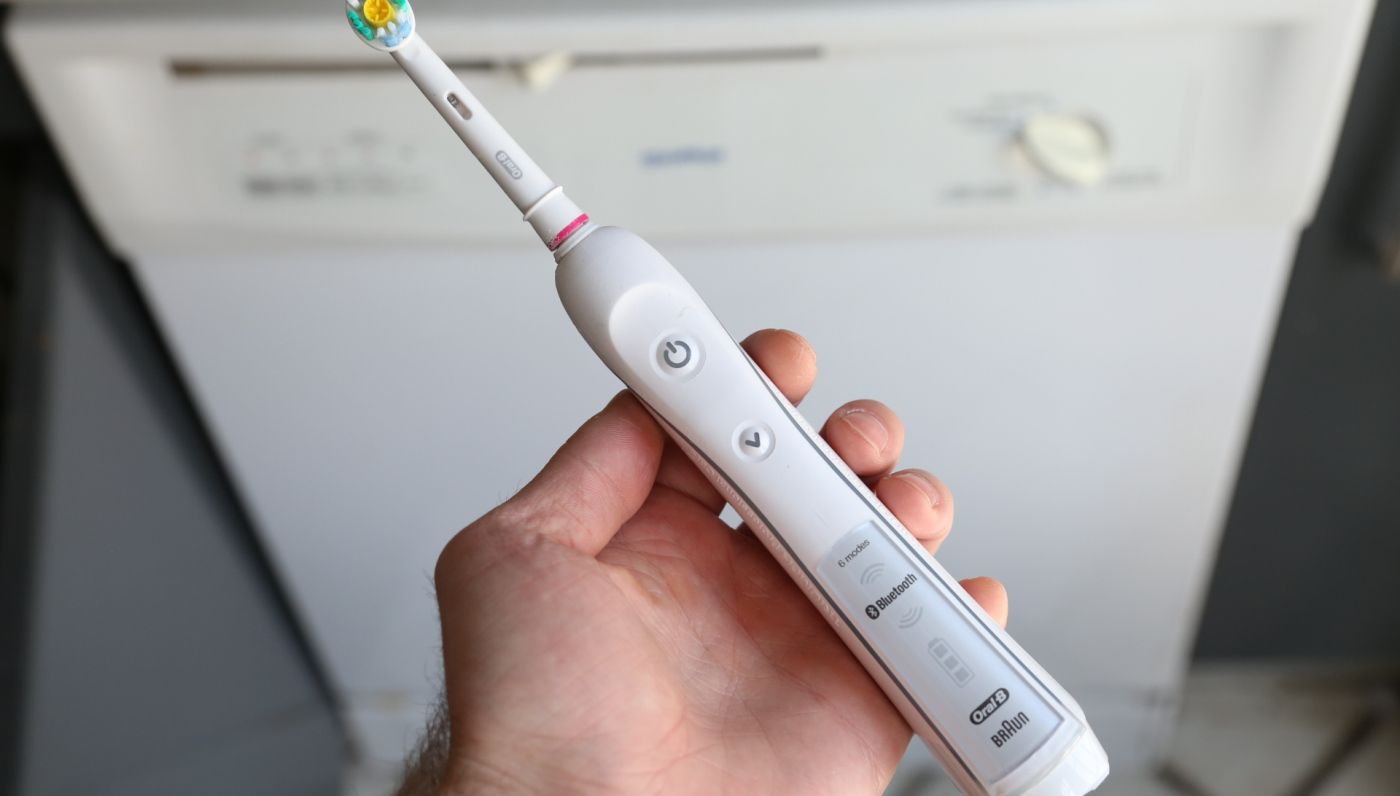
To begin, locate the power button on the handle of your Oral-B iO toothbrush. The power button is typically positioned for easy access, allowing you to engage with it comfortably. Once you have identified the power button, press and hold it for approximately 15 seconds. As you press and hold the power button, you may notice the toothbrush vibrating or emitting a series of pulses, indicating that the reset mode has been activated.
During this process, it's important to maintain a steady grip on the toothbrush handle, ensuring that the power button is held down consistently for the duration of the reset activation. This action prompts the toothbrush to enter the reset mode, preparing it for the subsequent steps required to complete the reset process effectively.
As you press and hold the power button, you may observe the indicator lights on the toothbrush displaying specific patterns or sequences, signaling that the reset mode is in progress. These visual cues provide confirmation that the toothbrush is responding to the reset activation, further guiding you through the process and indicating that the reset mode has been successfully initiated.
By engaging with the power button in this manner, you are taking proactive steps to trigger the reset mode, enabling the toothbrush to recalibrate and restore its default settings. This action serves as a pivotal moment in the reset process, setting the stage for the final steps that will ultimately reset the toothbrush and address any underlying issues that may have impacted its performance.
With the power button pressed and held, you have successfully initiated the reset mode, paving the way for the subsequent actions required to complete the reset process effectively. This critical step positions you to proceed with confidence, knowing that the toothbrush is now prepared to undergo the final stages of the reset process, ultimately optimizing its performance and functionality.
Continuing from this point, you are now ready to move on to the next step in the reset process, building upon the foundation established by pressing and holding the power button to ensure a successful reset of your Oral-B iO toothbrush.
To reset your Oral-B iO toothbrush, press and hold the power button for 15 seconds until the LED light flashes. This will reset the toothbrush and clear any issues.
Step 3: Reset the Toothbrush
With the power button pressed and held, and the toothbrush in reset mode, you are now poised to execute the final steps to reset your Oral-B iO toothbrush. This pivotal stage in the reset process involves specific actions that will recalibrate the toothbrush and restore it to its default settings, effectively addressing any underlying issues that may have impacted its performance.
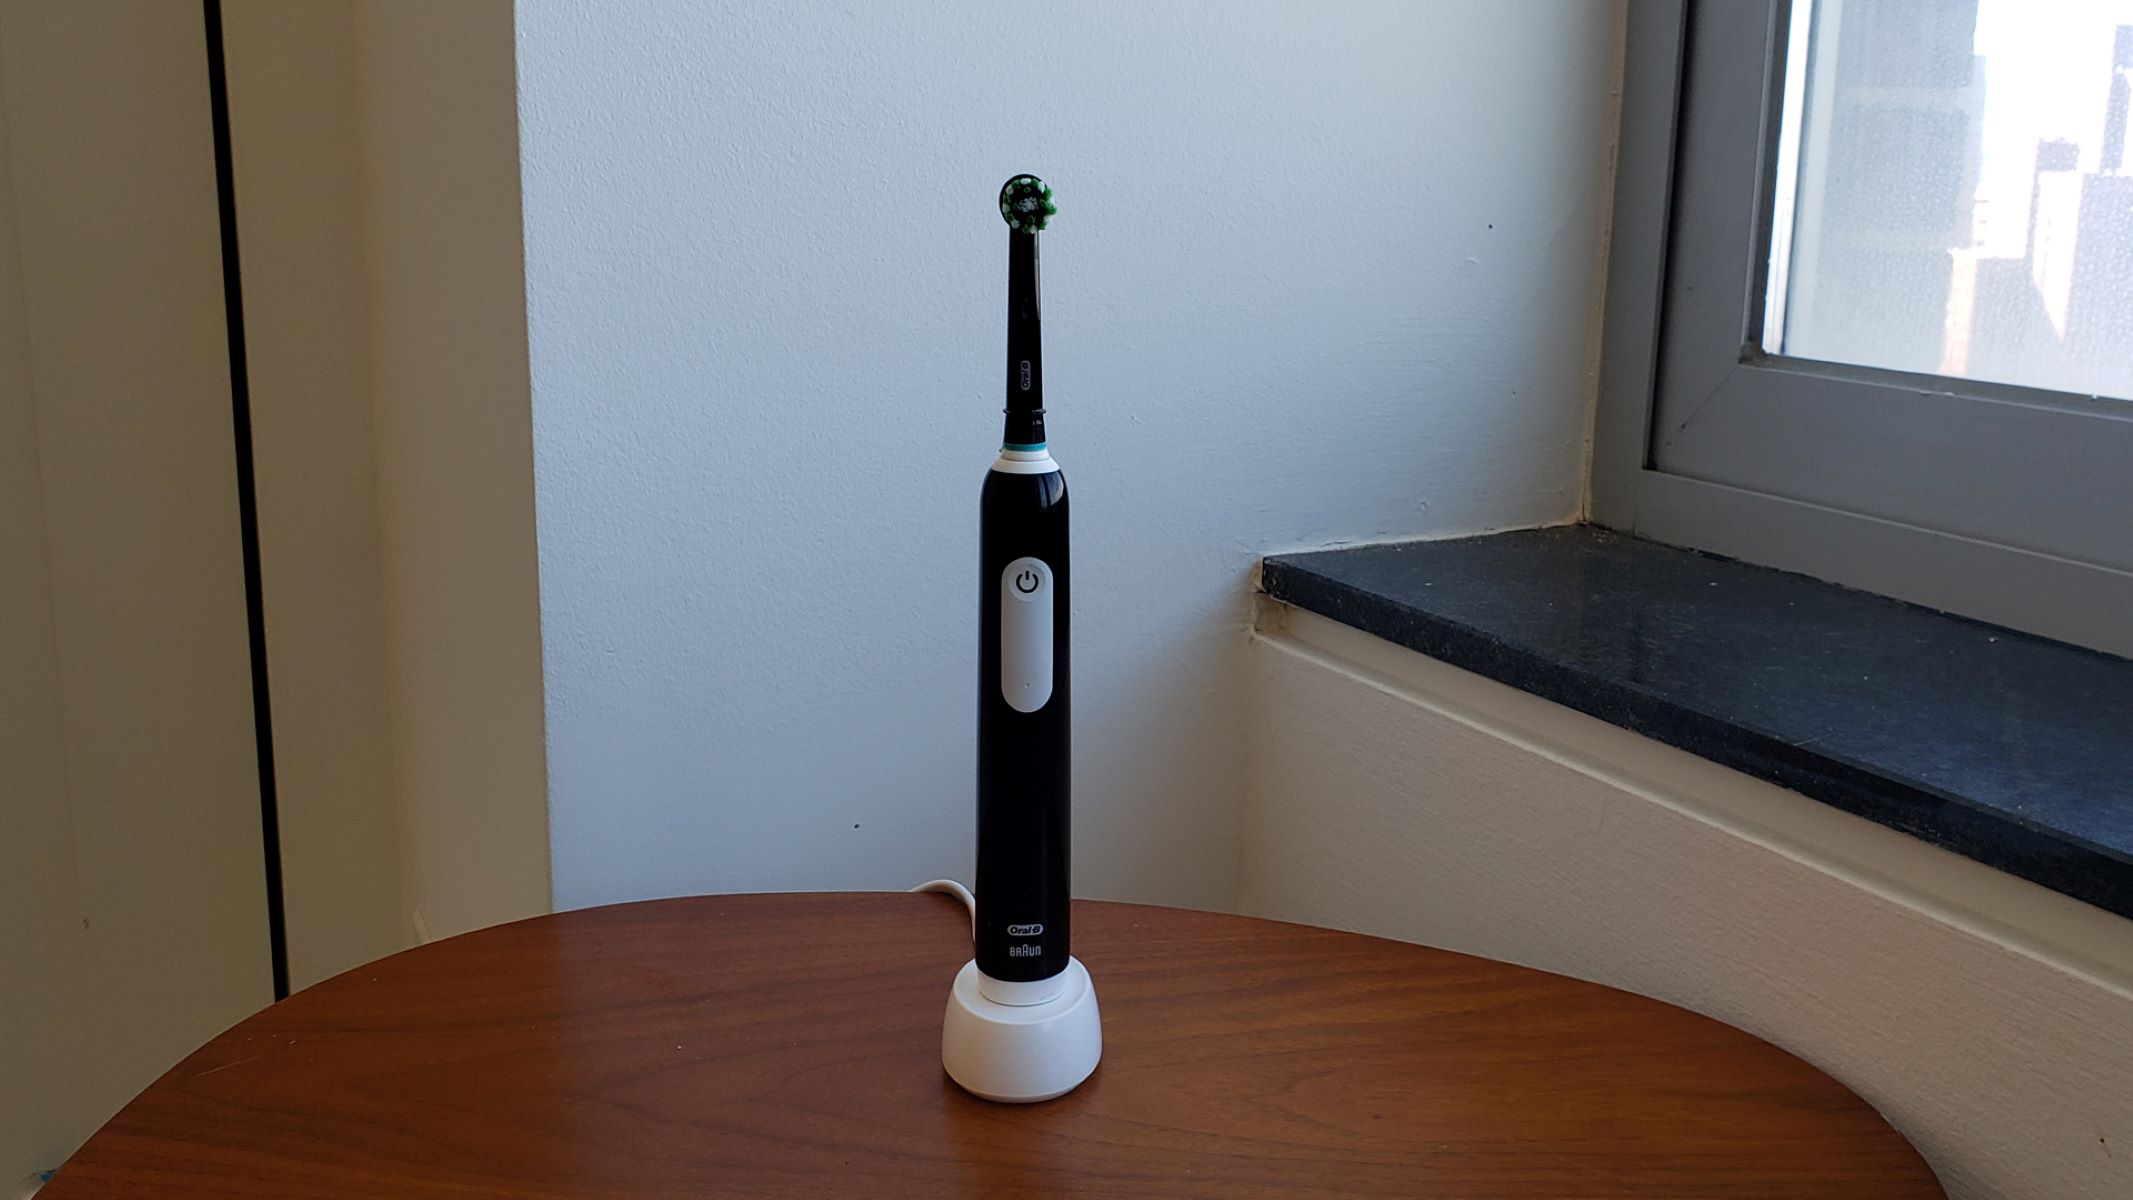
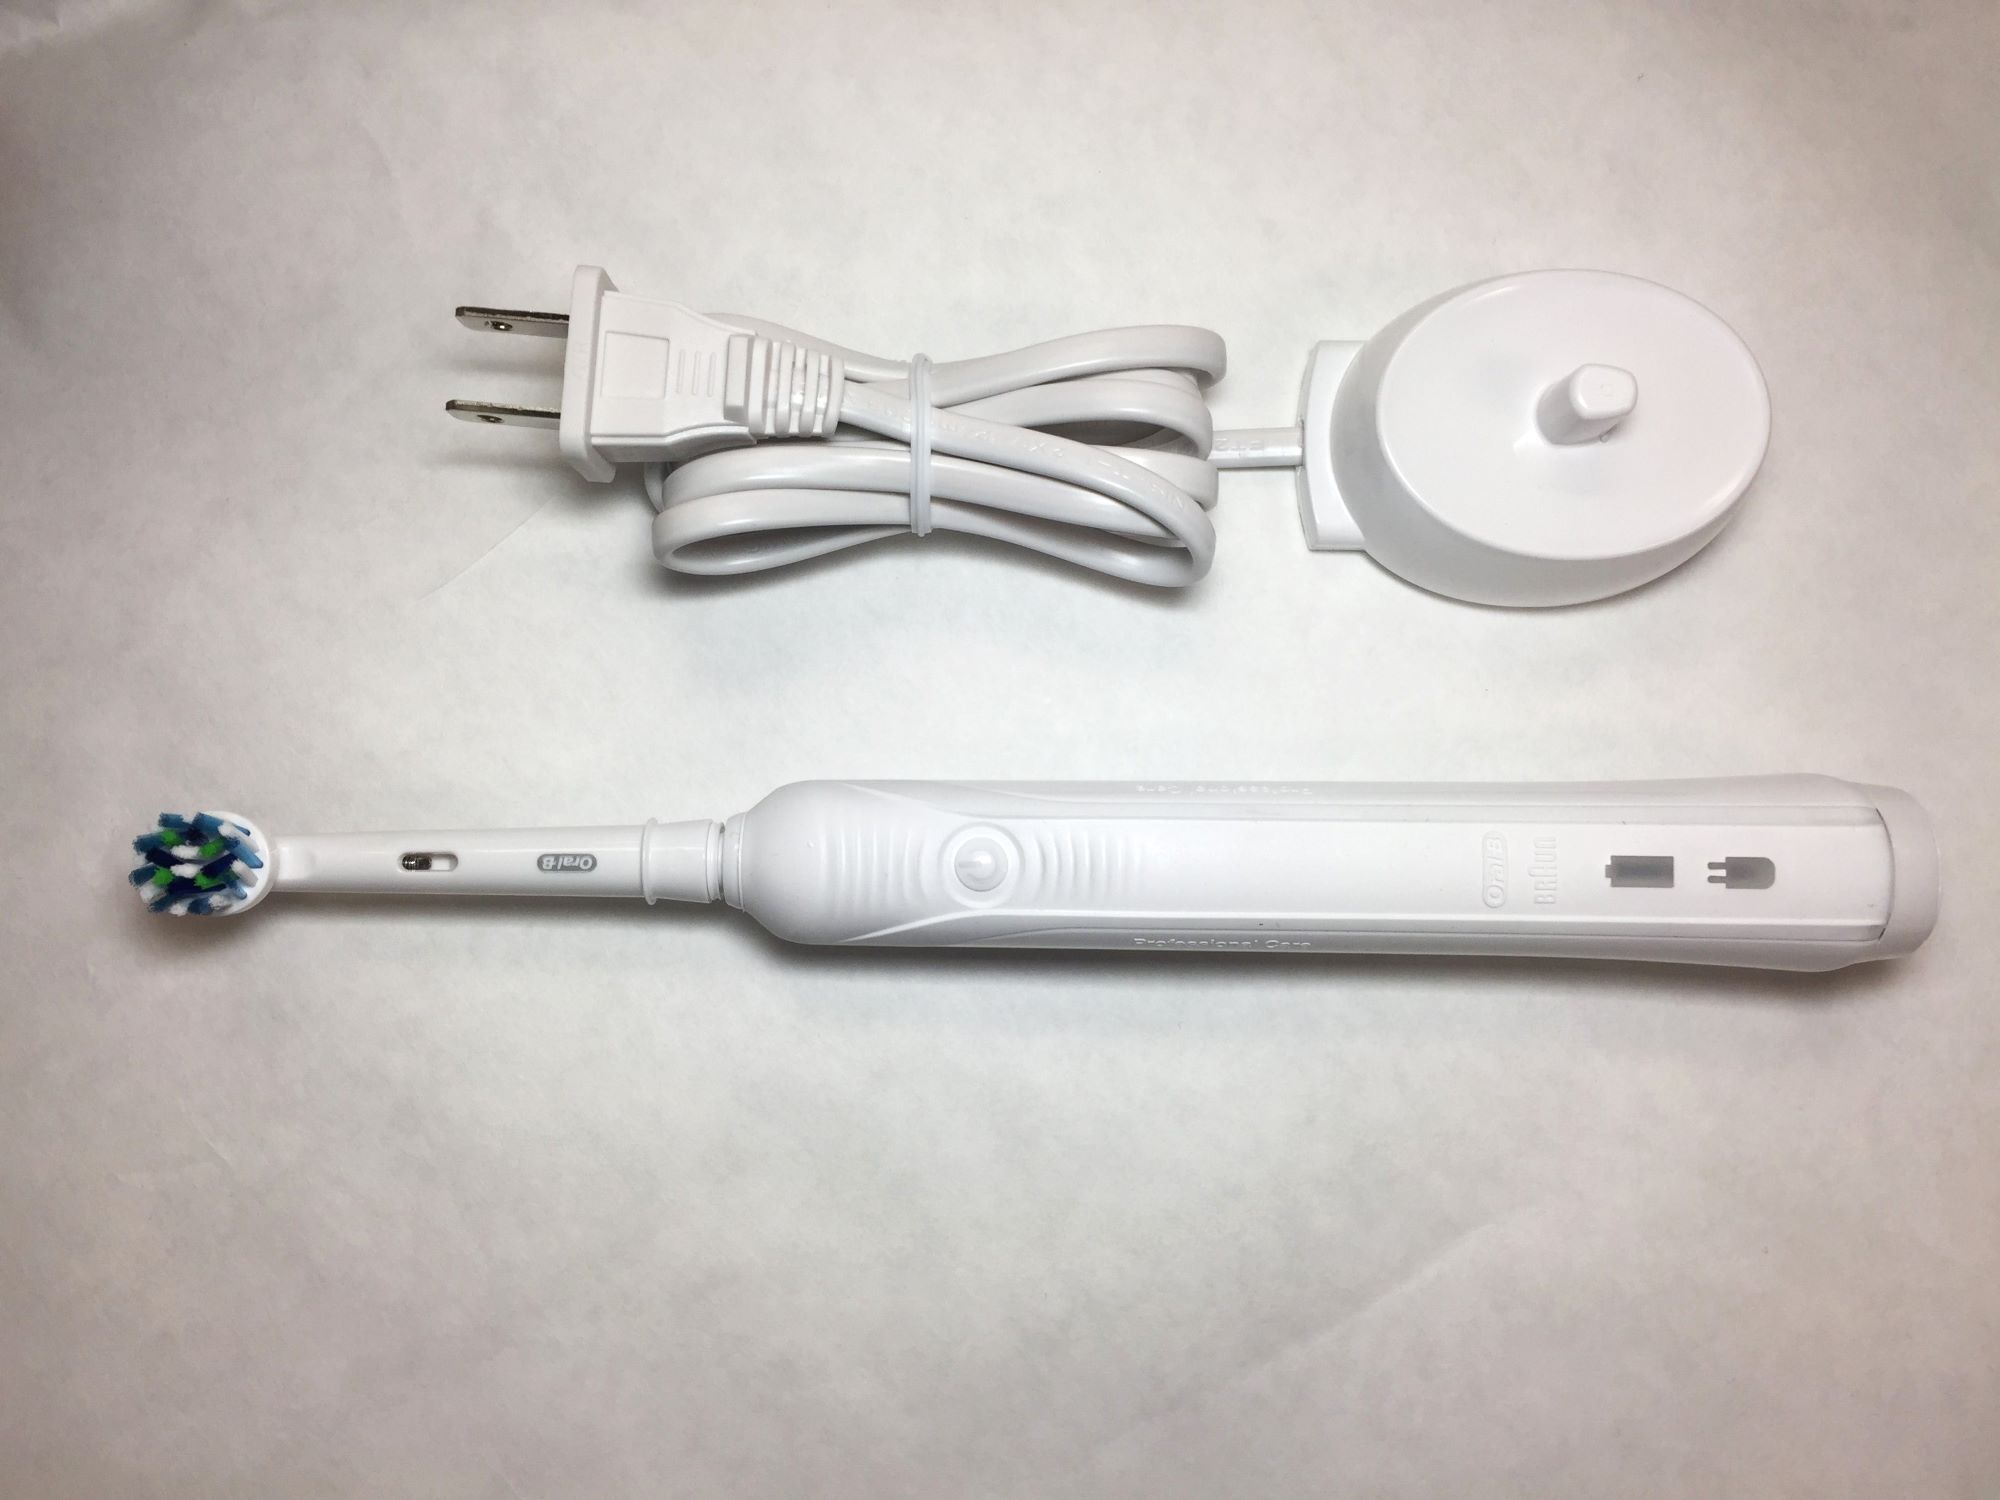
To proceed with the reset, continue holding down the power button while simultaneously placing the toothbrush back on its charging base. The charging base serves as a vital component in the reset process, facilitating the recalibration of the toothbrush and ensuring that it is restored to its optimal state.
As the toothbrush makes contact with the charging base while the power button is held down, you may notice the indicator lights displaying distinct patterns or sequences, indicating that the reset process is in progress. These visual cues provide reassurance that the toothbrush is responding to the reset activation, guiding you through the final stages of the reset process.
Maintain the toothbrush's position on the charging base and continue holding down the power button for approximately 10 seconds. During this time, the toothbrush may emit subtle vibrations or pulses, signifying that the reset process is actively underway. These tactile signals further affirm that the toothbrush is undergoing the necessary recalibration to restore its default settings.
As the reset process nears completion, you may observe the indicator lights on the toothbrush stabilizing or returning to their standard display, indicating that the reset has been successfully executed. This visual confirmation signifies that the toothbrush has been restored to its default settings, effectively addressing any potential issues and optimizing its performance.
With the reset process now complete, release the power button and lift the toothbrush from the charging base. You have successfully reset your Oral-B iO toothbrush, ensuring that it is now primed to deliver optimal functionality and performance.
By following these precise steps to reset your Oral-B iO toothbrush, you have taken proactive measures to address any underlying issues and optimize its performance. With the toothbrush now reset and restored to its default settings, you can confidently resume using it, knowing that it is operating at its best.
Moving forward, you can enjoy the benefits of a fully optimized Oral-B iO toothbrush, equipped to deliver effective oral care and maintain its performance over time. By mastering the reset process, you have empowered yourself to troubleshoot and address potential issues, ensuring that your toothbrush continues to meet your oral care needs effectively.
Step 4: Turn On the Toothbrush
After successfully completing the reset process for your Oral-B iO toothbrush, the final step involves turning the device back on to resume its normal functionality. This pivotal action marks the culmination of the reset process, allowing you to verify that the toothbrush has been effectively restored to its default settings and is ready for use.
To turn on the toothbrush, simply press the power button located on the handle. As you press the power button, you may notice the indicator lights illuminating, signaling that the toothbrush is powering up. The device will emit a brief vibration or audible cue, indicating that it has been successfully activated and is ready for use.
As the toothbrush powers on, take a moment to observe its initial response. You may notice the indicator lights displaying a standard pattern, confirming that the toothbrush has been reset and is now operational. This visual feedback provides reassurance that the reset process has been completed successfully, allowing you to proceed with confidence.
Once the toothbrush is turned on, you can test its functionality to ensure that it is operating as expected. Activate the brushing mode and observe the toothbrush's performance, paying attention to any improvements in its functionality or responsiveness. By engaging with the toothbrush, you can confirm that it has been effectively reset and is ready to deliver optimal performance.
As you resume using the toothbrush, take note of any changes in its behavior or performance following the reset. You may observe enhanced connectivity, improved responsiveness to brushing modes, or a more consistent operation overall. These positive indicators serve as tangible evidence that the reset process has effectively addressed any underlying issues, allowing the toothbrush to function at its best.
By turning on the toothbrush and assessing its performance post-reset, you can validate the success of the reset process and ensure that the device is operating optimally. This final step serves as a crucial validation of the reset's effectiveness, providing you with the confidence to continue using the toothbrush with the assurance that it has been restored to its default settings.
With the Oral-B iO toothbrush now turned on and functioning as expected, you have successfully completed the reset process, empowering the device to deliver consistent and reliable performance. By mastering the steps to reset your toothbrush, you have taken proactive measures to optimize its functionality and ensure that it continues to meet your oral care needs effectively.
Read more: Oral-B Toothbrush: How To Use
Conclusion
In conclusion, mastering the process of resetting your Oral-B iO toothbrush equips you with the knowledge and capability to address potential issues and optimize its performance effectively. By following the step-by-step guide outlined in this article, you have gained valuable insights into the essential actions required to reset your toothbrush and restore it to its default settings.
The journey of resetting your Oral-B iO toothbrush begins with the fundamental step of turning off the device, setting the stage for the subsequent actions that will ultimately recalibrate and restore its functionality. Pressing and holding the power button serves as a pivotal moment in the reset process, initiating the reset mode and guiding you through the necessary steps to achieve a successful reset.
As you proceed with the reset, the critical action of placing the toothbrush on its charging base while maintaining the power button engagement facilitates the recalibration process, ensuring that the toothbrush is restored to its optimal state. The tactile and visual cues provided during this stage offer reassurance that the reset process is actively underway, guiding you towards the successful completion of the reset.
Upon completing the reset process, turning on the toothbrush and assessing its performance post-reset allows you to validate the effectiveness of the reset and ensure that the device is operating optimally. This final step serves as a crucial validation of the reset's success, providing you with the confidence to continue using the toothbrush with the assurance that it has been restored to its default settings.
By mastering the reset process for your Oral-B iO toothbrush, you have empowered yourself to troubleshoot and address potential issues, ensuring that your toothbrush continues to meet your oral care needs effectively. The ability to reset your toothbrush not only optimizes its performance but also enhances your overall oral care experience, allowing you to maintain consistent and reliable functionality.
Moving forward, you can enjoy the benefits of a fully optimized Oral-B iO toothbrush, equipped to deliver effective oral care and maintain its performance over time. By mastering the reset process, you have taken proactive measures to troubleshoot and address potential issues, ensuring that your toothbrush continues to meet your oral care needs effectively.
In conclusion, the knowledge and proficiency gained in resetting your Oral-B iO toothbrush empower you to maintain its optimal performance, ensuring that it remains a reliable companion in your oral care routine.
Now that you've mastered resetting your Oral-B iO toothbrush, why stop there? Dive into our latest read on what makes a toothbrush not just smart, but a real game changer in daily oral hygiene. You'll be surprised at how these devices do more than just clean; they provide insights and feedback that improve your brushing habits over time. So, don't miss out—learn all about how these innovative gadgets are setting new standards in dental care.
Frequently Asked Questions about How To Reset Oral-B IO Toothbrush
Was this page helpful?
At Storables.com, we guarantee accurate and reliable information. Our content, validated by Expert Board Contributors, is crafted following stringent Editorial Policies. We're committed to providing you with well-researched, expert-backed insights for all your informational needs.


0 thoughts on “How To Reset Oral-B IO Toothbrush”