Home>Furniture & Design>Bathroom Accessories>How To Bleach A Bathtub
Bathroom Accessories
How To Bleach A Bathtub
Modified: March 8, 2024
Learn how to safely and effectively bleach your bathtub to keep your bathroom accessories looking fresh and clean. Follow our step-by-step guide for best results.
(Many of the links in this article redirect to a specific reviewed product. Your purchase of these products through affiliate links helps to generate commission for Storables.com, at no extra cost. Learn more)
Introduction
Bleaching a bathtub is a crucial aspect of bathroom maintenance that helps to keep the tub clean, hygienic, and free from stubborn stains and grime. Over time, bathtubs can accumulate soap scum, mildew, and hard water stains, which can detract from the overall appeal of the bathroom. By incorporating a regular bleaching routine, you can restore the bathtub's pristine condition and create a more inviting bathing environment.
Bleaching a bathtub is a relatively straightforward process that involves a few simple steps, but it can yield significant results. Whether you're preparing for a deep cleaning session or aiming to tackle specific stains, understanding the proper techniques for bleaching a bathtub is essential for achieving optimal results.
In this comprehensive guide, we will walk you through the step-by-step process of bleaching a bathtub, from preparing the area and mixing the bleach solution to applying it effectively and ensuring a thorough rinse. By following these instructions, you can revitalize your bathtub and maintain a sparkling, fresh appearance that enhances the overall ambiance of your bathroom.
A clean and well-maintained bathtub not only contributes to a more pleasant bathing experience but also reflects positively on the overall cleanliness and hygiene of your home. With the right approach and a commitment to regular maintenance, you can ensure that your bathtub remains a pristine and inviting space for relaxation and rejuvenation.
Now, let's delve into the essential safety precautions and materials needed for this task before embarking on the step-by-step process of bleaching a bathtub.
Key Takeaways:
- Keep your bathtub clean and inviting by following safety precautions, gathering essential materials, and meticulously applying the bleach solution. This process ensures a sparkling and hygienic bathing space for relaxation and rejuvenation.
- Prioritize safety, precision, and thoroughness when bleaching your bathtub. By preparing the area, mixing the bleach solution, and scrubbing and rinsing effectively, you can revitalize your bathtub and maintain a pristine, inviting appearance.
Read more: How To Unclog A Bathtub Drain With Bleach?
Safety Precautions
Before initiating the process of bleaching a bathtub, it is imperative to prioritize safety to prevent any potential hazards and ensure a secure environment for the task at hand. By adhering to the following safety precautions, you can safeguard yourself and others while effectively carrying out the bleaching process:
-
Ventilation: Ensure that the bathroom is well-ventilated by opening windows and turning on exhaust fans. Adequate ventilation helps to disperse the fumes from the bleach solution, minimizing inhalation and promoting a healthier environment.
-
Protective Gear: Wear appropriate protective gear, including rubber gloves and safety goggles, to shield your skin and eyes from direct contact with the bleach solution. Additionally, consider wearing a mask to prevent inhalation of bleach fumes.
-
Avoid Mixing Chemicals: Refrain from mixing bleach with other cleaning products, particularly those containing ammonia or acids, as this can produce toxic fumes and pose serious health risks. Always use bleach in a well-ventilated area and follow the manufacturer's instructions for safe usage.
-
Keep Children and Pets Away: Ensure that children and pets are kept away from the bathroom during the bleaching process. Store bleach and other cleaning supplies in a secure location out of reach of children and pets to prevent accidental ingestion or exposure.
-
Read Labels: Thoroughly read and understand the labels on the bleach container, as well as any other cleaning products being used. Familiarize yourself with the recommended usage, precautions, and first-aid measures in case of accidental exposure.
-
First-Aid Preparedness: Have a basic first-aid kit readily available in case of accidental spills or skin contact with the bleach solution. Familiarize yourself with the appropriate first-aid measures for handling bleach-related incidents.
-
Caution with Colored Surfaces: Exercise caution when using bleach on colored or delicate surfaces, as it may cause discoloration or damage. Perform a spot test in an inconspicuous area to ensure compatibility with the bathtub surface.
By prioritizing safety and adhering to these precautions, you can mitigate potential risks and create a secure environment for bleaching your bathtub effectively. These measures not only safeguard your well-being but also contribute to a smooth and successful bleaching process. With safety at the forefront, you can proceed with confidence and peace of mind as you embark on revitalizing your bathtub's cleanliness and appearance.
Materials Needed
To effectively bleach a bathtub and achieve optimal results, it is essential to gather the necessary materials and supplies before commencing the process. By ensuring that you have the following items on hand, you can streamline the bleaching procedure and facilitate a thorough cleaning of the bathtub:
-
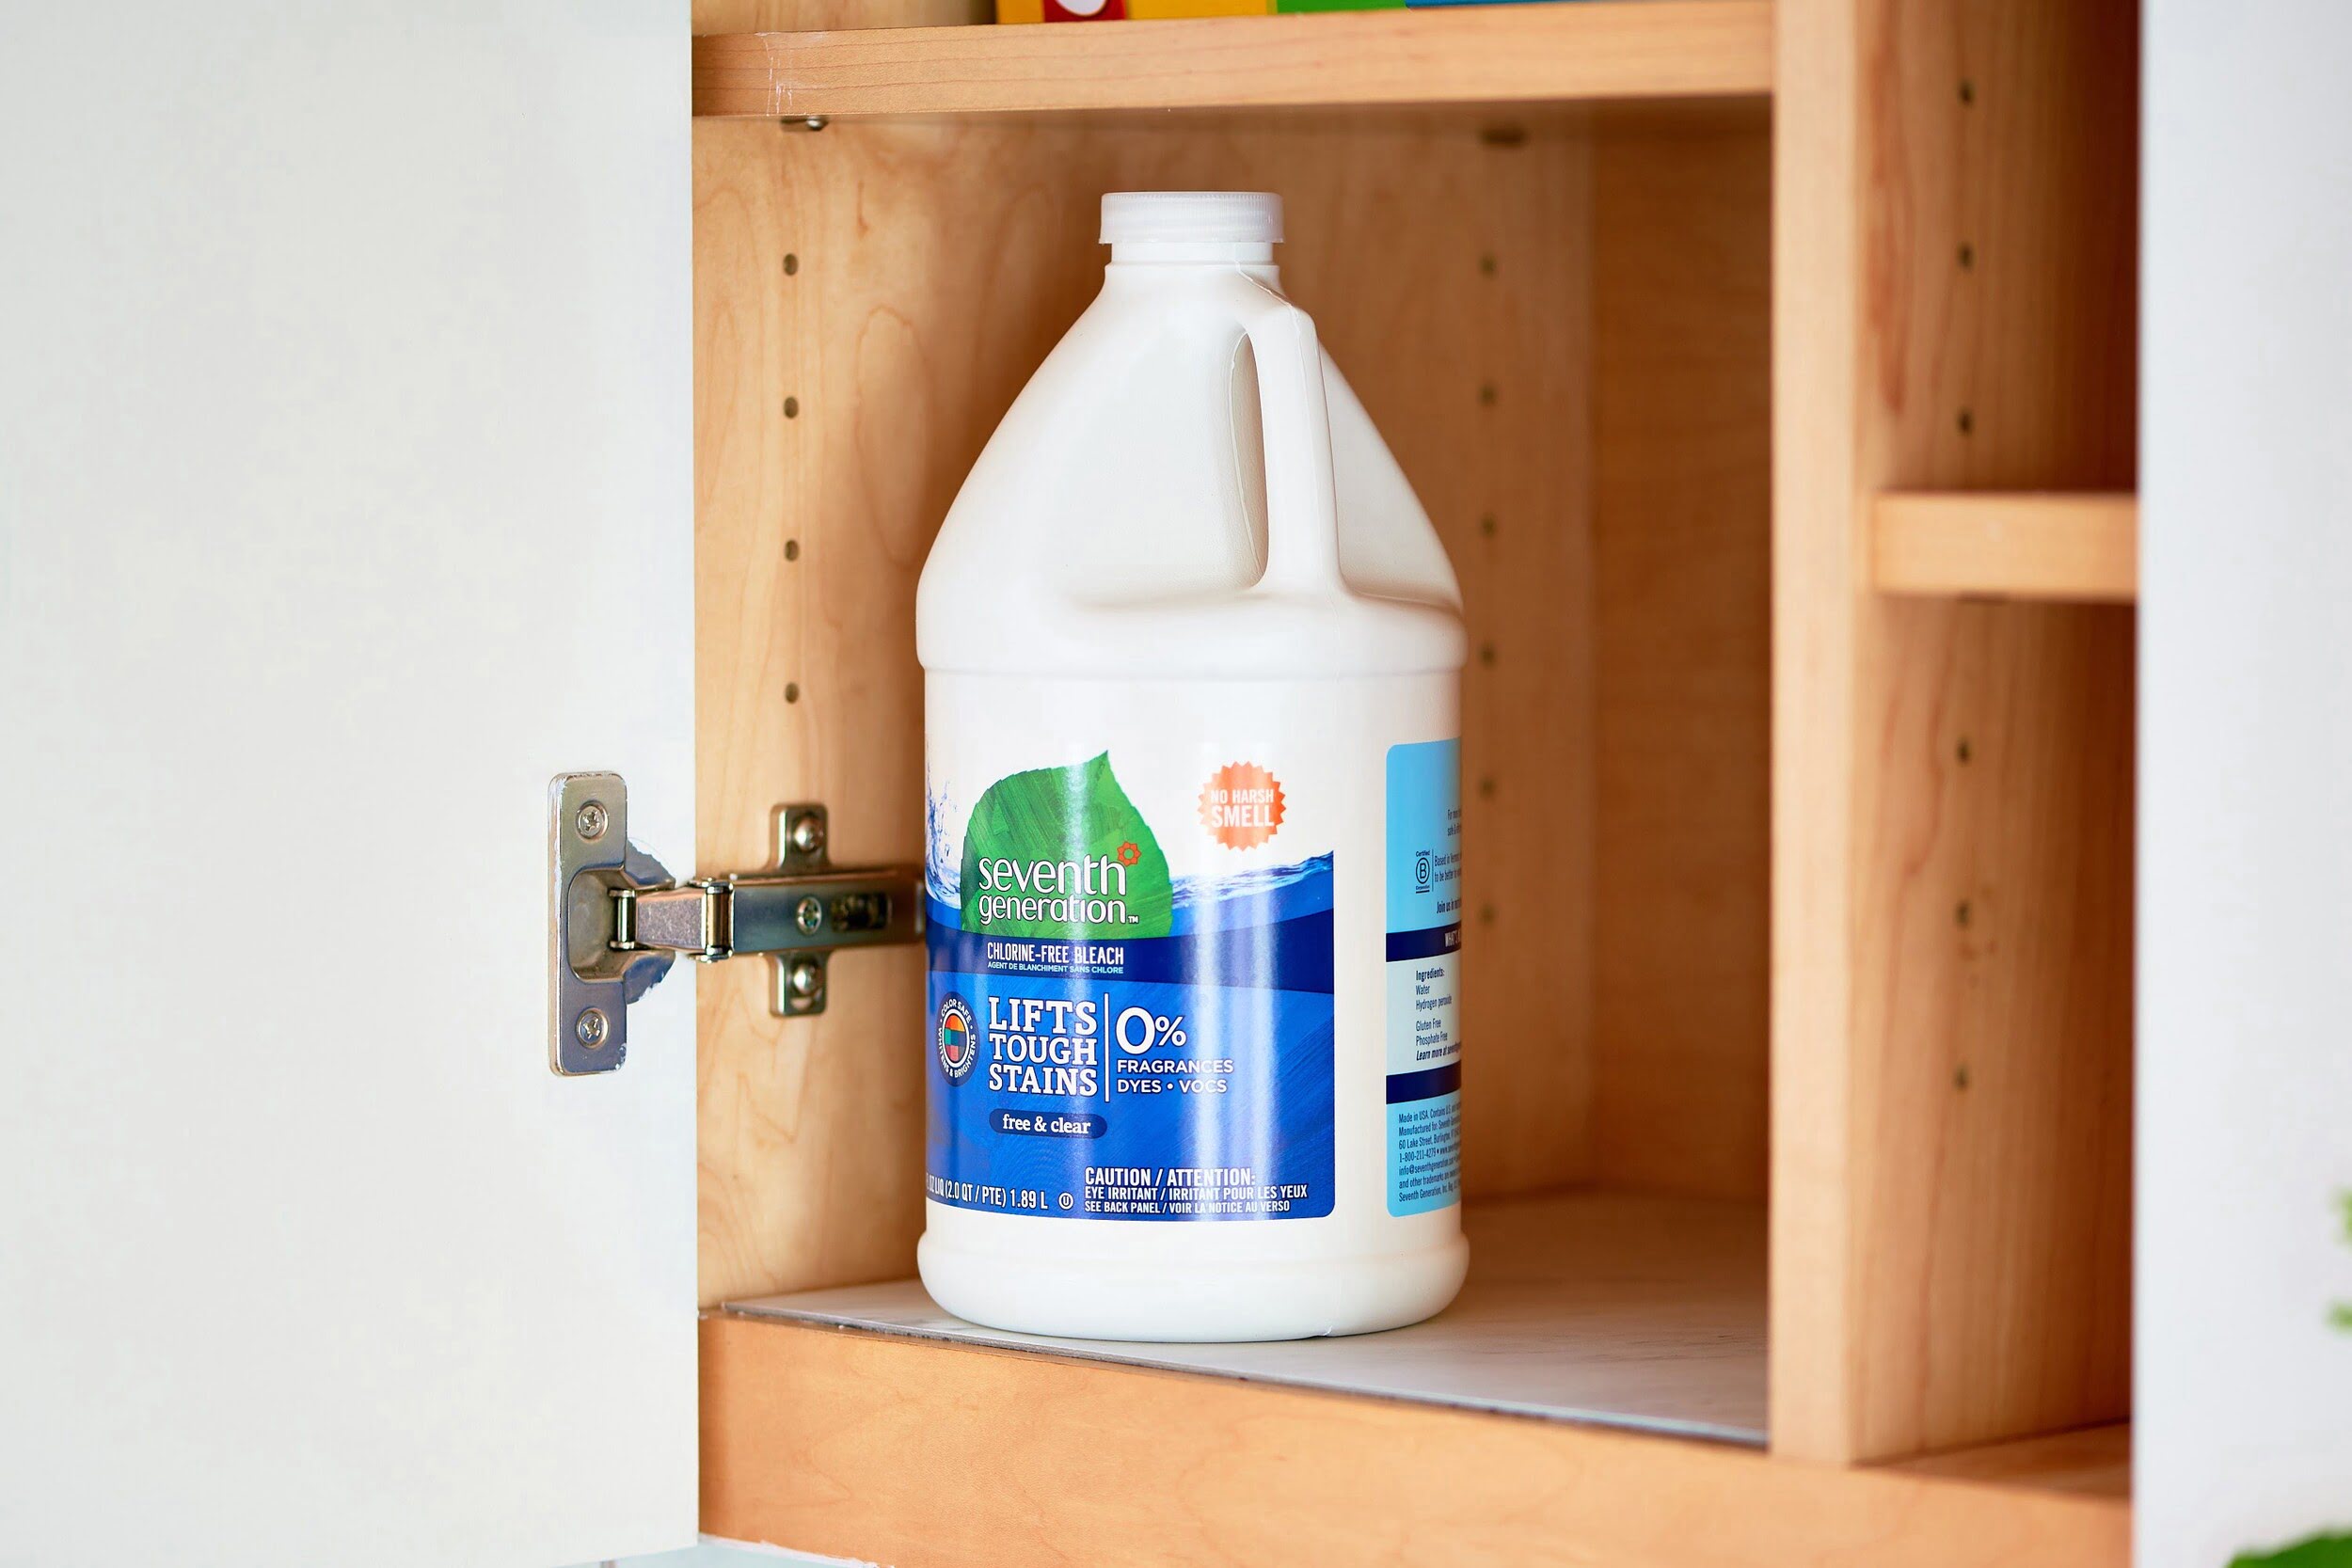
Bleach: Select a high-quality household bleach that is suitable for cleaning and disinfecting. Look for a bleach product specifically formulated for bathroom surfaces, as it can effectively target tough stains, mildew, and soap scum. Ensure that the bleach is not past its expiration date to maintain its potency.
-
Rubber Gloves: Invest in a pair of durable rubber gloves to protect your hands from direct contact with the bleach solution. Opt for gloves that provide a snug fit and ample coverage to shield your skin from potential irritation or chemical exposure.
-
Safety Goggles: Prioritize eye protection by wearing safety goggles or protective eyewear throughout the bleaching process. This precaution is crucial for preventing accidental splashes of bleach from coming into contact with your eyes, ensuring a safe and hazard-free cleaning experience.
-
Ventilation: Enhance the ventilation in the bathroom by opening windows and turning on exhaust fans to facilitate air circulation. Adequate ventilation helps to disperse bleach fumes and minimize inhalation, creating a healthier environment for the bleaching process.
-
Scrubbing Brush or Sponge: Select a durable scrubbing brush or sponge designed for use in bathrooms. Look for a tool with sturdy bristles or a textured surface that can effectively agitate and remove stubborn stains and grime from the bathtub surface.
-
Protective Mask (Optional): Consider wearing a protective mask, particularly if you are sensitive to strong odors or fumes. A mask can help filter out airborne particles and reduce inhalation of bleach vapors, enhancing your comfort during the cleaning process.
-
Old Clothing or Apron: Wear old clothing or an apron to protect your attire from potential splashes or spills of the bleach solution. Opting for designated cleaning attire can help prevent accidental staining of your regular clothing.
-
Cleaning Cloth or Rag: Keep a cleaning cloth or rag handy for wiping down surfaces and drying the bathtub after the bleaching process. Choose a lint-free cloth or microfiber rag to ensure a streak-free finish and thorough drying.
By assembling these essential materials, you can prepare for a successful and efficient bathtub bleaching session. With the right supplies at your disposal, you can proceed with confidence and focus on revitalizing your bathtub to achieve a sparkling, pristine appearance.
Step 1: Prepare the Area
Before embarking on the process of bleaching your bathtub, it is crucial to prepare the surrounding area to ensure a smooth and efficient cleaning experience. By taking the time to prepare the space adequately, you can minimize potential disruptions and create an environment conducive to thorough cleaning. Here's a detailed guide on how to prepare the area for the bathtub bleaching process:
-
Clear the Surrounding Space: Begin by removing any personal items, bath accessories, or toiletries from the bathtub and its immediate surroundings. Clearing the area of these items allows for unobstructed access to the bathtub surface and prevents any accidental contact with the bleach solution.
-
Protect Nearby Surfaces: Safeguard adjacent surfaces, such as countertops, tiles, and flooring, from potential exposure to the bleach solution. Use protective coverings or old towels to shield these surfaces and prevent accidental discoloration or damage during the bleaching process.
-
Ventilate the Bathroom: Enhance the ventilation in the bathroom by opening windows and turning on exhaust fans to promote air circulation. Adequate ventilation helps to disperse bleach fumes and minimize inhalation, creating a healthier environment for the bleaching process.
-
Secure Pets and Children: Ensure that pets and children are kept away from the bathroom during the preparation and bleaching process. By creating a secure and undisturbed environment, you can focus on the task at hand without any potential interruptions or safety concerns.
-
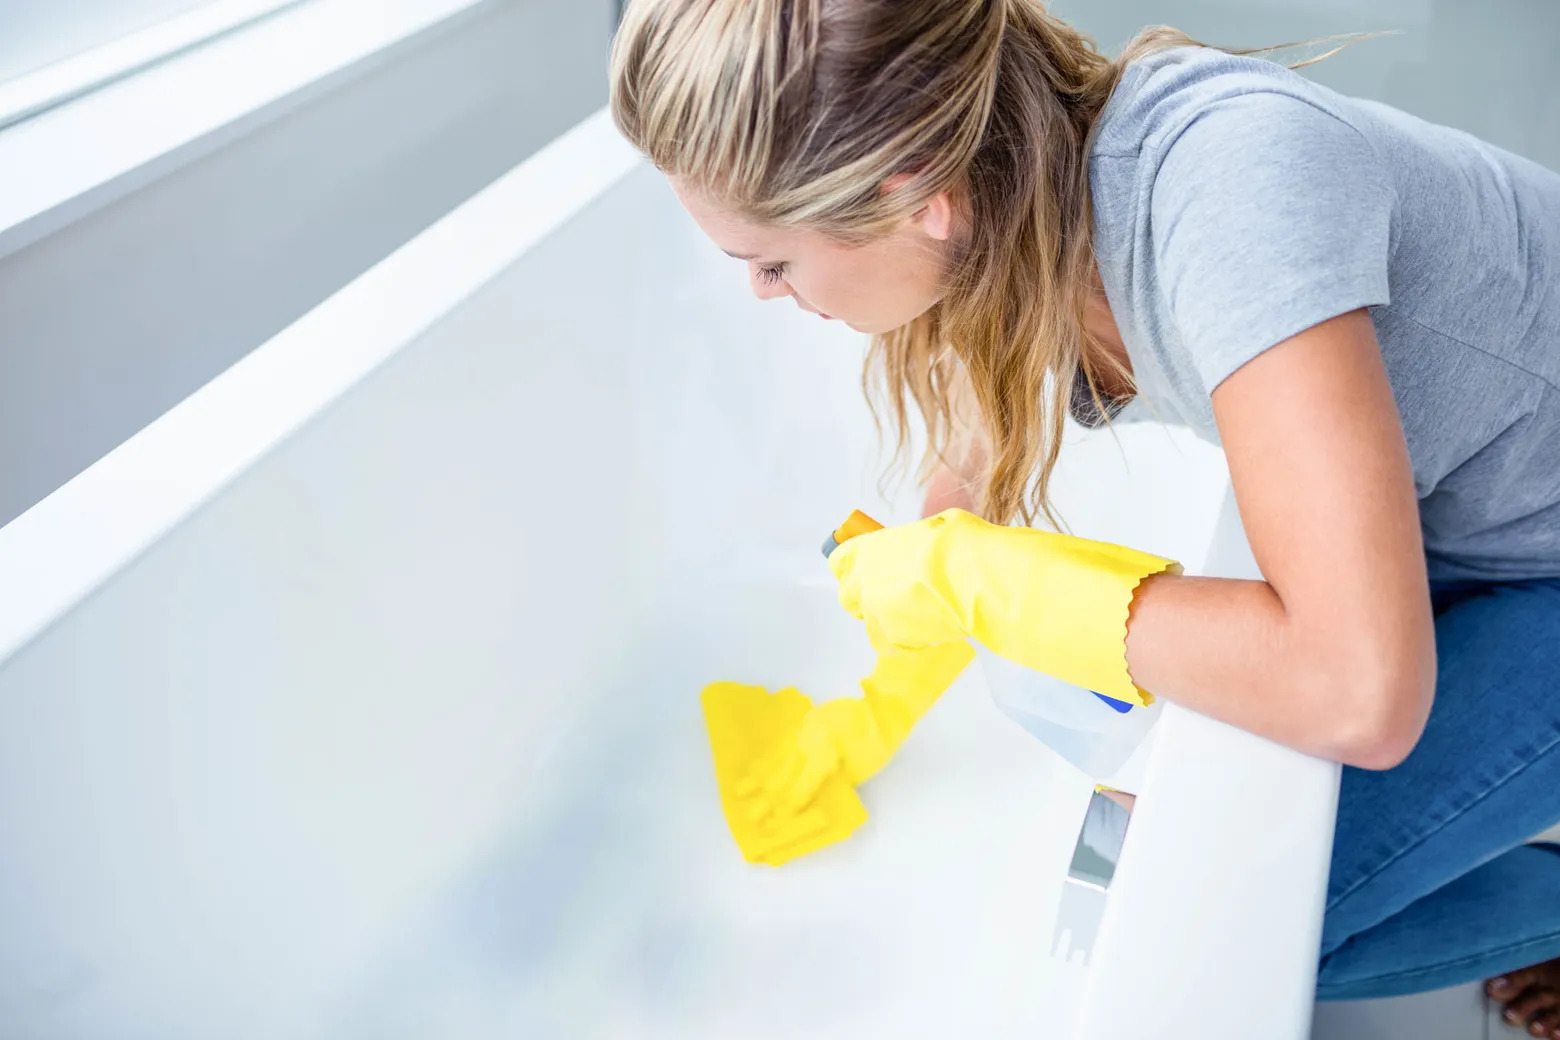
Readying Protective Gear: Prior to handling the bleach solution, put on rubber gloves, safety goggles, and, if desired, a protective mask to safeguard yourself from direct contact with the bleach and minimize exposure to fumes. Ensuring that you are properly equipped with protective gear is essential for a safe and effective bleaching experience.
By meticulously preparing the area for the bathtub bleaching process, you can set the stage for a successful cleaning endeavor. These preparatory steps not only contribute to a more organized and focused approach but also help to mitigate potential risks and ensure a secure environment for carrying out the subsequent bleaching steps. With the area primed and ready, you can proceed to the next phase of mixing the bleach solution and initiating the thorough cleaning of your bathtub.
Step 2: Mix the Bleach Solution
Once the area is prepared and safety precautions are in place, the next crucial step in bleaching a bathtub is to prepare the bleach solution. Mixing the bleach solution requires precision and adherence to recommended guidelines to ensure effective cleaning and disinfection. Here's a detailed guide on how to mix the bleach solution for optimal results:
-
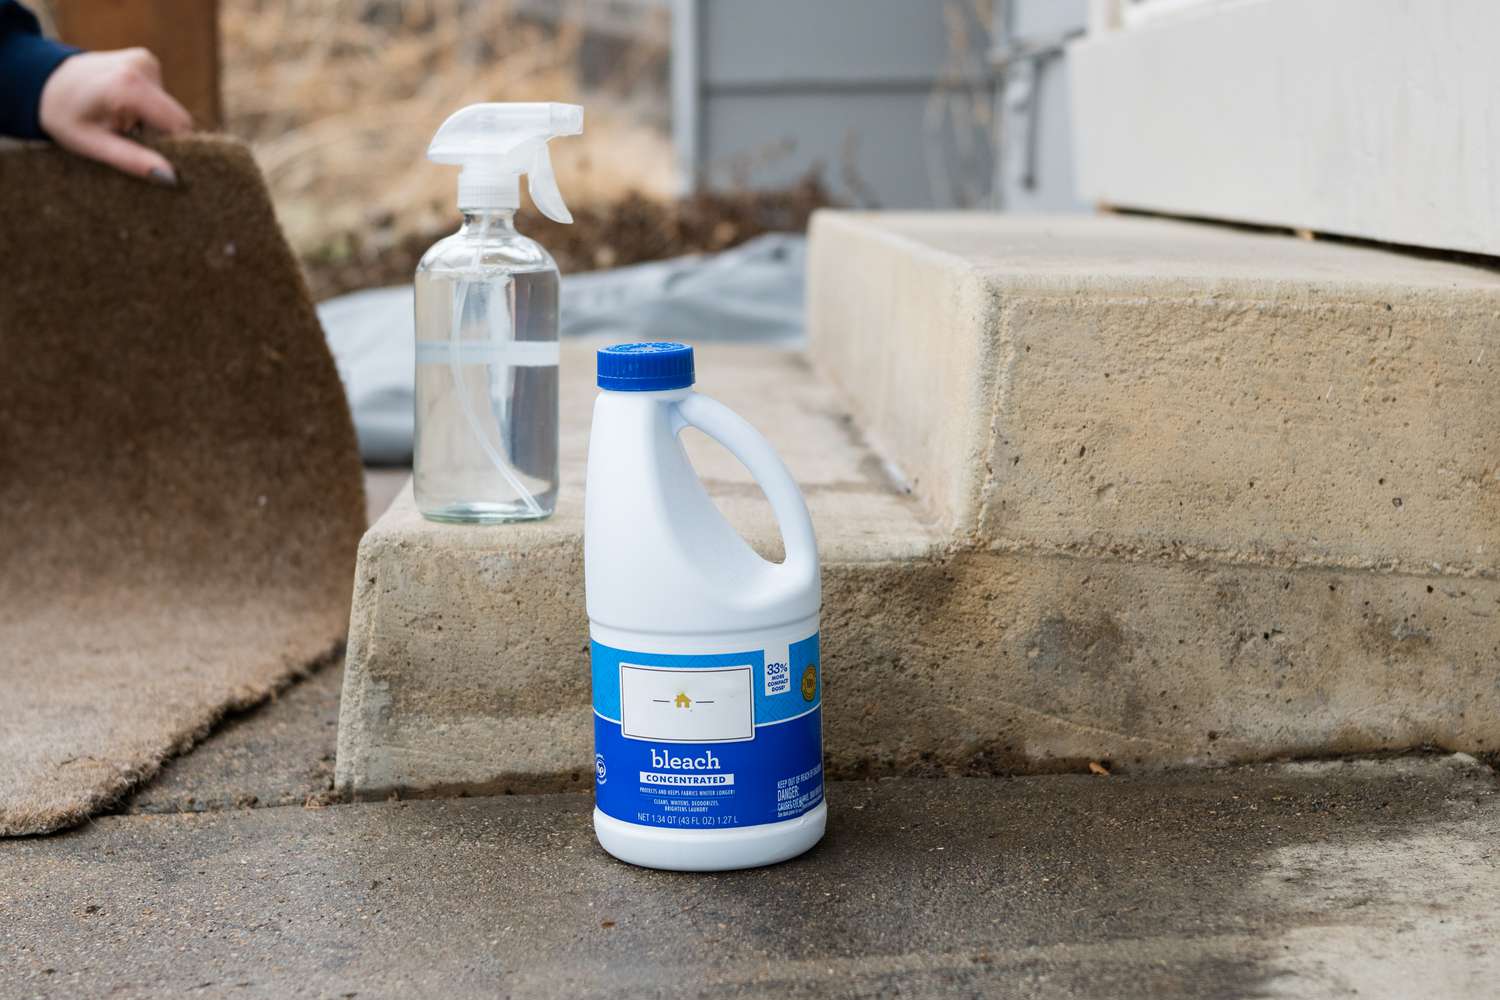
Dilution Ratio: Begin by carefully reading the instructions on the bleach container to determine the recommended dilution ratio. Most household bleach products require dilution with water to achieve the appropriate concentration for cleaning. Typically, a common dilution ratio is one part bleach to ten parts water, but this may vary based on the specific bleach product.
-
Measuring Equipment: Use a designated measuring cup or container to accurately measure the bleach and water according to the prescribed dilution ratio. Avoid estimating the quantities, as precise measurements are essential for achieving the desired potency of the bleach solution.
-
Safety Precautions: Prior to handling the bleach, ensure that you are wearing rubber gloves, safety goggles, and, if desired, a protective mask to shield yourself from direct contact with the bleach and minimize inhalation of fumes. Adhering to safety precautions is paramount when working with bleach.
-
Mixing Process: In a well-ventilated area, pour the appropriate amount of bleach into the measuring container, followed by the corresponding volume of water as per the dilution ratio. Use a stirring rod or spoon to gently mix the solution, ensuring thorough blending of the bleach and water.
-
Avoid Splashing: Exercise caution to prevent splashing or spilling the bleach solution during the mixing process. Maintain a steady and controlled approach to minimize the risk of accidental exposure to the solution.
-
Immediate Use: Once the bleach solution is mixed, it is recommended to use it promptly for the bleaching process. Avoid prolonged storage of the solution, as its potency may diminish over time.
By meticulously following these steps to mix the bleach solution, you can ensure that the resulting solution is appropriately diluted and ready for application on the bathtub surface. The precise preparation of the bleach solution sets the stage for an effective cleaning process, allowing you to tackle tough stains and grime with confidence and precision. With the bleach solution ready, you can proceed to the next phase of applying it to the bathtub and initiating the thorough cleaning process.
Read more: How Much Bleach To Put In Bathtub
Step 3: Apply the Bleach Solution
With the prepared bleach solution at hand, it's time to apply it to the bathtub surface for thorough cleaning and stain removal. The application process requires attention to detail and a methodical approach to ensure that the bleach effectively targets stubborn stains, mildew, and soap scum. Here's a comprehensive guide on how to apply the bleach solution to revitalize your bathtub:
-
Even Distribution: Begin by carefully pouring the bleach solution onto the bathtub surface, ensuring even distribution across the entire area. Use a steady and controlled motion to prevent excessive pooling or splashing of the solution.
-
Targeted Areas: Pay special attention to areas with visible stains, discoloration, or mildew growth. Apply the bleach solution generously to these targeted areas, allowing it to penetrate and work on the stubborn blemishes.
-
Dwell Time: Allow the bleach solution to dwell on the bathtub surface for a recommended duration, typically 5 to 10 minutes, to facilitate effective stain removal and disinfection. During this time, the bleach works to break down and lift the accumulated grime and discoloration.
-
Agitation: If necessary, use a scrubbing brush or sponge to gently agitate the bleach solution on the bathtub surface. This helps to dislodge stubborn stains and enhance the cleaning action of the bleach. Exercise caution to avoid abrasive scrubbing on delicate surfaces.
-
Safety Measures: Throughout the application process, ensure that the bathroom remains well-ventilated to disperse bleach fumes. Maintain the use of rubber gloves, safety goggles, and, if desired, a protective mask to safeguard yourself from direct contact with the bleach solution.
-
Uniform Coverage: Verify that the entire bathtub surface is uniformly covered with the bleach solution, leaving no untreated areas. This comprehensive coverage ensures that all stains and grime receive the necessary treatment for effective removal.
-
Observation: While the bleach solution is in contact with the bathtub surface, observe any visible changes in the appearance of stains or discoloration. This allows you to assess the progress of the cleaning process and determine if additional treatment is required for specific areas.
By meticulously following these steps to apply the bleach solution, you can initiate a thorough and targeted cleaning process that addresses stubborn stains and revitalizes the overall appearance of your bathtub. The careful application of the bleach solution sets the stage for a successful cleaning endeavor, paving the way for a sparkling and rejuvenated bathtub.
To bleach a bathtub, mix 1/2 cup of bleach with 1 gallon of water. Scrub the bathtub with the solution using a sponge or brush, then let it sit for 10-15 minutes before rinsing thoroughly with water. Wear gloves and ventilate the area.
Step 4: Scrub the Bathtub
After allowing the bleach solution to dwell on the bathtub surface and work its magic on stubborn stains and grime, the next crucial step involves gently scrubbing the bathtub to further agitate and lift any remaining residue. This meticulous scrubbing process helps to ensure a thorough and comprehensive cleaning, leaving the bathtub surface revitalized and free from unsightly blemishes. Here's a detailed guide on how to effectively scrub the bathtub as part of the bleaching process:
-
Select the Appropriate Tool: Choose a high-quality scrubbing brush or sponge specifically designed for use in bathrooms. Opt for a tool with sturdy bristles or a textured surface that can effectively agitate and dislodge stubborn stains and grime without causing damage to the bathtub surface.
-
Gentle Agitation: With the bleach solution still present on the bathtub surface, use the selected scrubbing tool to gently agitate the area, focusing on spots with visible stains or discoloration. Employ a circular or back-and-forth motion to dislodge the residual grime and encourage the cleaning action of the bleach.
-
Caution with Delicate Surfaces: Exercise caution when scrubbing delicate or colored surfaces to avoid causing damage or discoloration. If the bathtub features different materials or finishes, adjust the pressure and intensity of scrubbing accordingly to prevent any adverse effects.
-
Targeted Treatment: Pay special attention to areas where mildew, soap scum, or hard water stains are prevalent. Concentrate the scrubbing action on these targeted areas to ensure that the bleach effectively addresses and removes the accumulated residue.
-
Observation and Adjustment: While scrubbing the bathtub, observe the progress of stain removal and adjust the intensity of scrubbing as needed. If certain areas require additional attention, continue to gently agitate the bleach solution to facilitate thorough cleaning.
-
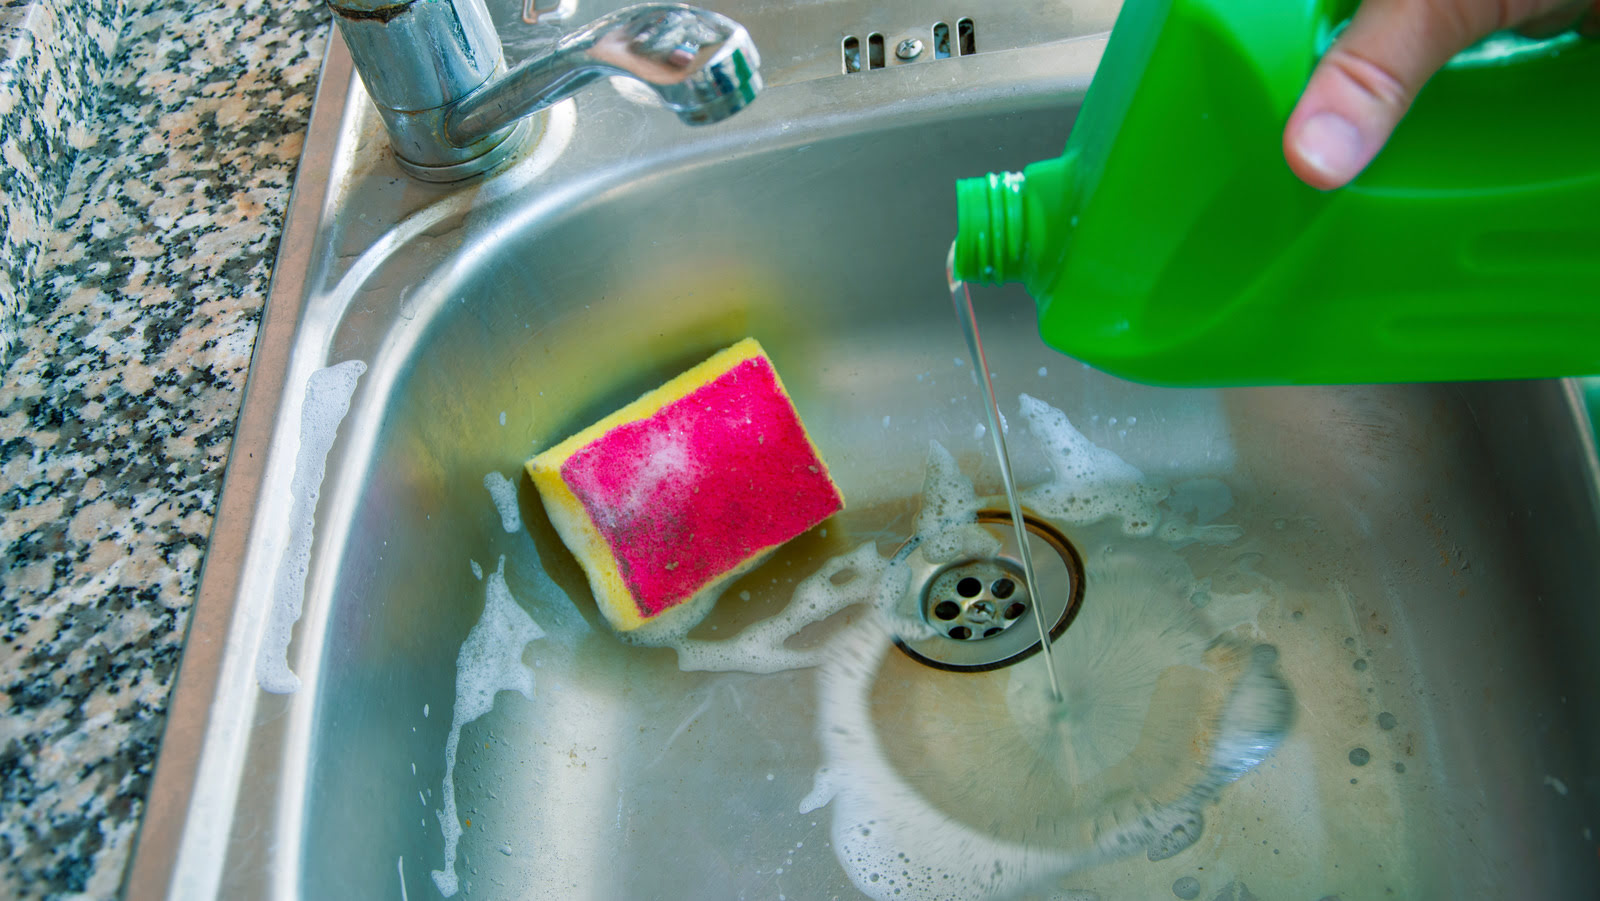
Thorough Rinse: Once the scrubbing process is complete, thoroughly rinse the bathtub surface with clean water to remove the residual bleach solution and any loosened grime. Use a handheld showerhead or a bucket of water to ensure comprehensive rinsing.
By meticulously following these steps to scrub the bathtub as part of the bleaching process, you can enhance the effectiveness of the cleaning and stain removal. The gentle yet targeted scrubbing action helps to dislodge stubborn residue and ensures that the bathtub surface emerges revitalized and free from unsightly blemishes. With the scrubbing process complete, the final step involves rinsing and drying the bathtub to reveal its renewed cleanliness and pristine appearance.
Step 5: Rinse and Dry
After the thorough application of the bleach solution and the meticulous scrubbing of the bathtub surface, the final step involves rinsing and drying to complete the bleaching process. This critical phase ensures the removal of residual bleach and any loosened grime, leaving the bathtub revitalized, sanitized, and ready for use.
Rinsing Process
Commence the rinsing process by using a handheld showerhead or a bucket of clean water to thoroughly rinse the entire bathtub surface. Ensure that all traces of the bleach solution are effectively washed away, leaving behind a clean and residue-free surface. Pay particular attention to corners, crevices, and textured areas where residual bleach may accumulate.
As you rinse the bathtub, visually inspect the surface to confirm that no traces of the bleach solution remain. The water should run clear, indicating the successful removal of the cleaning agent and any dislodged grime. This comprehensive rinsing process is essential for ensuring the safety of subsequent use and preventing any potential skin irritation from residual bleach.
Read more: How To Remove Bleach Stains From Bathtub
Drying Procedure
Once the bathtub has been thoroughly rinsed, proceed to dry the surface using a clean and absorbent cloth or towel. Wipe down the entire bathtub, ensuring that all moisture is effectively removed to prevent water spots and streaks. Opt for a lint-free cloth or a microfiber towel to achieve a streak-free and polished finish.
As you dry the bathtub, take the opportunity to inspect the surface for any remaining stains or discoloration. The drying process provides a clear view of the revitalized bathtub, allowing you to assess the effectiveness of the bleaching process and identify any areas that may require additional attention.
Final Evaluation
Upon completion of the rinsing and drying process, take a moment to admire the renewed cleanliness and pristine appearance of your bathtub. Run your hand across the surface to confirm its smooth and sanitized condition, free from the remnants of stubborn stains and grime.
With the bathtub now thoroughly rinsed, dried, and revitalized, it is ready to resume its role as a focal point of relaxation and rejuvenation in your bathroom. The successful completion of the rinsing and drying phase marks the culmination of the bleaching process, leaving you with a sparkling and inviting bathtub that enhances the overall ambiance of your bathroom.
By meticulously following these steps to rinse and dry the bathtub, you can conclude the bleaching process with confidence, knowing that your bathtub has been revitalized and sanitized to maintain a pristine and inviting appearance.
Conclusion
In conclusion, the process of bleaching a bathtub is a transformative endeavor that goes beyond mere cleaning; it revitalizes the entire ambiance of the bathroom, creating a space that exudes freshness and cleanliness. By following the comprehensive steps outlined in this guide, you can effectively restore your bathtub to its pristine condition, free from stubborn stains, mildew, and soap scum.
The journey begins with meticulous preparation, emphasizing safety precautions and the gathering of essential materials. Ventilation, protective gear, and careful handling of the bleach solution are paramount in creating a secure and conducive environment for the bleaching process. Once the area is prepared, the precise mixing and application of the bleach solution come into play, targeting tough stains and grime with precision.
The subsequent steps involve gentle yet thorough scrubbing, ensuring that the bleach solution effectively lifts and removes any residual residue, leaving the bathtub surface revitalized. The final phase of rinsing and drying completes the process, culminating in a bathtub that not only looks immaculate but also embodies a renewed sense of cleanliness and hygiene.
As you stand back and admire the gleaming bathtub, it's not just about the visual transformation; it's about the revitalized atmosphere it brings to your bathroom. The sense of rejuvenation and freshness extends beyond the surface, creating a space that invites relaxation and tranquility.
Maintaining a regular bleaching routine for your bathtub is not just about aesthetics; it's about upholding a standard of cleanliness and hygiene that contributes to a healthier home environment. It reflects a commitment to caring for your living space and ensuring that every corner exudes a sense of well-being.
In essence, the process of bleaching a bathtub transcends the act of cleaning; it symbolizes a dedication to creating a space that is not only visually appealing but also promotes a sense of comfort and cleanliness. By incorporating these steps into your maintenance routine, you can uphold the allure of your bathroom, ensuring that your bathtub remains a sparkling oasis of relaxation and rejuvenation.
Frequently Asked Questions about How To Bleach A Bathtub
Was this page helpful?
At Storables.com, we guarantee accurate and reliable information. Our content, validated by Expert Board Contributors, is crafted following stringent Editorial Policies. We're committed to providing you with well-researched, expert-backed insights for all your informational needs.


0 thoughts on “How To Bleach A Bathtub”