
Furniture
How To Bleach A Wood Dresser
Modified: February 25, 2024
Learn how to safely bleach a wood dresser to give it a fresh and bright look. Our expert tips and techniques will transform your furniture into a stunning centerpiece.
(Many of the links in this article redirect to a specific reviewed product. Your purchase of these products through affiliate links helps to generate commission for Storables.com, at no extra cost. Learn more)
Introduction
When it comes to refreshing the look of your furniture, bleaching a wood dresser can be a great option. Bleaching not only lightens the color of the wood, but it also removes stains and blemishes, giving your dresser a fresh and rejuvenated appearance. Whether you’re looking to update an old dresser or wanting to give a new piece a unique and rustic look, bleaching can be a transformative process that breathes new life into your furniture.
In this article, we’ll guide you through the step-by-step process of bleaching a wood dresser, ensuring you achieve the desired results while taking proper care of the wood. So, let’s gather our supplies and get started on this exciting furniture makeover journey!
Key Takeaways:
- Transform your wood dresser with a rejuvenating bleach process, removing stains and imperfections for a fresh and polished appearance.
- Follow the step-by-step guide to safely and effectively bleach and refinish your wood dresser, unleashing your creativity and transforming it into a stunning centerpiece for your home.
Read more: How To Stain A Wood Dresser
Step 1: Gather Supplies
Before diving into the bleaching process, it’s important to gather all the necessary supplies. By having everything prepared and within reach, you can ensure a smooth and efficient experience. Here are the supplies you’ll need:
- Protective gear: It’s important to prioritize safety during the bleaching process. Wear gloves, safety glasses, and a mask to protect your hands, eyes, and lungs from any harmful chemicals.
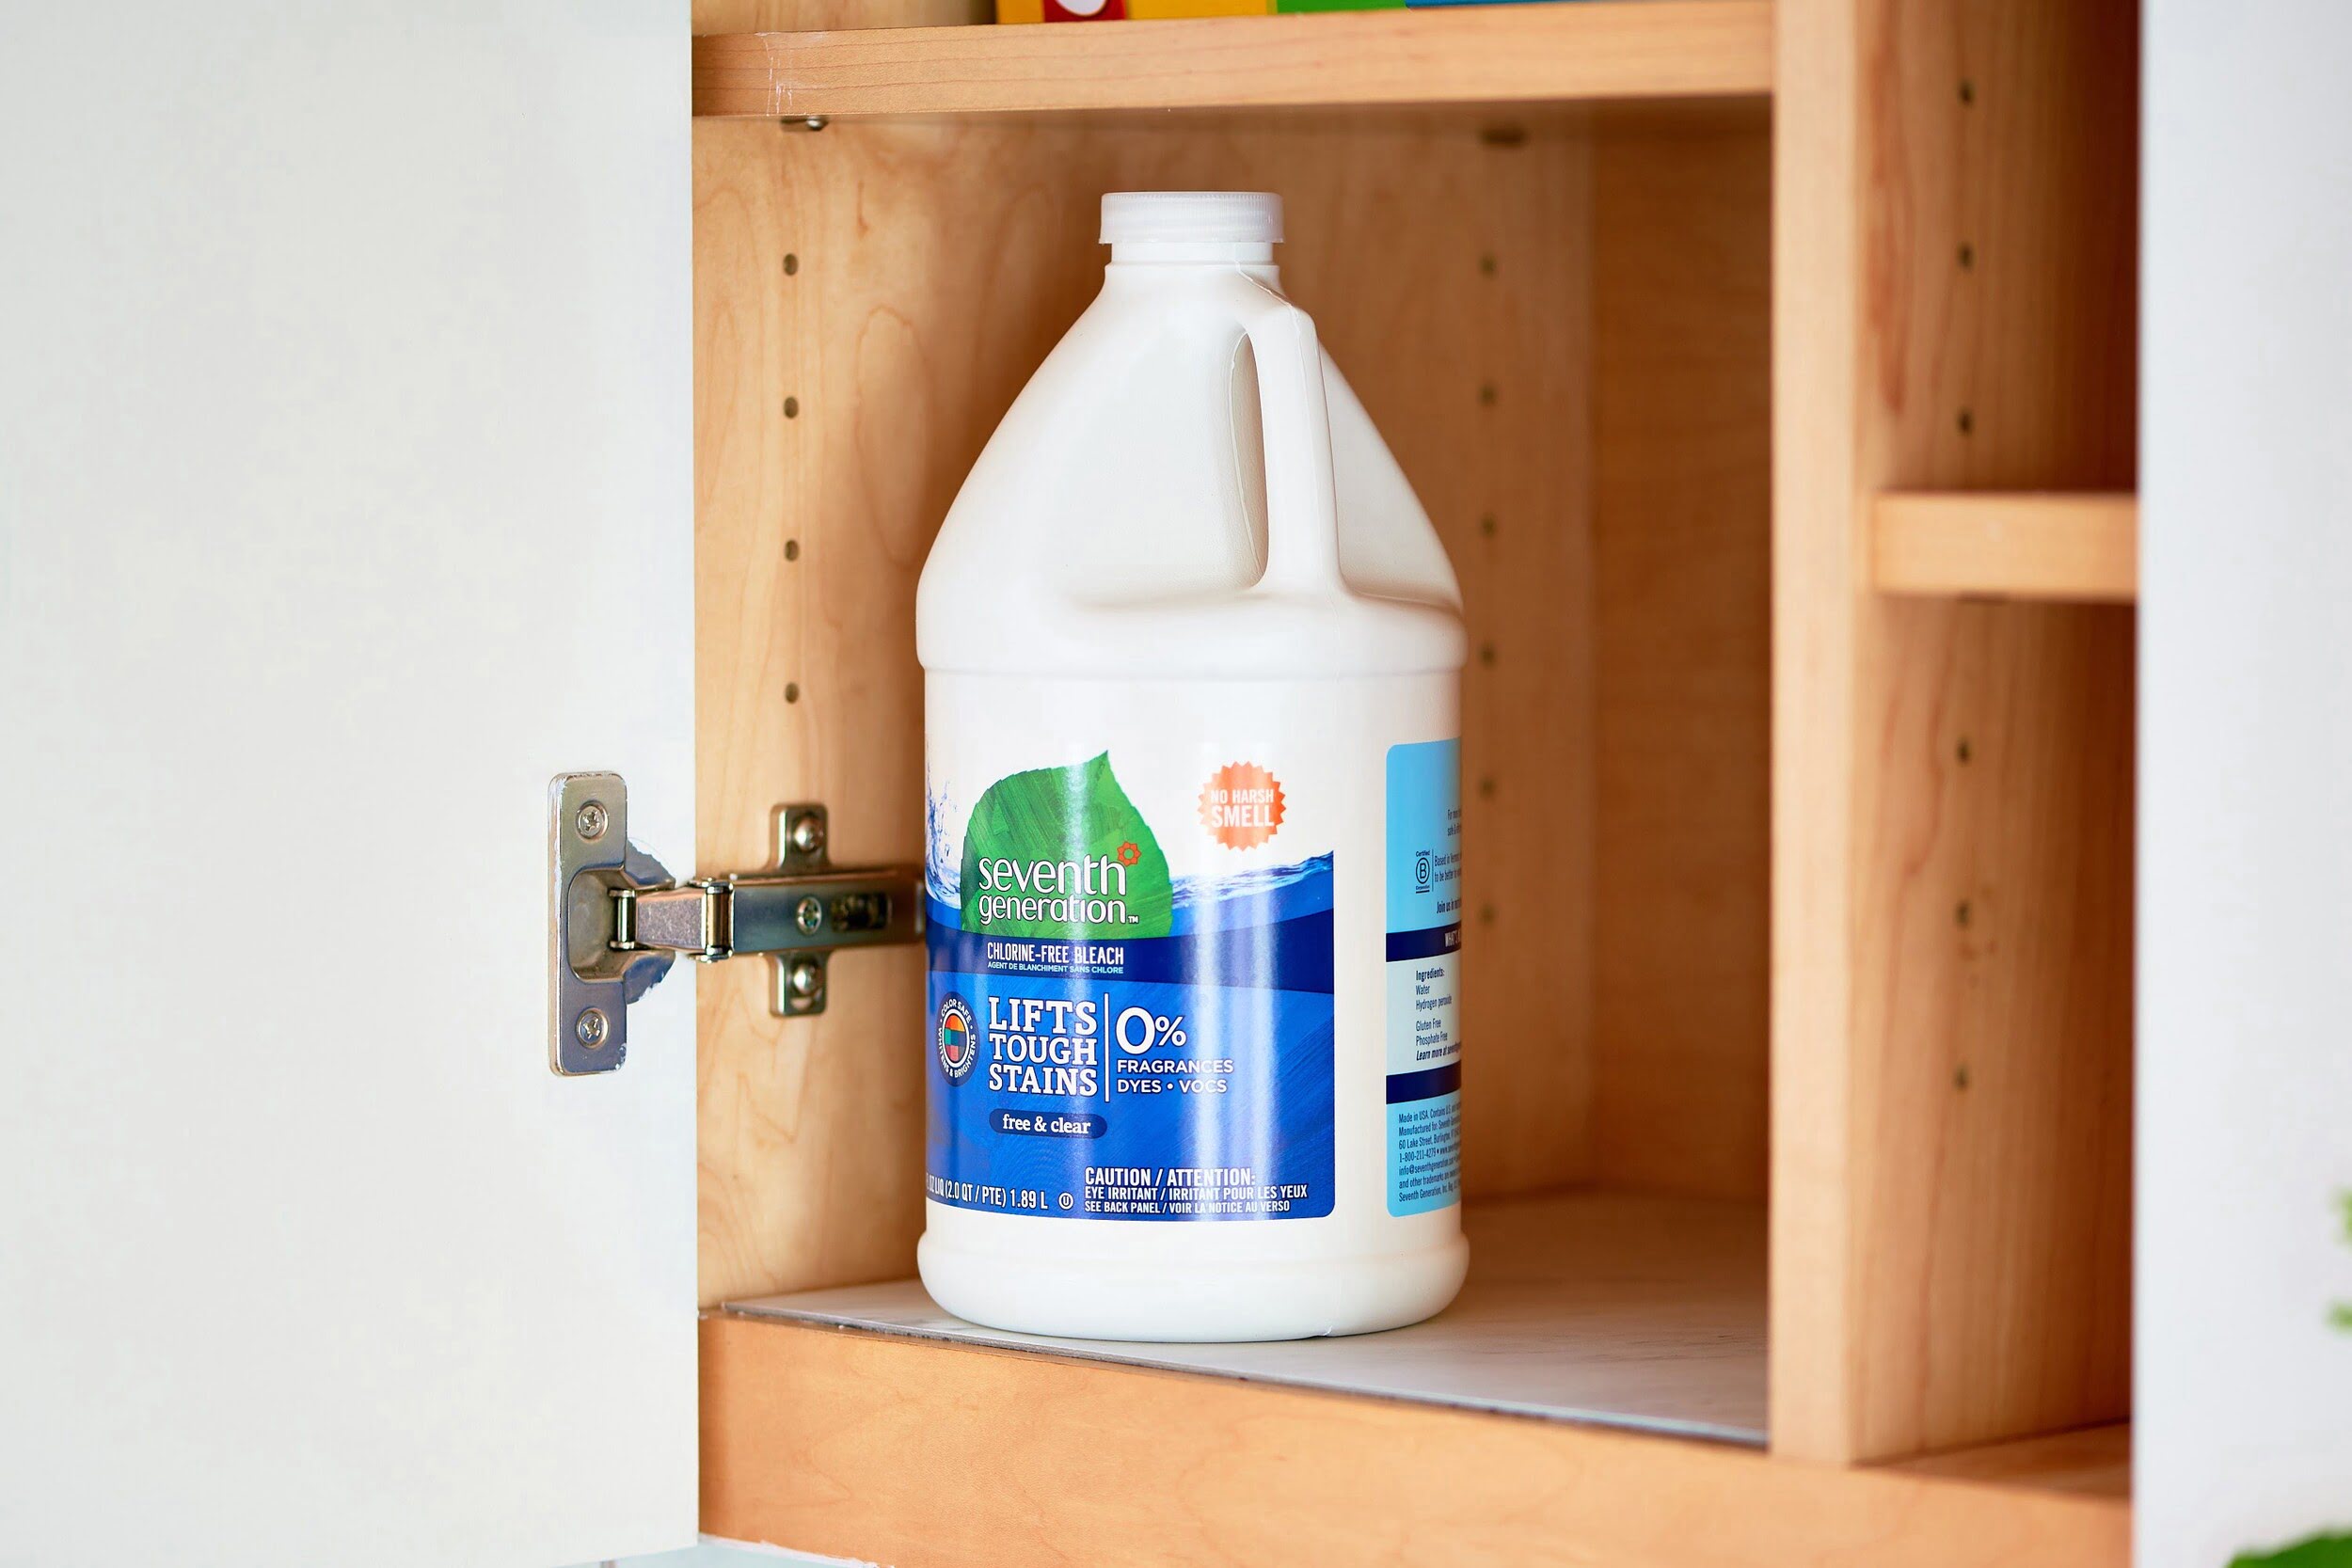
- Bleach: Select a wood bleach that is appropriate for your project. There are two types of wood bleach available: chlorine bleach and oxalic acid bleach. Chlorine bleach is suitable for lightening the wood color, while oxalic acid bleach is effective at removing stubborn stains.
- Brushes or sponges: You’ll need brushes or sponges to apply the bleach solution evenly. Choose brushes with synthetic bristles for better control and durability.
- Scrub brushes: For removing stubborn finishes or stains, you may need scrub brushes. Opt for brushes with stiff bristles to effectively remove the old finish.
- Plastic wrap: Plastic wrap will be useful for covering the dresser and allowing the bleach solution to penetrate the wood effectively.
- Scraper: A scraper will come in handy for scraping away the old finish or any raised wood fibers.
- Sandpaper: Prepare a variety of sandpaper grits, such as 80-grit, 120-grit, and 220-grit. This will help you sand the wood and achieve a smooth surface after bleaching.
- Clean cloth: Keep a soft, clean cloth on hand for wiping away excess bleach solution or cleaning the surface after rinsing.
- Wood finish: Once the bleaching process is complete, you’ll need a wood finish to protect and enhance the appearance of the dresser. Choose from options like polyurethane, varnish, or wax.
- Drop cloth or newspapers: To protect your work area from any spills or splatters, lay down a drop cloth or cover the surface with newspapers.
Having these supplies ready before starting the bleaching process will make your work easier and more efficient. So, gather everything you need and move on to the next step: preparing the work area!
Step 2: Prepare the Work Area
Before you begin bleaching your wood dresser, it’s essential to prepare the work area to ensure a clean and organized space. This will help prevent any accidental spills or damage to surrounding surfaces. Here’s what you need to do:
- Select a well-ventilated area: Bleaching involves working with strong chemicals and fumes. Choose a well-ventilated space, preferably outdoors, to minimize the buildup of fumes.
- Cover the surrounding area: Place a drop cloth or layer newspapers on the floor and any nearby surfaces to safeguard against any accidental spills or splatters.
- Clear the dresser: Remove any items or decorations from the dresser, such as hardware, knobs, or decorative elements. This will protect them from getting damaged or becoming stained during the bleaching process.
- Protect the surrounding furniture: If you have other furniture nearby, cover it with a drop cloth or plastic sheet to shield it from any potential bleach splatters.
- Ensure a stable work surface: Make sure the dresser is placed on a stable and level work surface. This will allow for better control while applying the bleach solution.
- Ventilate the area: Open windows or doors to allow for proper air circulation. If working indoors, consider using a fan or opening multiple windows to improve ventilation.
By taking the time to prepare your work area properly, you can minimize the risk of accidents and create an efficient and safe environment for bleaching your wood dresser. Once you’ve completed these steps, you’re ready to move on to the exciting part: removing the existing finish!
Step 3: Remove Existing Finish
To achieve the best results when bleaching your wood dresser, it’s crucial to start with a clean and bare surface. This means removing any existing finish or coating on the dresser. Follow these steps to effectively remove the old finish:
- Put on your protective gear: Before you begin, make sure you are wearing gloves, safety glasses, and a mask to protect yourself from any potential chemical exposure.
- Test the existing finish: Before applying any stripping agents or chemicals, it’s important to determine the type of finish on the dresser. Test a small, inconspicuous area with the stripping agent to see if the finish softens or bubbles. This will help you choose the most suitable method for removing the finish.
- Apply a stripping agent: If the finish softens or bubbles upon testing, you can proceed with an appropriate stripping agent. Apply the stripping agent to the dresser’s surface using a brush, following the instructions provided by the manufacturer.
- Let the stripping agent sit: After applying the stripping agent, allow it to sit for the recommended amount of time. This will loosen the old finish, making it easier to remove.
- Scrape off the old finish: Using a scraper, gently scrape away the softened finish, working in the direction of the wood grain. Be careful not to dig into the wood or apply excessive pressure, as this can damage the dresser.
- Remove stubborn areas: For any stubborn or hard-to-reach spots, use a scrub brush with stiff bristles to further loosen the finish. Be patient and continue scrubbing until the entire surface is free of the old finish.
- Clean the dresser: Once you’ve removed the old finish, wipe down the dresser’s surface with a clean cloth dampened with mineral spirits or a suitable cleaning solution. This will help remove any residue or remaining traces of the stripping agent.
By taking the time to remove the existing finish, you ensure that the bleach solution can penetrate the wood effectively, giving you the best possible results. Now that the dresser is stripped and clean, it’s time to move on to the next step: mixing the bleach solution!
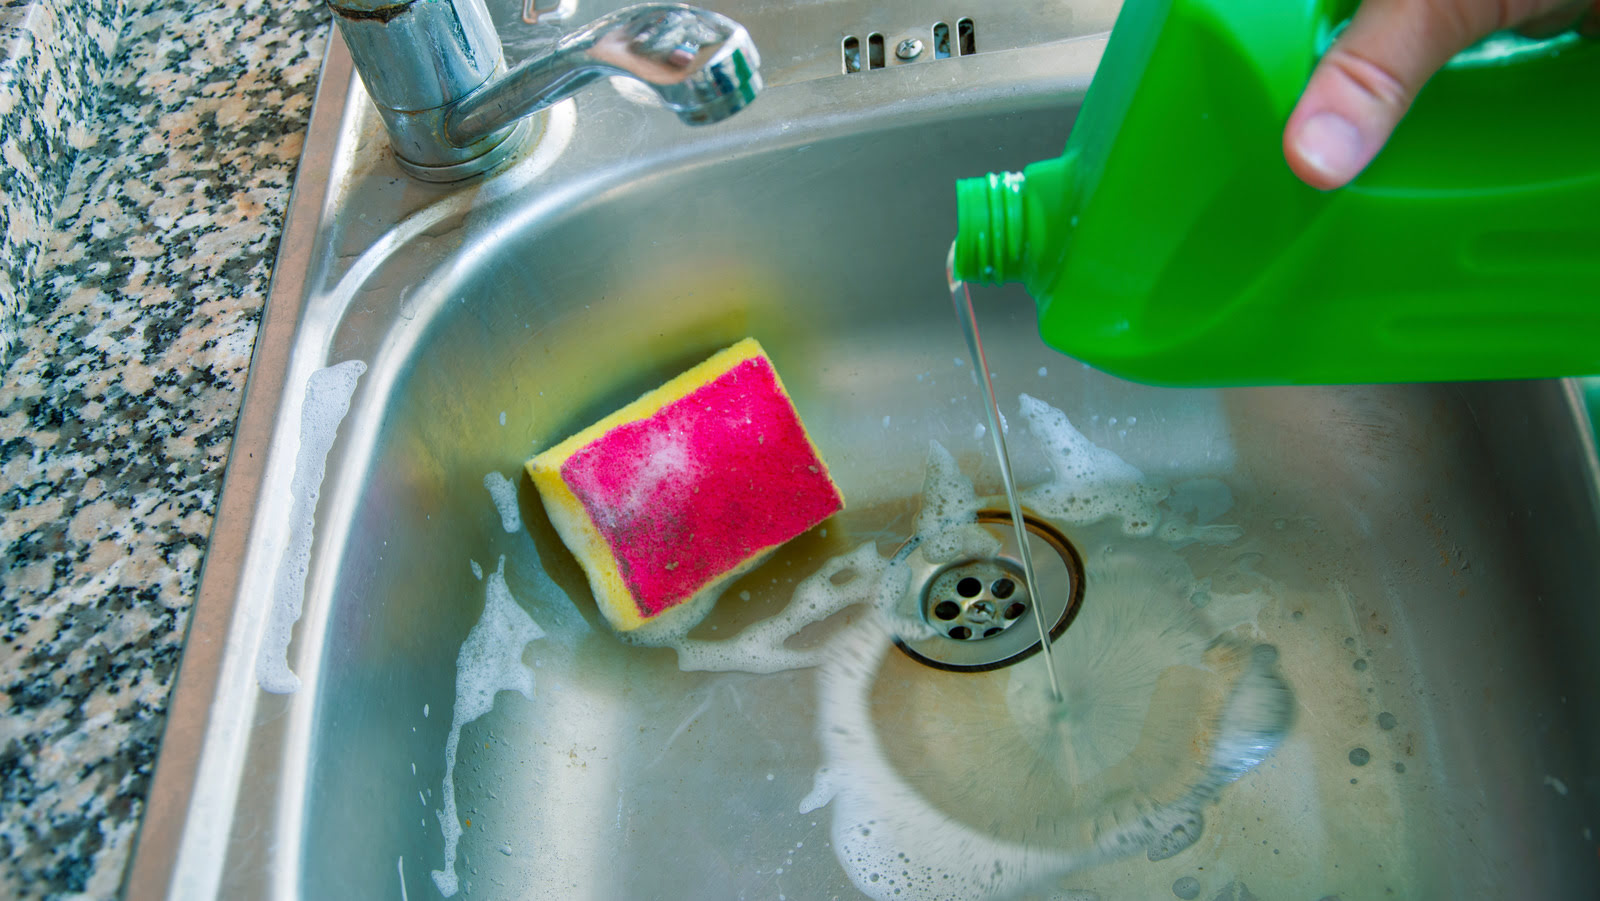
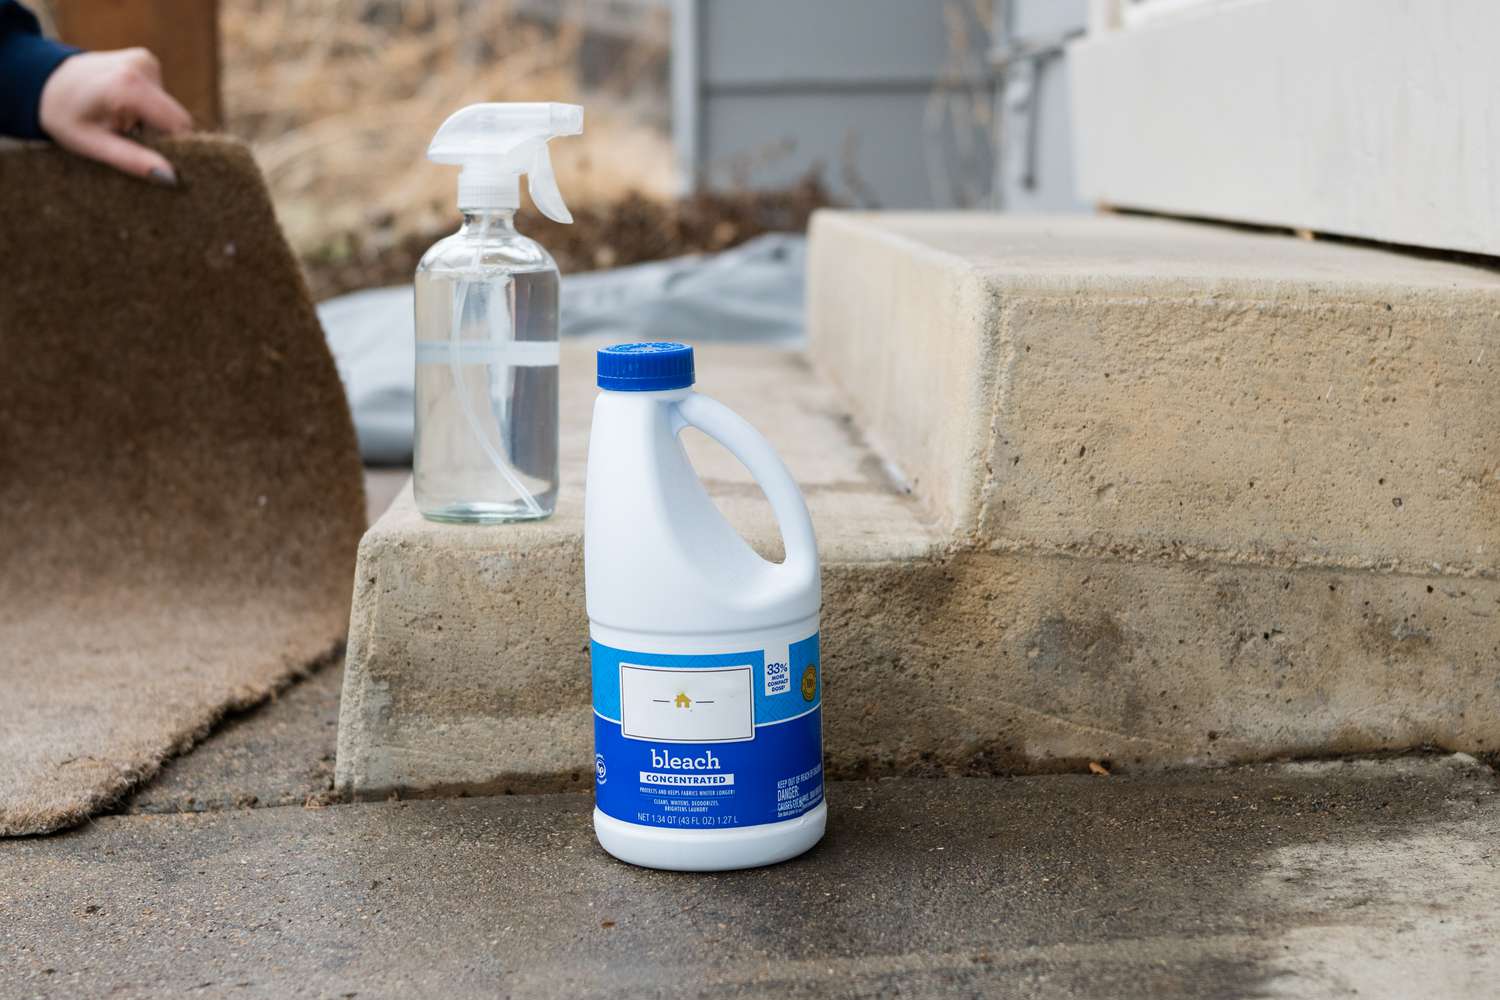
Step 4: Mix the Bleach Solution
Now that your wood dresser is stripped and ready, it’s time to mix the bleach solution. The bleach solution will help lighten the color of the wood and remove any remaining stains or discoloration. Follow these steps to mix the bleach solution:
- Read the instructions: Different wood bleach products may have specific instructions on how to mix the solution. It’s important to carefully read and follow the directions provided by the manufacturer.
- Choose the right bleach: Depending on your specific needs, select either a chlorine bleach or an oxalic acid bleach. Chlorine bleach is effective for overall lightening of the wood, while oxalic acid bleach works well for removing stubborn stains.
- Protect yourself: Before handling any chemicals, put on your protective gear, including gloves, safety glasses, and a mask. Safety should always be a priority during this process.
- Mix the bleach: In a plastic container, combine the appropriate amount of bleach with water, following the instructions on the packaging. Use a stir stick or spoon to thoroughly mix the solution until it is well blended.
- Test a small area: Before applying the bleach solution to the entire dresser, it’s important to test it on a small, inconspicuous area. This will allow you to see how the wood reacts to the bleach and ensure you achieve the desired results.
Mixing the bleach solution properly is crucial to achieve the desired lightening effect on your wood dresser. Once you have your solution ready, it’s time to move on to the next step: applying the bleach solution to the dresser!
Read more: How To Fix Scratches On A Wood Dresser
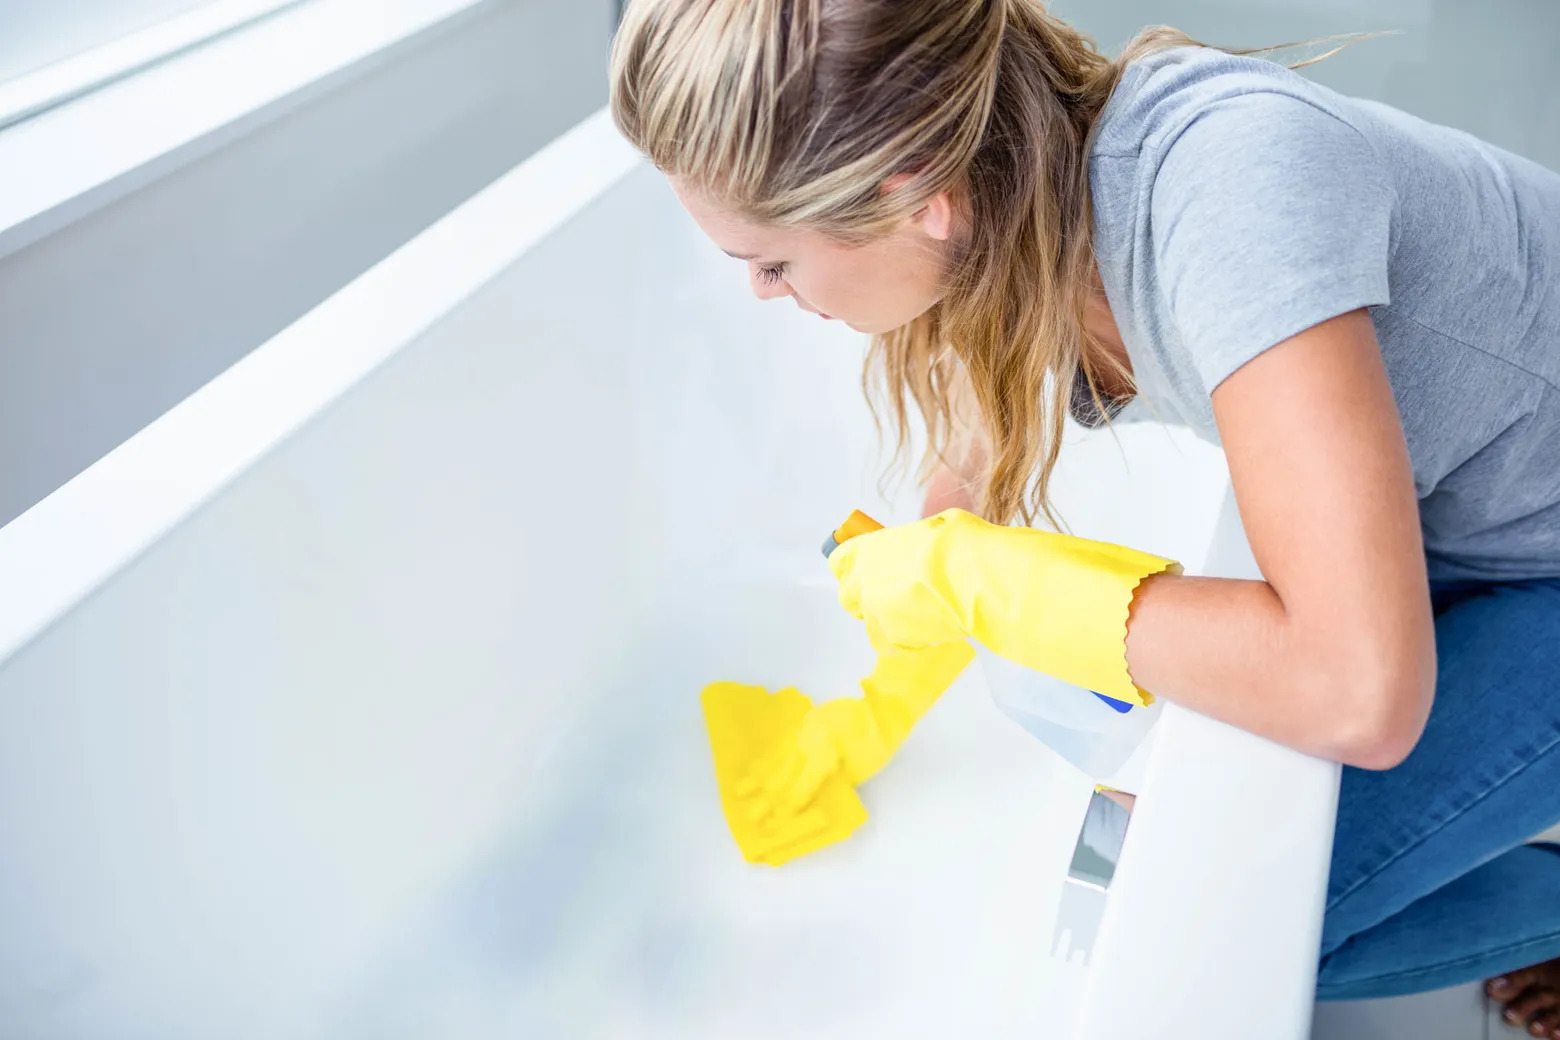
Step 5: Apply the Bleach Solution
Now that you have prepared the bleach solution, it’s time to apply it to your wood dresser. This step is crucial for achieving the desired lightening effect on the wood and removing any stains or discoloration. Follow these steps to apply the bleach solution effectively:
- Put on your protective gear: Before you begin, ensure you are wearing gloves, safety glasses, and a mask to protect yourself from any potential contact with the bleach solution.
- Start with a clean surface: Ensure that the dresser’s surface is clean and free of any dust or debris. You can wipe it down with a clean cloth to remove any remaining residue.
- Apply the bleach solution: Dip a brush or sponge into the bleach solution and apply it liberally to the wood surface. Work in small sections, starting from the top and moving downward.
- Follow the wood grain: Apply the bleach solution in the direction of the wood grain to ensure an even and smooth application. This will help prevent streaks or uneven lightening of the wood.
- Keep the surface wet: Make sure to keep the surface wet with the bleach solution as you work. If the solution starts to dry out, add more to maintain a consistent application.
Applying the bleach solution evenly and consistently is essential for achieving uniform results on your wood dresser. Once you have covered the entire surface, it’s time to let the bleach solution sit and work its magic. Move on to the next step to find out how!
Step 6: Let the Bleach Solution Sit
After applying the bleach solution to your wood dresser, it’s important to allow it to sit and work its magic. This step is crucial for the bleach solution to penetrate the wood and achieve the desired lightening effect. Here’s what you need to do:
- Cover the dresser: To prevent the bleach solution from drying out too quickly, cover the dresser with plastic wrap. This will create a seal and help retain moisture, allowing the bleach to fully penetrate the wood.
- Follow the recommended time: Check the instructions provided by the manufacturer of the bleach solution to determine the recommended amount of time to let it sit. This may vary depending on the product and the desired lightening effect.
- Periodically check the progress: While the bleach solution is sitting, periodically check the progress to see how the wood is lightening. Carefully remove the plastic wrap and examine a small, inconspicuous area to assess whether the desired results are being achieved.
- Be patient: The lightening process may take some time, depending on the type of wood and the desired effect. Be patient and resist the temptation to rush the process by leaving the bleach solution on for longer than recommended.
Allowing the bleach solution to sit for the recommended time is crucial for achieving the desired lightening effect on your wood dresser. Once you are satisfied with the progress, it’s time to move on to the next step: neutralizing the bleach solution.
When bleaching a wood dresser, make sure to wear protective gloves and work in a well-ventilated area. Follow the instructions on the bleach product carefully and test a small area first to ensure the desired result.
Step 7: Neutralize the Bleach Solution
After the designated time has passed and the bleach solution has had a chance to lighten the wood, it’s essential to neutralize the solution to stop the bleaching process. Neutralizing the bleach solution will help ensure that the wood is not overly damaged and that the desired lightening effect is achieved. Follow these steps to effectively neutralize the bleach solution:
- Prepare a neutralizing solution: Fill a bucket with clean water and add a neutralizing agent, such as vinegar or baking soda. The ratio of water to neutralizing agent will depend on the instructions provided by the manufacturer or the type of neutralizing agent used.
- Soak a sponge or cloth in the neutralizing solution: Dip a sponge or cloth into the neutralizing solution, ensuring it is thoroughly saturated.
- Gently wipe down the wood surface: Begin wiping down the wood surface with the neutralizing solution-soaked sponge or cloth. Work in a circular motion, covering the entire surface of the dresser.
- Rinse the sponge or cloth frequently: Rinse the sponge or cloth in the neutralizing solution frequently to ensure that you are using a clean and effective neutralizing agent.
- Remove any residual bleach: Continue wiping down the wood surface until you no longer detect any smell of bleach. This ensures that all traces of the bleach solution have been neutralized.
Neutralizing the bleach solution is a crucial step to protect the wood and achieve the desired results on your wood dresser. Once you have effectively neutralized the bleach solution, you are ready to move on to the next step: rinsing the dresser.
Step 8: Rinse the Dresser
After neutralizing the bleach solution, it’s important to thoroughly rinse the dresser to remove any residual bleach and neutralizing agent. This step will help prepare the wood surface for the next stages of the refinishing process. Follow these steps to effectively rinse the dresser:
- Fill a bucket with clean water: Fill a bucket with clean water, ensuring that it is enough to completely submerge a clean cloth or sponge.
- Soak a clean cloth or sponge in water: Submerge a clean cloth or sponge in the bucket of water, ensuring it is thoroughly soaked.
- Wring out excess water: Gently wring out any excess water from the cloth or sponge, leaving it damp but not dripping.
- Wipe down the wood surface: Begin wiping down the wood surface of the dresser with the damp cloth or sponge. Work in a circular motion, covering the entire surface.
- Repeat the process if necessary: If you notice any lingering traces of bleach or neutralizing agent, rinse and wring out the cloth or sponge again and continue wiping down the wood surface until it is clean and free of any residue.
Rinsing the dresser is an important step to remove any residual chemicals and prepare the wood for the next stages of the refinishing process. Once you have thoroughly rinsed the dresser, it’s time to move on to the next step: letting the dresser dry completely.
Read more: What Grit Sandpaper For A Wood Dresser
Step 9: Let the Dresser Dry
After rinsing the dresser, it’s crucial to allow it to dry completely before moving on to the next steps in the refinishing process. This step ensures that the wood is free from any excess moisture and ready for further treatments. Follow these steps to effectively dry the dresser:
- Remove any excess water: Use a clean, dry cloth or towel to gently blot away any excess water from the dresser’s surface. Avoid rubbing the wood vigorously, as this can cause damage or leave scratches.
- Open windows or use fans: Promote air circulation by opening windows or using fans in the room. This will help speed up the drying process by allowing moisture to evaporate more quickly.
- Wait for natural air drying: Allow the dresser to air dry naturally, avoiding the use of heat sources like hairdryers or heaters. This ensures a gradual and even drying process, reducing the risk of warping or cracking.
- Patience is key: Depending on the humidity level, it may take several hours or even overnight for the dresser to dry completely. Be patient and resist the urge to move on to the next steps until the wood is thoroughly dry.
Properly drying the dresser is essential to prevent any potential issues down the road and ensure that subsequent treatments, such as sanding and applying wood finish, adhere successfully. Once the dresser is completely dry, it’s time to move on to the next step: sanding the dresser.
Step 10: Sand the Dresser
Sanding the dresser is an essential step in the refinishing process as it helps to smooth out the wood surface, remove any imperfections, and create a clean and uniform base for the application of the wood finish. Follow these steps to effectively sand the dresser:
- Gather the necessary sandpaper: Prepare a variety of sandpaper grits, starting with a coarse grit, such as 80-grit or 100-grit, and gradually moving to a finer grit, such as 120-grit or 220-grit. The coarser grits will help remove any stubborn rough patches or remaining traces of old finish, while the finer grits will create a smooth and polished finish.
- Put on your protective gear: Before you begin sanding, ensure that you are wearing safety glasses and a face mask to protect yourself from any dust particles.
- Sand in the direction of the wood grain: Using the coarsest grit sandpaper, start sanding the dresser’s surface in the direction of the wood grain. Apply even pressure and use long, smooth strokes to avoid creating uneven areas.
- Continue with progressively finer grits: Gradually switch to finer grit sandpapers, working your way up to the finest grit recommended for your specific project. This will help smooth out the surface and remove any scratches or marks left by the coarser grits.
- Remove dust: Between each sanding step, use a clean cloth or a vacuum with a brush attachment to remove any dust or debris. This will ensure that the surface remains clean and ready for the next sanding pass.
- Inspect the surface: Once you have completed sanding with the finest grit sandpaper, carefully inspect the surface of the dresser. It should feel smooth to the touch, with any previous imperfections or roughness eliminated.
Sanding the dresser helps prepare the wood for the next stage of the refinishing process by creating a smooth and uniform surface. Once you have completed sanding, it’s time to move on to the next step: applying the wood finish.
Step 11: Apply Wood Finish
Applying a wood finish is the final step in the refinishing process and helps protect and enhance the beauty of the wood dresser. There are various types of wood finishes available, such as polyurethane, varnish, or wax. Follow these steps to effectively apply a wood finish to your dresser:
- Select the appropriate wood finish: Choose a wood finish that suits your desired look and the level of protection you want for your dresser. Consider factors such as the type of wood, the desired sheen, and the durability of the finish.
- Read the manufacturer’s instructions: Carefully read and follow the instructions provided by the manufacturer of the wood finish. Take note of any specific application techniques or recommended drying times.
- Prepare the furniture and work area: Ensure that the dresser is clean and free of any dust or debris from the sanding process. Protect the surrounding area with a drop cloth or newspapers to prevent any accidental spills or stains.
- Apply the wood finish: Using a brush or a clean cloth, apply the wood finish onto the dresser’s surface. Work in the direction of the wood grain, applying even and consistent strokes. Ensure that the finish is evenly spread and there are no areas with excessive buildup.
- Allow the first coat to dry: Follow the manufacturer’s instructions regarding the drying time for the first coat of the wood finish. It is typically recommended to let it dry completely before applying subsequent coats.
- Apply additional coats if desired: Depending on the level of protection and the desired appearance, you may choose to apply additional coats of wood finish. Make sure to allow each coat to dry completely before applying the next one.
Applying a wood finish not only protects the wood but also enhances its natural beauty. Once you have applied the desired number of coats and allowed sufficient drying time, you can move on to the final step: letting the finish dry completely.
Step 12: Let the Finish Dry
After applying the wood finish to your dresser, it’s crucial to allow sufficient drying time to ensure a durable and beautiful end result. Drying the finish properly will help prevent smudges, scratches, or other imperfections. Follow these steps to effectively let the finish dry:
- Consider the manufacturer’s instructions: Read and carefully follow the drying time guidelines provided by the manufacturer of the wood finish. Different finishes may have different drying times, depending on factors such as humidity and temperature.
- Find a well-ventilated area: Place the dresser in a well-ventilated area, away from direct sunlight or heat sources, to ensure an even drying process. Adequate air circulation will help the finish dry more quickly and evenly.
- Leave the dresser undisturbed: Avoid touching or moving the dresser while the finish is drying to prevent any marks or disturbances. It’s best to let the dresser sit untouched for the recommended drying period.
- Observe the appearance of the finish: As the finish dries, observe its appearance to ensure that it is drying evenly and without any defects. Look for any areas that may require additional touch-ups or sanding if necessary.
- Be patient and allow ample drying time: The drying time can vary depending on the type of finish, the number of coats applied, and the environmental conditions. It’s important to exercise patience and allow ample time for the finish to dry completely.
- Perform a touch test: Once you believe the finish has dried, perform a touch test on a small and inconspicuous area of the dresser. Gently press your finger onto the surface to check for any tackiness or smudging. If it feels dry and solid, the finish is likely dry.
Properly drying the finish is essential to achieving the best results and ensuring the longevity of the wood dresser. Once the finish is completely dry, you can proudly display your beautifully refinished dresser in your home!
Read also: 13 Amazing Wood Dresser for 2024
Conclusion
Bleaching a wood dresser can be a transformative process that breathes new life into your furniture, giving it a fresh and rejuvenated appearance. By following the step-by-step guide outlined in this article, you can successfully bleach your wood dresser and achieve the desired lightening effect while removing stains and imperfections.
From gathering the necessary supplies to preparing the work area, removing the existing finish, and mixing the bleach solution, each step plays a crucial role in the overall bleaching process. Applying the bleach solution, letting it sit, neutralizing it, and rinsing the dresser are essential steps to ensure the bleach works effectively and the wood is free from any residual chemicals.
Once the dresser is dry, sanding it to create a smooth surface and applying a wood finish adds the finishing touch. The wood finish not only provides protection but also enhances the natural beauty of the wood, giving your dresser a polished and professional look.
However, it’s important to note that each wood type and project may have specific requirements and considerations. Always refer to the manufacturer’s instructions and take proper safety precautions when working with chemicals and tools.
Now that you have the knowledge and steps to bleach and refinish a wood dresser, feel empowered to embark on your own furniture makeover journey. Enjoy the process, unleash your creativity, and watch as your wood dresser is transformed into a stunning centerpiece for your home.
Frequently Asked Questions about How To Bleach A Wood Dresser
Was this page helpful?
At Storables.com, we guarantee accurate and reliable information. Our content, validated by Expert Board Contributors, is crafted following stringent Editorial Policies. We're committed to providing you with well-researched, expert-backed insights for all your informational needs.


0 thoughts on “How To Bleach A Wood Dresser”