Home>Furniture & Design>Bathroom Accessories>How To Dry Loofah
Bathroom Accessories
How To Dry Loofah
Modified: October 20, 2024
Learn how to properly dry loofahs and keep your bathroom accessories clean and hygienic. Discover effective tips for drying loofahs at home. Keep your bathroom accessories in top condition.
(Many of the links in this article redirect to a specific reviewed product. Your purchase of these products through affiliate links helps to generate commission for Storables.com, at no extra cost. Learn more)
Introduction
Drying a loofah is an essential step in maintaining its quality and prolonging its lifespan. Whether you've grown your own loofah or purchased one, proper drying techniques are crucial for preventing mold and bacteria growth. In this guide, we will walk you through the process of drying a loofah effectively, ensuring that it remains clean, hygienic, and ready for future use.
Drying a loofah is a simple yet important task that contributes to its longevity and usability. By following the steps outlined in this article, you can ensure that your loofah remains in optimal condition, ready to provide the exfoliating and cleansing benefits that make it a popular bathroom accessory.
Key Takeaways:
- Keep your loofah clean and dry to prevent mold and bacteria growth. Proper drying techniques, such as air drying and sunlight exposure, help maintain its hygiene and effectiveness.
- After cleaning, store your dried loofah in a well-ventilated area away from moisture. Regularly check for mold and ensure it’s in a breathable container to prolong its usability.
Read more: How To Plant Loofah Seeds
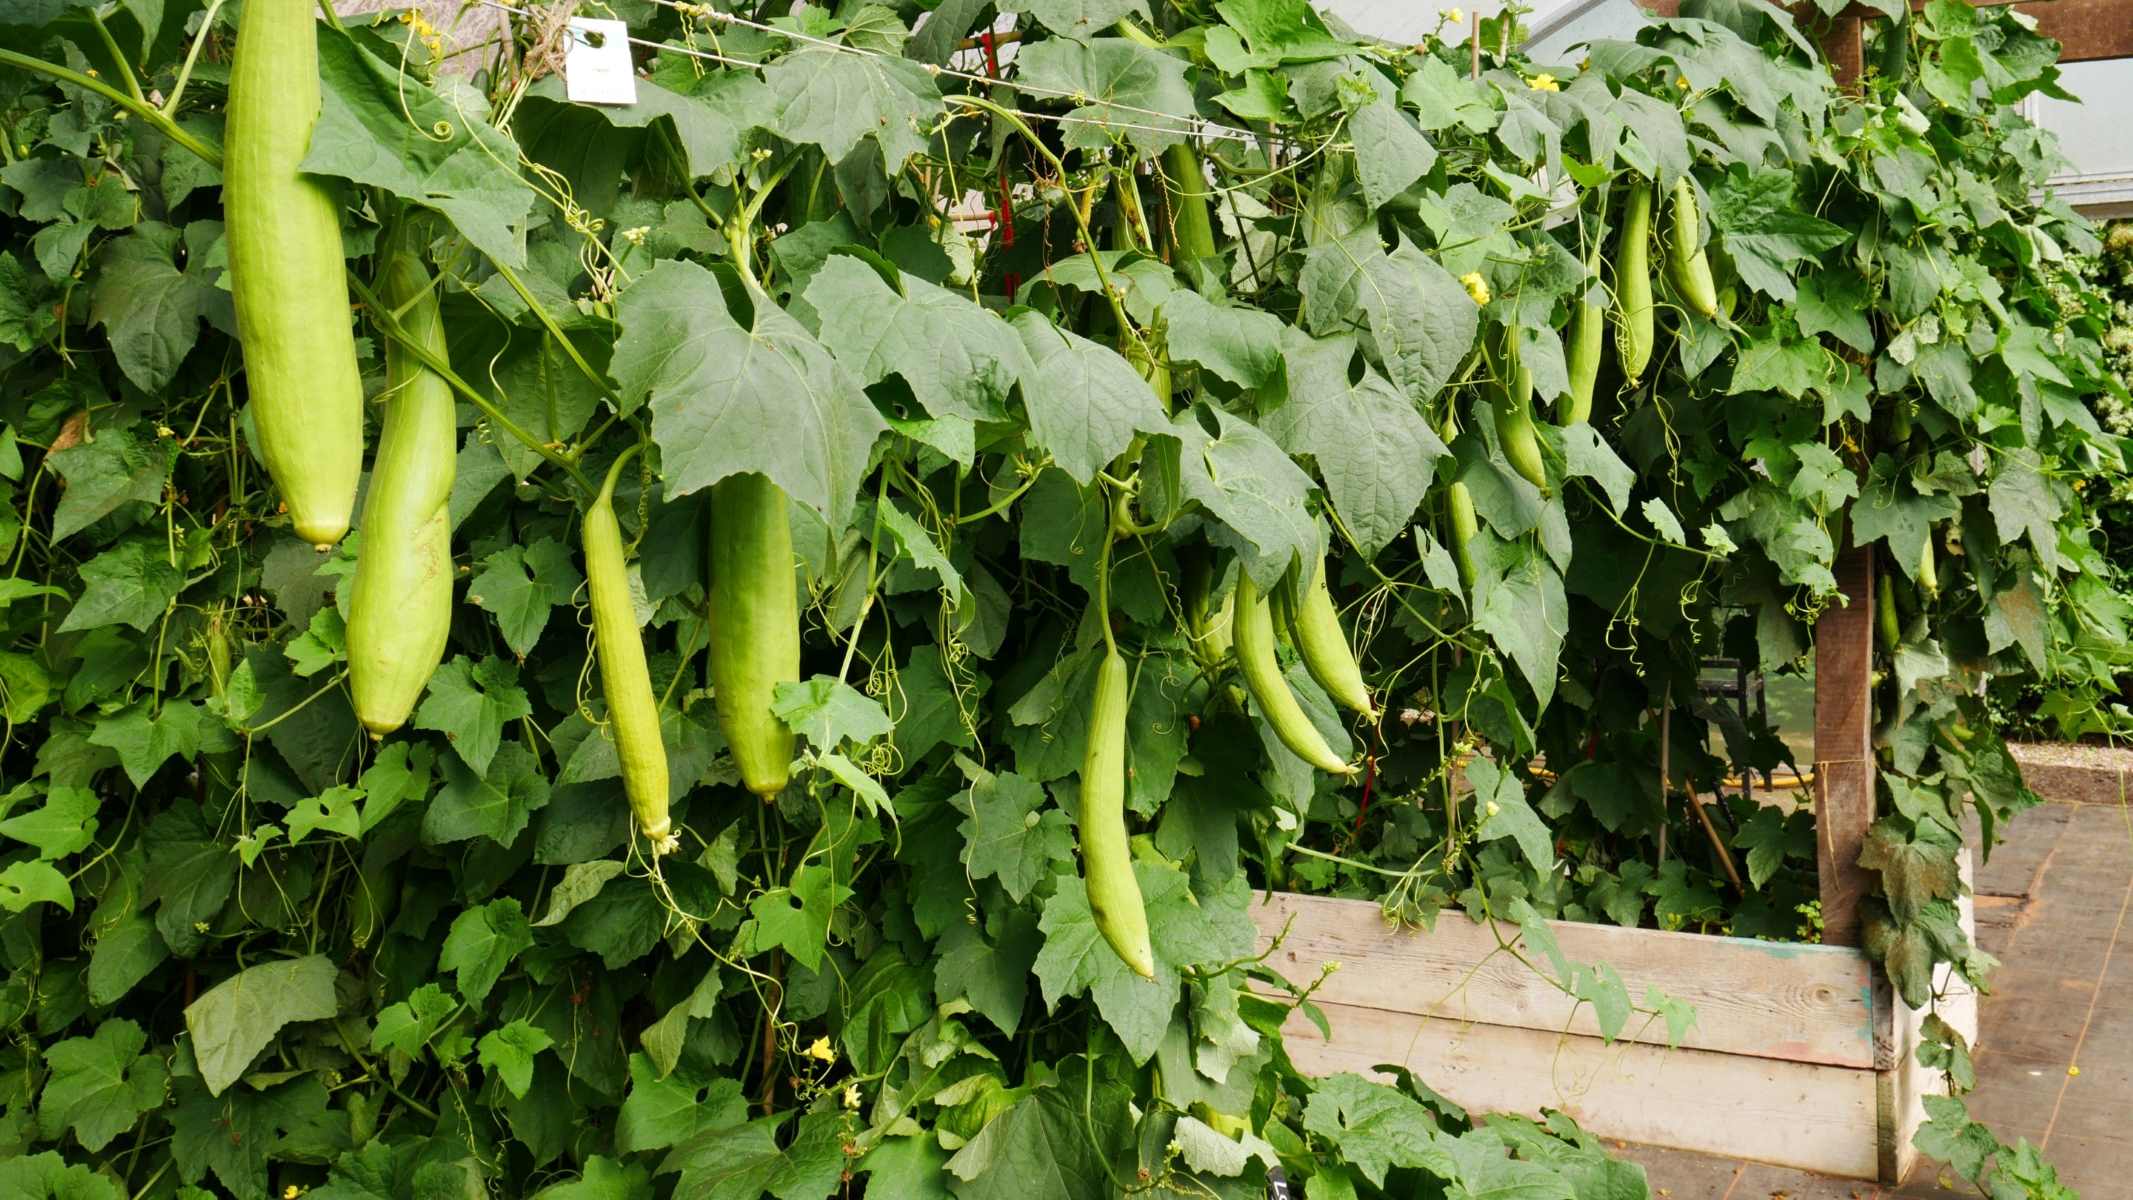
Step 1: Harvesting the Loofah
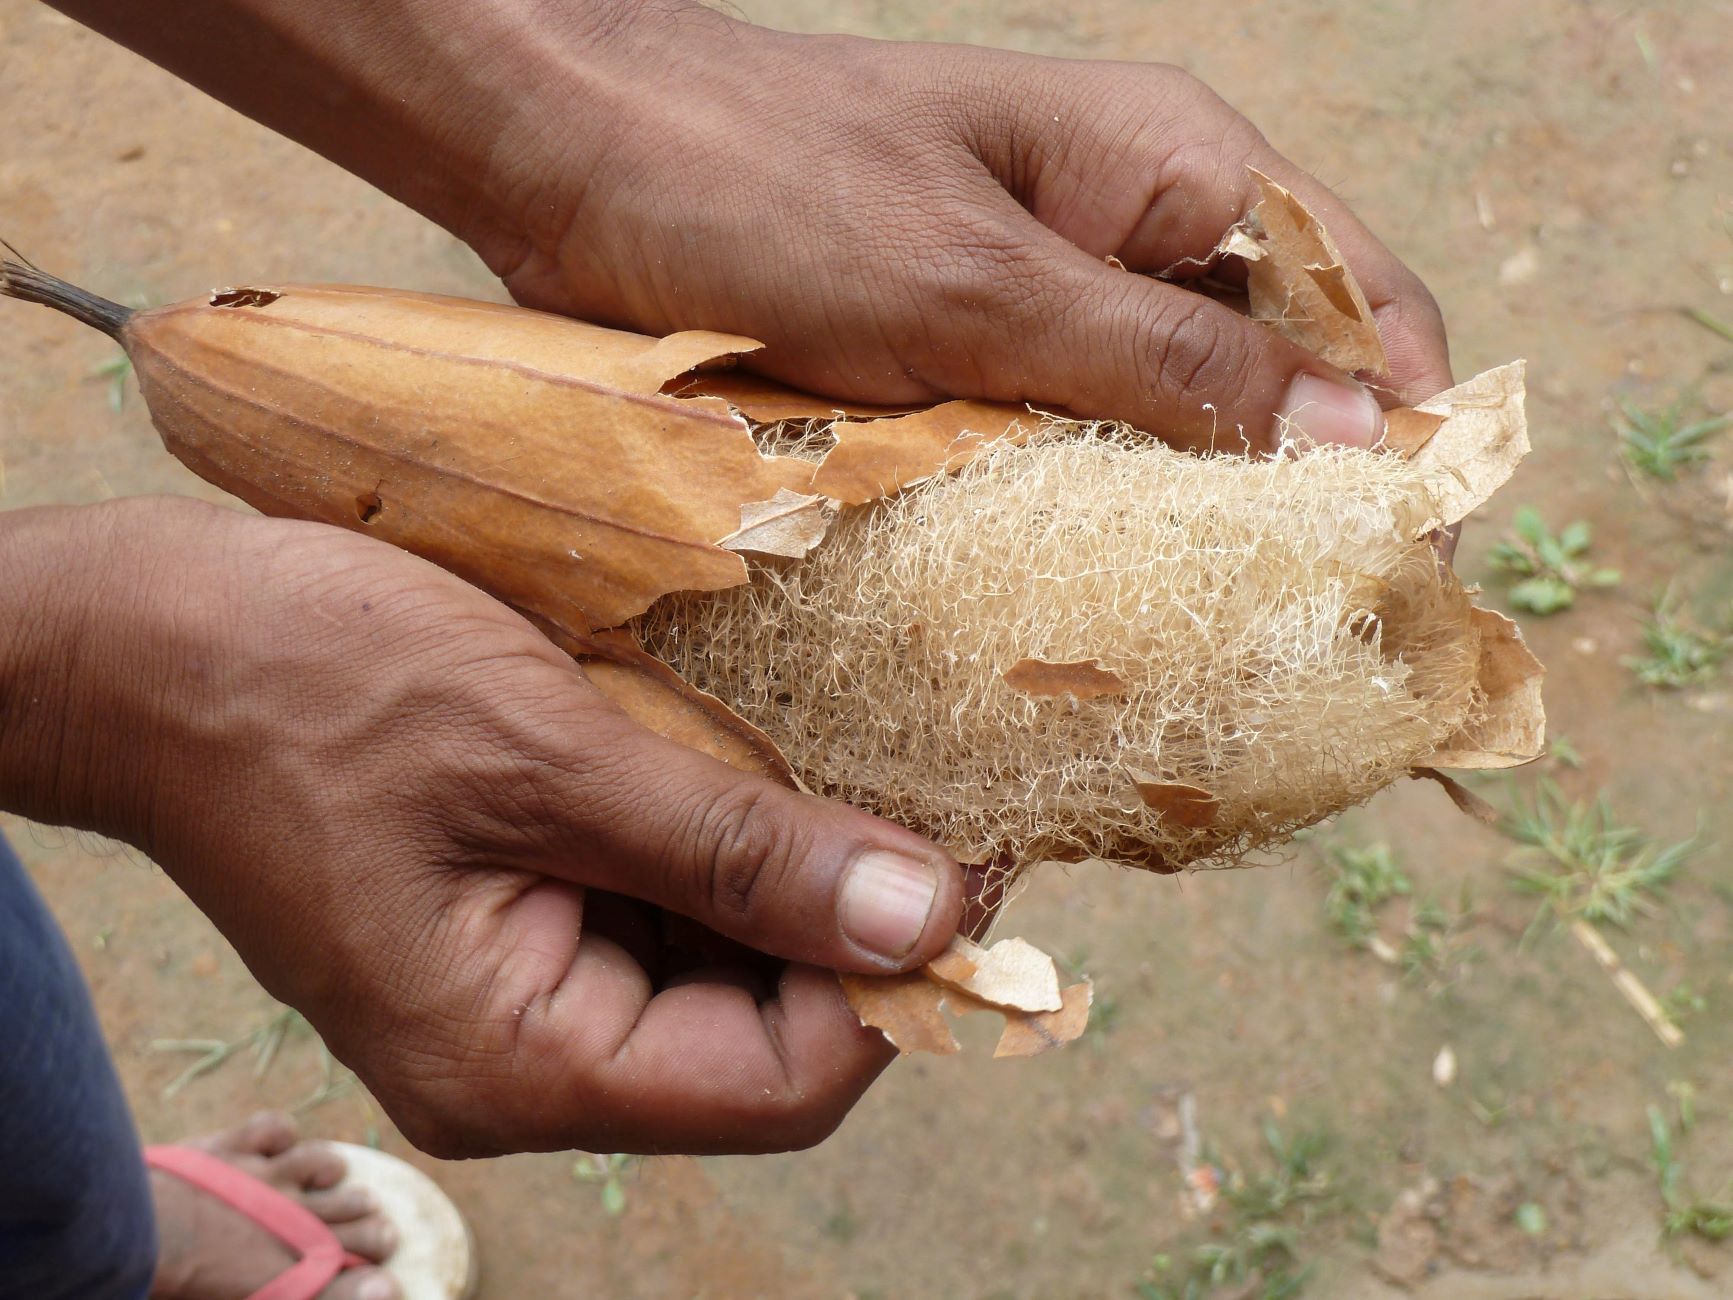
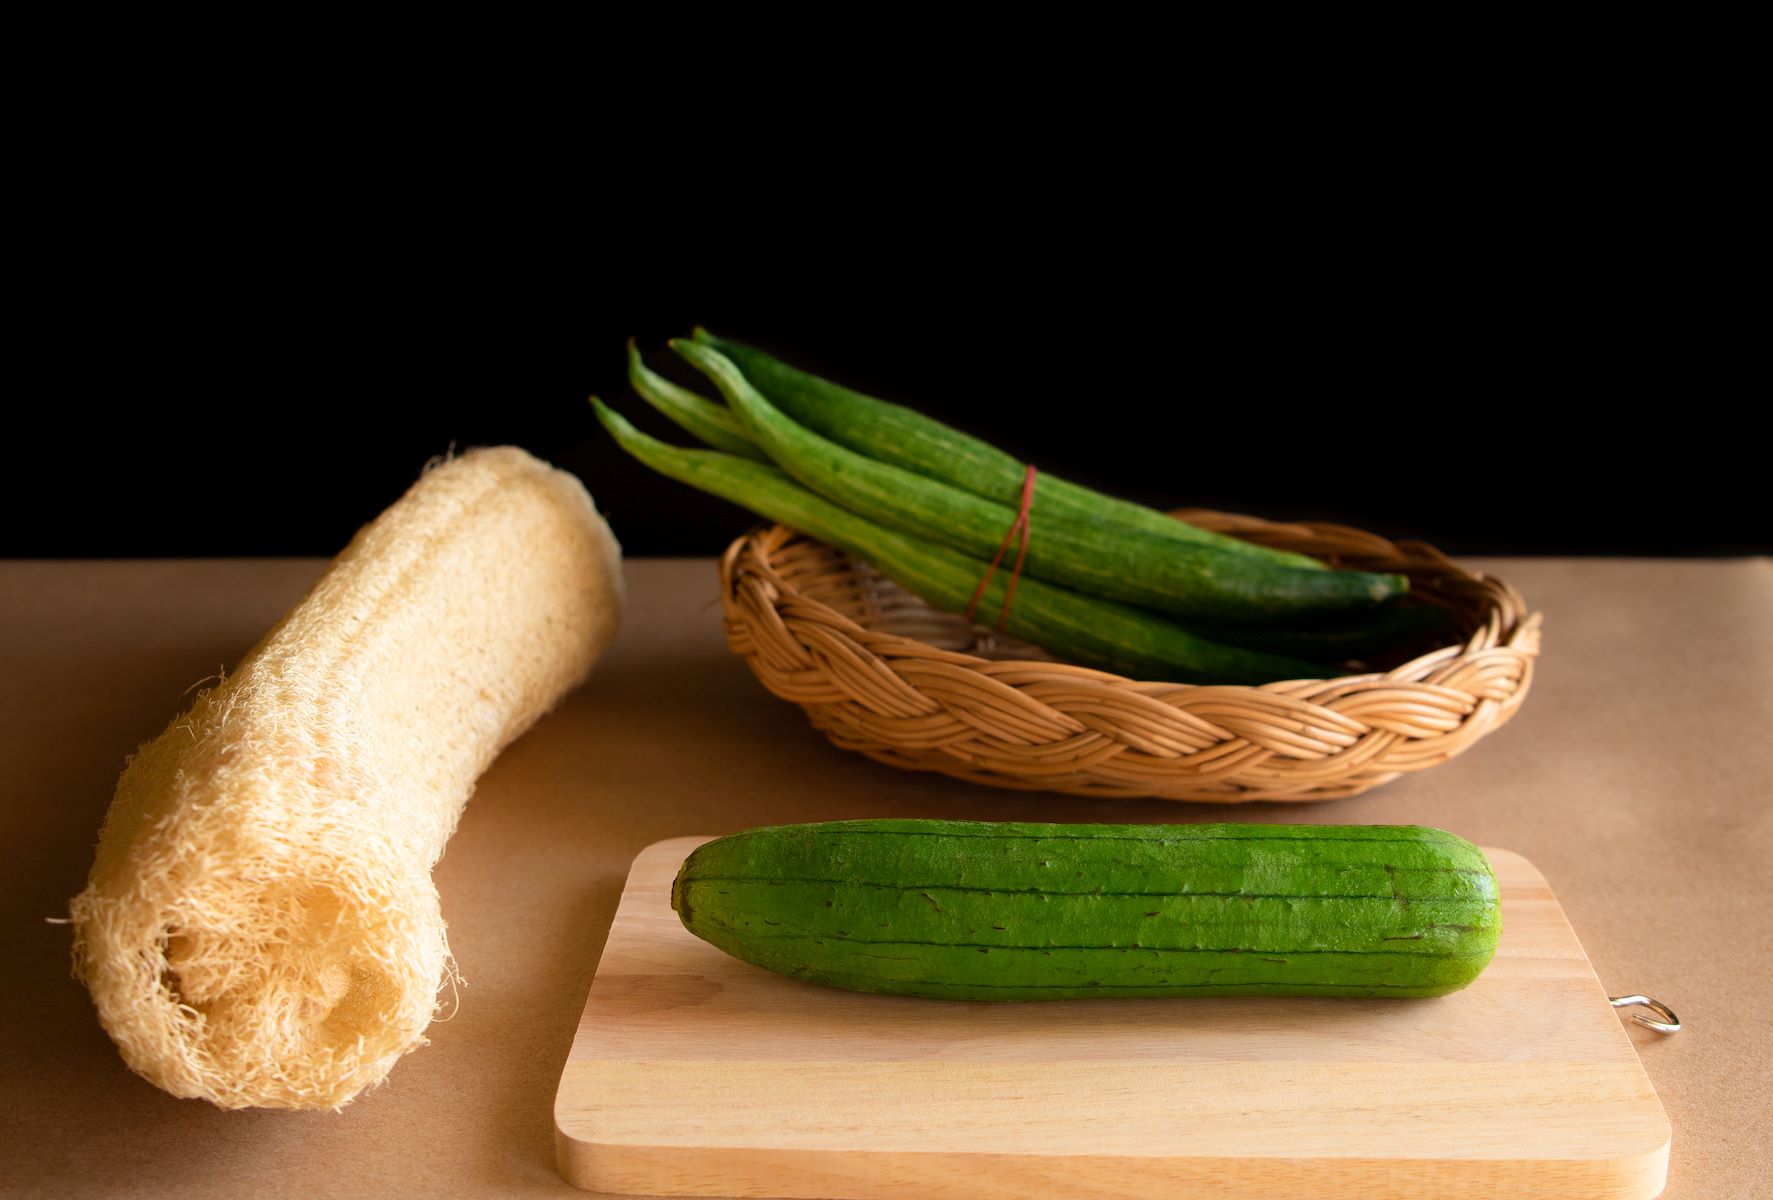
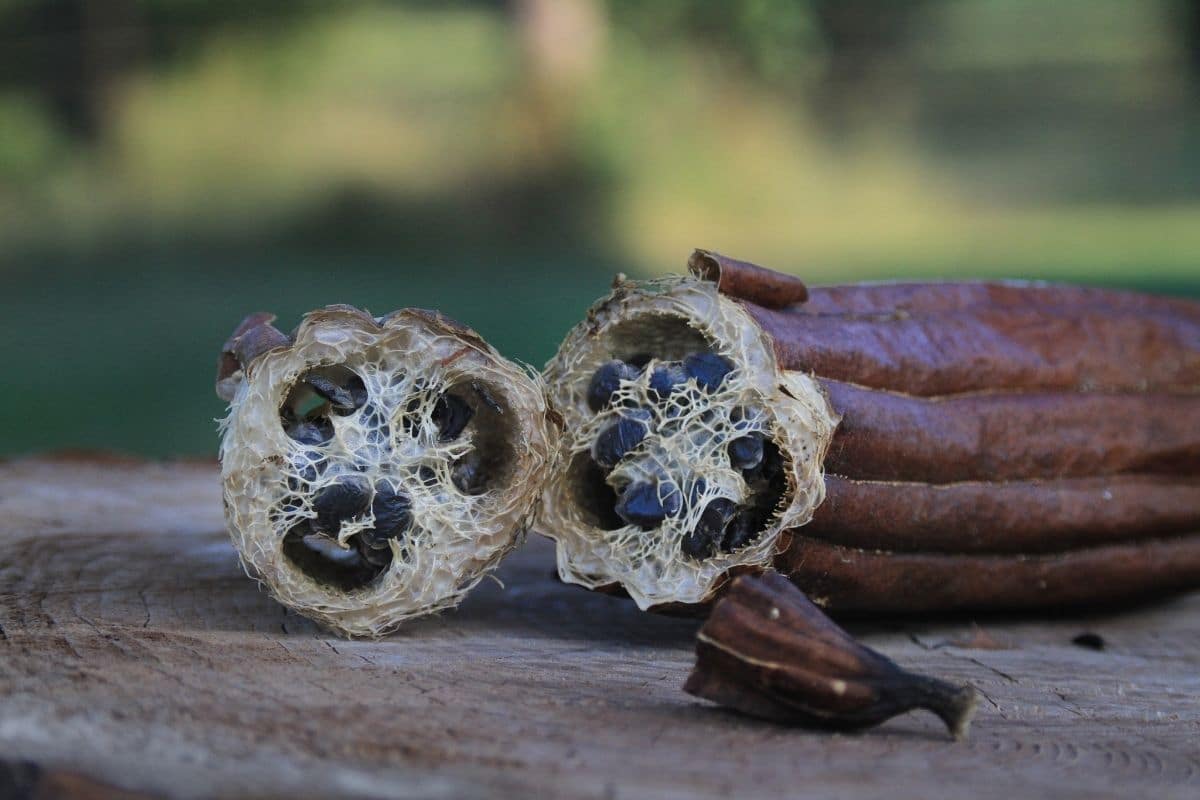
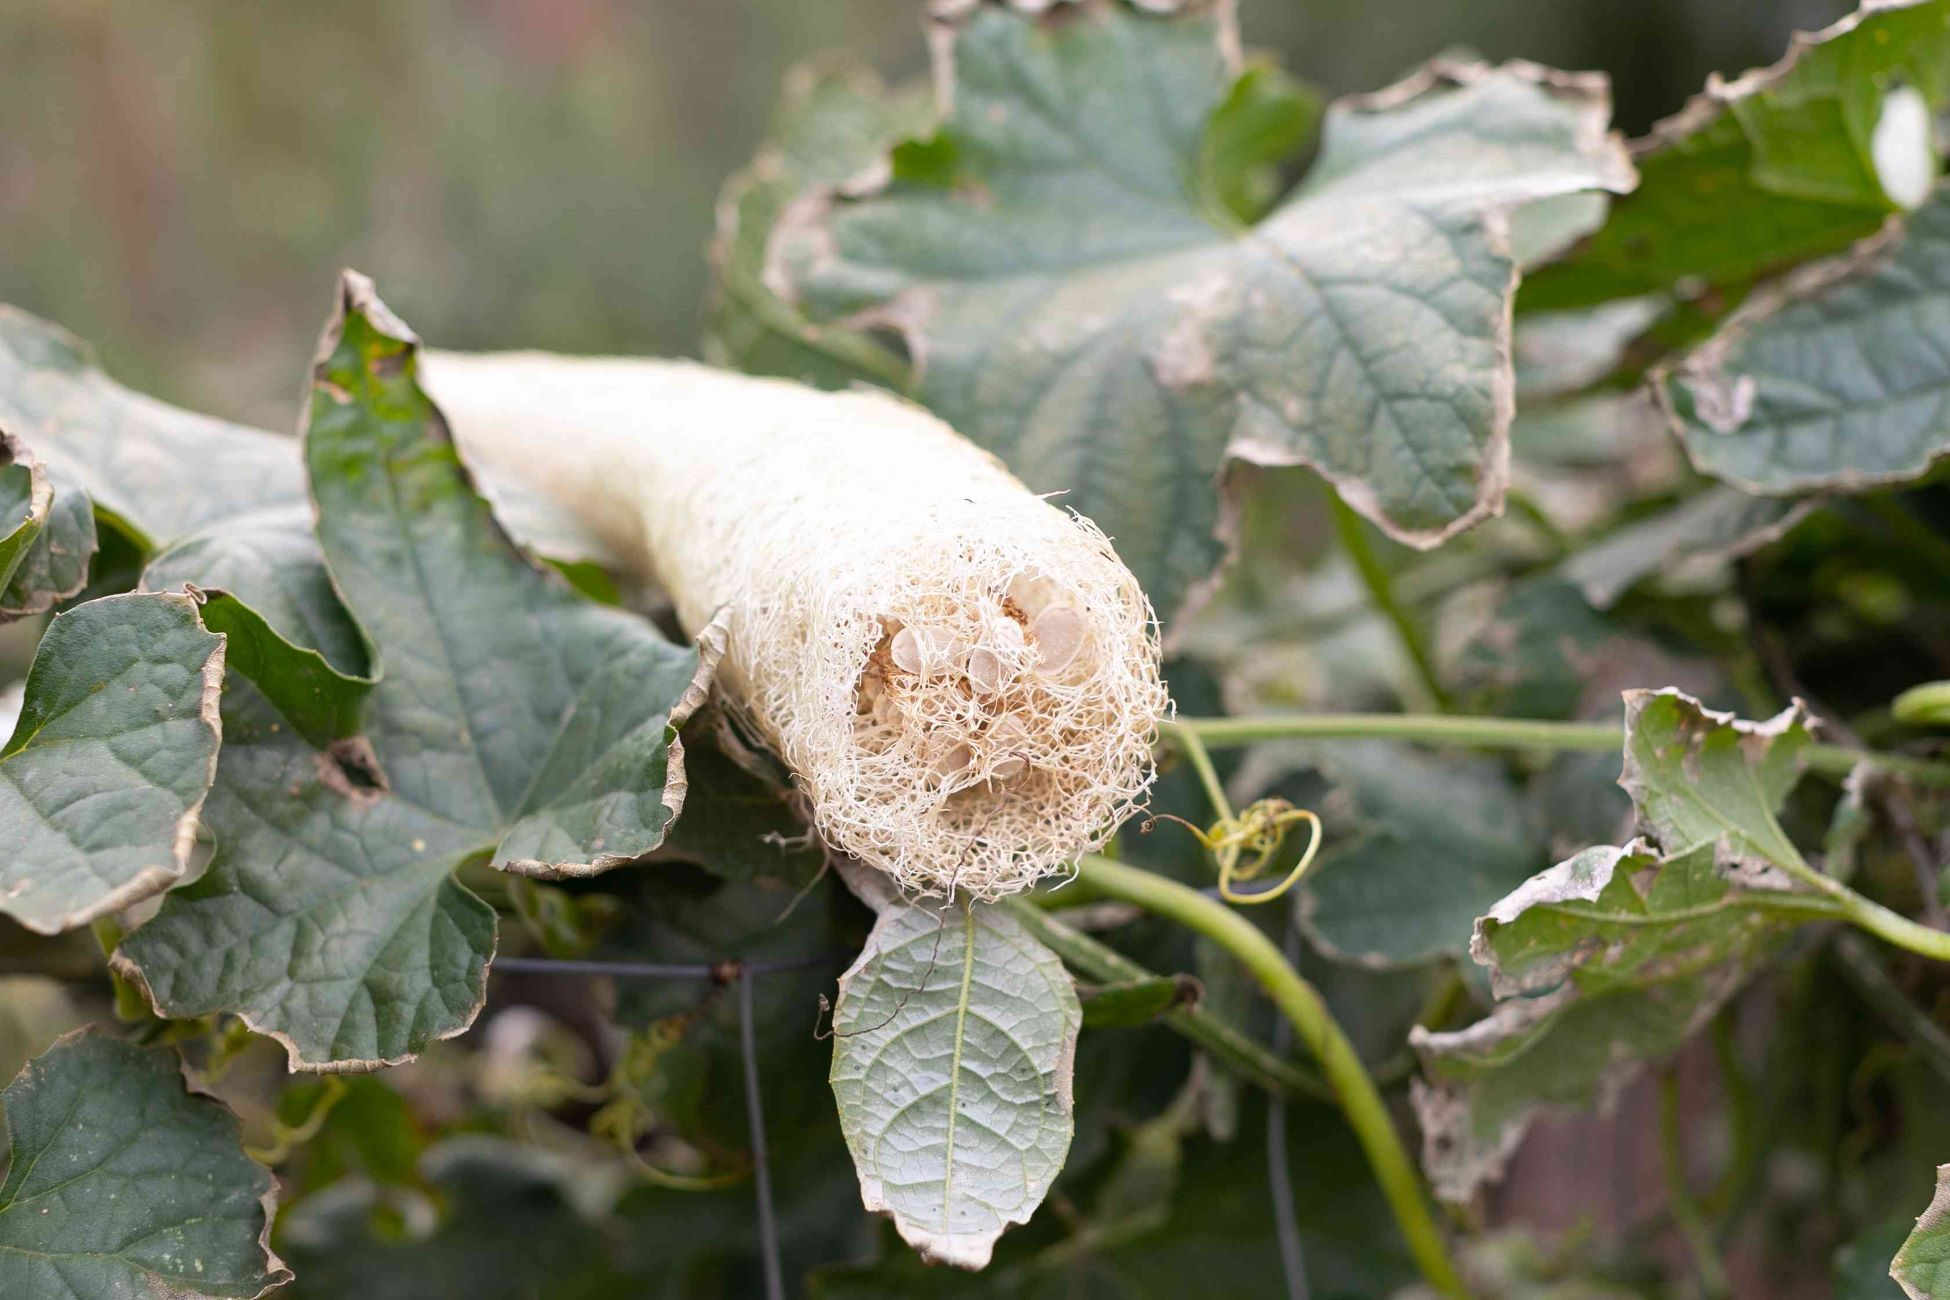
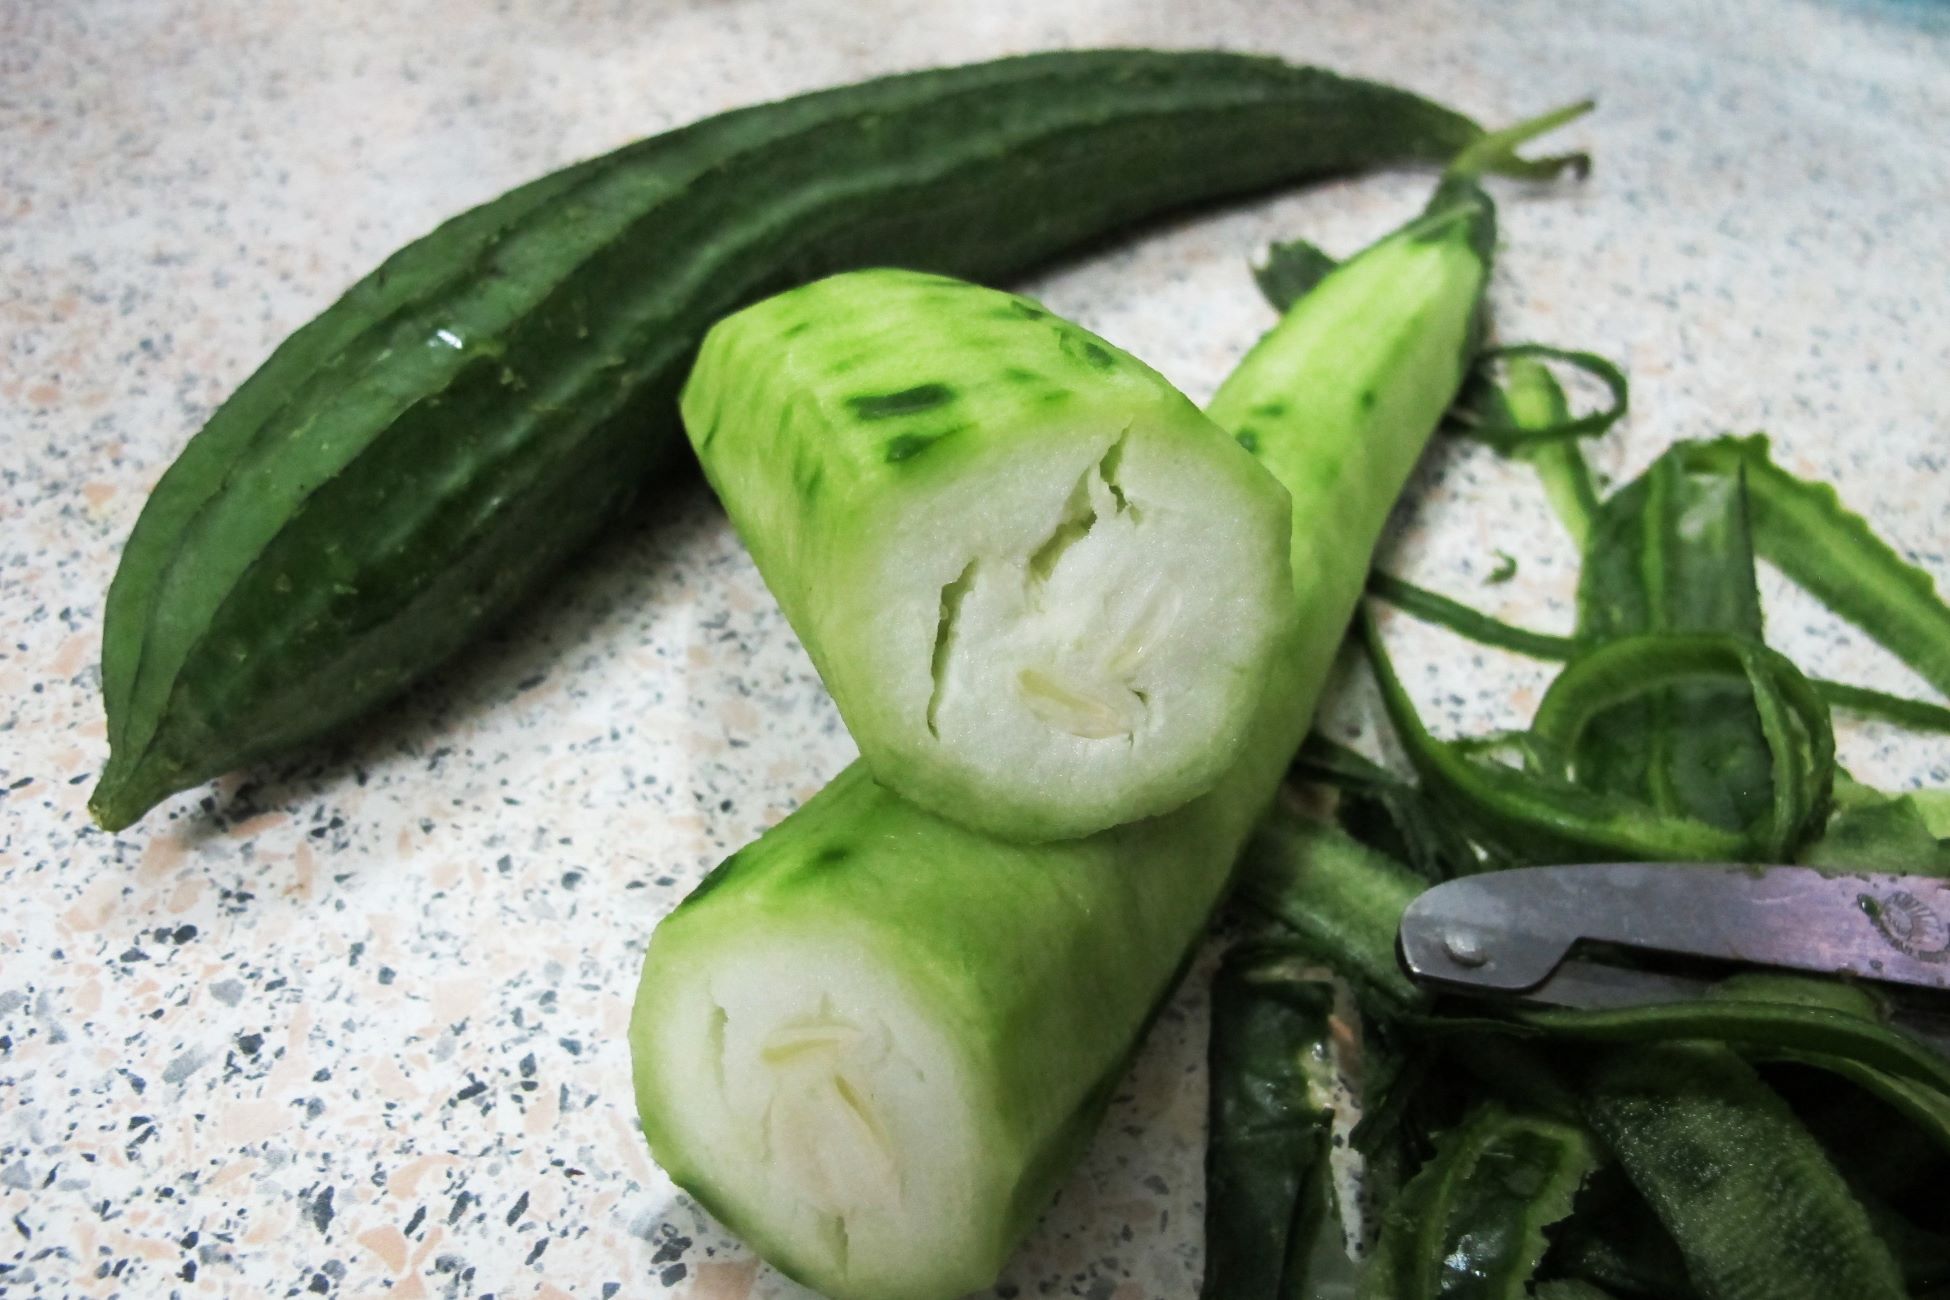
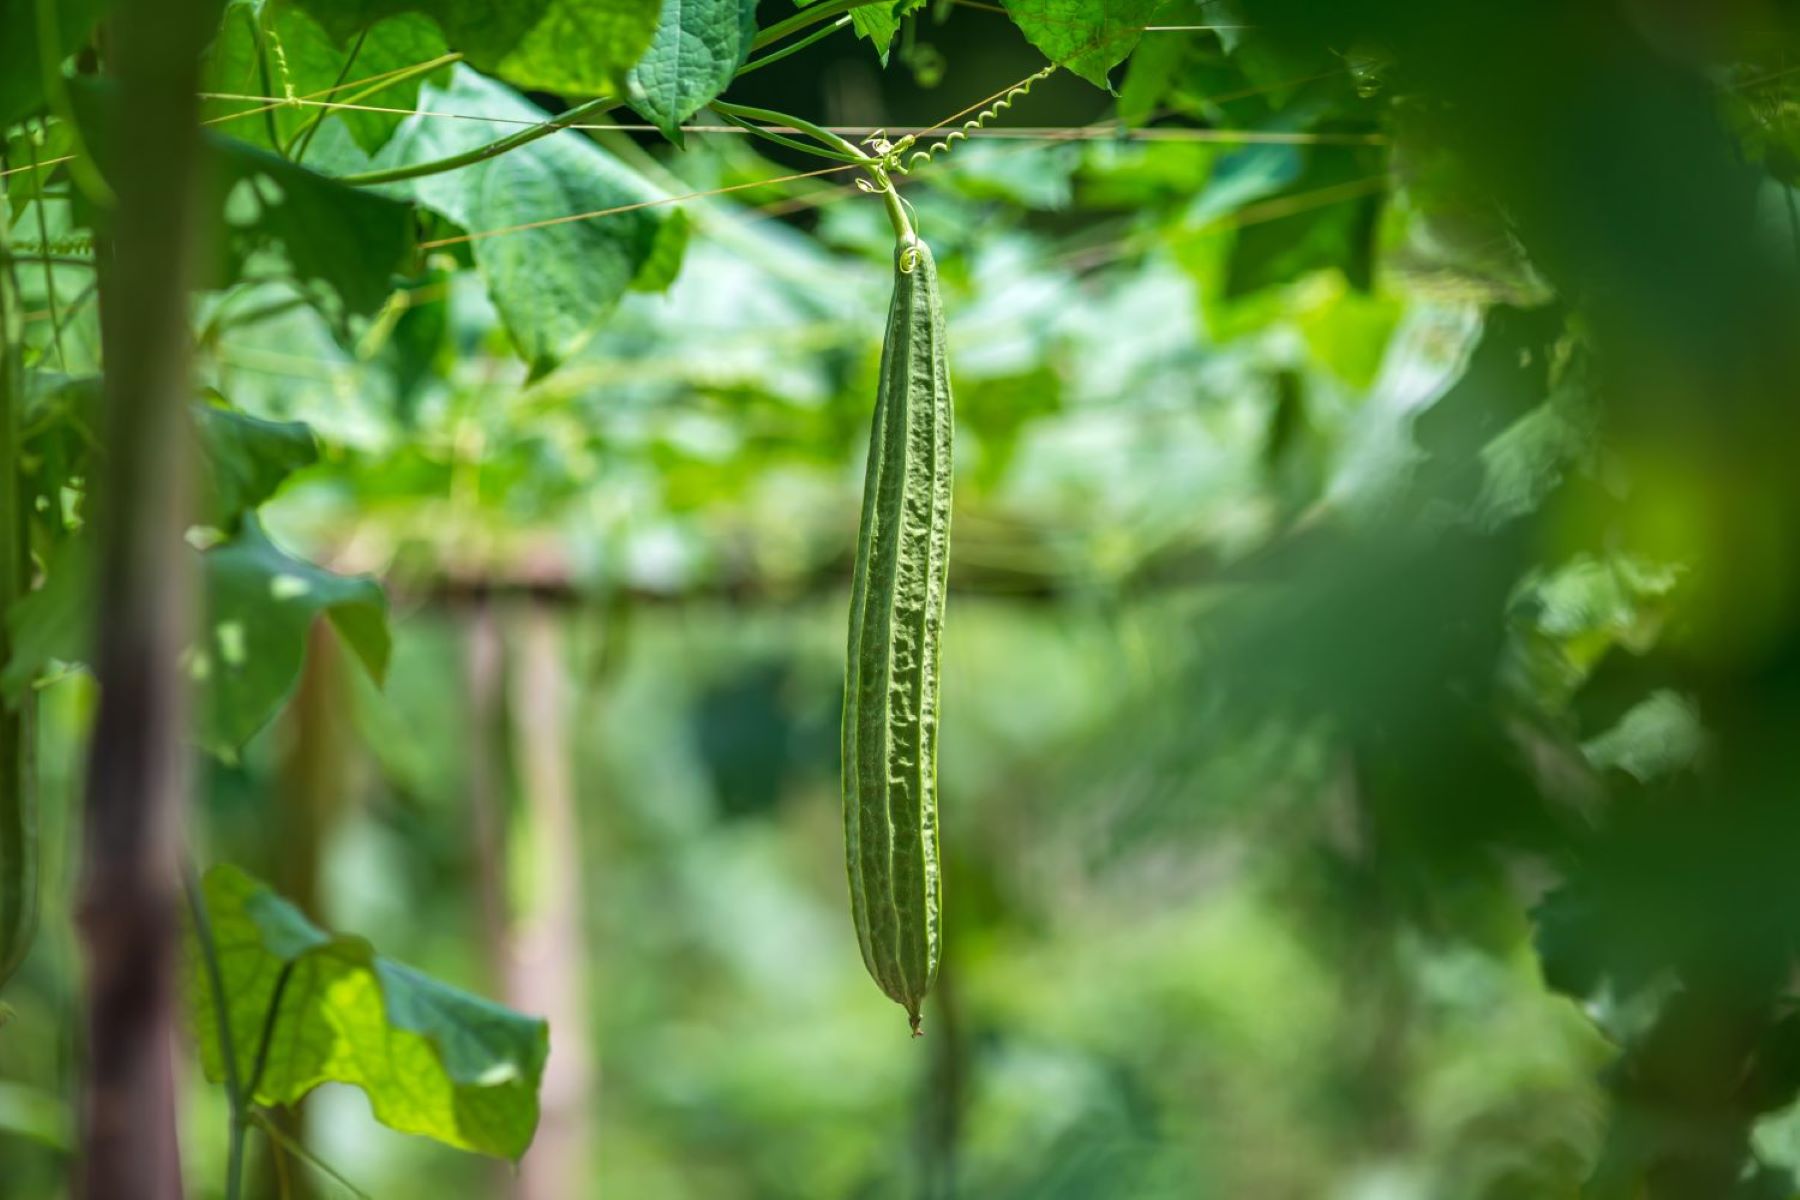
Harvesting a loofah is an exciting and rewarding process that allows you to obtain a natural and sustainable exfoliating tool. The loofah plant, also known as Luffa, produces long, cylindrical fruits that can be harvested and processed into loofah sponges. To begin the harvesting process, it's essential to wait until the loofah gourds have fully matured on the vine. Mature loofah gourds typically reach a length of 12 to 18 inches and develop a light brown color.
Once the loofah gourds have reached maturity, carefully cut them from the vine using a sharp pair of garden shears or a knife. It's important to handle the gourds gently to avoid damaging the outer skin, which can impact the quality of the resulting loofah sponge. After harvesting, the next step involves removing the outer skin and seeds from the gourds to reveal the fibrous network that forms the basis of the loofah sponge.
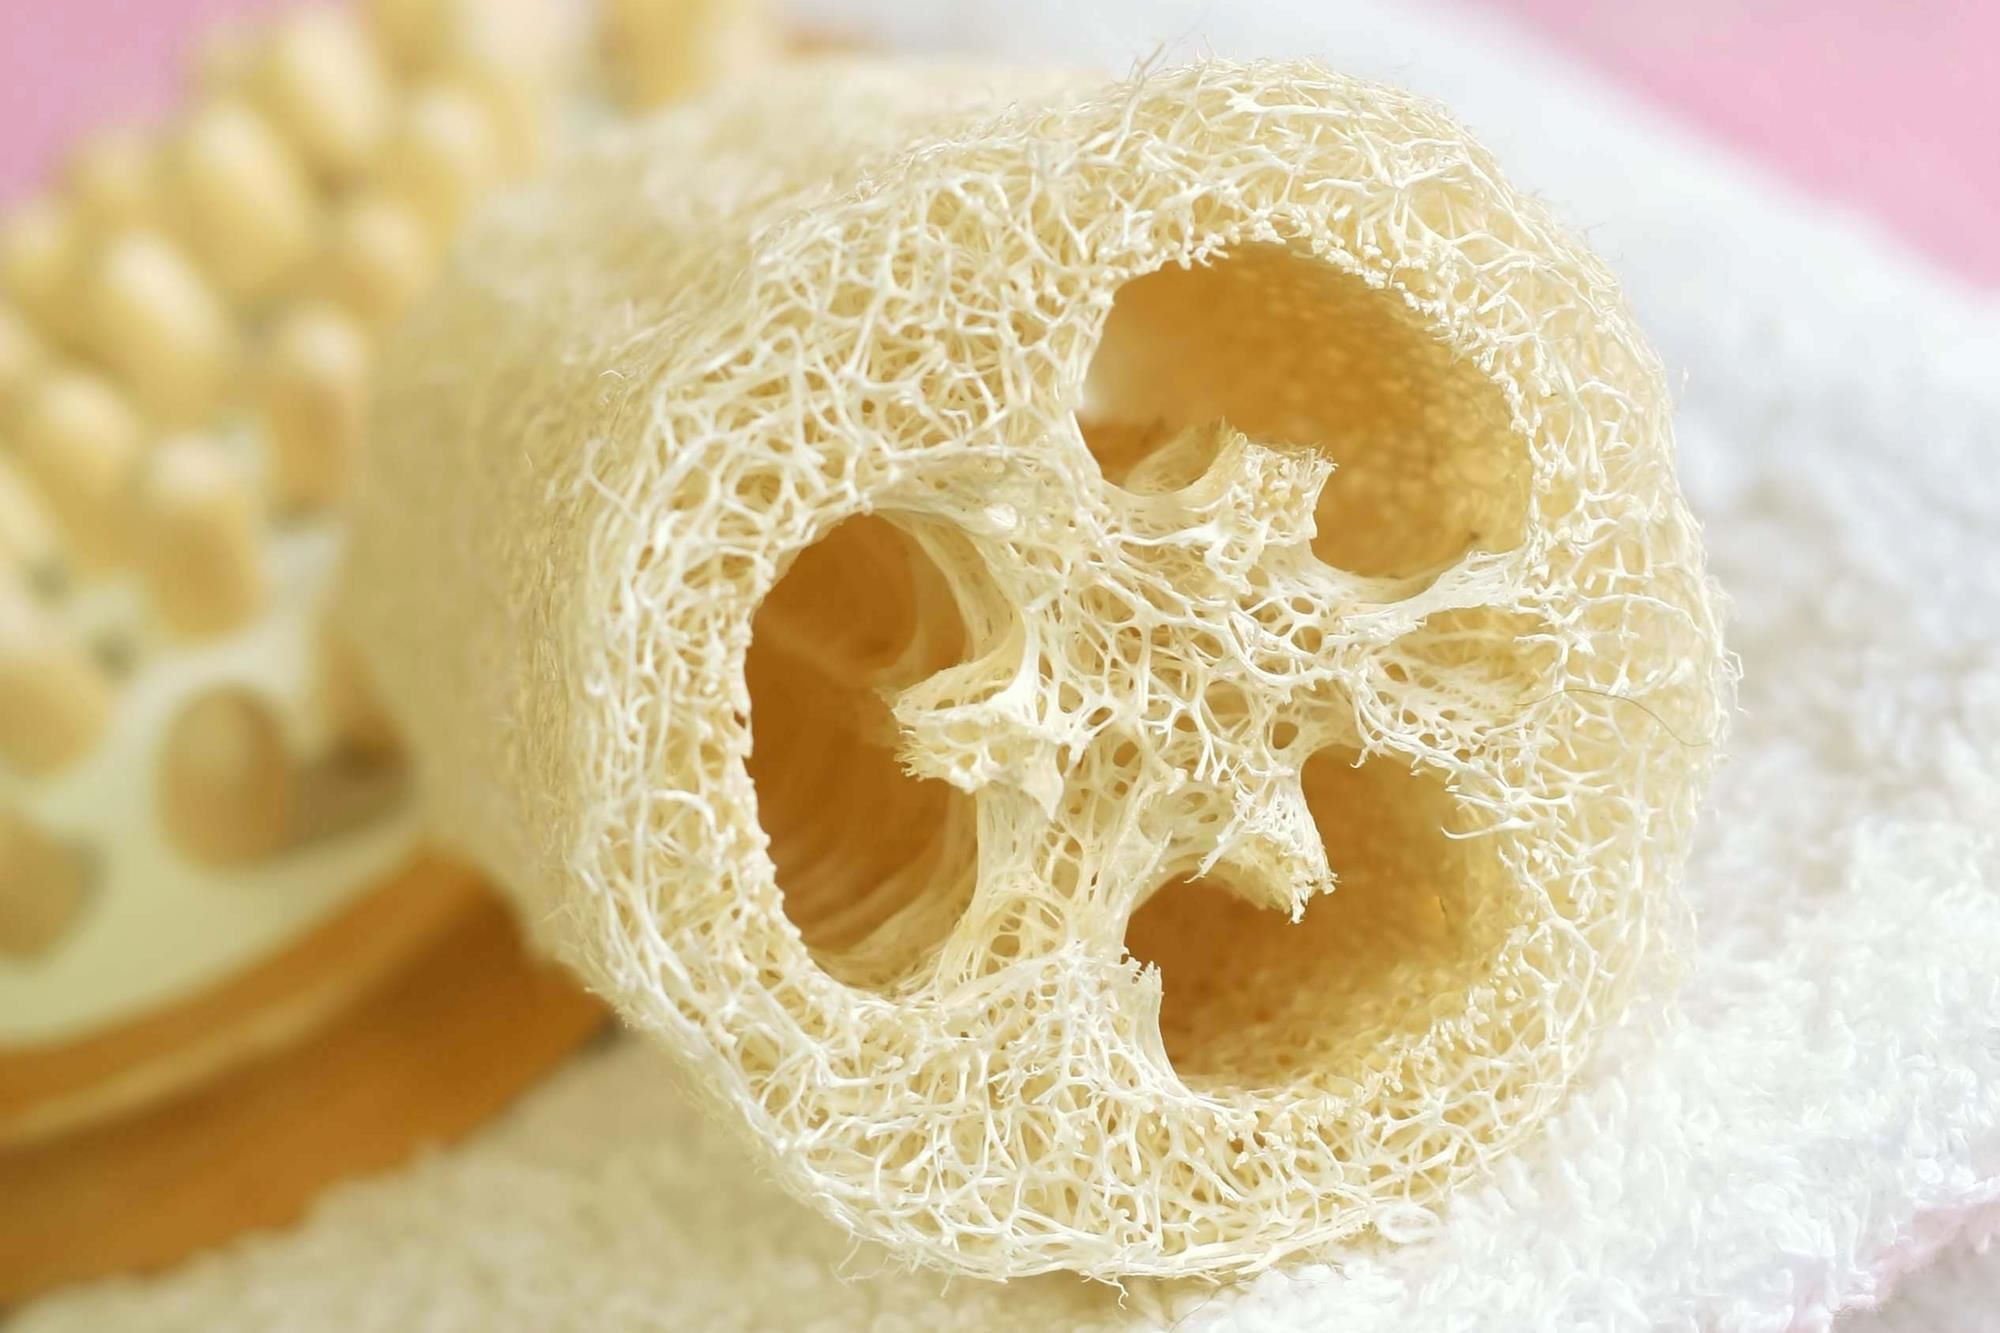
To remove the outer skin, start by soaking the harvested loofah gourds in water for a few days to soften the outer layer. This soaking process makes it easier to peel away the skin, exposing the fibrous interior. Once the outer skin has softened, gently scrub the gourds with a brush or sponge to remove any remaining debris and facilitate the peeling process. With the outer skin removed, the fibrous network inside the loofah gourds is ready to be cleaned and processed further to create usable loofah sponges.
Harvesting the loofah marks the beginning of its transformation from a natural gourd to a versatile bathroom accessory. By carefully following the harvesting process and handling the gourds with care, you can obtain high-quality loofah sponges that are ideal for exfoliation and cleansing. The next steps in the process, including cleaning, drying, and storing the loofah, are essential for maintaining its integrity and ensuring that it remains a valuable addition to your bath and shower routine.
Step 2: Cleaning the Loofah
Cleaning the loofah is a crucial step that ensures it remains free from impurities and bacteria, promoting optimal hygiene and longevity. After harvesting the loofah and removing its outer skin, it's essential to thoroughly clean the fibrous network to eliminate any residual debris and organic matter. This process not only prepares the loofah for immediate use but also sets the stage for effective drying and long-term storage.
To begin the cleaning process, rinse the loofah thoroughly under running water to remove any remaining seeds, dirt, or other impurities. Gently squeeze the loofah to facilitate the removal of debris, ensuring that water flows through the fibrous network and flushes out any trapped particles. It's important to handle the loofah with care during this initial rinsing stage to prevent damage to its delicate fibers.
Following the initial rinse, prepare a cleaning solution by combining warm water with a mild antibacterial soap or a few drops of tea tree oil. Submerge the loofah in the cleaning solution, allowing it to soak for several minutes to effectively disinfect and cleanse the fibers. The antibacterial properties of the soap or tea tree oil help eliminate any lingering bacteria or impurities, promoting a clean and hygienic loofah.
After soaking, gently scrub the loofah with your hands or a soft-bristled brush to remove any remaining debris and ensure that the cleaning solution permeates the entire fibrous network. Pay particular attention to areas where debris may be trapped, such as the ends and crevices of the loofah. Thoroughly rinsing the loofah under running water after scrubbing helps to remove the cleaning solution and any loosened debris, leaving the loofah fresh and clean.
Once the loofah has been cleaned and rinsed, gently squeeze out excess water and allow it to air dry completely. Proper cleaning sets the stage for effective drying, ensuring that the loofah remains free from moisture, which can lead to mold and bacterial growth. By following these cleaning steps, you can maintain a clean and hygienic loofah, setting the foundation for effective drying and long-term storage.
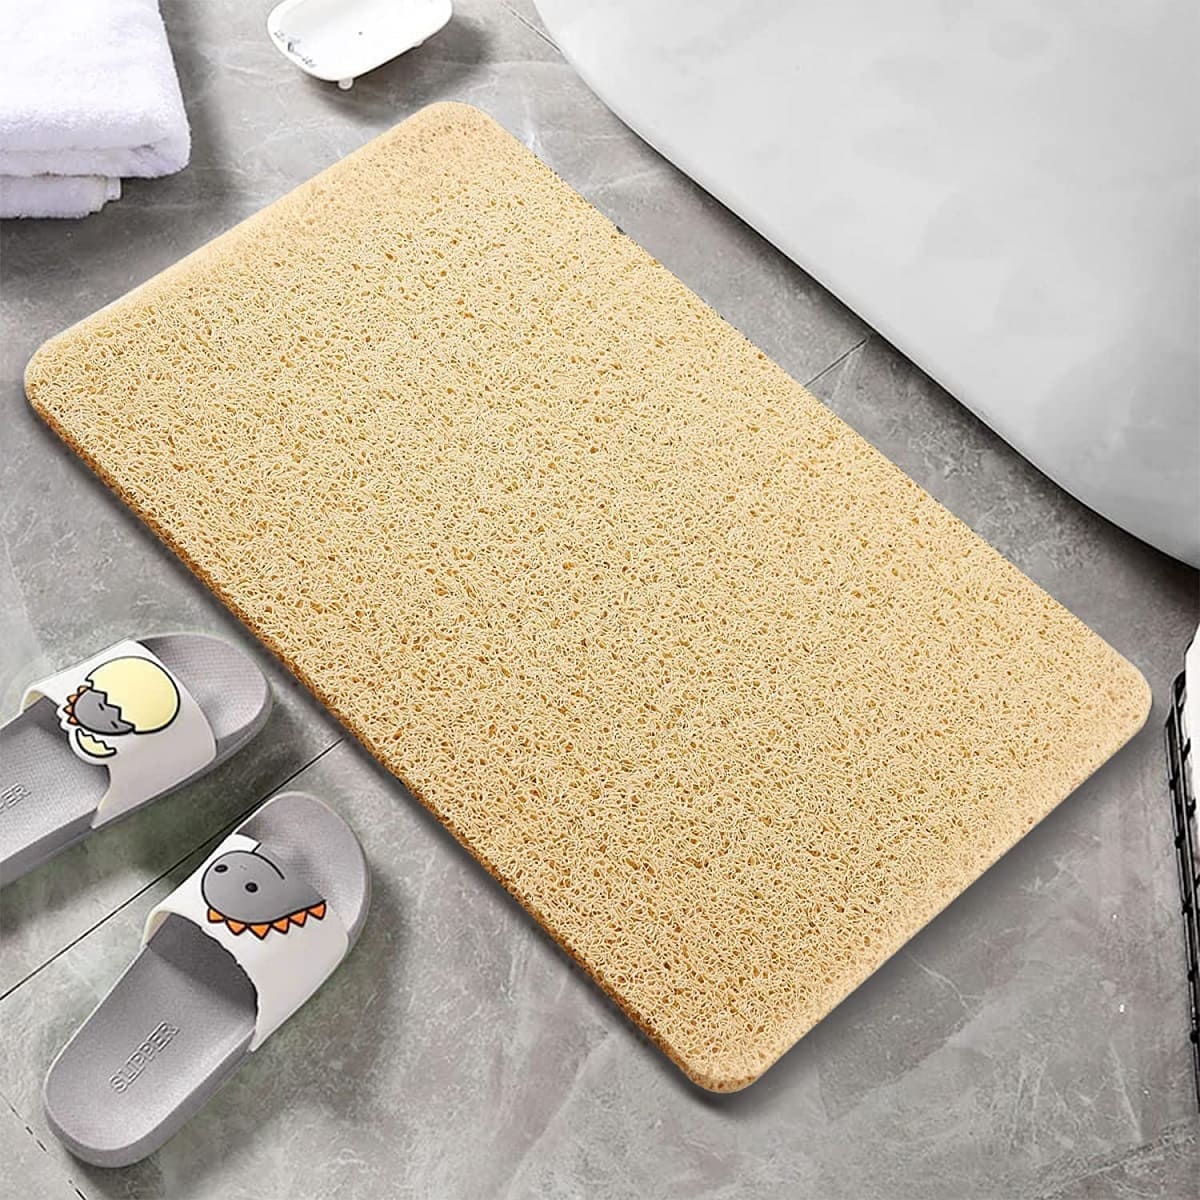
After using a loofah, rinse it thoroughly and squeeze out excess water. Hang it in a well-ventilated area to air dry completely. This will help prevent mold and bacteria growth.
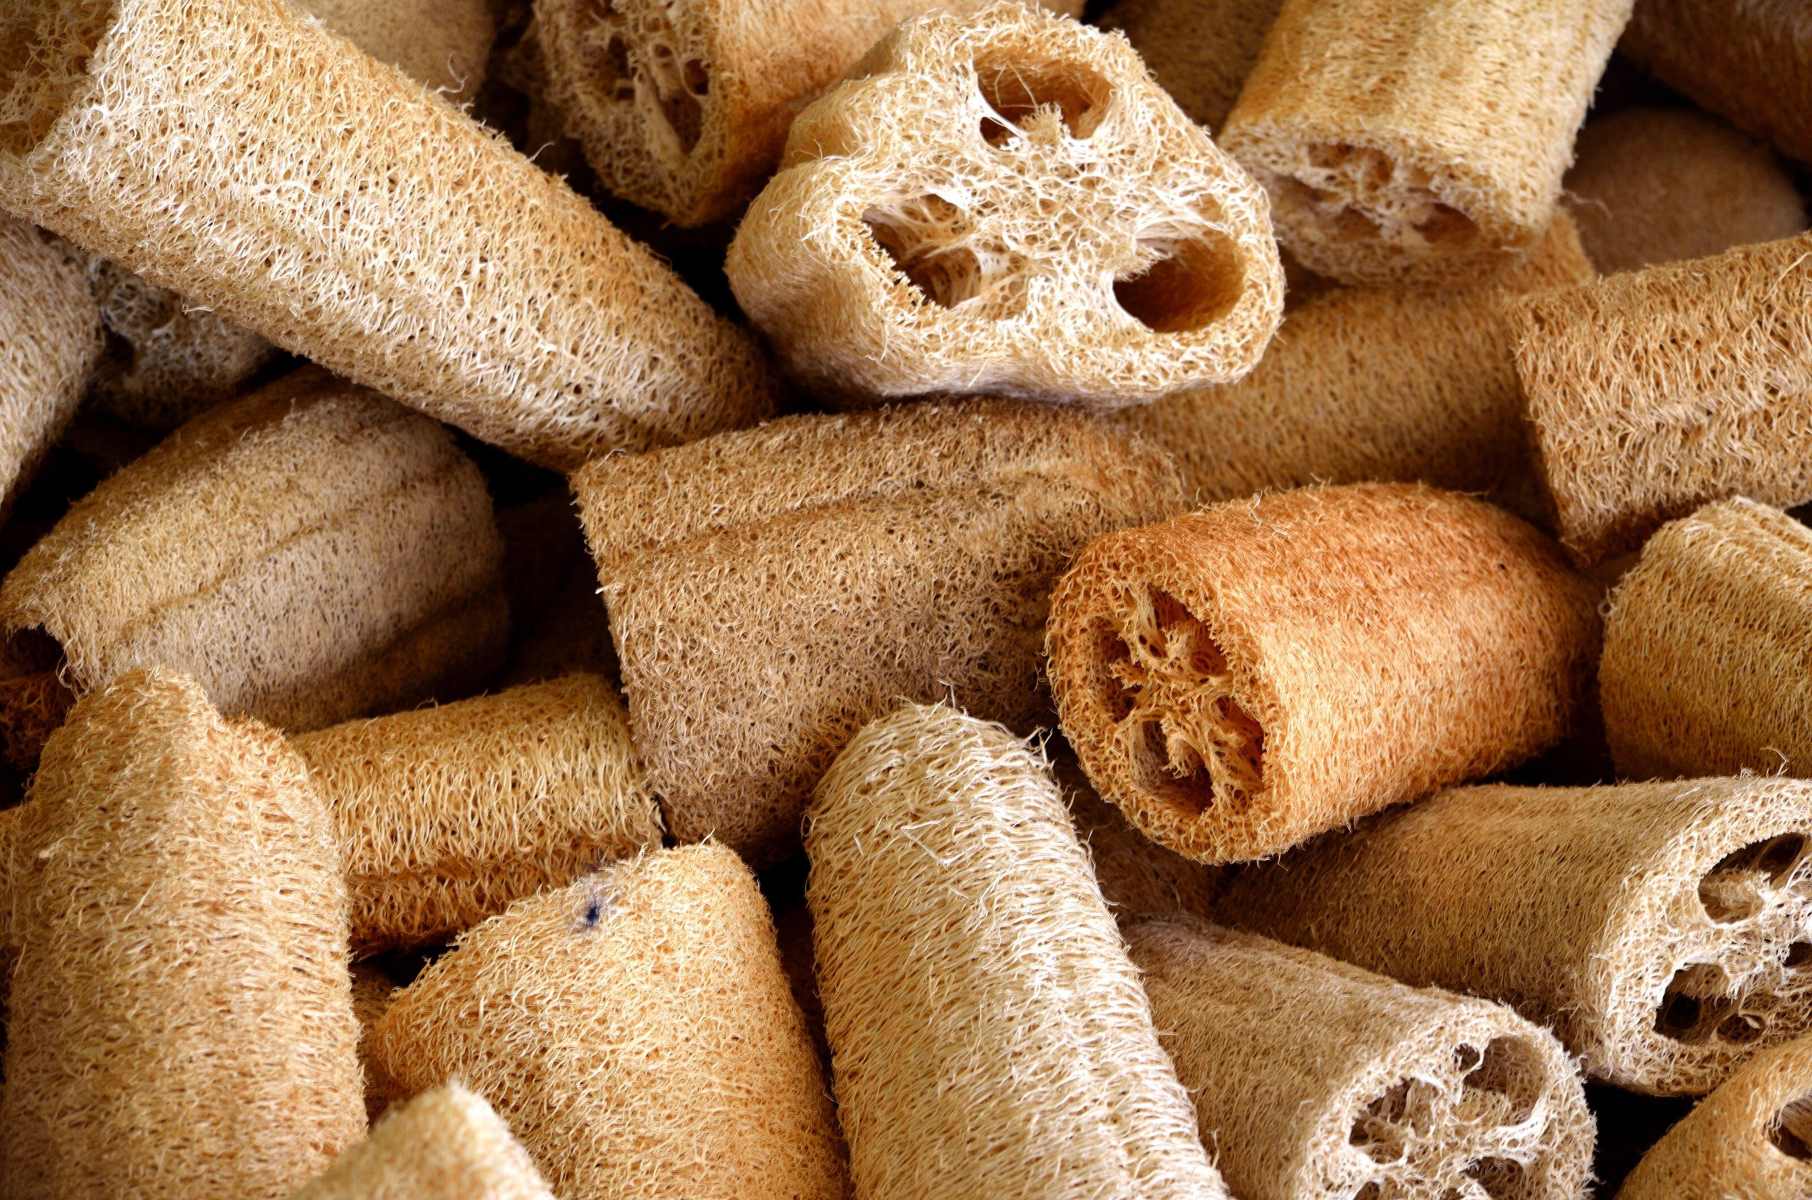
Step 3: Drying the Loofah
Drying the loofah is a critical step in maintaining its cleanliness and preventing the growth of mold and bacteria. After the cleaning process, it's essential to ensure that the loofah dries thoroughly to preserve its quality and hygiene. Proper drying techniques contribute to the longevity of the loofah, allowing it to remain a reliable and effective bathroom accessory.
To begin the drying process, gently squeeze out any excess water from the cleaned loofah. It's important to handle the loofah delicately to avoid damaging its fibers while facilitating the removal of moisture. Once excess water has been removed, place the loofah in a well-ventilated area with ample airflow. Allowing air to circulate around the loofah is crucial for promoting efficient drying and preventing the accumulation of moisture.
Another effective method for drying the loofah involves hanging it in a dry and airy location. You can use a hook or a hanger to suspend the loofah, ensuring that it is exposed to air on all sides. This approach facilitates even drying and helps prevent the formation of damp spots, which can become breeding grounds for bacteria. By hanging the loofah, you can expedite the drying process and ensure that it remains free from excess moisture.
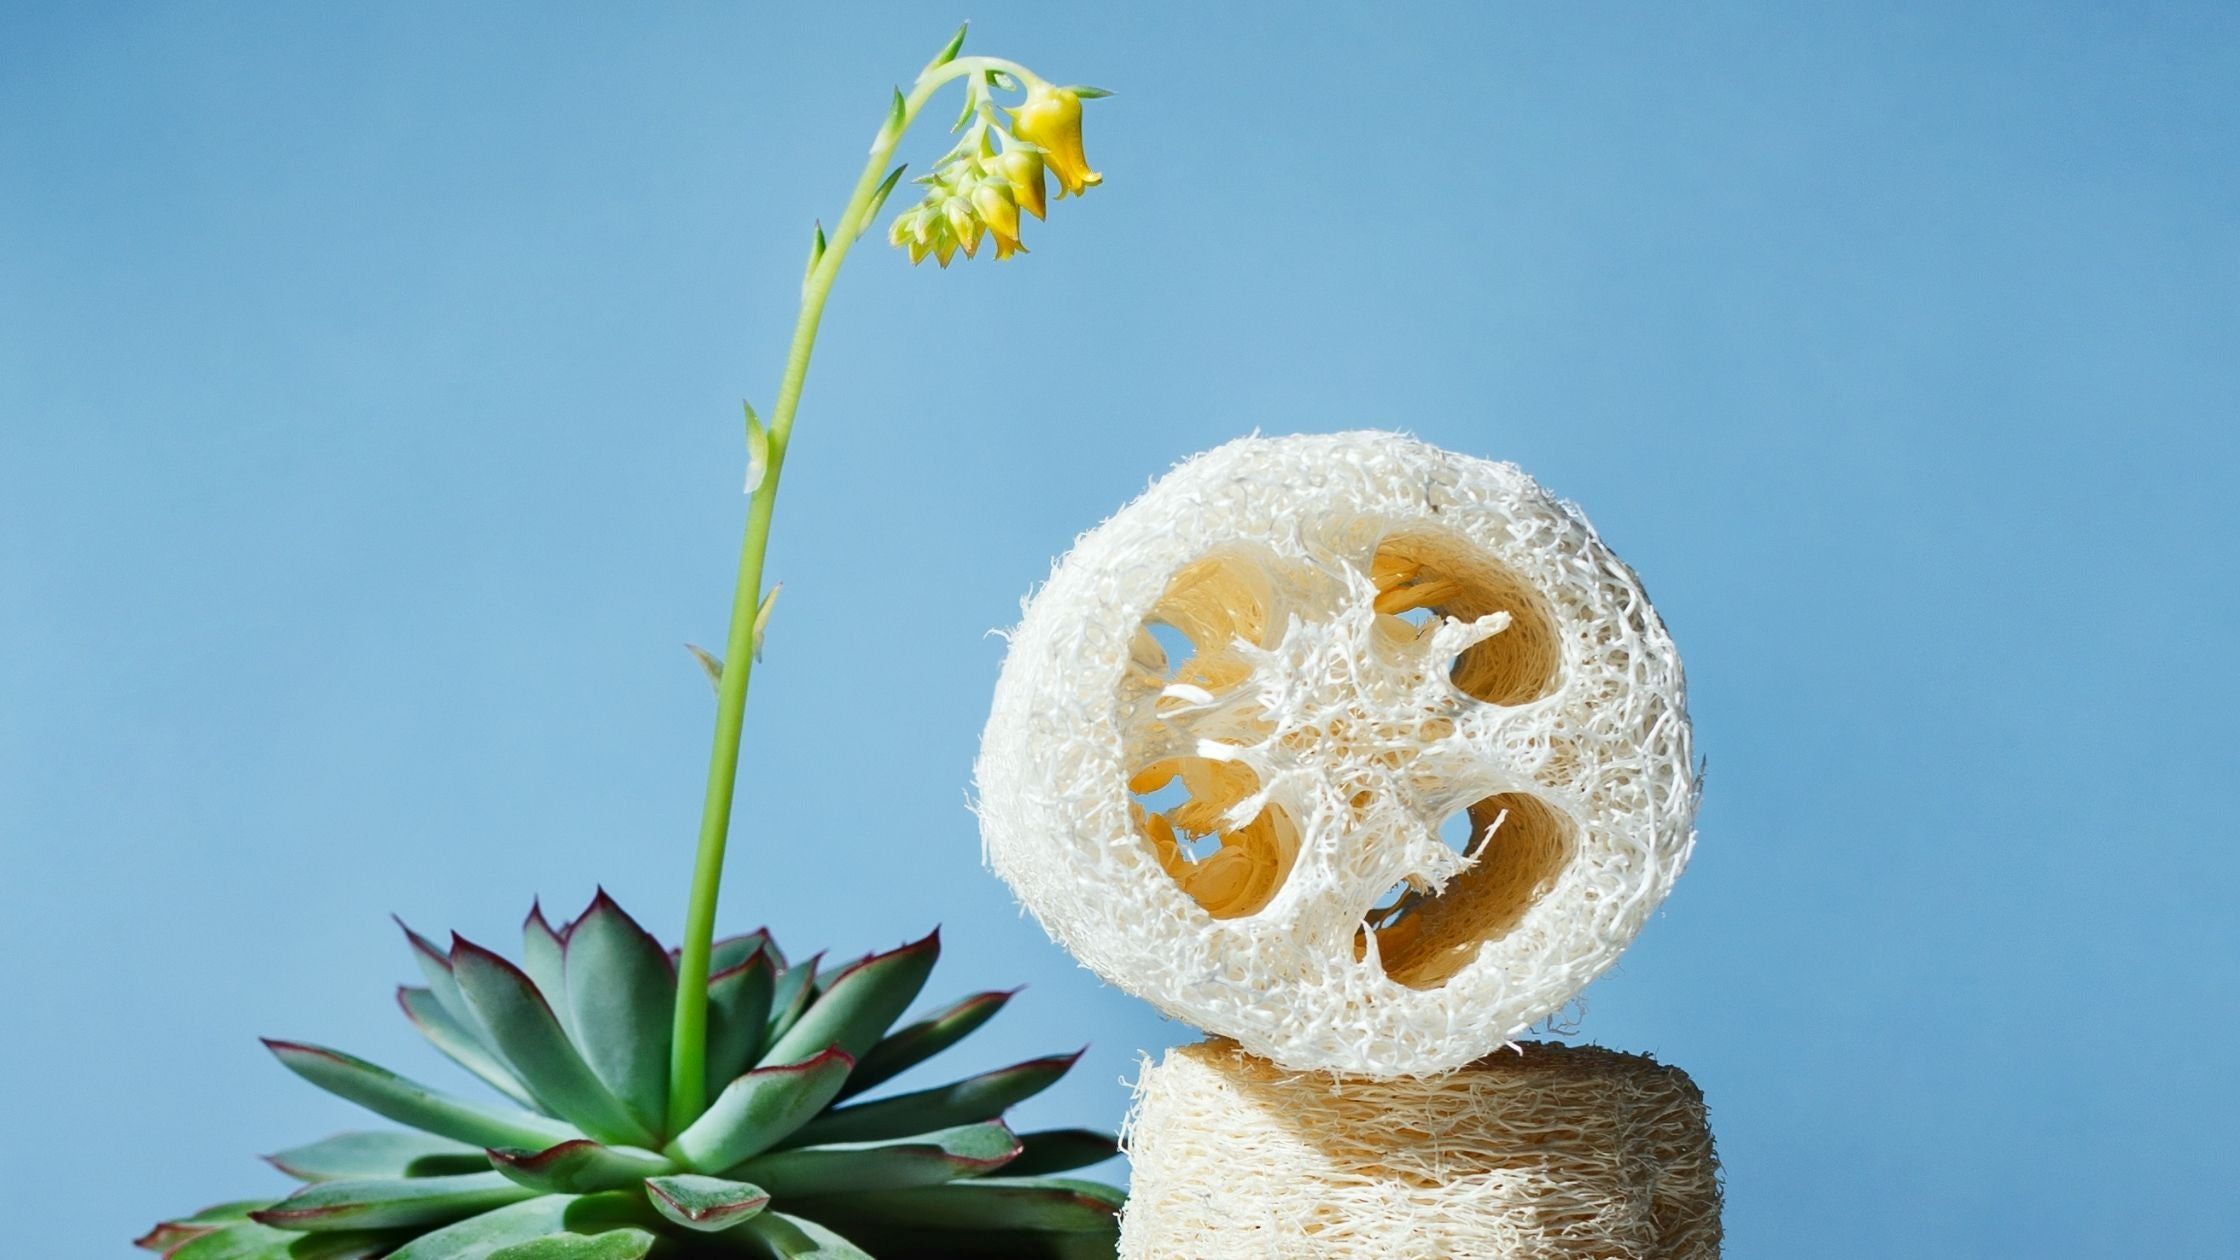
In addition to air drying, you can also place the loofah in direct sunlight to aid in the drying process. Sunlight not only accelerates drying but also offers natural disinfectant properties, further enhancing the cleanliness of the loofah. When placing the loofah in sunlight, it's important to choose a location with consistent exposure to ensure thorough drying. However, it's essential to avoid prolonged exposure to direct sunlight, as excessive heat can potentially damage the loofah's fibers.
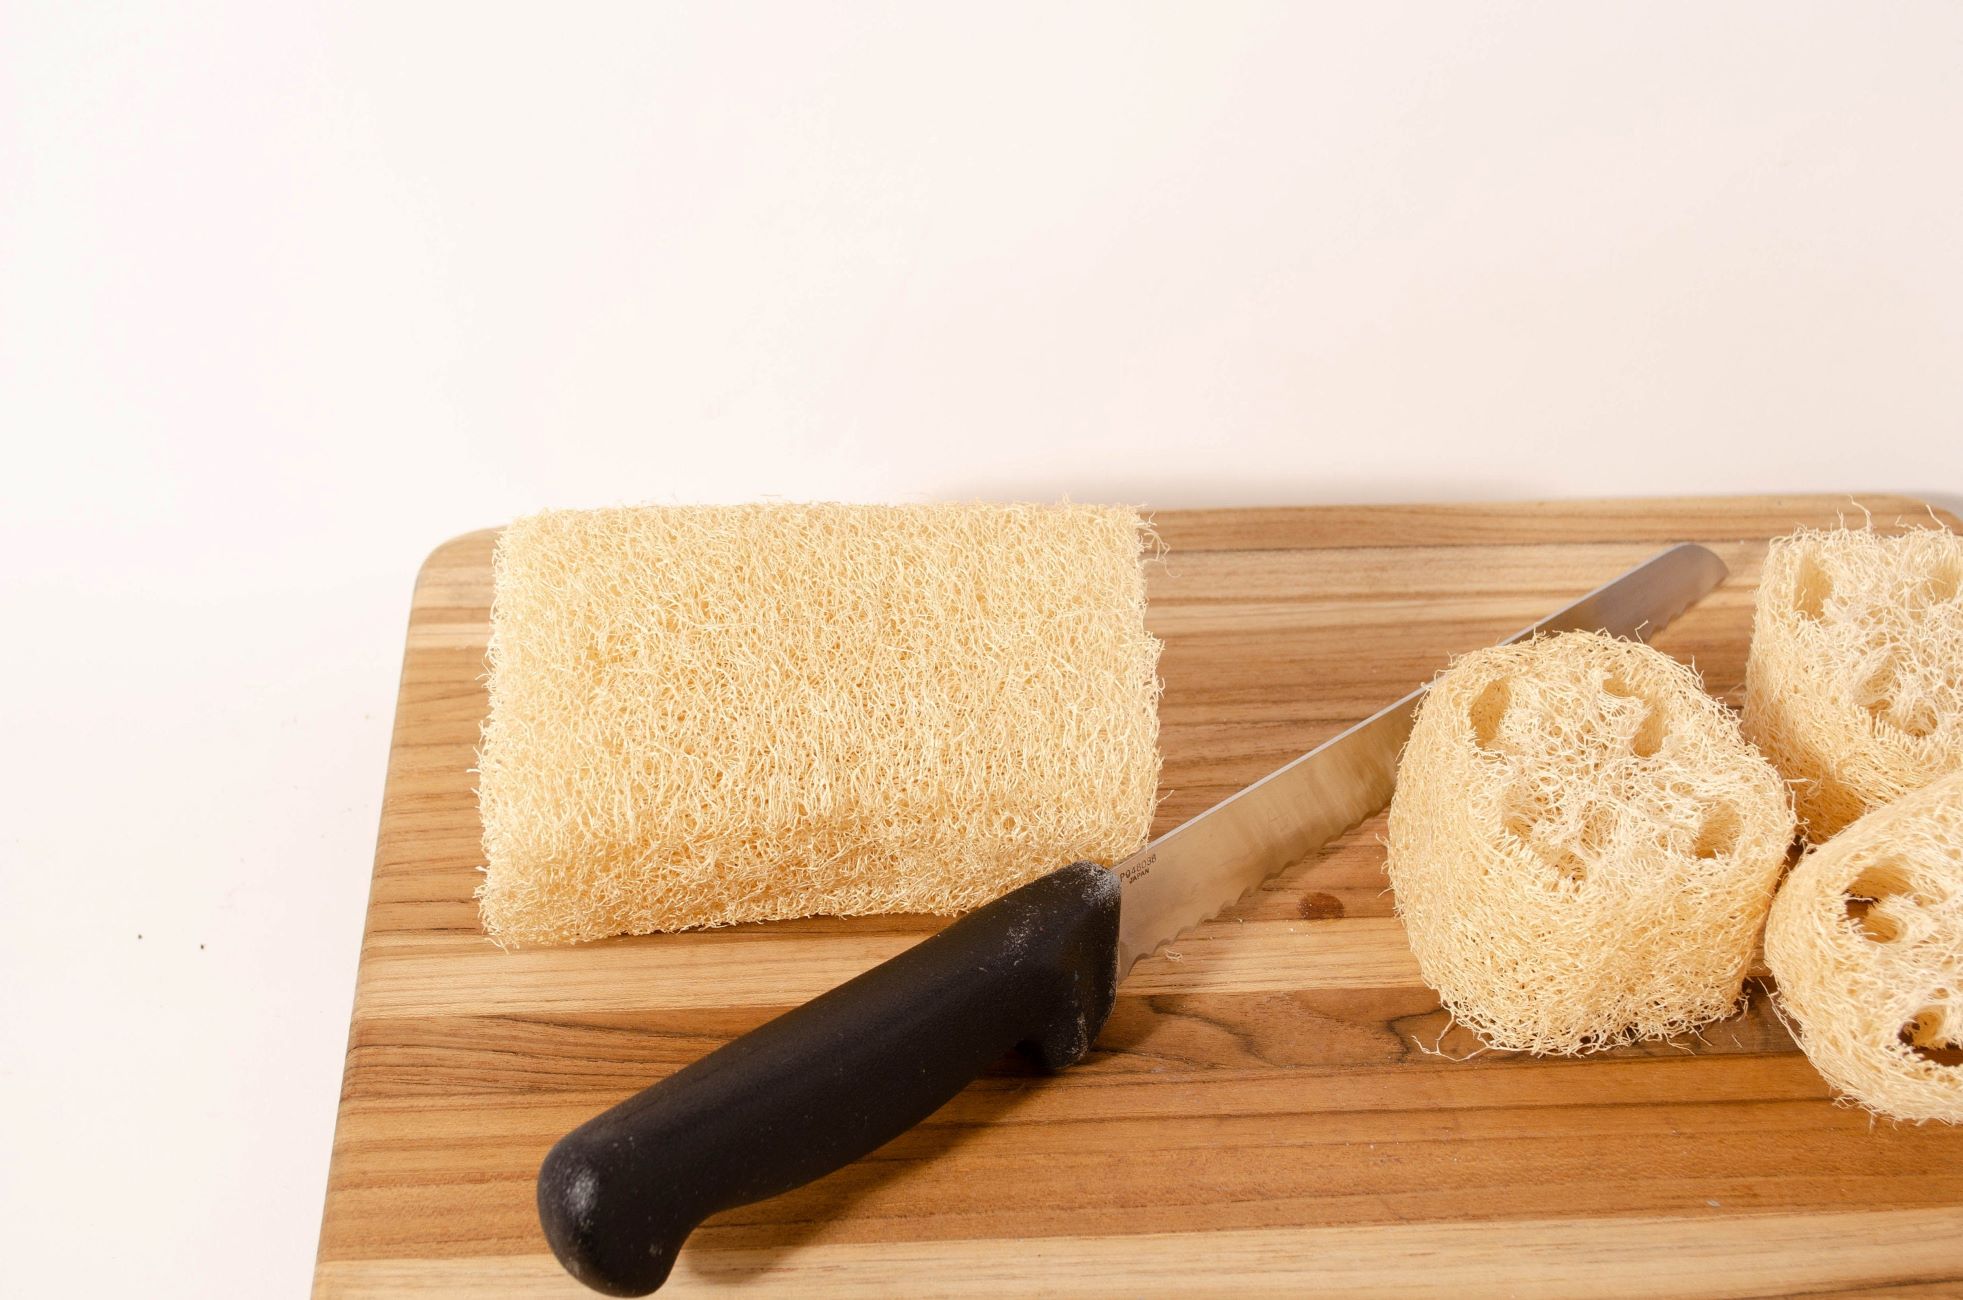
Throughout the drying process, it's advisable to periodically check the loofah to assess its dryness. Depending on environmental conditions such as humidity and airflow, the drying time may vary. Once the loofah feels completely dry to the touch and no longer retains any moisture, it is ready for storage or immediate use.
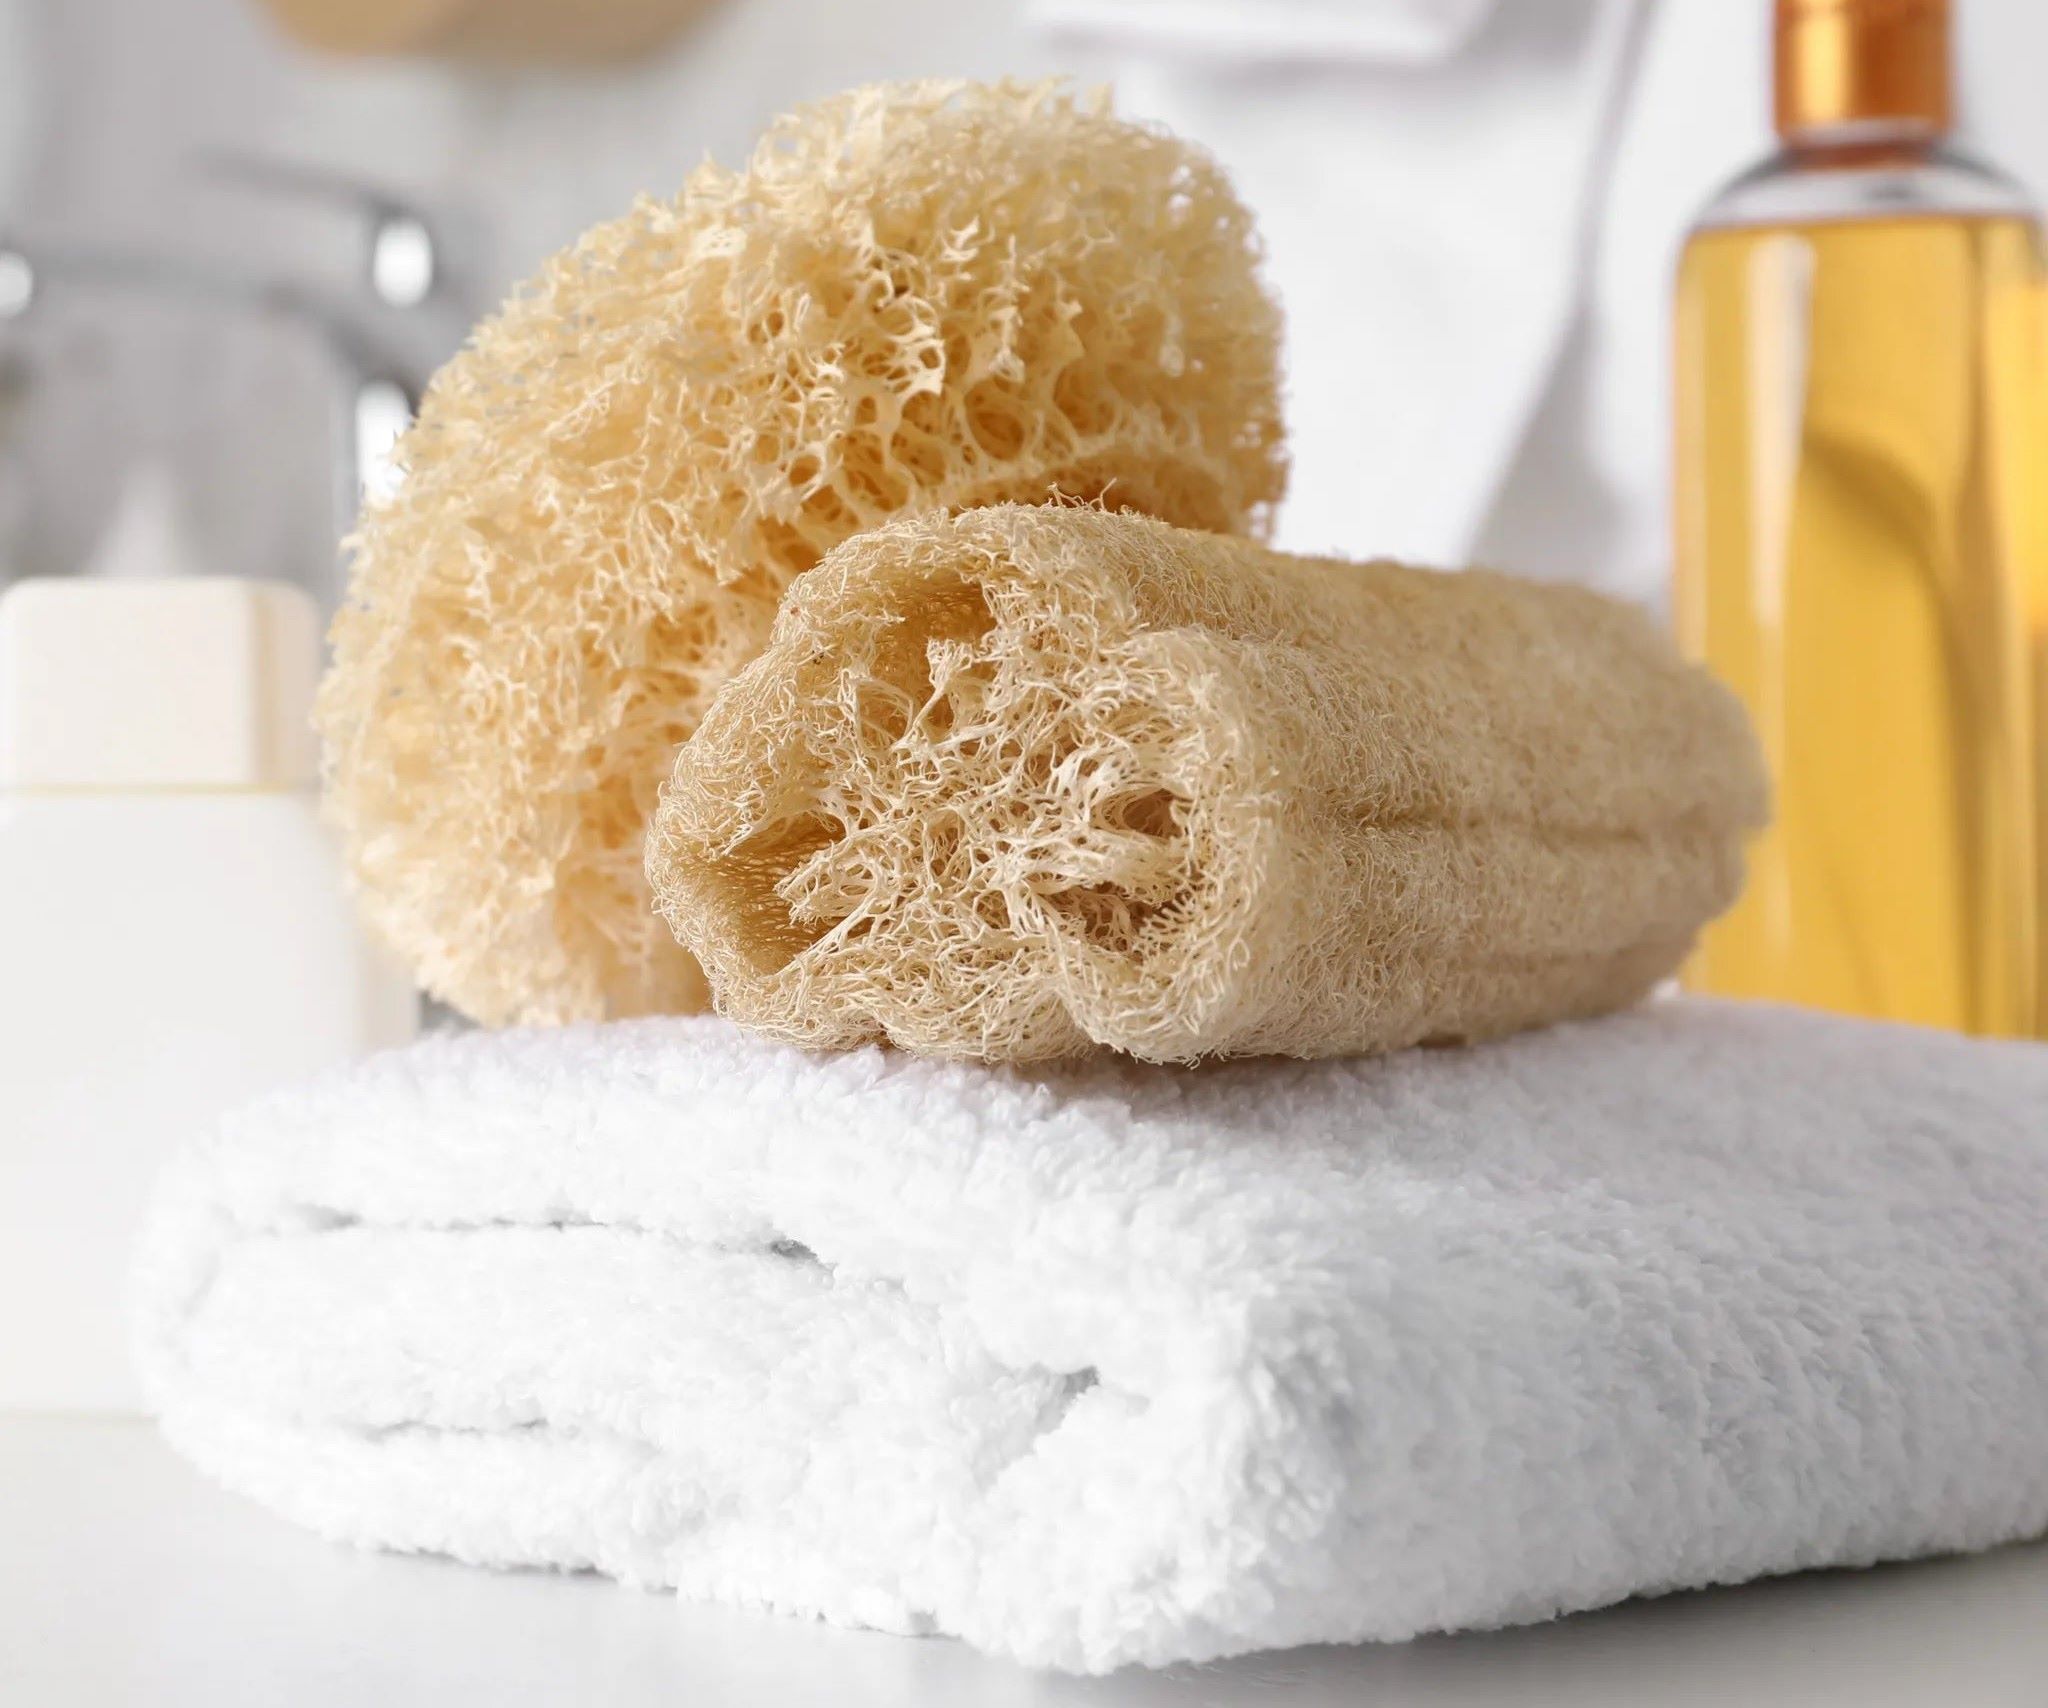
By following these drying techniques, you can maintain a clean, hygienic, and effective loofah. Proper drying not only preserves the quality of the loofah but also contributes to a healthy and enjoyable bathing experience. With the loofah thoroughly dried, you can proceed to the final step of storing it appropriately for future use.
Step 4: Storing the Dried Loofah
Proper storage of the dried loofah is essential for maintaining its cleanliness and prolonging its usability. After the loofah has been thoroughly dried, it's crucial to store it in a manner that prevents moisture buildup and minimizes the risk of bacterial growth. By following effective storage practices, you can ensure that your loofah remains in optimal condition, ready for future use in your bath and shower routine.
One of the most important considerations when storing a dried loofah is to choose a location that is dry and well-ventilated. Moisture-laden environments can promote the growth of mold and bacteria, compromising the integrity of the loofah. Therefore, it's advisable to store the dried loofah in a place where air can circulate freely, such as a bathroom with good ventilation or a dry storage area.
To further protect the dried loofah from moisture, consider placing it in a breathable container or a mesh bag. These storage solutions allow air to flow around the loofah while providing a degree of protection from dust and debris. Avoid storing the loofah in airtight or non-breathable containers, as these can trap moisture and create an environment conducive to bacterial growth.
When selecting a storage location for the dried loofah, it's important to keep it away from areas prone to excessive moisture, such as near the shower or bathtub. Additionally, avoid placing the loofah in direct contact with surfaces that may retain moisture, as this can compromise its cleanliness and contribute to the development of mold.
Regularly inspect the stored loofah to ensure that it remains dry and free from signs of mold or mildew. If any moisture accumulation is detected, take the necessary steps to dry the loofah thoroughly before returning it to storage. By maintaining vigilance over the storage conditions, you can preserve the quality and hygiene of the dried loofah.
By implementing these storage practices, you can safeguard the cleanliness and usability of your dried loofah, ensuring that it remains a reliable and effective bathroom accessory. With proper storage, you can confidently incorporate the loofah into your bathing routine, harnessing its exfoliating and cleansing benefits for an enjoyable and refreshing experience.
Frequently Asked Questions about How To Dry Loofah
Was this page helpful?
At Storables.com, we guarantee accurate and reliable information. Our content, validated by Expert Board Contributors, is crafted following stringent Editorial Policies. We're committed to providing you with well-researched, expert-backed insights for all your informational needs.

0 thoughts on “How To Dry Loofah”