Home>Furniture & Design>Bathroom Accessories>How To Clean A New Loofah
Bathroom Accessories
How To Clean A New Loofah
Modified: February 18, 2024
Learn how to properly clean a new loofah to keep your bathroom accessories hygienic and long-lasting. Follow these simple steps for effective loofah maintenance. Ideal for bathroom accessories.
(Many of the links in this article redirect to a specific reviewed product. Your purchase of these products through affiliate links helps to generate commission for Storables.com, at no extra cost. Learn more)
Introduction
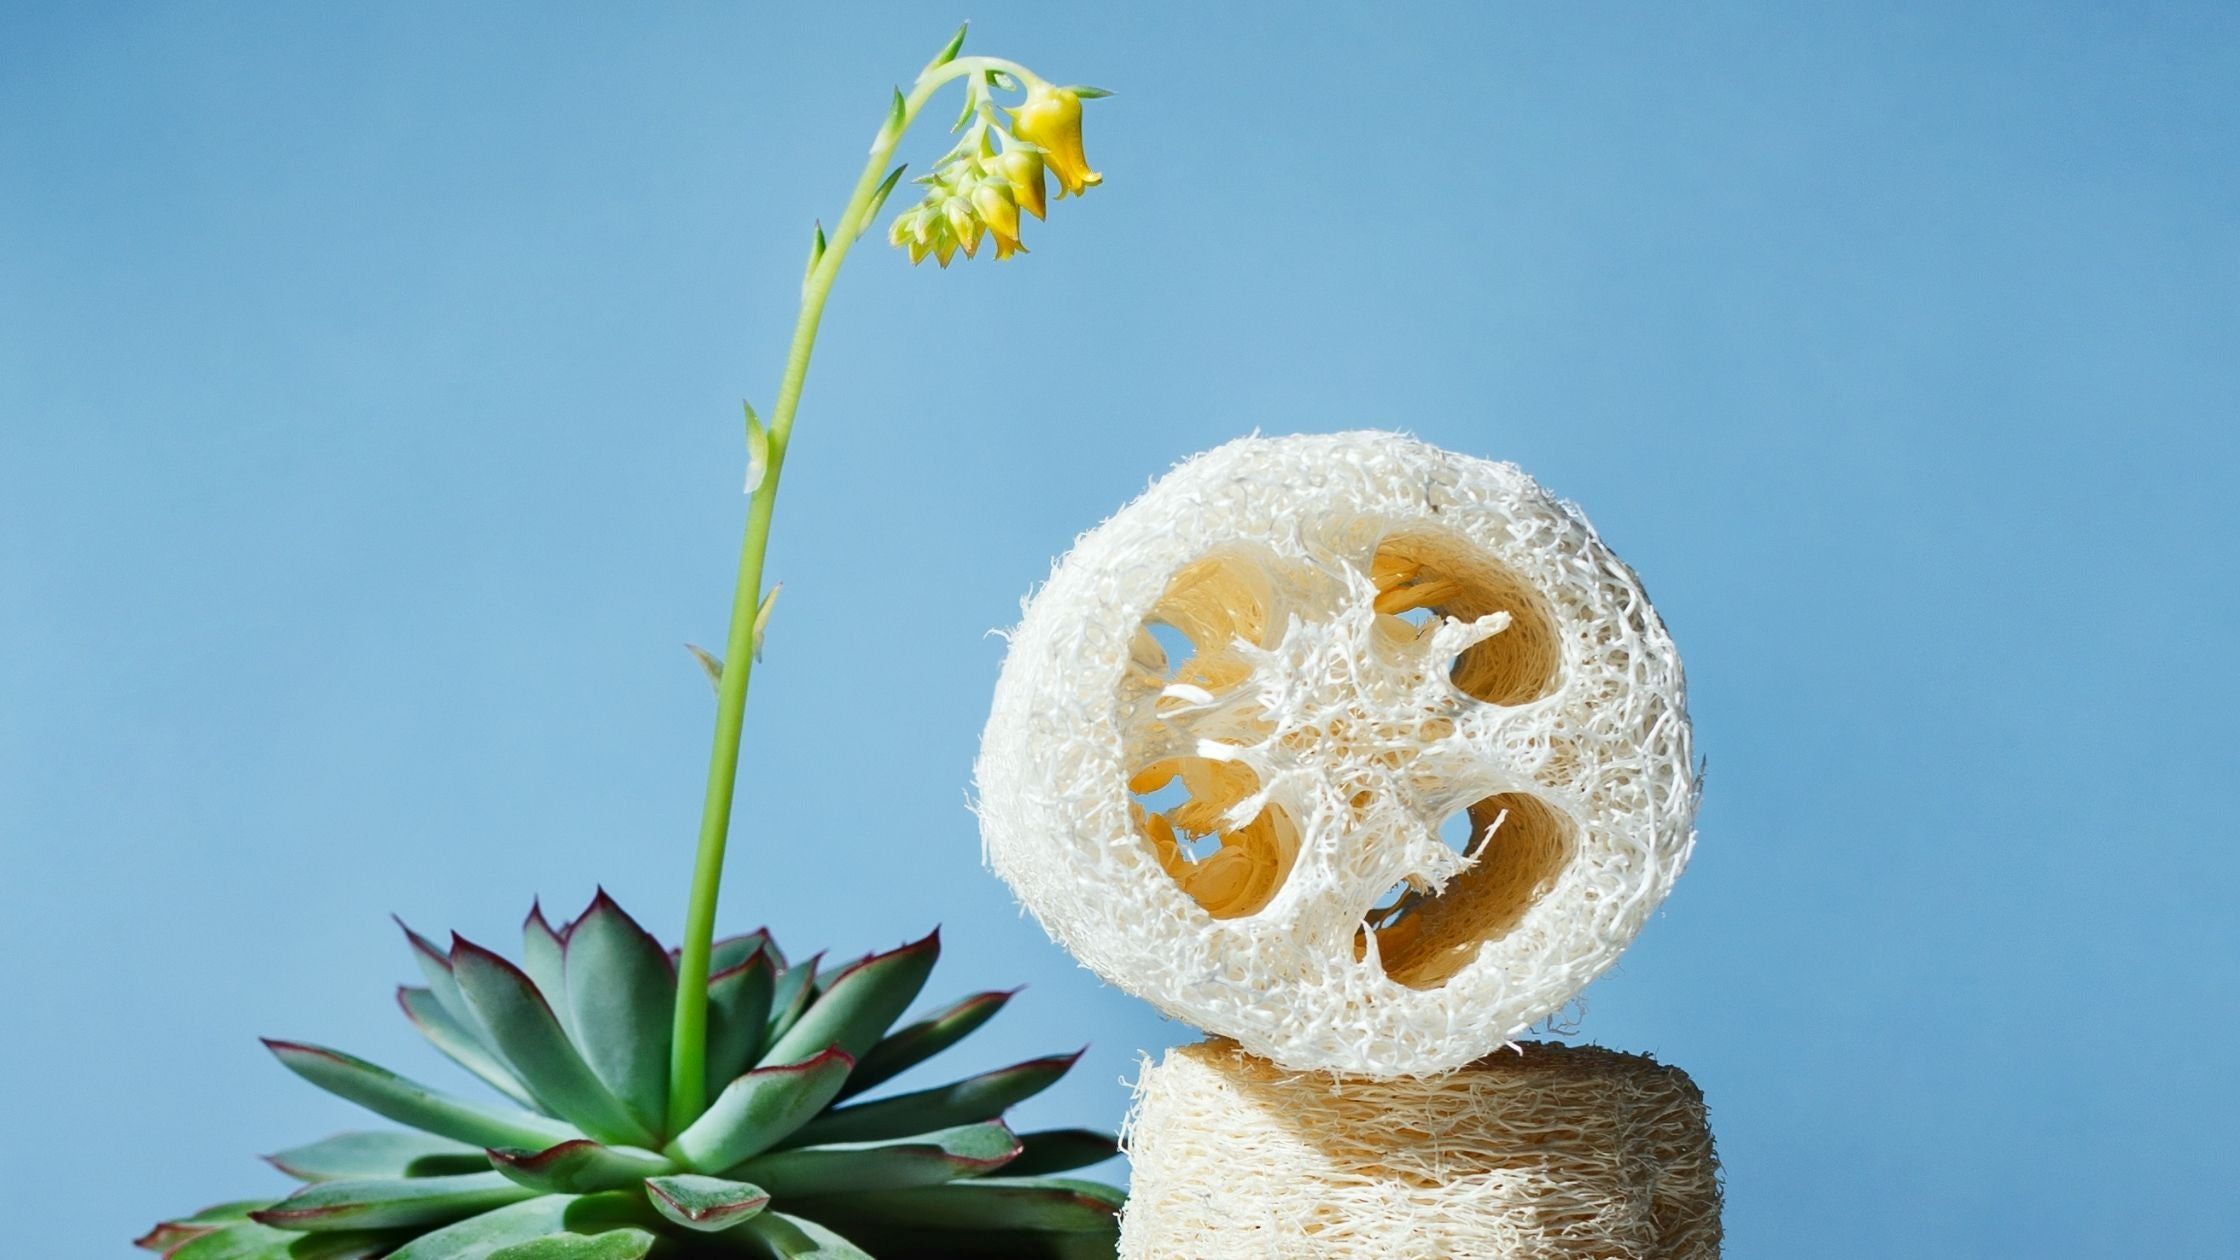
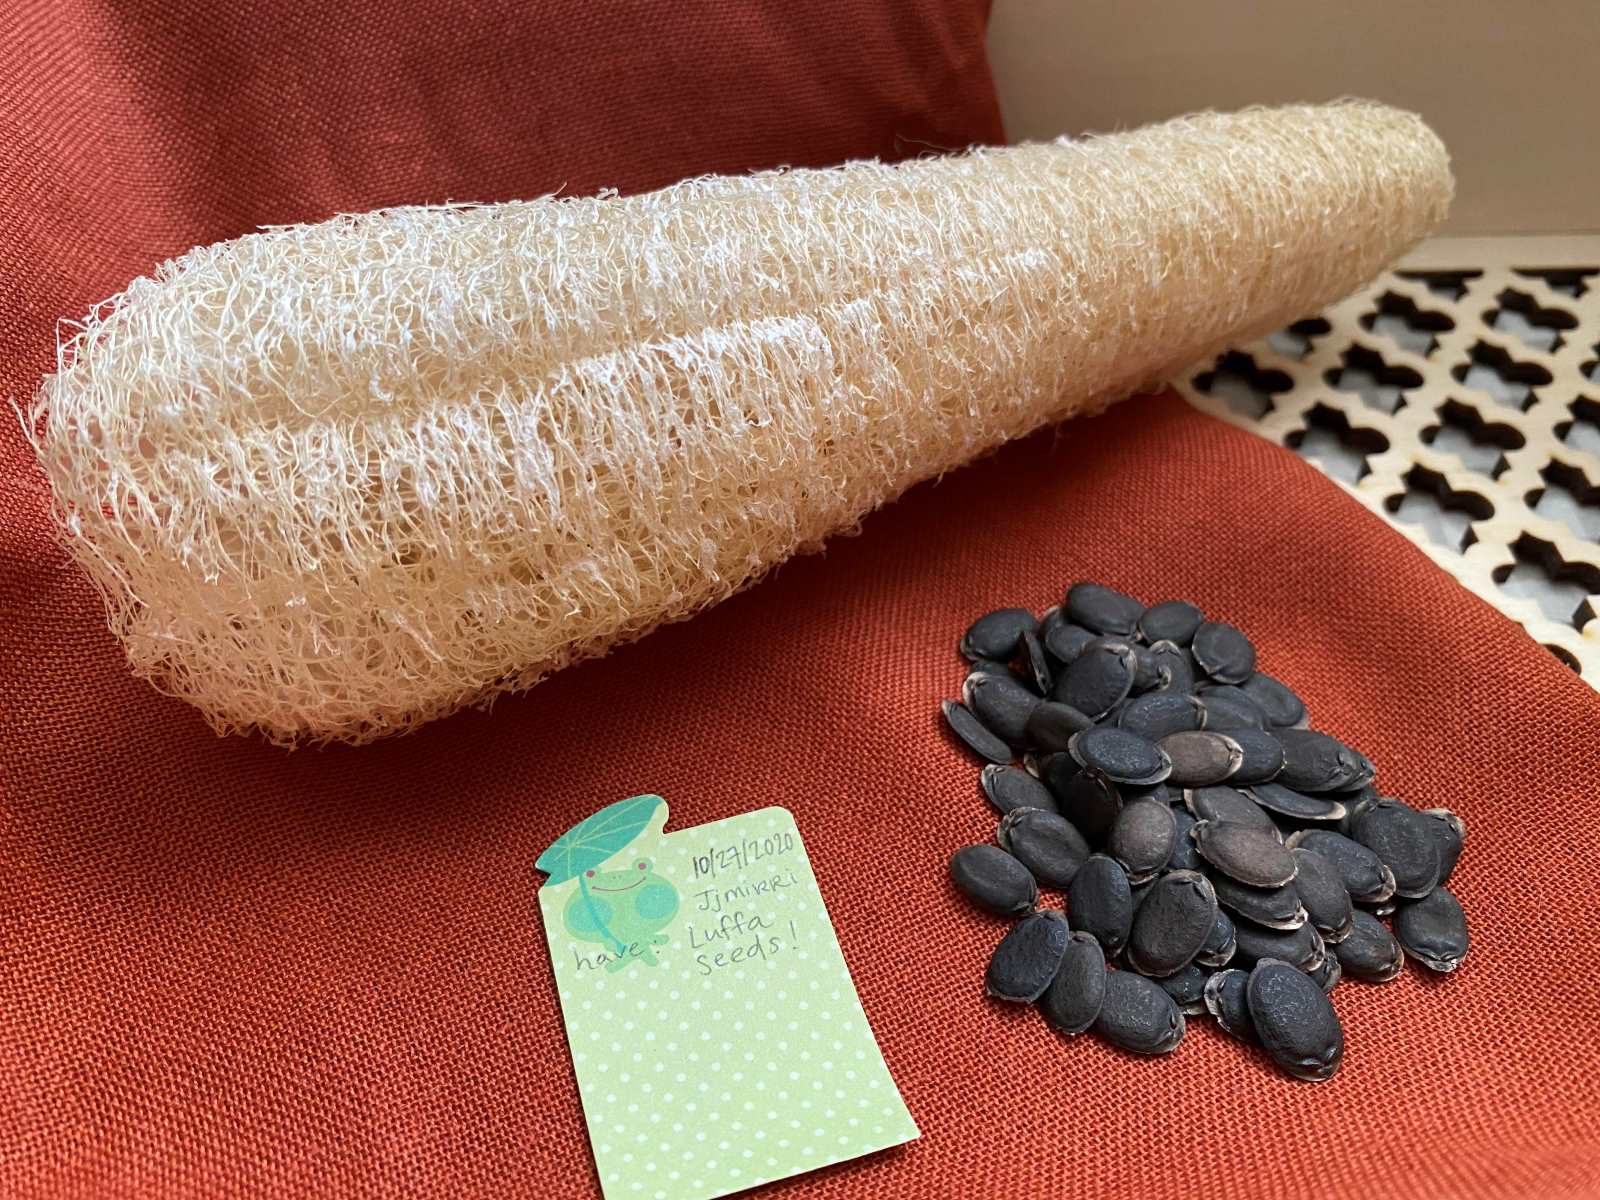
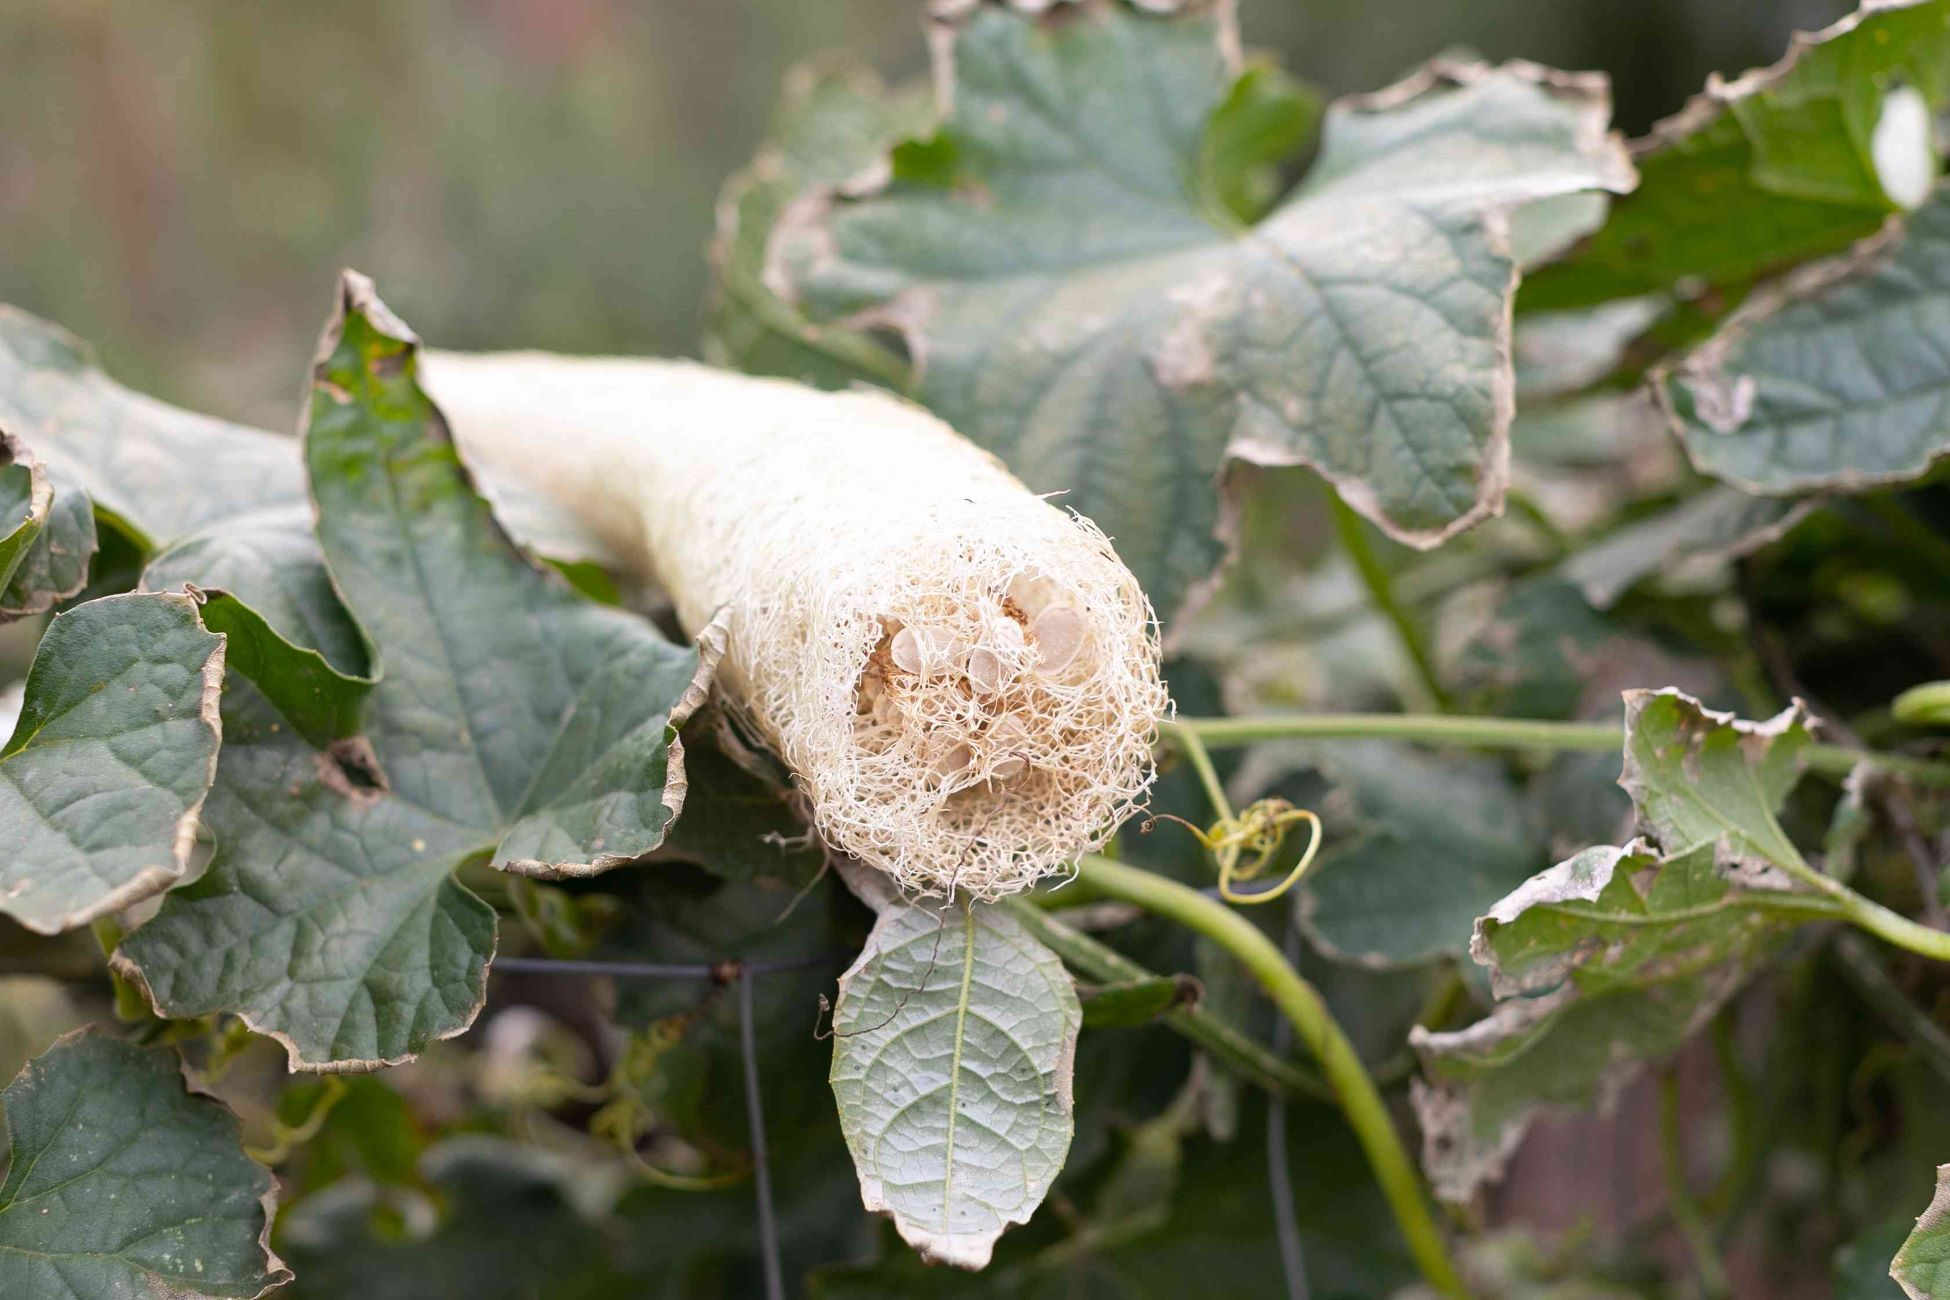
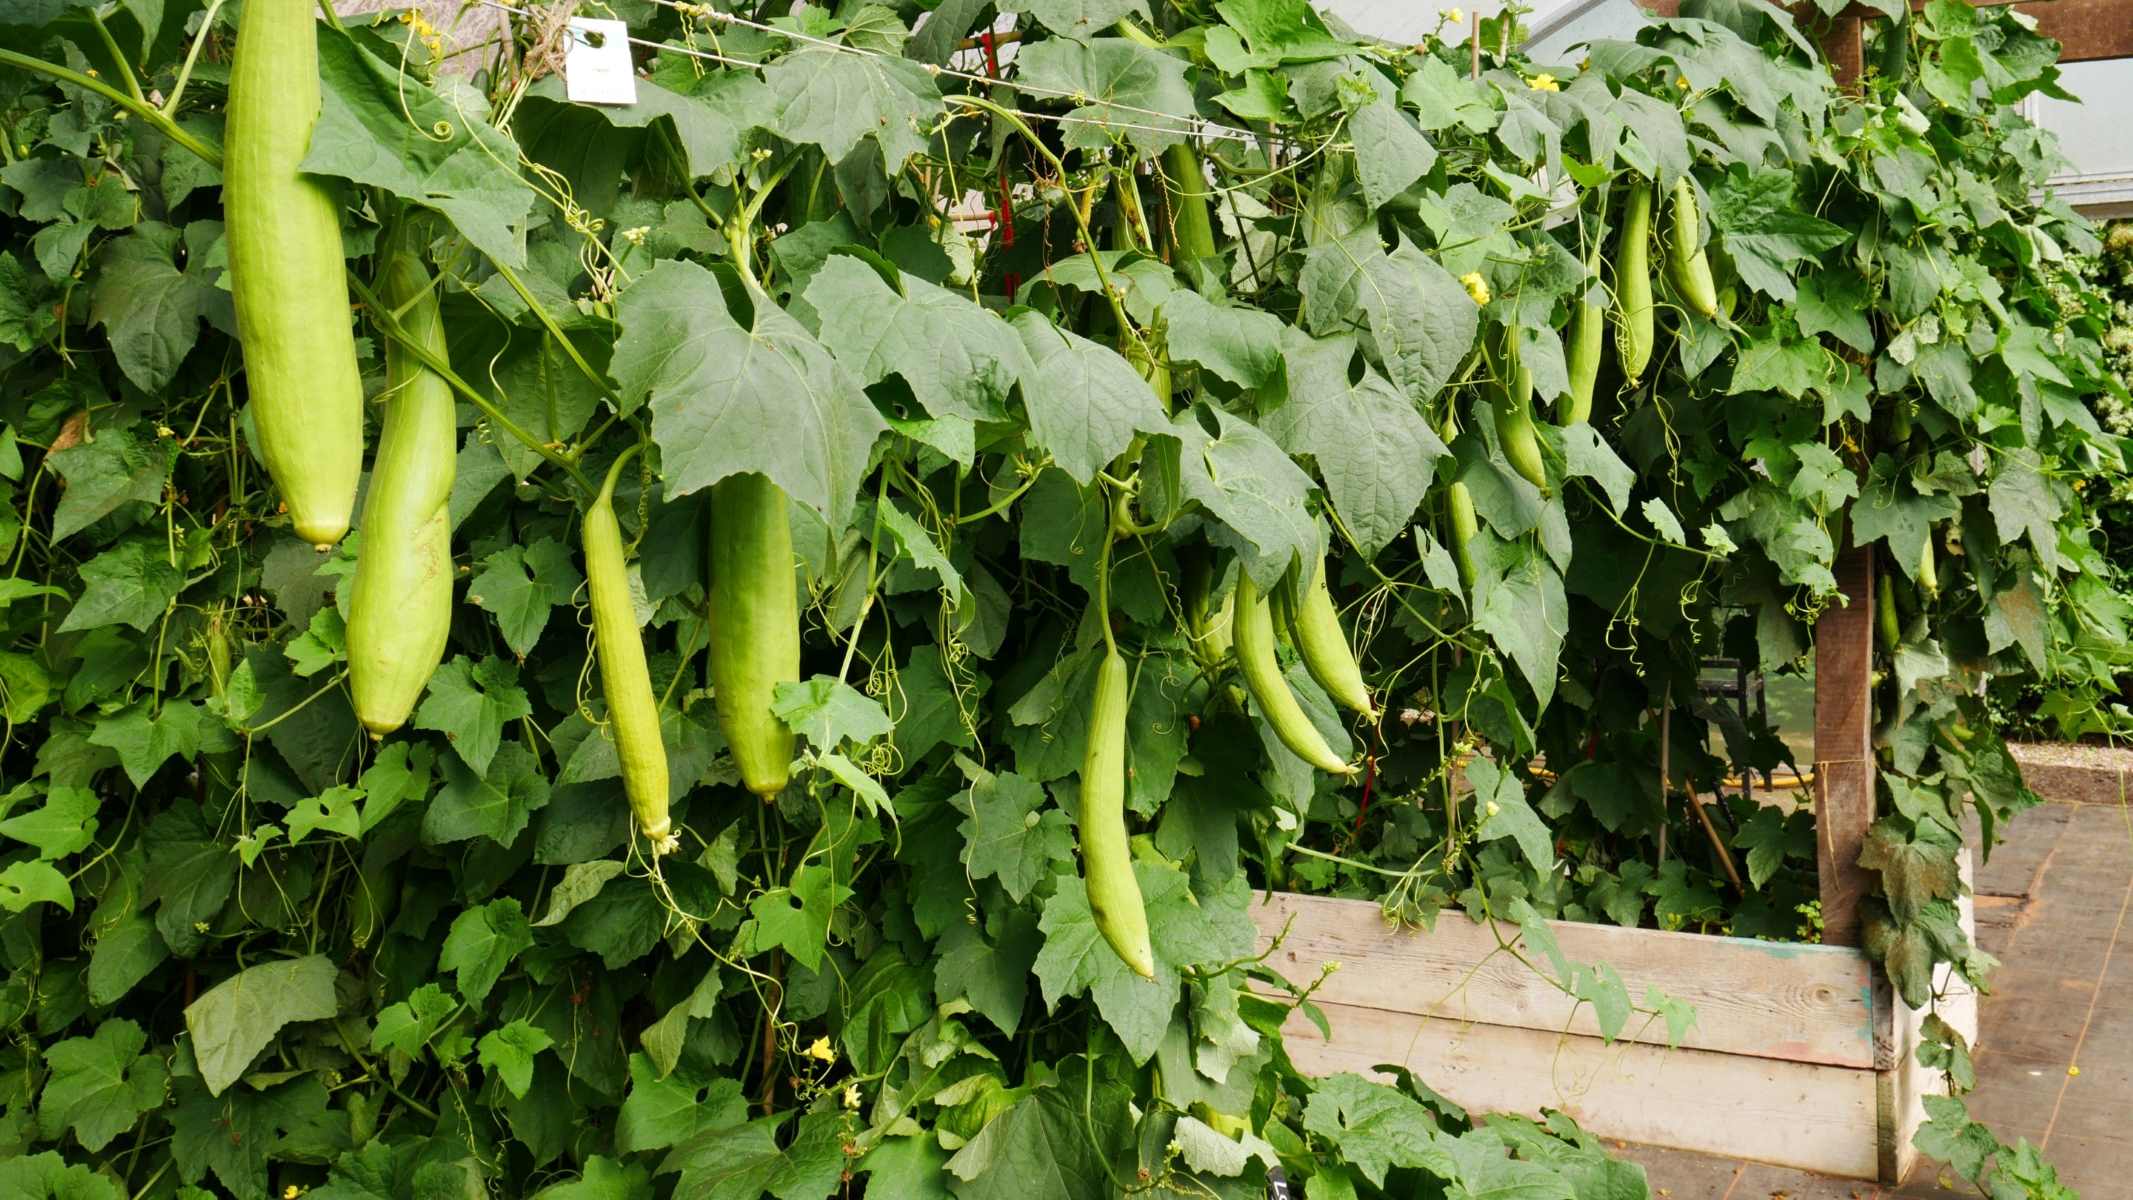
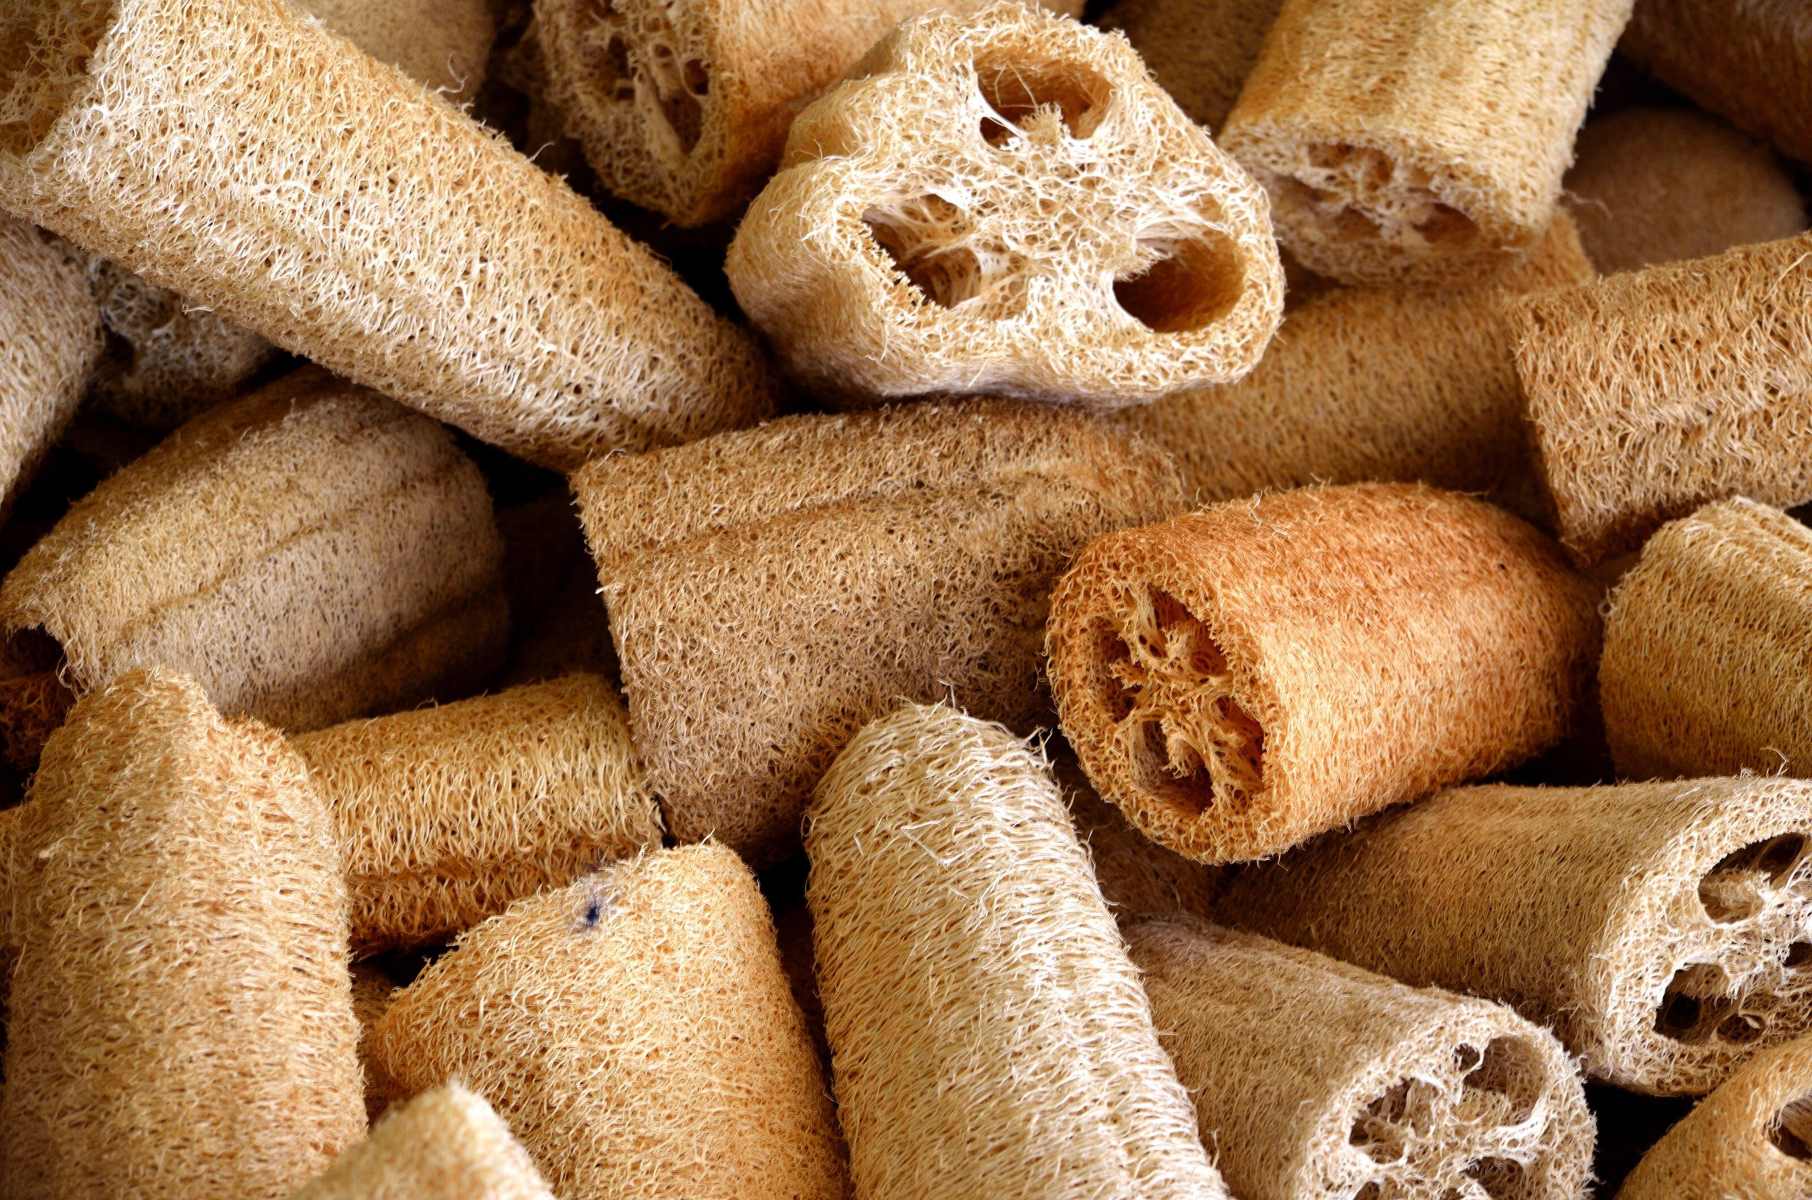
When you bring home a new loofah, it's like welcoming a new member into your bath time routine. The natural fibers of a loofah make it an excellent exfoliating tool, helping to slough away dead skin cells and leave your skin feeling refreshed and rejuvenated. However, before you start incorporating your new loofah into your daily shower ritual, it's essential to give it a thorough cleaning to remove any impurities it may have picked up during manufacturing and packaging.
Properly cleaning a new loofah not only ensures that it's free from any dirt or debris but also helps to prepare it for use, making it more effective and hygienic. By following a few simple steps, you can ensure that your new loofah is clean and ready to provide you with a luxurious bathing experience.
In the following sections, we will guide you through the process of cleaning your new loofah, from soaking and rinsing to disinfecting and drying. By the end of this guide, you'll have all the knowledge you need to maintain a clean and healthy loofah, ready to elevate your daily shower routine. So, let's dive into the steps and learn how to properly clean a new loofah for optimal hygiene and effectiveness.
Key Takeaways:
- Keep your new loofah clean by soaking, rinsing, disinfecting, and drying it thoroughly. This ensures a hygienic and effective bathing experience, leaving your skin refreshed and revitalized.
- Properly cleaning and maintaining your new loofah maximizes its effectiveness and longevity, providing gentle exfoliation and elevating your daily shower routine. Enjoy its benefits with confidence and peace of mind.
Read more: How To Clean Loofah Bath Mat
Step 1: Soak the Loofah
Before using your new loofah for the first time, it's crucial to initiate the cleaning process by soaking it in a solution that will help remove any impurities and residues. This initial step is essential for preparing the loofah for use, ensuring that it is clean and ready to provide an effective and hygienic bathing experience.
To begin, fill a clean basin or sink with warm water. The warm water helps to soften the natural fibers of the loofah, making it easier to clean and ensuring that the cleaning solution can penetrate the material effectively. You can also add a small amount of gentle, natural soap or a mild cleansing solution to the water. This will aid in breaking down any oils or residues that may be present on the surface of the loofah.
Once the basin is filled with warm water and the cleaning solution, gently submerge the new loofah, ensuring that it is fully immersed in the water. Allow the loofah to soak for at least 10 to 15 minutes, giving the warm water and cleansing solution ample time to work their magic and loosen any impurities from the fibers.
While the loofah is soaking, you can gently agitate it by squeezing and releasing it under the water. This helps to ensure that the cleaning solution reaches all parts of the loofah, effectively dislodging any debris or residues that may be trapped within the fibers.
After the soaking period, carefully remove the loofah from the water and proceed to the next step of the cleaning process. The soaking step sets the foundation for a thorough cleaning, allowing the warm water and cleansing solution to begin the process of purifying the loofah and preparing it for regular use.
By taking the time to soak your new loofah in warm water and a gentle cleansing solution, you are setting the stage for a clean and effective bathing accessory. This initial step helps to ensure that your loofah is free from any impurities or residues, laying the groundwork for a hygienic and refreshing shower experience.
Step 2: Rinse and Squeeze
After the initial soaking process, the next step in cleaning your new loofah involves thorough rinsing and gentle squeezing to remove any remaining impurities and cleaning solution. This step is crucial for ensuring that the loofah is completely clean and free from any lingering residues, setting the stage for a hygienic and effective bathing experience.
To begin, hold the soaked loofah under running water, allowing the warm water to flow through the natural fibers. As you rinse the loofah, gently squeeze it to help flush out any loosened debris and residual cleaning solution. Ensure that you rinse the loofah thoroughly, paying attention to each section to guarantee that all impurities are effectively removed.
While rinsing, you may notice that the water running through the loofah becomes clearer, indicating that the impurities and residues are being washed away. Continue rinsing and squeezing the loofah until the water runs clear and there are no visible signs of dirt or cleaning solution.
As you rinse and squeeze the loofah, take care to handle it gently to avoid damaging the natural fibers. The goal is to remove any remaining impurities while preserving the integrity of the loofah, ensuring that it remains effective and long-lasting.
Once you have thoroughly rinsed and squeezed the loofah, it's important to assess its cleanliness. Take a moment to inspect the loofah, checking for any lingering debris or discoloration. If you notice any remaining impurities, repeat the rinsing and squeezing process until the loofah is completely clean.
By diligently rinsing and squeezing your new loofah, you are taking the necessary steps to ensure that it is free from any impurities or residues, setting the stage for a hygienic and rejuvenating bathing experience. This meticulous approach to cleaning your loofah helps to maintain its effectiveness and prolong its lifespan, allowing you to enjoy its exfoliating benefits with confidence and peace of mind.
To clean a new loofah, soak it in a mixture of water and white vinegar for 5-10 minutes, then rinse thoroughly and allow it to air dry. This will help remove any dirt, debris, or bacteria from the loofah.
Step 3: Disinfect the Loofah
Disinfecting your new loofah is a critical step in the cleaning process, ensuring that it is free from any potential bacteria or germs that may have accumulated during manufacturing, packaging, or handling. By effectively disinfecting the loofah, you can maintain optimal hygiene and ensure that it is safe for use on your skin.
To begin the disinfection process, prepare a solution of equal parts water and white vinegar in a clean basin or sink. White vinegar is a natural disinfectant that can help eliminate bacteria and germs, making it an ideal choice for cleaning and disinfecting household items, including loofahs.
Once the vinegar solution is ready, submerge the rinsed loofah into the basin, ensuring that it is fully immersed in the disinfecting solution. Allow the loofah to soak in the vinegar solution for at least 15 to 20 minutes, providing ample time for the disinfectant properties of the vinegar to take effect.
While the loofah is soaking, gently agitate it by squeezing and releasing it under the vinegar solution. This helps to ensure that the disinfectant reaches all parts of the loofah, effectively eliminating any potential bacteria or germs that may be present.
After the soaking period, remove the loofah from the vinegar solution and thoroughly rinse it under running water. Ensure that all traces of the vinegar solution are completely flushed out of the loofah, leaving it clean and free from any residual disinfectant.
Once rinsed, gently squeeze the loofah to remove excess water and allow it to air dry completely. The disinfection process, combined with thorough rinsing and drying, helps to ensure that your new loofah is free from any potential bacteria or germs, making it safe and hygienic for use in your daily shower routine.
By taking the time to disinfect your new loofah with a natural solution like white vinegar, you can maintain a clean and hygienic bathing accessory, ready to provide you with a refreshing and rejuvenating shower experience. This final step in the cleaning process ensures that your loofah is not only clean but also safe for use, allowing you to enjoy its exfoliating benefits with confidence and peace of mind.
Step 4: Dry the Loofah
After completing the cleaning and disinfection process, it's crucial to ensure that your newly cleaned loofah is thoroughly dried before its next use. Proper drying not only helps maintain the cleanliness of the loofah but also prevents the growth of mold and bacteria, ensuring that it remains hygienic and safe for use in your daily shower routine.
To begin the drying process, gently squeeze the rinsed and disinfected loofah to remove excess water. Avoid wringing or twisting the loofah too vigorously, as this can damage the delicate natural fibers. Instead, apply gentle pressure to expel the water while maintaining the loofah's shape and integrity.
Once excess water has been removed, find a well-ventilated area in your bathroom where the loofah can air dry completely. It's essential to choose a location that allows for adequate air circulation, as proper airflow is crucial for drying the loofah effectively.
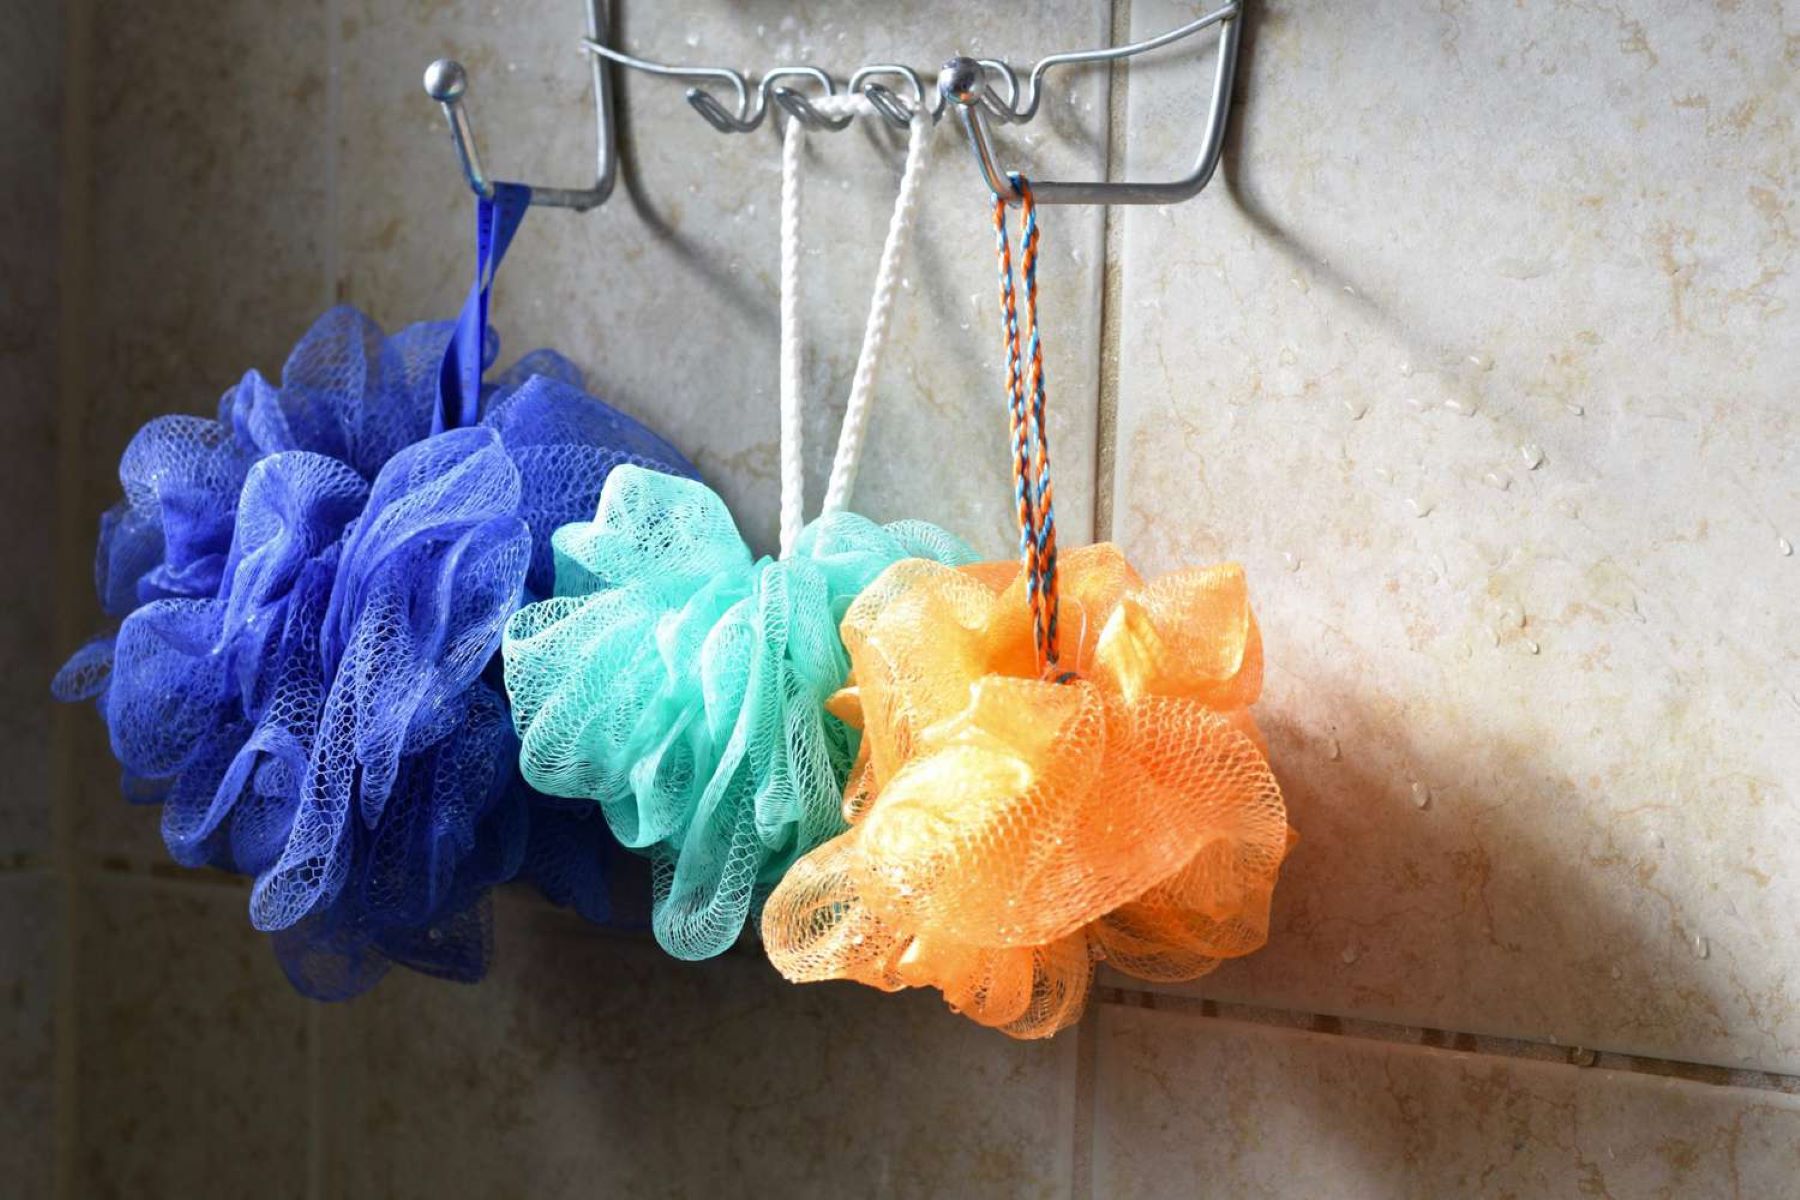
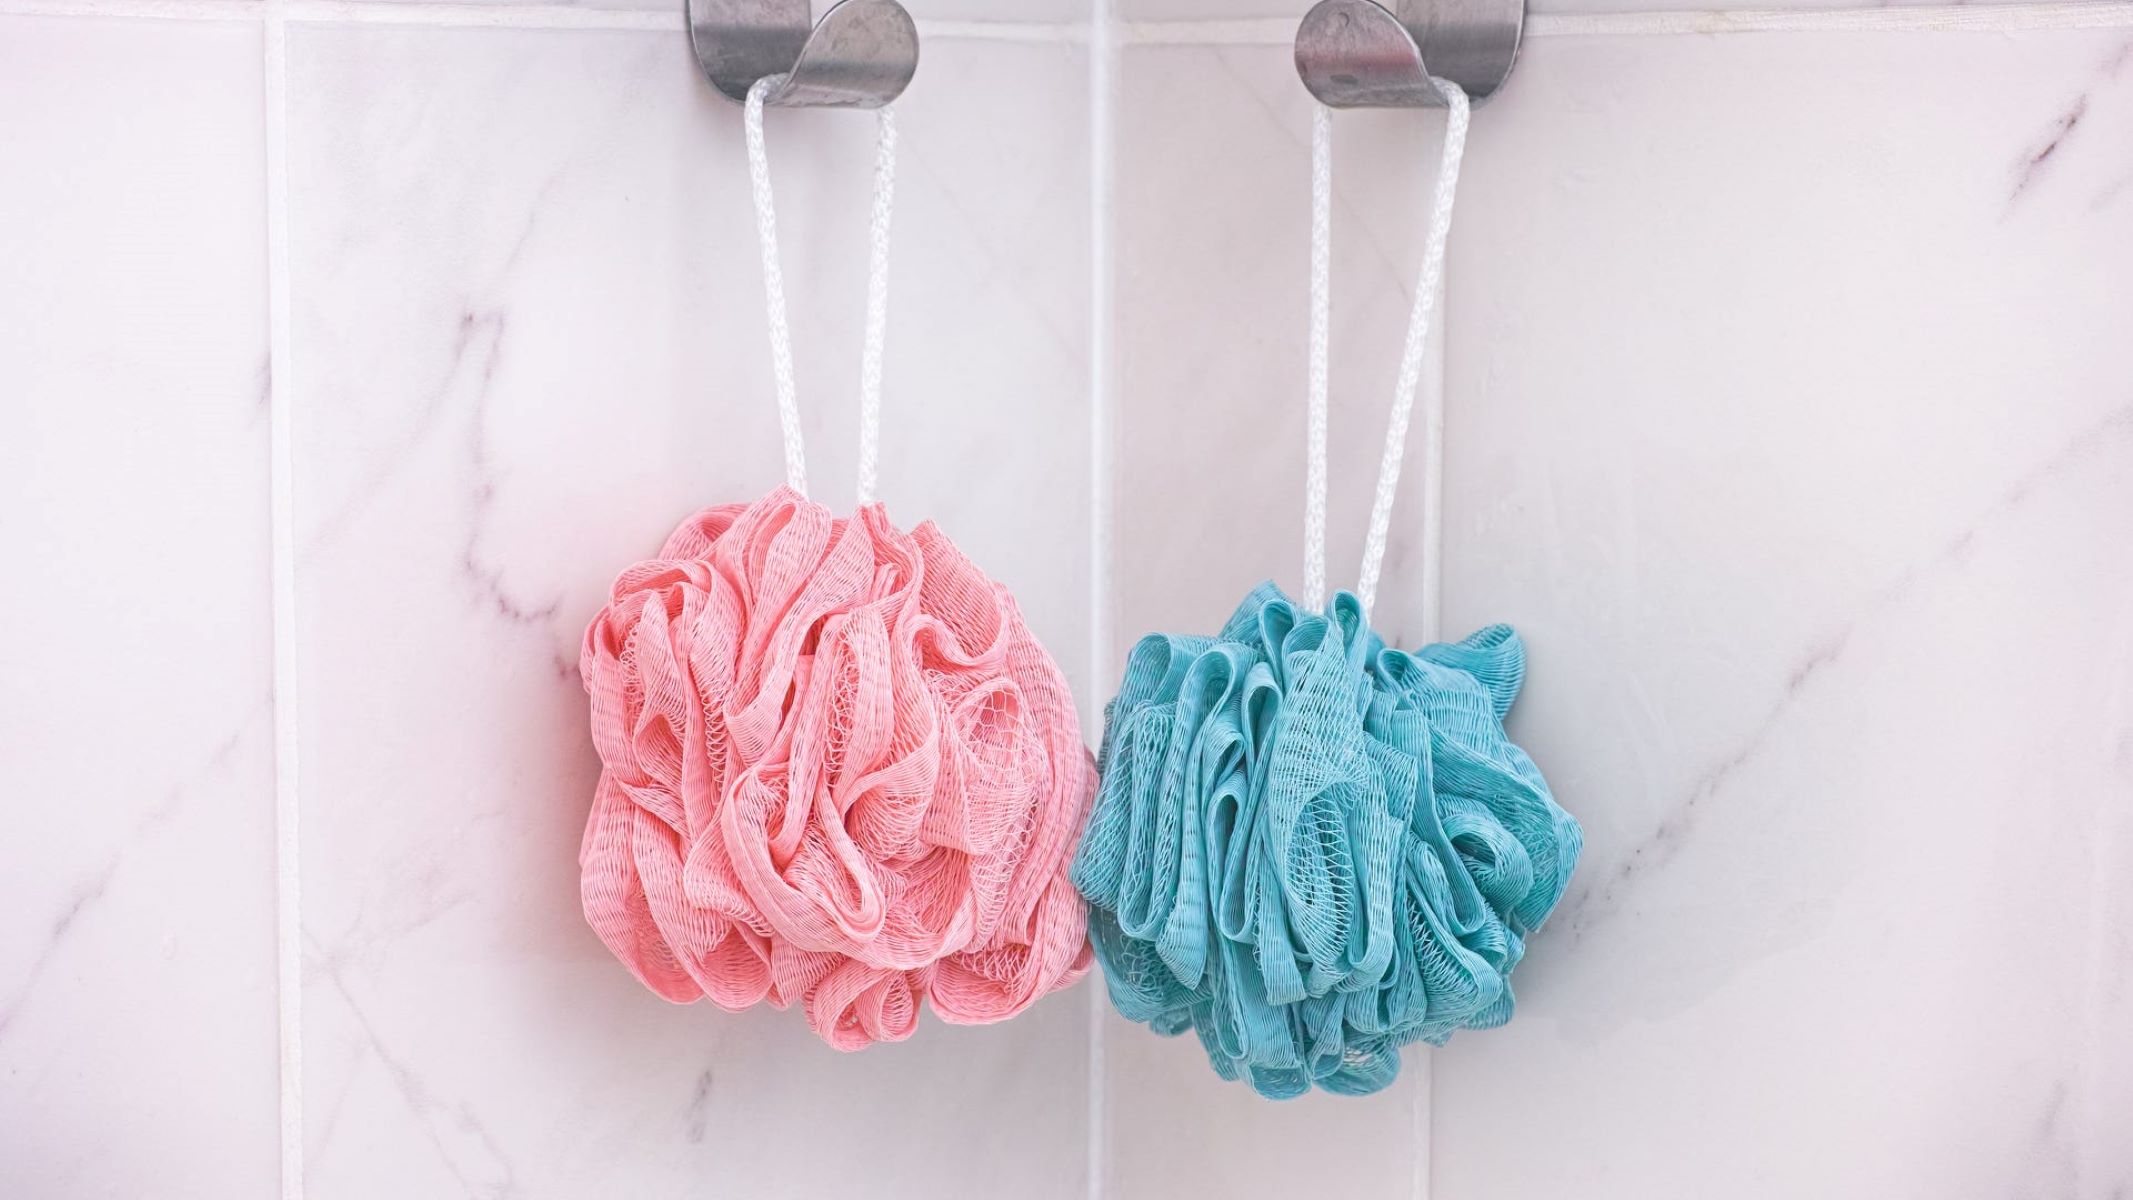
You can hang the loofah from a hook or place it on a clean, dry surface, ensuring that it is not in direct contact with any damp or wet areas. By allowing the loofah to air dry naturally, you enable the remaining moisture to evaporate, leaving the loofah clean, dry, and ready for its next use.
It's important to avoid leaving the loofah in a damp or enclosed space, such as a shower caddy or a sealed container, as this can promote the growth of mold and bacteria. Instead, opt for a location that promotes efficient drying and helps maintain the cleanliness and hygiene of the loofah.
Depending on the humidity levels in your bathroom, the drying process may take several hours. It's advisable to check the loofah periodically and ensure that it is drying effectively. Once the loofah feels completely dry to the touch, it is ready to be stored or used in your next shower.
By taking the time to thoroughly dry your newly cleaned loofah, you are ensuring that it remains free from moisture, mold, and bacteria, preserving its cleanliness and hygiene. This final step in the cleaning process sets the stage for a consistently refreshing and rejuvenating shower experience, allowing you to enjoy the exfoliating benefits of your loofah with confidence and peace of mind.
Read more: What Is A Loofah For
Conclusion
In conclusion, the process of cleaning a new loofah is an essential step in preparing it for use in your daily shower routine. By following the steps outlined in this guide, you can ensure that your loofah is thoroughly cleaned, disinfected, and dried, setting the stage for a hygienic and rejuvenating bathing experience.
Properly cleaning a new loofah not only removes any impurities it may have picked up during manufacturing and packaging but also helps to prepare it for effective and safe use. The initial soaking and rinsing steps are crucial for removing any debris and residues, while the disinfection process helps eliminate potential bacteria and germs, ensuring that the loofah is safe for use on your skin.
Thoroughly drying the loofah after cleaning and disinfection is equally important, as it prevents the growth of mold and bacteria, preserving the cleanliness and hygiene of the loofah for future use. By taking the time to follow these cleaning steps, you can maintain a clean and effective loofah, ready to provide you with a luxurious and refreshing shower experience.
Incorporating a new loofah into your bath time routine can elevate your skincare regimen, providing gentle exfoliation and leaving your skin feeling revitalized. By ensuring that your loofah is properly cleaned and maintained, you can maximize its effectiveness and longevity, allowing you to enjoy its exfoliating benefits with confidence and peace of mind.
So, the next time you bring home a new loofah, remember to give it the care and attention it deserves by following these cleaning steps. By doing so, you can maintain a clean, hygienic, and rejuvenating bathing accessory, ready to enhance your daily shower routine and leave your skin feeling refreshed and invigorated.
Frequently Asked Questions about How To Clean A New Loofah
Was this page helpful?
At Storables.com, we guarantee accurate and reliable information. Our content, validated by Expert Board Contributors, is crafted following stringent Editorial Policies. We're committed to providing you with well-researched, expert-backed insights for all your informational needs.
0 thoughts on “How To Clean A New Loofah”