Home>Garden Essentials>How To Grow Loofah Seeds
Garden Essentials
How To Grow Loofah Seeds
Modified: October 18, 2024
Learn the best techniques and tips for growing loofah seeds in your garden. Discover the secrets to a successful harvest with our step-by-step guide.
(Many of the links in this article redirect to a specific reviewed product. Your purchase of these products through affiliate links helps to generate commission for Storables.com, at no extra cost. Learn more)
Introduction
Welcome to the exciting world of growing your own loofahs! Whether you have a spacious backyard or a small balcony garden, cultivating loofah plants can be a rewarding and enjoyable experience. Not only do these plants produce fascinating and useful sponges, but they also add a touch of uniqueness to your garden with their vibrant green vines.
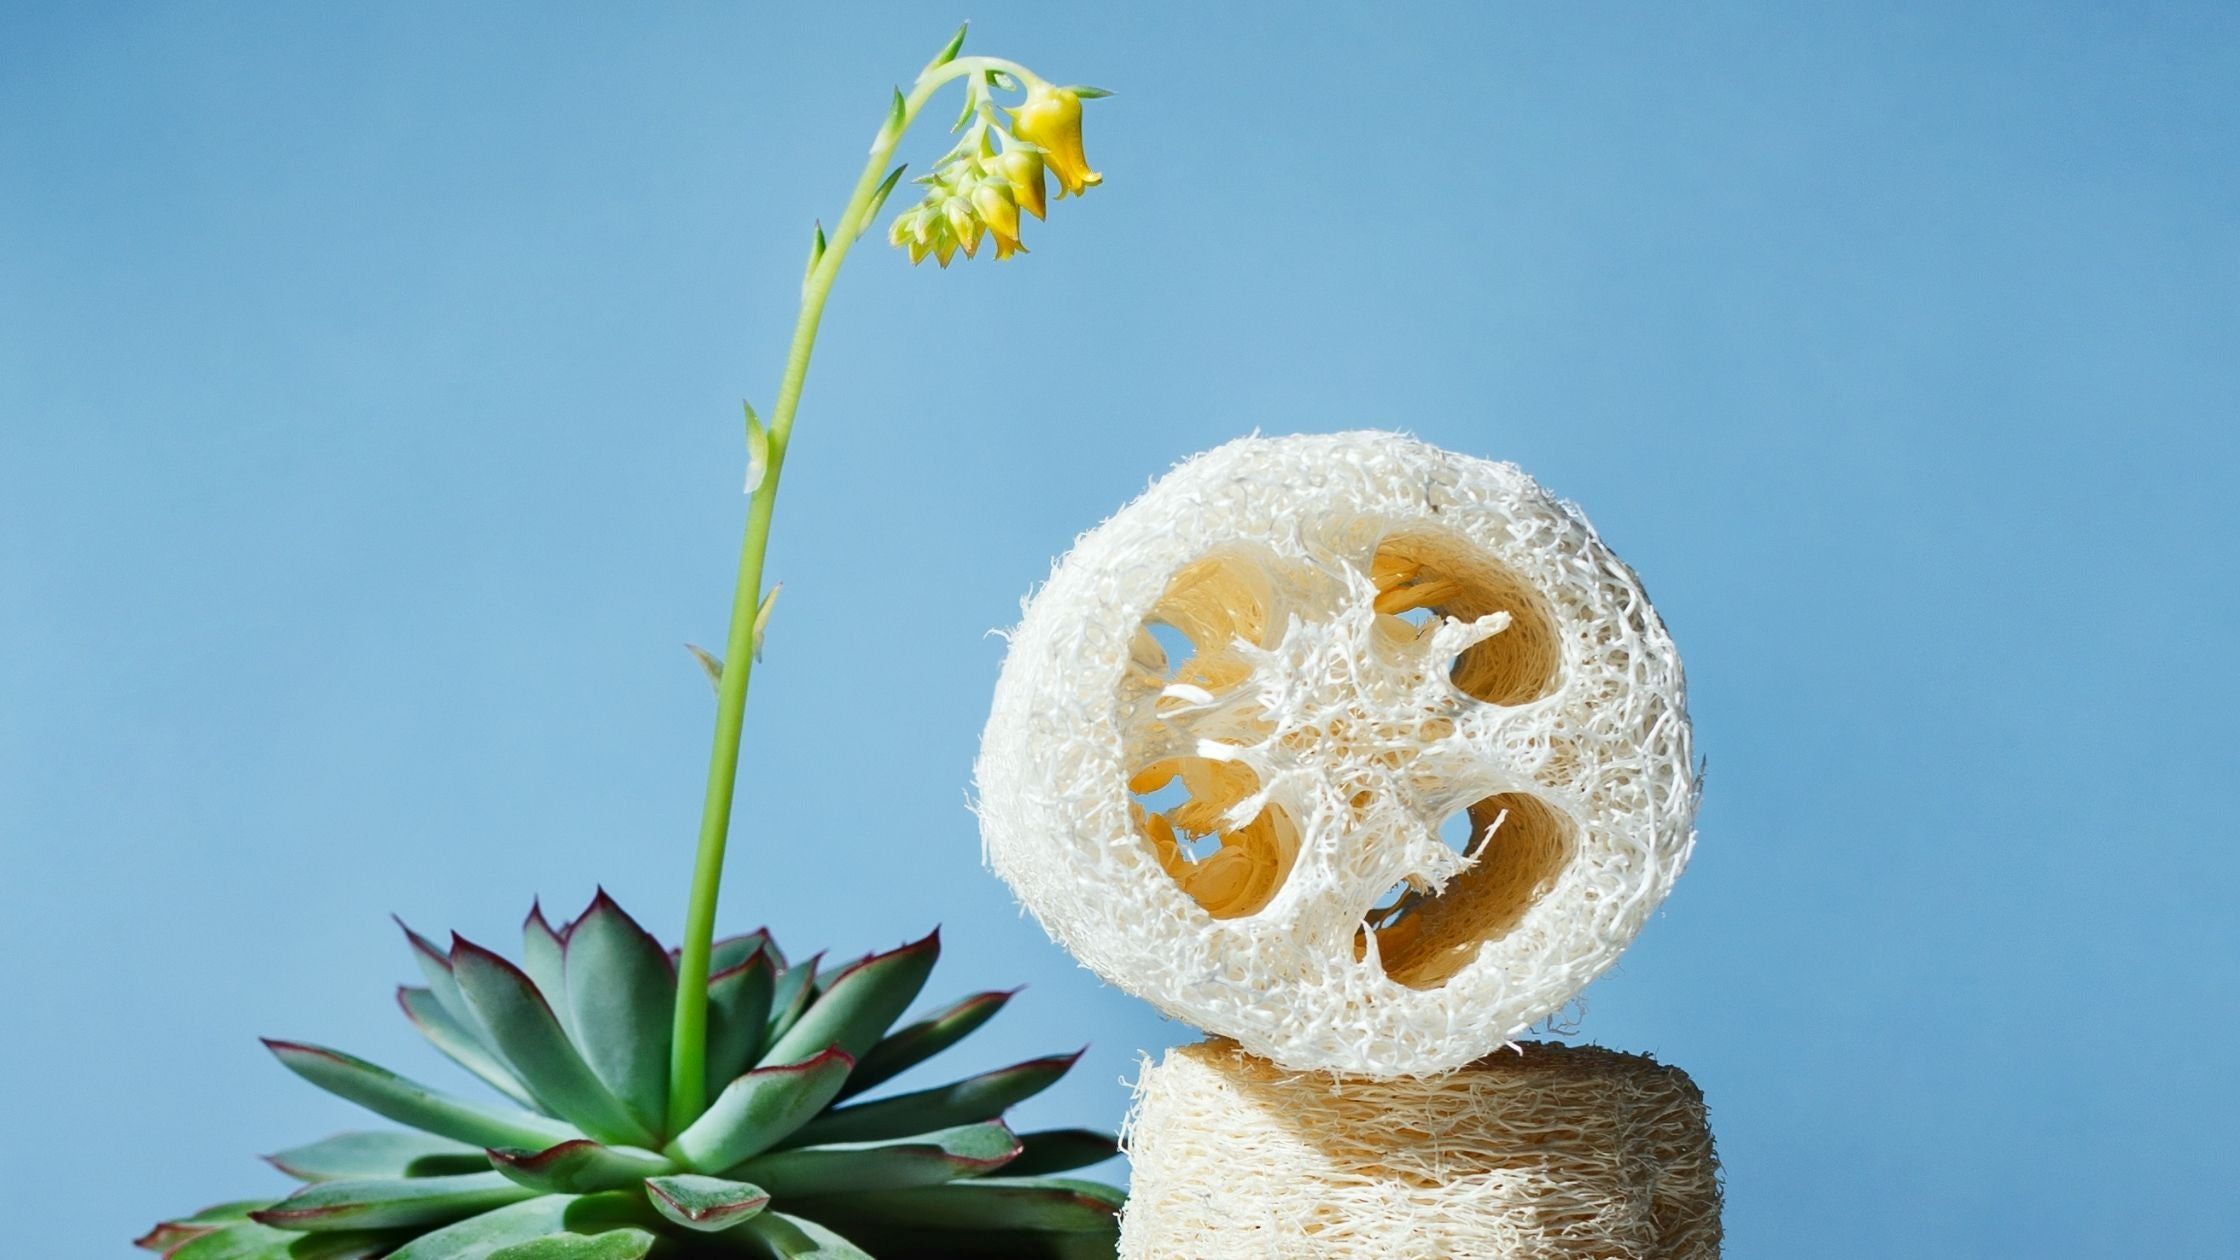
Loofahs, also known as luffa or sponge gourds, belong to the cucumber family and are native to regions with warm climates. Their fibrous interior makes them ideal for use as bath sponges, dish scrubbers, and even as natural exfoliators for the skin. By following a few simple steps, you can grow your own loofahs and have a sustainable source of these versatile sponges.
In this guide, we will take you through each step of the loofah-growing journey, from choosing the right seeds to harvesting and storing your loofahs. So let’s dig in and discover how to successfully grow loofah seeds!
Key Takeaways:
- Grow your own loofahs for sustainable, natural sponges. Follow 10 simple steps from seed selection to harvesting and enjoy the rewards of eco-friendly gardening.
- Cultivate loofah plants with care and patience. From soil preparation to pest control, nurture your garden and enjoy the satisfaction of using homegrown sponges.
Read more: How Long Does It Take To Grow Loofah
Step 1: Choosing the Right Seeds
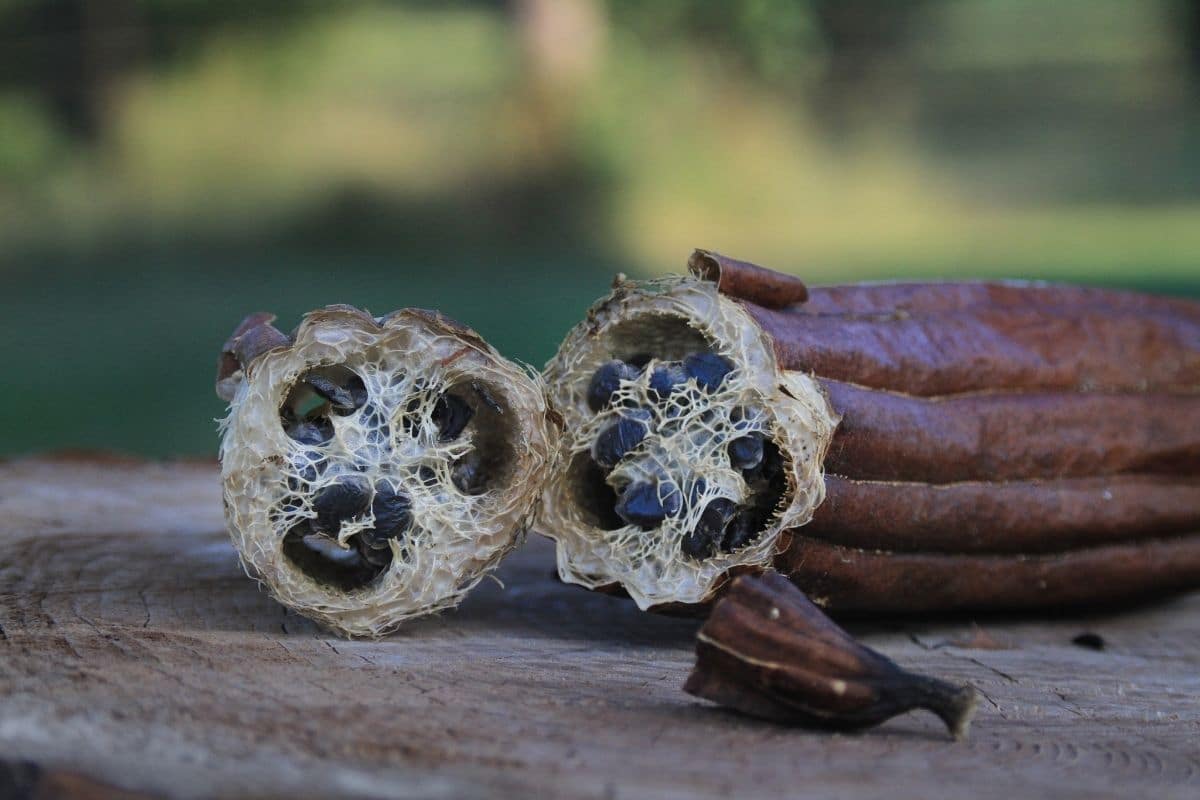
The success of your loofah-growing venture begins with selecting the right seeds. When it comes to loofahs, you have two options: purchasing seeds or saving seeds from a mature loofah sponge.
If you decide to buy seeds, ensure that you purchase them from a reputable source. Look for varieties that are suitable for your climate and growing conditions. Loofahs thrive in warm temperatures, so choose a variety that can withstand your local climate.
If you prefer saving seeds, it’s important to start with a mature loofah sponge. Once the fruit has fully ripened and turned brown, carefully remove the seeds and rinse them thoroughly to remove any debris or pulp. Allow the seeds to air dry completely before storing them in a cool, dry place, such as an airtight container or envelope.
Whether you choose to buy or save seeds, it’s a good idea to soak them in water for 24 hours before planting. This helps to jumpstart the germination process and increases the chances of successful seedling development.
Remember, selecting quality seeds is an essential first step towards growing healthy and productive loofah plants. Take the time to research and choose seeds that are best suited for your gardening needs.
Step 2: Preparing the Soil
Loofah plants thrive in well-draining soil that is rich in organic matter. Before planting your loofah seeds, it is crucial to prepare the soil to provide the best growing conditions for your plants.
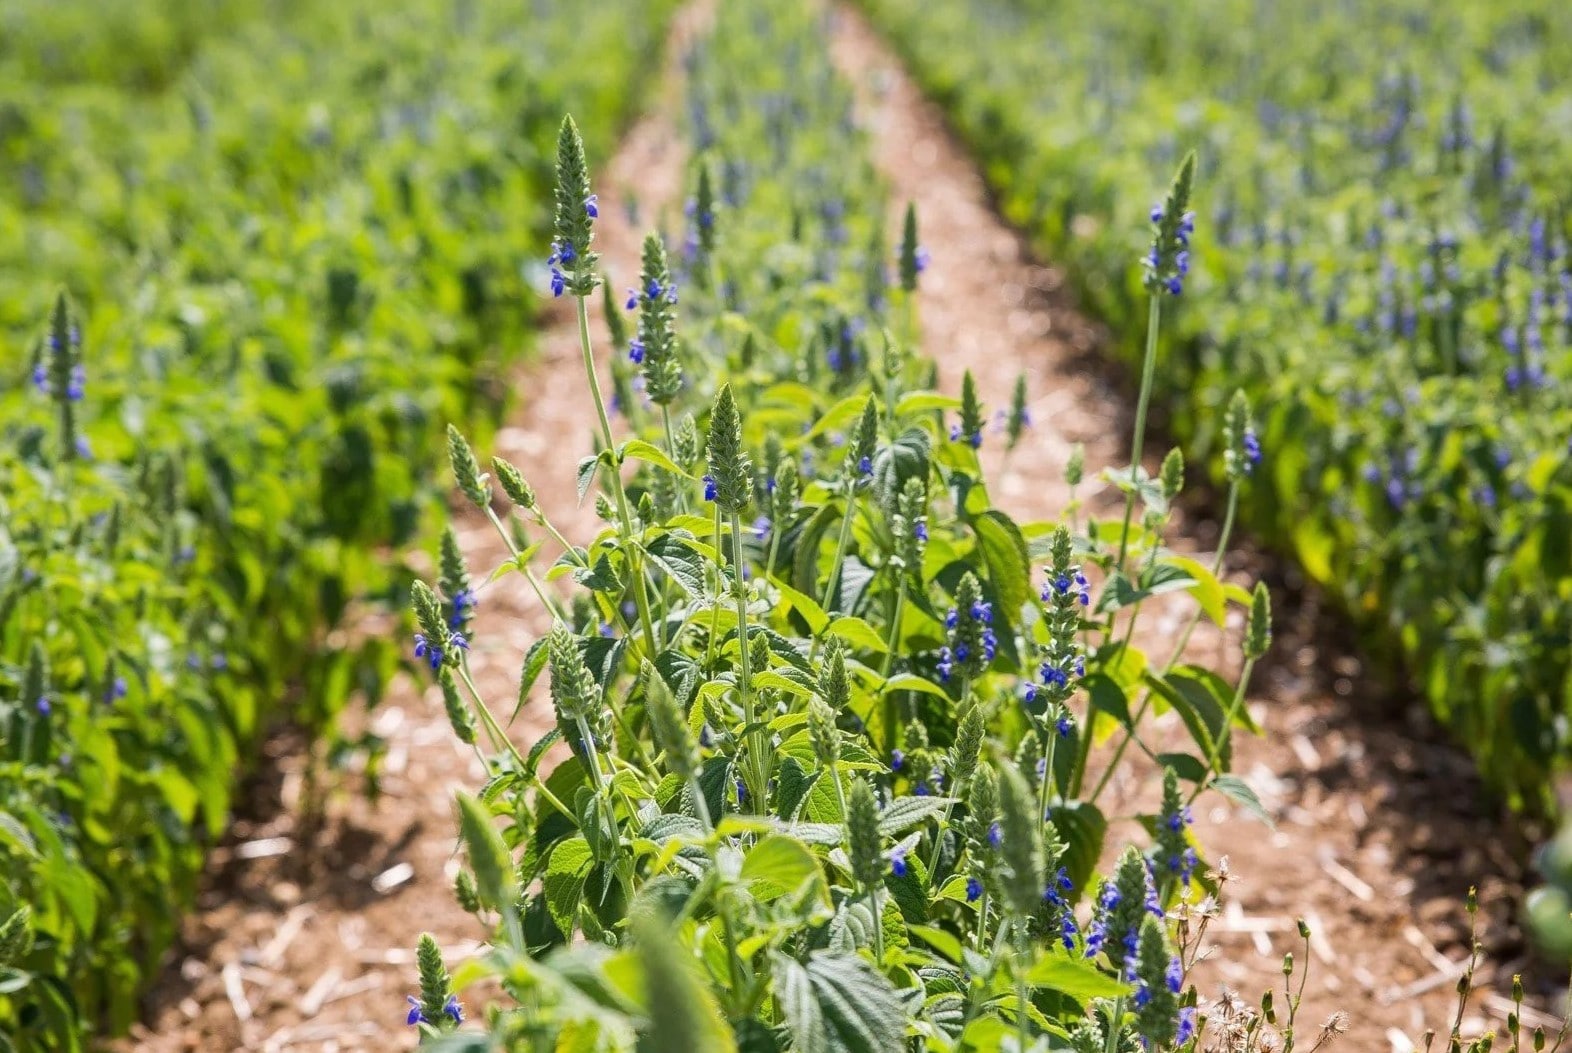
Start by choosing a sunny location for your loofah garden. Loofahs require at least six to eight hours of direct sunlight per day to grow vigorously. Clear the area of any weeds or debris, as they can compete with your loofah plants for nutrients and water.
Loofahs prefer slightly acidic to neutral soil, with a pH level between 6.0 and 7.0. Test your soil’s pH level using a soil testing kit, and if necessary, amend the soil to achieve the desired pH level. You can raise the pH level by adding lime, or lower it by incorporating organic matter such as compost or peat moss.
Loofah plants have deep roots, so it’s important to loosen the soil to a depth of around 12-18 inches (30-45 cm). This will allow the roots to penetrate easily and access nutrients and water. Use a garden fork or tiller to break up the soil and remove any clumps or rocks.
Amend the soil by adding well-rotted compost or aged manure. This will enrich the soil and provide the necessary nutrients for healthy plant growth. Work the compost or manure into the soil until it is well incorporated.
Once the soil has been prepared, level the surface using a rake. This will ensure an even planting bed and facilitate irrigation.
By properly preparing the soil, you are setting the foundation for healthy and productive loofah plants. Invest time in this step to ensure that your loofahs have optimal growing conditions and can develop strong root systems.
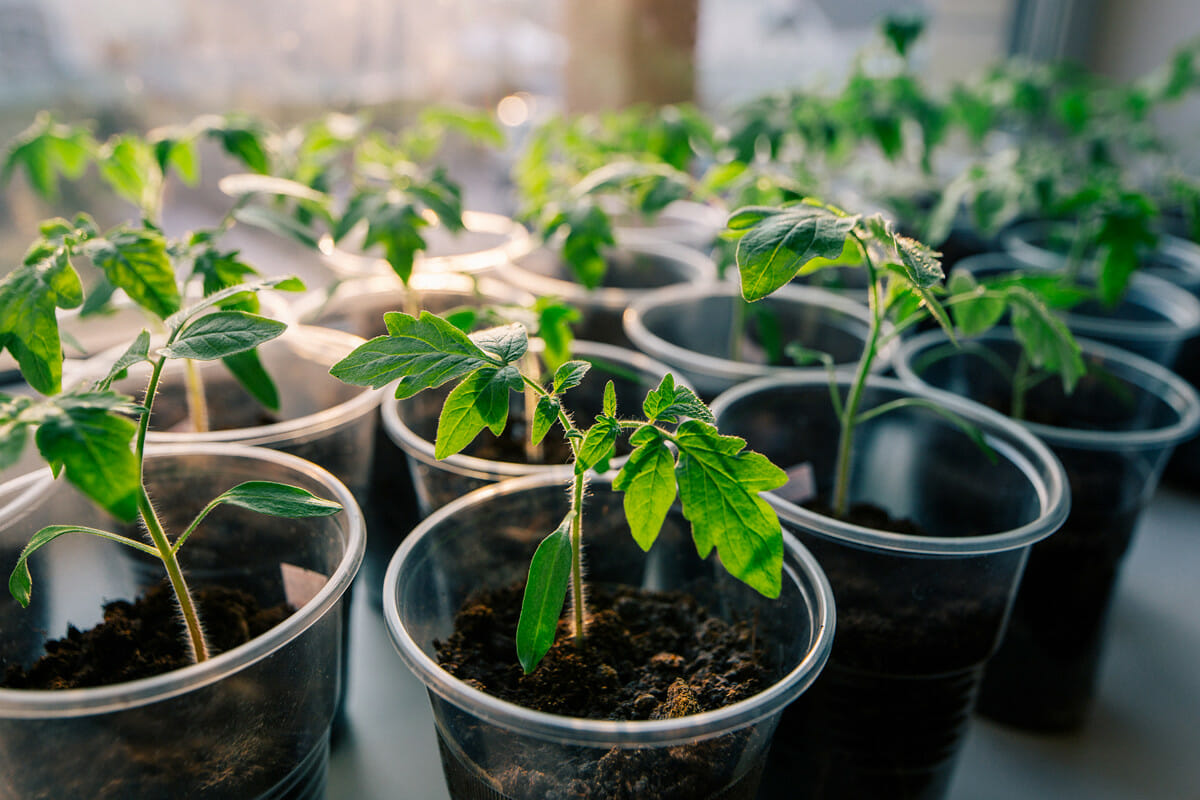
Step 3: Germinating the Seeds
Now that you have chosen the right seeds and prepared the soil, it’s time to move on to germinating your loofah seeds. Germination is the process by which seeds sprout and start to grow into seedlings.
Start by creating small holes in the prepared soil. Make the holes about 1 inch (2.5 cm) deep and space them about 2-3 feet (60-90 cm) apart to allow the loofah vines enough room to spread and grow.
Take the soaked loofah seeds and place one seed in each hole. Cover the seeds lightly with soil and gently pat it down to ensure good seed-to-soil contact.
Keep the newly planted seeds moist but not waterlogged. Loofah seeds require consistent moisture for successful germination. Use a gentle misting spray or a watering can with a fine rose attachment to water the newly planted seeds.
It’s important to provide a warm and consistent temperature for the loofah seeds to germinate. Maintain a temperature range of 70-90°F (21-32°C) to promote optimal germination conditions. If necessary, you can use a seedling heat mat to provide a consistent source of bottom heat.
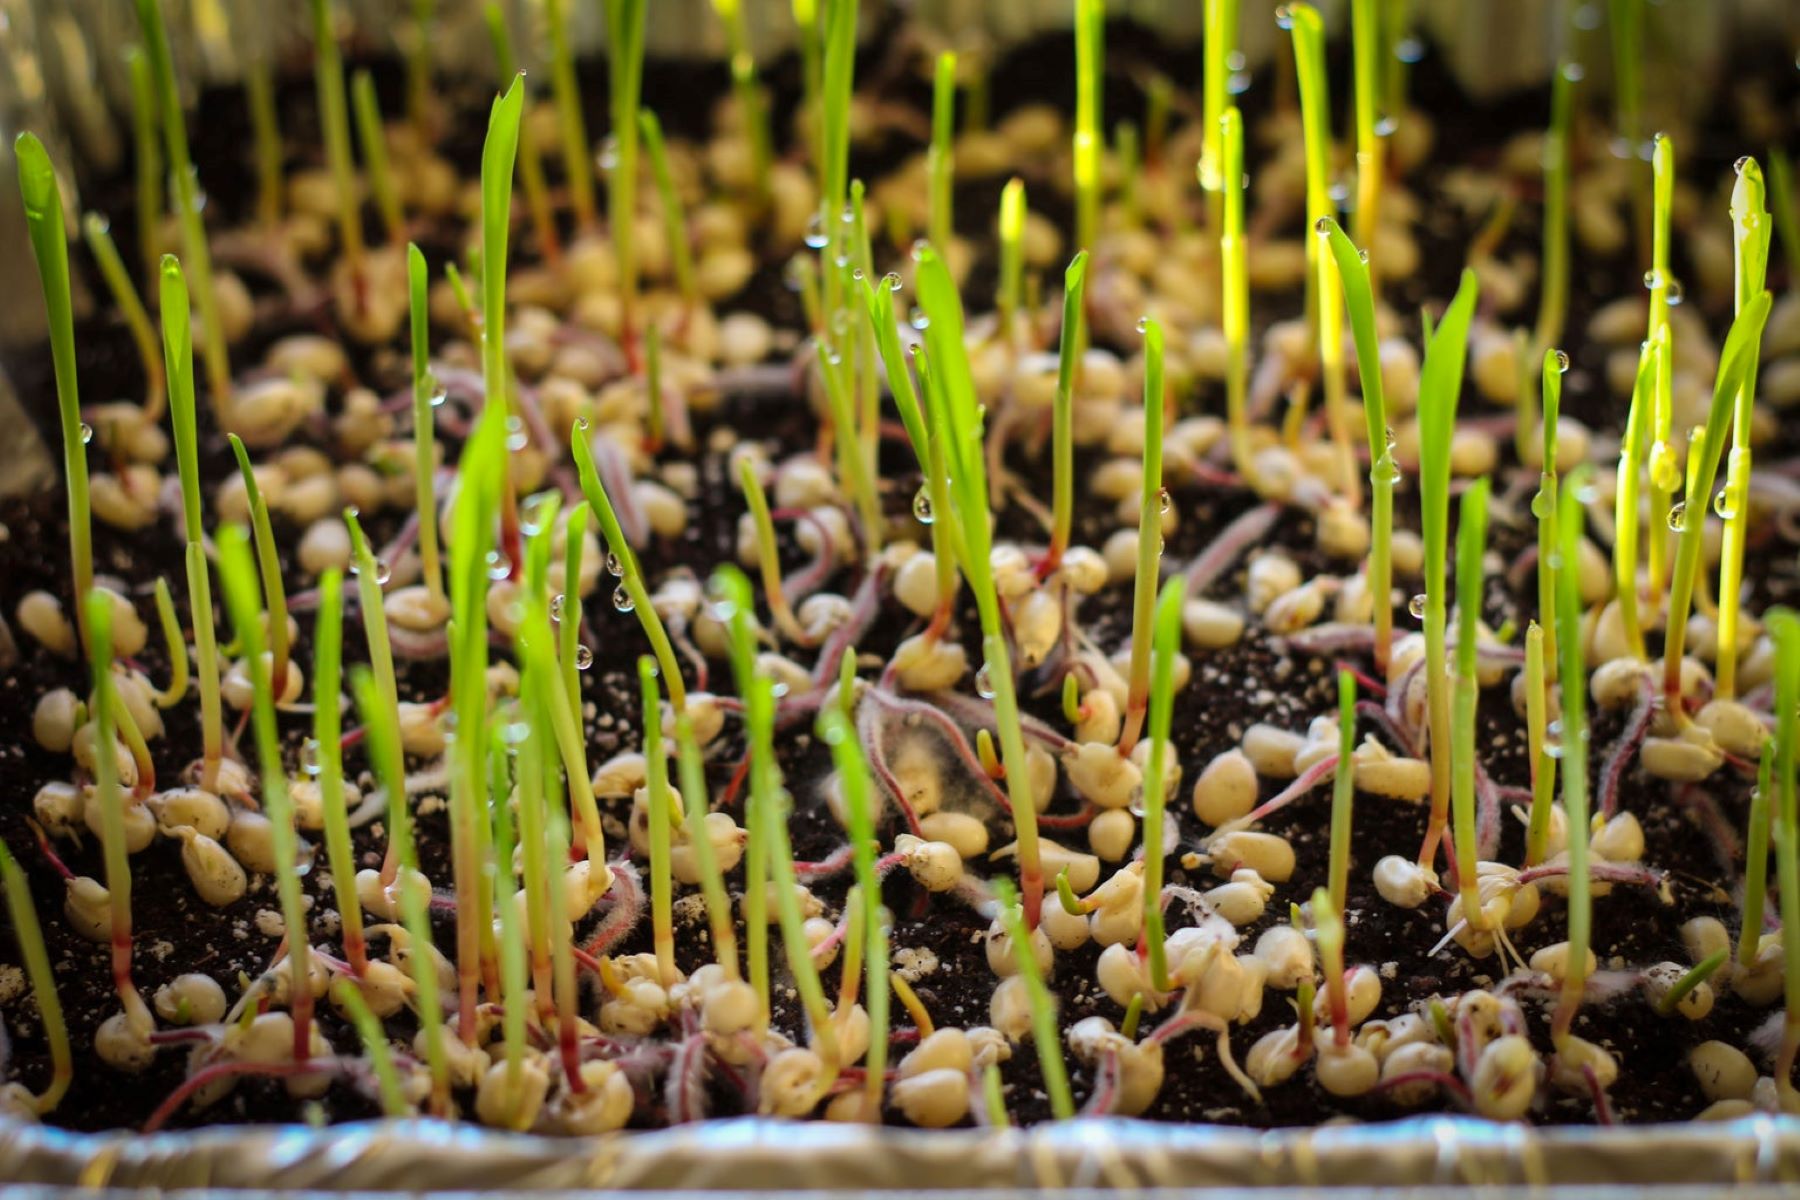
Germination typically takes around 7-14 days, but it can vary depending on various factors such as temperature and seed quality. Be patient and regularly check the planting area for signs of sprouting seedlings.
Once the seedlings emerge, ensure they receive plenty of bright light. If you are germinating your seeds indoors, place them near a sunny window or use artificial grow lights to provide sufficient light for healthy seedling growth.
As the seedlings grow, you may need to thin them out to allow for proper spacing. Thin the seedlings so that there is one strong and healthy seedling per planting hole, removing weaker or damaged ones.
By following these steps, you can successfully germinate your loofah seeds and get your loofah plants off to a great start. The next step is to transplant the seedlings into their permanent growing location.
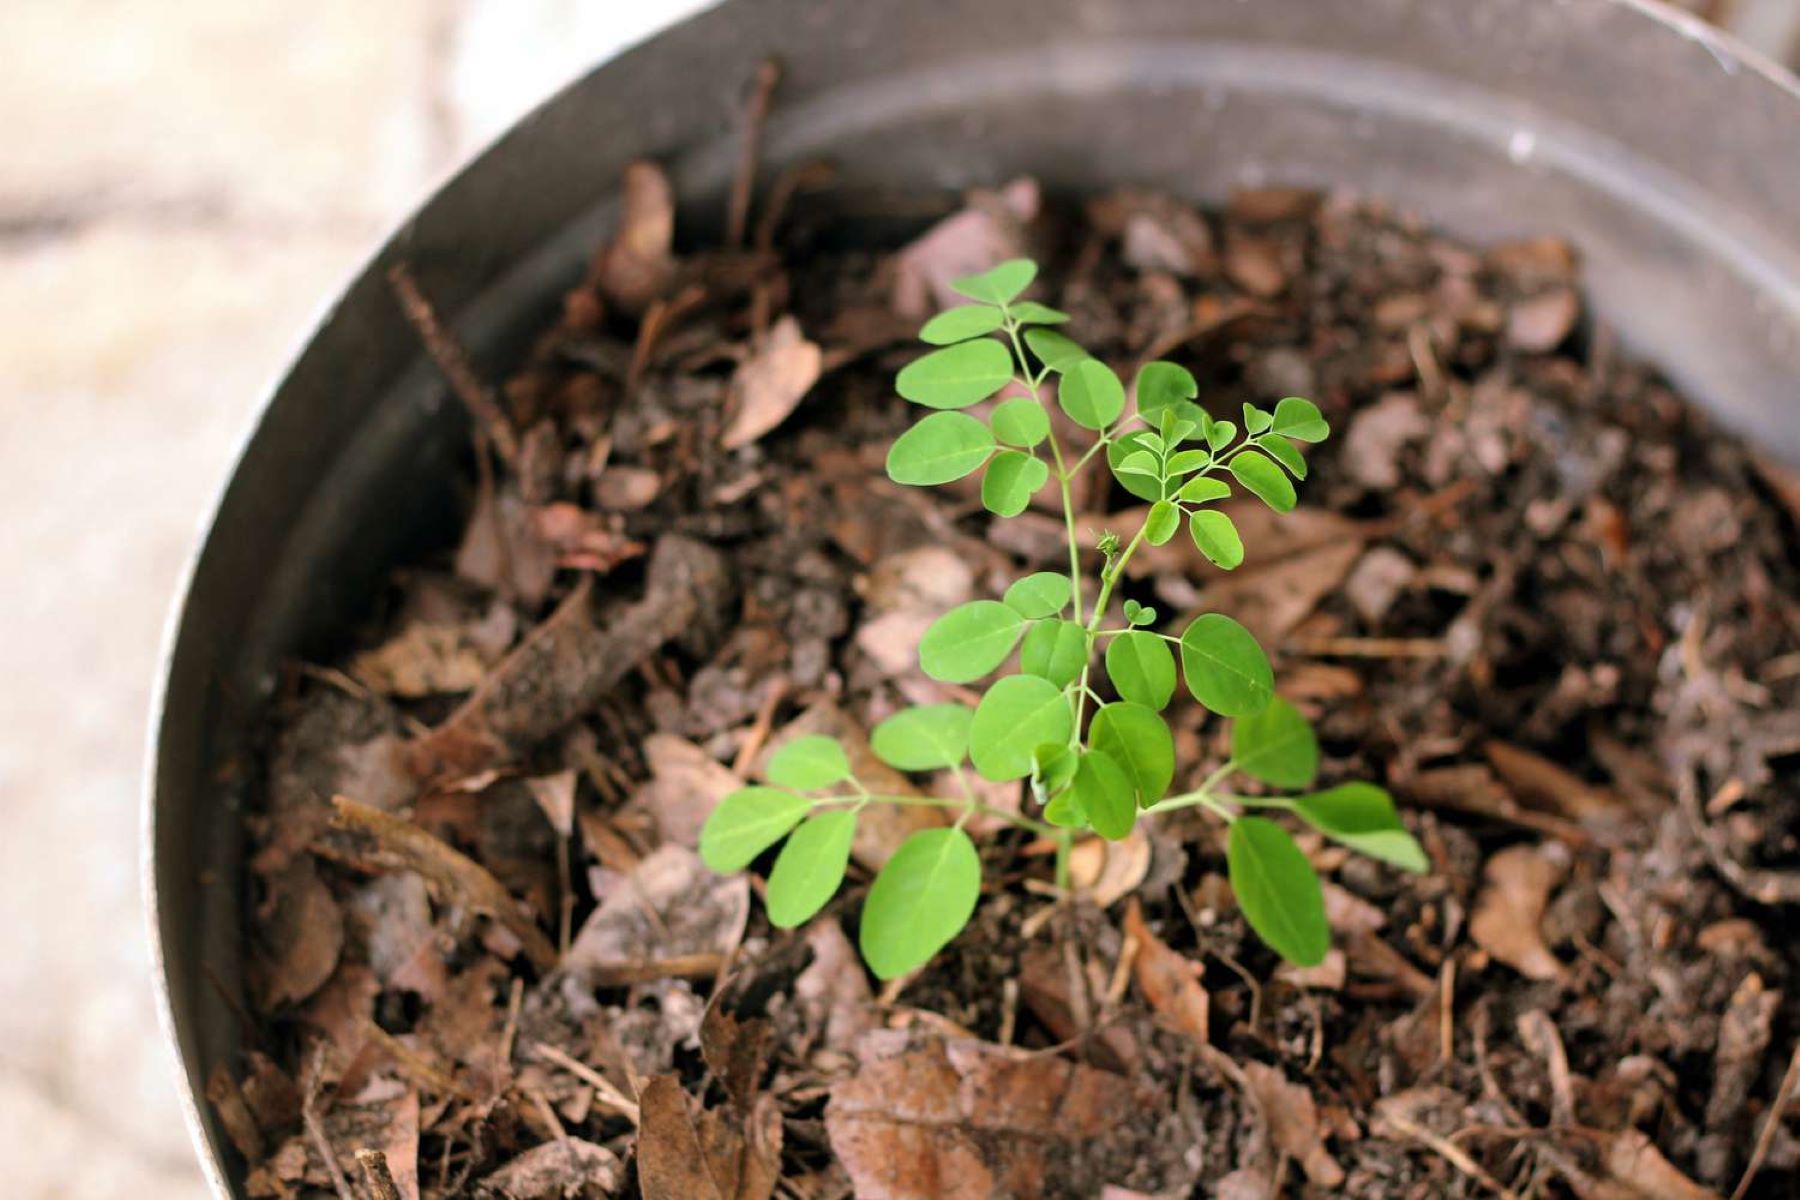
Step 4: Transplanting the Seedlings
Once your loofah seedlings have reached a height of about 3-4 inches (7-10 cm) and have developed a few sets of leaves, it’s time to transplant them into their permanent growing location.
Choose a sunny spot in your garden with well-draining soil. Loofah plants require ample sunlight to thrive and produce healthy fruits. It’s also important to ensure that the soil is prepared and enriched with organic matter, as discussed in Step 2.
Before transplanting, water the seedlings thoroughly to ensure that the root ball stays intact during the transplantation process. Carefully dig a hole that is slightly larger than the root ball of the seedling.
Gently remove the seedling from its container, being careful not to damage the delicate roots. Place the seedling in the prepared hole, making sure that it is planted at the same depth as it was in the container. Backfill the hole with soil and lightly press it down to eliminate any air pockets.
Space the loofah plants about 3-5 feet (90-150 cm) apart to provide enough room for the vines to spread and grow. This spacing will also allow for good airflow and help prevent the spread of diseases.
After transplanting, water the seedlings thoroughly to settle the soil around the roots and promote establishment. Keep the soil consistently moist for the first few weeks to aid in root development.
It’s a good idea to provide support for the loofah vines. You can install trellises, stakes, or vertical structures to guide the vines upwards and prevent them from sprawling on the ground. This will not only help save space but also improve air circulation around the plants, reducing the risk of disease.
Transplanting is a crucial step in the loofah growing process. Handle the seedlings with care and ensure they are placed in an ideal environment for growth and productivity.
Read more: How To Grow Seed
Step 5: Providing Adequate Water
Water is an essential element for the successful growth of loofah plants. Proper watering ensures that the plants stay hydrated, enabling them to develop healthy foliage and bear abundant fruits.
Loofahs require regular and consistent watering, especially during hot and dry periods. Aim to keep the soil moist, but not waterlogged, as excessive waterlogging can lead to root rot and other diseases.
The frequency of watering will depend on factors such as temperature, humidity, and soil type. As a general guideline, loofah plants should receive about 1-2 inches (2.5-5 cm) of water per week, either through rainfall or irrigation.
It’s important to water the plants deeply, allowing the water to penetrate the soil and reach the deeper root zones. Watering in the early morning or late afternoon is ideal, as it allows the foliage to dry before evening, reducing the risk of fungal diseases.
Monitor the moisture levels in the soil regularly. Stick your finger about an inch (2.5 cm) into the soil to check if it feels dry. If it does, it’s time to water. Avoid over-watering, as this can lead to root rot and adversely affect plant growth.
As the loofah vines grow and mature, their water needs may increase. Pay attention to any signs of wilting or stress, as this may indicate that the plants require more water. Adjust your watering schedule accordingly.
Watering deeply and consistently is the key to ensuring healthy and productive loofah plants. Strike a balance between providing enough moisture for the plants and avoiding excessive waterlogging for optimal results.
Plant loofah seeds in well-draining soil, in a sunny spot with plenty of space to climb. Keep the soil consistently moist and provide a trellis for support as they grow.
Step 6: Fertilizing the Plants
Fertilizing your loofah plants is essential to provide them with the necessary nutrients for strong growth and high fruit production. While loofah plants can grow in average garden soil, adding fertilizers can greatly enhance their overall health and productivity.
Before applying any fertilizer, it’s important to perform a soil test to determine its nutrient content. This will help you understand which nutrients are deficient and guide you in choosing the right fertilizers.
Loofah plants benefit from a balanced fertilizer with a ratio such as 10-10-10 or 14-14-14. These fertilizers contain a mix of nitrogen (N), phosphorus (P), and potassium (K), which are essential macronutrients for plant growth.
Apply the fertilizer according to the package instructions, typically scattering it evenly around the base of the plants. Be careful not to apply it too close to the stems, as this can burn the plants.
It’s beneficial to incorporate organic matter into the soil before planting loofah seeds or transplants. This can be done by incorporating well-rotted compost or aged manure. Organic matter enriches the soil with nutrients and improves its overall structure, enabling better nutrient absorption by the plants’ roots.
As the loofah plants grow, you can supplement them with additional fertilizer applications. This is especially important if you notice any deficiency symptoms such as yellowing leaves or stunted growth.
Regularly monitor the plants for any signs of nutrient deficiencies or imbalances. Adjust your fertilization schedule and types of fertilizers accordingly to provide the plants with the nutrients they need to thrive.
Remember to always water the plants after applying fertilizer. This helps to ensure that the nutrients are properly absorbed by the roots and reduces the risk of fertilizer burn.
Fertilizing your loofah plants helps promote robust growth, strong vines, and abundant fruit production. Take the time to nourish your plants with the right nutrients and watch them flourish.
Step 7: Supporting the Vines
Loofah plants are vigorous climbers that produce long and sprawling vines. As they grow, it’s important to provide proper support to keep the vines off the ground and promote healthy growth.
Supporting the vines not only helps save space in your garden but also improves air circulation around the plants, reducing the risk of pests and diseases. Here are a few methods you can use to support your loofah vines:
1. Trellises: Install trellises or wire mesh fences vertically in your garden. These structures allow the vines to climb upwards while providing strong support. Make sure the trellises are tall enough to accommodate the maximum height of the vines.
2. Stakes: Insert sturdy stakes into the ground near the base of the plants, about 6-8 inches (15-20 cm) away from the main stem. As the vines grow, gently tie them to the stakes using soft garden twine or plant ties. This provides support and prevents the vines from drooping.
3. Arbor or Pergola: If you have a larger space, consider installing an arbor or pergola for your loofah plants. Training the vines to grow over the structure not only provides support but also creates a beautiful focal point in your garden.
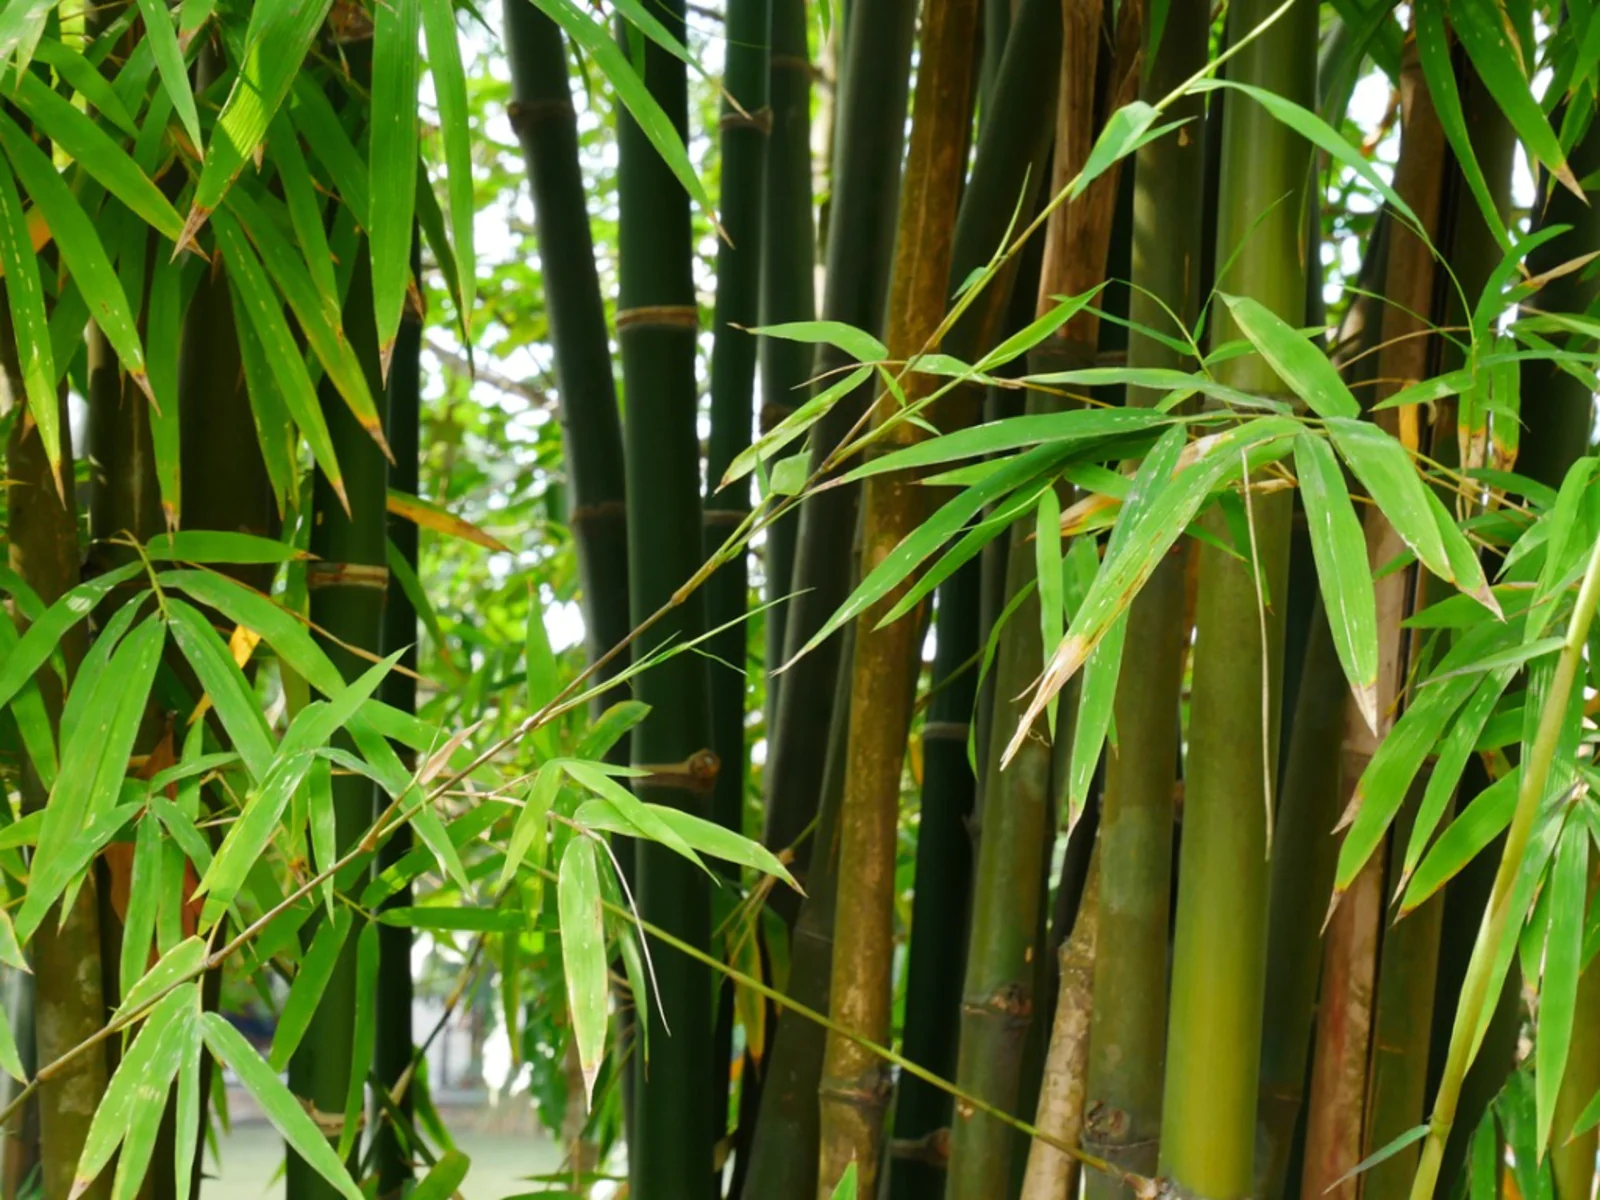
4. A-Frame Structure: Another option is to create an A-frame structure using bamboo poles or lumber. Position the poles or lumber in the shape of an inverted V, allowing the vines to climb and spread across the structure.
When supporting the vines, it’s important to guide them gently and avoid excessive bending or breaking. Loofah vines are quite flexible, but care should be taken to prevent any damage to the plants.
Regularly check the vines for any signs of straying and redirect them towards the supports. This helps to maintain an organized and well-supported plant structure.
Remember to periodically inspect the supports for stability and make any necessary adjustments or repairs. Strong and secure supports are essential to withstand the weight of the vines and the developing loofah fruits.
By providing proper support to your loofah vines, you not only ensure their healthy growth but also make the most efficient use of your garden space. Enjoy watching the vines climb and thrive with the support they need!
Step 8: Controlling Pests and Diseases
Keeping your loofah plants healthy and free from pests and diseases is crucial for a successful harvest. Here are some steps you can take to control common pests and diseases that may affect your loofah plants:
1. Inspect regularly: Regularly inspect your plants for any signs of pests or diseases. Look for chewed leaves, discolored spots, or wilting foliage. Early detection can help prevent the spread and damage caused by pests and diseases.
2. Handpick pests: If you notice any pests such as aphids, caterpillars, or beetles on your loofah plants, you can manually remove them by handpicking or using a gentle spray of water. This method is effective for small infestations and can help reduce the need for chemical interventions.
3. Neem oil spray: Neem oil is a natural and organic pesticide that can be used to control a wide range of pests, including aphids, spider mites, and whiteflies. Dilute neem oil according to the instructions on the bottle and spray it onto the affected areas of the plants. Repeat the application every 7-14 days or as needed.
4. Organic insecticidal soap: Insecticidal soaps made from natural ingredients can be effective in controlling pests such as aphids, mites, and scale insects. Follow the instructions on the soap label and spray it onto the affected parts of the plants. Be sure to cover both sides of the leaves thoroughly.
5. Fungal prevention: To prevent fungal diseases such as powdery mildew, ensure proper air circulation around the plants by providing adequate spacing and supporting the vines, as discussed in Step 7. Avoid overhead watering, as it can promote the spread of fungal spores. If necessary, use a fungicidal spray recommended for the specific disease and follow the application instructions carefully.
6. Remove infected plants: If a plant is severely infected or diseased, it’s best to remove it from the garden to prevent the spread to other healthy plants. Proper disposal of infected plant material is important to prevent the overwintering of pests and diseases.
7. Crop rotation: Practicing crop rotation can help prevent the buildup of pests and diseases in the soil. Avoid planting loofahs or other plants from the cucumber family in the same location every year. Rotate the planting area to a different part of your garden to disrupt the life cycle of pests and reduce disease pressure.
8. Maintain garden cleanliness: Keep your garden free from plant debris, fallen leaves, and weeds, as these can harbor pests and diseases. Regularly clean up the garden and dispose of any plant material properly.
By implementing these pest and disease control measures, you can ensure the health and longevity of your loofah plants. Monitoring your plants regularly and taking prompt action against pests and diseases will contribute to a successful loofah harvest.
Read more: How To Plant Loofah Seeds
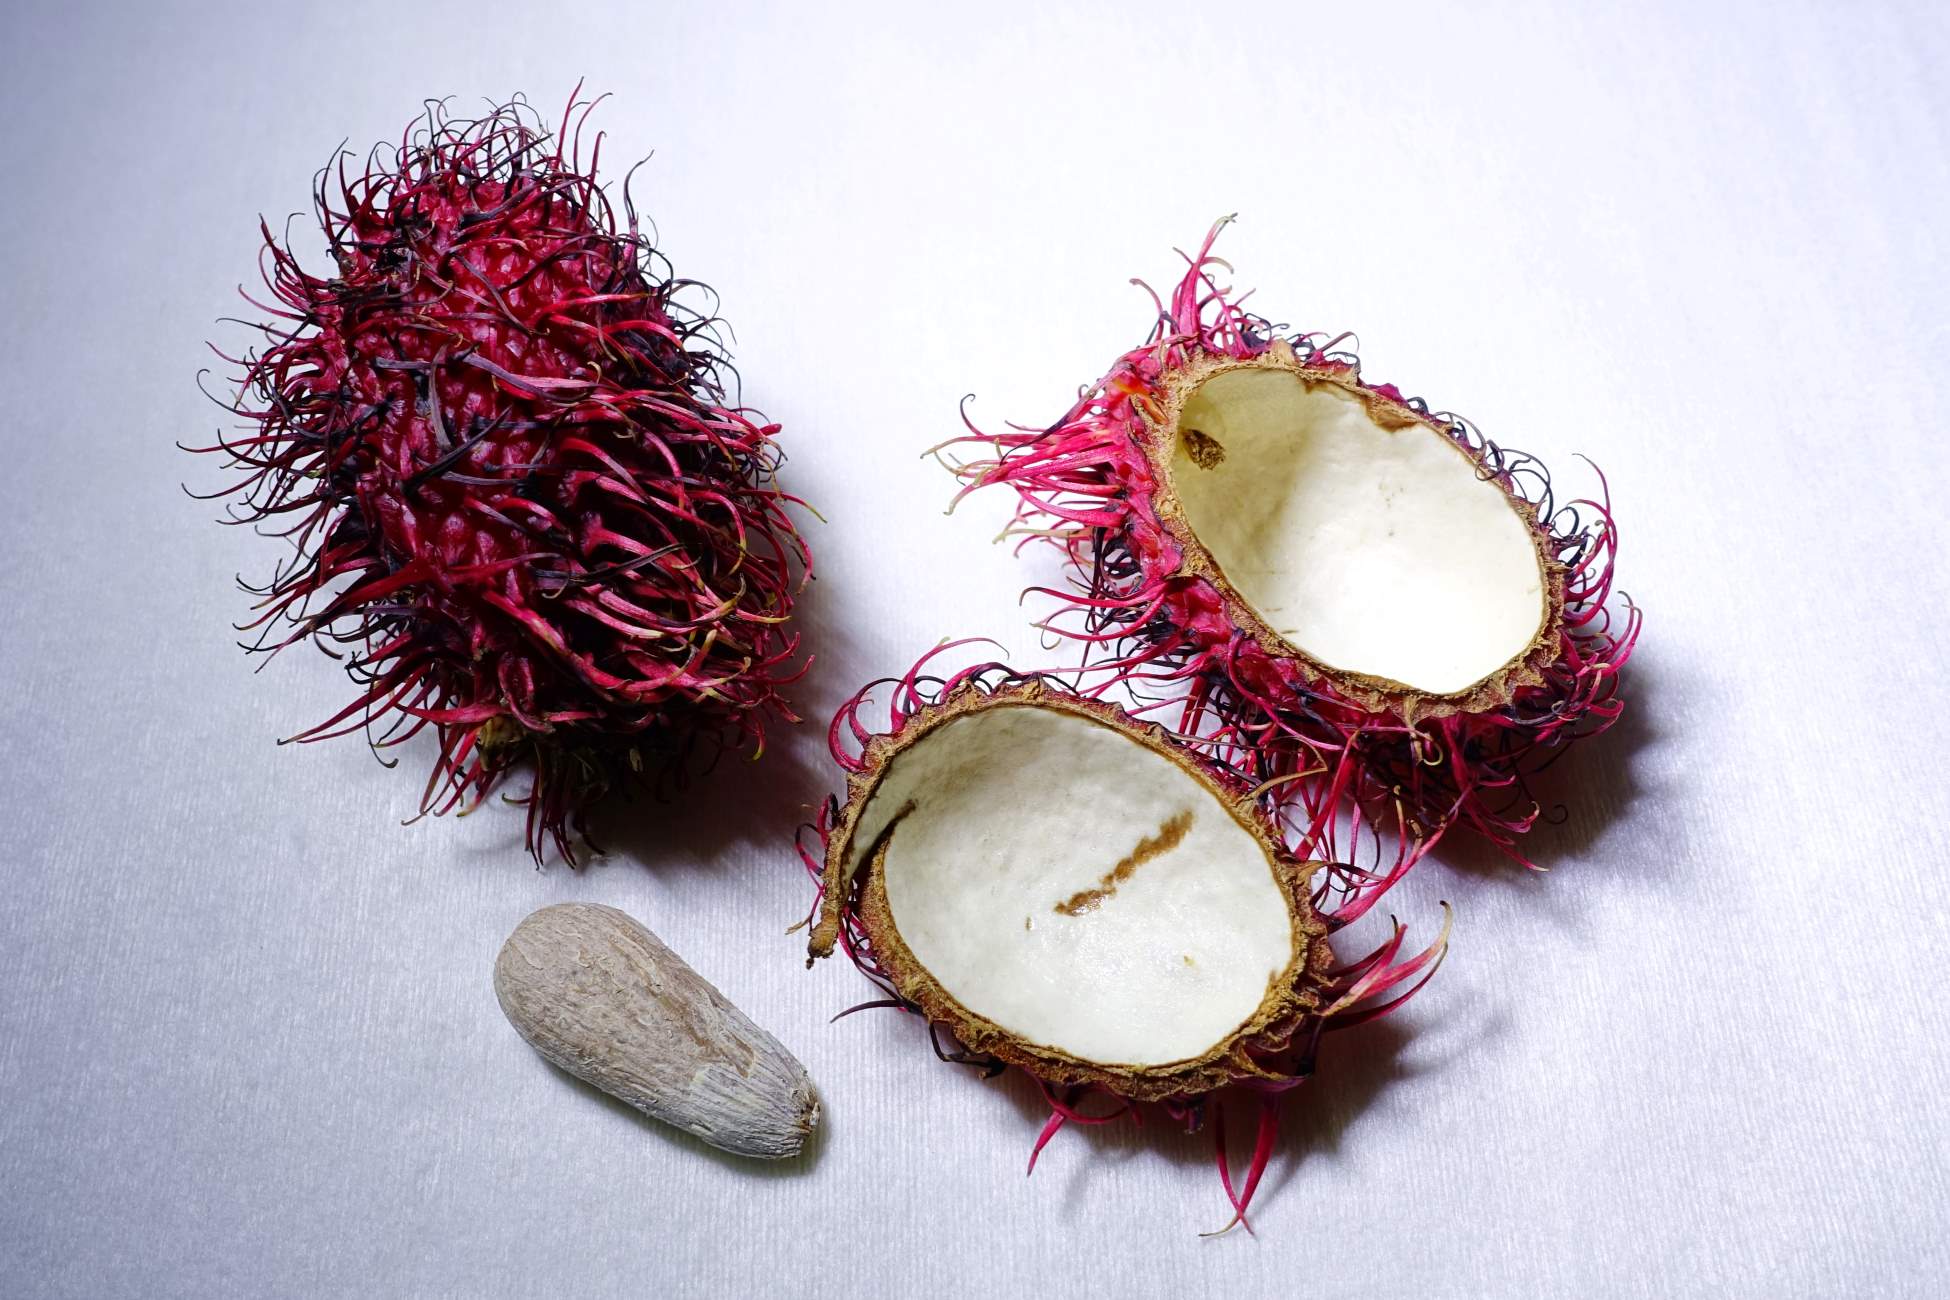
Step 9: Harvesting Loofahs
After weeks of nurturing and caring for your loofah plants, it’s time to reap the rewards of your hard work by harvesting the mature loofahs. Harvesting at the right time ensures that the loofah sponges are of optimal quality and ready for use.
Loofahs are typically harvested when they are fully mature but still green in color. Here’s how you can harvest your loofahs:
1. Check for maturity: Look for loofahs that have reached their full size and feel firm to the touch. Mature loofahs are typically 12-18 inches (30-45 cm) long and 2-3 inches (5-7.5 cm) in diameter. Avoid harvesting them too early when they are still small and underdeveloped.
2. Cut the stem: Using a sharp pair of pruning shears or a knife, cut the loofah from the stem, leaving a short section of the stem attached to the fruit. This helps prolong the shelf life of the loofah and reduces the risk of spoilage.
3. Remove the skin: Once the loofahs are harvested, they need to be prepared for use. Begin by removing the outer skin to reveal the fibrous network inside. Use a vegetable peeler or a knife to carefully peel away the skin. You will be left with the fibrous skeleton of the loofah sponge.
4. Rinse and clean: Rinse the loofah under cool running water to remove any sap or residue from the skin. Gently scrub the surface to ensure the sponge is free from any dirt or debris. Allow the loofahs to air dry completely before storing or using them.
It’s important to note that if you plan to use the loofahs as natural sponges, you should wait until they are fully mature but still green. If you want to save the seeds for future planting, allow the loofahs to fully ripen on the vine until they turn brown and dry out.
Loofahs can be harvested over an extended period, as long as the fruits are still green and firm. Regularly check your loofah plants and harvest mature fruits to ensure a continuous supply of sponges throughout the growing season.
Now that you’ve harvested your loofahs, it’s time to move on to the final step: curing and storing them for long-term use.
Step 10: Curing and Storing the Loofahs
After harvesting your loofahs, it’s important to properly cure and store them to ensure their longevity and usability as natural sponges. Curing allows the loofahs to dry out and become ready for use in various applications. Follow these steps to properly cure and store your loofahs:
1. Wash and clean: After harvesting, give your loofahs a final wash to remove any remaining dirt or debris. Use a mild soap or a diluted bleach solution to sanitize the loofahs. Rinse thoroughly and let them air dry completely.
2. Remove excess moisture: Once the loofahs are clean, gently squeeze out any excess moisture. Avoid wringing or twisting them too forcefully to prevent damage to the delicate fibers.
3. Air dry: Find a well-ventilated area with good air circulation, such as a dry and sunny spot in your home or garden. Hang the loofahs vertically or lay them flat on a clean, dry surface. Ensure they are exposed to air on all sides for even drying. Allow the loofahs to air dry for several weeks until they become dry and lightweight.
4. Test for dryness: To check if the loofahs are fully dry, gently squeeze them. They should feel dry and crisp to the touch rather than damp or pliable. If there is any moisture remaining, continue drying them until they reach the desired dryness.
5. Store in a dry place: Once the loofahs are fully dried, store them in a cool, dry place away from direct sunlight and excessive moisture. You can place them in mesh bags or open containers that allow for air circulation. Avoid sealing them in airtight bags or containers, as this can trap moisture and lead to mold or mildew growth.
Properly cured and stored loofahs can last for several months to a year, depending on the environmental conditions. Regularly check your stored loofahs for any signs of mold or degradation. If you notice any issues, discard the affected loofahs and continue to use the ones that remain in good condition.
Remember, before using a loofah, always rinse it under running water to rehydrate and soften it. This ensures the best performance and effectiveness when using the loofah as a sponge or exfoliator.
With proper curing and storage, you can enjoy the benefits of loofah sponges for various uses, including bathing, cleaning, and exfoliating.
Congratulations! Through these steps, you have successfully grown, harvested, cured, and stored your own loofahs. Enjoy the satisfaction of using these sustainable and versatile natural sponges that you grew with your own two hands.
Happy loofah gardening!
Conclusion
Congratulations on completing your journey of growing loofahs! By following the ten steps outlined in this guide, you have gained the knowledge and skills to cultivate these unique and useful plants in your own garden. From choosing the right seeds to harvesting and curing the loofah sponges, you have learned the ins and outs of successful loofah cultivation.
Growing your own loofahs not only provides you with a sustainable source of natural sponges but also brings a sense of satisfaction and connection to the natural world. Witnessing the plants’ growth from tiny seeds to flourishing vines and finally harvesting the mature loofahs is a rewarding experience that reconnects us with the cycles of nature.
Remember to continue practicing good gardening habits, such as soil preparation, watering, fertilizing, and pest and disease control, to ensure the ongoing health and productivity of your loofah plants. Regularly observe your plants and adapt your care routine according to their specific needs.
While loofahs are known for their use as bath sponges and scrubbers, don’t forget their versatility in other applications. Use them for cleaning household surfaces, as natural exfoliators for skin care, or even as decorative elements in crafts and home décor.
By growing your own loofahs, you are reducing your reliance on synthetic sponges and supporting a more sustainable and eco-friendly lifestyle. You have tapped into the beauty and functionality of nature’s resources, and with each use of a loofah sponge, you are reminded of your role as a steward of the environment.
So, go ahead and share your newfound knowledge with others. Teach them the joys of growing their own loofahs and inspire them to embrace the wonders of gardening. Together, we can cultivate beautiful gardens, nurture our connection with nature, and foster a more sustainable and greener world.
Thank you for joining us on this loofah-growing journey. Happy gardening!
Frequently Asked Questions about How To Grow Loofah Seeds
Was this page helpful?
At Storables.com, we guarantee accurate and reliable information. Our content, validated by Expert Board Contributors, is crafted following stringent Editorial Policies. We're committed to providing you with well-researched, expert-backed insights for all your informational needs.

0 thoughts on “How To Grow Loofah Seeds”