Home>Furniture & Design>Bathroom Accessories>How To Get More Water In Your Toilet Bowl
Bathroom Accessories
How To Get More Water In Your Toilet Bowl
Modified: October 19, 2024
Discover effective bathroom accessories to increase water levels in your toilet bowl. Find out how to optimize water flow and improve flushing performance.
(Many of the links in this article redirect to a specific reviewed product. Your purchase of these products through affiliate links helps to generate commission for Storables.com, at no extra cost. Learn more)
Introduction
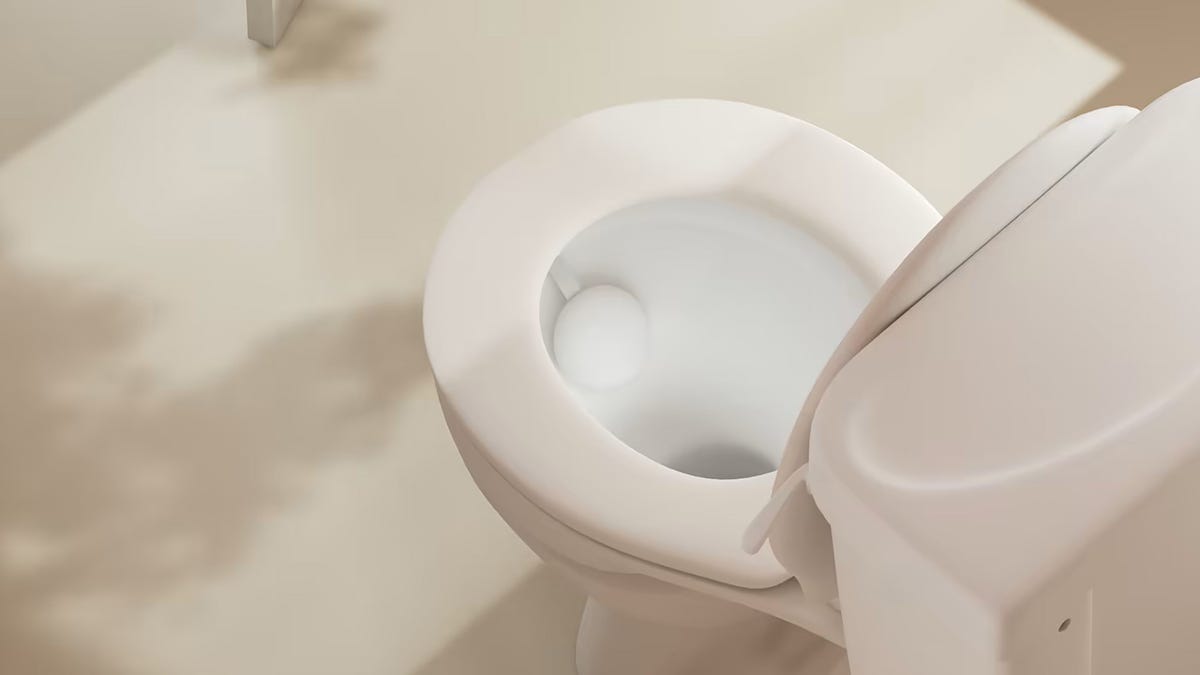
Ensuring that your toilet bowl has an adequate amount of water is essential for maintaining a clean and functional bathroom. A properly filled toilet bowl not only prevents odors from escaping the sewer line but also promotes effective waste removal during flushing. However, if you've noticed that your toilet bowl doesn't seem to have enough water, there are several simple steps you can take to address this issue and improve the overall performance of your toilet.
In this comprehensive guide, we will explore various methods to increase the water level in your toilet bowl. From checking and adjusting the water level to cleaning the toilet jets and utilizing specialized products, we'll cover everything you need to know to ensure that your toilet bowl maintains an optimal water level. By following these steps, you can enhance the functionality and cleanliness of your toilet, ultimately contributing to a more pleasant and hygienic bathroom experience. So, let's dive into the details and learn how to get more water in your toilet bowl.
Key Takeaways:
- Ensure your toilet bowl has enough water by adjusting the water level in the tank. Cleaning the toilet jets and using a quality bowl cleaner can also improve water flow and maintain optimal levels for a pleasant bathroom experience.
- Installing a refill tube can effectively enhance water levels in your toilet bowl, promoting efficient flushing. By following these steps, you can ensure a clean, hygienic, and functional bathroom.
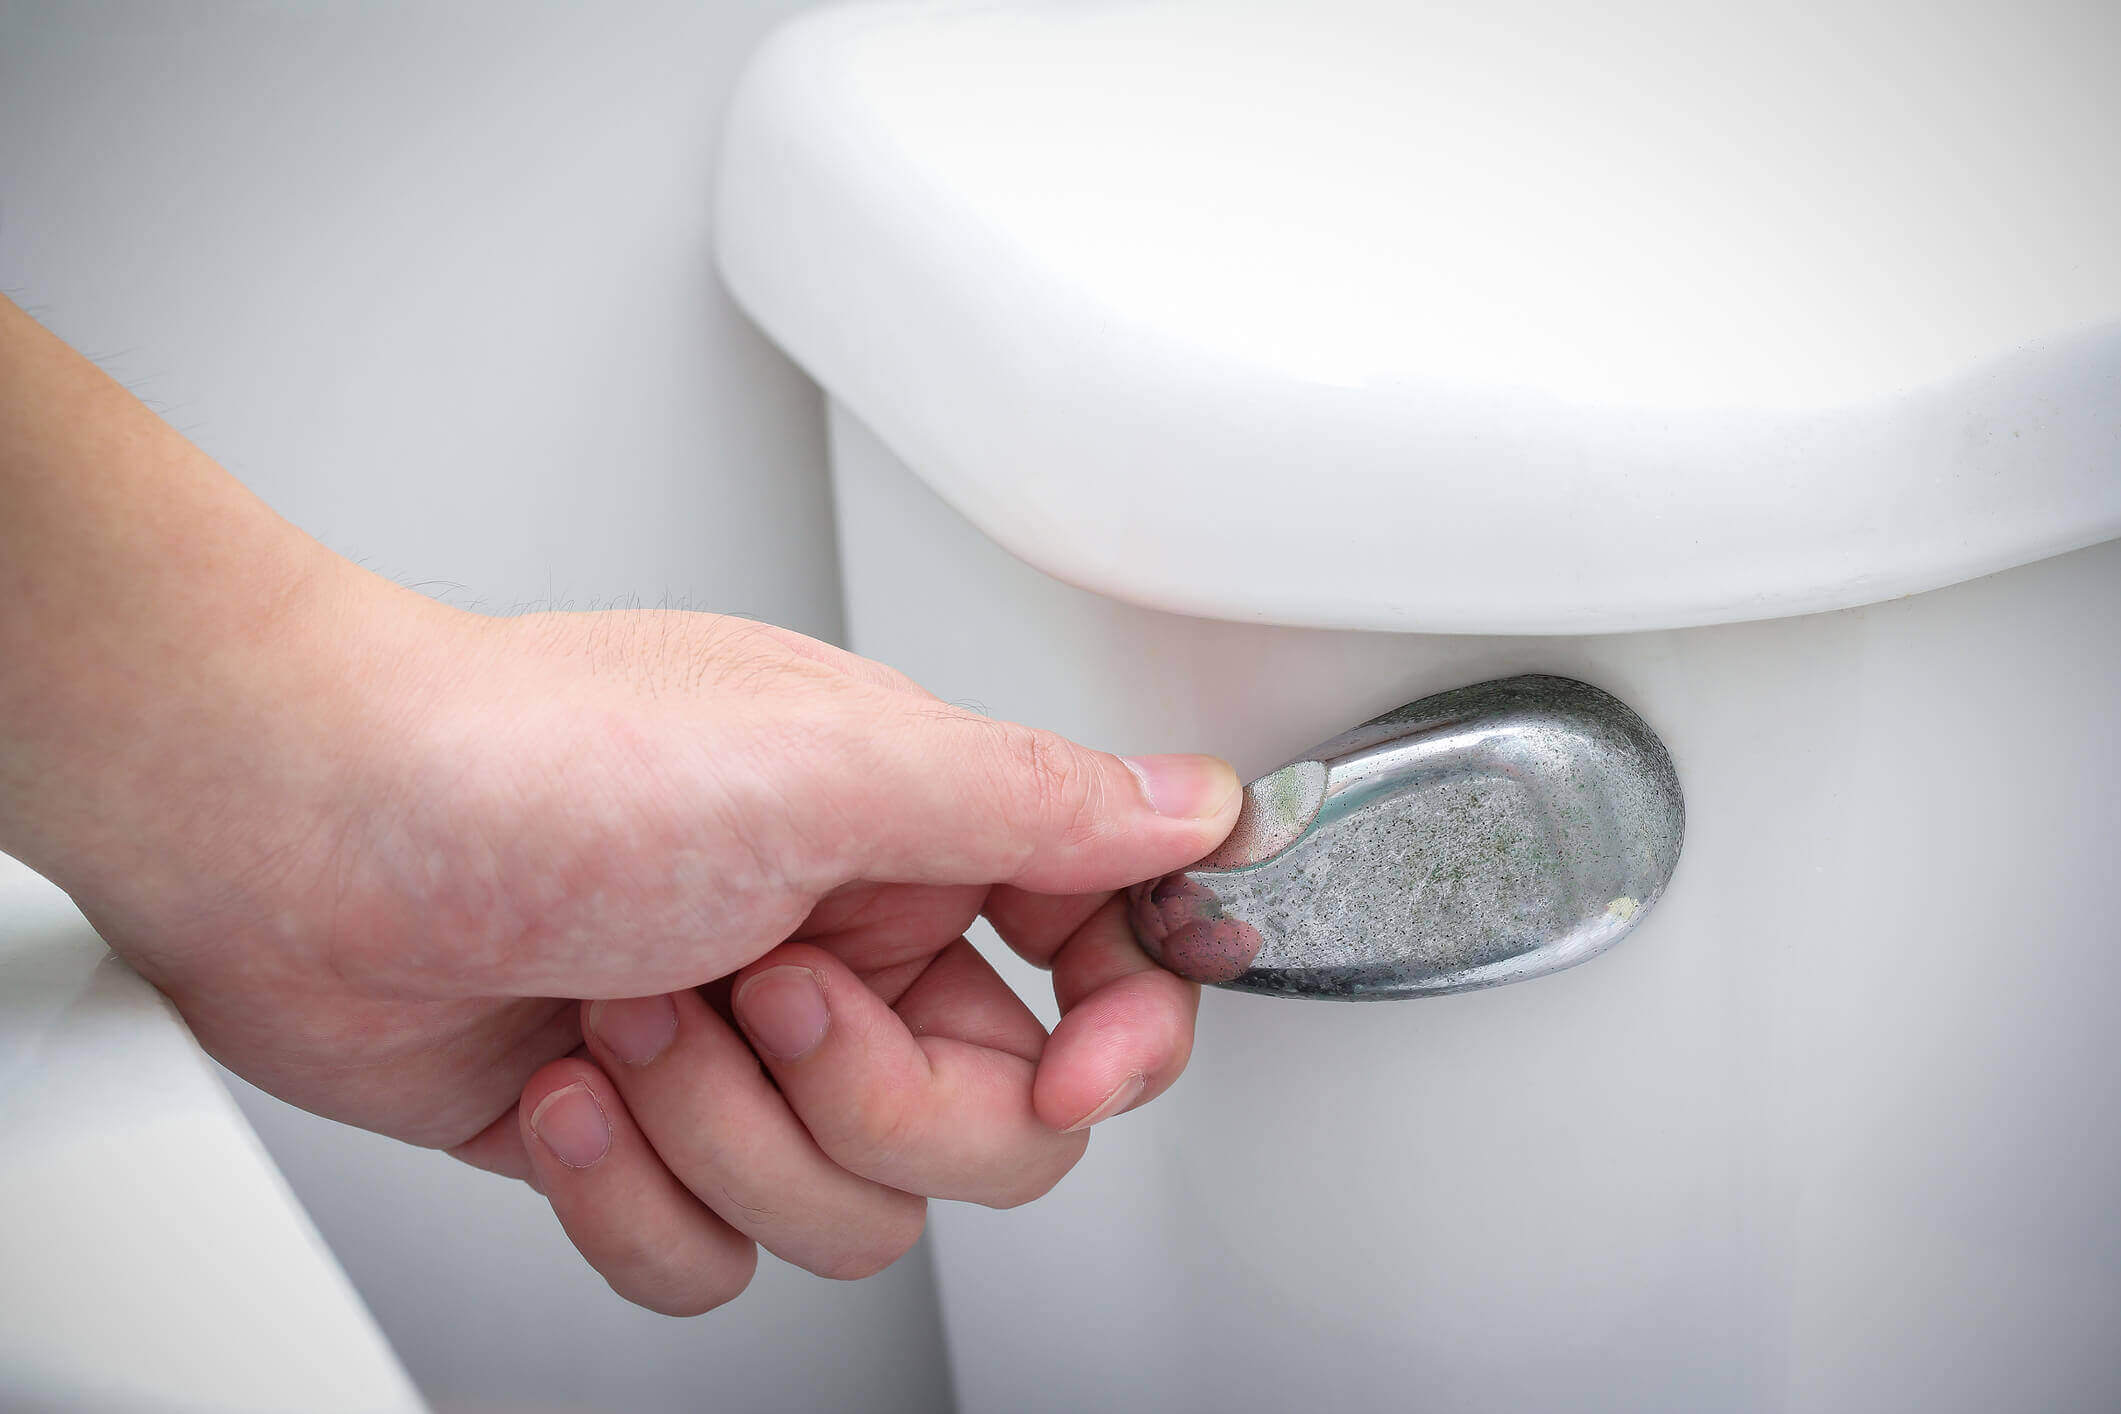
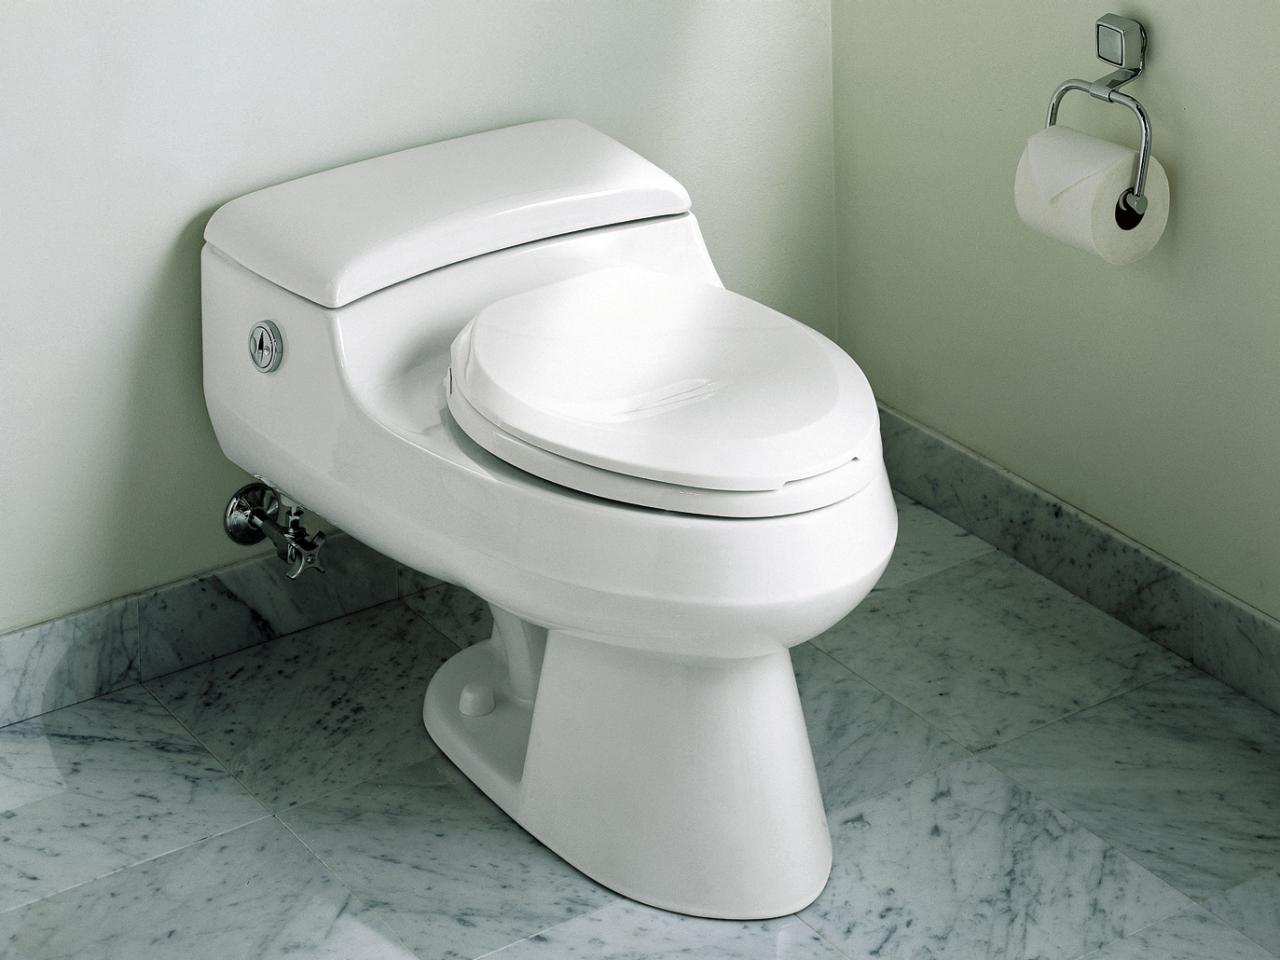
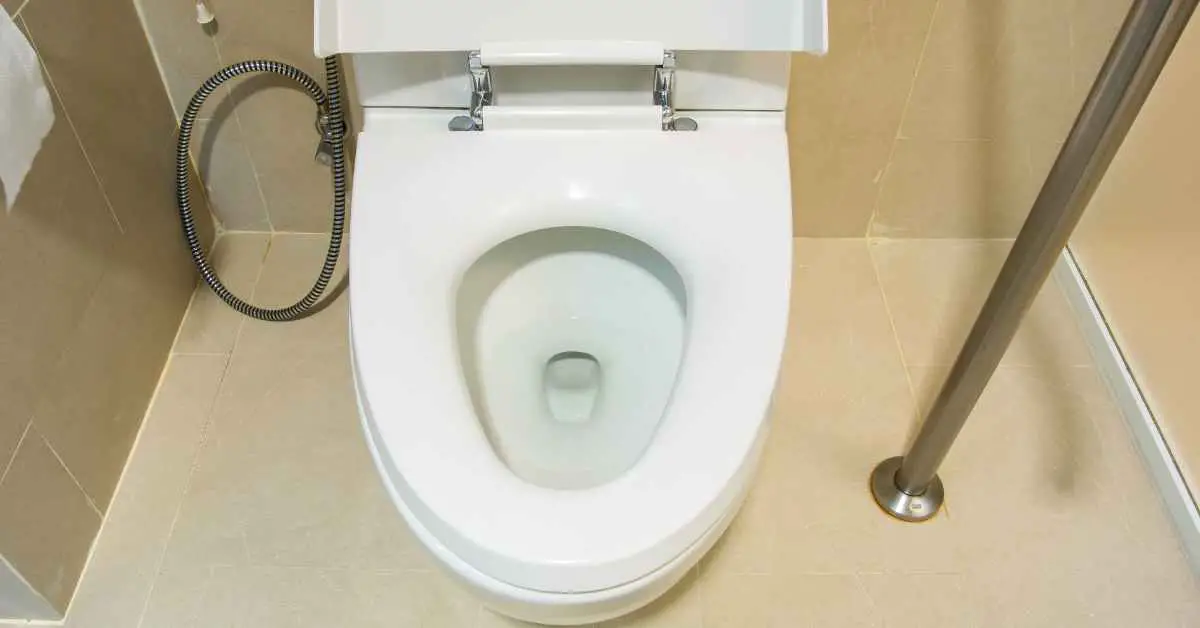
Check the Water Level
The first step in addressing low water levels in your toilet bowl is to check the current water level. Start by removing the toilet tank lid and setting it aside in a safe place. Once the lid is off, take a moment to observe the interior of the tank. You should see a fill line marked on the inside of the tank, indicating the optimal water level. If the water level is below this line, it's a clear indication that your toilet bowl may not be receiving enough water during each flush.
Next, locate the overflow tube within the tank. This vertical tube is typically positioned near the center of the tank and is responsible for preventing overfilling by directing excess water into the bowl. Check to ensure that the water level is at or slightly below the top of the overflow tube. If the water level is significantly lower than this point, it's likely that your toilet bowl is not receiving an adequate amount of water.
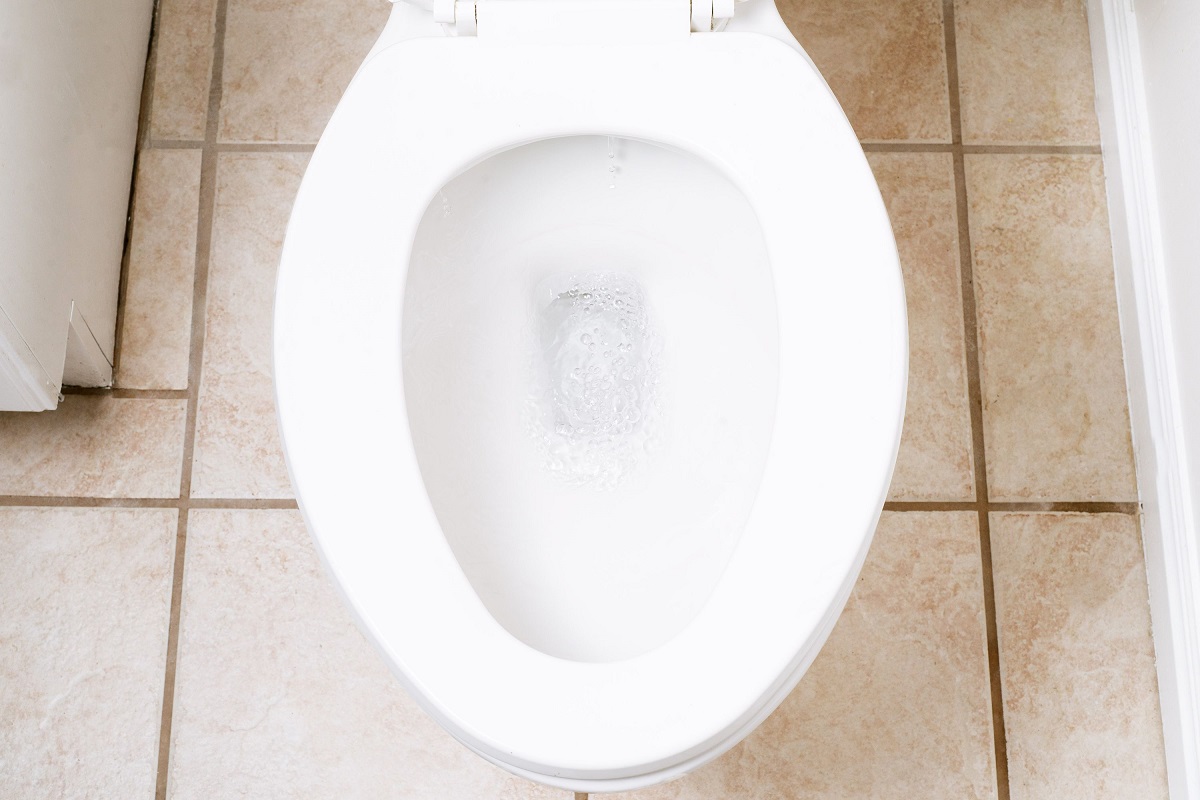
After confirming the water level in the tank, it's important to observe the water level in the bowl itself. Flush the toilet and pay close attention to the water level as the tank refills. Ideally, the water level in the bowl should rise significantly during the flushing process and then settle at a consistent level once the tank has refilled. If the water level in the bowl remains low even after flushing, it's a clear indication that there may be an issue with the water flow into the bowl.
By thoroughly checking the water level in both the tank and the bowl, you can gain valuable insights into the potential causes of low water levels. This initial assessment sets the stage for further adjustments and interventions to ensure that your toilet bowl receives an ample supply of water during each flush.
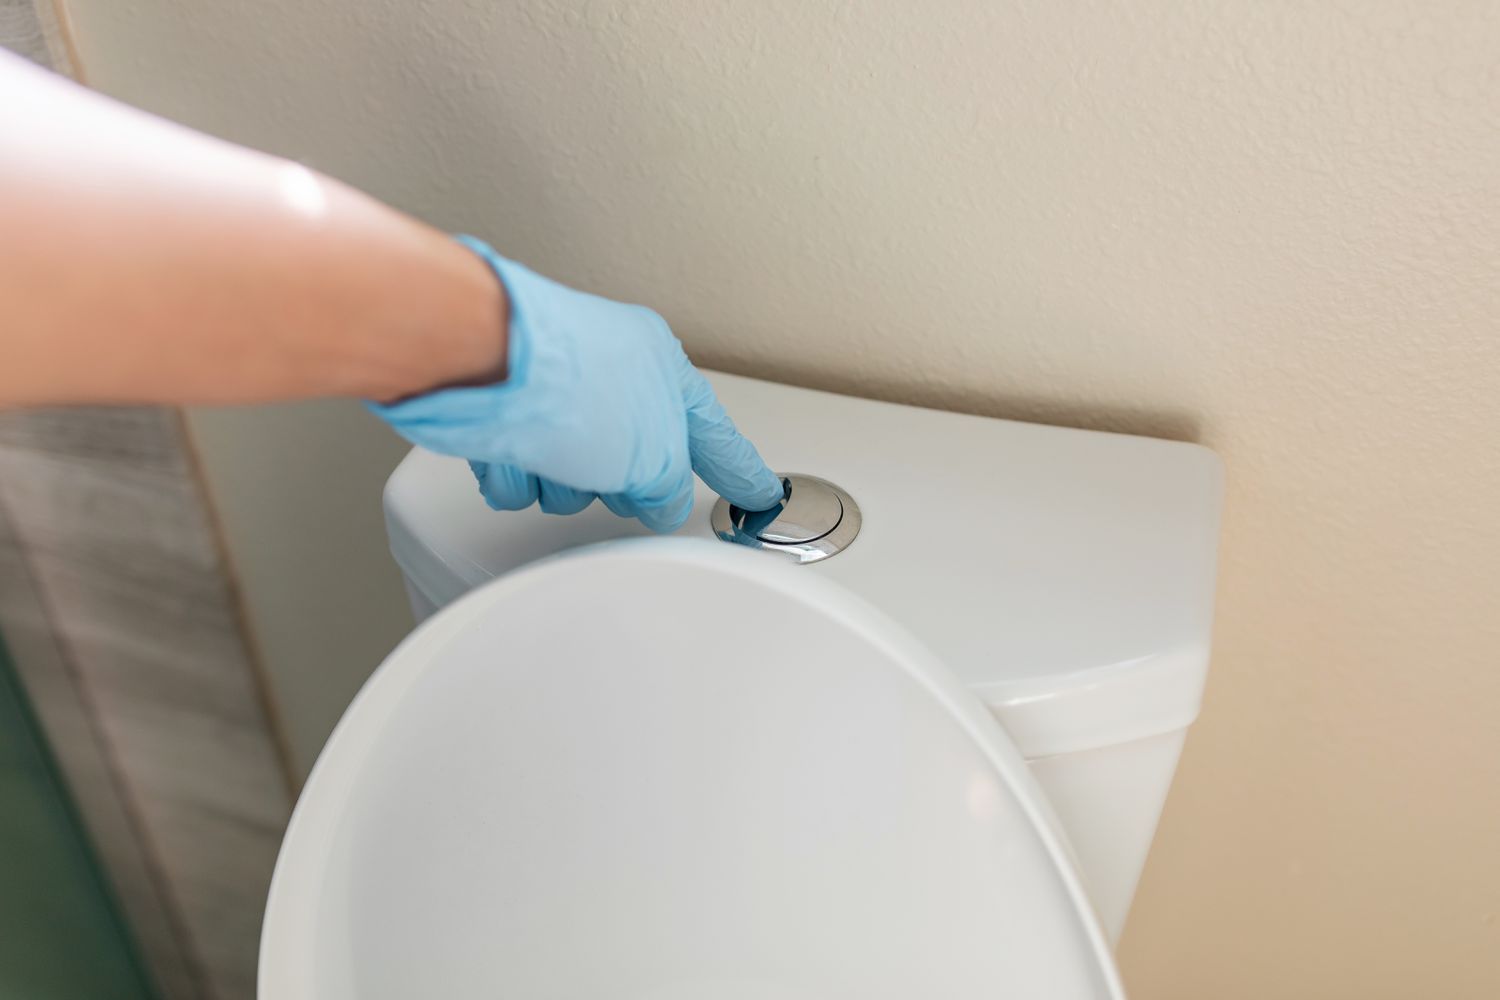
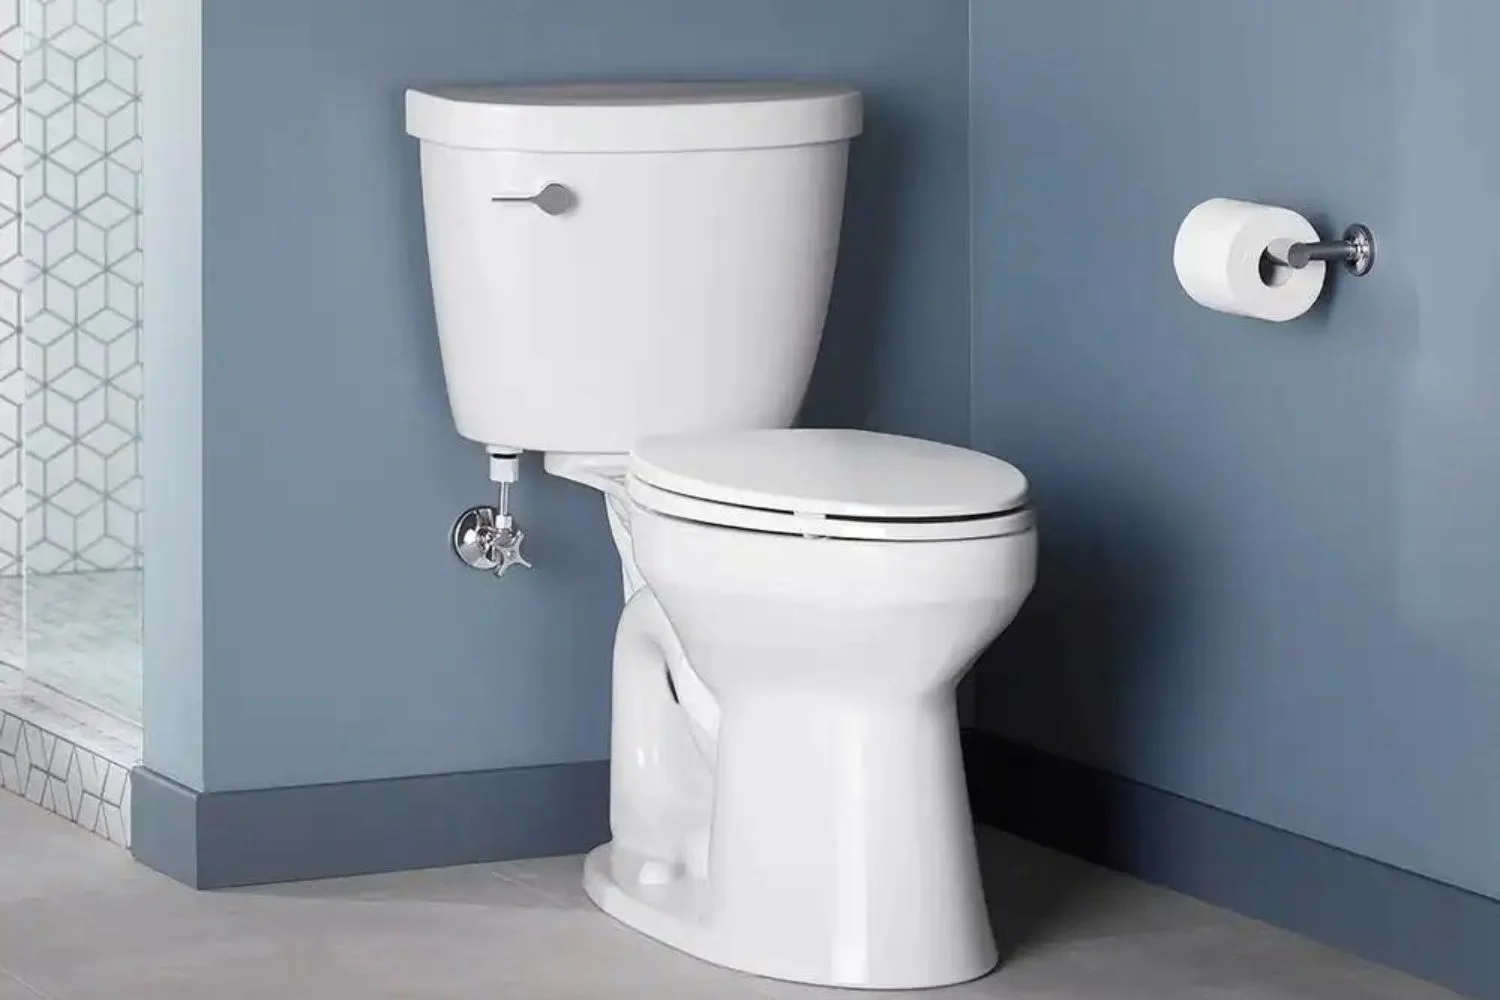
Adjust the Water Level
Once you have identified that the water level in your toilet bowl is insufficient, the next step is to make adjustments to ensure an adequate supply of water during each flush. Fortunately, most toilets are equipped with a mechanism that allows you to modify the water level in the tank, thereby influencing the amount of water that flows into the bowl. By following these simple steps, you can effectively adjust the water level and address the issue of low water in your toilet bowl.
-
Locate the Water Level Adjustment Valve: Inside the toilet tank, you will find a water level adjustment valve, also known as the fill valve or ballcock. This valve is responsible for regulating the water level in the tank and, consequently, the amount of water that flows into the bowl. It is typically located on the left side of the tank and can be identified by a floating device or a cylindrical component connected to the water supply line.
-
Adjust the Valve: To increase the water level in the toilet bowl, you will need to adjust the water level adjustment valve. Depending on the type of valve in your toilet, there are different methods for making this adjustment. For a ballcock-style valve, you can typically rotate the adjustment screw or turn a knob to modify the water level. In the case of a newer toilet with a float cup valve, you may need to adjust the clip or pinch mechanism to achieve the desired water level.
-
Test the Water Level: After making the necessary adjustments to the water level adjustment valve, it's important to test the water level in the bowl. Flush the toilet and observe the water level as the tank refills. Ideally, the water level in the bowl should rise significantly during the flushing process and then settle at a consistent level once the tank has refilled. If the water level in the bowl remains low, further adjustments may be required.
-
Fine-Tune the Adjustment: If the water level in the bowl is still inadequate, you may need to fine-tune the adjustment on the water level adjustment valve. Repeat the process of adjusting the valve and testing the water level until you achieve a satisfactory result. It's important to make incremental changes and observe the impact on the water level to avoid overfilling the bowl.
By following these steps, you can effectively adjust the water level in your toilet bowl and ensure that it receives an ample supply of water during each flush. This simple yet crucial adjustment can significantly improve the functionality and performance of your toilet, contributing to a more efficient and hygienic bathroom experience.
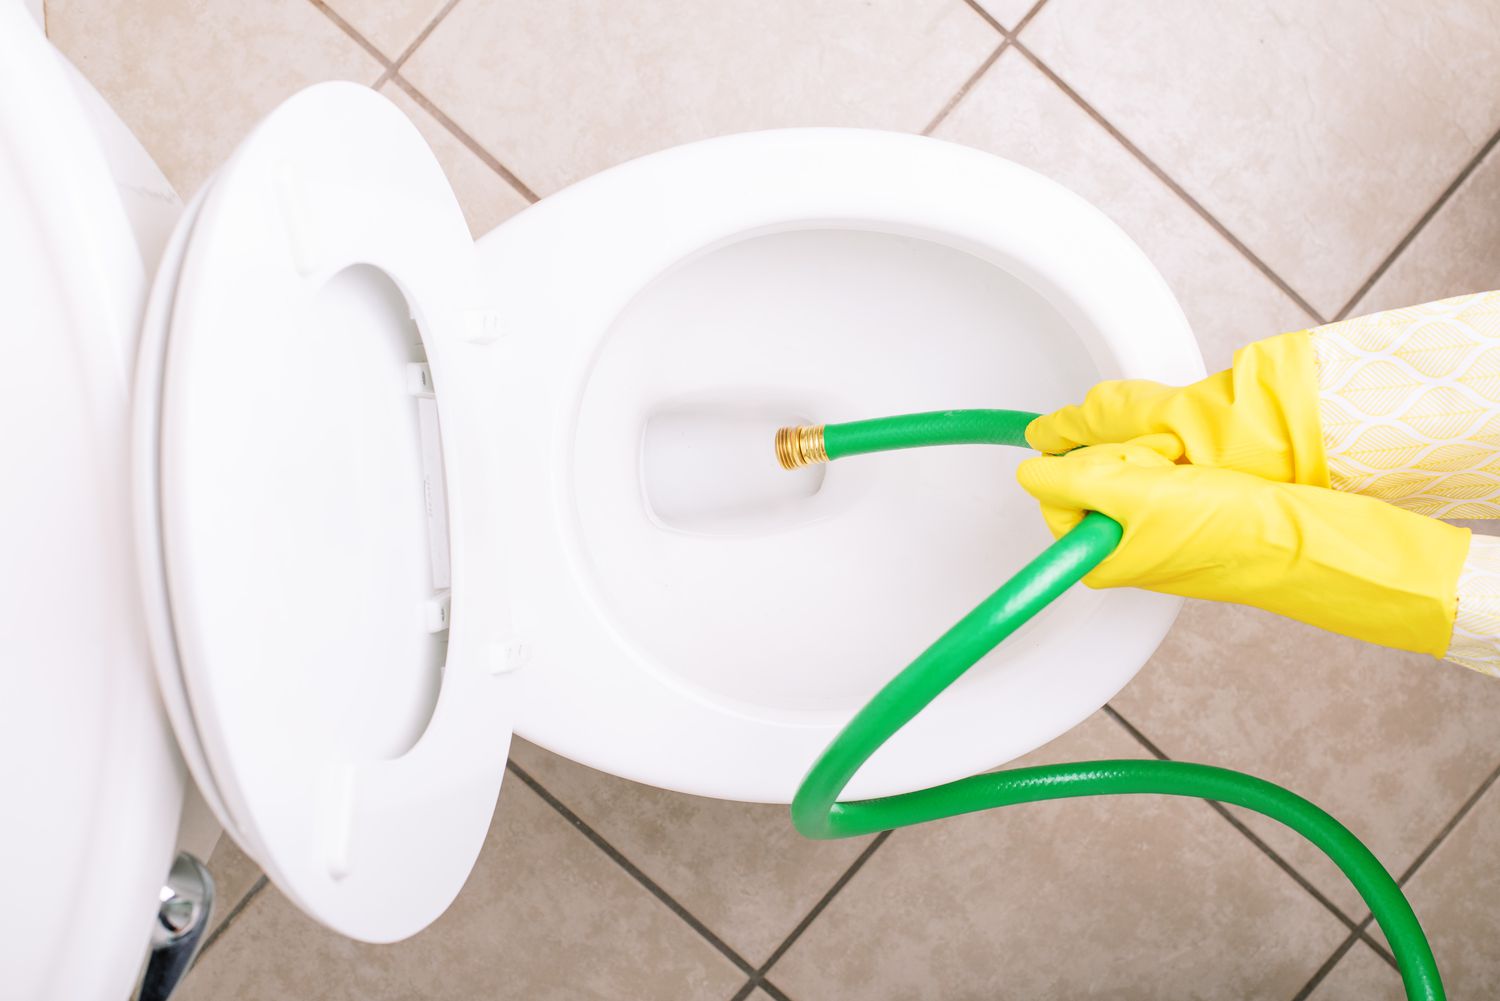
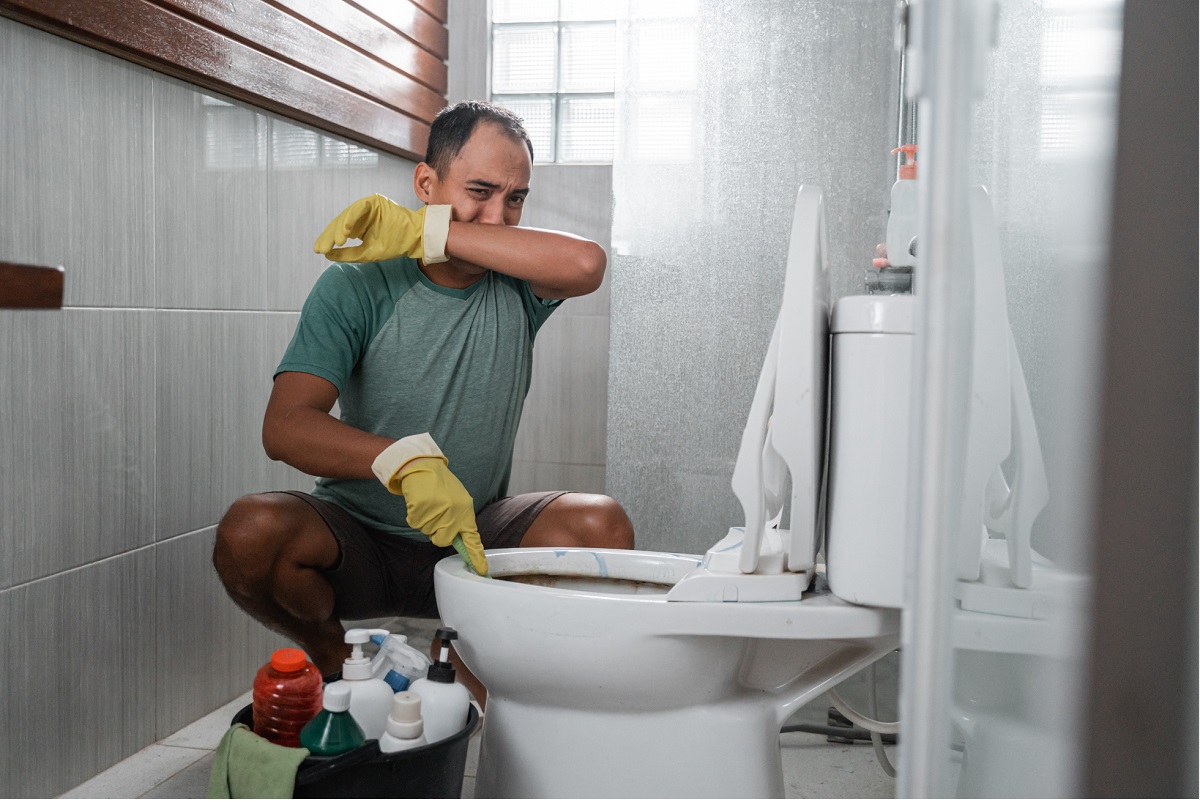
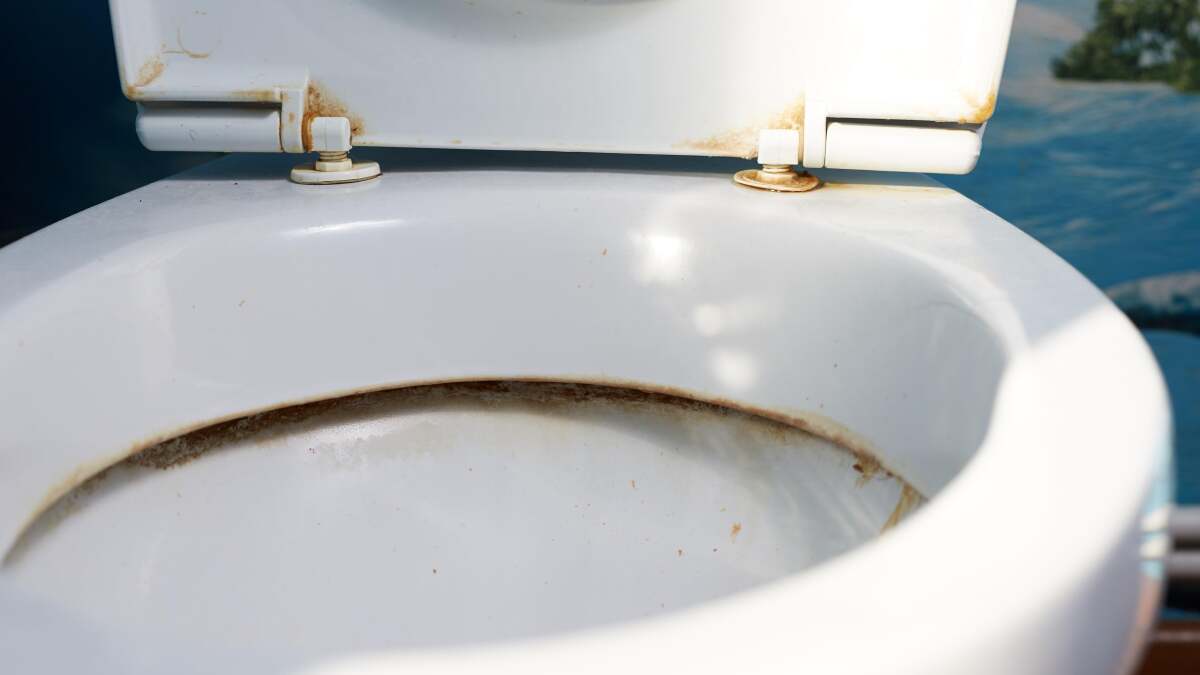
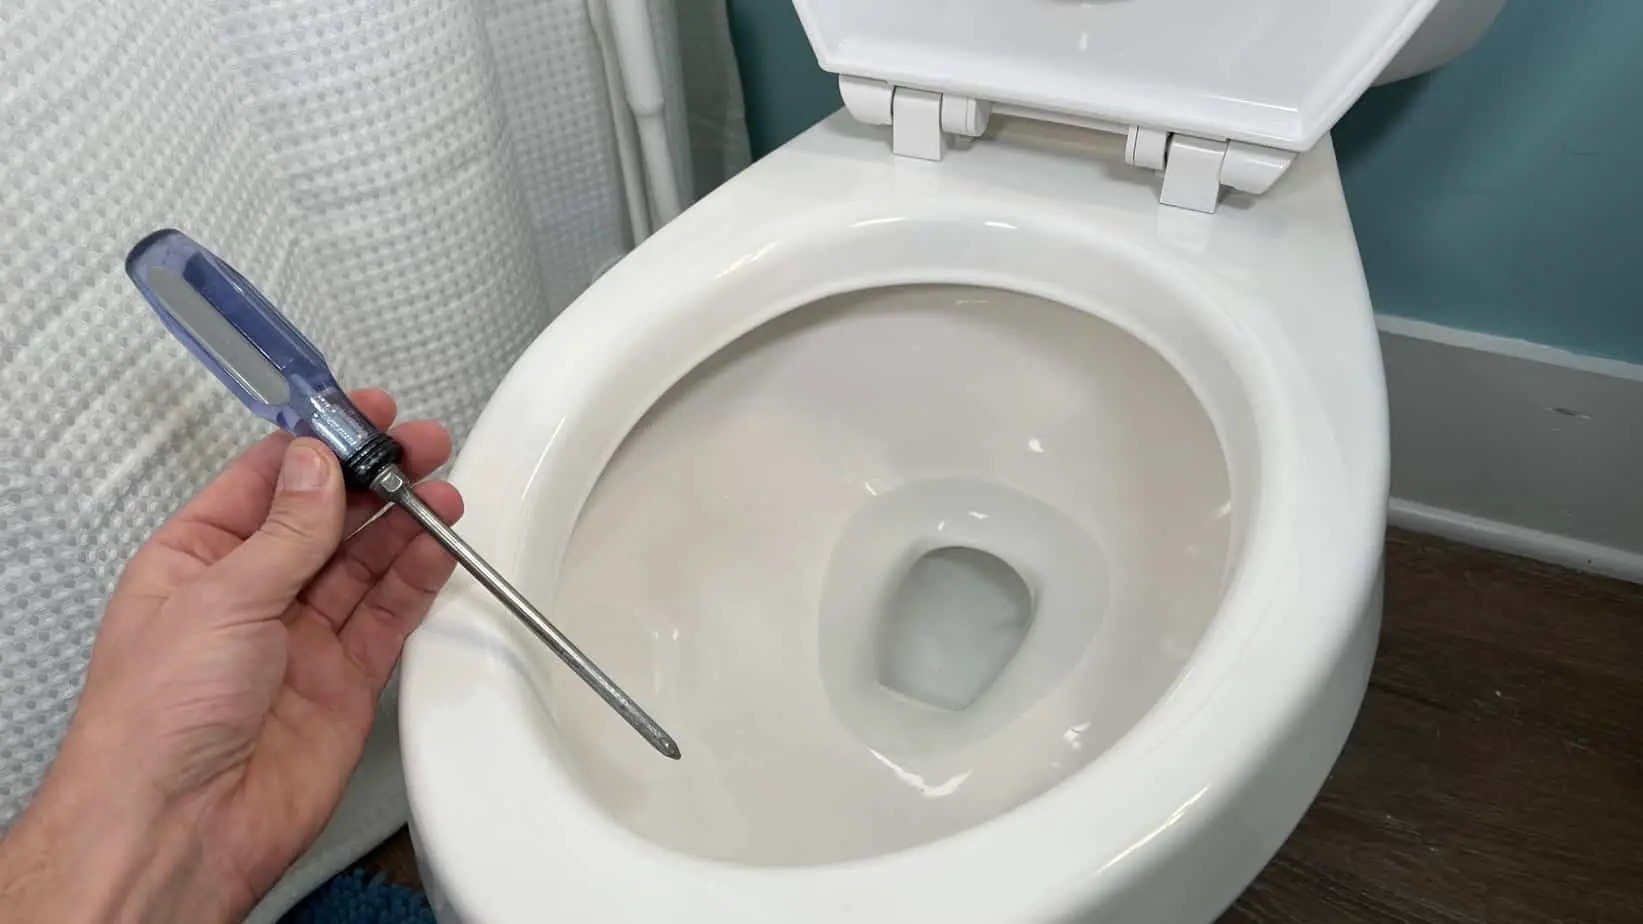
Clean the Toilet Jets
When addressing low water levels in your toilet bowl, it's essential to consider the cleanliness and functionality of the toilet jets. The toilet jets, also known as rim holes or siphon jets, are small openings located around the upper rim of the toilet bowl. These jets play a crucial role in directing water into the bowl during flushing, ensuring effective waste removal and maintaining an optimal water level. However, over time, these jets can become clogged or obstructed by mineral deposits, debris, or bacterial growth, leading to reduced water flow and inadequate water levels in the bowl.
To address this issue, it's important to clean the toilet jets thoroughly to restore their functionality and promote proper water distribution during flushing. Here's a step-by-step guide to effectively clean the toilet jets and improve the water flow in your toilet bowl:
-
Identify the Toilet Jets: Start by visually inspecting the rim of the toilet bowl to locate the toilet jets. These small openings are typically positioned around the inner circumference of the rim and may vary in number depending on the toilet model. Once you have identified the jets, it's time to proceed with the cleaning process.
-
Prepare a Cleaning Solution: To effectively clean the toilet jets, prepare a cleaning solution consisting of equal parts white vinegar and water. White vinegar is known for its natural cleaning properties and its ability to dissolve mineral deposits and remove stubborn stains. Mix the solution in a spray bottle for easy application.
-
Apply the Cleaning Solution: Using the spray bottle, generously apply the vinegar and water solution directly into the toilet jets. Ensure that the solution thoroughly coats the interior of the jets, reaching any potential blockages or buildup that may be impeding water flow. Allow the solution to sit for a few minutes to penetrate and dissolve any deposits.
-
Scrub the Toilet Jets: After allowing the cleaning solution to work its magic, use a toilet brush or a dedicated rim brush to gently scrub the interior of the toilet jets. The bristles of the brush will help dislodge any remaining debris or mineral deposits, allowing the cleaning solution to effectively remove these obstructions.
-
Flush the Toilet: Once you have thoroughly scrubbed the toilet jets, flush the toilet to rinse away the loosened debris and residual cleaning solution. As the water flows through the jets, it will help clear out any remaining buildup, restoring the proper flow of water into the bowl.
-
Repeat if Necessary: In cases where the toilet jets are heavily clogged, you may need to repeat the cleaning process to achieve optimal results. Stubborn mineral deposits or debris may require multiple applications of the cleaning solution and thorough scrubbing to ensure complete clearance.
By following these steps, you can effectively clean the toilet jets and improve the water flow into your toilet bowl. This proactive maintenance not only addresses low water levels but also contributes to the overall cleanliness and functionality of your toilet, ensuring a hygienic and efficient bathroom experience. Regular cleaning of the toilet jets can prevent future blockages and maintain consistent water levels, promoting optimal flushing performance and waste removal.
To get more water in your toilet bowl, adjust the water level in the tank by adjusting the float or fill valve. This can be done by turning the adjustment screw or bending the float arm.
Use a Toilet Bowl Cleaner
In addition to adjusting the water level and cleaning the toilet jets, utilizing a high-quality toilet bowl cleaner can significantly contribute to maintaining optimal water levels and promoting a hygienic bathroom environment. Over time, mineral deposits, stains, and bacterial growth can accumulate within the toilet bowl, leading to reduced water flow and potential odors. By incorporating a reliable toilet bowl cleaner into your regular cleaning routine, you can effectively address these issues and ensure that your toilet bowl maintains an adequate water level.
When selecting a toilet bowl cleaner, it's essential to choose a product that is specifically formulated to target tough stains, mineral buildup, and bacteria while being safe for use in ceramic and porcelain fixtures. Look for cleaners that contain powerful yet non-abrasive ingredients, such as hydrogen peroxide or citric acid, which can effectively dissolve stains and mineral deposits without damaging the toilet bowl surface.
To use a toilet bowl cleaner effectively, follow these simple steps:
-
Select the Right Cleaner: Choose a toilet bowl cleaner that aligns with your specific cleaning needs and preferences. Whether you prefer a gel, liquid, or tablet formulation, ensure that the cleaner is designed to address mineral deposits, stains, and bacteria while promoting optimal water flow.
-
Apply the Cleaner: With the toilet bowl surface thoroughly wet, apply the cleaner directly under the rim and around the inner circumference of the bowl. Ensure that the cleaner comes into contact with the water to facilitate even distribution and maximum effectiveness.
-
Allow for Dwell Time: Most toilet bowl cleaners require a certain amount of dwell time to effectively dissolve stains and mineral deposits. Refer to the product instructions for the recommended duration, and allow the cleaner to work its magic undisturbed.
-
Scrub the Bowl: After the dwell time has elapsed, use a toilet brush to scrub the interior of the bowl, focusing on areas with visible stains or buildup. The bristles of the brush will help dislodge any remaining deposits, allowing the cleaner to effectively remove them.
-
Flush the Toilet: Once you have thoroughly scrubbed the bowl, flush the toilet to rinse away the loosened debris and residual cleaner. As the water flows through the bowl, it will help clear out any remaining buildup, leaving behind a clean and refreshed surface.
By incorporating a reliable toilet bowl cleaner into your cleaning routine, you can effectively combat stains, mineral deposits, and bacterial growth, ultimately contributing to improved water flow and consistent water levels in your toilet bowl. Regular use of a high-quality cleaner not only enhances the cleanliness of your toilet but also supports optimal flushing performance and waste removal, ensuring a pleasant and hygienic bathroom experience.
Read more: Toilet Bowl Fills With Water When Flushed
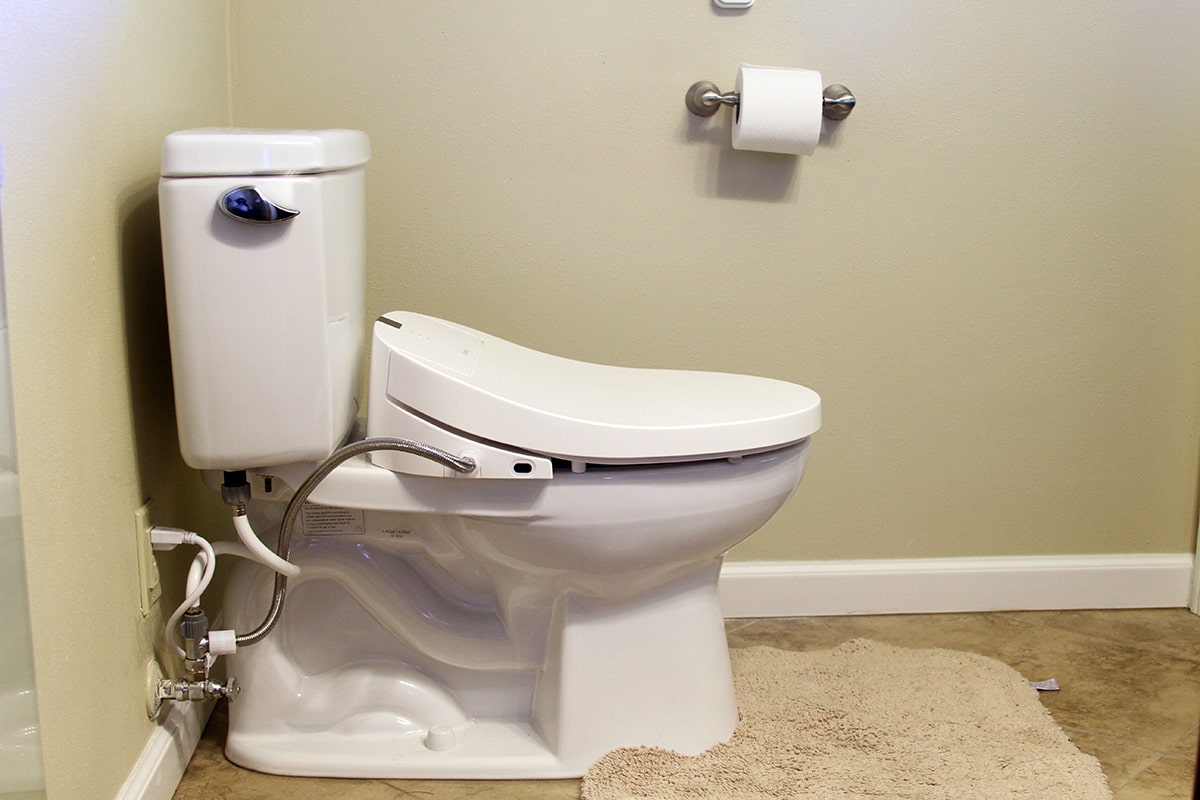
Install a Toilet Bowl Refill Tube
Installing a toilet bowl refill tube is a practical and effective solution for ensuring that your toilet bowl receives an ample supply of water during each flush. This simple yet impactful addition to your toilet's plumbing system can significantly improve water levels and contribute to the overall functionality of your toilet.
To begin the installation process, gather the necessary materials, including a toilet bowl refill tube kit, which typically includes the refill tube, a clip or holder, and any additional components required for attachment. It's important to ensure that the refill tube kit is compatible with your specific toilet model to facilitate a seamless installation.
Start by turning off the water supply to the toilet using the shut-off valve located near the base of the toilet. Once the water supply is turned off, flush the toilet to drain the remaining water from the tank and bowl. This step is crucial to prevent any water spillage during the installation process.
Next, remove the toilet tank lid and set it aside in a safe location. With the tank exposed, locate the fill valve, which is responsible for refilling the tank after each flush. The fill valve is typically positioned on the left side of the tank and is connected to the water supply line.
Identify the designated refill tube attachment point on the fill valve. This may be a small protrusion or nipple located near the top of the fill valve. The refill tube will be connected to this point to direct water into the toilet bowl during the tank refilling process.
Take the refill tube from the kit and attach one end to the designated point on the fill valve. Ensure a secure and snug connection to prevent any leaks or dislodgment during operation. Depending on the specific design of the refill tube kit, you may need to use a clip or holder to secure the other end of the tube inside the toilet overflow pipe or another designated location within the tank.
Once the refill tube is securely attached, turn the water supply back on using the shut-off valve and allow the tank to refill. As the tank refills, observe the flow of water through the refill tube into the overflow pipe and subsequently into the toilet bowl. The refill tube facilitates the direct transfer of water from the fill valve into the bowl, ensuring that it receives an adequate supply of water to maintain optimal water levels.
After confirming that the refill tube is functioning as intended and effectively increasing the water level in the toilet bowl, adjust the length and positioning of the tube as needed to optimize water flow and distribution. It's important to ensure that the refill tube does not interfere with other components within the tank and allows for smooth and unobstructed water delivery into the bowl.
By installing a toilet bowl refill tube, you can effectively enhance the water levels in your toilet bowl and promote efficient flushing performance. This simple and practical addition to your toilet's plumbing system can contribute to a more hygienic and functional bathroom experience, ensuring that your toilet maintains optimal water levels for effective waste removal and odor prevention.
Conclusion
In conclusion, ensuring that your toilet bowl maintains an optimal water level is essential for promoting a clean, hygienic, and efficient bathroom experience. By following the steps outlined in this comprehensive guide, you can effectively address low water levels in your toilet bowl and enhance its overall functionality. From checking and adjusting the water level to cleaning the toilet jets, utilizing a toilet bowl cleaner, and installing a refill tube, each method plays a crucial role in ensuring that your toilet receives an ample supply of water during each flush.
By checking the water level in both the tank and the bowl, you gain valuable insights into potential issues and set the stage for further adjustments. Adjusting the water level using the water level adjustment valve allows you to fine-tune the amount of water flowing into the bowl, ultimately addressing low water levels and promoting efficient flushing performance.
Cleaning the toilet jets is another vital step in maintaining optimal water levels. By removing mineral deposits, debris, and bacterial growth from the jets, you can restore their functionality and ensure proper water distribution during flushing. Additionally, incorporating a high-quality toilet bowl cleaner into your regular cleaning routine can effectively combat stains, mineral deposits, and bacterial growth, contributing to improved water flow and consistent water levels in your toilet bowl.
Furthermore, installing a toilet bowl refill tube provides a practical solution for enhancing water levels and promoting efficient flushing performance. This simple addition to your toilet's plumbing system facilitates the direct transfer of water from the fill valve into the bowl, ensuring that it receives an adequate supply of water for effective waste removal and odor prevention.
By implementing these methods, you can not only address low water levels in your toilet bowl but also contribute to a more pleasant and hygienic bathroom environment. Maintaining optimal water levels promotes effective waste removal, prevents odors from escaping the sewer line, and supports the overall functionality of your toilet.
Incorporating these practices into your regular maintenance routine can help you achieve consistent and adequate water levels in your toilet bowl, ultimately contributing to a more efficient and enjoyable bathroom experience. With these simple yet impactful interventions, you can ensure that your toilet maintains optimal water levels, promoting cleanliness, functionality, and overall satisfaction in your bathroom.
Frequently Asked Questions about How To Get More Water In Your Toilet Bowl
Was this page helpful?
At Storables.com, we guarantee accurate and reliable information. Our content, validated by Expert Board Contributors, is crafted following stringent Editorial Policies. We're committed to providing you with well-researched, expert-backed insights for all your informational needs.
0 thoughts on “How To Get More Water In Your Toilet Bowl”