Home>Furniture & Design>Bathroom Accessories>How To Fix A Leaking Toilet Bowl
Bathroom Accessories
How To Fix A Leaking Toilet Bowl
Modified: April 22, 2024
Learn how to fix a leaking toilet bowl with our expert tips and advice. Find the best bathroom accessories to solve your plumbing issues and prevent future leaks.
(Many of the links in this article redirect to a specific reviewed product. Your purchase of these products through affiliate links helps to generate commission for Storables.com, at no extra cost. Learn more)
Introduction
Dealing with a leaking toilet bowl can be a frustrating and inconvenient issue for any homeowner. Not only can it lead to water wastage and potential water damage, but it can also disrupt the comfort and functionality of your bathroom. However, with the right knowledge and a few simple steps, you can address this problem effectively and restore your toilet to its proper working condition.
In this comprehensive guide, we will walk you through the process of fixing a leaking toilet bowl, providing you with practical steps and insights to help you tackle this common household problem. Whether you are a seasoned DIY enthusiast or a novice homeowner, understanding the underlying causes of a leaking toilet bowl and learning how to address them can save you time, money, and unnecessary stress.
By following the steps outlined in this guide, you will gain the confidence and know-how to identify, troubleshoot, and resolve toilet bowl leaks on your own. From shutting off the water supply to inspecting and tightening the bolts, and from replacing the wax ring to checking the tank components, each step is designed to equip you with the necessary skills to effectively address the issue at hand.
So, if you're ready to take control of the situation and restore your toilet to its leak-free state, let's dive into the step-by-step process of fixing a leaking toilet bowl. With a proactive approach and a willingness to roll up your sleeves, you can successfully overcome this common household challenge and enjoy the peace of mind that comes with a fully functional and leak-free toilet.
Key Takeaways:
- Don’t let a leaking toilet bowl stress you out! Follow simple steps like shutting off the water supply, emptying the bowl, and tightening bolts to fix the leak and save time and money.
- If the leak persists, don’t hesitate to call a professional plumber. They can handle complex repairs, older plumbing systems, and ensure a fully functional and leak-free toilet.
Read more: How To Fix A Toilet Bowl
Step 1: Shut off the water supply
The first and most crucial step in addressing a leaking toilet bowl is to shut off the water supply. This action is essential to prevent further water leakage and create a safe working environment for troubleshooting and repairs. Here's a detailed look at how to effectively shut off the water supply to your toilet:
-
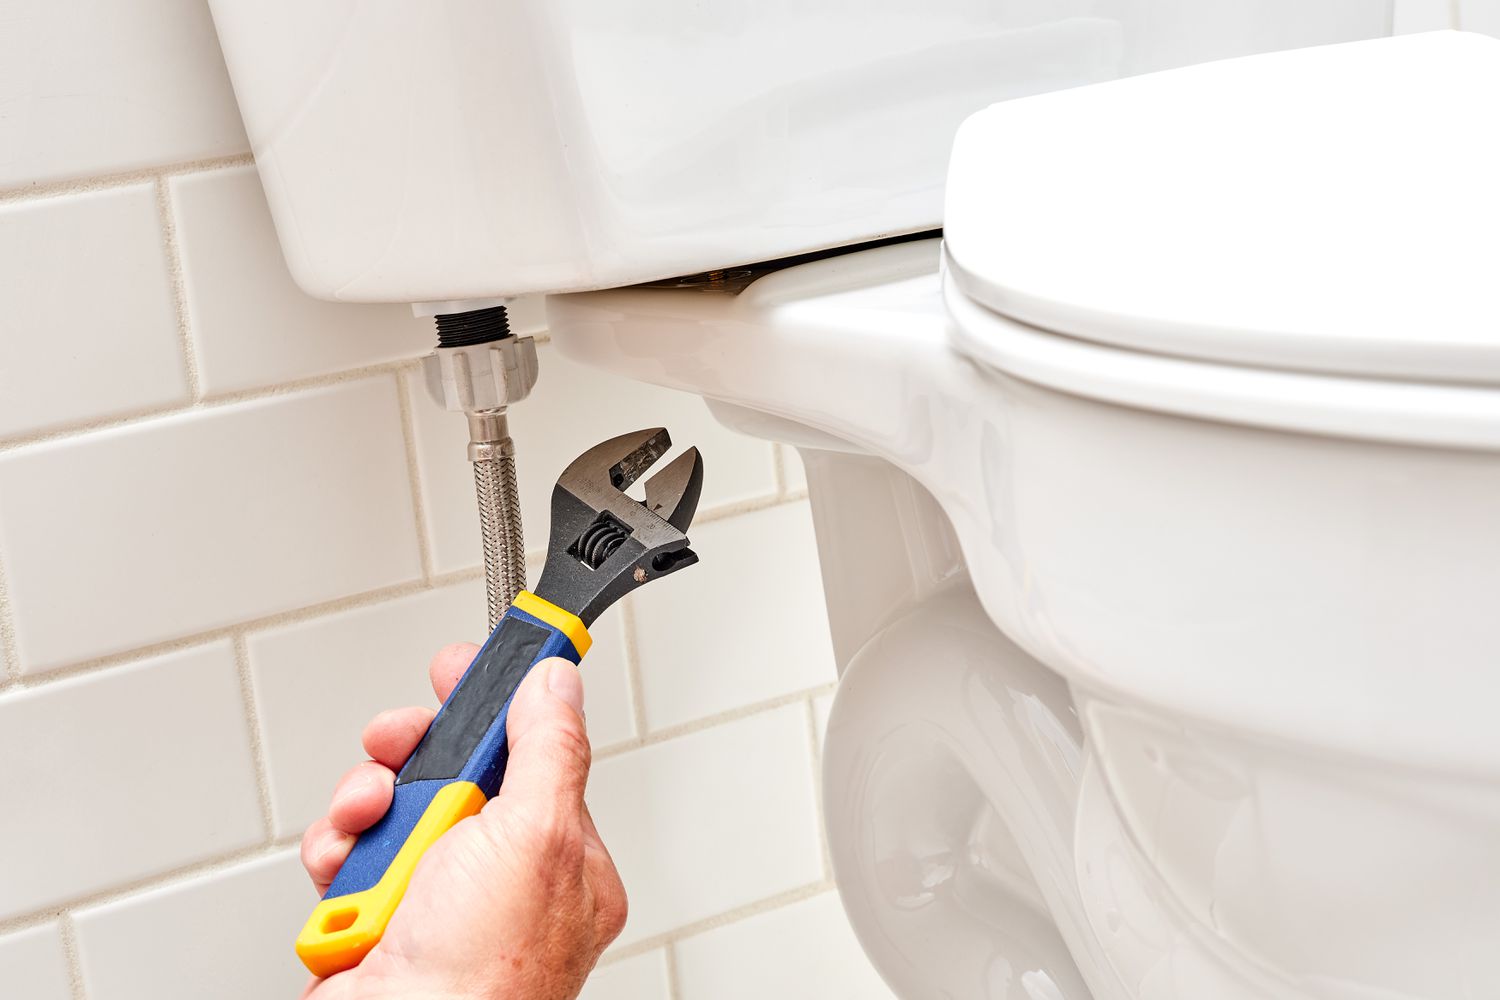
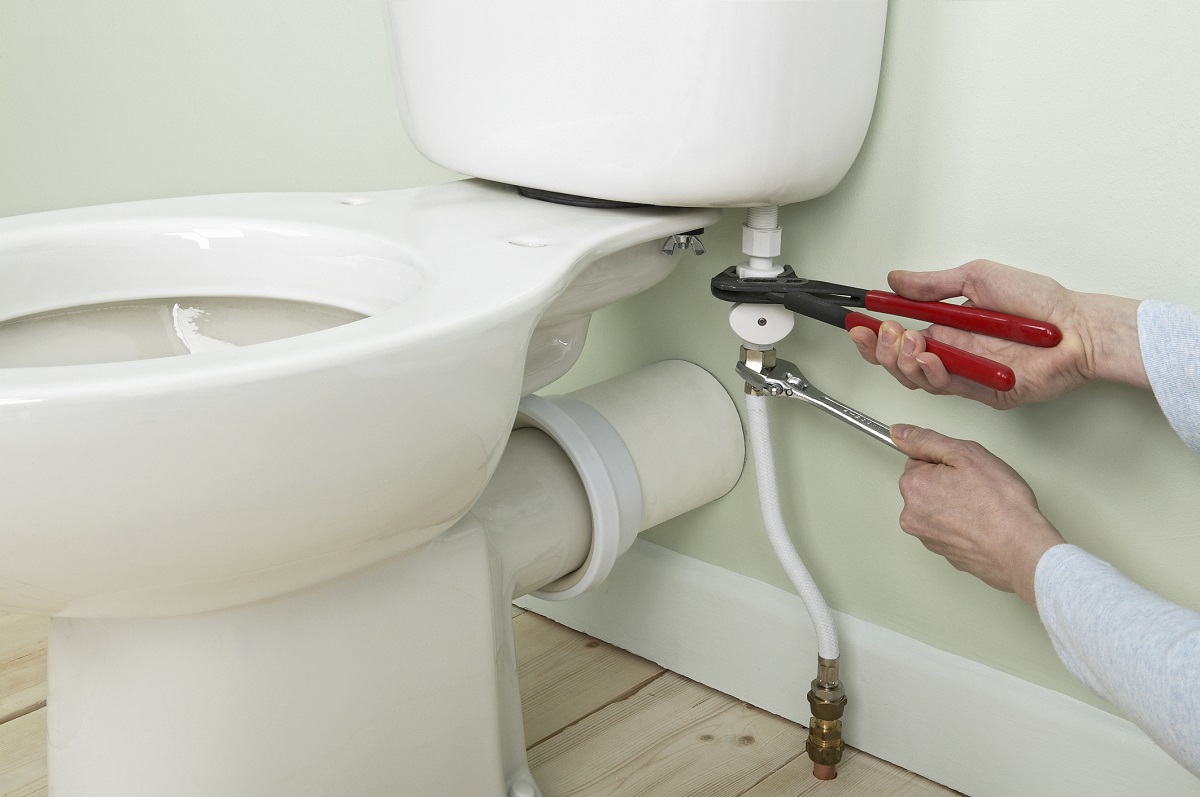
Locate the Shut-Off Valve: Begin by locating the shut-off valve, which is typically situated behind the toilet near the floor. It is commonly a small, oval-shaped valve connected to the water supply line.
-
Turn Off the Valve: Once you have located the shut-off valve, turn it clockwise (to the right) to close it. This action will stop the flow of water to the toilet, effectively cutting off the water supply.
-
Verify the Water Supply is Off: After turning the shut-off valve, flush the toilet to ensure that the water supply has been successfully shut off. If the tank does not refill after flushing, it indicates that the water supply has been properly turned off.
Shutting off the water supply is a critical initial step that prevents further water leakage and allows you to proceed with diagnosing and resolving the issue without the risk of additional water damage. By taking this proactive measure, you set the stage for the subsequent steps in the process of fixing a leaking toilet bowl.
With the water supply successfully shut off, you are now ready to move on to the next steps in the troubleshooting and repair process, ultimately working towards restoring your toilet to its leak-free state.
Step 2: Empty the toilet bowl
Emptying the toilet bowl is a crucial step in the process of fixing a leaking toilet. By removing the water from the bowl, you create a clear workspace for identifying and addressing the source of the leak. Here's a detailed guide on how to effectively empty the toilet bowl:
-
Prepare the Workspace: Before emptying the toilet bowl, it's essential to prepare the surrounding area. Lay down old towels or rags around the base of the toilet to catch any residual water that may spill during the emptying process. This precaution helps minimize the risk of water damage to the bathroom floor and ensures a cleaner work environment.
-
Turn Off the Water Supply to the Toilet: As mentioned in the previous step, ensure that the water supply to the toilet is completely shut off. This prevents the bowl from refilling with water as you proceed with emptying it.
-
Flush the Toilet: Start by flushing the toilet to remove as much water from the bowl as possible. Use a toilet brush or plunger to help push the remaining water down the drain. Continue flushing and plunging until the bowl is nearly empty.
-
Absorb Remaining Water: To completely empty the toilet bowl, use a small cup or a sponge to absorb any remaining water at the bottom of the bowl. Wring out the absorbed water into a bucket or the bathtub to prevent spillage.
-
Dispose of the Water: Once the water is removed from the toilet bowl, dispose of it appropriately. If the water is clean and free from any contaminants, it can be poured down a drain. However, if the water is contaminated or mixed with cleaning agents, it should be disposed of according to local regulations.
By effectively emptying the toilet bowl, you create a clear and accessible workspace for the subsequent steps in the repair process. This step sets the stage for identifying and addressing the source of the leak, ultimately leading to a successful resolution of the issue. With the toilet bowl emptied and the workspace prepared, you are now ready to move on to the next steps in the process of fixing a leaking toilet bowl.
Step 3: Identify the source of the leak
Once the water supply is shut off and the toilet bowl is emptied, the next crucial step in fixing a leaking toilet bowl is to identify the source of the leak. Understanding where the leak is originating from is essential for implementing the appropriate solution. Here's a detailed guide on how to effectively identify the source of the leak:
-
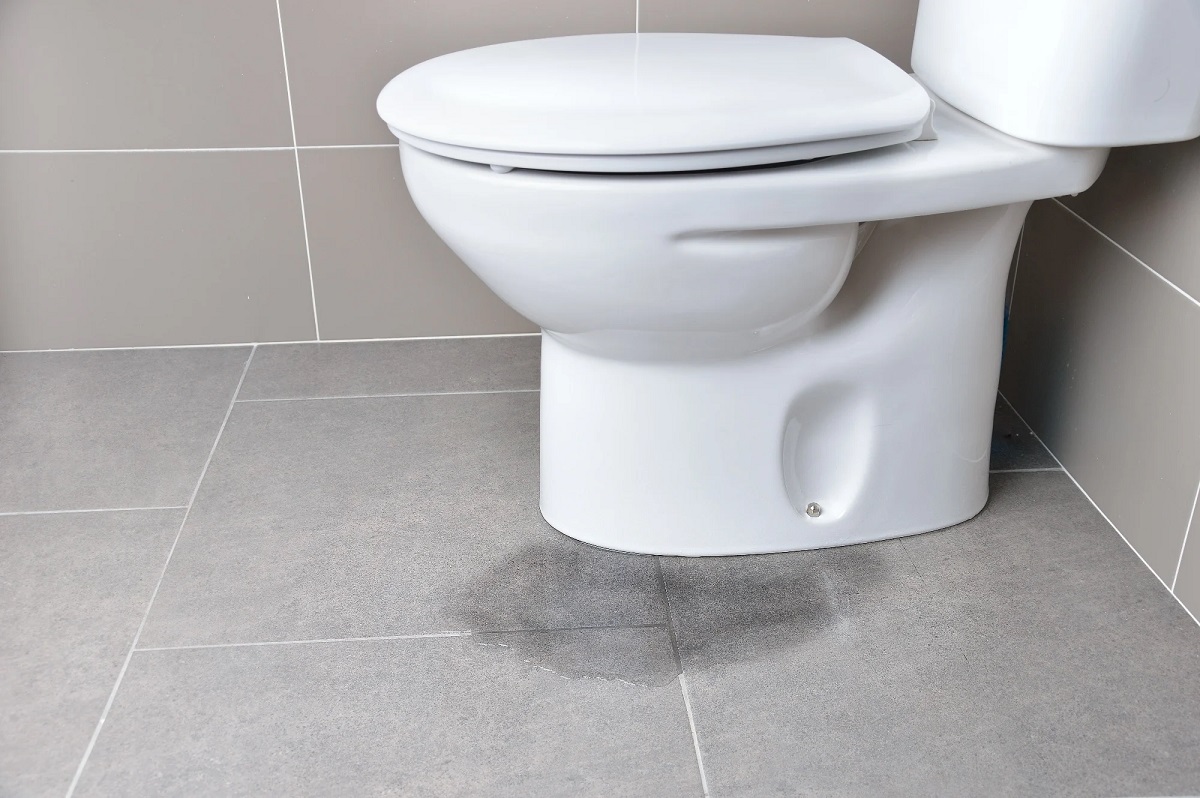
Inspect the Base: Begin by closely examining the base of the toilet. Look for any signs of water pooling, dampness, or discoloration around the perimeter of the toilet. If you notice water accumulation or a wet area, it indicates a potential leak at the base.
-
Check the Bolts: Inspect the bolts securing the toilet to the floor. Loose or corroded bolts can lead to water seepage around the base. Use a wrench to gently tighten the bolts, taking care not to overtighten them, as this can damage the toilet's base.
-
Examine the Wax Ring: The wax ring seals the connection between the toilet and the waste pipe. If the wax ring is compromised or worn out, it can result in water leaking from the base of the toilet. Carefully inspect the wax ring for any signs of damage, deterioration, or misalignment.
-
Assess the Tank Components: In some cases, the source of the leak may be related to the tank components. Check the tank for any visible cracks, corrosion, or damaged fittings. Additionally, inspect the tank's water supply line and the flush valve for potential leaks or malfunctions.
-
Look for Condensation: Sometimes, what appears to be a leak may actually be condensation buildup on the exterior of the toilet bowl. Wipe the exterior of the toilet with a dry cloth and monitor it for any recurring moisture. If the moisture reappears, it may be due to condensation rather than a leak.
-
Run a Dye Test: To pinpoint the exact location of the leak, you can conduct a dye test. Add a few drops of food coloring into the toilet tank and wait for a few minutes without flushing. If the colored water appears in the toilet bowl without flushing, it can help identify a potential leak in the flapper valve or the flush valve seal.
By systematically examining these potential sources of the leak, you can gain valuable insights into the underlying issue causing the toilet bowl to leak. Identifying the source of the leak is a critical step that paves the way for implementing targeted repairs and solutions, ultimately leading to a fully functional and leak-free toilet.
Step 4: Tighten the bolts
Inspecting and tightening the bolts that secure the toilet to the floor is a crucial step in addressing a leaking toilet bowl. Over time, these bolts may become loose due to regular usage or minor shifts in the toilet's position, leading to potential water seepage around the base. By carefully examining and tightening the bolts, you can effectively mitigate this common cause of toilet bowl leaks.
To begin, visually inspect the bolts located at the base of the toilet. These bolts are typically situated at the toilet's base on either side, securing it to the floor. Use a flashlight if necessary to ensure proper visibility. Look for any signs of corrosion, rust, or visible wear on the bolts, as these factors can contribute to loosening over time.
Once you have identified the bolts, use an appropriate wrench or adjustable wrench to gently tighten them. It's important to exercise caution and avoid applying excessive force, as overtightening the bolts can lead to damage to the toilet's base or the flange. Instead, aim to achieve a firm and secure fit without overstraining the bolts or the surrounding components.
When tightening the bolts, it's advisable to use a crisscross pattern, alternating between the two bolts to ensure even and balanced tightening. This approach helps distribute the pressure evenly, minimizing the risk of uneven stress on the toilet's base.
After tightening the bolts, carefully check for any remaining signs of water seepage around the base of the toilet. Monitor the area for any indications of dampness or moisture over the next few hours to verify the effectiveness of the bolt tightening. If the leak persists, consider seeking professional assistance to further diagnose and address the issue.
By systematically inspecting and tightening the bolts securing the toilet to the floor, you take proactive measures to eliminate a common source of toilet bowl leaks. This step contributes to the overall process of troubleshooting and resolving the leak, bringing you closer to achieving a fully functional and leak-free toilet.
With the bolts securely tightened, you can proceed to the subsequent steps in the repair process, building upon the foundation laid by this essential maintenance task.
Check the toilet’s flapper for damage or wear and tear. If it’s not sealing properly, it can cause a leak. Replace the flapper if necessary to fix the leaking toilet bowl.
Read more: How To Fix A Loose Toilet Bowl
Step 5: Replace the wax ring
Replacing the wax ring is a critical step in addressing a leaking toilet bowl, especially if the leak is originating from the base of the toilet. The wax ring serves as a seal between the base of the toilet and the waste pipe, ensuring a watertight connection. Over time, the wax ring may deteriorate, become misaligned, or develop cracks, leading to water leakage around the base of the toilet. By replacing the wax ring, you can effectively restore the integrity of the seal and prevent further leaks.
Here's a detailed guide on how to replace the wax ring:
-
Prepare the Workspace: Before proceeding with the wax ring replacement, ensure that the surrounding area is clear and accessible. Remove any obstacles or items near the base of the toilet to create a workspace that allows for easy maneuvering.
-
Turn Off the Water Supply: As a precautionary measure, ensure that the water supply to the toilet is completely shut off. This prevents any accidental flushing or water flow during the replacement process.
-
Empty the Toilet Bowl: If there is residual water in the toilet bowl, ensure that it is emptied completely. Use a sponge or cup to absorb any remaining water, and dispose of it appropriately.
-
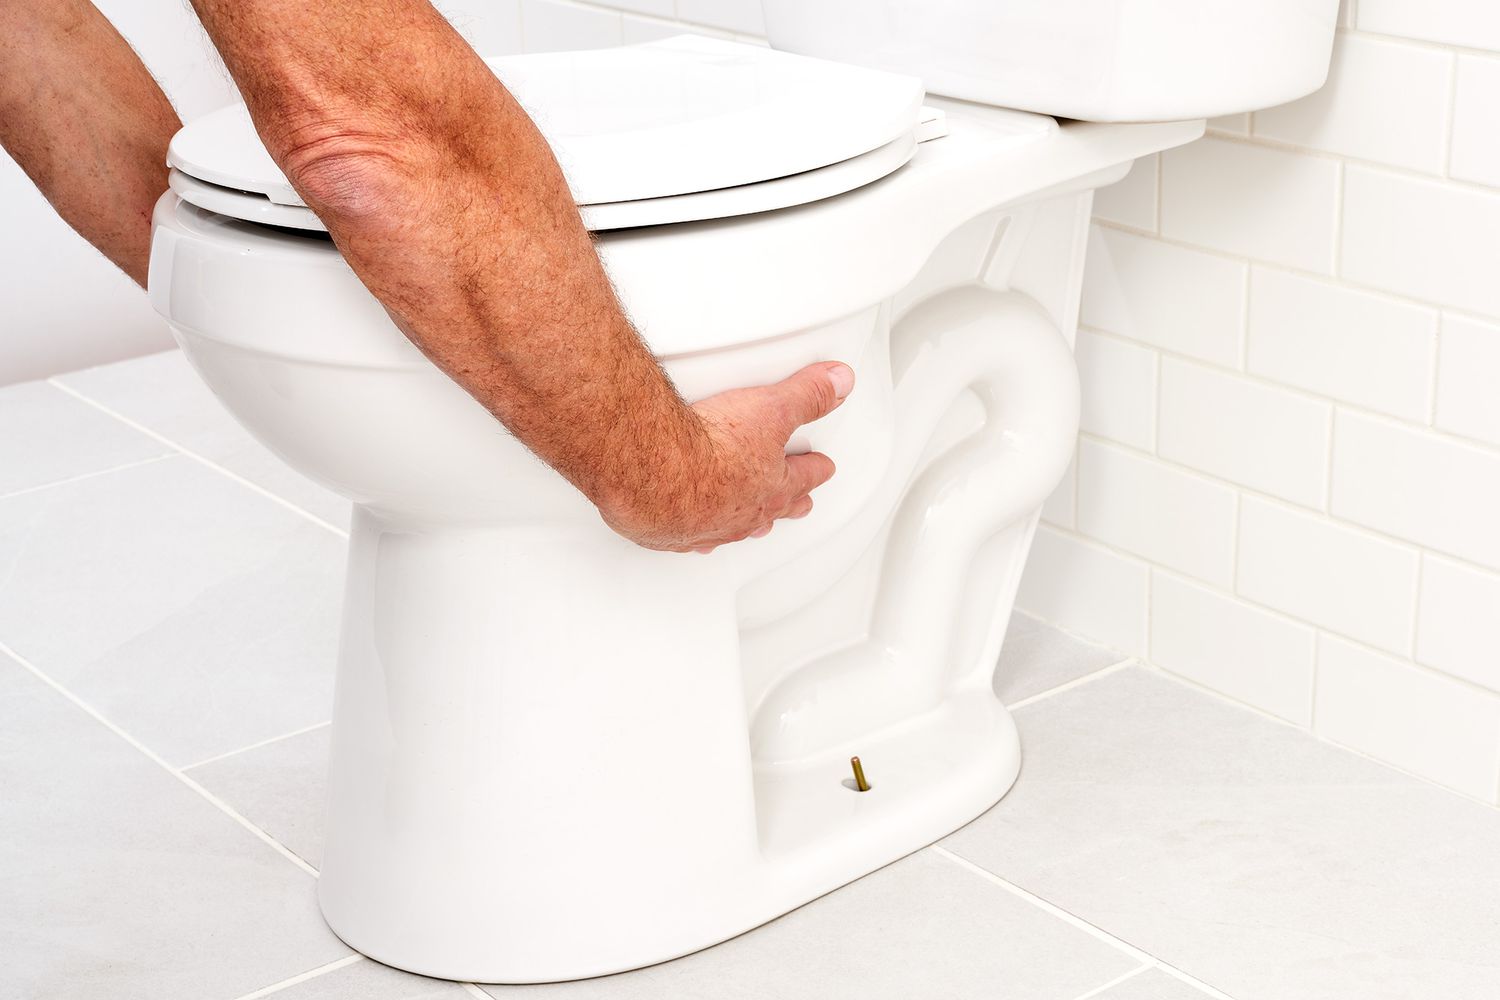
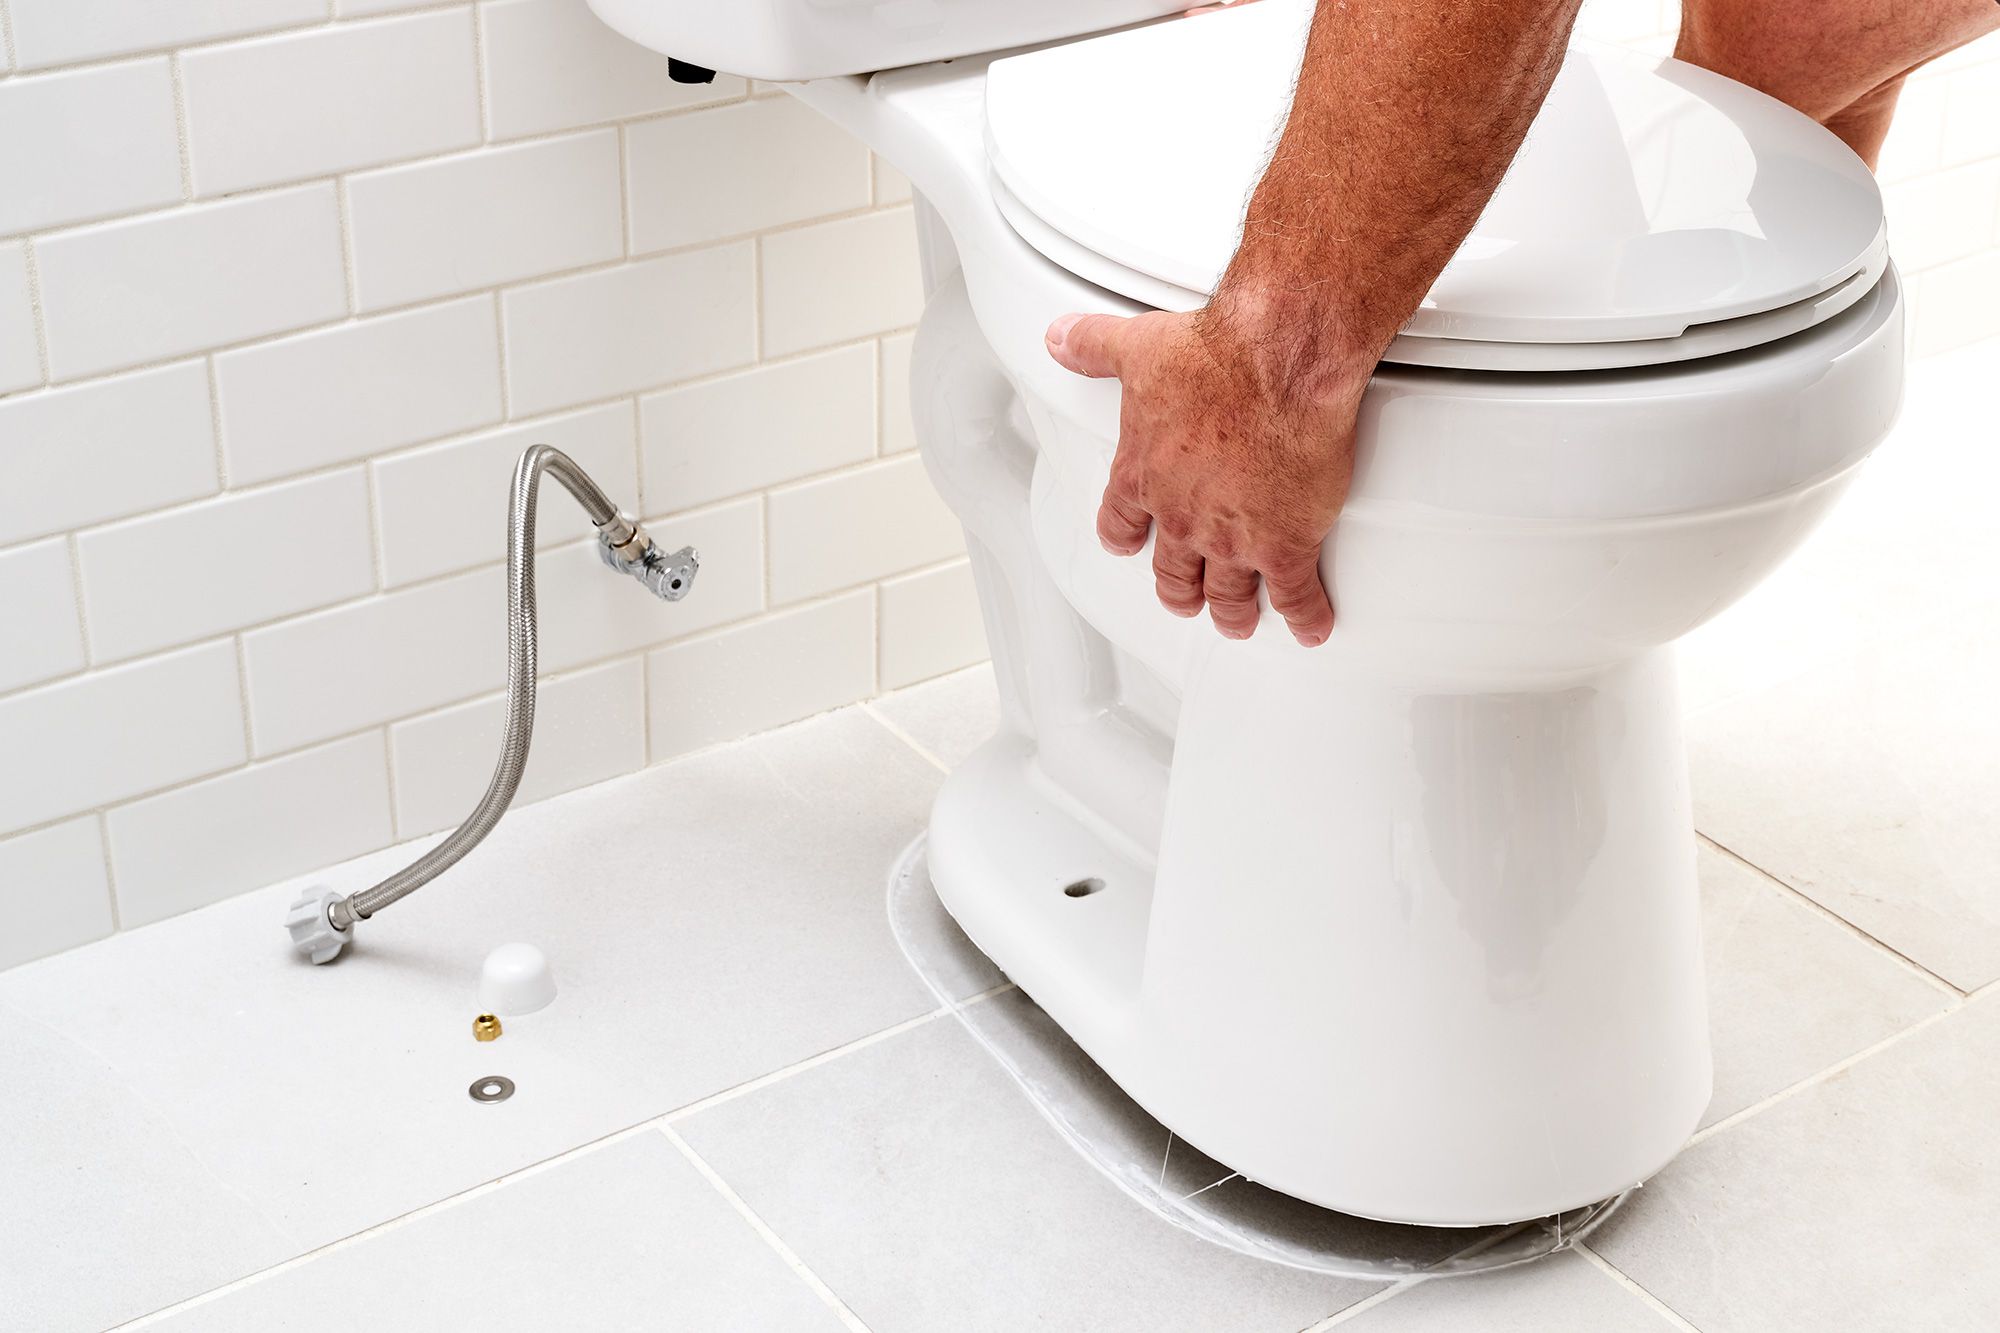
Remove the Toilet: Carefully detach the toilet from the floor by unscrewing the bolts securing it to the flange. It's advisable to have a helper assist with lifting and moving the toilet, as it can be heavy and awkward to handle.
-
Inspect and Clean the Flange: Once the toilet is removed, inspect the flange to ensure it is in good condition. Clean any old wax residue or debris from the flange to prepare it for the new wax ring.
-
Replace the Wax Ring: Gently place the new wax ring onto the flange, ensuring that it is centered and properly aligned. Some wax rings come with a plastic sleeve to facilitate installation. Carefully lower the toilet onto the flange, allowing the wax ring to compress and form a secure seal.
-
Secure the Toilet: Align the toilet with the bolts on the flange and gently press it down to compress the wax ring. Securely fasten the bolts, taking care not to overtighten them. Ensure that the toilet is stable and level.
-
Reconnect the Water Supply: Once the toilet is securely in place, reconnect the water supply line and turn on the water. Check for any signs of leakage around the base of the toilet as the tank refills.
By systematically replacing the wax ring and ensuring a proper seal between the toilet and the waste pipe, you effectively address a common source of toilet bowl leaks. This step contributes to the overall process of resolving the leak, bringing you closer to achieving a fully functional and leak-free toilet.
Step 6: Check the tank components
Inspecting the tank components is a crucial step in the process of fixing a leaking toilet bowl. While leaks around the base of the toilet are commonly addressed, it's essential to also examine the tank and its associated components for potential sources of leakage. By systematically checking the tank components, you can identify and address issues that may contribute to water seepage and ensure the overall integrity of the toilet's functionality.
Here's a detailed guide on how to effectively check the tank components:
-
Examine the Tank Interior: Start by removing the tank lid and visually inspecting the interior of the tank. Look for any signs of water accumulation, moisture, or visible leaks. Check the areas around the tank's fittings, including the fill valve, flush valve, and any associated gaskets or seals.
-
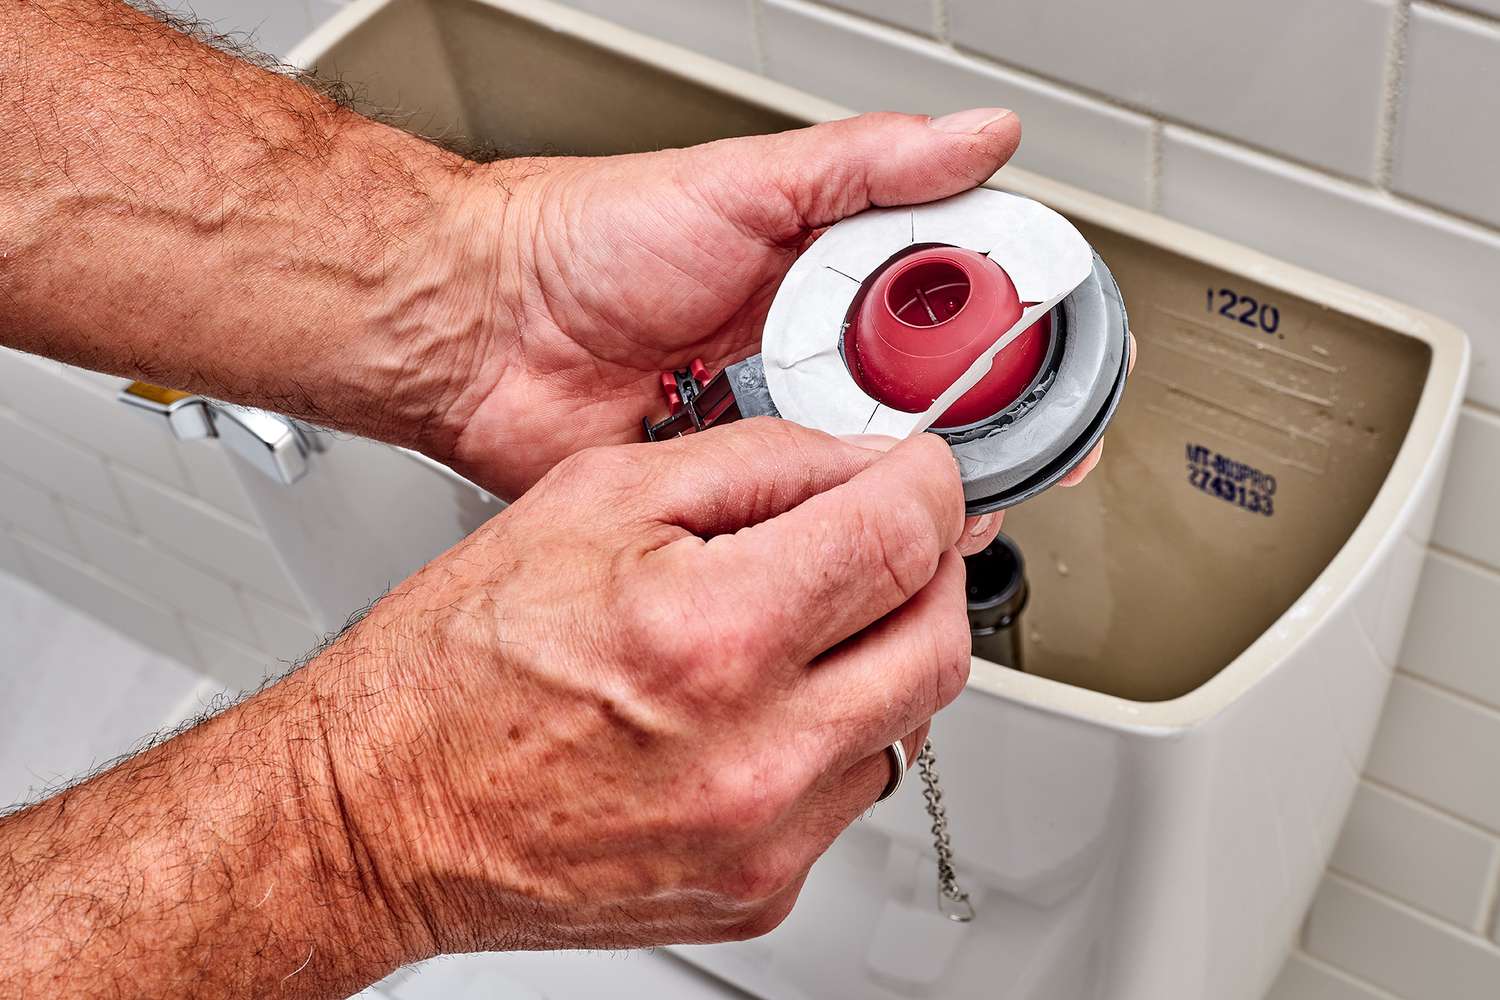
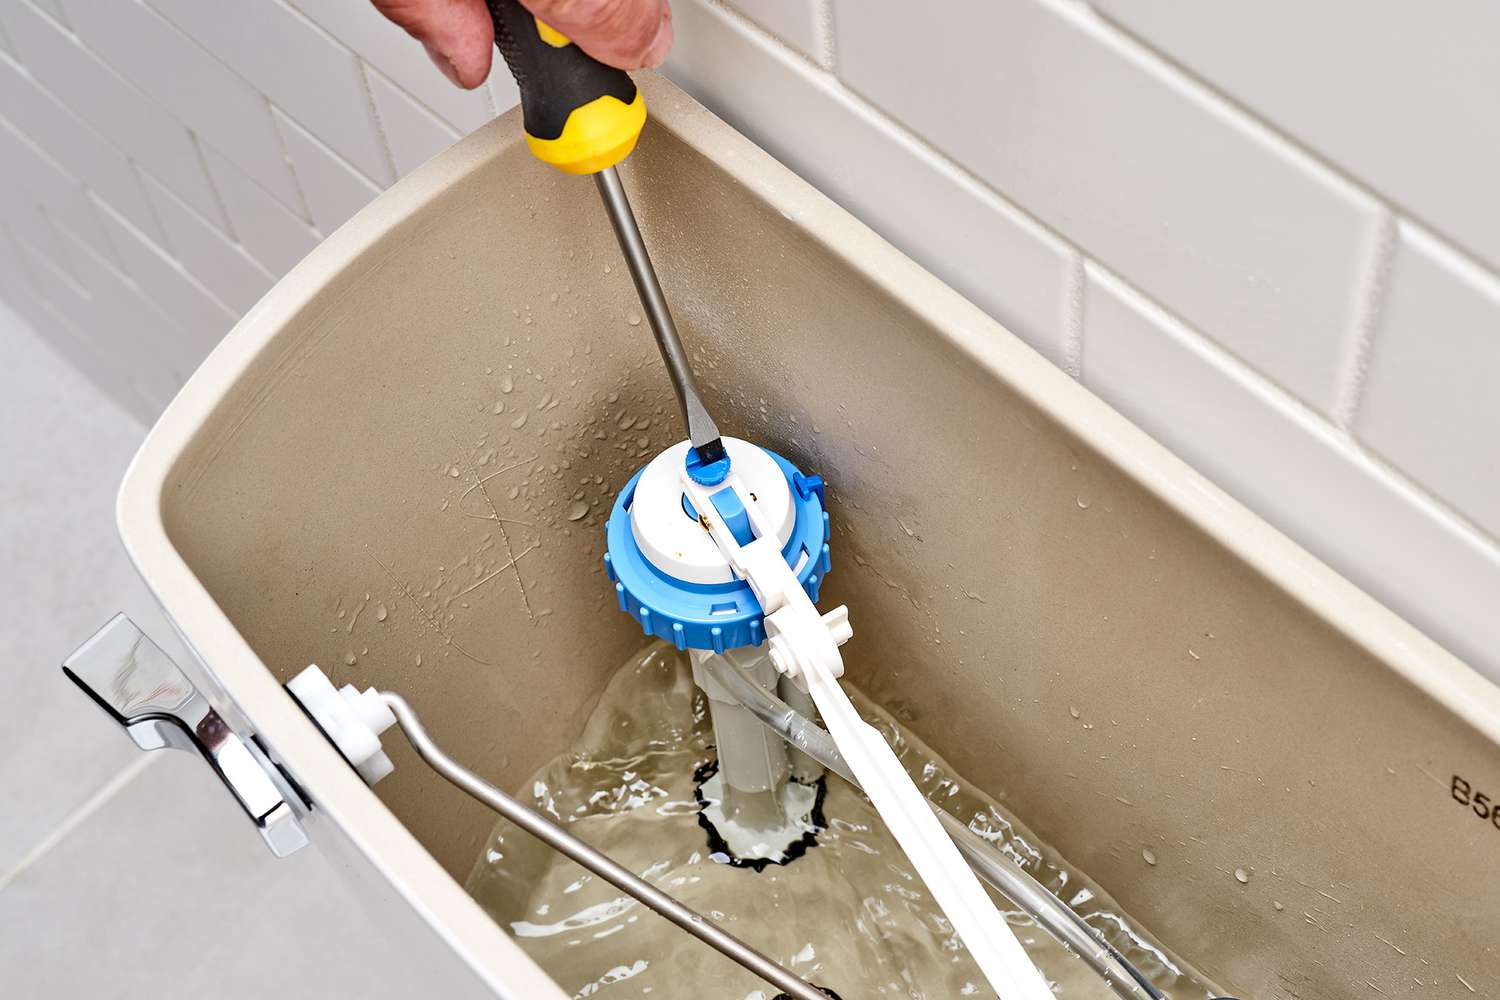
Inspect the Fill Valve: The fill valve, also known as the ballcock, is responsible for refilling the tank after each flush. Check the fill valve for any signs of leakage, such as water dripping from the valve or pooling around its base. Ensure that the valve is securely attached and functioning as intended.
-
Check the Flush Valve and Flapper: The flush valve and flapper work in tandem to release water from the tank into the bowl during the flushing process. Inspect the flush valve for any visible cracks, corrosion, or damage that may lead to water leakage. Additionally, check the flapper for proper alignment and sealing against the flush valve seat.
-
Examine the Tank Bolts and Gaskets: The tank is secured to the bowl by a set of bolts and gaskets. Inspect these components for any signs of water seepage or deterioration. Tighten the tank bolts if necessary, ensuring a secure and watertight connection between the tank and the bowl.
-
Test the Water Level: Once the tank components have been inspected, conduct a water level test to ensure that the tank is filling and stopping at the appropriate level. Adjust the fill valve if the water level is too high or too low, as an imbalanced water level can lead to continuous leakage into the bowl.
-
Run a Flush Test: With the tank components checked and any necessary adjustments made, perform a flush test to observe the flushing and refilling process. Monitor the tank and bowl for any signs of leakage or irregularities during and after the flush.
By systematically examining and addressing the tank components, you can identify and resolve potential sources of leakage within the toilet's tank. This proactive approach contributes to the overall process of troubleshooting and repairing a leaking toilet bowl, bringing you closer to achieving a fully functional and leak-free toilet.
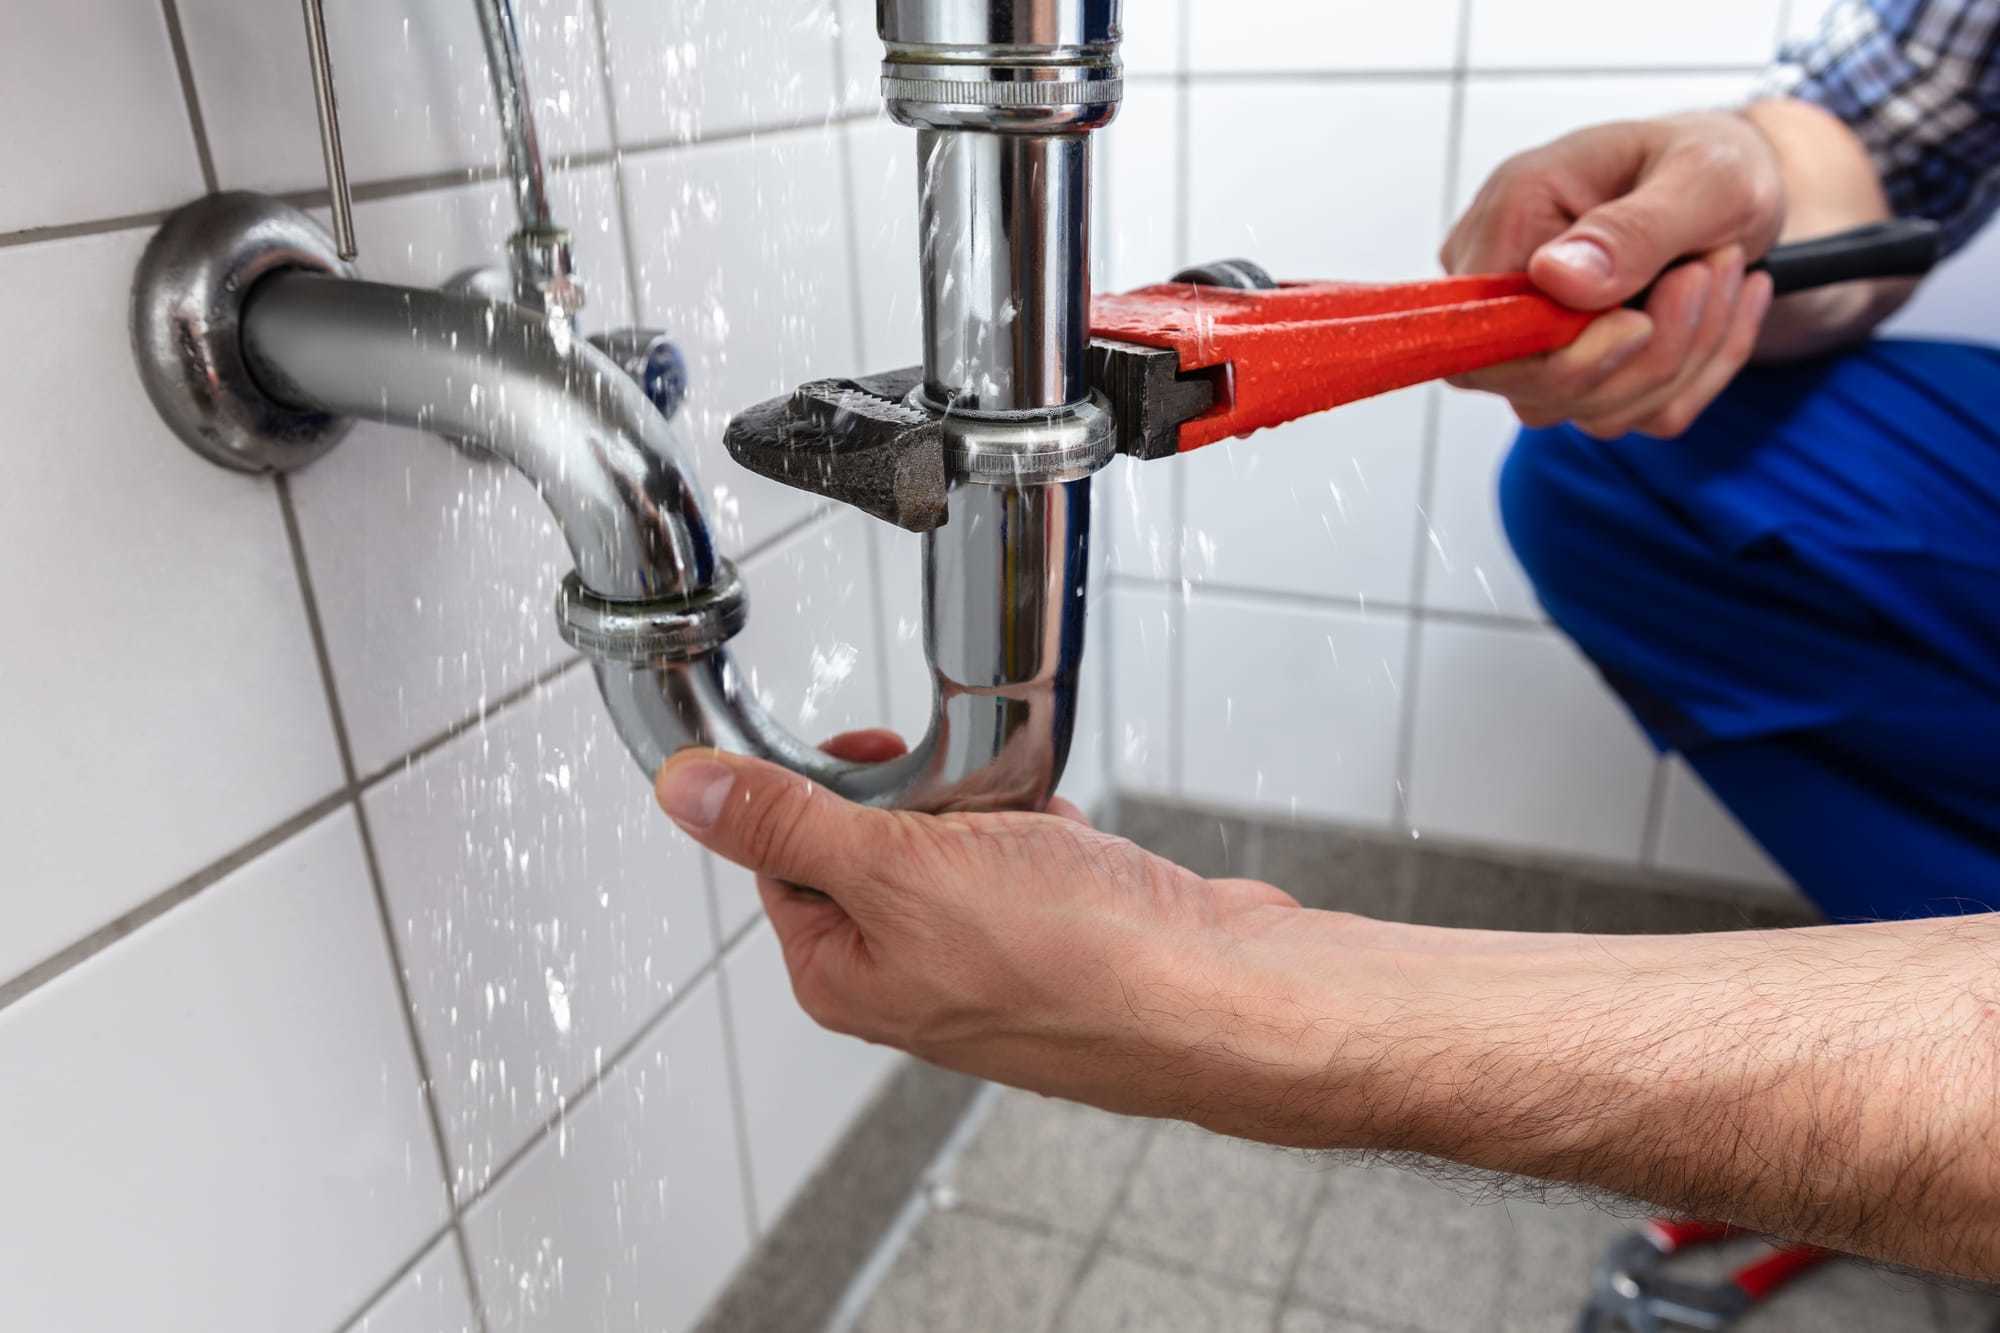
Step 7: Call a professional if needed
In some instances, despite your best efforts and thorough troubleshooting, addressing a leaking toilet bowl may require the expertise of a professional plumber. It's essential to recognize when the complexity of the issue or the need for specialized tools and knowledge surpasses the scope of DIY repairs. Calling a professional plumber can provide the expertise and assurance needed to effectively resolve the problem.
Here are some scenarios in which calling a professional plumber is warranted:
-
Persistent Leaks: If the toilet bowl continues to leak despite your attempts to identify and address the issue, it may indicate an underlying problem that requires professional diagnosis and repair. A plumber can conduct a comprehensive assessment to pinpoint the exact source of the leak and implement targeted solutions.
-
Complex Repairs: Certain repairs, such as addressing internal tank components, intricate valve adjustments, or extensive wax ring replacements, may require specialized tools and expertise. Professional plumbers are equipped with the necessary knowledge and experience to tackle complex repairs efficiently and effectively.
-
Older Plumbing Systems: In homes with older plumbing systems, addressing toilet bowl leaks may involve navigating aging components and potential structural challenges. Professional plumbers are adept at working with diverse plumbing configurations and can offer tailored solutions that account for the specific characteristics of older systems.
-
Safety Concerns: If you encounter unexpected safety hazards or complications during the repair process, such as unexpected water damage, electrical issues, or structural concerns, it's advisable to seek professional assistance. Plumbers are trained to handle a wide range of potential safety risks associated with plumbing repairs.
-
Comprehensive Inspections: Professional plumbers can conduct thorough inspections of the entire toilet and its associated plumbing, identifying any underlying issues that may contribute to the leak. Their expertise allows for a comprehensive assessment that goes beyond surface-level troubleshooting.
When considering whether to call a professional plumber, it's important to weigh the potential benefits of expert assistance, including accurate diagnosis, precise repairs, and long-term peace of mind. By entrusting the repair process to a qualified professional, you can ensure that the underlying cause of the leak is effectively addressed, ultimately leading to a fully functional and leak-free toilet.
Remember that seeking professional help is a proactive step towards maintaining the integrity of your plumbing system and safeguarding your home against potential water damage. If you find yourself facing a challenging or persistent toilet bowl leak, don't hesitate to reach out to a trusted plumbing professional for expert guidance and resolution.
Conclusion
In conclusion, addressing a leaking toilet bowl is a manageable task that, with the right approach and attention to detail, can be effectively resolved. By following the step-by-step process outlined in this guide, homeowners can gain the confidence and knowledge needed to tackle this common household issue. From shutting off the water supply to identifying the source of the leak, tightening bolts, replacing the wax ring, and checking the tank components, each step contributes to a comprehensive and systematic approach to troubleshooting and repair.
It's important to emphasize the proactive nature of addressing a leaking toilet bowl. By promptly attending to leaks and implementing targeted solutions, homeowners can prevent potential water damage, conserve water resources, and maintain the functionality and comfort of their bathrooms. Furthermore, the ability to troubleshoot and resolve toilet bowl leaks empowers homeowners to take an active role in the maintenance of their plumbing systems, fostering a sense of self-reliance and practical skill.
While the steps outlined in this guide provide a solid framework for addressing common toilet bowl leaks, it's essential to recognize when professional assistance may be necessary. Persistent leaks, complex repairs, older plumbing systems, safety concerns, and the need for comprehensive inspections are all valid reasons to seek the expertise of a professional plumber. Knowing when to enlist professional help is a key aspect of responsible home maintenance and ensures that the underlying causes of leaks are accurately diagnosed and effectively resolved.
Ultimately, the process of fixing a leaking toilet bowl is an opportunity for homeowners to engage with their plumbing systems, develop practical skills, and maintain the integrity of their homes. By approaching the task with a proactive mindset and a willingness to learn, homeowners can successfully overcome toilet bowl leaks and enjoy the peace of mind that comes with a fully functional and leak-free toilet.
As you navigate the process of troubleshooting and repairing a leaking toilet bowl, remember that each step contributes to the overall goal of restoring your toilet to its proper working condition. Whether you address the issue independently or seek professional assistance, the proactive approach to resolving toilet bowl leaks is a testament to your commitment to maintaining a comfortable and functional home environment.
Frequently Asked Questions about How To Fix A Leaking Toilet Bowl
Was this page helpful?
At Storables.com, we guarantee accurate and reliable information. Our content, validated by Expert Board Contributors, is crafted following stringent Editorial Policies. We're committed to providing you with well-researched, expert-backed insights for all your informational needs.


0 thoughts on “How To Fix A Leaking Toilet Bowl”