Home>Furniture & Design>Bedroom Furniture>How To Cut A Memory Foam Topper
Bedroom Furniture
How To Cut A Memory Foam Topper
Modified: January 14, 2024
Learn how to cut a memory foam topper to fit your bedroom furniture with our easy step-by-step guide. Enhance your bedroom design and comfort today!
(Many of the links in this article redirect to a specific reviewed product. Your purchase of these products through affiliate links helps to generate commission for Storables.com, at no extra cost. Learn more)
Introduction
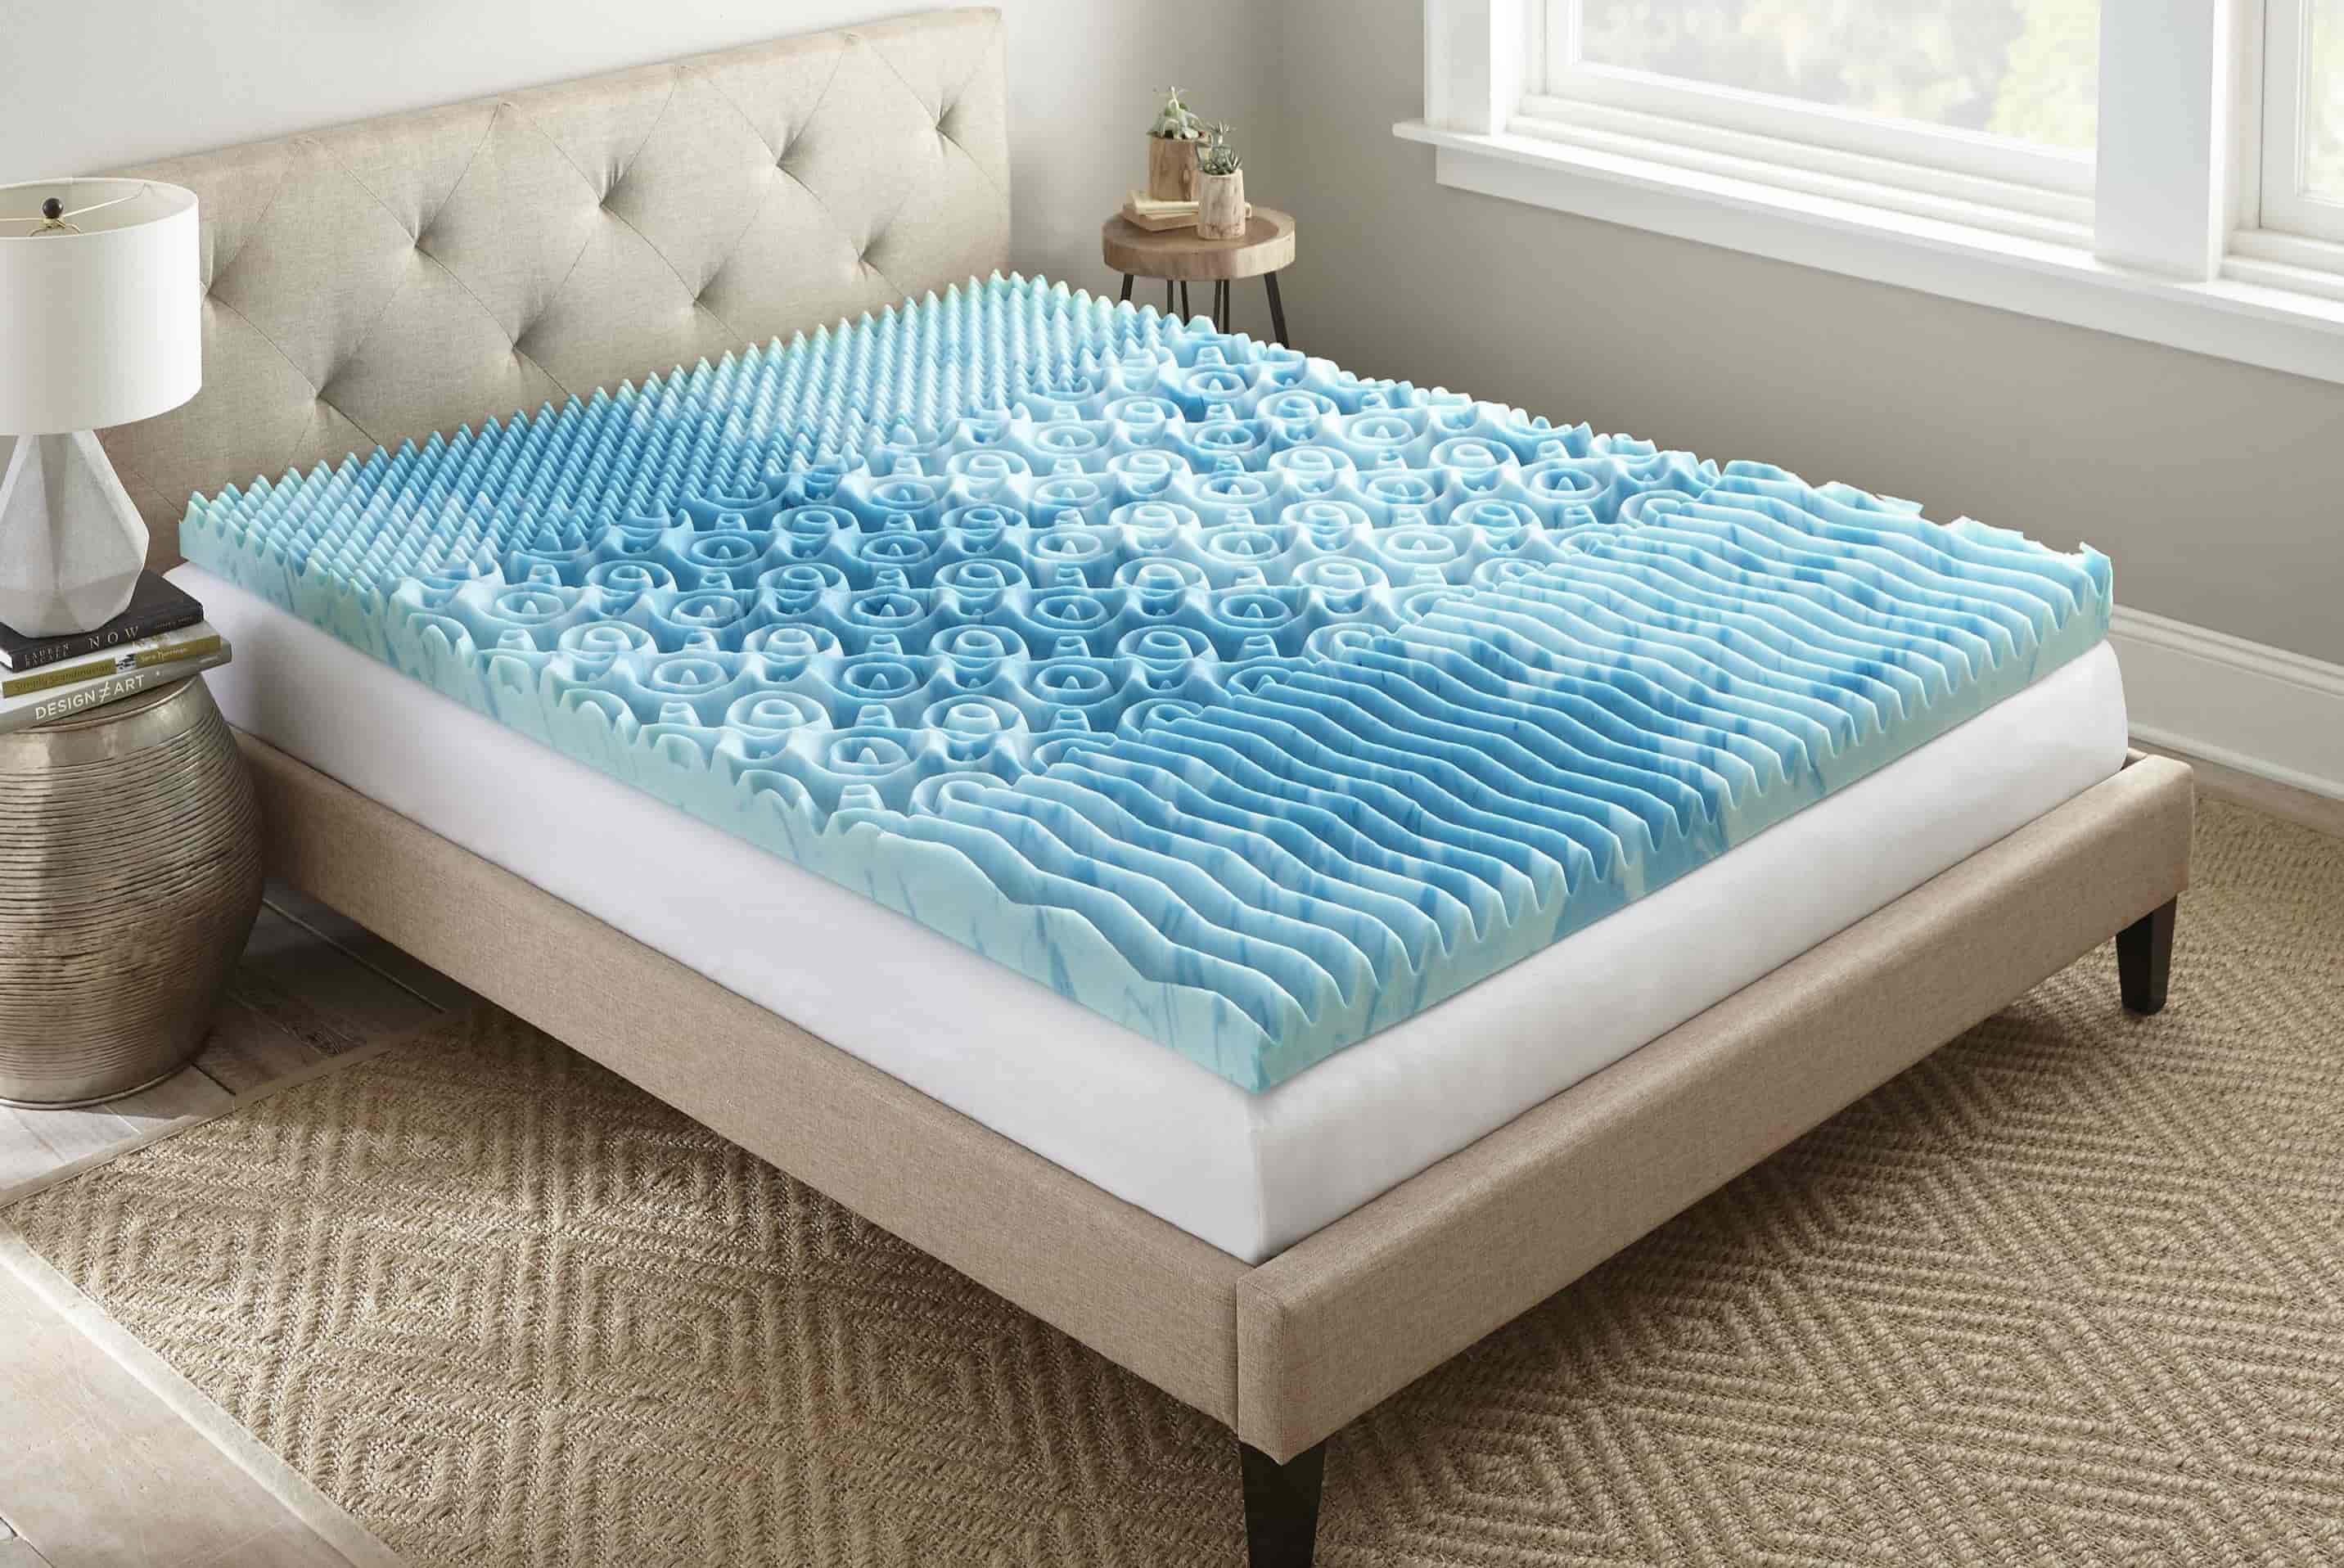
Welcome to the ultimate guide on how to cut a memory foam topper! Memory foam toppers are a fantastic way to enhance the comfort and support of your mattress. However, sometimes you may find that your topper doesn't perfectly fit your bed or you may want to customize its size for a specific purpose. In such cases, knowing how to properly cut a memory foam topper can be incredibly useful.
In this comprehensive guide, we will walk you through the step-by-step process of cutting a memory foam topper to achieve the perfect fit for your needs. Whether you're looking to resize a topper for a custom bed frame, an RV mattress, or any other unique sleeping arrangement, this guide has got you covered.
By following these simple yet crucial steps, you will be able to tailor your memory foam topper to your exact specifications, ensuring a comfortable and rejuvenating sleep experience. So, gather your materials and let's dive into the process of transforming your memory foam topper into the perfect sleep surface!
Key Takeaways:
- Customize your memory foam topper for a perfect fit by gathering materials, measuring, cutting, and testing the fit. Enjoy a personalized and comfortable sleeping experience tailored to your exact specifications.
- Master the art of cutting a memory foam topper with precision and finesse to create a rejuvenating and personalized sleep environment. Revel in the luxurious comfort and support of your perfectly customized sleep surface.
Read more: How To Store A Memory Foam Topper
Step 1: Gather Your Materials
Before you embark on the journey of cutting your memory foam topper, it's essential to gather all the necessary materials. Having the right tools at your disposal will not only streamline the process but also ensure precision and safety.
Here's a list of materials and tools you will need:
- Memory Foam Topper: The topper that you intend to cut to your desired size.
- Measuring Tape: A flexible measuring tape will allow you to accurately measure the dimensions for cutting.
- Straight Edge: A long, straight edge such as a ruler or a level will serve as a guide for cutting straight lines.
- Marker or Chalk: Use a marker or chalk to mark the cutting lines clearly on the topper.
- Utility Knife or Electric Carving Knife: A sharp utility knife with a retractable blade or an electric carving knife will be used to cut through the memory foam.
- Work Surface: A large, flat work surface such as a table or the floor will provide ample space for cutting the topper.
- Protective Gear: Safety should always be a priority. Consider wearing gloves and safety goggles to protect your hands and eyes during the cutting process.
Once you have gathered these materials, you are ready to move on to the next step: measuring and marking the memory foam topper for cutting.
Step 2: Measure and Mark
With your materials assembled, the next crucial step in cutting a memory foam topper is to accurately measure and mark the cutting lines. Precision is key at this stage to ensure that the topper fits perfectly in its intended space.
Here’s a detailed guide on how to measure and mark the memory foam topper:
- Measure the Space: Begin by measuring the dimensions of the space where the memory foam topper will be placed. Whether it’s a bed frame, RV mattress, or any other surface, take accurate measurements of the length and width to determine the required size of the topper.
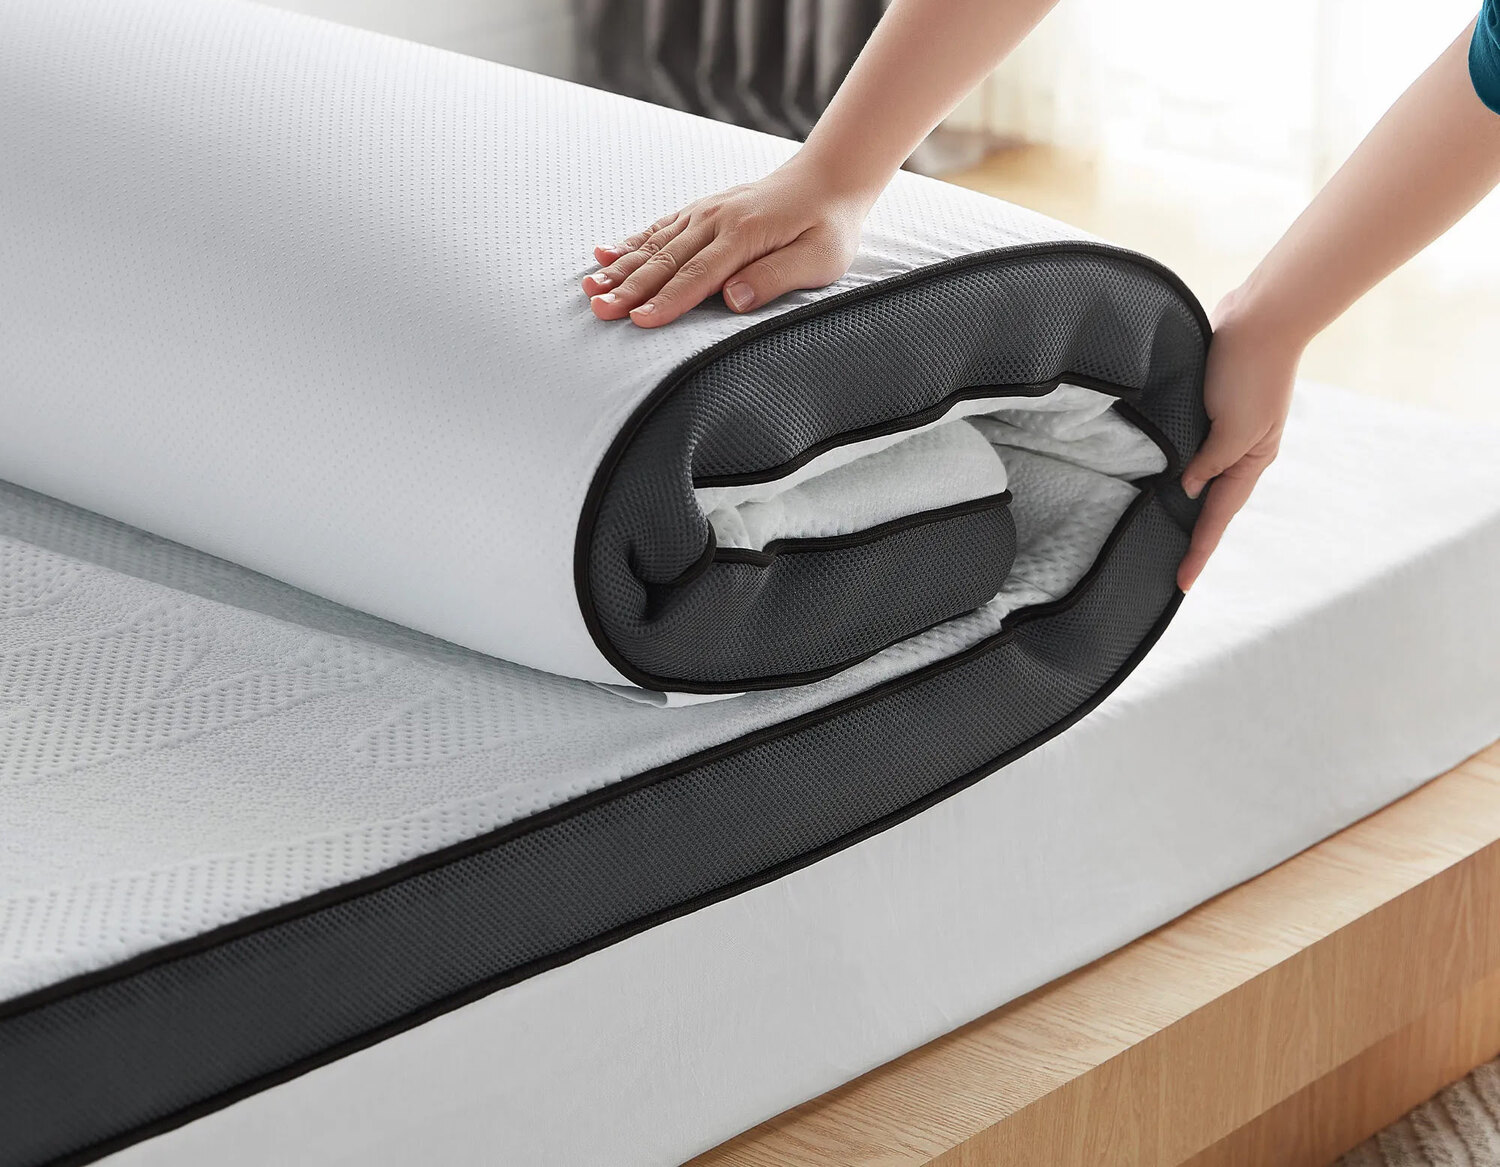
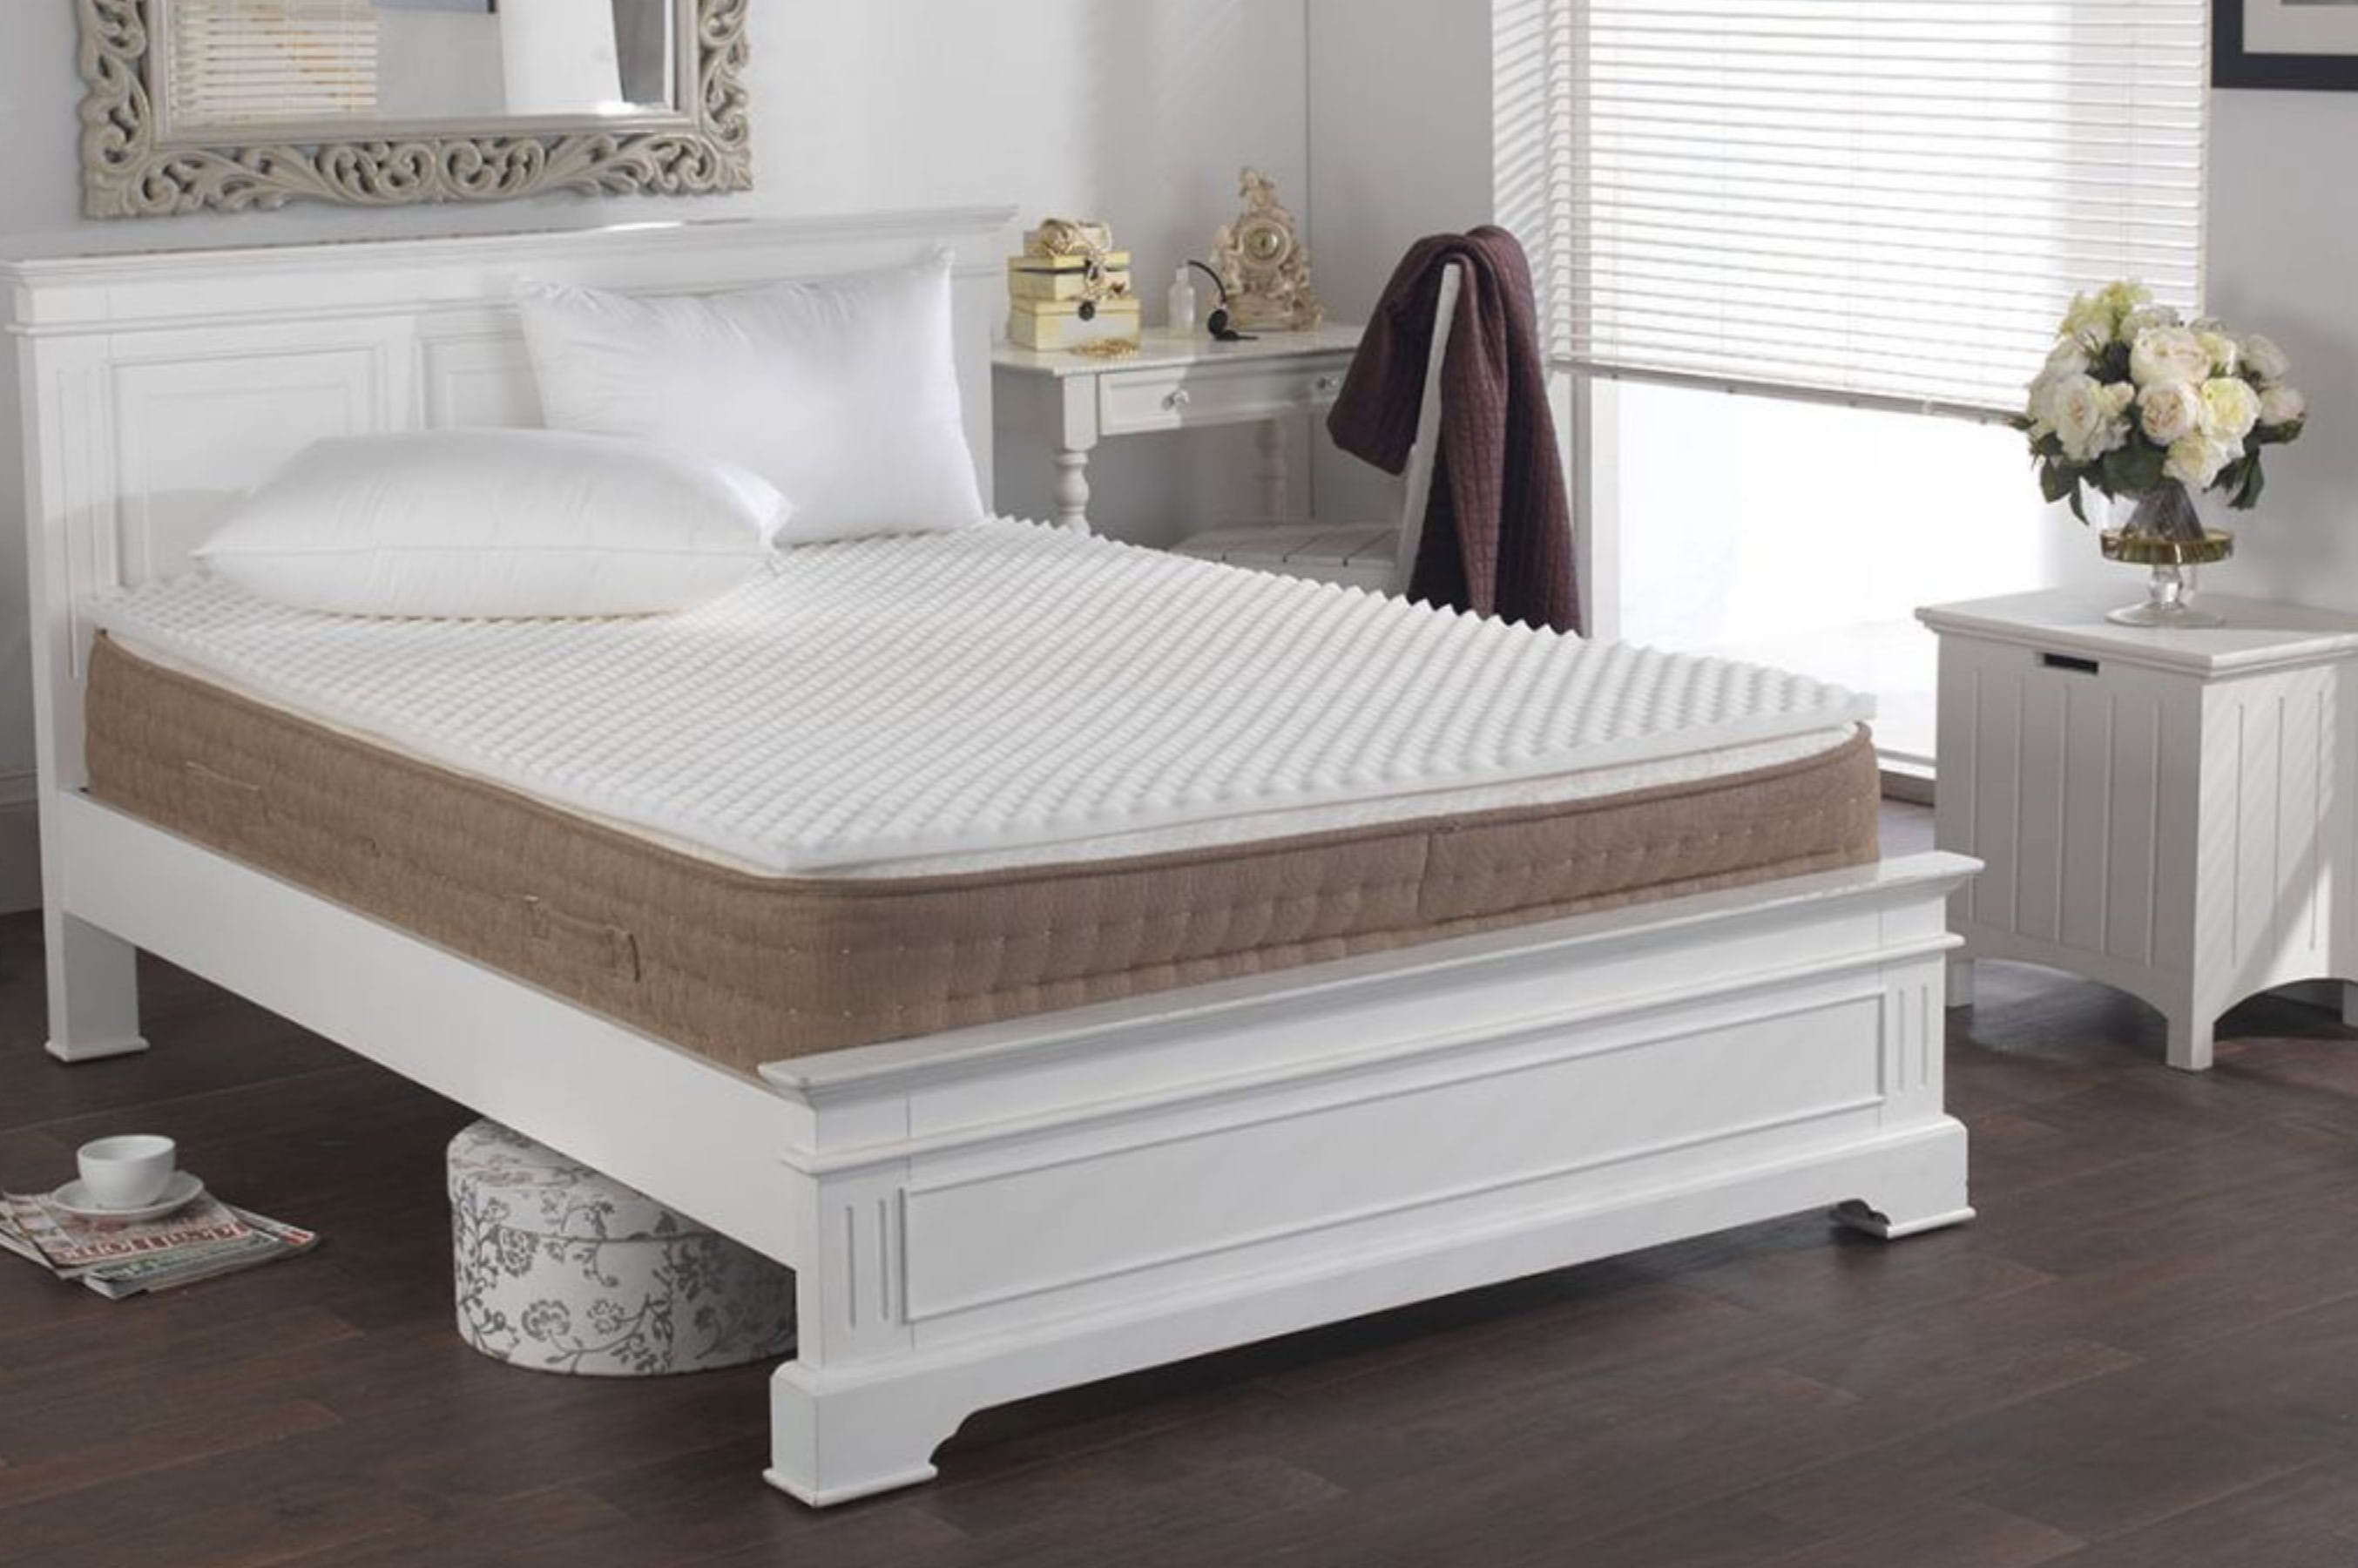
- Place the Topper: Lay the memory foam topper on a flat and stable surface, ensuring that it is fully expanded and free of any wrinkles or folds. This will provide a clear and accurate area for marking and cutting.
- Mark the Cutting Lines: Use a measuring tape and a straight edge to mark the cutting lines on the topper. Double-check the measurements to ensure accuracy. You can use a marker or chalk to make highly visible and precise lines on the topper’s surface.
- Consider Curved Cuts: If your cutting lines involve curves or rounded edges, consider using a flexible object such as a string or flexible ruler to guide and mark the curved lines accurately.
By meticulously measuring and marking the cutting lines, you lay the groundwork for a successful and precise cutting process. Once the topper is marked, you are ready to proceed to the next step: cutting the memory foam topper to the desired size.
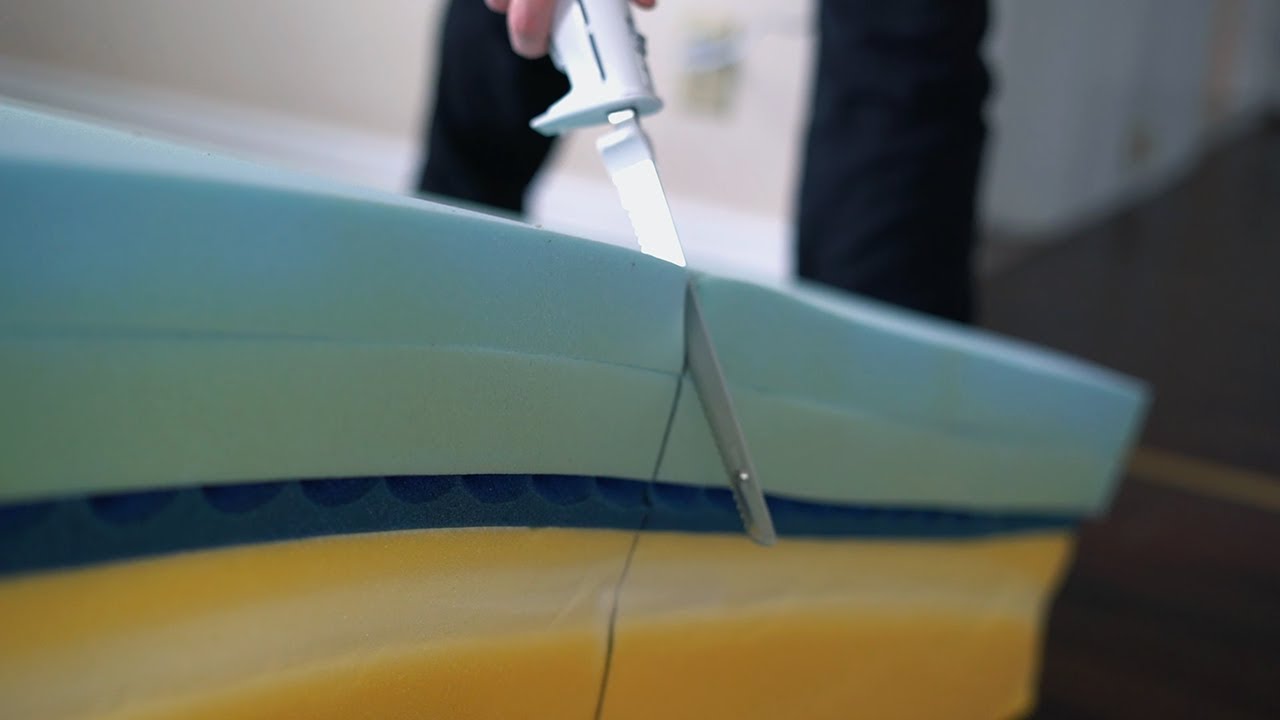
Use a sharp utility knife to carefully cut the memory foam topper to your desired size. Make sure to measure and mark the foam before cutting to ensure a clean and precise cut.
Step 3: Cut the Topper
Now comes the pivotal stage of actually cutting the memory foam topper according to the marked lines. This step requires careful attention and the use of the appropriate tools to achieve clean and accurate cuts.
Here’s a comprehensive guide on how to cut the memory foam topper:
- Secure the Topper: Place the memory foam topper on a stable and flat surface, ensuring that it is secure and does not shift during the cutting process. You may consider using clamps to hold the topper in place for added stability.
- Use the Right Tool: If you are using a utility knife, ensure that the blade is sharp and suitable for cutting through memory foam. For added ease and precision, an electric carving knife can also be used to effortlessly glide through the foam.
- Follow the Marked Lines: Carefully align the blade of the knife with the marked cutting lines on the topper. Begin cutting along the lines with steady and even pressure. Take your time to maintain accuracy, especially when cutting straight lines.
- Consider Multiple Passes: Depending on the thickness of the memory foam, you may need to make multiple passes with the knife to achieve a clean and thorough cut. Avoid rushing the process to ensure smooth and precise cuts.
- Adjust for Curved Cuts: If your cutting lines involve curves or rounded edges, maneuver the knife with precision to follow the marked lines accurately. Take your time and make gradual adjustments to achieve the desired shape.
- Inspect the Cuts: Once the cutting is complete, carefully inspect the edges to ensure that they are clean and free of any jagged or uneven sections. Trim any irregularities as needed to achieve a polished finish.
By adhering to these guidelines and exercising patience and precision, you can effectively cut the memory foam topper to your desired dimensions while ensuring neat and accurate edges. With the cutting process completed, it’s time to move on to the next step: testing the fit of the cut topper.
Step 4: Test the Fit
After cutting the memory foam topper to the desired size, it’s essential to test its fit to ensure that it aligns perfectly with the intended surface. This step allows you to make any necessary adjustments before finalizing the placement of the topper.
Here’s a detailed guide on how to test the fit of the cut memory foam topper:
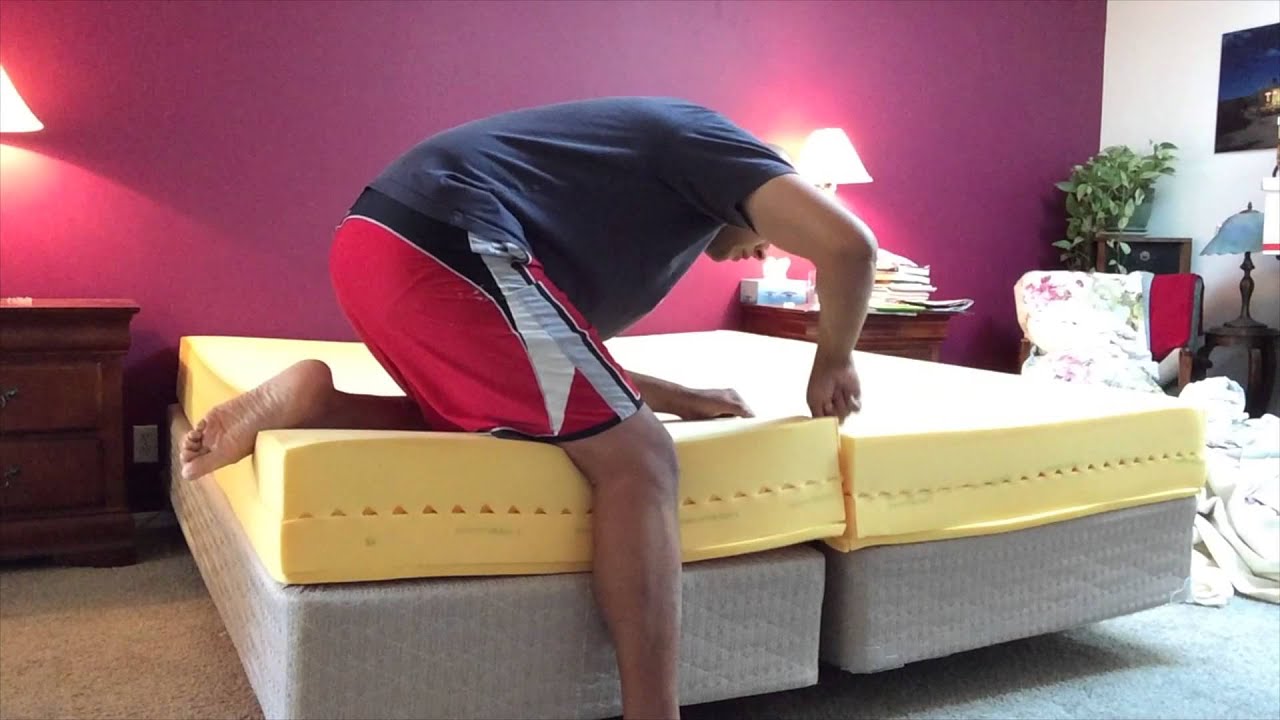
- Place the Topper: Carefully position the cut memory foam topper onto the intended surface, whether it’s a bed frame, RV mattress, or any other area. Ensure that the topper aligns with the edges and corners of the surface for a snug fit.
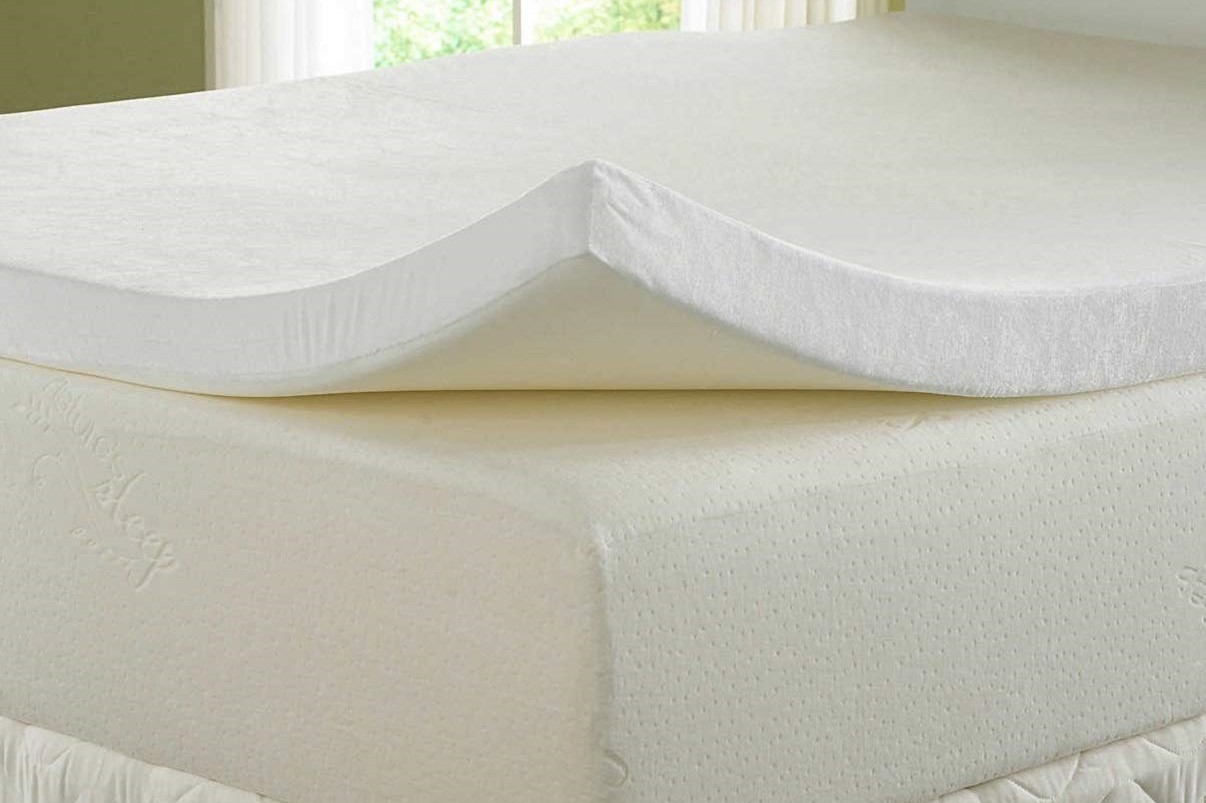
- Check for Overhang: Assess whether the cut topper extends beyond the edges of the surface. Ideally, the topper should fit within the boundaries of the intended area without any overhang that could affect its stability or aesthetics.
- Verify the Fit: Press down gently on the topper to confirm that it lays flat and even across the surface. Check for any gaps or misalignments that may require further adjustments to achieve a seamless fit.
- Make Necessary Trims: If the cut topper is slightly oversized or exhibits any misfitting areas, carefully mark and trim the excess foam as needed. Use a sharp utility knife to make precise adjustments, ensuring that the topper fits flawlessly.
- Reposition as Needed: If the initial placement of the cut topper requires repositioning, carefully lift and readjust its alignment to achieve the perfect fit. Take your time to ensure that the topper rests securely and uniformly on the surface.
By meticulously testing the fit of the cut memory foam topper, you can address any potential issues and make the necessary adjustments to achieve a seamless and tailored fit. Once the topper fits perfectly, you are ready to enjoy the enhanced comfort and support it brings to your sleeping space.
Read more: How To Dispose Of A Memory Foam Topper
Conclusion
Congratulations on successfully navigating the process of cutting a memory foam topper to your desired size! By following the step-by-step guide outlined in this comprehensive resource, you have gained the knowledge and confidence to customize your memory foam topper for a perfect fit in any sleeping space.
From gathering the essential materials to meticulously measuring, marking, cutting, and testing the fit, each step plays a crucial role in ensuring a seamless and tailored outcome. Whether you aimed to resize the topper for a custom bed frame, RV mattress, or any other unique sleeping arrangement, your efforts have culminated in a personalized solution that enhances comfort and support.
As you revel in the satisfaction of a perfectly fitted memory foam topper, remember the valuable skills you’ve acquired throughout this process. The ability to customize and tailor sleeping surfaces to your exact specifications empowers you to create a rejuvenating and personalized sleep environment.
Now, with your newly customized memory foam topper in place, it’s time to indulge in the luxurious comfort and support it provides. Whether you’re seeking a restful night’s sleep, enhanced relaxation, or simply a cozy retreat, your tailored memory foam topper is poised to deliver an unparalleled sleeping experience.
So, savor the fruits of your labor, revel in the personalized comfort, and rest easy knowing that you’ve mastered the art of cutting a memory foam topper with precision and finesse. Here’s to many nights of blissful slumber on your perfectly customized sleep surface!
Frequently Asked Questions about How To Cut A Memory Foam Topper
Was this page helpful?
At Storables.com, we guarantee accurate and reliable information. Our content, validated by Expert Board Contributors, is crafted following stringent Editorial Policies. We're committed to providing you with well-researched, expert-backed insights for all your informational needs.


0 thoughts on “How To Cut A Memory Foam Topper”