Home>Furniture & Design>Bedroom Furniture>How To Glue Memory Foam
Bedroom Furniture
How To Glue Memory Foam
Modified: August 17, 2024
Learn how to glue memory foam with our step-by-step guide. Get the best tips for fixing your bedroom furniture and design.
(Many of the links in this article redirect to a specific reviewed product. Your purchase of these products through affiliate links helps to generate commission for Storables.com, at no extra cost. Learn more)
Introduction
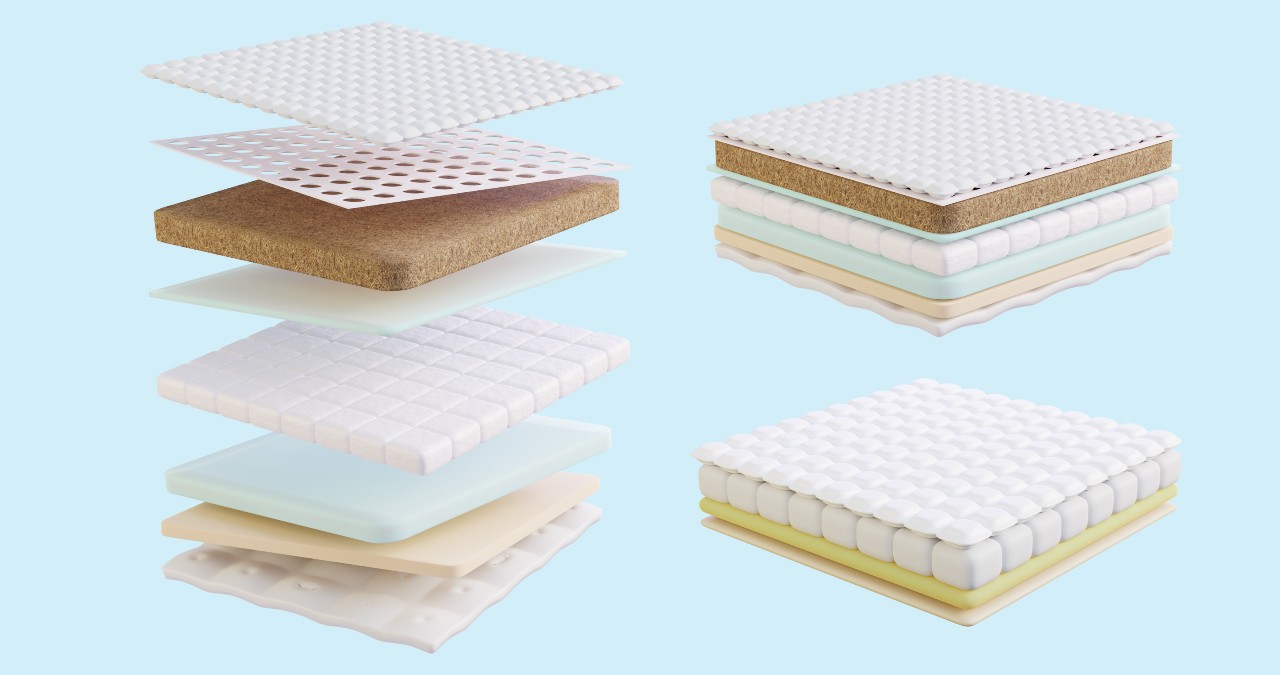
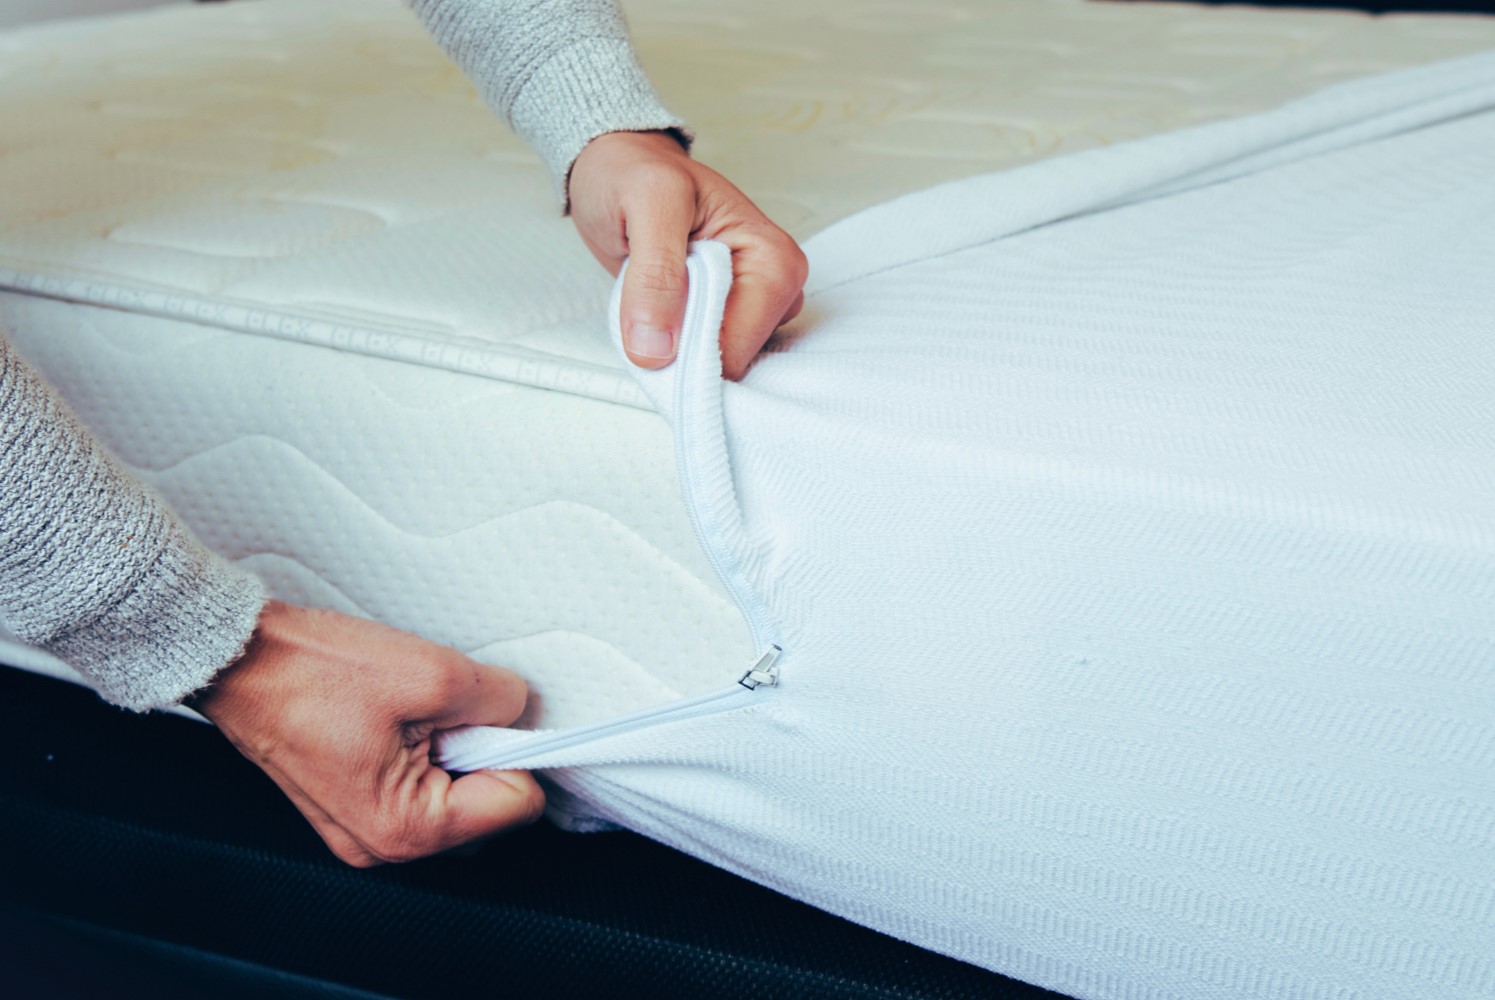
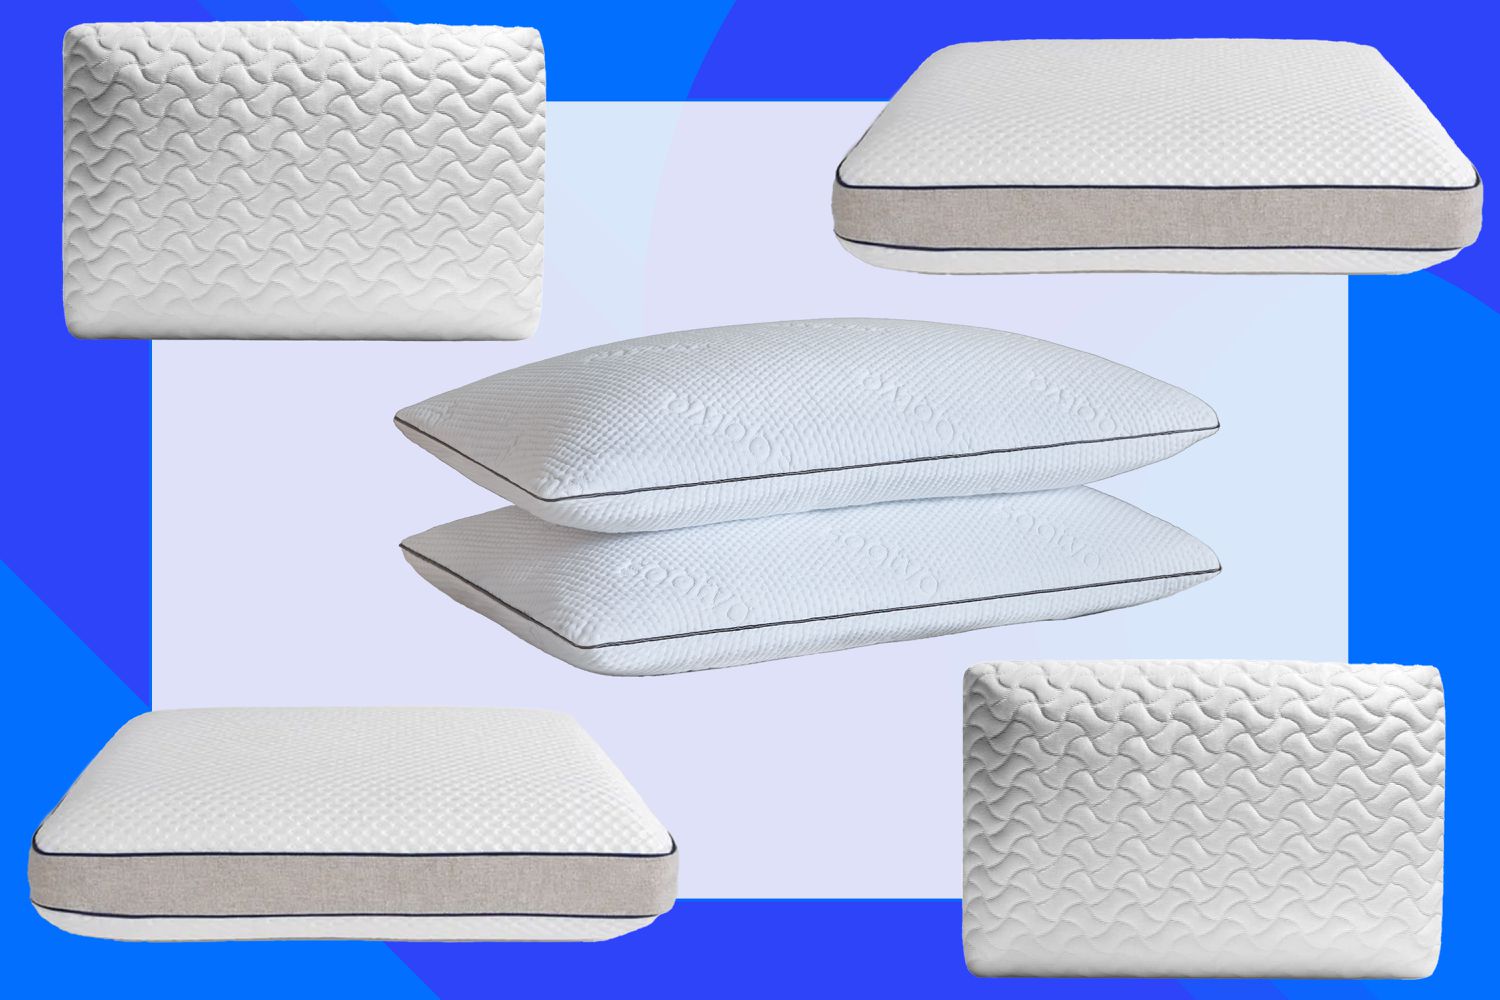
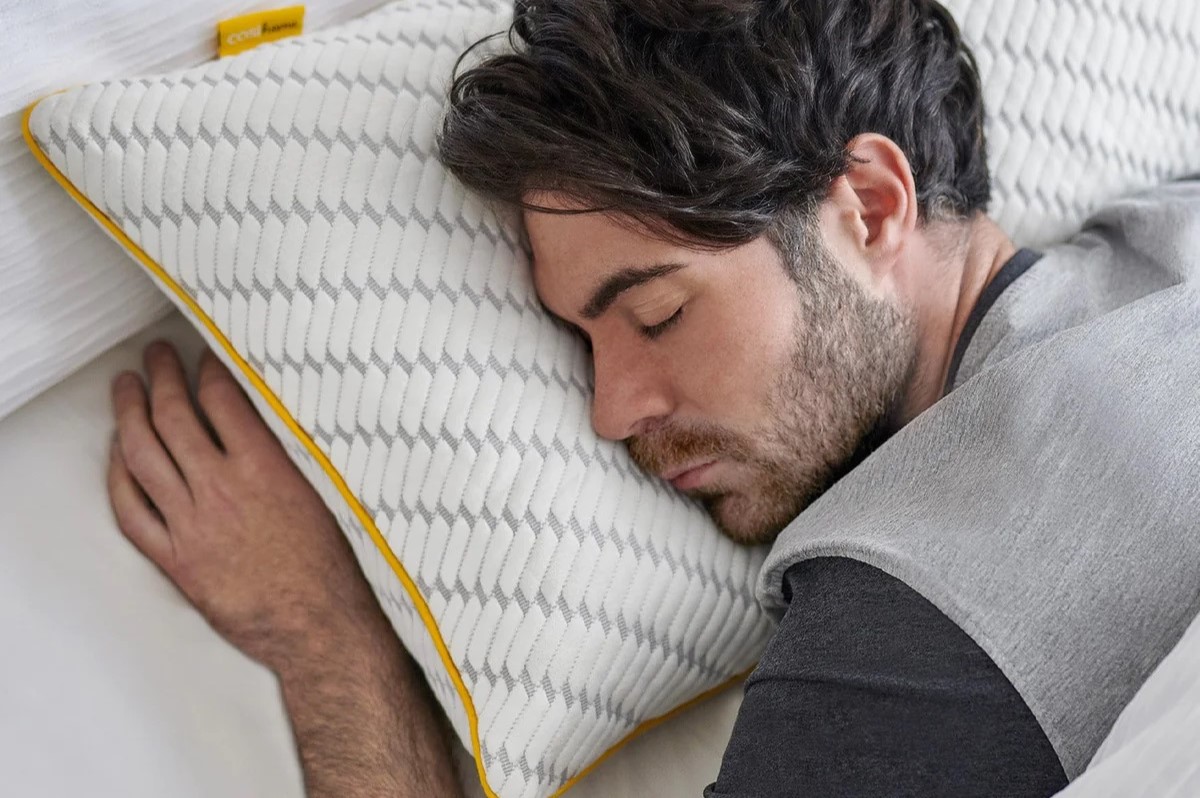
Memory foam is a popular choice for mattresses, pillows, and furniture due to its exceptional comfort and support. However, over time, these items may require repair, and knowing how to properly glue memory foam can extend their lifespan. Whether you are fixing a torn mattress or reattaching a separated foam layer on a sofa, using the right adhesive and technique is crucial for a successful repair.
In this comprehensive guide, we will walk you through the step-by-step process of gluing memory foam, providing you with the knowledge and confidence to tackle this task effectively. By following these instructions and utilizing the recommended materials, you can restore your memory foam items to their original state, ensuring continued comfort and functionality.
So, gather your supplies and let's dive into the process of repairing memory foam with precision and care. Whether you are a seasoned DIY enthusiast or a first-time repairer, this guide will equip you with the expertise needed to tackle this project like a pro.
Key Takeaways:
- Repairing memory foam items with the right adhesive and technique can extend their lifespan, ensuring continued comfort and functionality.
- Proper gluing techniques can breathe new life into memory foam items, preserving their comfort and support for years to come.
Read more: How To Cut Memory Foam
Things You Will Need
Before embarking on the task of gluing memory foam, it’s essential to gather the necessary supplies to ensure a seamless and effective repair. Here’s a list of items you’ll need:
- Memory foam pieces to be glued
- High-quality adhesive specifically designed for foam, such as a spray adhesive or a foam-safe glue
- Protective gloves to safeguard your hands during the application of the adhesive
- Protective eyewear to shield your eyes from any potential splashes or fumes
- Work area cover such as a drop cloth or old newspapers to protect the surface from adhesive overspray or spills
- Weights or heavy objects to apply pressure on the glued area while it dries
- Well-ventilated work area to ensure proper air circulation during the gluing process
- Masking tape to secure the foam in place while the adhesive sets
- Utility knife or scissors to trim any excess foam or adhesive
- Patience and attention to detail to achieve a professional and durable result
By having these essential items on hand, you can proceed with confidence, knowing that you are well-equipped to tackle the task of gluing memory foam with precision and care.
Step 1: Prepare the Work Area
Before commencing the gluing process, it’s crucial to prepare a suitable work area to ensure a smooth and efficient repair. Follow these steps to create an optimal environment for gluing memory foam:
- Clean the Surface: Begin by clearing the work area of any debris or dust. Wipe down the surface with a clean, damp cloth to ensure it is free from any particles that could interfere with the adhesion process.
- Protective Covering: Place a drop cloth, old newspapers, or a protective covering over the work surface to prevent any adhesive overspray or spills from damaging the area.
- Ventilation: Ensure that the work area is well-ventilated to allow for proper air circulation. If working indoors, open windows and doors to promote airflow and minimize the inhalation of adhesive fumes.
- Wear Protective Gear: Put on protective gloves and eyewear to shield your hands and eyes from the adhesive. This precaution is essential for your safety during the gluing process.
By meticulously preparing the work area, you create an environment conducive to achieving a successful and secure bond between the memory foam pieces. This initial step sets the stage for the subsequent application of the adhesive, ensuring that the repair process proceeds seamlessly.
Step 2: Apply the Adhesive
Once the work area is meticulously prepared, it’s time to apply the adhesive to the memory foam. This step is critical in ensuring a strong and durable bond between the foam pieces. Follow these guidelines for applying the adhesive with precision:
- Select the Right Adhesive: Choose a high-quality adhesive specifically designed for foam materials. Options such as spray adhesives or foam-safe glues are ideal for this purpose, as they provide excellent adhesion without compromising the integrity of the foam.
- Even Application: Hold the adhesive can or container approximately 6 to 8 inches away from the foam surface. Apply the adhesive evenly across the entire bonding area, ensuring thorough coverage without oversaturating the foam.
- Follow Manufacturer’s Instructions: Adhere to the manufacturer’s recommended guidelines for the specific adhesive being used. Pay attention to any specified drying times or application methods to achieve optimal results.
- Work in Sections: If gluing large foam pieces or intricate shapes, consider working in manageable sections to ensure precise application and avoid the adhesive drying before the foam pieces are properly aligned.
By following these steps, you can effectively apply the adhesive to the memory foam, setting the stage for a secure and long-lasting bond between the foam pieces. The careful application of the adhesive is crucial in ensuring a successful repair, and attention to detail during this step is paramount.
When gluing memory foam, use a high-quality adhesive specifically designed for foam. Apply the adhesive evenly to both surfaces, then press them together firmly and allow to dry completely for a strong bond.
Step 3: Press the Foam Together
With the adhesive applied, the next crucial step in the process of gluing memory foam is to firmly press the foam pieces together to facilitate a strong and secure bond. Follow these guidelines to ensure an effective bonding process:
- Align the Foam Pieces: Carefully position the foam pieces to be bonded, ensuring precise alignment and a seamless fit. Take your time to match the edges and contours of the foam for a cohesive bond.
- Apply Even Pressure: Once the foam pieces are aligned, apply even pressure to the bonded area. This can be achieved by pressing down firmly with your hands or using weights or heavy objects to exert consistent pressure across the entire bonding surface.
- Secure with Masking Tape: If necessary, use masking tape to hold the foam pieces in place while the adhesive sets. This additional reinforcement can prevent any shifting or misalignment during the drying process.
- Check for Excess Adhesive: Inspect the bonded area for any excess adhesive that may have seeped out. If present, carefully remove any surplus adhesive using a utility knife or scissors to ensure a clean and professional finish.
By following these steps, you can effectively press the memory foam pieces together, setting the stage for a secure and seamless bond. The application of even pressure and meticulous attention to alignment are essential in achieving a durable and professional repair.
Read more: How To Choose A Memory Foam Mattress
Step 4: Allow the Glue to Dry
After pressing the memory foam pieces together, it’s essential to allow the adhesive to thoroughly dry and set, ensuring a strong and durable bond. Follow these important steps to facilitate the drying process:
- Patience is Key: Once the foam pieces are bonded and secured, exercise patience and allow an adequate amount of time for the adhesive to dry completely. Refer to the manufacturer’s instructions for the recommended drying time, as it may vary based on the type of adhesive used.
- Provide Ample Ventilation: Maintain a well-ventilated work area during the drying process to promote proper airflow. This aids in the evaporation of any residual fumes from the adhesive and contributes to a more efficient drying time.
- Apply Weight if Necessary: If directed by the adhesive manufacturer, continue to apply pressure to the bonded foam pieces using weights or heavy objects throughout the drying period. This additional pressure can enhance the strength of the bond as the adhesive sets.
- Check for Complete Drying: After the specified drying time has elapsed, carefully inspect the bonded area to ensure that the adhesive is fully dry and the bond is secure. Avoid handling or placing stress on the repaired foam until the adhesive has completely set.
By allowing the glue to dry thoroughly, you ensure that the memory foam pieces are firmly and permanently bonded, ready to resume their intended function with restored integrity and strength. This final step is crucial in achieving a successful and long-lasting repair of memory foam items.
Conclusion
Repairing memory foam through proper gluing techniques is a valuable skill that can prolong the life and usability of mattresses, pillows, furniture, and other foam-based items. By following the step-by-step process outlined in this guide and utilizing the recommended materials and methods, you can achieve a professional and durable repair.
From preparing the work area to pressing the foam together and allowing the adhesive to dry, each step plays a crucial role in ensuring a secure and seamless bond between the memory foam pieces. Attention to detail, patience, and adherence to the manufacturer’s guidelines for the adhesive are key components of a successful repair.
Remember, the quality of the adhesive and the precision of the application directly impact the longevity and effectiveness of the repair. By using a high-quality adhesive specifically designed for foam materials and following the recommended techniques, you can restore memory foam items to their original state, preserving their comfort and functionality.
Whether you’re addressing a tear in a mattress, reattaching foam layers in furniture, or undertaking any other memory foam repair, the knowledge and skills acquired from this guide will empower you to approach the task with confidence and expertise.
With proper gluing techniques, you can breathe new life into your beloved memory foam items, ensuring that they continue to provide the comfort and support you’ve come to rely on for years to come.
So, armed with the insights gained from this guide, embark on your memory foam repair journey, knowing that you possess the know-how to tackle this task with precision and care, ultimately extending the life and utility of your cherished foam-based possessions.
Frequently Asked Questions about How To Glue Memory Foam
Was this page helpful?
At Storables.com, we guarantee accurate and reliable information. Our content, validated by Expert Board Contributors, is crafted following stringent Editorial Policies. We're committed to providing you with well-researched, expert-backed insights for all your informational needs.


0 thoughts on “How To Glue Memory Foam”