Home>Furniture & Design>Bedroom Furniture>How To Dry A Memory Foam Pillow
Bedroom Furniture
How To Dry A Memory Foam Pillow
Modified: August 27, 2024
Learn how to properly dry a memory foam pillow to maintain its quality and comfort. Discover the best techniques for preserving your bedroom furniture.
(Many of the links in this article redirect to a specific reviewed product. Your purchase of these products through affiliate links helps to generate commission for Storables.com, at no extra cost. Learn more)
Introduction
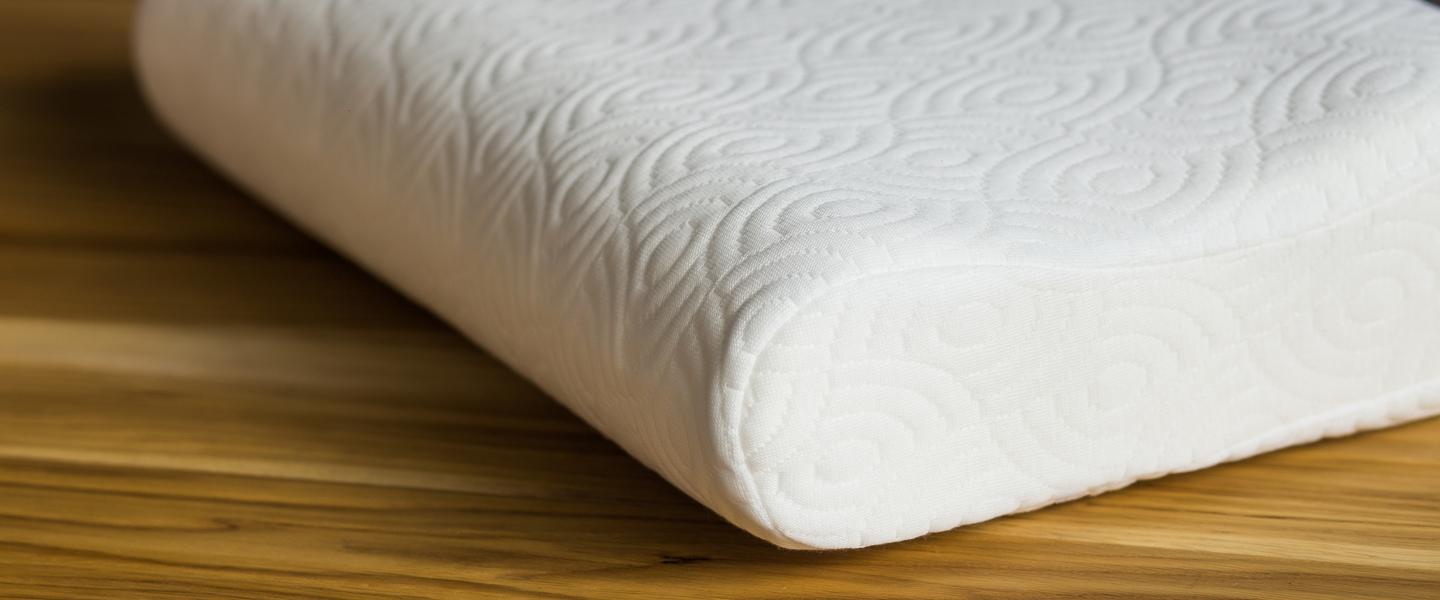
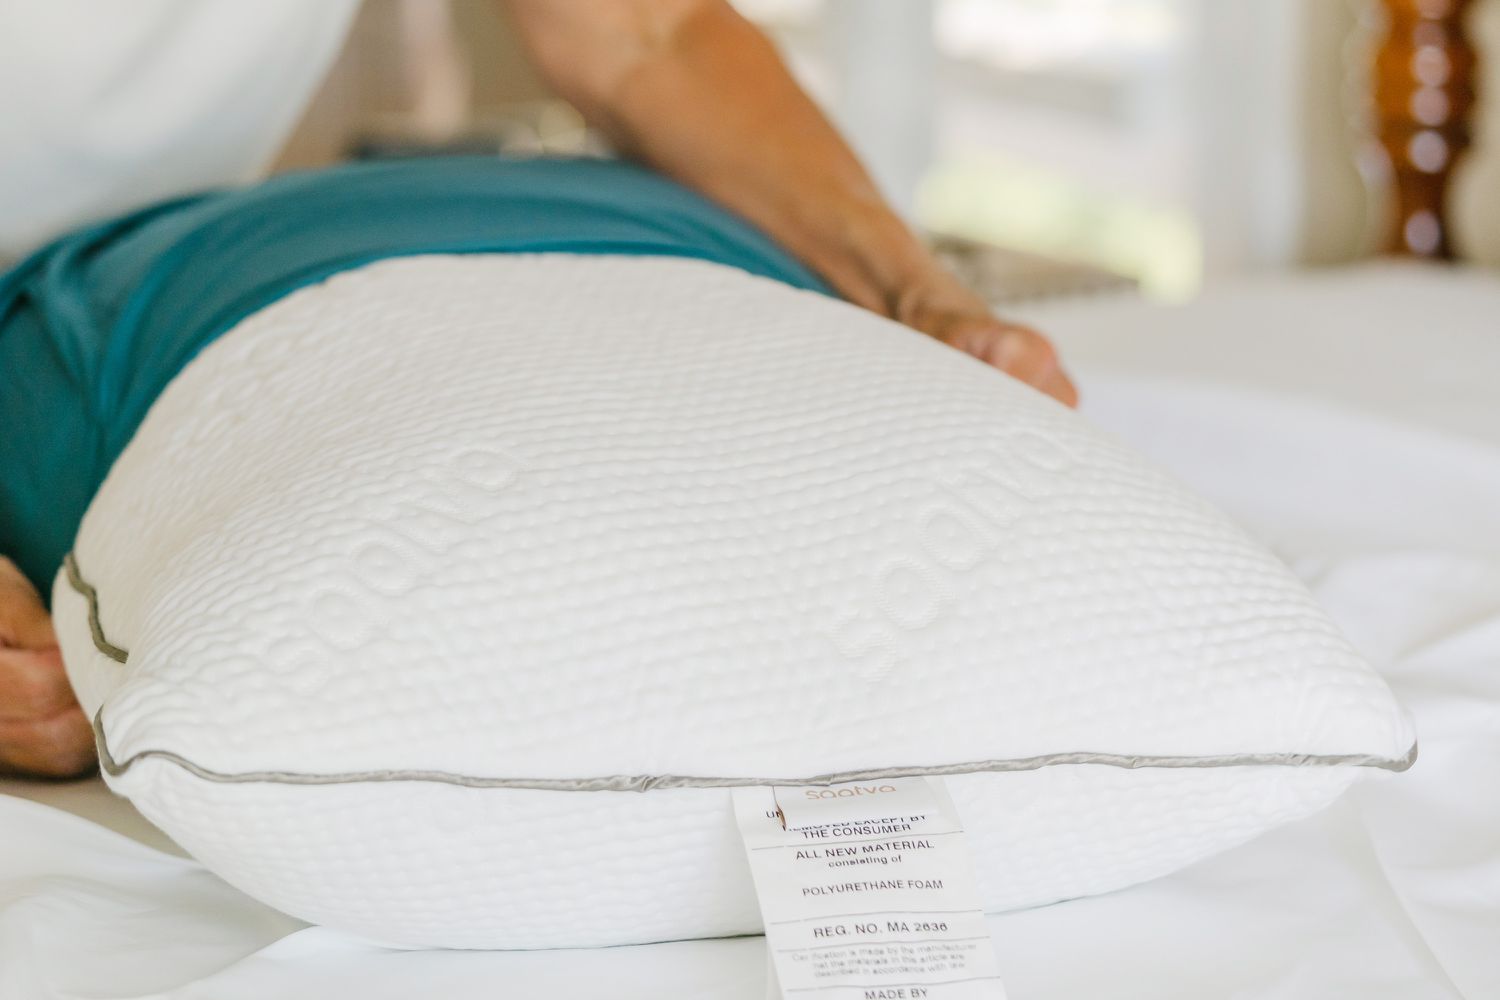
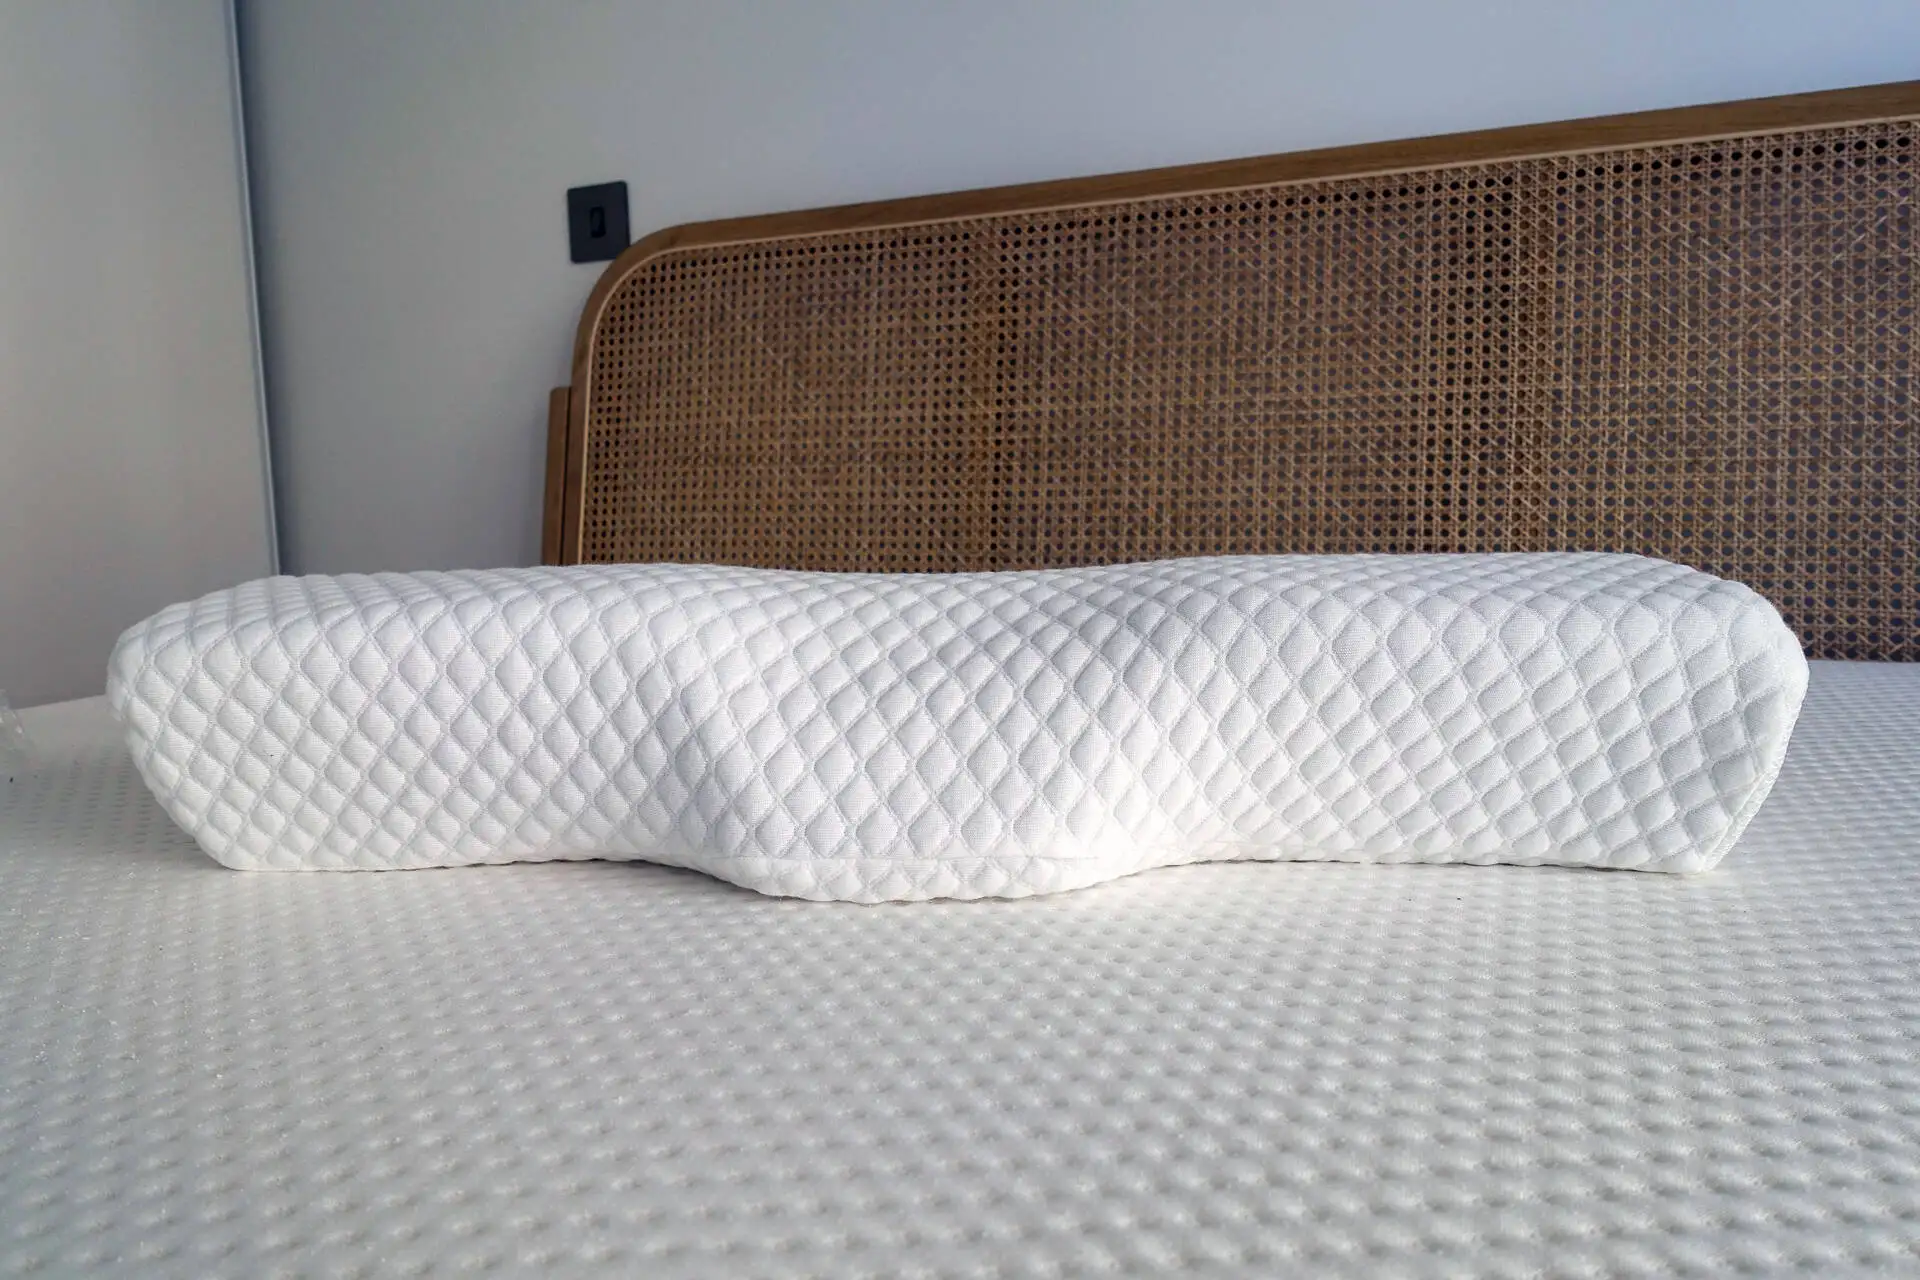
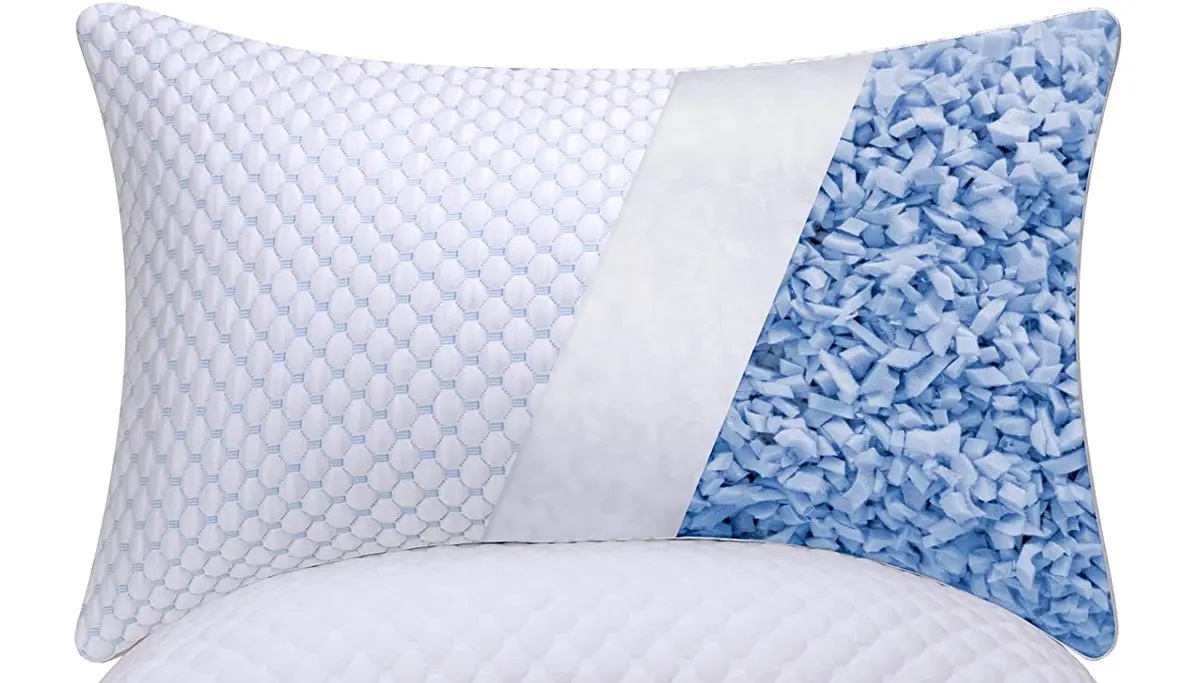
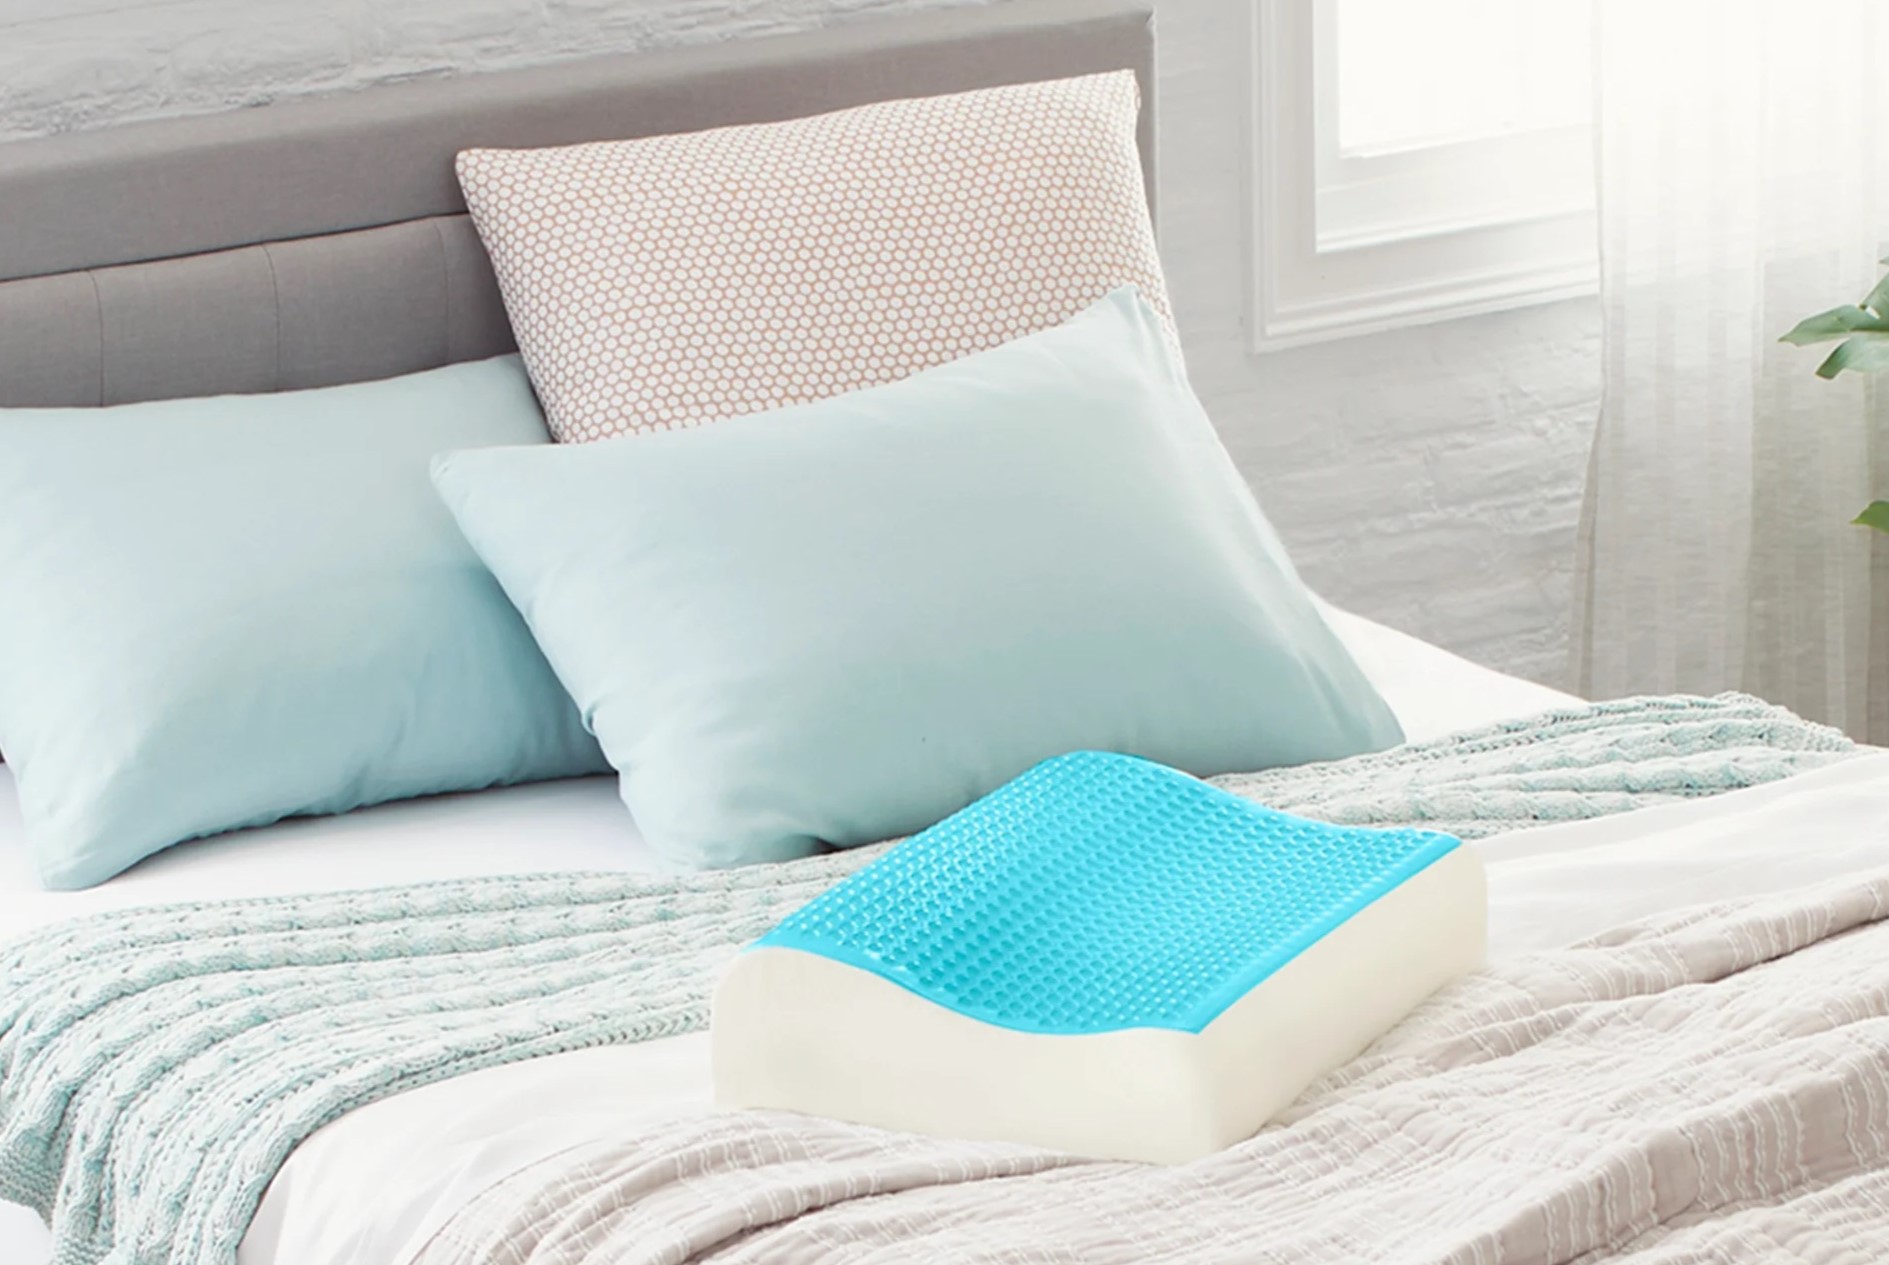
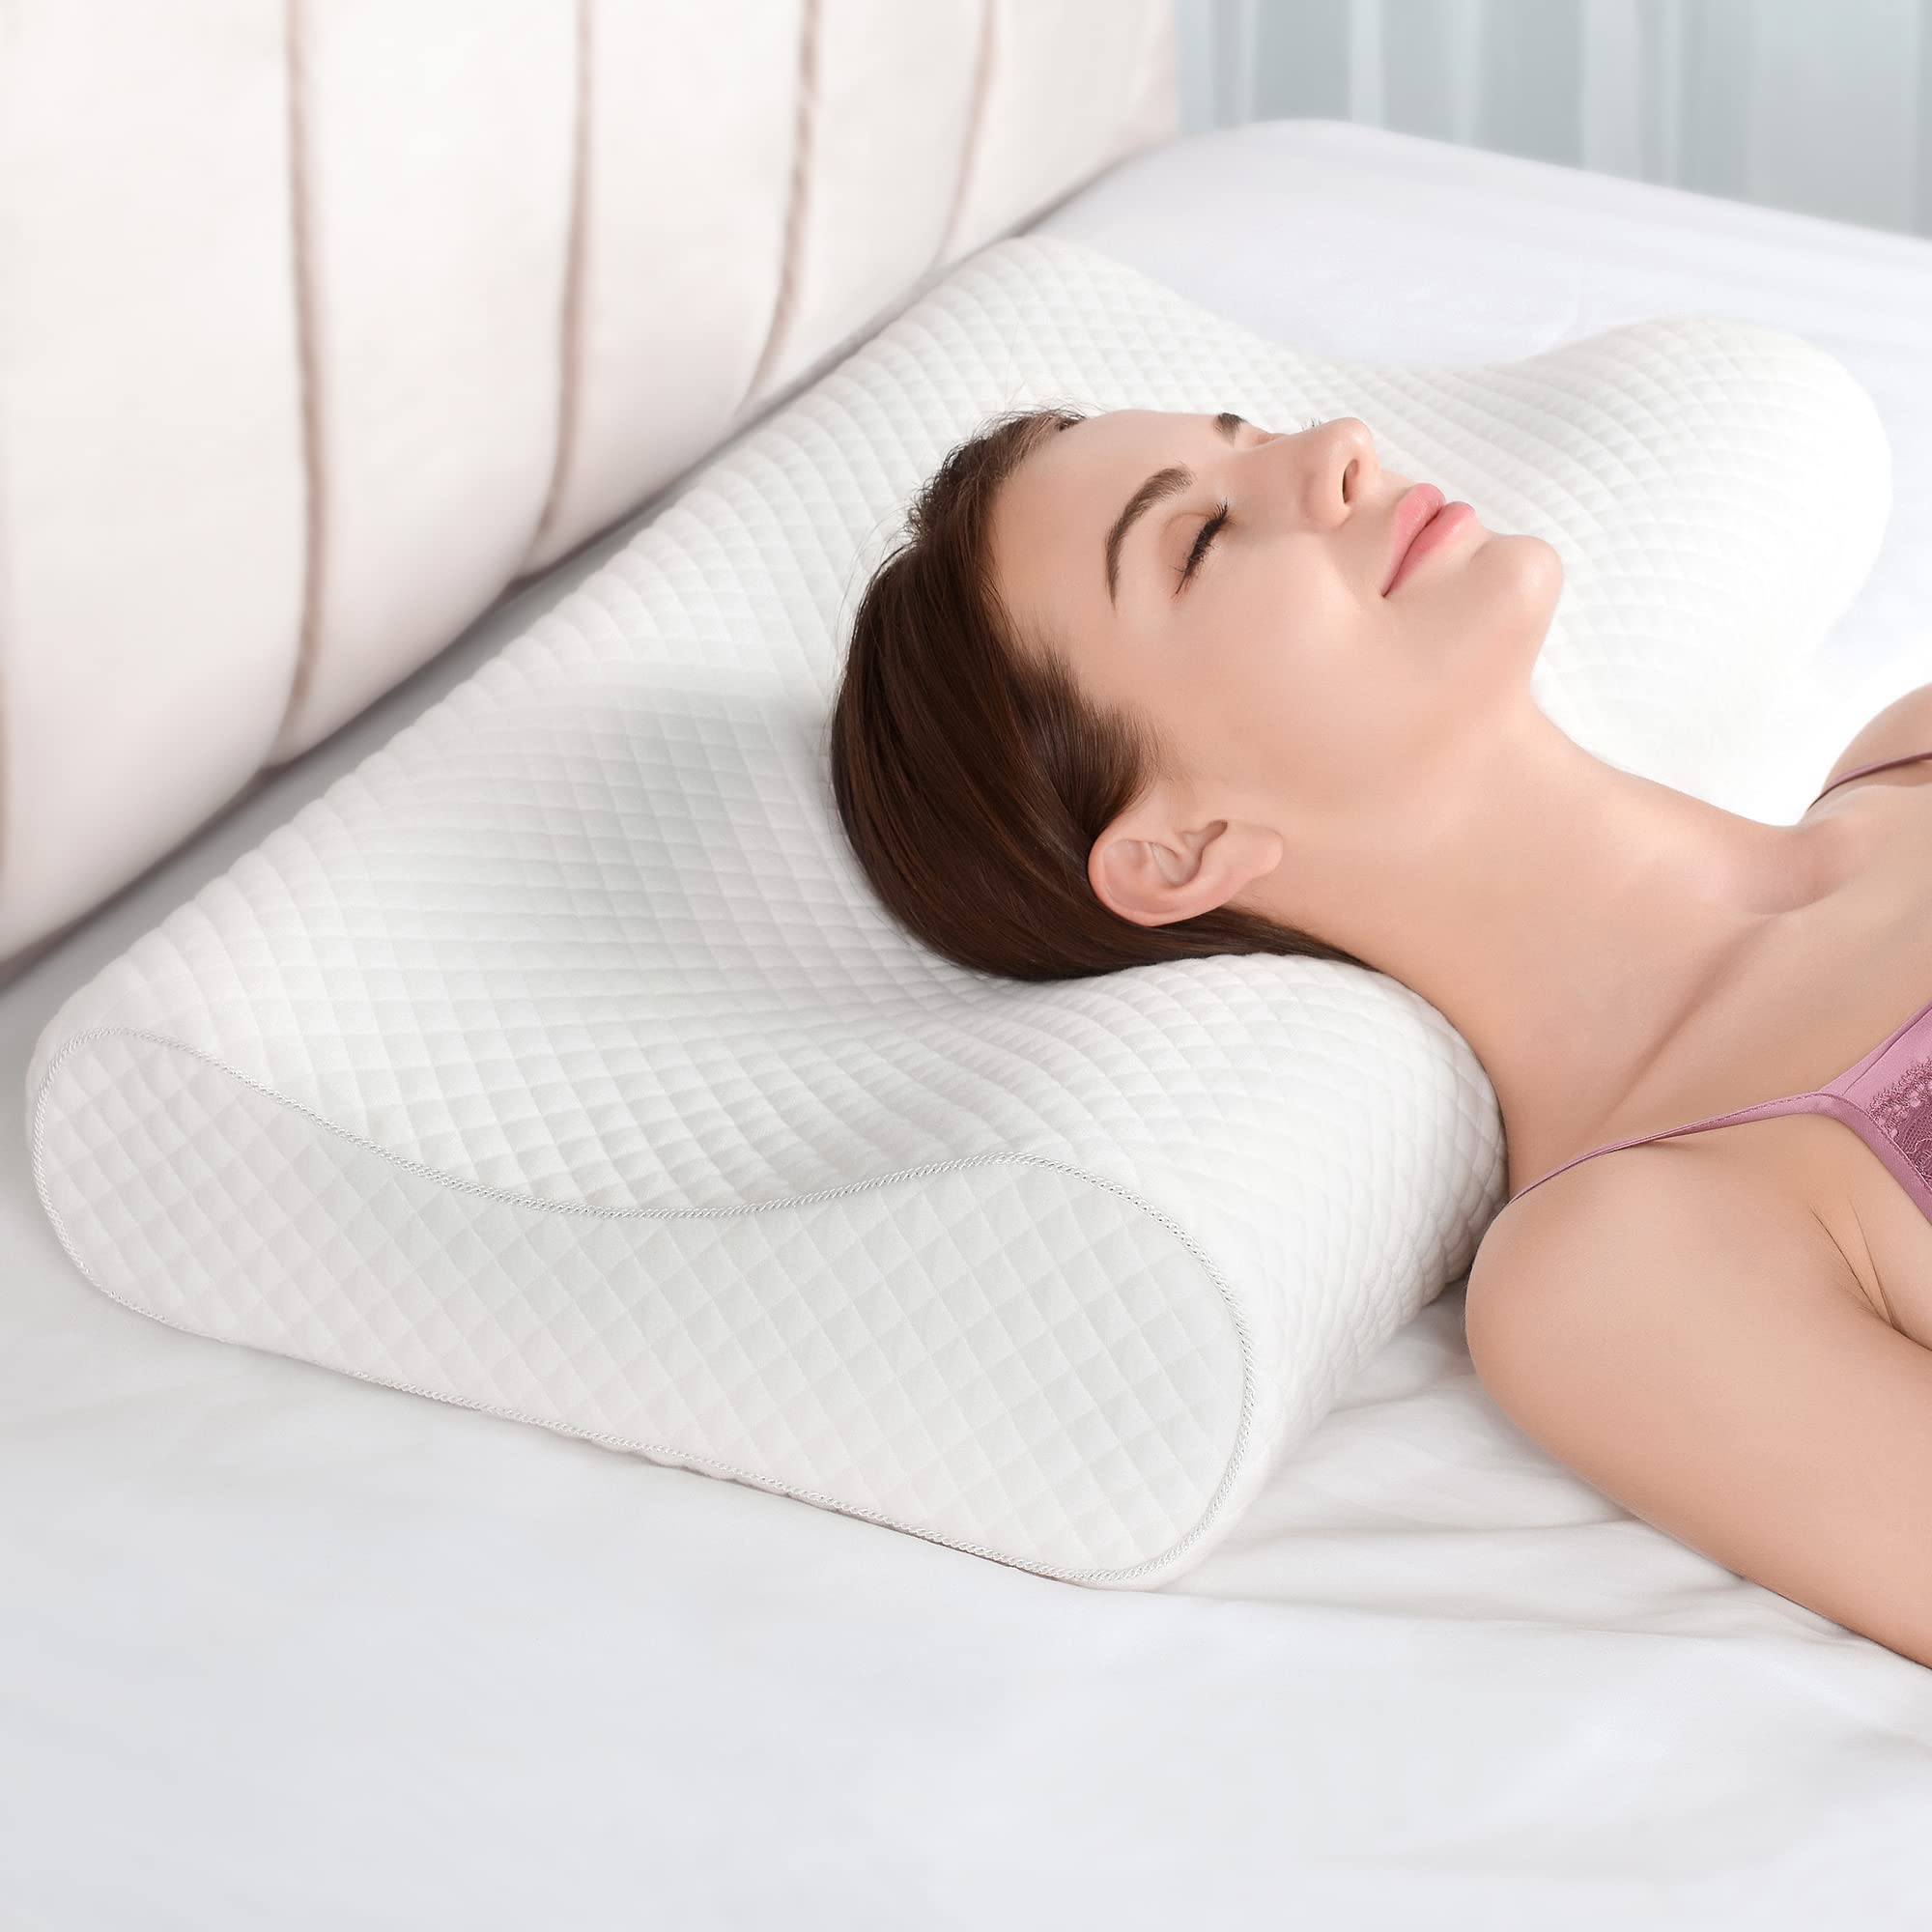
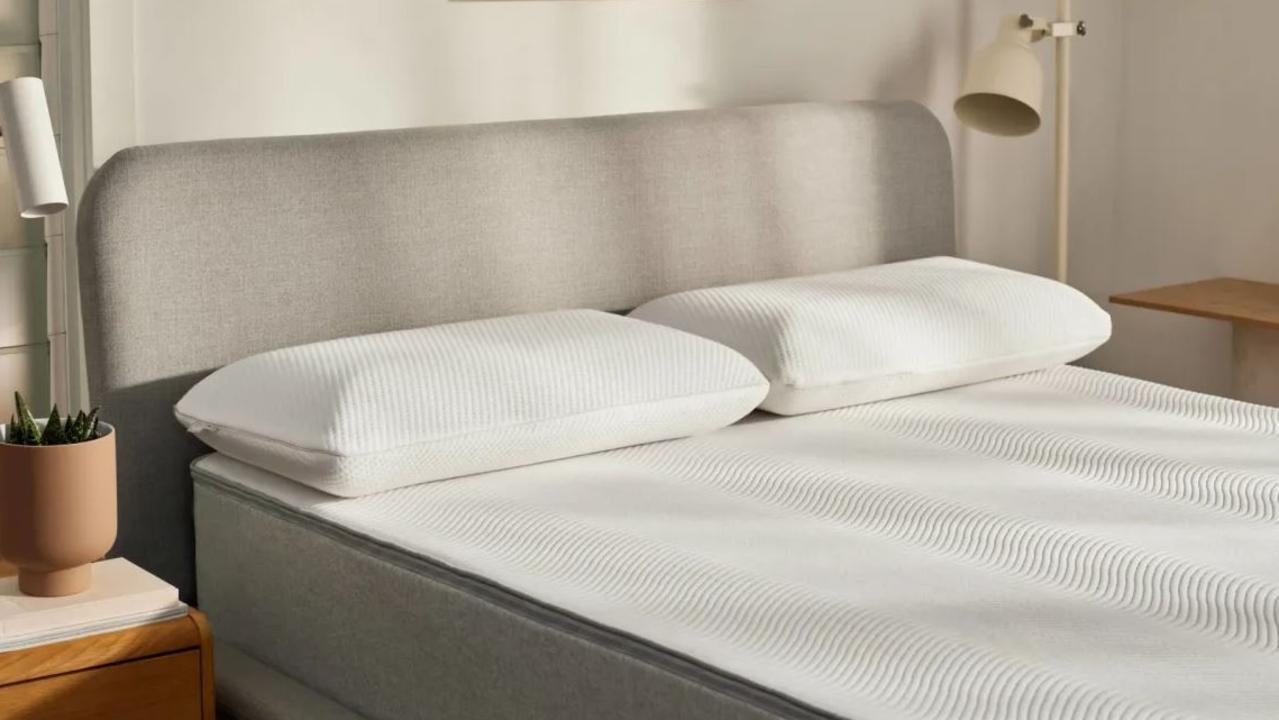
Memory foam pillows are a popular choice for many individuals seeking a comfortable and supportive night's sleep. However, accidents happen, and pillows can end up needing a good cleaning. Whether your memory foam pillow has become soiled or simply requires a routine refresh, knowing how to properly dry it is essential to maintain its quality and extend its lifespan.
In this comprehensive guide, we will walk you through the step-by-step process of effectively drying a memory foam pillow. From spot cleaning to air drying and fluffing, we've got you covered. By following these instructions, you can ensure that your memory foam pillow remains clean, fresh, and ready to provide you with many more nights of restful sleep.
Let's dive into the details of how to dry a memory foam pillow, so you can keep enjoying its supportive comfort for years to come.
Key Takeaways:
- Keep your memory foam pillow clean and fresh by spot cleaning stains before air drying. This helps maintain its quality and comfort for a restful night’s sleep.
- Gently fluff your memory foam pillow after drying to restore its shape and plushness, ensuring optimal support and comfort for a rejuvenating sleep experience.
Read more: What Is A Memory Foam Pillow
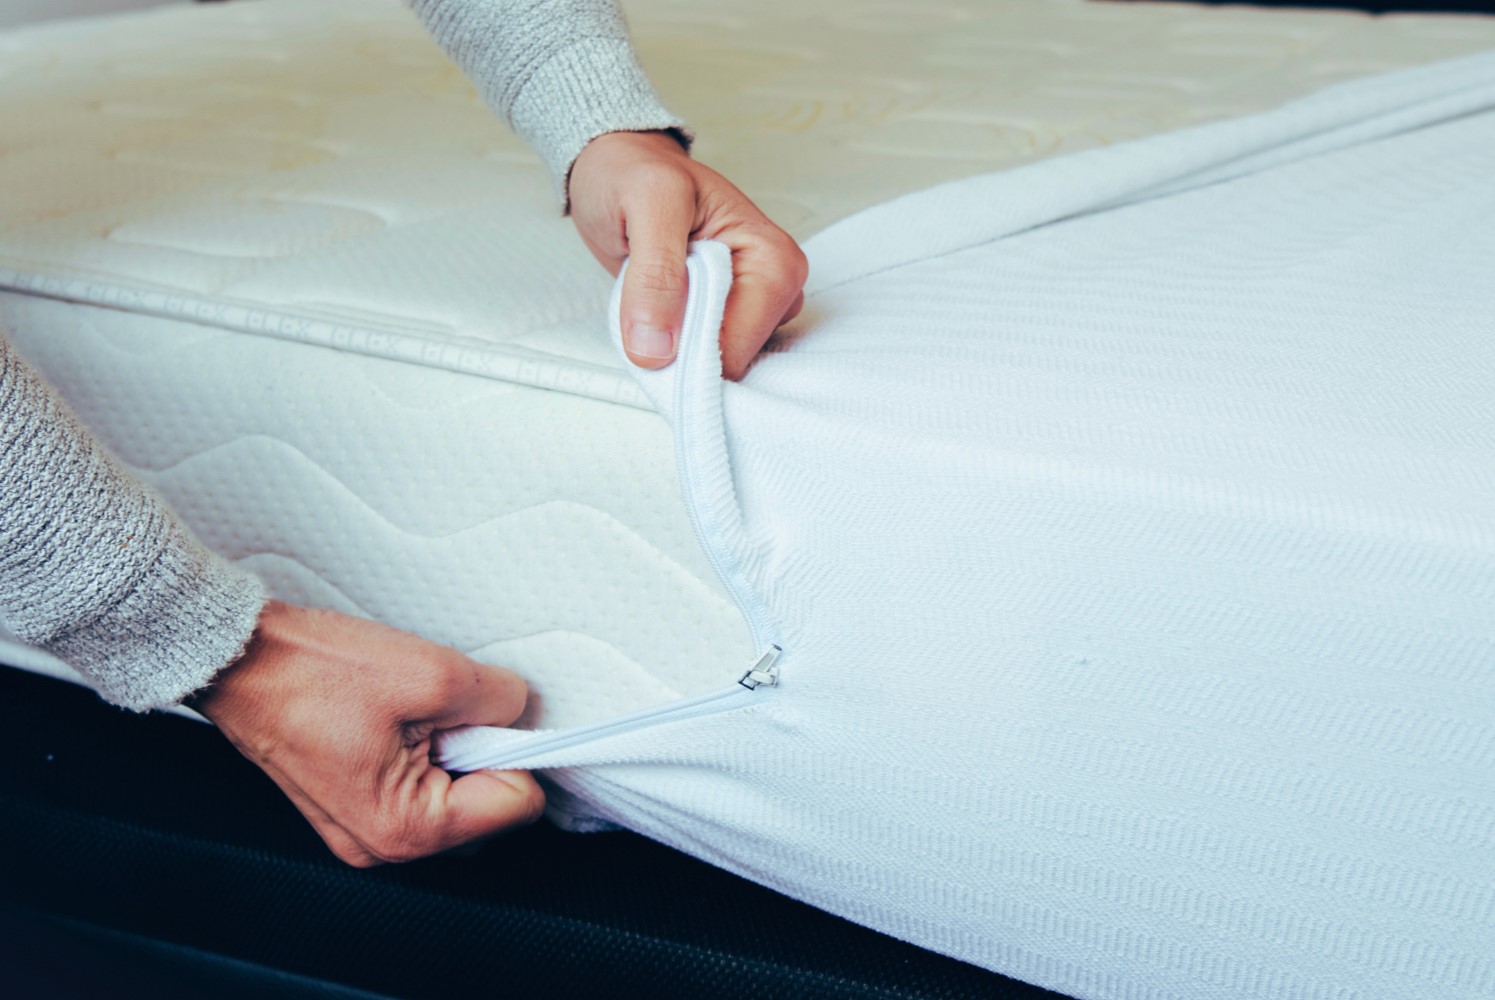
Step 1: Remove the Pillowcase
The first step in the process of drying a memory foam pillow is to carefully remove the pillowcase. Gently unzip or unbutton the pillowcase and slide it off the pillow. If the pillowcase has any stains or spots, it's a good idea to pre-treat these areas before washing the pillowcase. This will help prevent the stains from setting and make the cleaning process more effective.
Once the pillowcase is removed, take a moment to inspect the pillow itself. Look for any visible stains or soiled areas on the surface of the pillow. If you notice any spots that require cleaning, you can address them before proceeding with the drying process. Spot cleaning specific areas of the pillow will help ensure that it dries thoroughly and remains fresh and hygienic.
By starting with a clean pillowcase and addressing any stains on the pillow itself, you set the stage for a successful drying process. This initial step sets the foundation for maintaining the cleanliness and quality of your memory foam pillow, preparing it for the subsequent drying methods.
Step 2: Spot Clean any Stains
Spot cleaning stains on a memory foam pillow is a crucial step in the drying process, as it helps to ensure that the pillow remains fresh and sanitary. Before proceeding with any drying methods, it’s important to address any visible stains or soiled areas on the pillow’s surface. This proactive approach will help prevent the stains from setting and promote more effective drying.
To spot clean a memory foam pillow, you can use a mild detergent or a specially formulated pillow cleaner. Create a gentle cleaning solution by mixing a small amount of mild detergent with water. Dip a clean cloth or sponge into the solution and gently blot the stained areas on the pillow. Avoid rubbing or scrubbing aggressively, as this can damage the delicate memory foam material.
After gently blotting the stains, use a separate clean cloth dampened with plain water to rinse the treated areas. Continue blotting the dampened areas until the soap residue is removed. It’s important to ensure that the pillow is not overly saturated with water during this process, as excessive moisture can prolong the drying time and potentially damage the pillow.
Once you have spot cleaned the stains and rinsed the treated areas, allow the pillow to air dry for a brief period before proceeding with the next steps in the drying process. This brief air-drying period will help remove excess moisture and prepare the pillow for the subsequent drying methods.
By diligently spot cleaning any stains on your memory foam pillow, you can maintain its cleanliness and pristine condition, setting the stage for successful drying and continued comfort.
Step 3: Air Dry the Pillow
After spot cleaning any stains, the next step in effectively drying a memory foam pillow is to air dry it. Air drying allows the pillow to naturally release moisture and odors while maintaining its shape and integrity. This gentle drying method is essential for preventing damage to the memory foam and ensuring that the pillow remains fresh and clean.
To air dry a memory foam pillow, start by placing it in a well-ventilated area with good air circulation. Choose a location away from direct sunlight and heat sources, as excessive heat can damage the memory foam material. Ideally, a room with a ceiling fan or a gentle breeze from an open window can facilitate the drying process.
It’s important to position the pillow in such a way that allows air to circulate around it. Placing the pillow on a breathable surface, such as a wire rack or a clean towel, can help promote airflow and expedite the drying process. Additionally, periodically flipping the pillow and adjusting its position can ensure that all sides dry evenly.
During the air drying process, it’s beneficial to gently pat or press the pillow with a clean, dry towel to absorb excess moisture. Avoid wringing or squeezing the pillow, as this can damage the memory foam and alter its supportive properties. By periodically patting the pillow with a dry towel, you can help accelerate the drying process and prevent moisture from lingering within the foam.
Depending on the humidity levels and airflow in the drying area, the air drying process can take several hours to a day to complete. It’s essential to exercise patience and allow the pillow to thoroughly dry before proceeding to the next step. Once the pillow feels dry to the touch and no longer retains moisture, it’s ready for the final drying method.
By carefully air drying your memory foam pillow, you can effectively remove moisture and odors while preserving its quality and comfort. This gentle drying approach sets the stage for the pillow to be fully refreshed and ready for use.
To dry a memory foam pillow, gently press out excess water, then place it in a well-ventilated area to air dry. Avoid using heat or direct sunlight, as it can damage the foam.
Step 4: Use a Dryer
After air drying the memory foam pillow to remove the majority of the moisture, the next step is to use a dryer to further expedite the drying process. While memory foam requires gentle handling to prevent damage, using a dryer on a low-heat setting can help remove residual moisture and ensure that the pillow is thoroughly dried.
Before placing the memory foam pillow in the dryer, it’s crucial to set the dryer to the lowest heat setting and select a delicate or air fluff cycle. High heat can damage the memory foam and cause it to lose its supportive structure, so it’s essential to use the gentlest drying option available. Additionally, adding a few clean, dry towels to the dryer can help absorb moisture and prevent the pillow from bouncing around excessively.
When placing the memory foam pillow in the dryer, ensure that it has ample space to move freely without becoming compressed or folded. Overcrowding the dryer can hinder the airflow and prolong the drying time. If necessary, run the dryer in multiple short cycles to ensure that the pillow dries evenly and without excessive agitation.
Throughout the drying cycle, periodically check the pillow’s progress and remove it from the dryer to assess its moisture level. Gently press on the pillow to gauge its dryness, and if it still feels damp, return it to the dryer for additional drying time. It’s essential to exercise caution and patience during this process, as ensuring that the pillow is thoroughly dried is crucial for maintaining its quality.
Once the memory foam pillow feels completely dry and no longer retains any moisture, remove it from the dryer and allow it to cool to room temperature before proceeding to the final step of the drying process. This cooling period helps ensure that the pillow’s internal structure fully sets and stabilizes, preparing it for the last step in the drying process.
By utilizing a dryer on a low-heat setting, you can effectively remove residual moisture from the memory foam pillow and expedite the drying process without compromising its integrity. This careful approach sets the stage for the pillow to be fully refreshed and ready for use.
Read more: How To Use A Memory Foam Pillow
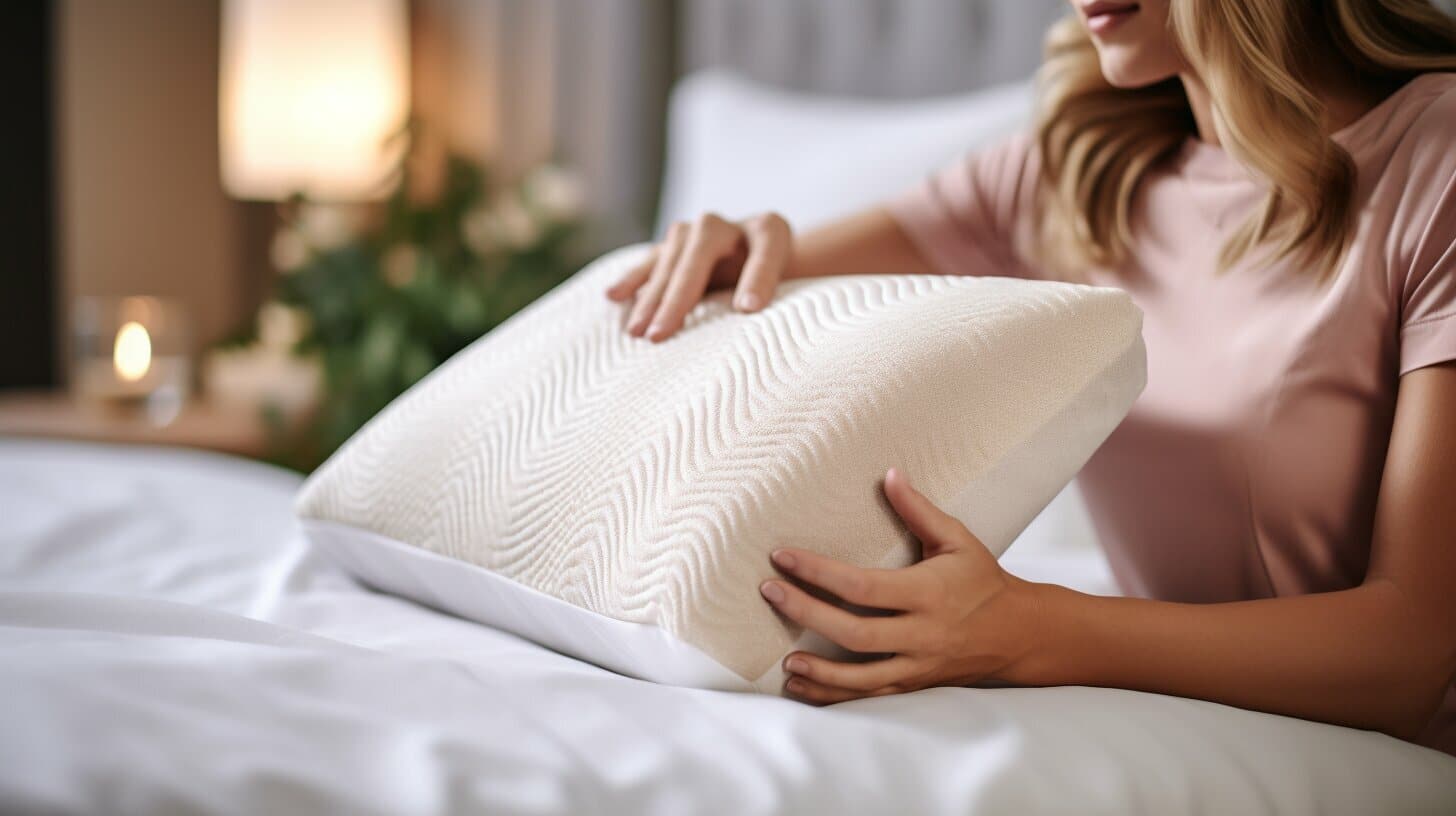
Step 5: Fluff the Pillow
After the memory foam pillow has been thoroughly dried, the final step in the drying process is to fluff it to restore its original loft and shape. Fluffing the pillow helps redistribute the memory foam fill and ensures that it maintains its supportive structure, providing you with optimal comfort and relaxation during use.
To fluff a memory foam pillow, gently knead and squeeze it to loosen and aerate the foam fill. Start by pressing and releasing the pillow in various areas, focusing on the areas that may have become compressed during the drying process. This kneading action helps restore the pillow’s plumpness and allows the memory foam to regain its resilience.
In addition to kneading the pillow, gently shaking and rotating it can help distribute the foam fill more evenly and prevent any clumping or unevenness. By rotating the pillow and shaking it gently, you can encourage the memory foam to regain its fullness and ensure that it provides consistent support throughout its surface.
If the memory foam pillow has a removable cover, this is an opportune time to reinsert it after it has been laundered. Ensure that the cover is clean and completely dry before placing it back on the pillow. A freshly laundered cover can enhance the overall cleanliness and comfort of the pillow, complementing the thorough drying process.
Once the pillow has been fluffed and any covers have been reinserted, give it a gentle pat or press to ensure that it has regained its original shape and loft. This final step prepares the memory foam pillow to be returned to its rightful place on your bed, ready to provide you with a rejuvenating night’s sleep.
By diligently fluffing your memory foam pillow after the drying process, you can ensure that it maintains its supportive structure and plushness, ready to cradle you in comfort as you drift off to sleep.
Conclusion
Mastering the art of drying a memory foam pillow is essential for maintaining its cleanliness, comfort, and longevity. By following the step-by-step process outlined in this guide, you can effectively refresh and revitalize your memory foam pillow, ensuring that it continues to provide you with restful and rejuvenating sleep night after night.
From the initial step of removing the pillowcase to the final fluffing process, each stage plays a crucial role in preserving the quality of your memory foam pillow. Spot cleaning stains, air drying, using a dryer on a low-heat setting, and fluffing the pillow all contribute to the comprehensive and meticulous care that the pillow requires.
By incorporating these drying methods into your regular pillow maintenance routine, you can prevent moisture buildup, odors, and the accumulation of allergens, ultimately promoting a healthier sleep environment. Additionally, proper drying techniques can help extend the lifespan of your memory foam pillow, allowing you to enjoy its supportive comfort for years to come.
Remember to always prioritize gentle handling and patience when drying a memory foam pillow, as the delicate nature of the foam material requires careful attention to prevent damage. By adhering to these best practices, you can ensure that your memory foam pillow remains in pristine condition, ready to envelop you in luxurious comfort each night.
So, the next time your memory foam pillow requires a thorough cleaning and drying, refer back to this guide to ensure that you follow the proper steps. By doing so, you can maintain the cleanliness, freshness, and comfort of your memory foam pillow, allowing you to enjoy a peaceful and revitalizing sleep experience.
Frequently Asked Questions about How To Dry A Memory Foam Pillow
Was this page helpful?
At Storables.com, we guarantee accurate and reliable information. Our content, validated by Expert Board Contributors, is crafted following stringent Editorial Policies. We're committed to providing you with well-researched, expert-backed insights for all your informational needs.

0 thoughts on “How To Dry A Memory Foam Pillow”