Home>Furniture & Design>Interior Design Trends>How To Drill Through Glass

Interior Design Trends
How To Drill Through Glass
Modified: February 18, 2024
Learn how to safely drill through glass for your interior design projects with our expert tips. Stay updated on the latest interior design trends.
(Many of the links in this article redirect to a specific reviewed product. Your purchase of these products through affiliate links helps to generate commission for Storables.com, at no extra cost. Learn more)
Introduction
Drilling through glass may seem like a daunting task, but with the right tools, techniques, and precautions, it can be accomplished with precision and safety. Whether you're a seasoned DIY enthusiast or a novice looking to embark on a new project, mastering the art of drilling through glass opens up a world of possibilities for creating stunning decorative pieces, functional installations, or repairing cherished items.
Glass, known for its fragility and smooth surface, requires a delicate approach when it comes to drilling. Unlike drilling through wood or metal, the process of drilling through glass demands a unique set of considerations to ensure a successful outcome. From selecting the appropriate drill bit to mastering the drilling technique, each step plays a crucial role in achieving a clean and precise hole without compromising the integrity of the glass.
In this comprehensive guide, we will delve into the essential tools and materials needed, the meticulous process of preparing the glass surface, the significance of choosing the right drill bit, and the step-by-step drilling technique. Additionally, we will emphasize the paramount importance of adhering to safety precautions to safeguard both the integrity of the glass and the well-being of the individual performing the drilling.
By the end of this guide, you will be equipped with the knowledge and confidence to tackle drilling through glass with finesse and expertise. So, let's embark on this enlightening journey to unravel the art of drilling through glass and unlock the potential for creating awe-inspiring glass-based projects.
Key Takeaways:
- Mastering the art of drilling through glass requires meticulous preparation, the right tools, and safety precautions. With patience and precision, individuals can create stunning glass-based projects with confidence and expertise.
- Adhering to essential safety measures, such as wearing protective eyewear and maintaining a stable work surface, is crucial when drilling through glass. By exercising caution and precision, individuals can ensure a safe and successful drilling experience.
Read more: How To Drill Through Crystal Glass
Tools and Materials Needed
When it comes to drilling through glass, having the right tools and materials at your disposal is paramount to ensure a successful and safe drilling process. Here's a comprehensive list of essential items you'll need to gather before embarking on your glass drilling endeavor:
-
Glass Surface: The piece of glass you intend to drill through should be placed on a stable and flat surface to prevent any unnecessary movement during the drilling process. It's advisable to work on a surface that can withstand the pressure applied during drilling.
-
Safety Glasses: Protecting your eyes is non-negotiable when working with glass. Safety glasses or goggles are essential to shield your eyes from any potential glass shards or debris that may be generated during drilling.
-
Masking Tape: Applying masking tape over the area where you plan to drill serves multiple purposes. It helps to prevent the drill bit from slipping, minimizes the risk of chipping, and provides a visual guide for marking the drilling spot.
-
Marker or Pencil: Marking the precise spot where you intend to drill is crucial for accuracy. A marker or pencil can be used to make a visible mark on the masking tape, ensuring that the drill bit is positioned accurately.
-
Drill: A variable speed drill with a reliable grip and adjustable speed settings is recommended for drilling through glass. Ensure that the drill is equipped with a chuck that can accommodate the selected drill bit size.
-
Diamond Drill Bit: Unlike traditional drill bits, diamond-tipped drill bits are specifically designed for drilling through glass. These specialized drill bits are available in various sizes to accommodate different hole diameters.
-
Coolant or Lubricant: Using a coolant or lubricant during the drilling process helps to dissipate heat and reduce friction, thereby minimizing the risk of the glass cracking or shattering. Water or a specialized glass-cutting oil can serve as effective coolants.
-
Spray Bottle: A spray bottle filled with water can be used to apply the coolant or lubricant during the drilling process. It allows for controlled and targeted application, ensuring that the drilling area remains adequately lubricated.
-
Supporting Material: Placing a piece of scrap wood or a soft material, such as a foam pad, beneath the glass can provide added support and prevent the glass from flexing or cracking under pressure.
-
Cleaning Cloth: Once the drilling process is complete, a soft cleaning cloth can be used to wipe away any residual coolant or debris from the drilled hole and the surrounding area.
By assembling these essential tools and materials, you'll be well-prepared to embark on the meticulous process of drilling through glass with confidence and precision.
Preparing the Glass
Before commencing the actual drilling process, it is crucial to prepare the glass surface meticulously to minimize the risk of chipping, cracking, or shattering. Proper preparation not only ensures a smoother drilling experience but also contributes to the overall safety and success of the project.
Steps for Preparing the Glass:
-
Cleaning the Surface: Begin by thoroughly cleaning the area of the glass where the drilling will take place. Use a gentle glass cleaner and a lint-free cloth to remove any dust, fingerprints, or debris. A clean surface not only facilitates better adhesion of the masking tape but also allows for a clearer marking of the drilling spot.
-
Applying Masking Tape: Once the surface is clean and dry, carefully apply a strip of masking tape over the area where the hole will be drilled. The tape serves as a protective barrier, reducing the likelihood of the drill bit slipping and minimizing the potential for chipping. Additionally, it provides a visible surface for marking the exact drilling spot.
-
Marking the Drilling Spot: With the masking tape in place, use a marker or pencil to make a precise mark at the center of the intended drilling spot. Take your time to ensure accuracy, as this mark will guide the positioning of the drill bit. Double-check the alignment and ensure that the mark is clearly visible.
-
Securing the Glass: Depending on the size and thickness of the glass, it may be beneficial to secure it in place to prevent any movement during drilling. Using clamps or a non-slip mat can help stabilize the glass and minimize the risk of slippage or vibration, which could lead to an uneven or compromised drilling process.
By meticulously preparing the glass surface in this manner, you set the stage for a controlled and precise drilling experience. Taking the time to clean the surface, apply masking tape, mark the drilling spot accurately, and secure the glass lays a solid foundation for the subsequent steps in the drilling process.
With the glass now meticulously prepared, the next crucial step is to select the appropriate drill bit that is specifically designed for drilling through glass, ensuring optimal results and minimizing the risk of damage to the glass surface.
Choosing the Right Drill Bit
Selecting the right drill bit is a pivotal decision when it comes to drilling through glass. Unlike drilling through wood or metal, where standard drill bits suffice, the delicate nature of glass necessitates the use of specialized drill bits designed to handle the unique properties of this material.
Read more: How To Drill Through Stucco
Considerations for Choosing the Right Drill Bit:
1. Diamond-Tipped Drill Bits:
Diamond-tipped drill bits are the preferred choice for drilling through glass due to their exceptional hardness and durability. These drill bits are embedded with industrial-grade diamond particles, allowing them to effectively cut through the hard and brittle surface of glass without causing damage or undue stress. The diamond-tipped design ensures precision and longevity, making them well-suited for various glass thicknesses and compositions.
2. Size and Diameter:
When selecting a diamond drill bit, it is essential to choose the appropriate size and diameter based on the desired hole size and the thickness of the glass. Diamond drill bits are available in a range of sizes to accommodate different hole diameters, ensuring that you can achieve the exact hole dimensions required for your project. It is crucial to match the drill bit size to the specific requirements of your drilling task to achieve accurate and clean results.
3. Quality and Compatibility:
Opting for high-quality diamond drill bits from reputable manufacturers is paramount to ensure optimal performance and compatibility with the glass material. Investing in premium-grade drill bits reduces the risk of premature wear, overheating, or ineffective cutting, thereby enhancing the overall drilling experience and the longevity of the drill bits.
4. Coating and Design:
Some diamond drill bits feature specialized coatings or designs tailored to enhance their cutting efficiency and heat dissipation capabilities. Look for drill bits with anti-corrosion coatings or segmented designs, as these features contribute to smoother drilling, reduced friction, and prolonged durability. Additionally, consider drill bits with a slotted or v-shaped tip, as these designs facilitate the removal of glass debris during the drilling process, preventing clogging and maintaining optimal cutting performance.
By carefully considering these factors and selecting a diamond-tipped drill bit that aligns with the specific requirements of your glass drilling project, you can ensure precise, clean, and efficient drilling outcomes while safeguarding the integrity of the glass surface.
With the appropriate drill bit in hand, the next step involves mastering the drilling technique, where precision and finesse play a pivotal role in achieving flawless results.
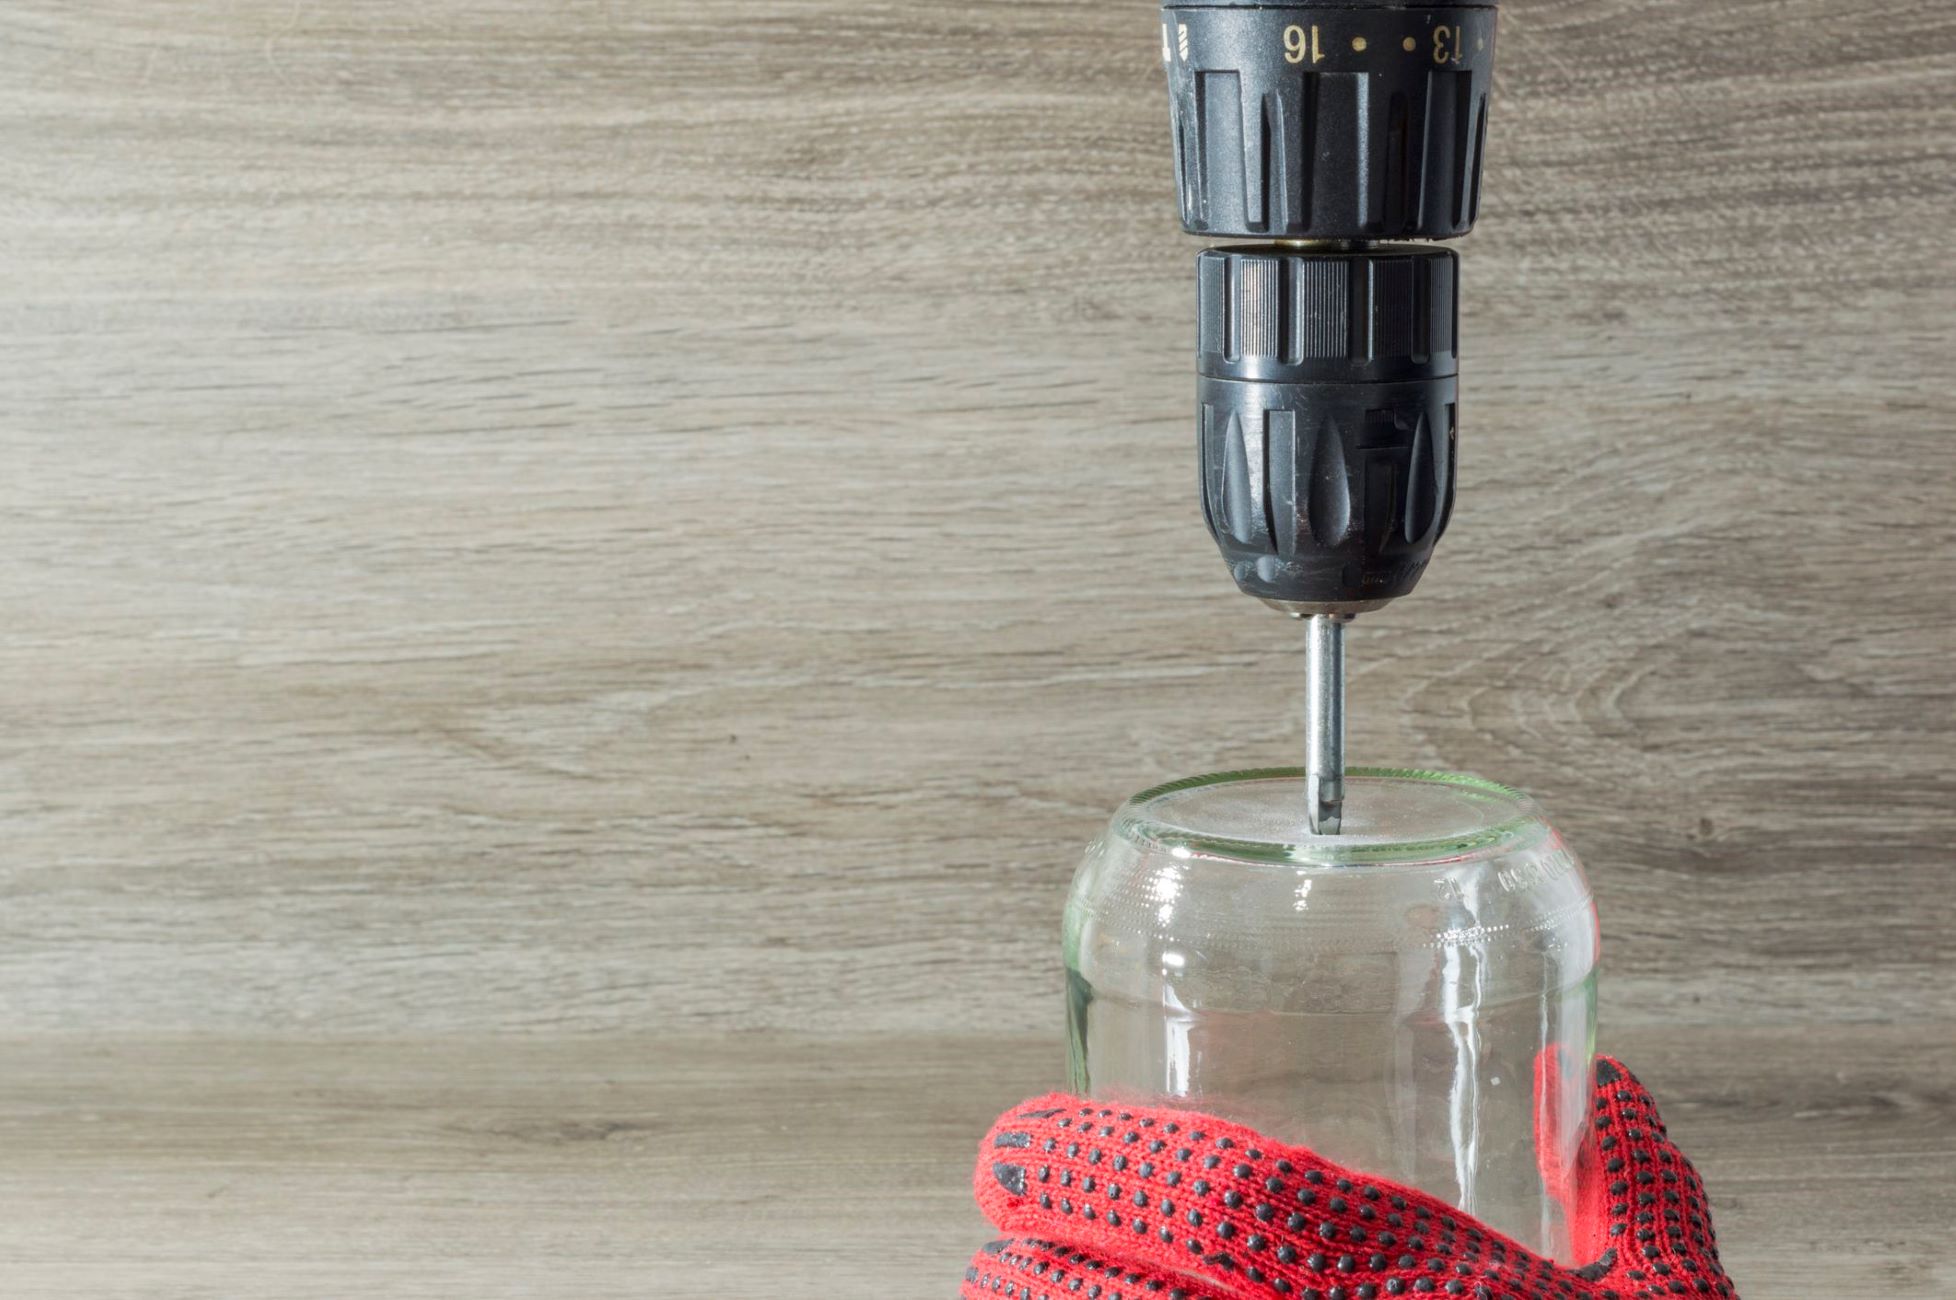
Drilling Technique
Mastering the drilling technique is a critical phase in the process of drilling through glass. Unlike drilling through other materials, such as wood or metal, glass demands a meticulous and controlled approach to ensure a clean and precise outcome without compromising the structural integrity of the glass.
Steps for Achieving a Successful Drilling Technique:
-
Setting the Drill Speed: Begin by setting the drill to a low to medium speed. Excessive speed can generate heat and friction, increasing the risk of the glass cracking or shattering. The variable speed settings on the drill allow for precise control, enabling you to adapt the speed to the specific requirements of the glass thickness and the chosen drill bit size.
-
Applying Coolant or Lubricant: Prior to initiating the drilling process, it is essential to apply a suitable coolant or lubricant to the drilling area. Water or a specialized glass-cutting oil can serve as effective coolants, dissipating heat and reducing friction. A spray bottle filled with water allows for targeted application, ensuring that the drilling area remains adequately lubricated throughout the process.
-
Positioning the Drill Bit: Align the tip of the diamond drill bit with the marked drilling spot on the masking tape. Hold the drill perpendicular to the glass surface to ensure that the hole is drilled at the intended angle. Maintaining a steady hand and a controlled grip on the drill is crucial for accuracy and stability during the drilling process.
-
Initiating the Drilling Process: With the drill bit positioned, initiate the drilling process with gentle and consistent pressure. Avoid exerting excessive force, as this can lead to unnecessary stress on the glass. The goal is to allow the drill bit to gradually penetrate the glass surface, guided by the marked spot, while the coolant or lubricant aids in dissipating heat and facilitating smooth cutting.
-
Monitoring the Progress: As the drill bit penetrates the glass, it is essential to maintain a vigilant eye on the drilling progress. The coolant or lubricant should be continuously applied to the drilling area to ensure that the glass remains adequately lubricated. This continuous application helps to prevent overheating and minimizes the risk of thermal stress on the glass.
-
Completing the Drilling Process: Once the drill bit has successfully penetrated the glass and created the desired hole, gradually release the pressure on the drill and allow it to come to a complete stop before retracting it from the glass surface. Wipe away any residual coolant or debris from the drilled hole and the surrounding area using a soft cleaning cloth.
By meticulously adhering to these steps and exercising patience and precision throughout the drilling process, you can achieve a successful outcome, characterized by a clean, accurately drilled hole in the glass. The drilling technique, when executed with care and attention to detail, ensures that the integrity of the glass is preserved, and the desired results are attained.
With the drilling process completed, it is essential to emphasize the paramount importance of adhering to safety precautions to safeguard both the integrity of the glass and the well-being of the individual performing the drilling.
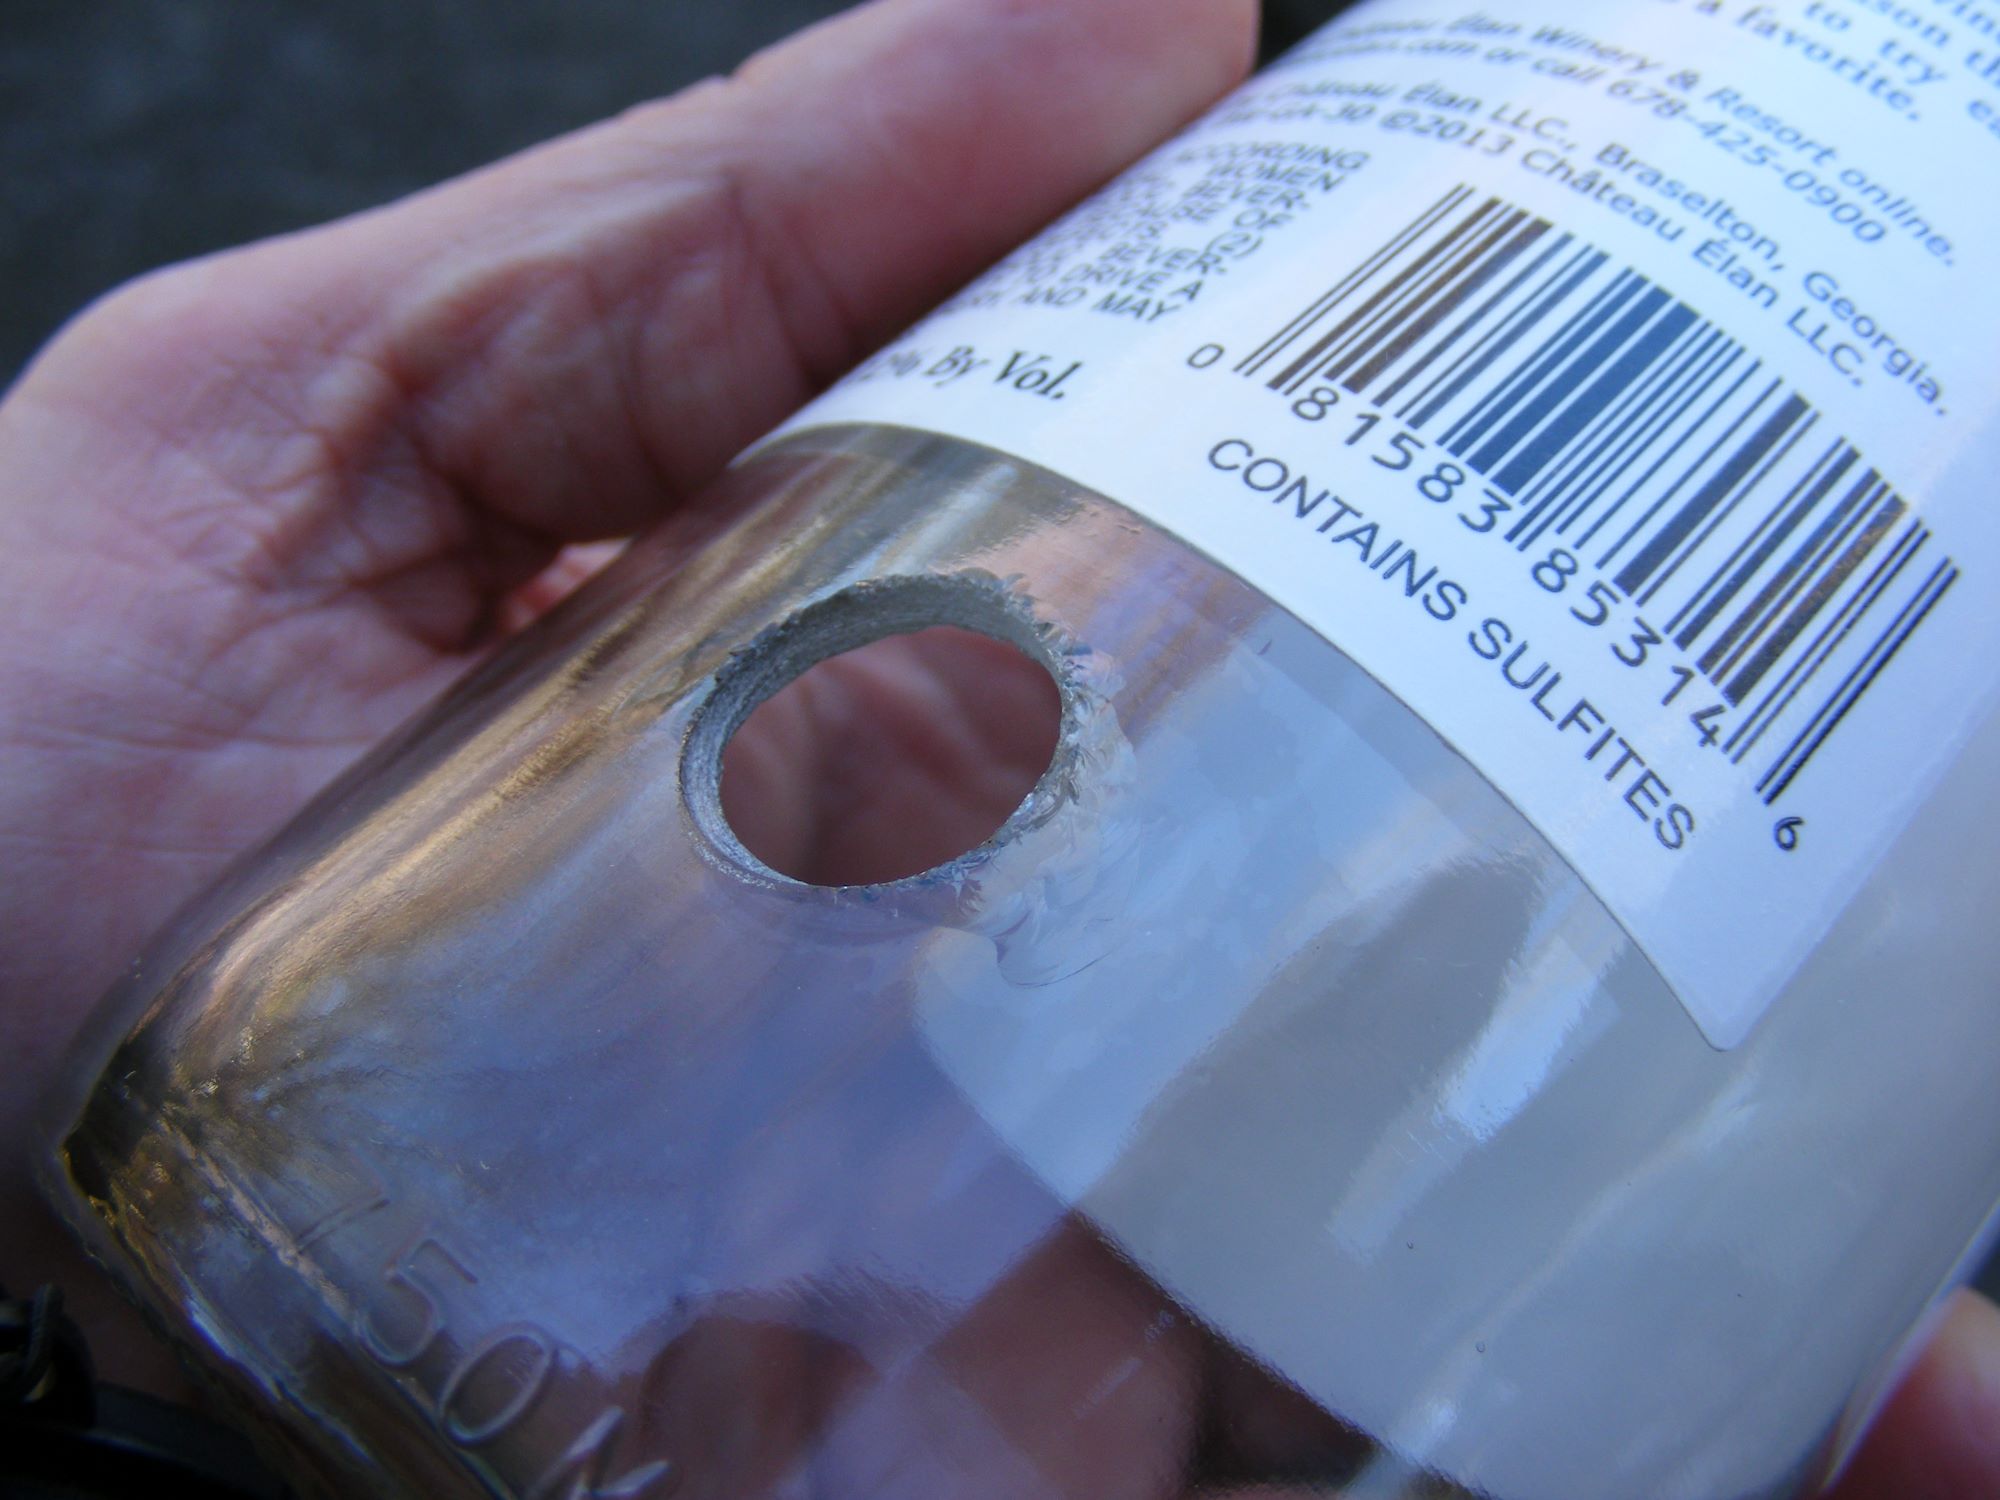
Use a diamond-tipped drill bit to drill through glass. Keep the glass wet to prevent overheating and cracking. Start with a small pilot hole and gradually increase the size.
Safety Precautions
Ensuring the safety of both the individual performing the drilling and the integrity of the glass is of utmost importance when embarking on a glass drilling endeavor. By adhering to essential safety precautions, the risk of accidents, injuries, and damage to the glass can be significantly minimized, creating a secure and controlled environment for the drilling process.
-
Protective Eyewear: Prior to commencing the drilling process, it is imperative to don safety glasses or goggles to shield the eyes from potential glass shards, debris, or coolant splashes. The use of protective eyewear serves as a fundamental safeguard against eye-related injuries and ensures clear visibility throughout the drilling procedure.
-
Appropriate Attire: Wearing appropriate clothing, such as long sleeves and closed-toe shoes, provides an additional layer of protection against accidental contact with glass fragments or sharp edges. By covering exposed skin, the risk of cuts, abrasions, or skin irritation is mitigated, fostering a safer working environment.
-
Stable Work Surface: Positioning the glass on a stable and flat work surface, such as a workbench or sturdy table, minimizes the likelihood of accidental slips or movement during drilling. A secure work surface contributes to the overall stability of the drilling process, reducing the risk of the glass shifting or tipping over.
-
Secure Grip on the Drill: Maintaining a firm and controlled grip on the drill throughout the drilling process is essential for stability and precision. A secure grip minimizes the risk of the drill slipping or veering off course, ensuring that the drilling remains aligned with the marked spot and proceeds smoothly.
-
Caution with Coolant Application: When applying coolant or lubricant during the drilling process, exercise caution to prevent excessive spillage or splashing. Controlled application of the coolant minimizes the risk of slippery surfaces and helps to maintain a focused and controlled drilling environment.
-
Proper Disposal of Glass Debris: After completing the drilling process, it is crucial to carefully collect and dispose of any glass debris or remnants. Utilizing a damp cloth or disposable gloves, gather the debris and dispose of it in a designated container to prevent accidental contact and ensure a clean work area.
-
Safe Handling of Glass: When handling the glass before, during, and after drilling, it is essential to exercise care and attentiveness. Avoid subjecting the glass to sudden impacts, pressure, or excessive force, as these actions can compromise its structural integrity and increase the risk of breakage.
By meticulously observing these safety precautions, individuals can create a secure and controlled environment for drilling through glass, mitigating potential risks and fostering a safe and successful drilling experience.
With safety at the forefront, coupled with the knowledge of essential tools, meticulous preparation, the right drill bit selection, and mastering the drilling technique, individuals can confidently embark on their glass drilling projects, unlocking the potential for creating stunning and functional glass-based creations.
Read more: How To Drill Into Glass
Conclusion
In conclusion, mastering the art of drilling through glass opens up a realm of creative possibilities while demanding meticulous attention to detail, precision, and safety. By equipping oneself with the essential tools and materials, meticulously preparing the glass surface, selecting the right drill bit, and mastering the drilling technique, individuals can embark on glass drilling projects with confidence and expertise.
The process begins with thorough preparation, including cleaning the glass surface, applying masking tape, marking the drilling spot, and securing the glass to ensure stability. Choosing the appropriate diamond-tipped drill bit, considering size, quality, and design, is pivotal in achieving clean and precise drilling outcomes without compromising the integrity of the glass.
Mastering the drilling technique involves setting the drill speed, applying coolant, positioning the drill bit, and monitoring the progress with vigilance. By exercising patience and precision, individuals can achieve flawlessly drilled holes in glass, unlocking the potential for creating decorative pieces, functional installations, or repairing cherished items.
Adhering to essential safety precautions, such as wearing protective eyewear, appropriate attire, and maintaining a stable work surface, is fundamental in creating a secure environment for the drilling process. By exercising caution with coolant application, proper disposal of glass debris, and safe handling of glass, individuals can mitigate potential risks and ensure a safe and successful drilling experience.
In essence, mastering the art of drilling through glass is a journey that combines technical skill with creativity, precision with caution, and innovation with safety. Whether it's crafting bespoke glass decorations, installing glass fixtures, or repairing treasured glass items, the knowledge and expertise gained from this comprehensive guide empower individuals to explore and actualize their glass-based projects with finesse and confidence. With a deep understanding of the tools, techniques, and safety measures involved, individuals can embark on their glass drilling endeavors, transforming visions into tangible, awe-inspiring creations.
By embracing the knowledge and skills shared in this guide, individuals can confidently navigate the intricate process of drilling through glass, unlocking the potential for boundless creativity and craftsmanship in the realm of glass-based projects.
Frequently Asked Questions about How To Drill Through Glass
Was this page helpful?
At Storables.com, we guarantee accurate and reliable information. Our content, validated by Expert Board Contributors, is crafted following stringent Editorial Policies. We're committed to providing you with well-researched, expert-backed insights for all your informational needs.


0 thoughts on “How To Drill Through Glass”