Home>Kitchen & Cooking>Kitchen Gadgets & Utensils>How To Clean My Glass Kettle

Kitchen Gadgets & Utensils
How To Clean My Glass Kettle
Modified: October 27, 2024
Learn how to effectively clean your glass kettle and keep it in pristine condition with our expert tips and tricks. Discover the best methods for maintaining kitchen gadgets and utensils. Keep your glass kettle sparkling and functioning flawlessly!
(Many of the links in this article redirect to a specific reviewed product. Your purchase of these products through affiliate links helps to generate commission for Storables.com, at no extra cost. Learn more)
Introduction
Welcome to the world of glass kettles, where the beauty of transparency meets the functionality of boiling water. Glass kettles have become a popular choice for many households due to their aesthetic appeal and the ability to monitor the water boiling process. However, keeping these sleek kitchen appliances clean and limescale-free can be a challenge. In this guide, we will explore the best methods for cleaning your glass kettle, ensuring that it remains in pristine condition and continues to enhance your kitchen experience.
Whether you’re an avid tea drinker, a pour-over coffee enthusiast, or simply someone who appreciates the convenience of a quick and efficient way to boil water, maintaining the cleanliness of your glass kettle is essential. Over time, mineral deposits and stains can accumulate, affecting the kettle’s performance and overall visual appeal. By following the cleaning techniques outlined in this article, you can restore your glass kettle to its former glory and enjoy its benefits for years to come.
So, grab your cleaning supplies and let’s dive into the world of glass kettle maintenance. With a little care and attention, you can ensure that your glass kettle remains a shining star in your kitchen arsenal.
Key Takeaways:
- Keep your glass kettle limescale-free by using natural ingredients like vinegar, baking soda, and lemon juice. Regular maintenance and proper storage will ensure a sparkling clean kettle for years to come.
- Embrace the power of white vinegar, baking soda, and lemon juice to keep your glass kettle clean and fresh. Regular maintenance and proper usage will maintain its pristine condition and functionality.
Read more: How To Clean A Kettle With Lemon
Materials Needed
Before embarking on the cleaning journey for your glass kettle, it’s essential to gather the necessary materials to ensure a thorough and effective cleaning process. Here’s what you’ll need:
- White Vinegar: This versatile household staple is a powerhouse when it comes to removing limescale and mineral deposits.
- Water: Distilled water is preferable for mixing cleaning solutions to prevent additional mineral buildup.
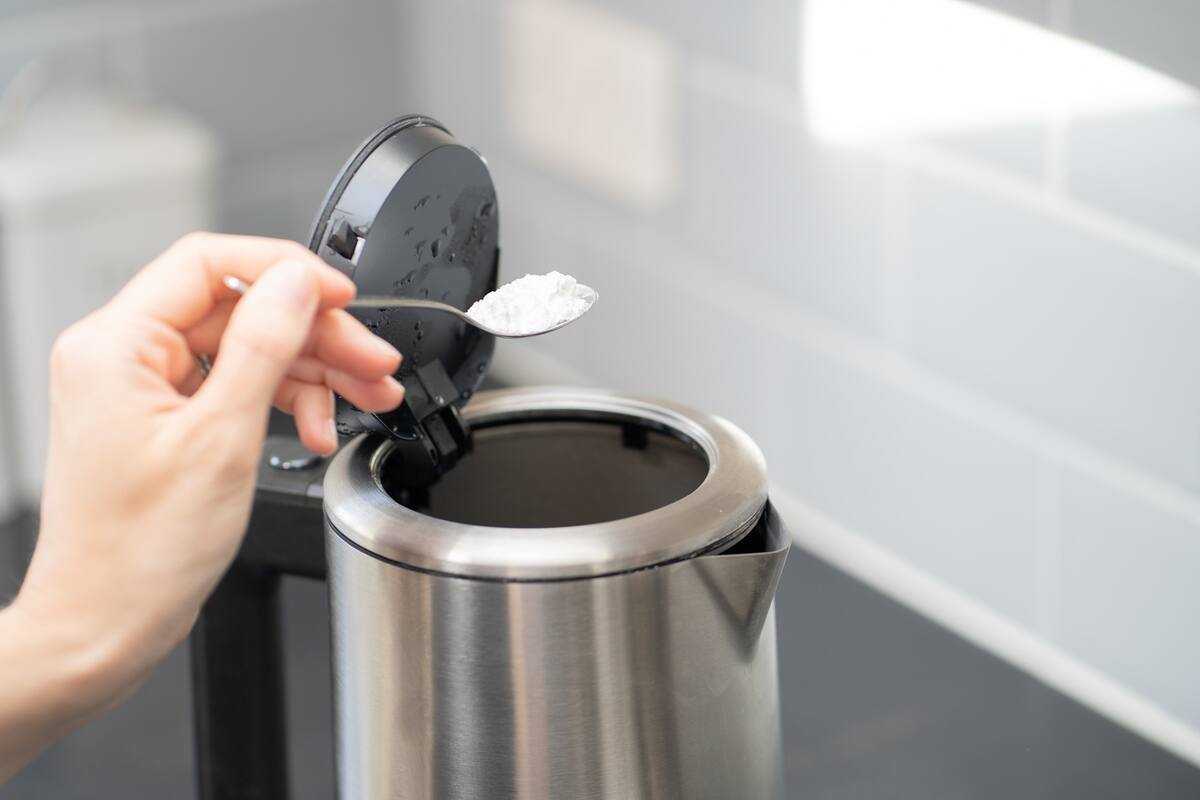
- Baking Soda: Known for its gentle abrasive properties and natural deodorizing abilities, baking soda is a key ingredient in cleaning stubborn stains.
- Lemons: Fresh lemons or lemon juice serve as a natural alternative for combating limescale and adding a refreshing scent to the cleaning process.
- Soft Cleaning Cloth or Sponge: Opt for non-abrasive materials to avoid scratching the glass surface of the kettle.
- Cotton Swabs: These are useful for reaching tight spots and corners within the kettle.
- Dish Soap: A mild dish soap can be used for general cleaning and rinsing of the kettle.
- Kettle Descaler (Optional): If your kettle requires a more intensive descaling treatment, a commercial kettle descaler can be a helpful addition to your cleaning arsenal.
By having these materials at your disposal, you’ll be well-equipped to tackle the cleaning process and restore your glass kettle to its sparkling best. Now that we have our supplies ready, let’s dive into the step-by-step cleaning methods to revitalize your glass kettle.
Step 1: Vinegar and Water Solution
The combination of white vinegar and water serves as a potent natural solution for removing limescale and mineral deposits from your glass kettle. Follow these steps to effectively clean your kettle using this simple yet powerful mixture:
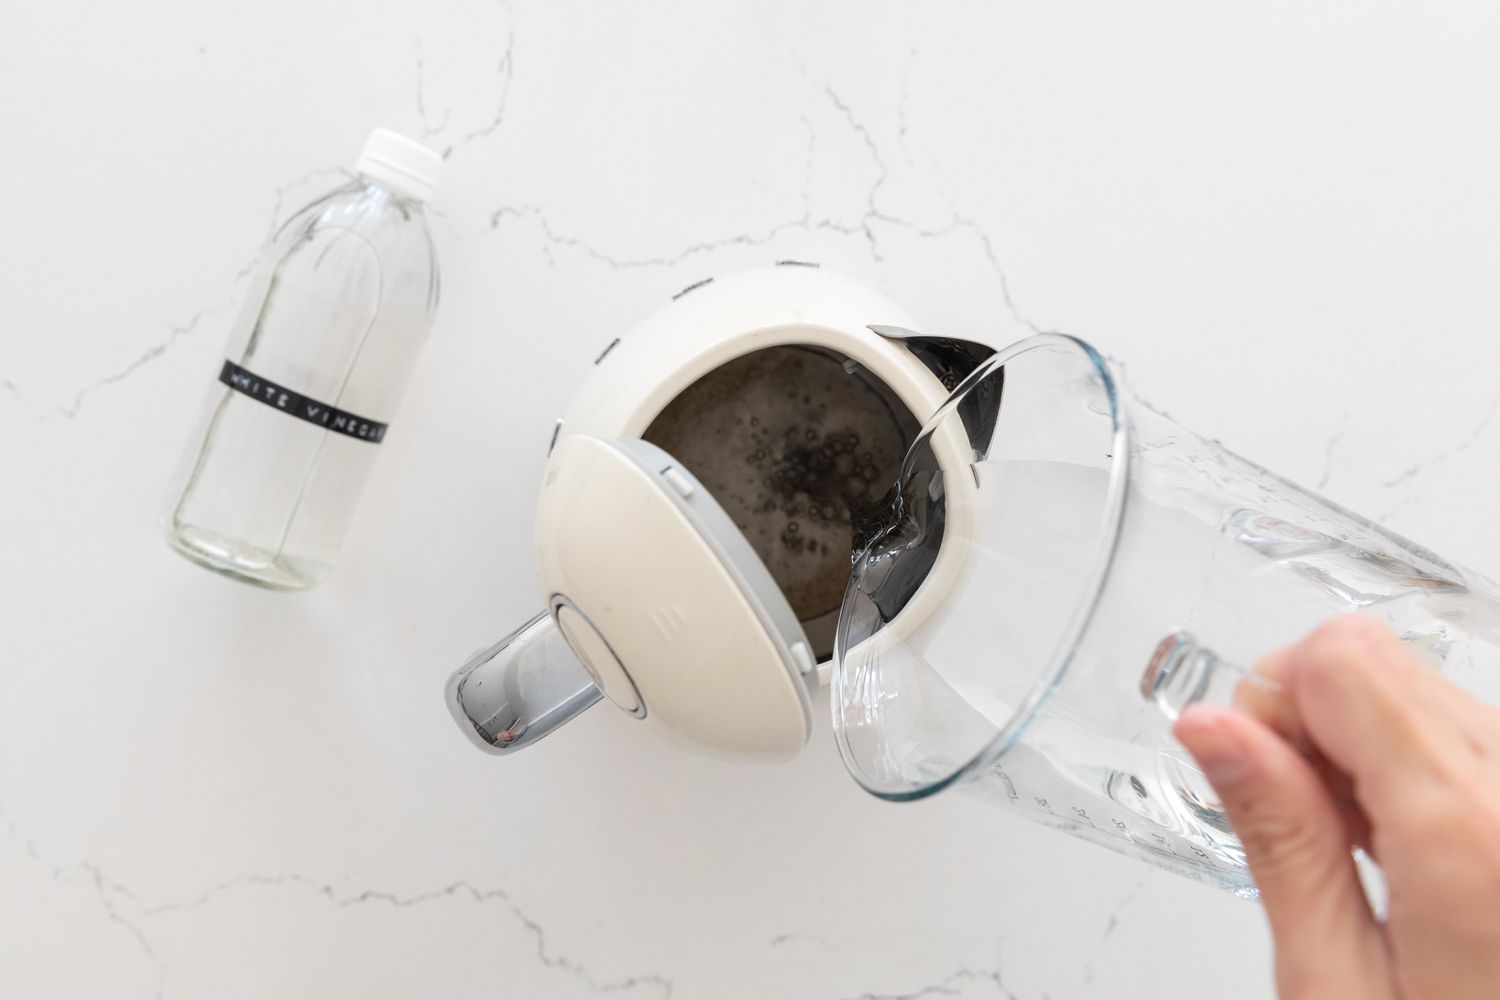
- Dilute the Vinegar: Begin by diluting white vinegar with an equal amount of water. For a standard-sized glass kettle, a 1:1 ratio of vinegar to water is typically sufficient.
- Pour the Solution: Carefully pour the vinegar and water mixture into the kettle, ensuring that it covers the areas affected by limescale and mineral buildup.
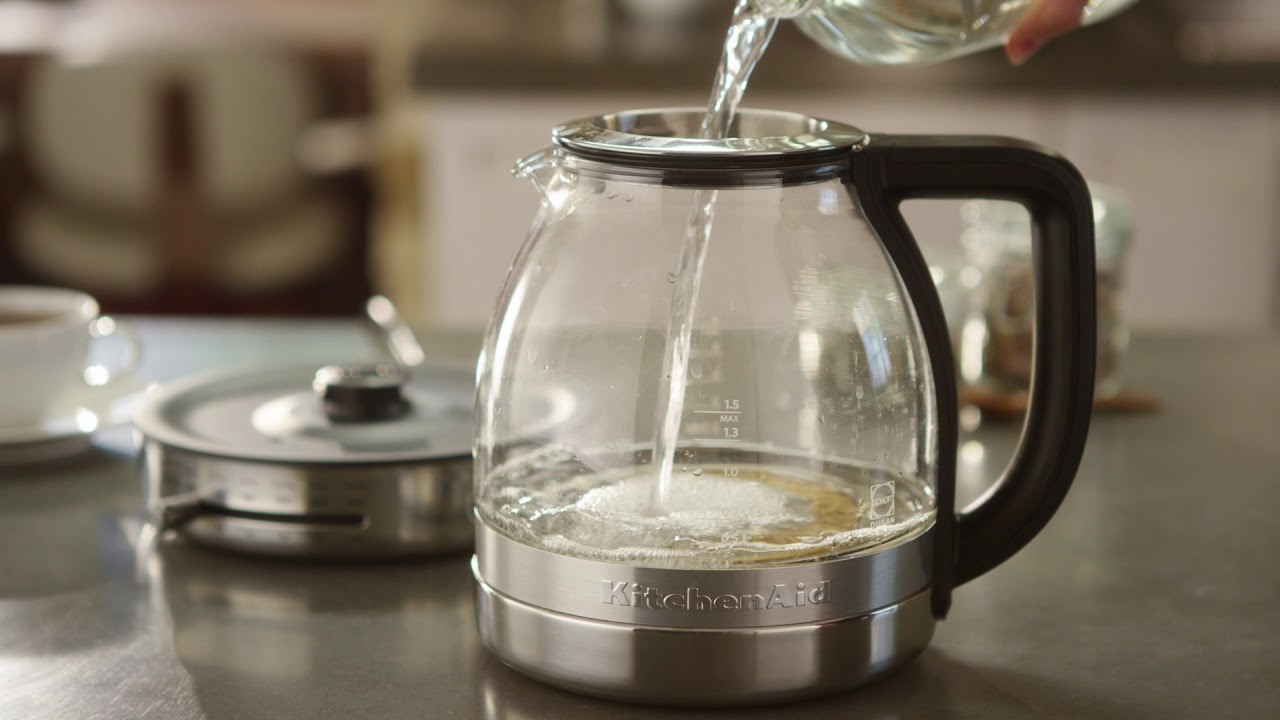
- Boil the Solution: Place the kettle on the heating element and bring the vinegar and water solution to a boil. Allow it to boil for a few minutes, allowing the acidic properties of the vinegar to break down the stubborn deposits inside the kettle.
- Let It Sit: Once the solution has boiled, turn off the kettle and let the vinegar and water mixture sit inside the kettle for at least 15-20 minutes. This allows the solution to further loosen and dissolve the limescale and mineral deposits.
- Discard the Solution: After the solution has had time to work its magic, carefully pour it out of the kettle and dispose of it down the drain.
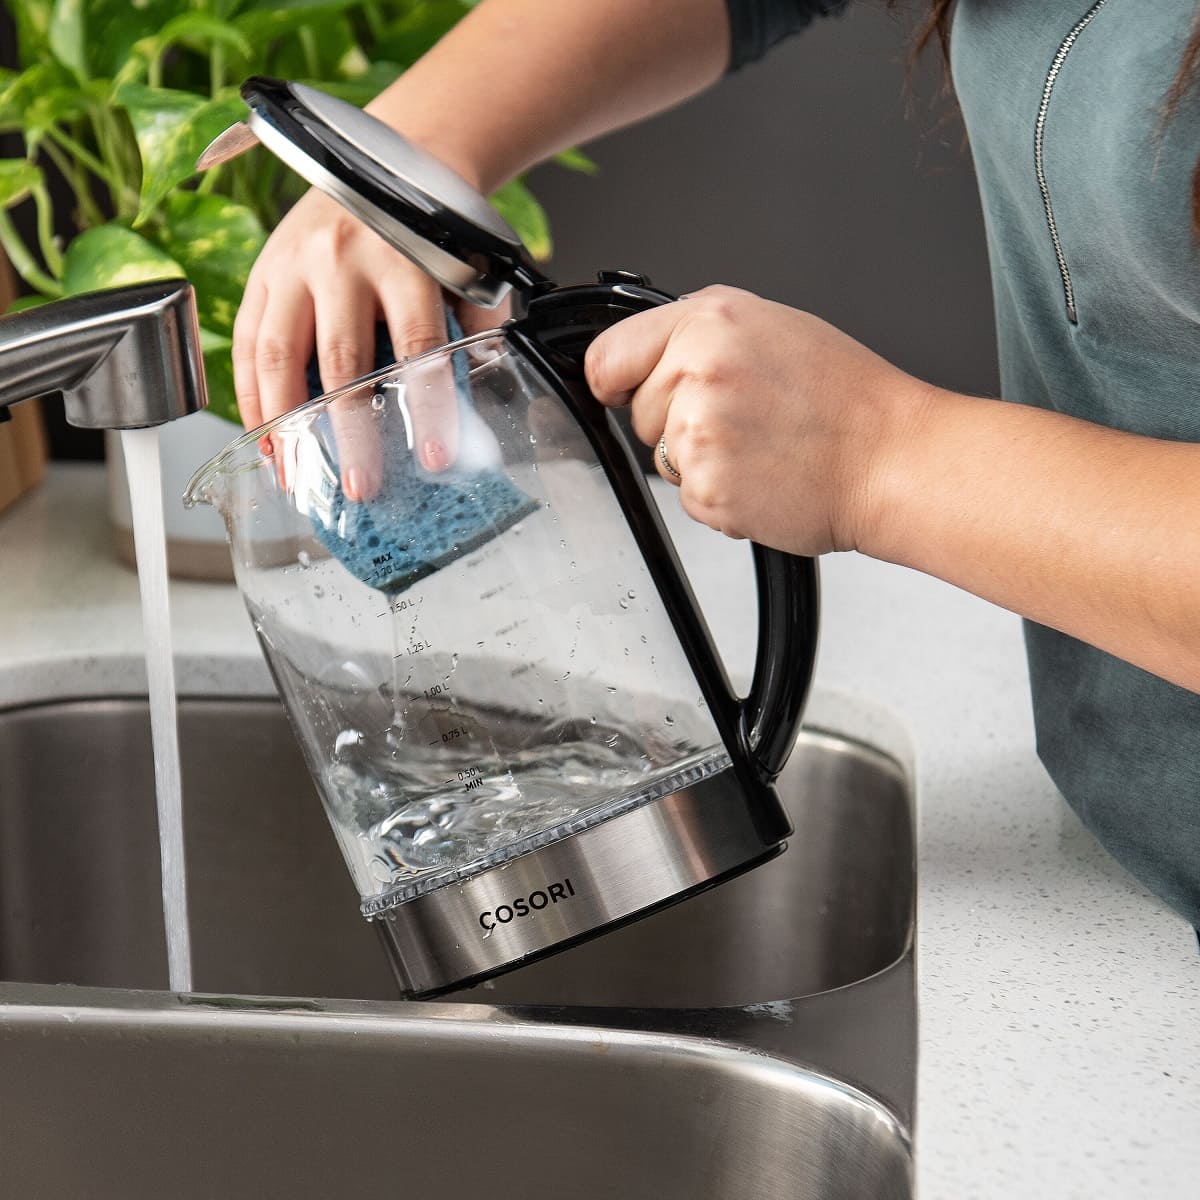
- Rinse Thoroughly: Rinse the kettle multiple times with clean water to ensure that any residual vinegar is completely removed. This step is crucial to prevent the lingering scent or taste of vinegar in your future beverages.
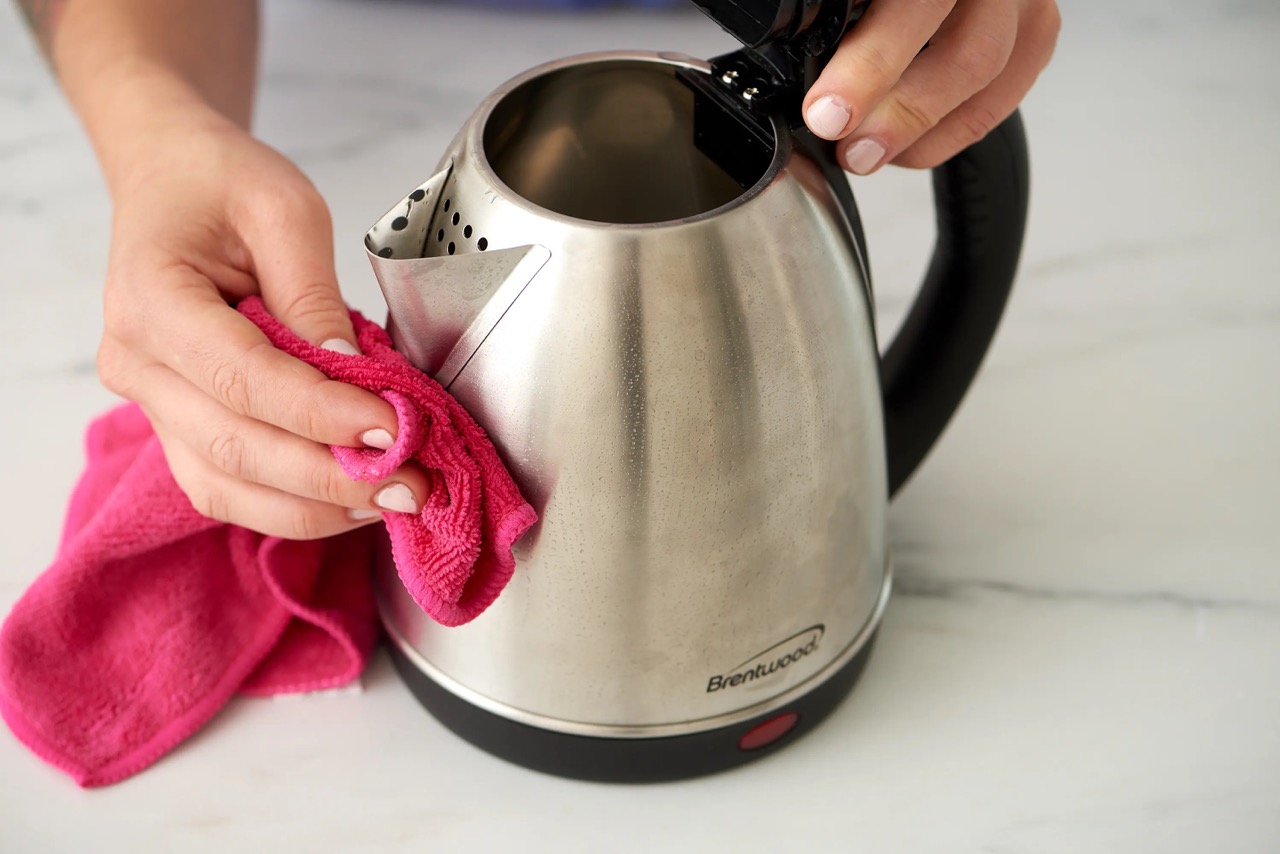
- Dry and Polish: Once the kettle has been thoroughly rinsed, use a soft cleaning cloth to dry and polish the exterior and interior surfaces, leaving your glass kettle sparkling and limescale-free.
By following these steps, you can effectively harness the natural cleaning power of vinegar and water to restore the pristine condition of your glass kettle. This method offers a gentle yet effective approach to combating limescale and mineral deposits, ensuring that your kettle continues to provide you with clean, pure-tasting water for your favorite beverages.
Step 2: Baking Soda Paste
When it comes to tackling stubborn stains and residue inside your glass kettle, a baking soda paste can work wonders. The mild abrasive nature of baking soda, combined with its natural cleaning properties, makes it an excellent choice for targeting tough buildup and discoloration. Follow these steps to effectively use a baking soda paste to clean your glass kettle:
- Create the Paste: In a small bowl, mix a few tablespoons of baking soda with a small amount of water to form a thick, spreadable paste. The exact quantities will depend on the size of your kettle and the extent of the stains.
- Apply the Paste: Using a soft cloth or sponge, apply the baking soda paste to the interior surfaces of the kettle that are affected by stains and residue. Ensure that the paste covers the areas evenly, focusing on the most heavily stained areas.
- Let It Sit: Allow the baking soda paste to sit on the stains for approximately 15-20 minutes. This gives the baking soda ample time to gently lift and loosen the stubborn residue without damaging the glass surface of the kettle.
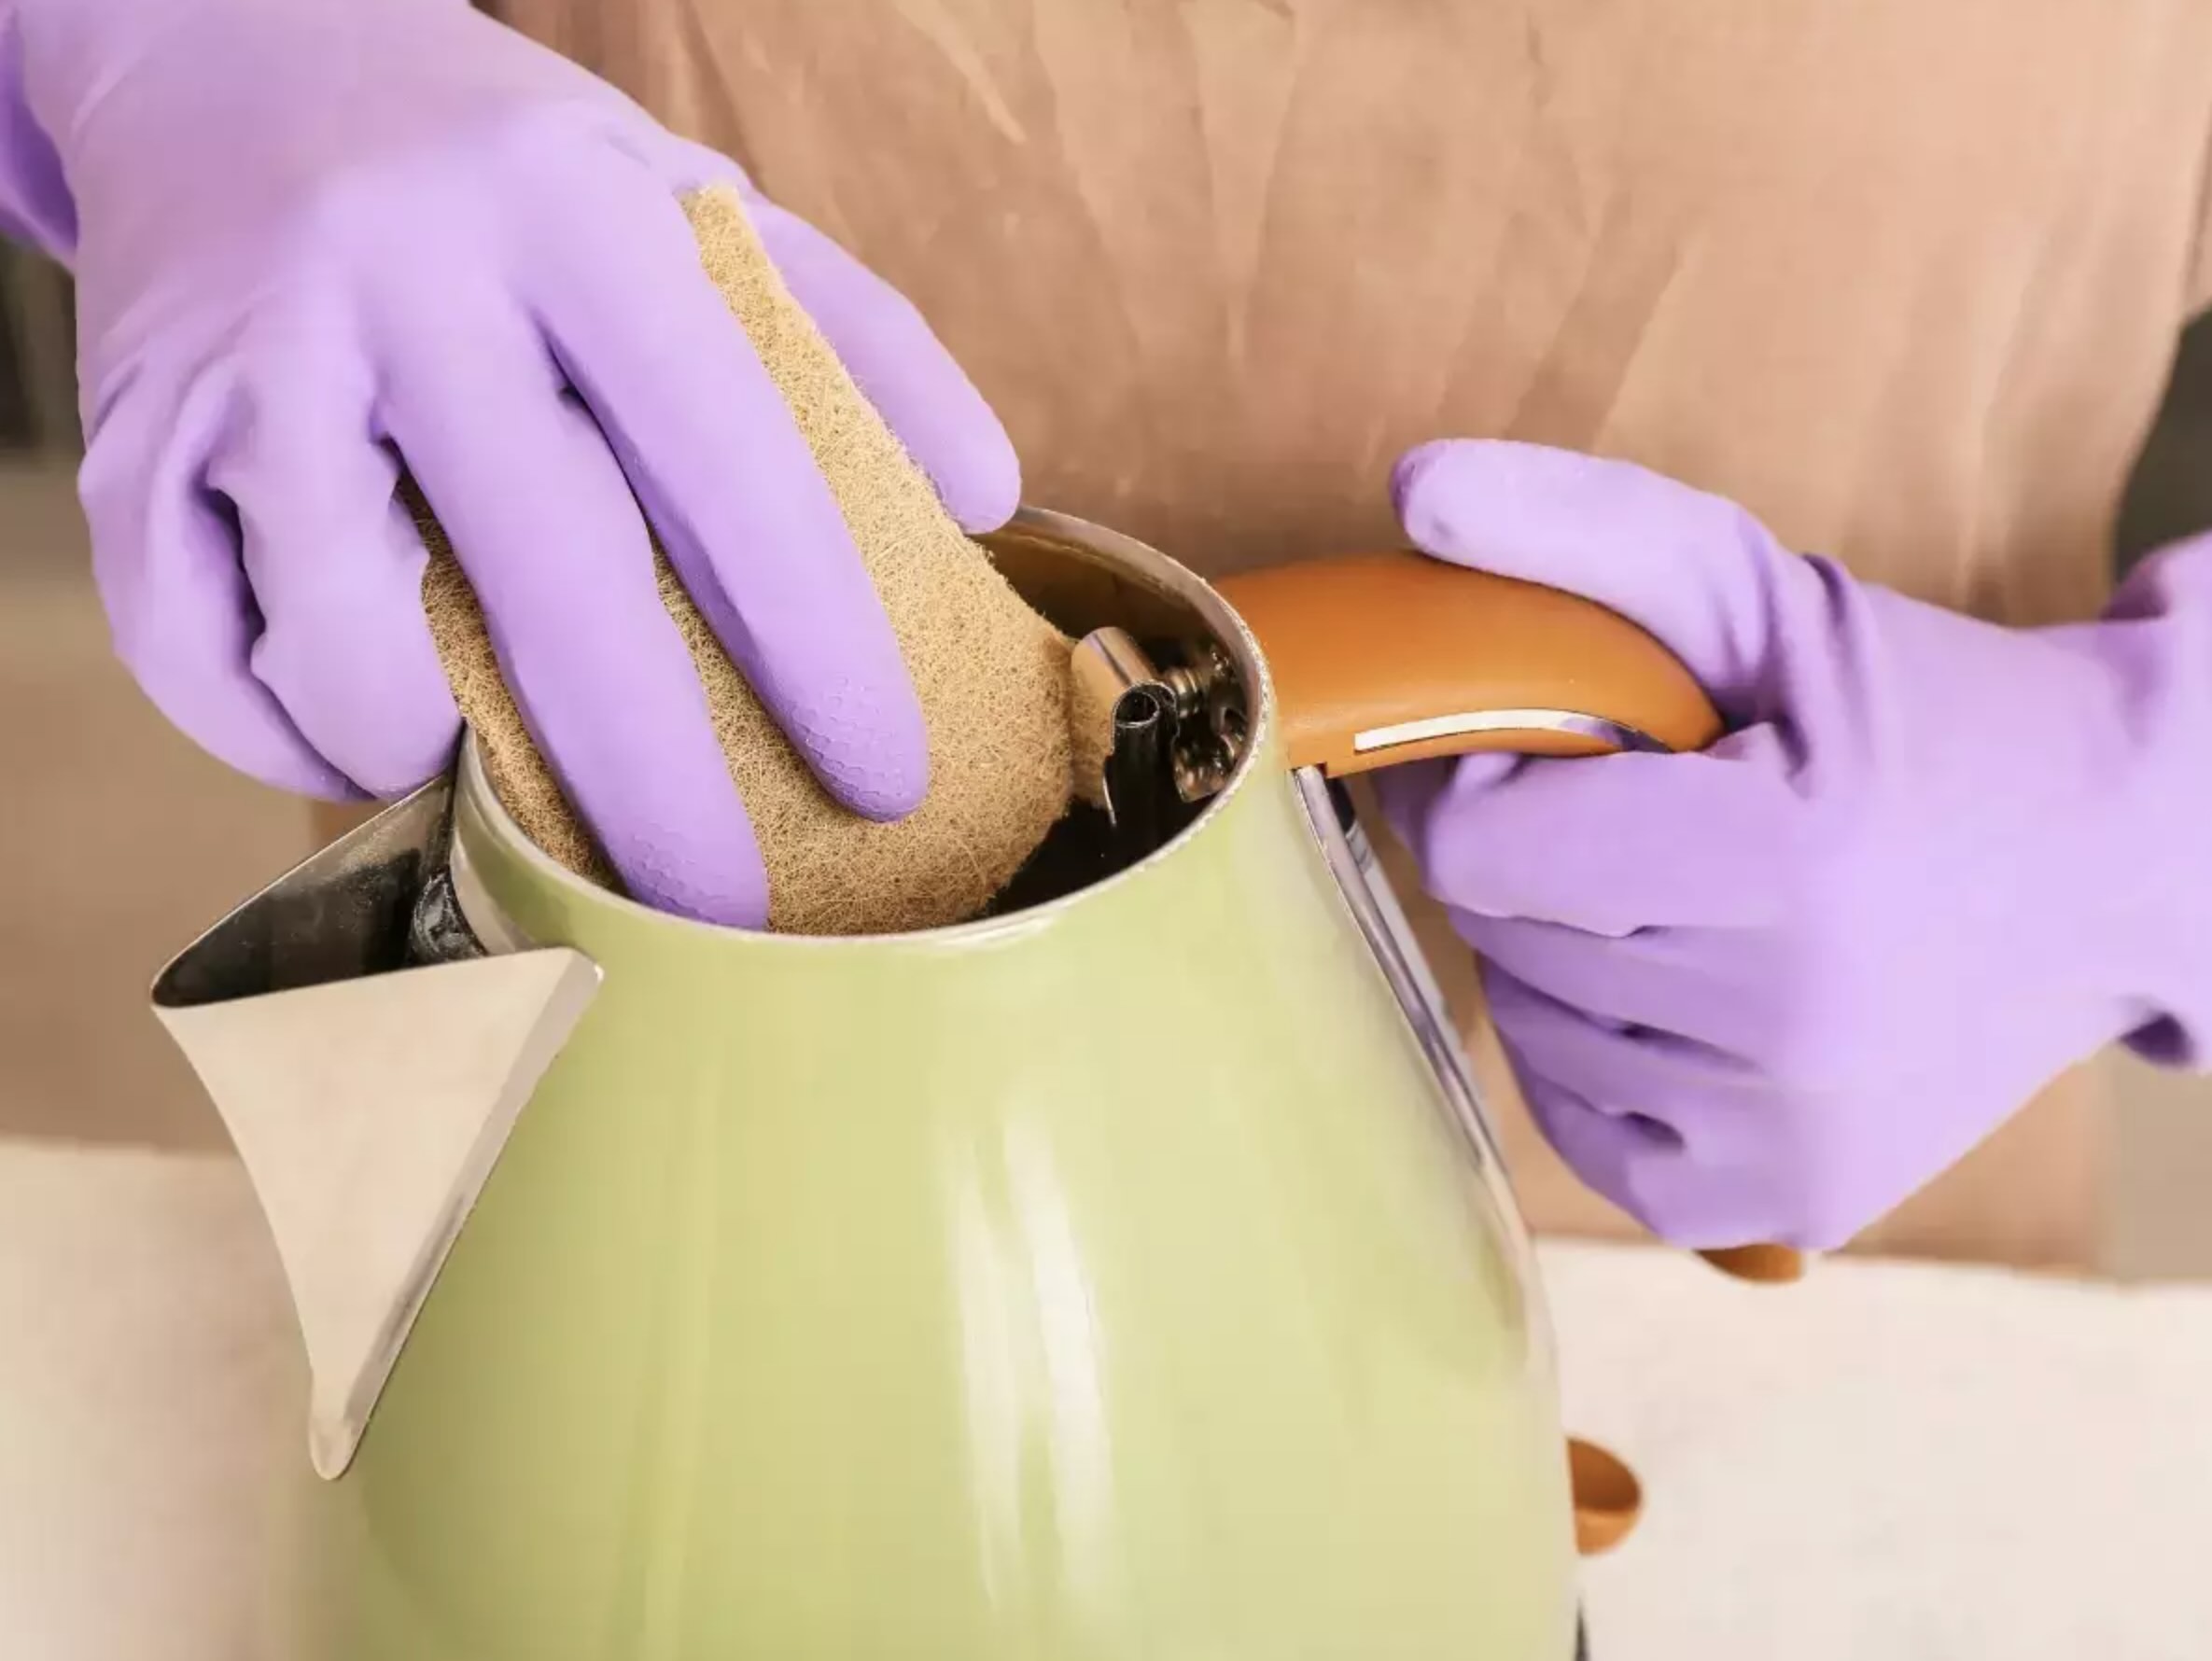
- Gently Scrub: After the paste has had time to work its magic, use a soft-bristled brush or sponge to gently scrub the stained areas. The mild abrasive nature of the baking soda paste, combined with the scrubbing action, helps to dislodge and remove the stubborn buildup from the glass surface.
- Rinse Thoroughly: Once you’ve finished scrubbing, thoroughly rinse the kettle with clean water to remove any traces of the baking soda paste. It’s essential to ensure that no residue is left behind, especially if you plan to use the kettle for boiling water immediately after cleaning.
- Dry and Inspect: After rinsing, use a clean, dry cloth to thoroughly dry the interior of the kettle. Once dry, inspect the surfaces to ensure that the stains and residue have been effectively removed, leaving your glass kettle looking clean and revitalized.
By utilizing a baking soda paste, you can effectively target and remove stubborn stains and residue from your glass kettle, restoring its pristine appearance and ensuring that it continues to complement your kitchen with its transparent elegance.
To clean your glass kettle, mix equal parts water and vinegar, then boil the solution in the kettle. Let it sit for 1 hour, then rinse thoroughly. Wipe the exterior with a damp cloth.
Step 3: Lemon Juice
When life gives you lemons, use them to clean your glass kettle! The natural acidity of lemons makes them an excellent ally in the battle against limescale and mineral deposits. Not only does lemon juice effectively combat stubborn buildup, but it also leaves behind a refreshing citrus scent. Follow these steps to harness the cleaning power of lemon juice for your glass kettle:
- Squeeze Fresh Lemon Juice: Begin by squeezing the juice of several fresh lemons. Alternatively, you can use bottled lemon juice if fresh lemons are not available. The exact quantity of lemon juice needed will depend on the size of your kettle and the severity of the limescale buildup.
- Apply the Lemon Juice: Pour the freshly squeezed lemon juice into the glass kettle, ensuring that it covers the areas affected by limescale and mineral deposits. If using bottled lemon juice, measure out the appropriate quantity and pour it into the kettle.
- Add Water (Optional): If the limescale buildup is particularly stubborn, you can dilute the lemon juice with a small amount of water to cover the affected areas more effectively. This can enhance the cleaning power of the lemon juice without compromising its effectiveness.
- Let It Soak: Allow the lemon juice to sit inside the kettle for at least 30-60 minutes. During this time, the natural acidity of the lemon juice will work to dissolve and loosen the limescale and mineral deposits, making them easier to remove.
- Boil the Solution: After the lemon juice has had time to work its magic, place the kettle on the heating element and bring the lemon juice solution to a boil. Allow it to boil for a few minutes, further aiding in the breakdown of the stubborn deposits.
- Discard the Solution: Once the solution has boiled, carefully pour it out of the kettle and dispose of it down the drain. Be cautious, as the solution may still be hot.
- Rinse Thoroughly: Rinse the kettle multiple times with clean water to ensure that any residual lemon juice is completely removed. This step is crucial to prevent the lingering scent or taste of lemon in your future beverages.
- Dry and Polish: Once the kettle has been thoroughly rinsed, use a soft cleaning cloth to dry and polish the exterior and interior surfaces, leaving your glass kettle with a fresh, citrus-scented cleanliness.
By following these steps, you can harness the natural cleaning properties of lemon juice to effectively combat limescale and mineral deposits, leaving your glass kettle not only clean but also infused with a delightful citrus aroma.
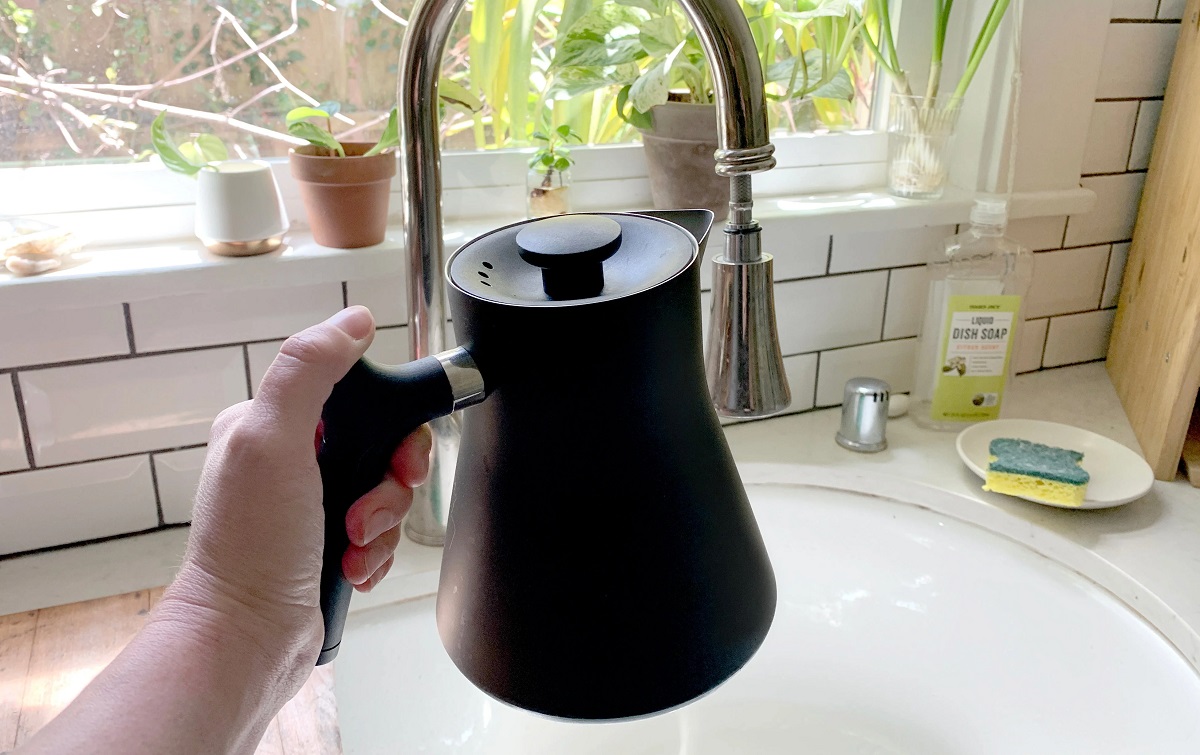
Read more: How To Clean Fellow Kettle
Step 4: Regular Maintenance
Maintaining the cleanliness of your glass kettle doesn’t end with periodic deep cleaning. Implementing a regular maintenance routine can help prevent the buildup of limescale and mineral deposits, keeping your kettle in optimal condition for the long term. Here are some essential tips for ongoing maintenance:
- Use Distilled Water: Whenever possible, use distilled water in your glass kettle. Distilled water has a lower mineral content compared to tap water, reducing the likelihood of limescale buildup over time.
- Empty and Dry After Use: After each use, empty any remaining water from the kettle and ensure that it is thoroughly dried. This helps prevent the accumulation of moisture, which can contribute to limescale formation.
- Regular Descaling: Depending on the hardness of your water, it’s advisable to descale your glass kettle every 1-3 months, or as needed. This involves using the cleaning methods outlined in this guide to remove any accumulated limescale and mineral deposits.
- Avoid Boiling Dry: Never operate the glass kettle without water, as this can lead to overheating and potentially damage the kettle’s interior. Always ensure that there is an adequate amount of water before turning on the kettle.
- Inspect for Stains: Periodically inspect the interior of the kettle for any signs of stains or buildup. Addressing minor stains promptly can prevent them from becoming more challenging to remove over time.
- Store Properly: When not in use, store the glass kettle in a dry, well-ventilated area to prevent moisture buildup. Avoid leaving water sitting in the kettle for extended periods when not in use.
By incorporating these maintenance practices into your routine, you can proactively care for your glass kettle, minimizing the impact of limescale and mineral deposits and ensuring that it remains in top condition for years to come. With consistent care and attention, your glass kettle will continue to be a reliable and visually appealing addition to your kitchen.
Conclusion
Congratulations! You’ve now embarked on a journey to keep your glass kettle in pristine condition, ensuring that it remains a functional and visually appealing asset in your kitchen. By following the cleaning methods outlined in this guide, you’ve gained valuable insights into maintaining the cleanliness and performance of your glass kettle. As a recap, here are the key takeaways:
- Utilize the natural cleaning power of white vinegar and water to effectively combat limescale and mineral deposits in your glass kettle.
- Harness the mild abrasive properties of baking soda to create a powerful cleaning paste for targeting stubborn stains and residue.
- Embrace the natural acidity of lemon juice to dissolve limescale and mineral deposits while infusing your kettle with a refreshing citrus scent.
- Implement a regular maintenance routine to prevent the buildup of limescale and mineral deposits, ensuring the long-term cleanliness and functionality of your glass kettle.
By incorporating these cleaning methods and maintenance practices into your routine, you can enjoy the benefits of a sparkling clean glass kettle, free from the hindrances of limescale and mineral buildup. Whether you’re preparing a soothing cup of tea, brewing coffee, or simply boiling water for various culinary endeavors, your glass kettle will continue to serve you faithfully.
Remember, the key to maintaining a clean glass kettle lies in regular care and attention. By staying proactive and addressing any signs of buildup promptly, you can preserve the transparency and functionality of your kettle for years to come. So, raise a glass (kettle) to the art of effective cleaning and maintenance, and enjoy the rewards of a kitchen essential that remains as clear and brilliant as the day you brought it home.
Frequently Asked Questions about How To Clean My Glass Kettle
Was this page helpful?
At Storables.com, we guarantee accurate and reliable information. Our content, validated by Expert Board Contributors, is crafted following stringent Editorial Policies. We're committed to providing you with well-researched, expert-backed insights for all your informational needs.




0 thoughts on “How To Clean My Glass Kettle”