Home>Furniture & Design>Interior Design Trends>How To Clean A Glass Table
Interior Design Trends
How To Clean A Glass Table
Modified: August 20, 2024
Learn the best interior design trends for cleaning a glass table. Discover effective tips and techniques for maintaining the beauty of your glass table.
(Many of the links in this article redirect to a specific reviewed product. Your purchase of these products through affiliate links helps to generate commission for Storables.com, at no extra cost. Learn more)
Introduction
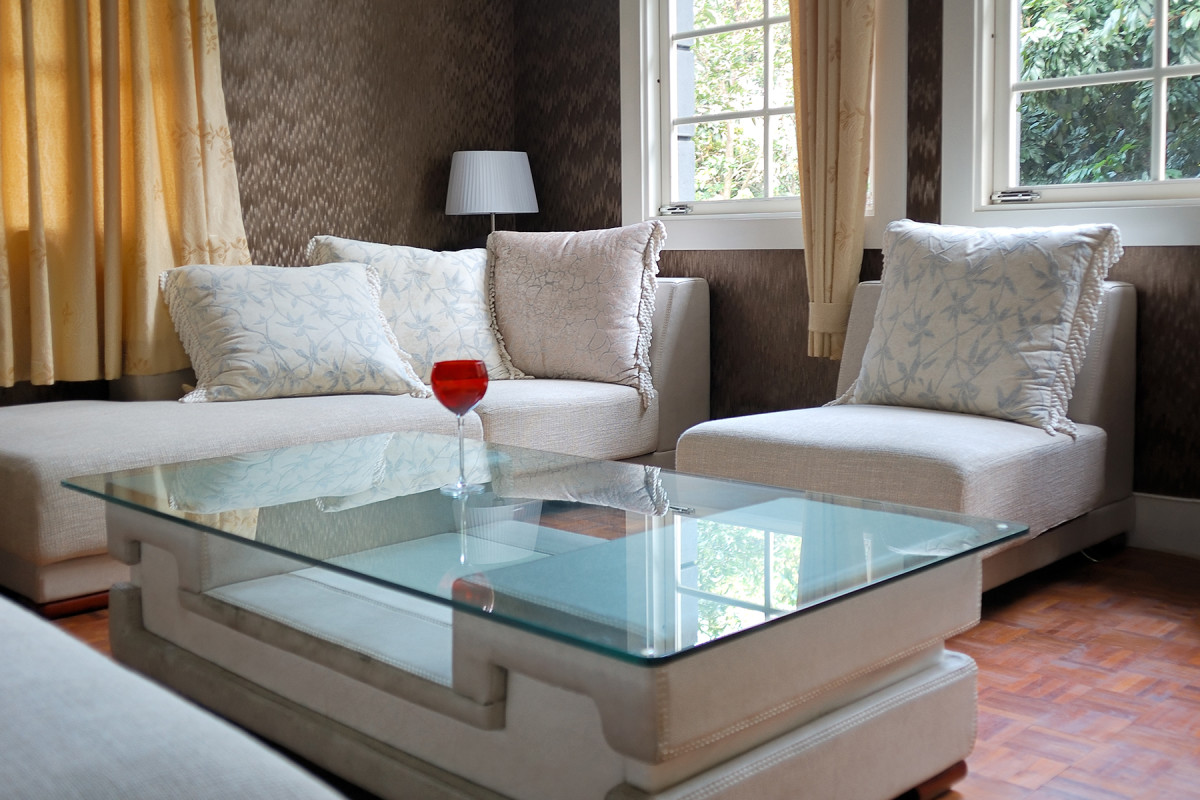
Cleaning a glass table may seem like a straightforward task, but achieving that sparkling, streak-free finish requires the right approach and techniques. Whether your glass table is a focal point in your living room, a stylish addition to your office, or a functional piece in your dining area, keeping it clean is essential for maintaining its aesthetic appeal. Glass tables have a unique ability to enhance the visual appeal of a space by creating an illusion of lightness and openness. However, fingerprints, dust, and smudges can quickly diminish their allure.
In this comprehensive guide, we will explore the step-by-step process of cleaning a glass table to ensure that it remains a stunning centerpiece in your home or workspace. From gathering the necessary supplies to polishing the glass for a streak-free finish, each step is designed to help you achieve a pristine and gleaming surface. Whether you're a meticulous homeowner, a busy professional, or an interior design enthusiast, mastering the art of cleaning a glass table will elevate the overall ambiance of your space.
So, roll up your sleeves, gather your cleaning supplies, and let's dive into the world of glass table maintenance. With the right techniques and a touch of dedication, you can transform your glass table from dull and smudged to radiant and crystal-clear. Let's embark on this journey to discover the secrets of maintaining a spotless and gleaming glass table that will undoubtedly draw admiration from anyone who sets their eyes on it.
Key Takeaways:
- Transform your glass table from dull to radiant by gathering the right supplies, removing debris, using a glass cleaner, and polishing for a streak-free finish. Elevate your space with a sparkling centerpiece!
- Cleaning your glass table not only enhances its visual appeal but also preserves its longevity. Embrace the process to cultivate a deeper connection with this elegant piece of furniture.
Read more: How To Clean A Glass Dining Table
Step 1: Gather the necessary supplies
Before embarking on the journey to restore the pristine beauty of your glass table, it's essential to gather the necessary supplies. Having the right tools at your disposal will streamline the cleaning process and ensure that you achieve a flawless finish. Here's a comprehensive list of supplies that you'll need:
-
Glass Cleaner: Select a high-quality glass cleaner specifically formulated for cleaning glass surfaces. Look for a cleaner that is free from ammonia, as ammonia-based products can leave streaks on the glass.
-
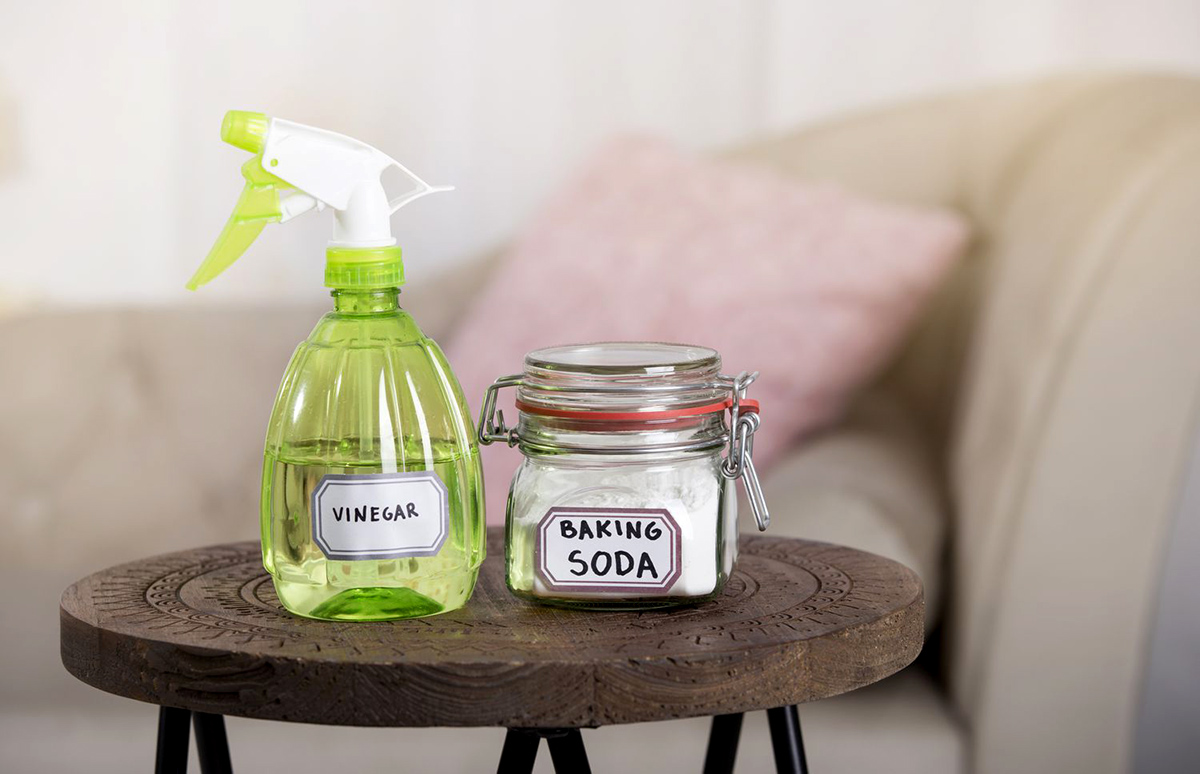
Homemade Cleaning Solution: If you prefer a natural approach, you can create your own cleaning solution using a mixture of equal parts water and white vinegar. This homemade solution is effective in removing smudges and fingerprints from glass surfaces.
-
Microfiber Cloth: Opt for a soft, lint-free microfiber cloth to avoid leaving behind any fibers or lint on the glass. Microfiber cloths are gentle on glass surfaces and effectively capture dust and debris without scratching the glass.
-
Rubbing Alcohol: Keep a small bottle of rubbing alcohol on hand to tackle stubborn stains or adhesive residue on the glass table. Rubbing alcohol is particularly useful for dissolving sticky substances without damaging the glass.
-
Squeegee: While not essential, a squeegee can be a valuable tool for achieving a streak-free finish. It helps to remove excess cleaning solution and water from the glass, minimizing the risk of streaks and water spots.
-
Protective Gloves: To protect your hands from the cleaning solutions and to maintain hygiene, consider using disposable or reusable protective gloves during the cleaning process.
-
Soft Bristle Brush: In case your glass table has intricate designs or hard-to-reach areas, a soft bristle brush can be used to gently dislodge dust and debris from crevices without scratching the glass.
By ensuring that you have these supplies readily available, you'll be well-equipped to tackle the task of cleaning your glass table with confidence and precision. With the right tools in hand, you're ready to move on to the next step in the process of restoring your glass table to its original luster.
Step 2: Remove any debris or crumbs
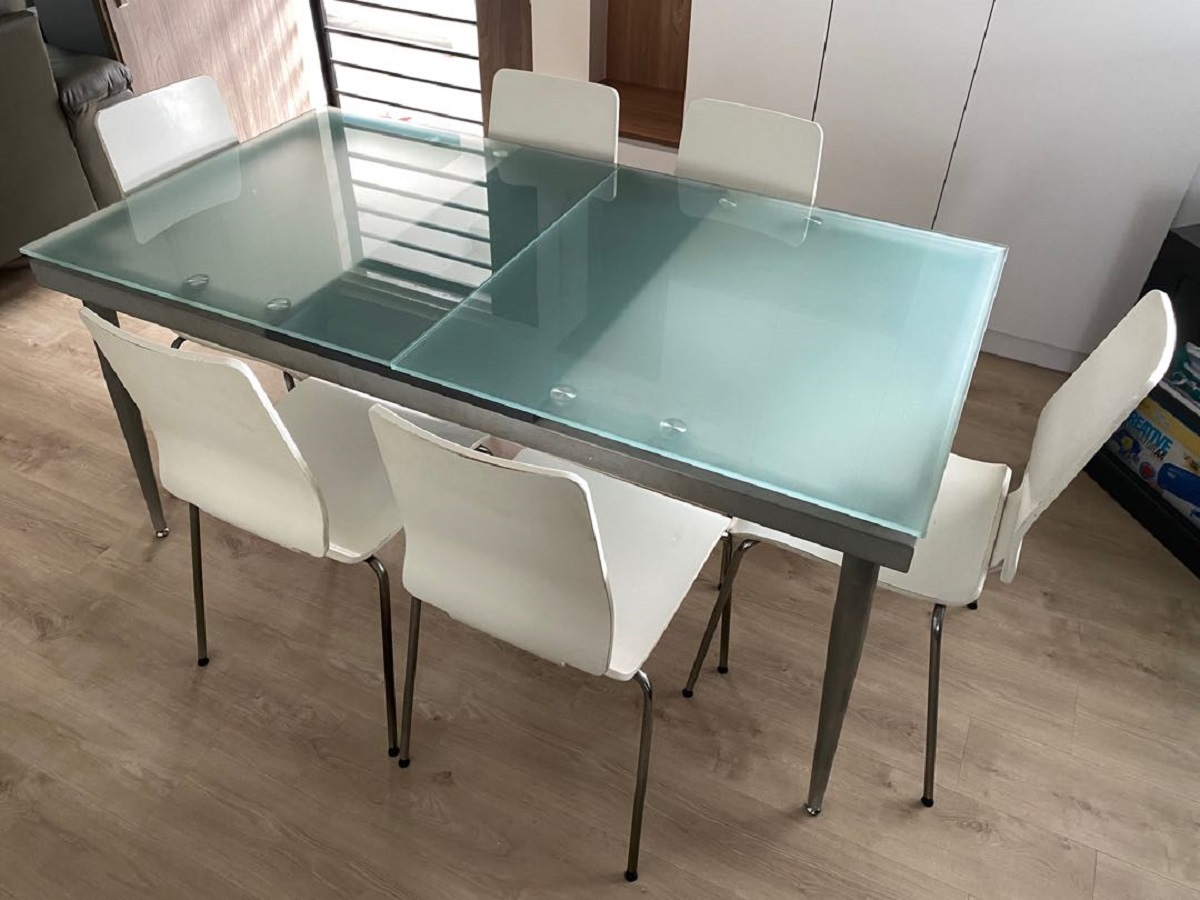
Before delving into the cleaning process, it's crucial to ensure that the glass table is free from any debris or crumbs that may have accumulated on its surface. Even the smallest particles can detract from the table's pristine appearance, so taking the time to remove them is a vital initial step.
Begin by gently clearing the surface of the glass table using a soft-bristled brush or a dry microfiber cloth. This step is particularly important if the table is located in a dining area or a space where crumbs and food particles are likely to gather. Carefully brush or wipe the entire surface, paying close attention to any grooves, edges, or decorative elements on the table.
For stubborn or hard-to-reach debris, a soft bristle brush can be used to dislodge the particles without scratching the glass. Take care to brush in one direction to prevent the debris from scattering across the table. By methodically clearing away any crumbs or debris, you'll create a clean canvas for the subsequent cleaning steps, ensuring that the glass table is free from any visible particles that could hinder the overall cleaning process.
Once the surface has been meticulously cleared of debris, visually inspect the table from different angles to ensure that no particles remain. This thorough approach sets the stage for the next steps in the cleaning process, allowing you to proceed with confidence, knowing that the glass surface is free from any visible debris.
By dedicating attention to this crucial step, you're laying the foundation for a comprehensive and effective cleaning process that will ultimately restore the glass table to its original brilliance. With the debris and crumbs removed, the stage is set for the subsequent steps, which will further enhance the table's gleaming appearance.
Step 3: Use a glass cleaner or homemade solution
After ensuring that the glass table is free from debris and crumbs, the next step involves using a glass cleaner or a homemade cleaning solution to effectively remove smudges, fingerprints, and any residual grime from the surface. This crucial step is essential for restoring the glass table to its pristine condition and achieving a crystal-clear appearance that exudes elegance and sophistication.
When selecting a glass cleaner, opt for a high-quality product specifically formulated for cleaning glass surfaces. It's important to choose a cleaner that is free from ammonia, as ammonia-based products can leave streaks on the glass, detracting from the desired pristine finish. Alternatively, if you prefer a natural and cost-effective approach, you can create your own cleaning solution using a mixture of equal parts water and white vinegar. This homemade solution is highly effective in removing smudges and fingerprints from glass surfaces while being gentle on the environment.
To begin the cleaning process, spray the glass cleaner evenly across the surface of the table or apply the homemade solution using a spray bottle or a clean, lint-free cloth. Ensure thorough coverage, especially in areas where smudges and fingerprints are most prevalent. Allow the cleaner or homemade solution to sit on the glass for a brief period to effectively loosen and dissolve any stubborn residue.
For particularly stubborn smudges or adhesive residue, a small amount of rubbing alcohol can be applied to a clean cloth and gently rubbed onto the affected areas. The rubbing alcohol effectively dissolves sticky substances without causing damage to the glass, facilitating the removal of persistent marks.
By using a glass cleaner or a homemade solution, you're taking a proactive step towards revitalizing the appearance of your glass table, ensuring that it regains its inherent brilliance. This meticulous cleaning process sets the stage for the subsequent steps, allowing you to progress towards achieving a flawlessly clean and gleaming glass surface.
With the glass cleaner or homemade solution effectively applied, the next step involves wiping down the table with a microfiber cloth to remove any residual cleaning solution and achieve a pristine, streak-free finish. This pivotal step will further enhance the table's visual appeal, bringing it one step closer to radiating a captivating and immaculate presence in your living space.
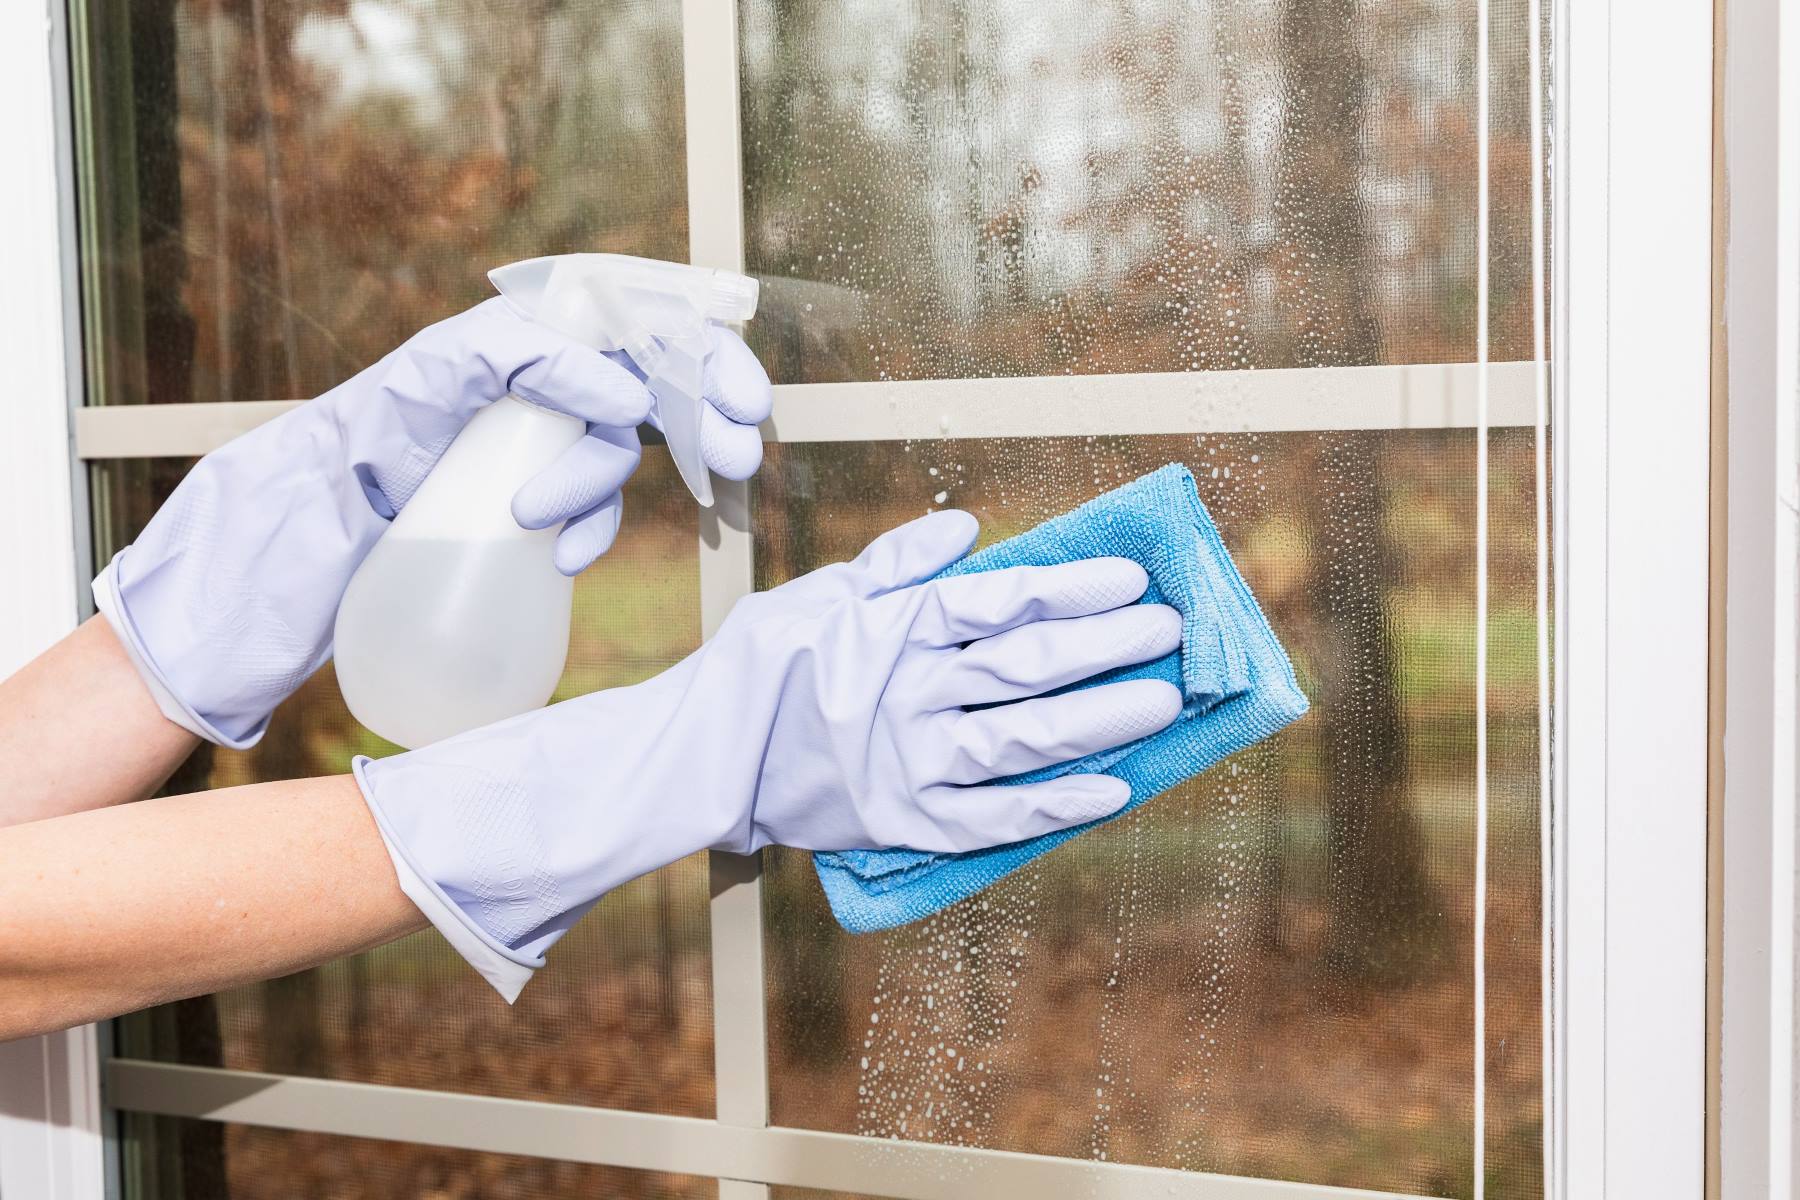
Use a mixture of water and vinegar to clean the glass table. Spray the solution onto the table and wipe it with a microfiber cloth to avoid streaks.
Step 4: Wipe down the table with a microfiber cloth
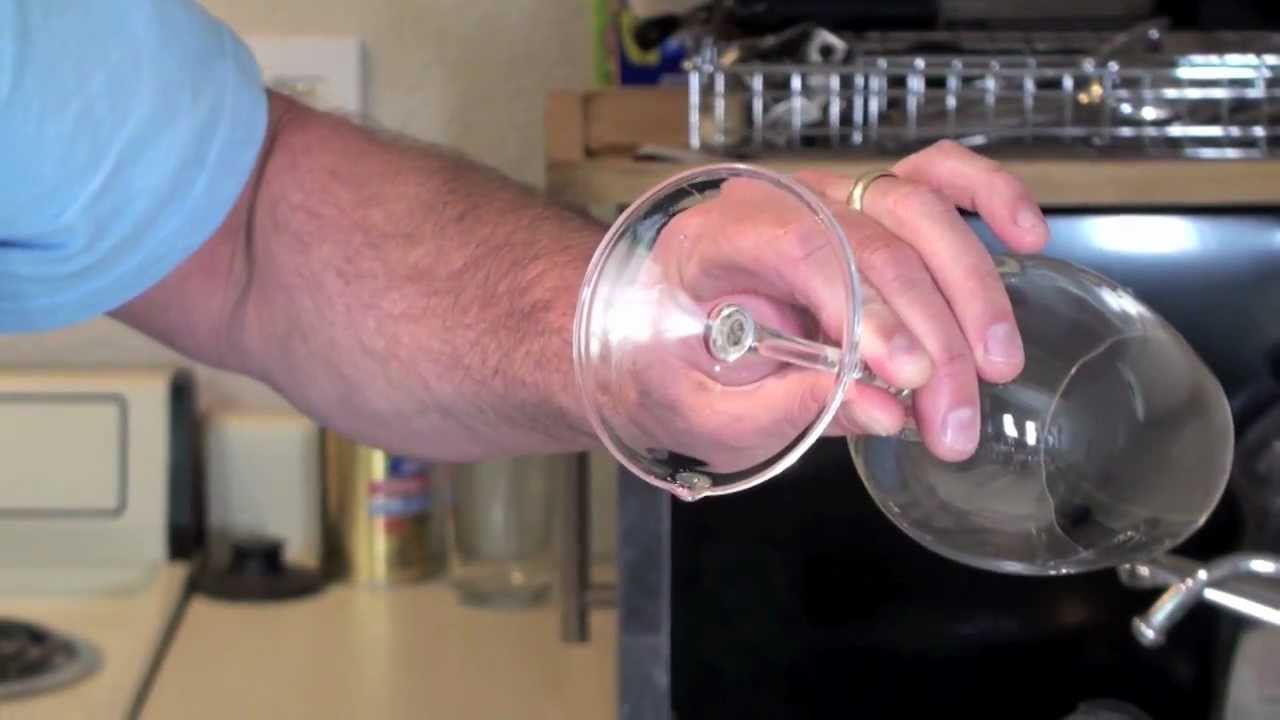
After applying the glass cleaner or homemade solution to the glass table, the next crucial step is to wipe down the surface using a high-quality microfiber cloth. This step is pivotal in removing any residual cleaning solution, dirt, or smudges, and achieving a pristine, streak-free finish that accentuates the inherent elegance of the glass.
Begin by selecting a soft, lint-free microfiber cloth, ideally designed for cleaning glass surfaces. The ultra-fine fibers of a microfiber cloth are highly effective in capturing and lifting away particles without leaving behind lint or streaks, making it the ideal choice for cleaning delicate glass surfaces. Fold the microfiber cloth into a manageable size, ensuring that you have a clean and dry section to work with as you progress across the table.
With gentle yet deliberate motions, systematically wipe the entire surface of the glass table, paying close attention to any areas where smudges or streaks are present. Utilize long, overlapping strokes to ensure comprehensive coverage and effective removal of any residual cleaning solution. By maintaining a consistent and methodical approach, you'll gradually witness the transformation of the glass surface, as it evolves from a cleansed state to a radiant and gleaming finish.
As you progress, periodically inspect the surface from different angles to identify any remaining smudges or streaks. If any stubborn marks persist, focus on those areas, applying gentle pressure with the microfiber cloth to lift away the residue. It's essential to maintain patience and attention to detail during this process, as thorough and meticulous wiping is key to achieving a flawless finish.
In areas where intricate designs or decorative elements are present, take extra care to ensure that the microfiber cloth reaches into crevices and contours, effectively capturing any lingering dirt or cleaning solution. This comprehensive approach will result in a uniformly clean and lustrous glass surface, free from any blemishes or streaks that could detract from its visual appeal.
By diligently wiping down the table with a microfiber cloth, you're not only removing any residual cleaning solution but also refining the glass surface to a pristine state. This meticulous step brings the glass table one step closer to exuding a captivating and immaculate presence in your living space, setting the stage for the final step in the cleaning process: polishing the glass for a streak-free finish.
Read more: How To Clean Baccarat Crystal Glasses
Step 5: Polish the glass for a streak-free finish
After meticulously wiping down the glass table with a microfiber cloth, the final step in the cleaning process involves polishing the surface to achieve a flawless, streak-free finish that accentuates the inherent beauty of the glass. This pivotal step is essential for elevating the visual appeal of the table, ensuring that it radiates a captivating and immaculate presence in your living space.
To begin the polishing process, inspect the glass surface from various angles to identify any remaining streaks or smudges. While the thorough wiping with a microfiber cloth effectively removes the majority of residue, polishing is the key to achieving a pristine and gleaming finish. For this step, a clean and dry microfiber cloth is once again the ideal tool for achieving a streak-free polish.
Fold the microfiber cloth to create a firm yet manageable surface, ensuring that you have a clean and dry section to work with. With deliberate and circular motions, gently polish the entire surface of the glass table, focusing on areas where streaks or smudges are present. The circular motion helps to evenly distribute any remaining moisture or cleaning solution, allowing the glass to achieve a uniform and radiant appearance.
As you progress, periodically inspect the surface to ensure that the polishing process is effectively eliminating any remaining streaks. Pay particular attention to areas where natural light may highlight imperfections, as this will allow you to identify and address any lingering marks. By maintaining a consistent and methodical approach, you'll gradually witness the transformation of the glass surface, as it evolves from a cleansed state to a radiant and gleaming finish.
In areas where intricate designs or decorative elements are present, take extra care to ensure that the microfiber cloth reaches into crevices and contours, effectively polishing the glass to a pristine state. This comprehensive approach will result in a uniformly clean and lustrous glass surface, free from any blemishes or streaks that could detract from its visual appeal.
By diligently polishing the glass table, you're not only removing any remaining streaks but also refining the surface to a flawless and radiant state. This meticulous step brings the glass table to its full potential, ensuring that it exudes a captivating and immaculate presence in your living space, setting the stage for it to once again become a stunning centerpiece in your home or workspace.
Conclusion
In conclusion, the process of cleaning a glass table is not merely a routine chore; it is an opportunity to restore and showcase the inherent beauty of this elegant piece of furniture. By following the step-by-step guide outlined in this comprehensive article, you have embarked on a journey to transform your glass table from a dull and smudged surface to a radiant and crystal-clear centerpiece in your living space.
The meticulous approach of gathering the necessary supplies, removing debris, using a glass cleaner or homemade solution, wiping down the table with a microfiber cloth, and finally, polishing the glass for a streak-free finish, has equipped you with the knowledge and techniques to maintain the pristine appearance of your glass table.
As you stand back and admire the gleaming surface of your glass table, you can take pride in the dedication and attention to detail that have culminated in this stunning transformation. The table now radiates a captivating and immaculate presence, enhancing the overall ambiance of your home or workspace.
Beyond the visual appeal, the act of cleaning your glass table has also contributed to the preservation of its longevity and durability. By regularly removing dirt, smudges, and grime, you are safeguarding the glass surface from potential damage and ensuring that it remains a timeless and enduring element of your interior decor.
Moreover, the process of cleaning a glass table transcends the physical act of maintenance; it fosters a deeper appreciation for the craftsmanship and design of this exquisite piece of furniture. As you meticulously tend to its care, you develop a profound connection with the table, recognizing it as a symbol of elegance and sophistication within your living space.
In essence, the journey of cleaning a glass table is a testament to the transformative power of dedicated care and attention. By embracing this process, you have not only revitalized the appearance of the table but also cultivated a deeper sense of pride and admiration for this captivating piece of furniture.
So, as you bask in the radiant allure of your newly cleaned glass table, take a moment to appreciate the transformative impact of your efforts. Through your dedication and meticulous approach, you have elevated the glass table to its full potential, allowing it to once again claim its rightful place as a stunning centerpiece in your home or workspace.
Frequently Asked Questions about How To Clean A Glass Table
Was this page helpful?
At Storables.com, we guarantee accurate and reliable information. Our content, validated by Expert Board Contributors, is crafted following stringent Editorial Policies. We're committed to providing you with well-researched, expert-backed insights for all your informational needs.

0 thoughts on “How To Clean A Glass Table”