Home>Furniture & Design>Interior Design Trends>How To Clean Glass Pipes
Interior Design Trends
How To Clean Glass Pipes
Modified: March 2, 2024
Learn the best techniques for cleaning glass pipes and keeping them in top condition. Stay updated on the latest interior design trends for a stylish and functional space.
(Many of the links in this article redirect to a specific reviewed product. Your purchase of these products through affiliate links helps to generate commission for Storables.com, at no extra cost. Learn more)
Introduction
Cleaning glass pipes is an essential part of maintaining their functionality and aesthetic appeal. Over time, residue from smoking can build up inside the pipe, affecting the taste of the smoke and potentially posing health risks. By regularly cleaning your glass pipe, you can ensure a smoother smoking experience and prolong the lifespan of your beloved piece.
Whether you're a seasoned smoker or new to the world of glass pipes, learning how to properly clean them is a valuable skill. While the process may seem daunting at first, it's relatively straightforward and requires only a few basic materials. By following a few simple steps, you can restore your glass pipe to its former glory and enjoy a cleaner, more enjoyable smoking experience.
In this guide, we will walk you through the step-by-step process of cleaning your glass pipe, from disassembling the components to soaking, scrubbing, and drying. By the end of this tutorial, you'll have the knowledge and confidence to keep your glass pipe in pristine condition, ensuring that every smoking session is as enjoyable as the first.
So, gather your cleaning supplies and prepare to give your glass pipe the care it deserves. Let's dive into the world of glass pipe maintenance and discover how a little cleaning can go a long way in enhancing your smoking experience.
Key Takeaways:
- Regularly cleaning your glass pipe with rubbing alcohol, coarse salt, and pipe cleaners ensures a smoother smoking experience and prolongs its lifespan. Disassembling, soaking, scrubbing, and drying are the key steps for maintenance.
- By disassembling, soaking, scrubbing, and drying your glass pipe, you can restore it to its former glory and enjoy a cleaner, more enjoyable smoking experience. Regular cleaning prolongs its lifespan and ensures a smooth smoking experience.
Read more: How To Use A Glass Pipe
Materials Needed
To embark on the journey of cleaning your glass pipe, you'll need a few essential materials to ensure a thorough and effective cleaning process. These items are readily available and relatively inexpensive, making it easy to maintain your glass pipe without breaking the bank. Here's a comprehensive list of the materials you'll need:
-
Rubbing Alcohol (Isopropyl Alcohol): This is a key component in the cleaning solution that will help break down and dissolve the resin and tar buildup inside the pipe. Look for a high percentage of isopropyl alcohol, preferably 90% or higher, for optimal cleaning results.
-
Coarse Salt: Coarse salt serves as an abrasive agent that aids in dislodging stubborn residue from the interior surfaces of the glass pipe. Its granular texture provides effective scrubbing action when combined with the cleaning solution.
-
Pipe Cleaners or Cotton Swabs: These are essential for reaching into the nooks and crannies of the pipe, ensuring thorough cleaning of hard-to-reach areas. The flexible nature of pipe cleaners allows for easy maneuvering within the pipe's intricate design.
-
Resealable Plastic Bags or Containers: These are used for soaking the disassembled pipe in the cleaning solution. Opt for a size that comfortably accommodates the pipe and allows for easy shaking to facilitate the cleaning process.
-
Rubber Gloves: While not mandatory, wearing rubber gloves can protect your hands from the residue and cleaning solution, especially if you have sensitive skin. Additionally, gloves provide a better grip when handling the pipe during the cleaning process.
-
Paper Towels or Clean Cloth: These are necessary for drying the pipe after cleaning and rinsing. Ensure that the paper towels or cloth are lint-free to prevent leaving behind any fibers on the clean pipe.
-
Old Toothbrush or Small Cleaning Brush: A small, soft-bristled brush can be used to scrub the exterior of the pipe and remove any residue or grime that may have accumulated on the surface.
-
Boiling Water (Optional): While not always required, boiling water can be used to pre-rinse the pipe before the cleaning process to help loosen the initial layers of residue, making the subsequent cleaning steps more effective.
By gathering these materials, you'll be well-equipped to tackle the cleaning process with confidence and precision. With the right tools at your disposal, you can ensure that your glass pipe receives the care and attention it needs to deliver a consistently enjoyable smoking experience.
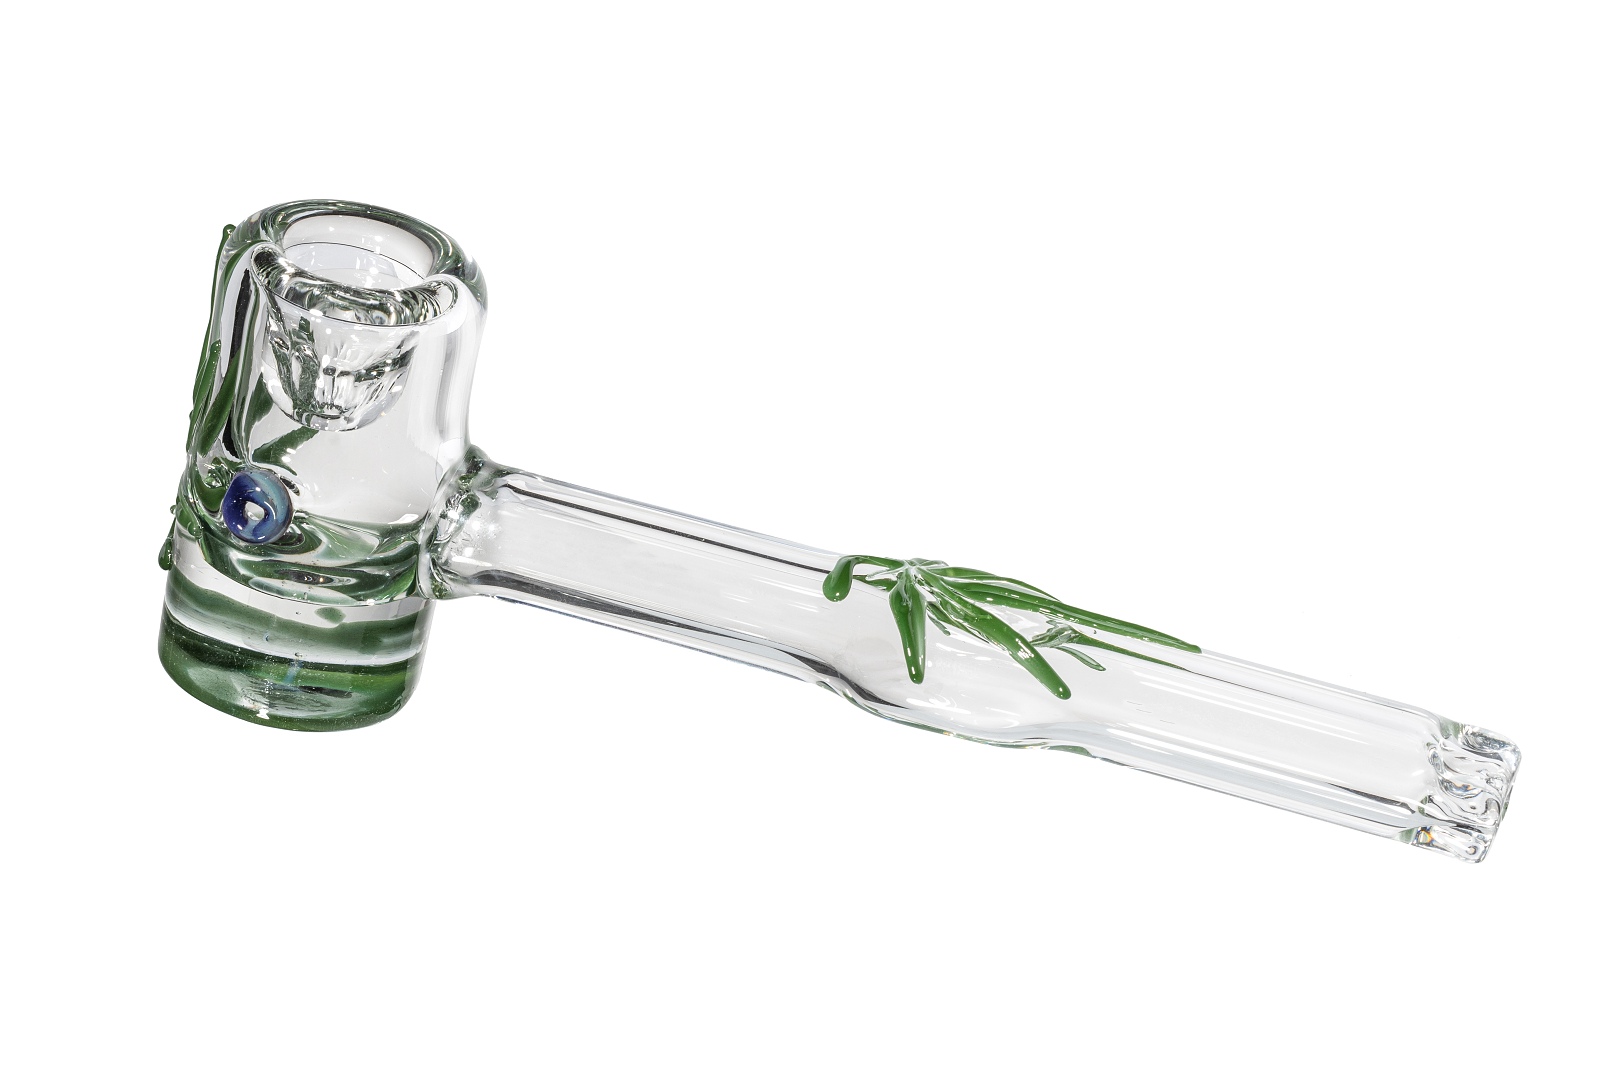
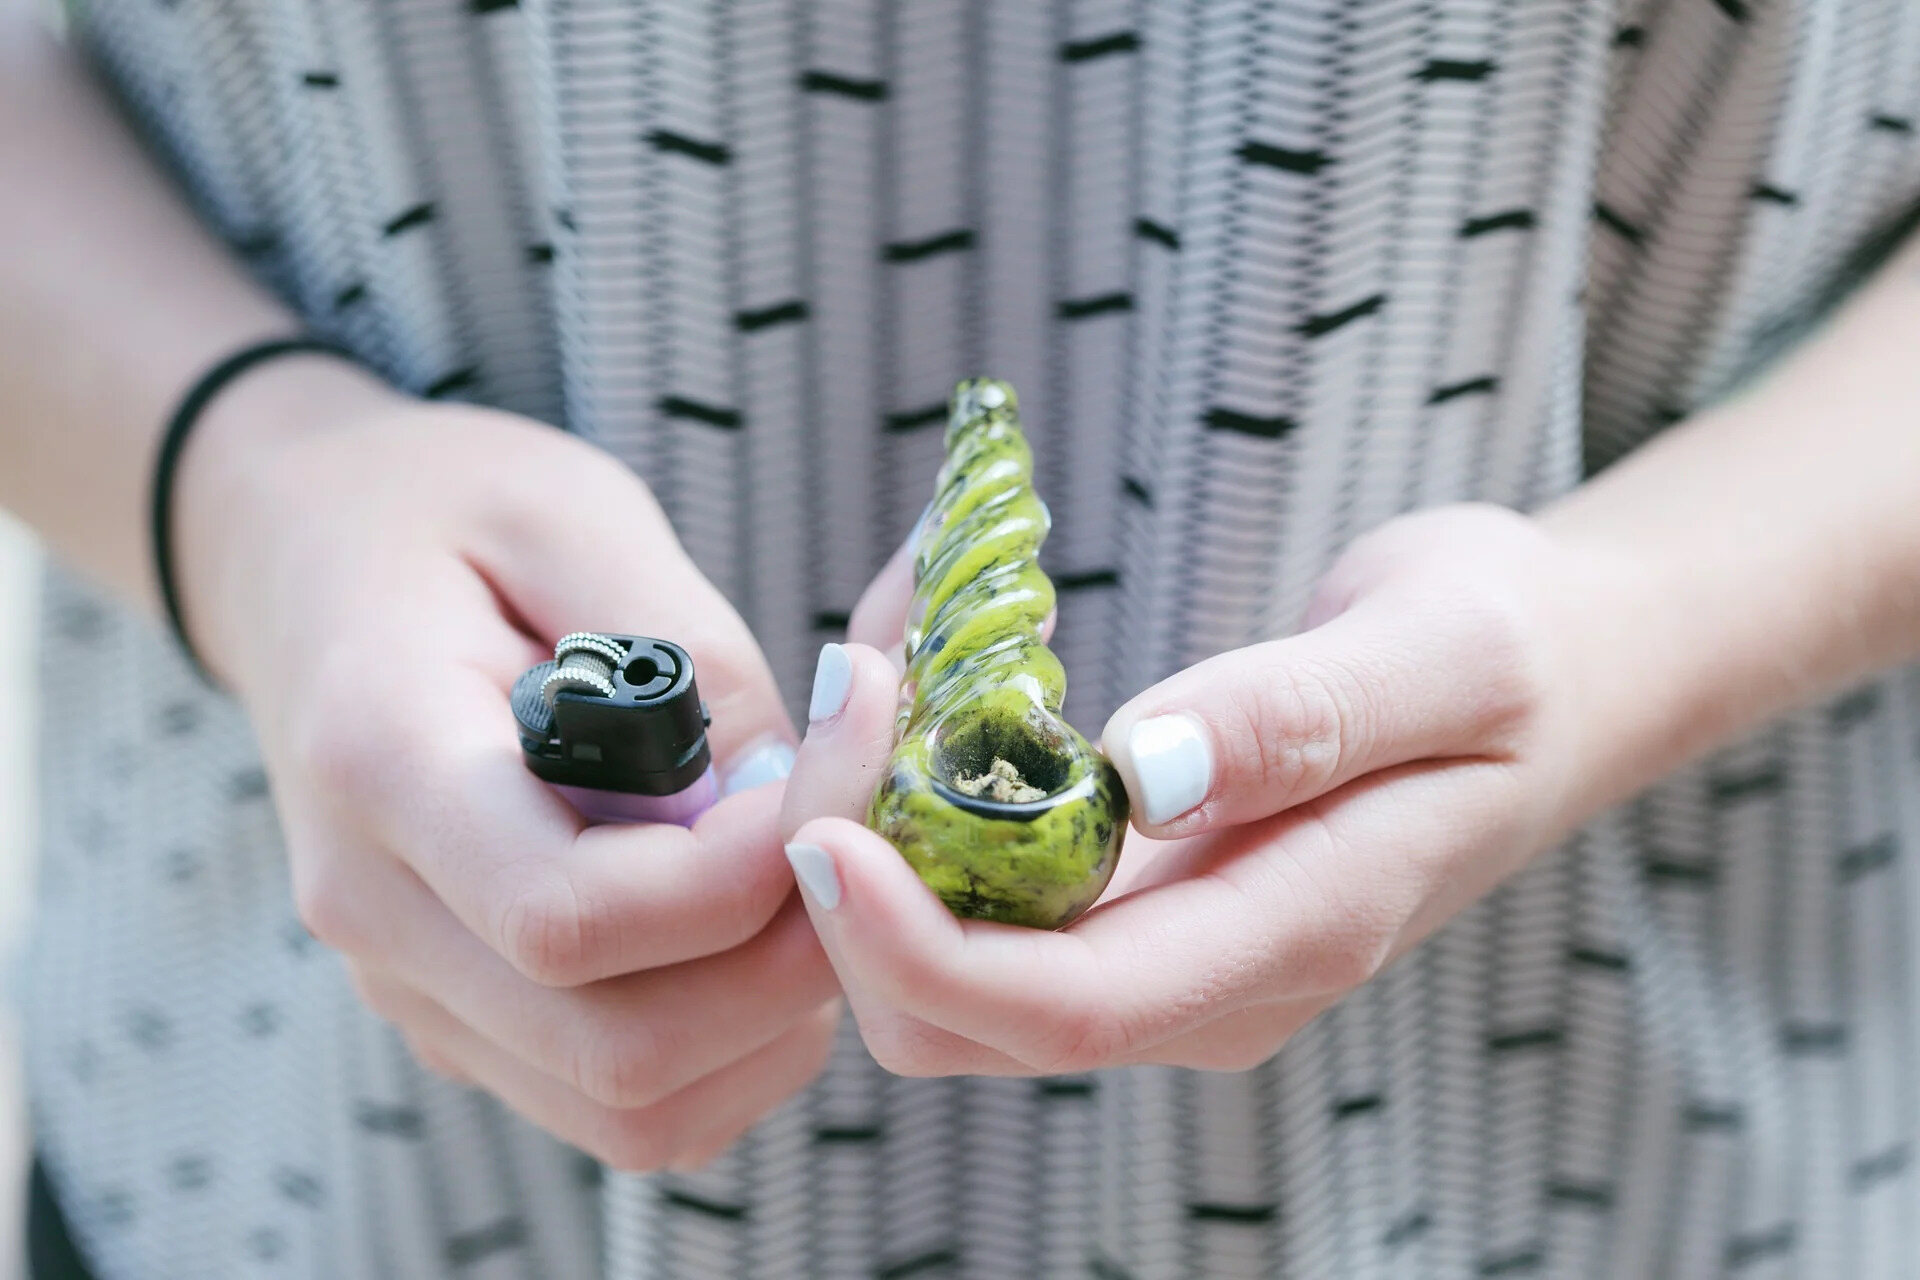
Step 1: Disassembling the Pipe
Before diving into the cleaning process, it's crucial to disassemble the glass pipe to access all its components for thorough cleaning. Disassembling the pipe not only allows for a more comprehensive cleaning but also ensures that no residue is left untouched, ultimately contributing to a more enjoyable smoking experience.
To begin, carefully disassemble the pipe by removing any detachable components, such as the bowl, downstem, and any additional attachments. Take note of the order in which the components are removed, as this will aid in reassembling the pipe correctly after cleaning.
Once the pipe is disassembled, visually inspect each component to assess the extent of residue buildup. Pay close attention to the interior surfaces, as resin and tar tend to accumulate in these areas over time. It's not uncommon for residue to harden and adhere to the glass, requiring thorough cleaning to restore the pipe to its pristine condition.
By disassembling the pipe, you gain a clear view of the areas that require attention, allowing you to tailor your cleaning approach to address specific areas of buildup. Additionally, disassembly facilitates better access to the interior of the pipe, enabling you to reach deep into its intricate structure for a more thorough cleaning process.
As you disassemble the pipe, handle each component with care to avoid accidental breakage. Glass pipes, while durable, can be fragile, and mishandling during disassembly may lead to damage. Take your time and exercise caution to ensure that each component is safely removed and set aside for cleaning.
By disassembling the pipe, you set the stage for a comprehensive and effective cleaning process, laying the foundation for the subsequent steps of soaking, scrubbing, rinsing, and drying. With the pipe disassembled, you're now ready to move on to the next phase of the cleaning process, armed with a clear understanding of the areas that require attention and the components that need meticulous cleaning.
Disassembling the pipe is the first step toward rejuvenating your glass pipe and ensuring that it continues to deliver a smooth and flavorful smoking experience. With the components separated and ready for cleaning, you're well on your way to restoring your glass pipe to its former glory.
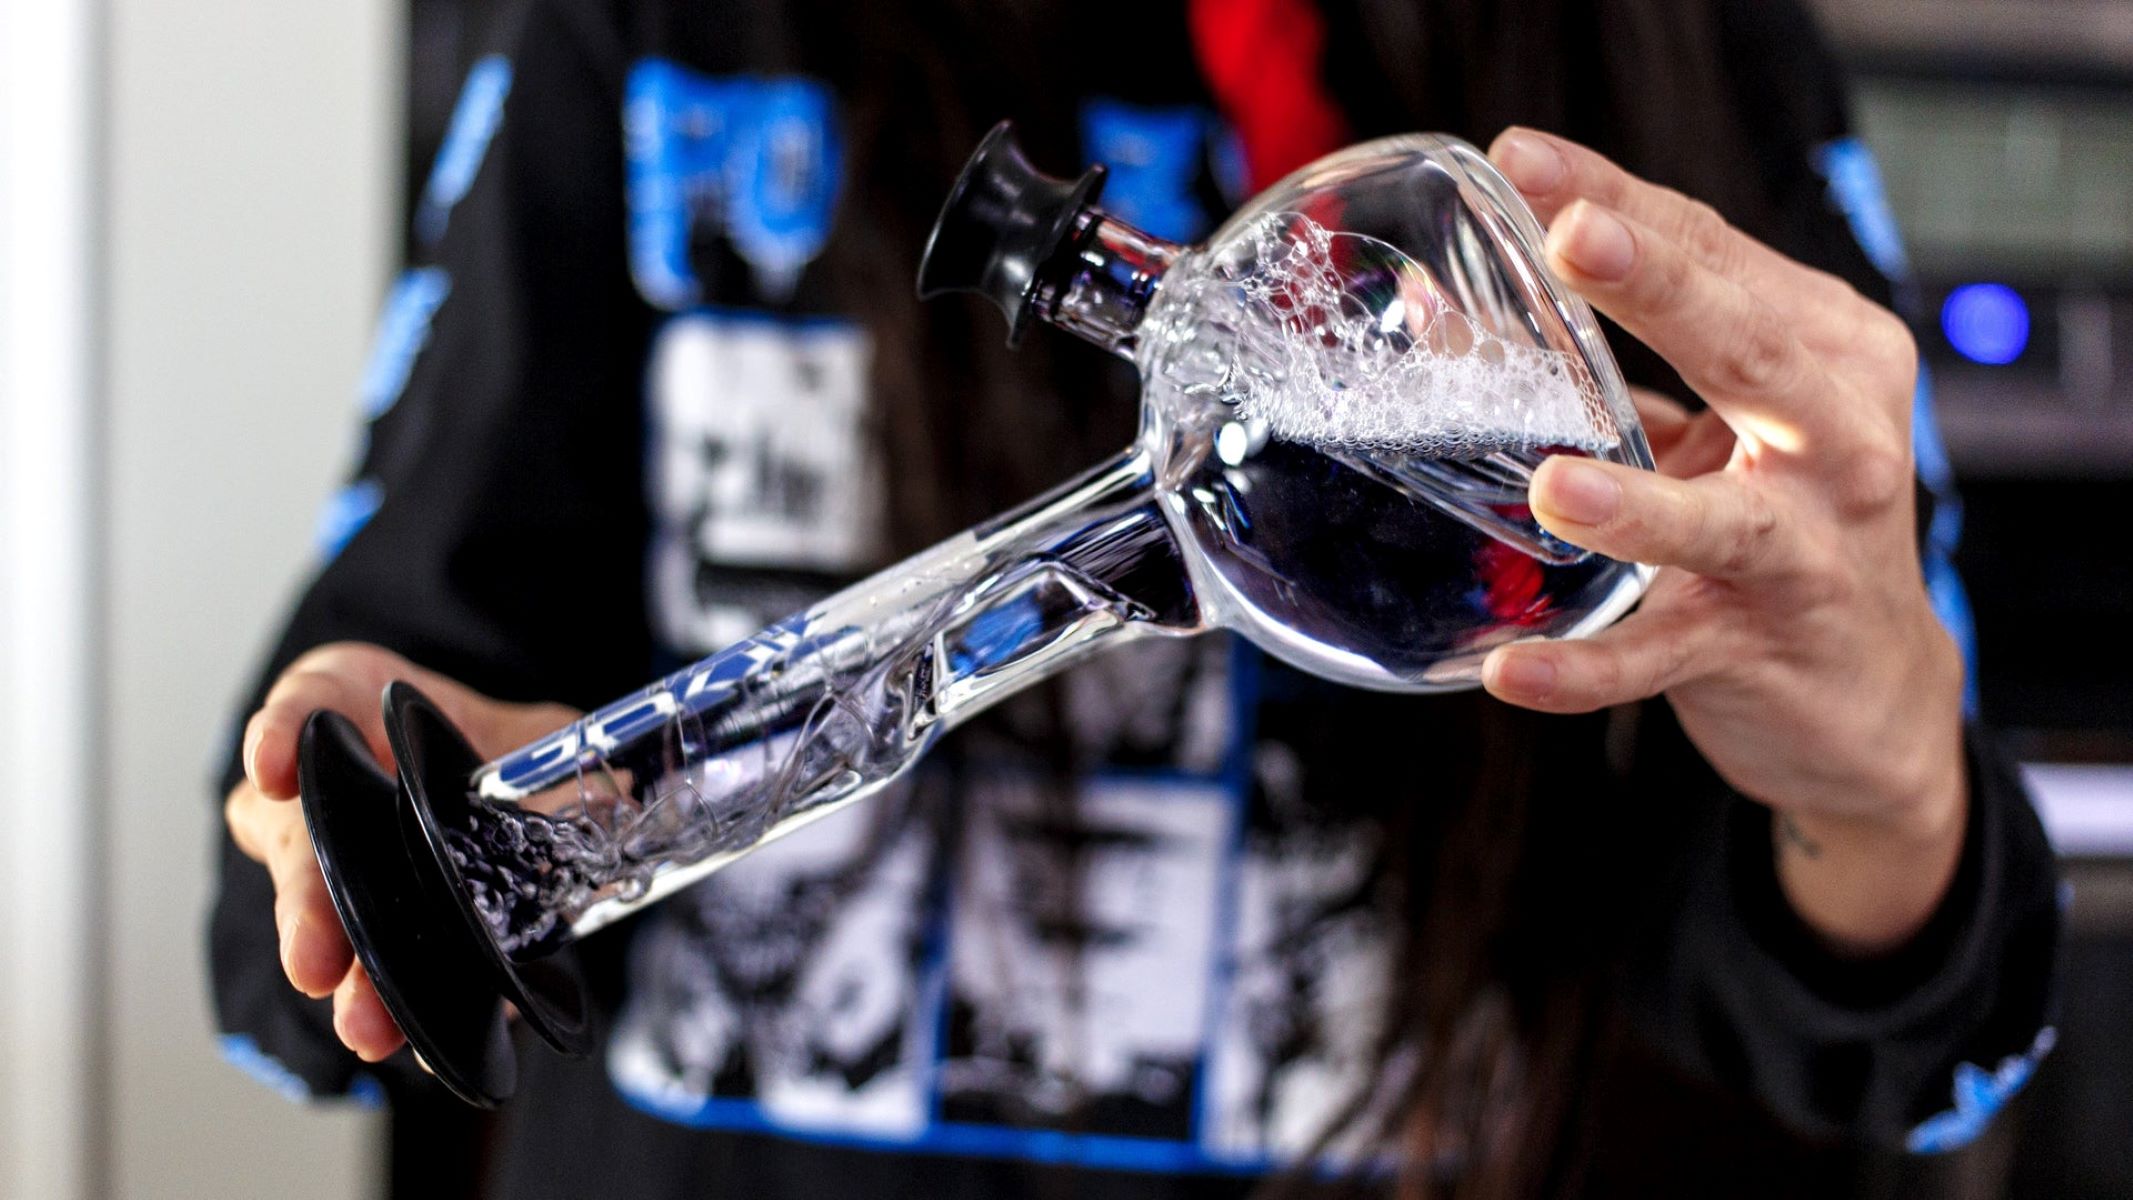
Step 2: Soaking in Cleaning Solution
Once the glass pipe is disassembled and the components are ready for cleaning, the next crucial step involves soaking the disassembled parts in a potent cleaning solution. This soaking process is instrumental in breaking down and loosening the stubborn residue that has accumulated inside the pipe, preparing it for thorough scrubbing and rinsing.
To create the cleaning solution, begin by pouring a generous amount of rubbing alcohol (isopropyl alcohol) into a resealable plastic bag or container. The high percentage of isopropyl alcohol, preferably 90% or higher, ensures a potent cleaning solution that effectively dissolves the resin and tar buildup within the pipe. The alcohol's solvent properties make it an ideal agent for breaking down and dislodging the stubborn residue, facilitating a more efficient cleaning process.
Once the rubbing alcohol is in the container, add a liberal amount of coarse salt to the solution. The coarse salt serves as an abrasive agent that aids in dislodging the hardened residue from the interior surfaces of the glass pipe. When combined with the rubbing alcohol, the granular texture of the salt provides effective scrubbing action, further enhancing the cleaning process.
With the cleaning solution prepared, carefully place the disassembled components of the glass pipe into the resealable plastic bag or container. Ensure that each component is fully submerged in the cleaning solution, allowing the potent mixture of rubbing alcohol and coarse salt to penetrate and loosen the accumulated residue within the pipe.
Once the components are submerged, seal the bag or container securely, ensuring that the cleaning solution does not leak during the soaking process. With the components safely enclosed in the cleaning solution, gently shake the bag or container to agitate the mixture, promoting the dislodging and dissolution of the residue within the pipe.
The soaking process is a critical stage in the cleaning journey, allowing the potent cleaning solution to work its magic on the stubborn residue inside the glass pipe. The combination of rubbing alcohol and coarse salt creates an environment that effectively breaks down and dislodges the accumulated resin and tar, preparing the pipe for the subsequent scrubbing and rinsing stages.
By allowing the disassembled components to soak in the potent cleaning solution, you set the stage for a thorough and effective cleaning process, ensuring that every nook and cranny of the pipe receives the attention it deserves. With the components immersed in the cleaning solution, you're now ready to proceed to the next phase of the cleaning process, where meticulous scrubbing will further restore the glass pipe to its pristine condition.
To clean a glass pipe, soak it in a mixture of hot water and isopropyl alcohol for at least 30 minutes, then use a pipe cleaner or cotton swab to scrub away any residue. Rinse thoroughly with hot water and let it dry completely before using again.
Step 3: Scrubbing with Pipe Cleaners
After the disassembled components of the glass pipe have undergone the soaking process in the potent cleaning solution, the next pivotal step involves meticulous scrubbing using pipe cleaners. This phase is instrumental in dislodging and removing the softened residue from the interior surfaces of the pipe, ensuring a thorough and effective cleaning process.
To begin the scrubbing process, carefully remove each component from the cleaning solution, taking care to handle them with caution to prevent accidental breakage. As the components are removed, visually inspect them to assess the extent to which the residue has been loosened by the soaking process. You may notice that the once stubborn buildup has softened and begun to detach from the interior surfaces, a testament to the efficacy of the cleaning solution.
Armed with pipe cleaners, begin the scrubbing process by inserting a clean pipe cleaner into the intricate passages and chambers of the disassembled components. The flexible nature of pipe cleaners allows for easy maneuvering within the pipe's intricate design, ensuring that hard-to-reach areas are thoroughly scrubbed and cleared of any remaining residue.
As you navigate the pipe cleaners through the interior surfaces, pay close attention to areas where residue tends to accumulate, such as the downstem and bowl. Employ gentle yet firm movements to dislodge the softened residue, gradually revealing the pristine glass surfaces beneath. It's essential to be thorough in this process, ensuring that every nook and cranny of the pipe receives the attention it deserves.
In areas where the residue proves more stubborn, consider using multiple pipe cleaners to intensify the scrubbing action. The goal is to achieve a comprehensive cleaning that leaves no trace of residue behind, ultimately contributing to a smoother and more enjoyable smoking experience.
Throughout the scrubbing process, periodically inspect the pipe cleaners to gauge the effectiveness of the cleaning. You may notice the residue transferring onto the pipe cleaners, a sign that the dislodging process is well underway. Continue scrubbing until the pipe cleaners emerge clean, indicating that the interior surfaces of the components have been thoroughly cleared of residue.
By meticulously scrubbing the disassembled components with pipe cleaners, you ensure that every intricate detail of the glass pipe receives the attention it needs to deliver a consistently enjoyable smoking experience. With the residue dislodged and removed, the pipe is one step closer to being restored to its former glory, ready to impart a clean and flavorful smoking experience with every use.
The scrubbing process marks a pivotal stage in the cleaning journey, bridging the gap between residue-laden components and a rejuvenated glass pipe. With the components thoroughly scrubbed and cleared of residue, you're now prepared to proceed to the final phase of the cleaning process, where rinsing and drying will complete the transformation, leaving your glass pipe in pristine condition.
Read more: How To Clean Plumbing Pipes
Step 4: Rinsing and Drying
With the disassembled components of the glass pipe thoroughly scrubbed and cleared of residue, the final phase of the cleaning process involves rinsing and drying to complete the transformation, leaving your glass pipe in pristine condition.
To commence the rinsing process, begin by thoroughly rinsing each component under running hot water. The hot water serves to flush out any remaining residue and cleaning solution, ensuring that the interior and exterior surfaces of the pipe are free from any lingering traces of the cleaning mixture. As you rinse each component, visually inspect them to confirm that they are free from residue and appear clean and revitalized.
Following the rinsing process, it's essential to allow the components to air dry completely. Place the rinsed components on a clean paper towel or cloth, ensuring that they are arranged in a manner that allows for adequate airflow around each piece. By allowing the components to air dry, you facilitate the evaporation of any residual moisture, ensuring that the pipe is thoroughly dried before reassembly.
As the components air dry, take the opportunity to visually inspect them once more to confirm that they are free from residue and completely dry. It's crucial to ensure that no moisture or residue remains, as this could compromise the cleanliness and functionality of the pipe.
Once the components are fully dried, carefully reassemble the glass pipe, taking care to align each component correctly and secure them in place. As you reassemble the pipe, appreciate the revitalized appearance of the components, a testament to the thorough cleaning process they have undergone.
With the glass pipe reassembled, take a moment to admire the pristine condition of your revitalized piece. The once-encrusted residue has been dislodged and removed, revealing the clean and transparent surfaces beneath. Your glass pipe is now ready to deliver a smooth and flavorful smoking experience, free from the hindrances of accumulated residue.
By diligently following the rinsing and drying process, you have completed the journey of rejuvenating your glass pipe, ensuring that it continues to provide a consistently enjoyable smoking experience. With the cleaning process concluded, you can look forward to indulging in the clean and pure flavors of your favorite smoking blends, knowing that your glass pipe has been meticulously cared for and restored to its former glory.
Conclusion
In conclusion, the process of cleaning a glass pipe is not only a practical necessity but also a ritual that honors the artistry and functionality of these beloved smoking accessories. By disassembling the pipe, soaking it in a potent cleaning solution, meticulously scrubbing the components, and completing the rinsing and drying process, you've embarked on a journey that goes beyond mere maintenance. You've demonstrated a commitment to preserving the integrity of your glass pipe, ensuring that it continues to deliver a smooth and flavorful smoking experience with every use.
As you reassemble your revitalized glass pipe, take a moment to appreciate the transformation it has undergone. The once-encrusted residue has been dislodged and removed, revealing the clean and transparent surfaces beneath. Your glass pipe now stands as a testament to the care and attention you've invested in its maintenance, ready to accompany you on countless smoking sessions with renewed clarity and purity.
The knowledge and skills you've acquired in this cleaning process empower you to maintain your glass pipe's pristine condition, ensuring that it remains a reliable and cherished companion in your smoking endeavors. By incorporating regular cleaning into your smoking routine, you can prolong the lifespan of your glass pipe and elevate the quality of your smoking experience, free from the hindrances of accumulated residue.
In the broader context, the act of cleaning your glass pipe fosters a deeper connection with the artistry and craftsmanship that goes into its creation. It serves as a reminder of the intricate design and functionality of these pieces, prompting a sense of reverence for the traditions and innovations that have shaped the world of smoking accessories.
As you embark on future smoking sessions with your revitalized glass pipe, may each draw be a testament to the care and dedication you've invested in maintaining its purity and functionality. Let the clean and pure flavors of your favorite smoking blends serve as a celebration of the meticulous cleaning process and a testament to the enduring allure of glass pipes.
With your glass pipe restored to its former glory, you can look forward to indulging in the clean and pure flavors of your favorite smoking blends, knowing that your glass pipe has been meticulously cared for and is ready to deliver a consistently enjoyable smoking experience.
Frequently Asked Questions about How To Clean Glass Pipes
Was this page helpful?
At Storables.com, we guarantee accurate and reliable information. Our content, validated by Expert Board Contributors, is crafted following stringent Editorial Policies. We're committed to providing you with well-researched, expert-backed insights for all your informational needs.


0 thoughts on “How To Clean Glass Pipes”