Home>Furniture & Design>Interior Design Trends>How To Clean Scanner Glass
Interior Design Trends
How To Clean Scanner Glass
Modified: August 17, 2024
Learn the best techniques for cleaning scanner glass and keeping it free from dust and smudges. Discover the latest interior design trends for a modern and stylish workspace.
(Many of the links in this article redirect to a specific reviewed product. Your purchase of these products through affiliate links helps to generate commission for Storables.com, at no extra cost. Learn more)
Introduction
Cleaning the scanner glass is a crucial yet often overlooked aspect of maintaining a functional and high-quality scanner. Over time, dust, smudges, and other debris can accumulate on the glass surface, leading to diminished scan quality and potentially affecting the overall performance of the scanner. Therefore, regular cleaning of the scanner glass is essential to ensure that your scanned documents and images maintain their clarity and integrity.
In this comprehensive guide, we will walk you through the step-by-step process of cleaning the scanner glass effectively. By following these instructions, you can prolong the lifespan of your scanner, prevent potential scanning issues, and continue to produce professional-looking scans.
Whether you use a scanner at home, in a small office, or as part of a larger business operation, maintaining the cleanliness of the scanner glass is paramount. By dedicating a small amount of time to this maintenance task, you can avoid the frustration of dealing with subpar scan results and the inconvenience of re-scanning documents due to avoidable blemishes.
Now, let's delve into the essential steps and best practices for cleaning the scanner glass, ensuring that your scanner continues to deliver crisp, clear, and high-quality scans for all your document and image digitization needs.
Key Takeaways:
- Regularly cleaning the scanner glass with a lint-free cloth and mild glass cleaner ensures clear, high-quality scans, prolonging the lifespan of your scanner and preventing potential scanning issues.
- Before cleaning the scanner glass, gather supplies like a lint-free cloth and mild glass cleaner, and ensure safety by turning off and unplugging the scanner. Then, follow a methodical process to achieve a meticulously cleaned glass surface.
Read more: How To Clean Glass Cleaning Cloth
Gather Your Supplies
Before embarking on the task of cleaning the scanner glass, it's essential to gather the necessary supplies to ensure a thorough and effective cleaning process. By having the right tools at your disposal, you can streamline the cleaning procedure and achieve optimal results. Here's what you'll need:
-
Lint-Free Microfiber Cloth: Select a high-quality, lint-free microfiber cloth to avoid leaving behind any fibers or residue on the scanner glass. The ultra-fine fibers of a microfiber cloth are ideal for capturing and removing dust, smudges, and other particles without scratching the glass surface.
-
Mild Glass Cleaner: Choose a gentle, non-abrasive glass cleaner that is suitable for use on delicate surfaces. Avoid cleaners that contain harsh chemicals or abrasive components, as these can damage the scanner glass and compromise its transparency.
-
Isopropyl Alcohol (Optional): If the scanner glass exhibits stubborn smudges or residue, consider using isopropyl alcohol as a supplementary cleaning agent. Dilute the alcohol with water to create a gentle cleaning solution, and use it sparingly to target persistent blemishes.
-
Compressed Air Canister (Optional): To dislodge and remove trapped dust particles from the crevices around the scanner glass and its components, a canister of compressed air can be a valuable tool. This can help ensure a more thorough cleaning process and prevent dust from resettling on the glass after cleaning.
-
Gloves (Optional): While not essential, wearing gloves can prevent the transfer of oils and dirt from your hands to the scanner glass during the cleaning process. Opt for non-powdered, latex-free gloves to minimize the risk of leaving behind residue or causing allergic reactions.
By assembling these supplies, you'll be well-equipped to tackle the task of cleaning the scanner glass with precision and care. With the right tools in hand, you can maintain the transparency and cleanliness of the scanner glass, ultimately contributing to the production of high-quality scans. Now that you have gathered your supplies, let's proceed to the next steps in the scanner glass cleaning process.
Turn Off and Unplug the Scanner
Before initiating the cleaning process, it is imperative to ensure the safety of both the individual performing the cleaning and the scanner itself. Turning off and unplugging the scanner from the power source is the first crucial step in this regard.
-
Power Down the Scanner: Locate the power button or switch on the scanner and power it down completely. This action prevents any electrical current from running through the device, minimizing the risk of accidental activation during the cleaning process. Additionally, powering off the scanner allows its internal components to cool down, reducing the likelihood of encountering hot surfaces during cleaning.
-
Unplug the Power Cord: Once the scanner is powered off, carefully unplug the power cord from the electrical outlet. This step is essential for eliminating the risk of electric shock and ensuring that the scanner is completely disconnected from its power source. By unplugging the power cord, you create a safe environment for handling and cleaning the scanner without the presence of electrical currents.
-
Disconnect Data Cables (If Applicable): If your scanner is connected to a computer or other devices via data cables, such as USB or Ethernet cables, it is advisable to disconnect these cables as well. This precautionary measure prevents any accidental data transfer or interference during the cleaning process. By disconnecting the data cables, you can focus on cleaning the scanner glass without the distraction of connected devices.
By turning off and unplugging the scanner, you establish a secure and controlled environment for the subsequent cleaning steps. This proactive approach prioritizes safety and minimizes the potential for accidents or damage to the scanner. With the scanner safely powered down and disconnected from its power source, you are now ready to proceed to the next phase of the cleaning process.
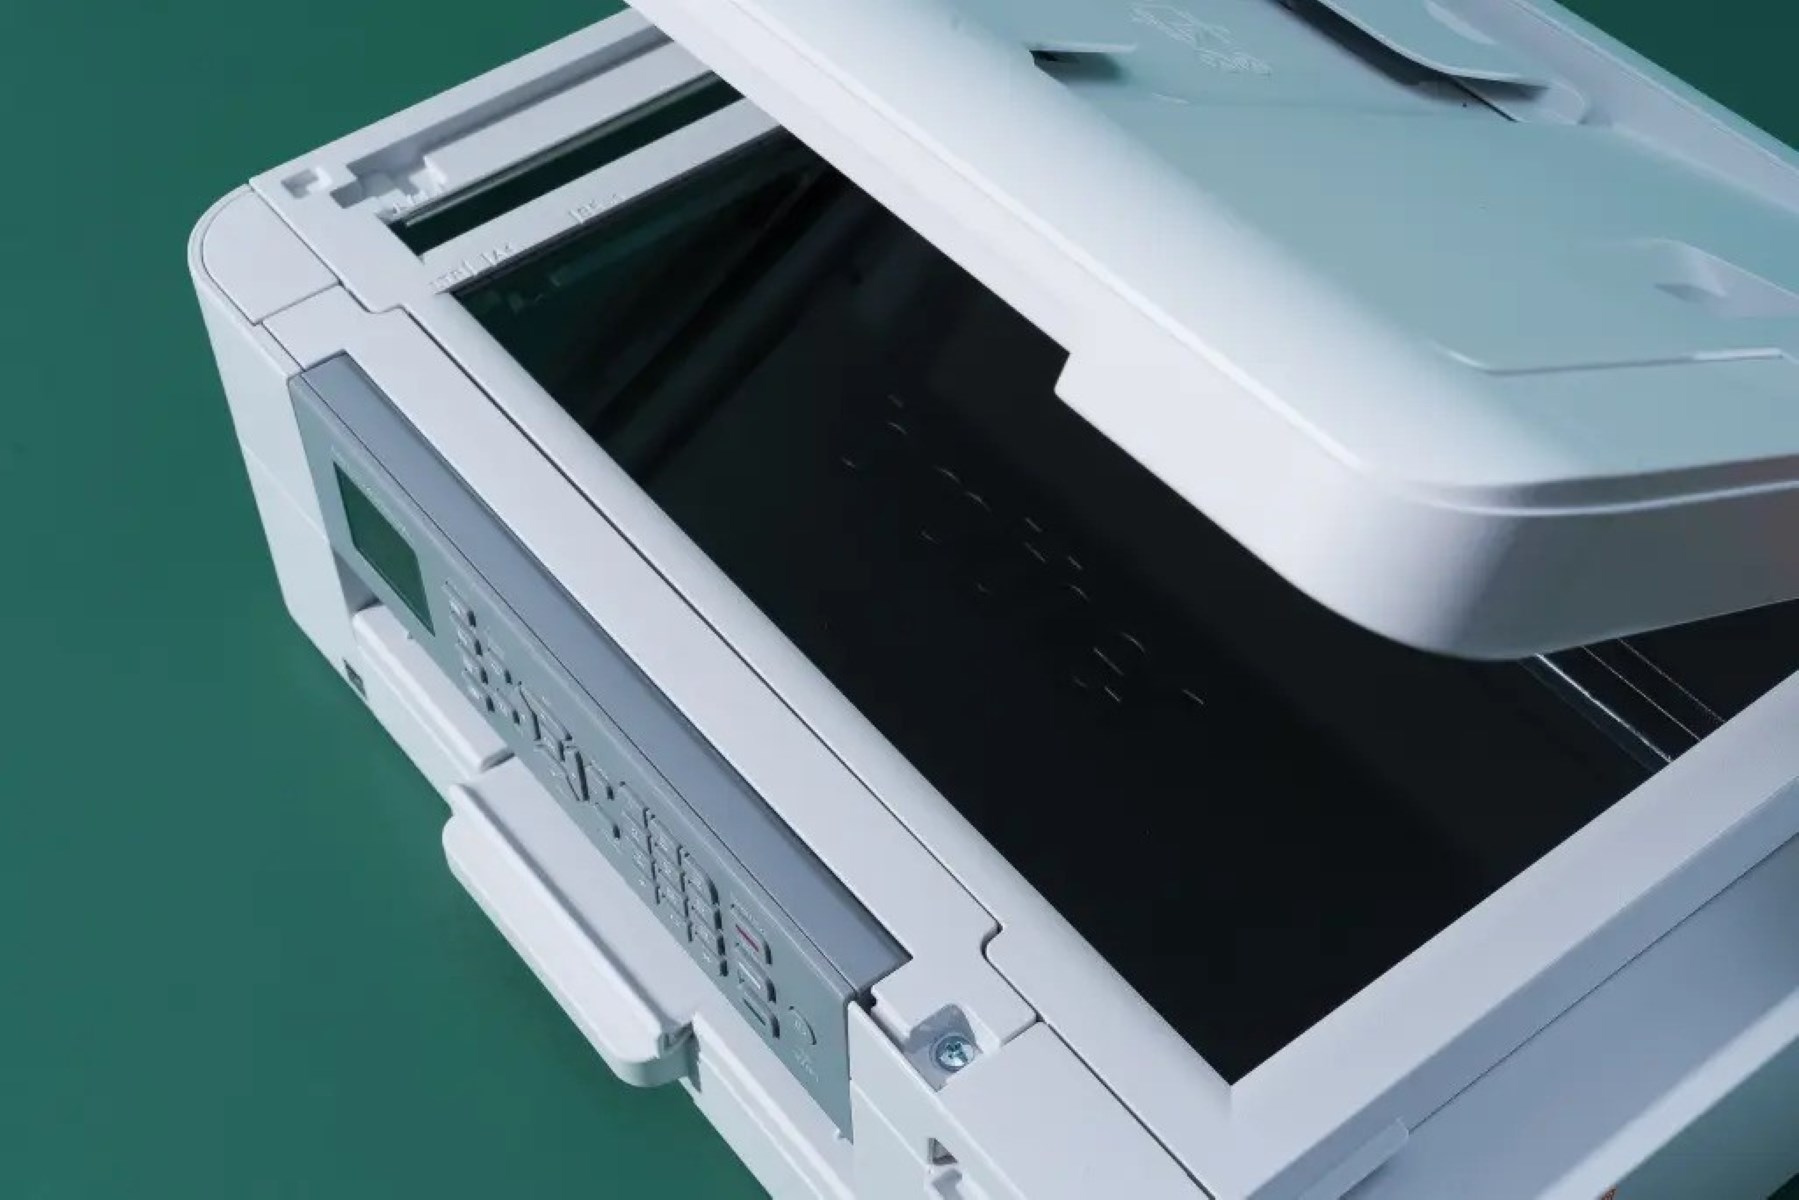
Open the Scanner Lid
Carefully lift the scanner lid to reveal the scanner glass and its surrounding components. Take note of any hinges or mechanisms that hold the lid in place, ensuring that you handle the lid with gentle and deliberate movements to prevent any damage or misalignment. Some scanners feature a lid that can be completely detached for easier access to the glass surface. If your scanner includes this functionality, follow the manufacturer's instructions to safely remove the lid without causing any harm to the device.
As you open the scanner lid, take a moment to inspect the condition of the glass surface and the areas surrounding it. Look for visible dust, smudges, fingerprints, or any other forms of debris that may have accumulated over time. By conducting this initial assessment, you can identify the specific areas that require attention during the cleaning process. Additionally, check for any loose particles or foreign objects that may have found their way onto the scanner glass, as these can impact the quality of your scans and potentially cause damage to the scanner if not addressed promptly.
Once the scanner lid is fully open, position it securely to prevent accidental closure during the cleaning process. If your scanner lid features a support arm or hinge that allows it to remain open at various angles, take advantage of this feature to ensure a stable and unobstructed workspace. By securing the scanner lid in an open position, you create a safe and convenient environment for accessing and cleaning the scanner glass without any hindrances.
With the scanner lid opened and secured, you are now ready to proceed to the next crucial step in the cleaning process: thoroughly cleaning the glass surface to restore its transparency and optimize scan quality. This pivotal stage will involve the meticulous removal of dust, smudges, and other imperfections that may compromise the scanner's performance. By following the subsequent steps with care and precision, you can effectively rejuvenate the scanner glass and maintain its pristine condition for future scanning tasks.
Use a soft, lint-free cloth and a mild glass cleaner to wipe the scanner glass in a gentle, circular motion. Avoid using harsh chemicals or abrasive materials to prevent damage.
Clean the Glass
With the scanner lid open and secured, it's time to focus on the critical task of cleaning the glass surface. This step is pivotal in restoring the transparency and pristine condition of the scanner glass, ultimately contributing to the production of high-quality scans. Follow these detailed instructions to ensure a thorough and effective cleaning process:
-
Prepare the Glass: Before applying any cleaning solution, use a lint-free microfiber cloth to gently remove loose dust and debris from the scanner glass. Starting from one corner, carefully wipe across the entire surface, gradually working your way to the opposite corner. This initial step helps eliminate surface-level particles, preparing the glass for a more comprehensive cleaning.
-
Apply the Glass Cleaner: Lightly spray a small amount of mild glass cleaner onto the microfiber cloth. Avoid spraying the cleaner directly onto the scanner glass to prevent any liquid from seeping into the internal components. The goal is to dampen the cloth without saturating it, ensuring that excess moisture does not accumulate on the glass surface.
-
Clean in a Methodical Pattern: With the dampened cloth, begin cleaning the scanner glass using gentle, overlapping strokes. Adopting a methodical pattern, such as horizontal or vertical strokes, can help ensure thorough coverage and consistent cleaning. Pay close attention to any stubborn smudges or marks, applying slightly more pressure if necessary while avoiding excessive force that could damage the glass.
-
Address Stubborn Blemishes: For persistent smudges or residue that resist the initial cleaning, consider using a diluted solution of isopropyl alcohol and water. Dampen a separate section of the microfiber cloth with the diluted alcohol and carefully target the stubborn blemishes. Exercise caution and moderation when using alcohol, as excessive application can potentially damage the glass or its surrounding components.
-
Dry and Inspect the Glass: Once the entire glass surface has been cleaned, use a dry section of the microfiber cloth to gently dry and polish the glass. Inspect the surface under adequate lighting to ensure that all dust, smudges, and streaks have been effectively removed. Take the time to examine the edges and corners of the glass, as these areas are prone to accumulating residual debris.
-
Use Compressed Air (Optional): If there are crevices or areas around the glass that harbor trapped dust particles, utilize a canister of compressed air to dislodge and remove these particles. Direct the airflow away from the glass surface to prevent any dislodged particles from resettling onto the cleaned glass.
By meticulously following these steps, you can achieve a meticulously cleaned scanner glass, free from dust, smudges, and imperfections. This meticulous approach ensures that the scanner glass maintains its transparency and integrity, ultimately contributing to the production of professional-grade scans.
Read more: How To Clean Glass Pipes
Reassemble the Scanner
After completing the meticulous cleaning of the scanner glass, it's essential to reassemble the scanner with care and precision. Follow these steps to ensure that the scanner is reassembled correctly, allowing you to resume scanning tasks with confidence and optimal performance.
-
Dry the Scanner Components: Before reassembly, ensure that all scanner components, including the glass lid and any detached parts, are thoroughly dry. Use a lint-free microfiber cloth to gently remove any residual moisture from the glass surface, hinges, and surrounding areas. This step is crucial for preventing water or cleaning solution from coming into contact with the internal components once the scanner is reassembled.
-
Position the Glass Lid: If the scanner lid was detached for cleaning purposes, carefully align it with the designated hinges or attachment points. Take note of any alignment markers or guides that facilitate the correct positioning of the lid. Ensure that the lid sits securely and evenly, without any misalignment or protruding edges that could hinder its closure.
-
Secure the Lid in Place: Once the lid is correctly positioned, follow the manufacturer's instructions to secure it in place. This may involve engaging locking mechanisms, sliding the lid into designated grooves, or tightening screws or fasteners, depending on the design of the scanner. Confirm that the lid is firmly and securely attached to prevent any potential movement or instability during operation.
-
Reconnect Data Cables (If Applicable): If you disconnected any data cables, such as USB or Ethernet connections, during the cleaning process, reestablish these connections as needed. Ensure that the cables are securely plugged into their respective ports, and verify that there are no loose connections or obstructions that could impede data transfer between the scanner and connected devices.
-
Power On the Scanner: With the scanner reassembled and all components in their proper positions, proceed to power on the scanner. Reconnect the power cord to the electrical outlet and switch the scanner on using the designated power button or switch. Allow the scanner to initialize and complete its startup sequence, ensuring that it operates smoothly and without any unusual sounds or error indicators.
-
Perform a Test Scan: To confirm that the scanner is functioning optimally after reassembly, perform a test scan of a document or image. Verify that the scanned output exhibits clear, consistent quality without any artifacts or abnormalities. This test scan allows you to validate the effectiveness of the cleaning process and the successful reassembly of the scanner.
By meticulously following these steps, you can reassemble the scanner with confidence, knowing that it has been restored to its optimal condition for producing high-quality scans. This attention to detail and precision in reassembly ensures that the scanner operates reliably and continues to deliver professional-grade results for your scanning needs.
Conclusion
In conclusion, the process of cleaning the scanner glass is an essential maintenance task that directly impacts the quality and performance of your scanner. By following the step-by-step guide outlined in this comprehensive article, you have gained valuable insights into the meticulous process of cleaning the scanner glass effectively and safely.
Regularly cleaning the scanner glass not only ensures the transparency and cleanliness of the glass surface but also contributes to the production of professional-grade scans. By investing a small amount of time and attention into this maintenance task, you can prolong the lifespan of your scanner, prevent potential scanning issues, and continue to achieve clear, high-quality scan results.
Throughout the cleaning process, you learned the importance of gathering the necessary supplies, including a lint-free microfiber cloth, mild glass cleaner, and optional tools such as isopropyl alcohol and compressed air. By assembling these supplies, you were well-equipped to initiate the cleaning process with precision and care.
Turning off and unplugging the scanner was emphasized as a crucial safety measure, ensuring that the cleaning process took place in a secure and controlled environment. Opening the scanner lid and inspecting the glass surface allowed you to identify areas requiring attention, setting the stage for a thorough and methodical cleaning process.
The detailed instructions for cleaning the glass surface, including preparing the glass, applying the glass cleaner, and addressing stubborn blemishes, provided you with a systematic approach to achieving a meticulously cleaned scanner glass. Additionally, the guidance on reassembling the scanner with care and conducting a test scan validated the effectiveness of the cleaning process and the successful restoration of the scanner to optimal condition.
By incorporating these best practices into your scanner maintenance routine, you can ensure that your scanner continues to deliver crisp, clear, and high-quality scans for all your document and image digitization needs. The knowledge and skills acquired from this guide empower you to maintain the transparency and integrity of the scanner glass, ultimately contributing to the production of professional-grade scans.
In essence, the process of cleaning the scanner glass is a proactive and essential endeavor that safeguards the performance and longevity of your scanner. By embracing this maintenance task as an integral part of your scanning workflow, you can uphold the quality and reliability of your scanned outputs, ensuring that your documents and images are captured with precision and clarity.
Frequently Asked Questions about How To Clean Scanner Glass
Was this page helpful?
At Storables.com, we guarantee accurate and reliable information. Our content, validated by Expert Board Contributors, is crafted following stringent Editorial Policies. We're committed to providing you with well-researched, expert-backed insights for all your informational needs.


0 thoughts on “How To Clean Scanner Glass”