Home>Furniture & Design>Interior Design Trends>How To Clean Burnt Glass
Interior Design Trends
How To Clean Burnt Glass
Modified: May 6, 2024
Learn how to effectively clean burnt glass with these interior design trends. Discover tips and tricks for restoring your glass to its original shine.
(Many of the links in this article redirect to a specific reviewed product. Your purchase of these products through affiliate links helps to generate commission for Storables.com, at no extra cost. Learn more)
Introduction
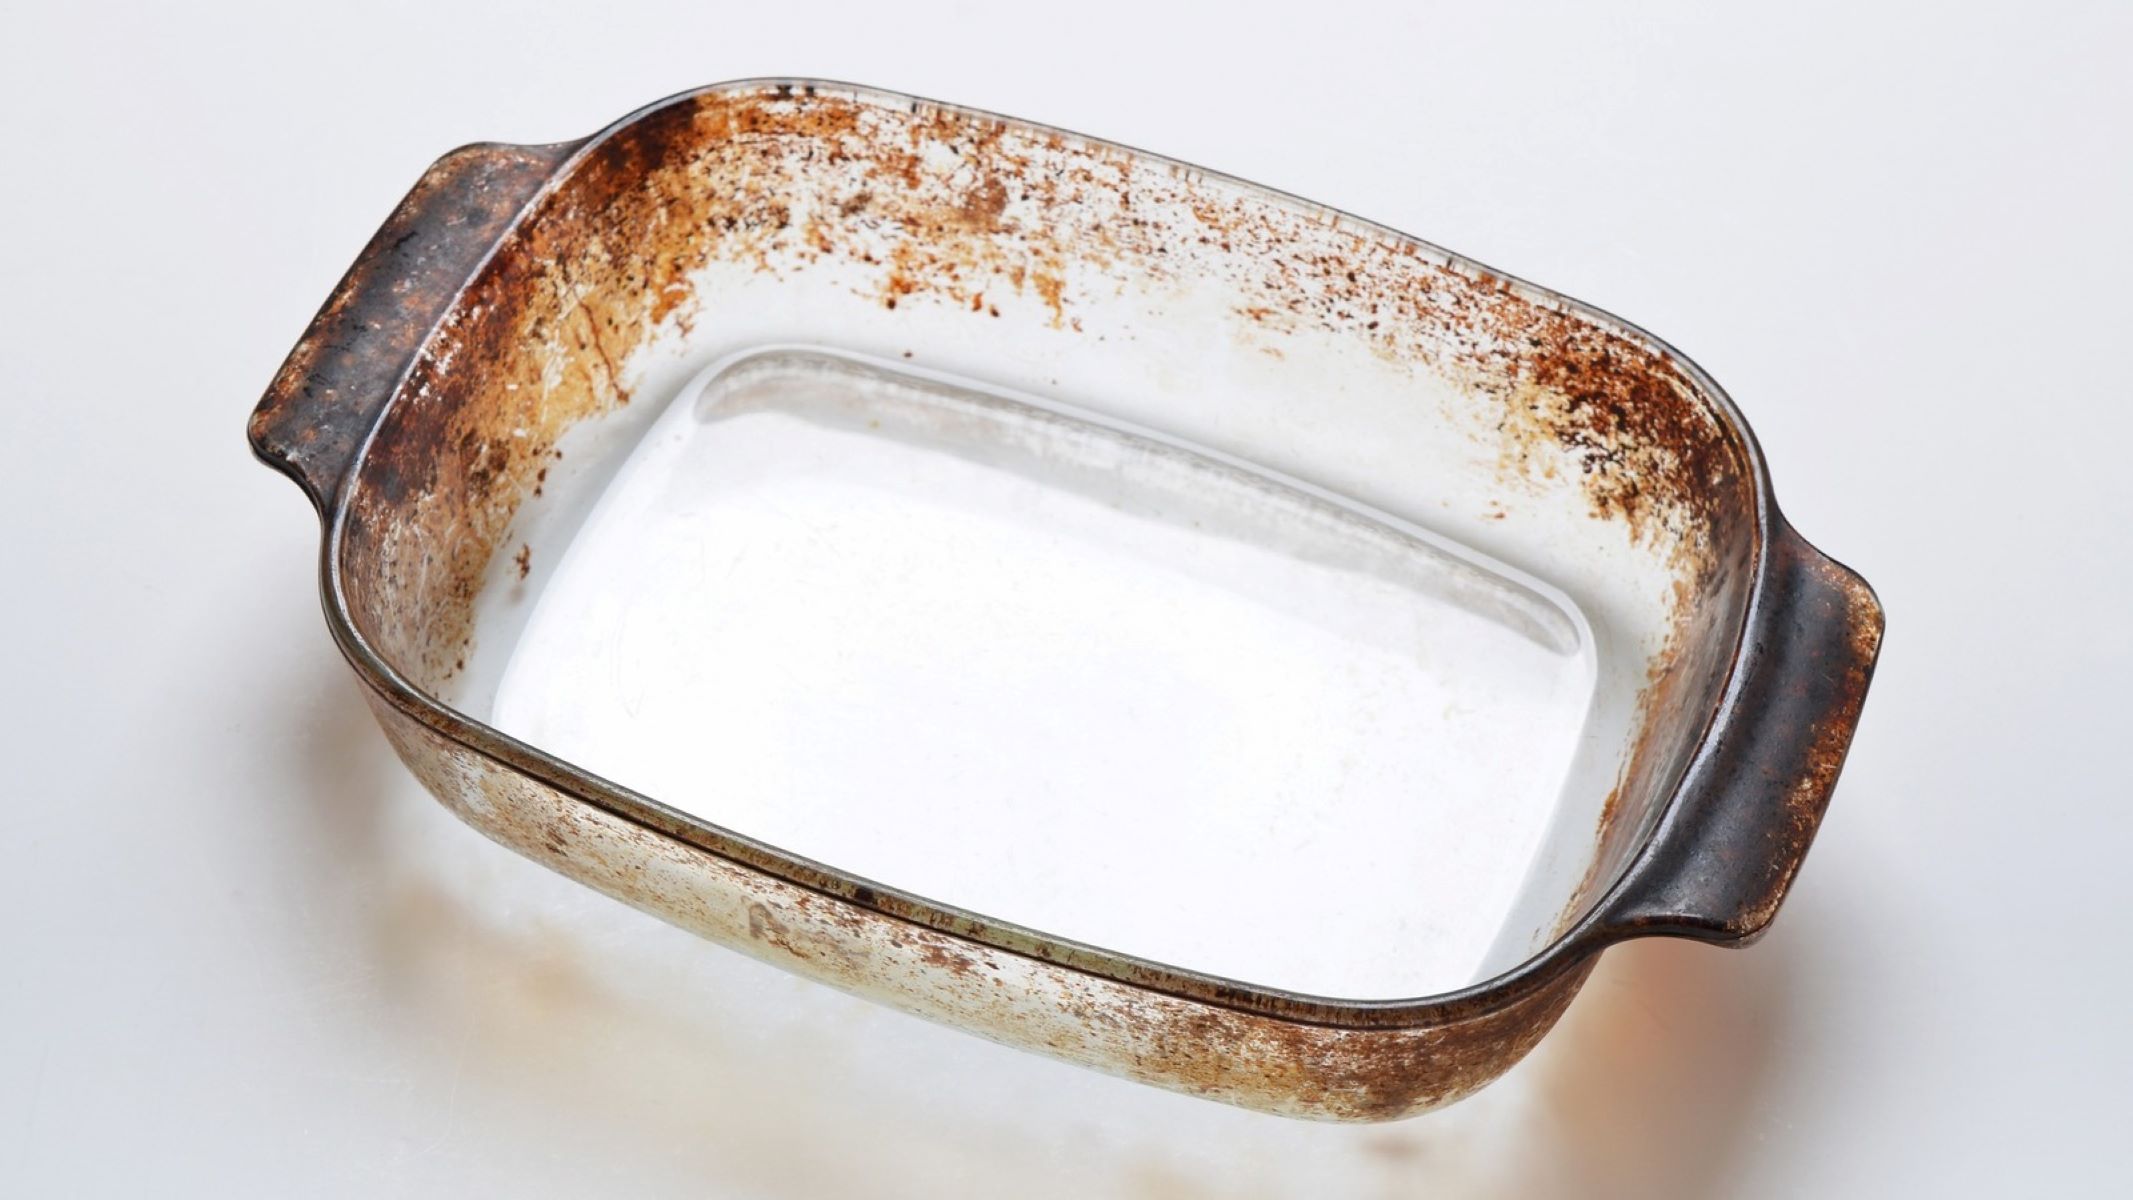
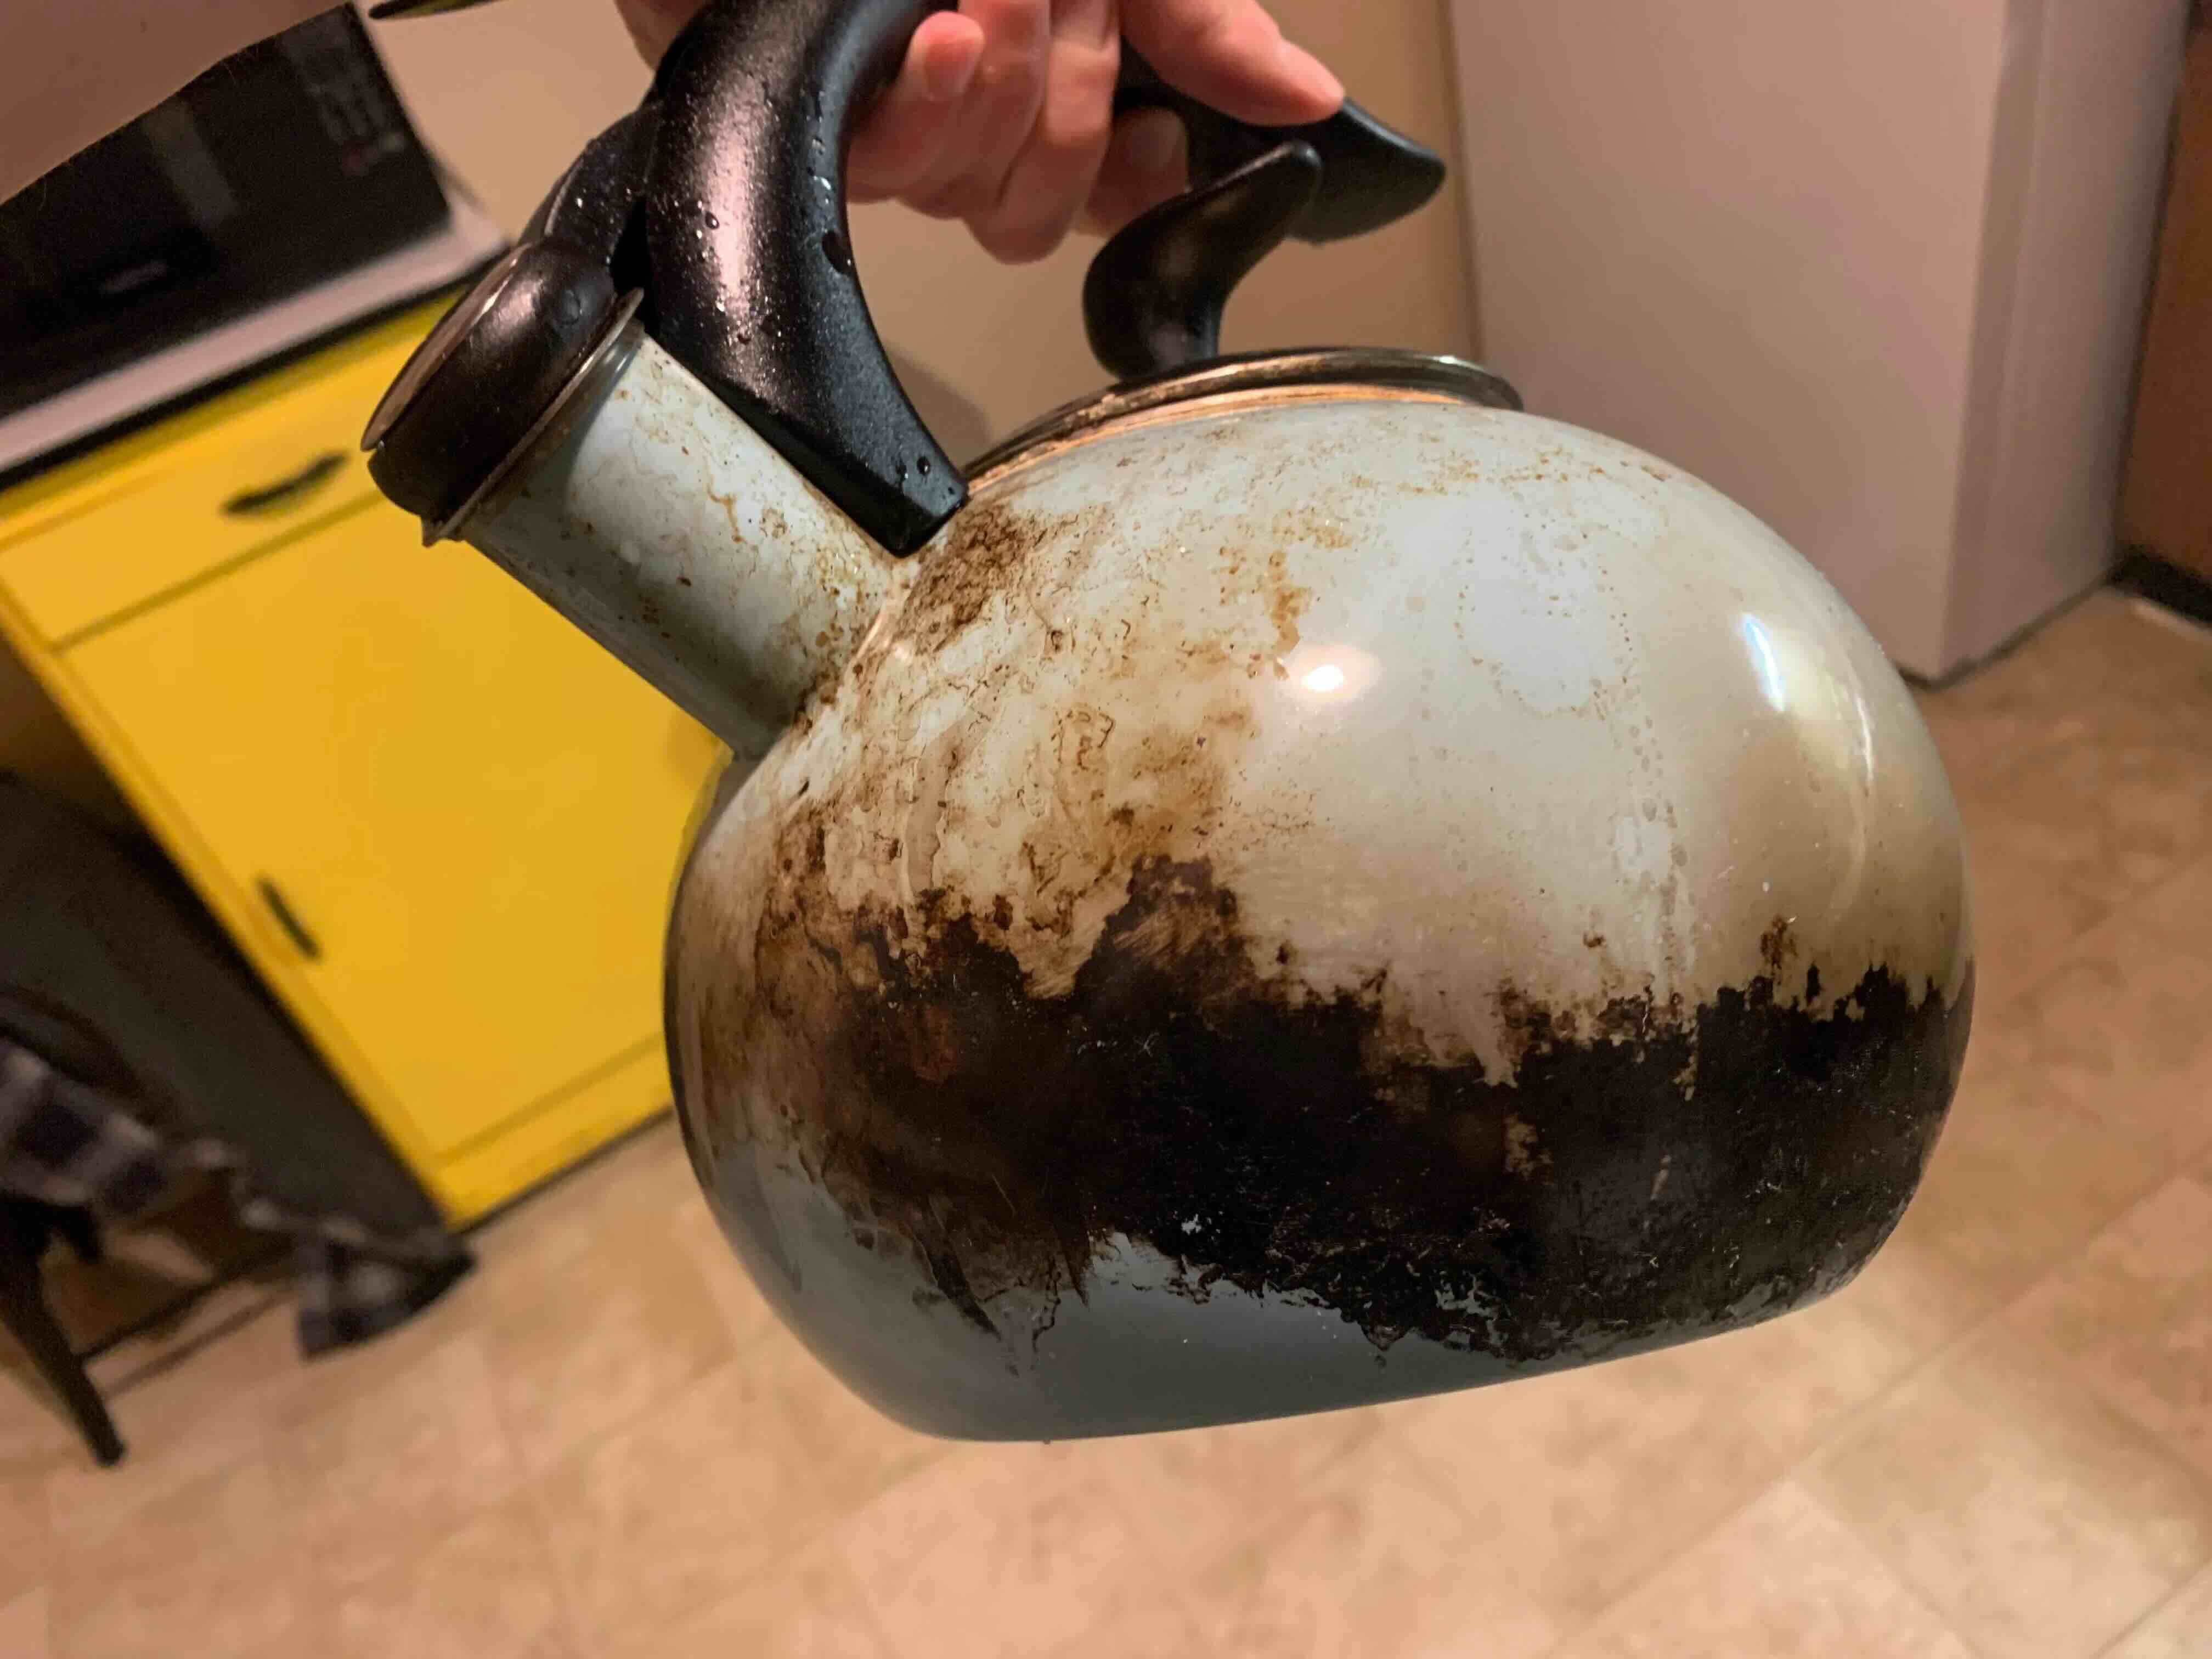
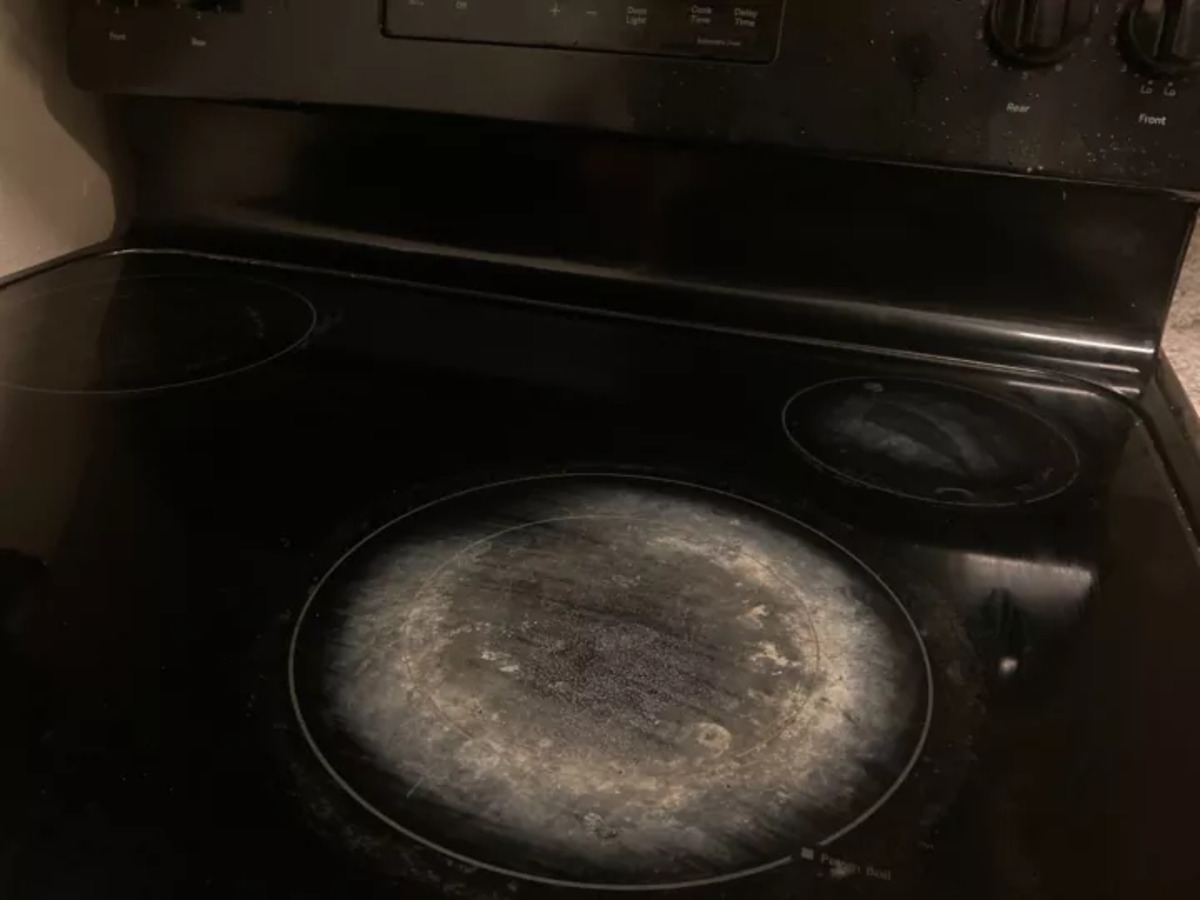
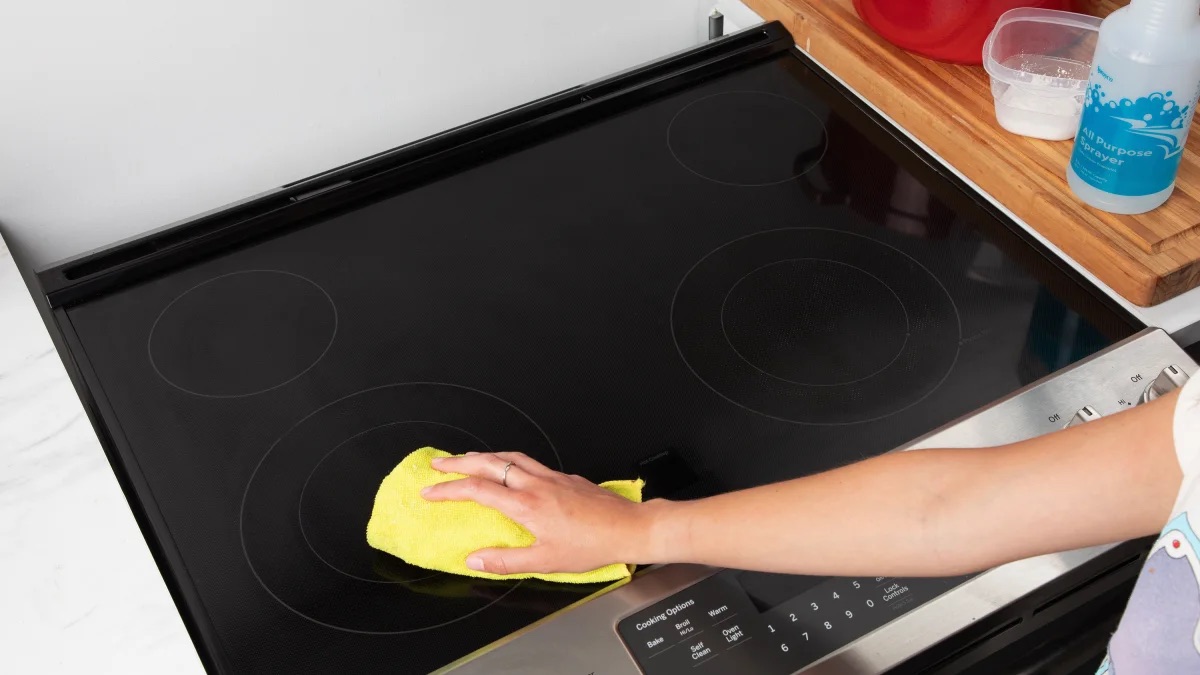
Cleaning burnt glass can be a daunting task, especially when the residue seems stubborn and unyielding. Whether it's a scorched glass stovetop, a burnt glass baking dish, or a glass oven door, the sight of charred remnants can be disheartening. However, with the right approach and a few simple materials, you can restore the glass to its former luster.
Burnt glass not only affects the aesthetic appeal of your kitchen but can also impact the overall cleanliness and hygiene of your cooking space. Lingering burnt residues can emit unpleasant odors and compromise the functionality of your kitchen appliances. By addressing the burnt glass promptly and effectively, you can maintain a pristine kitchen environment and ensure that your glassware and appliances remain in top condition.
In this guide, we will walk you through a step-by-step process to effectively clean burnt glass. By following these methods, you can bid farewell to unsightly burnt stains and restore the sparkle to your glass surfaces. With a few common household items and a bit of elbow grease, you can tackle burnt glass with confidence and achieve impressive results. So, roll up your sleeves and let's dive into the process of rejuvenating your burnt glass items.
Key Takeaways:
- Say goodbye to burnt glass stains by soaking in hot water and vinegar, then scrubbing with baking soda. Rinse and dry for sparkling, pristine glass surfaces.
- Restore the luster of your glassware with simple household items. Soak, scrub, and rinse for a kitchen that sparkles with timeless elegance.
Read more: How To Clean Burnt On Waffle Iron
Materials Needed
To effectively clean burnt glass, you will need a few basic materials that are commonly found in most households. These items are essential for loosening and removing the stubborn burnt residues without causing damage to the glass surface. Here's what you'll need:
-
Baking Soda: This versatile household staple is a powerhouse when it comes to cleaning burnt glass. Its gentle abrasive nature helps to lift off the burnt-on residues without scratching the glass surface. Additionally, baking soda's natural deodorizing properties can help neutralize any lingering odors from the burnt stains.
-
White Vinegar: Vinegar is renowned for its cleaning prowess, and it's particularly effective for tackling burnt-on stains. Its acidic nature helps to break down the stubborn residues, making them easier to remove. Additionally, vinegar acts as a natural disinfectant, ensuring that your glass surfaces are not only clean but also sanitized.
-
Soft Cleaning Cloth or Sponge: Opt for a soft, non-abrasive cloth or sponge to avoid scratching the glass surface while cleaning. Microfiber cloths are an excellent choice, as they are gentle yet effective in lifting off grime and residues without leaving lint behind.
-
Hot Water: Hot water is a valuable ally in the battle against burnt-on stains. Its heat helps to soften the residues, making them more receptive to the cleaning agents. Additionally, hot water aids in loosening the burnt particles, facilitating their removal from the glass surface.
-
Dish Soap: A mild dish soap will come in handy for pre-treating the burnt glass and removing any greasy residues. Look for a gentle, non-abrasive dish soap to ensure that it effectively cleans the glass without causing damage.
-
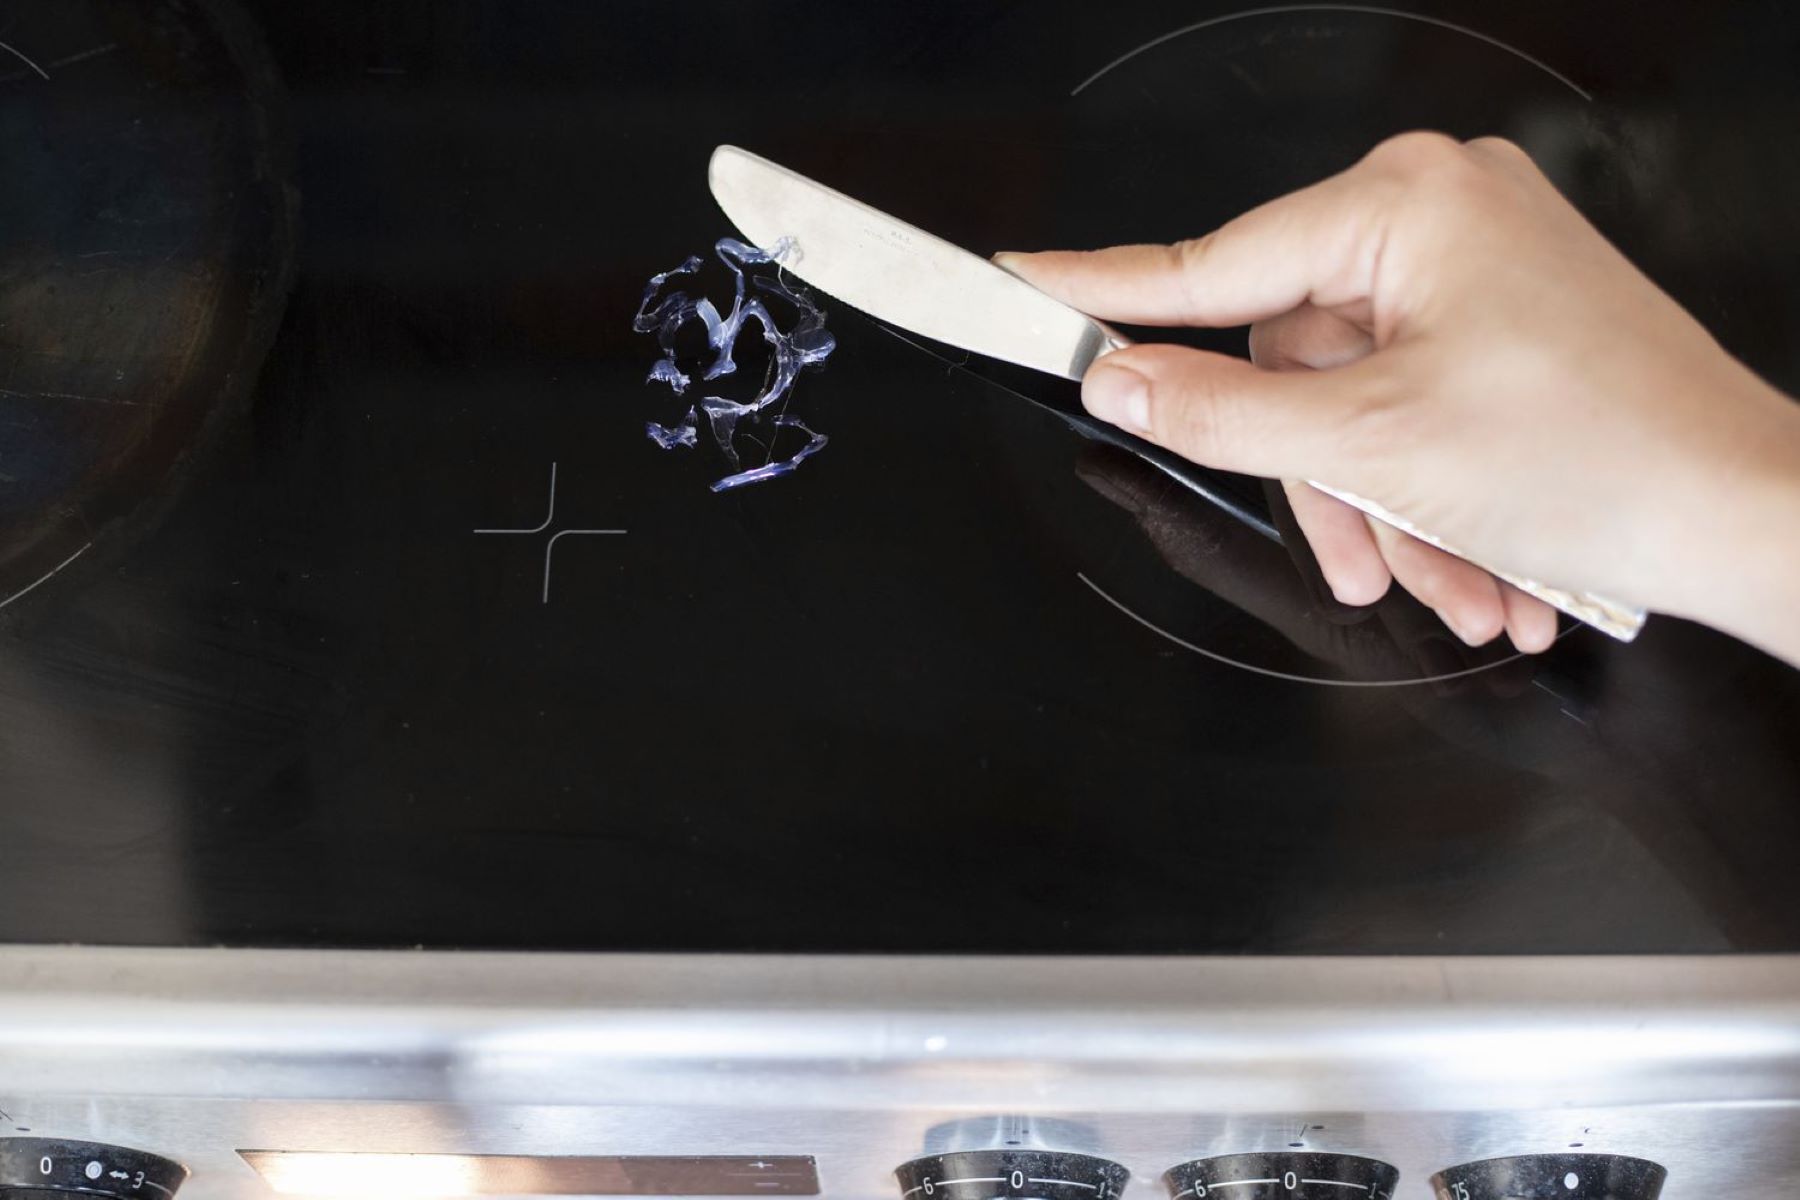
Plastic Scraper (Optional): In cases of particularly stubborn burnt residues, a plastic scraper can be used to gently lift off the hardened particles without scratching the glass. However, exercise caution when using a scraper to avoid any potential damage to the glass surface.
By gathering these simple yet effective materials, you'll be well-equipped to take on the task of cleaning burnt glass with confidence and precision. With these items at your disposal, you can proceed to the next steps and restore your glass surfaces to their pristine condition.
Step 1: Soak the Burnt Glass
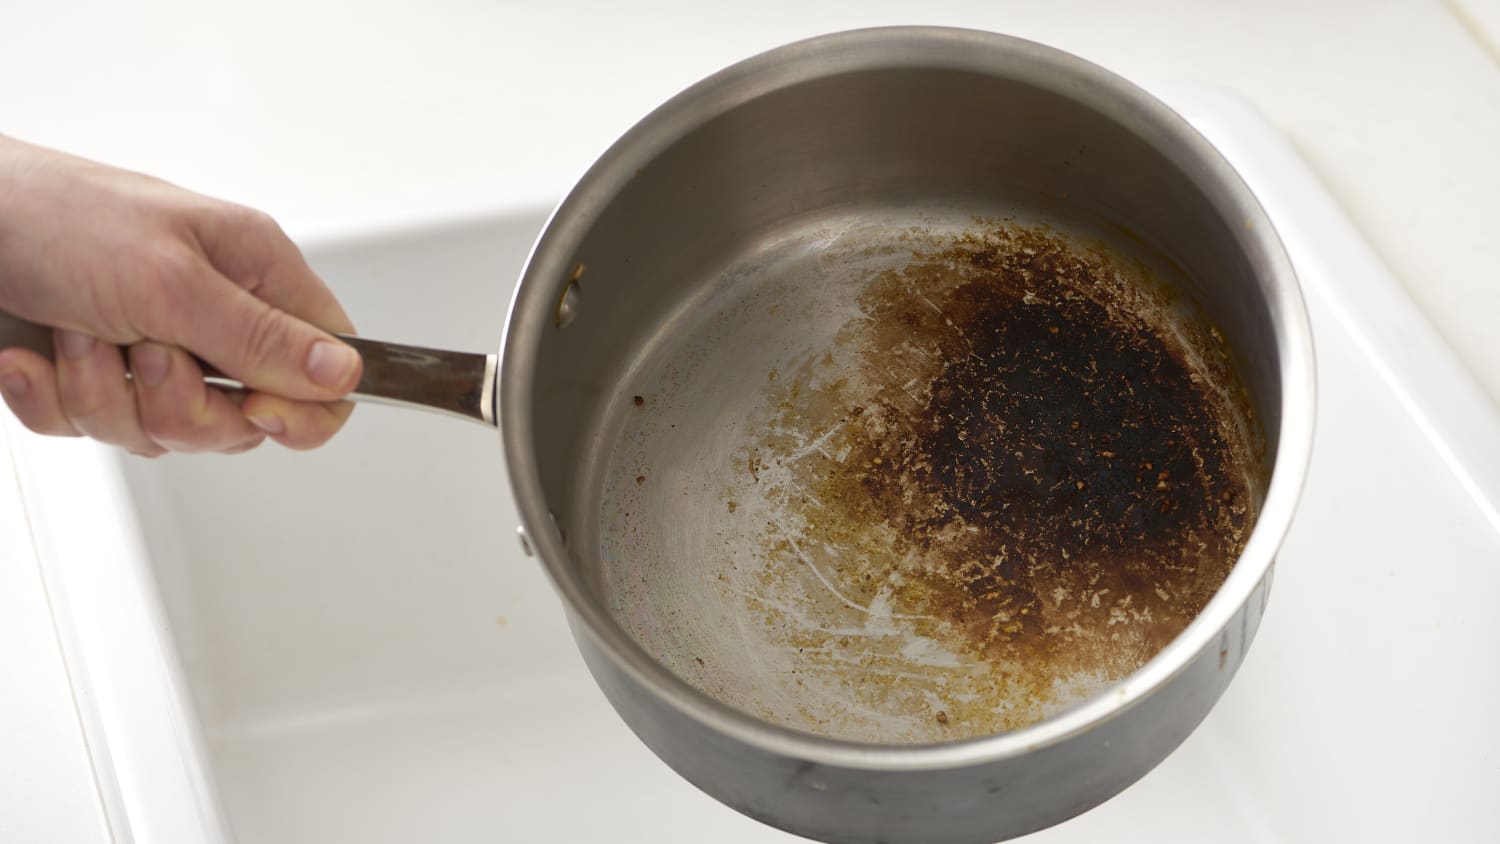
The first crucial step in tackling burnt glass is to initiate the process of loosening the stubborn residues by soaking the affected area. This method is particularly effective for glass stovetops, baking dishes, and oven doors that have endured scorching and stubborn burnt-on stains. By allowing the burnt glass to soak, you can significantly reduce the adherence of the residues, making them easier to remove during the subsequent cleaning stages.
To begin, fill a sink or a basin with hot water, ensuring that the water temperature is sufficiently high to generate steam. The heat from the hot water will work to soften the burnt residues, gradually loosening their grip on the glass surface. If the burnt glass item is too large to submerge in a sink, you can opt to place a soaked cloth or towel directly over the affected area, allowing the steam to penetrate and work its magic.
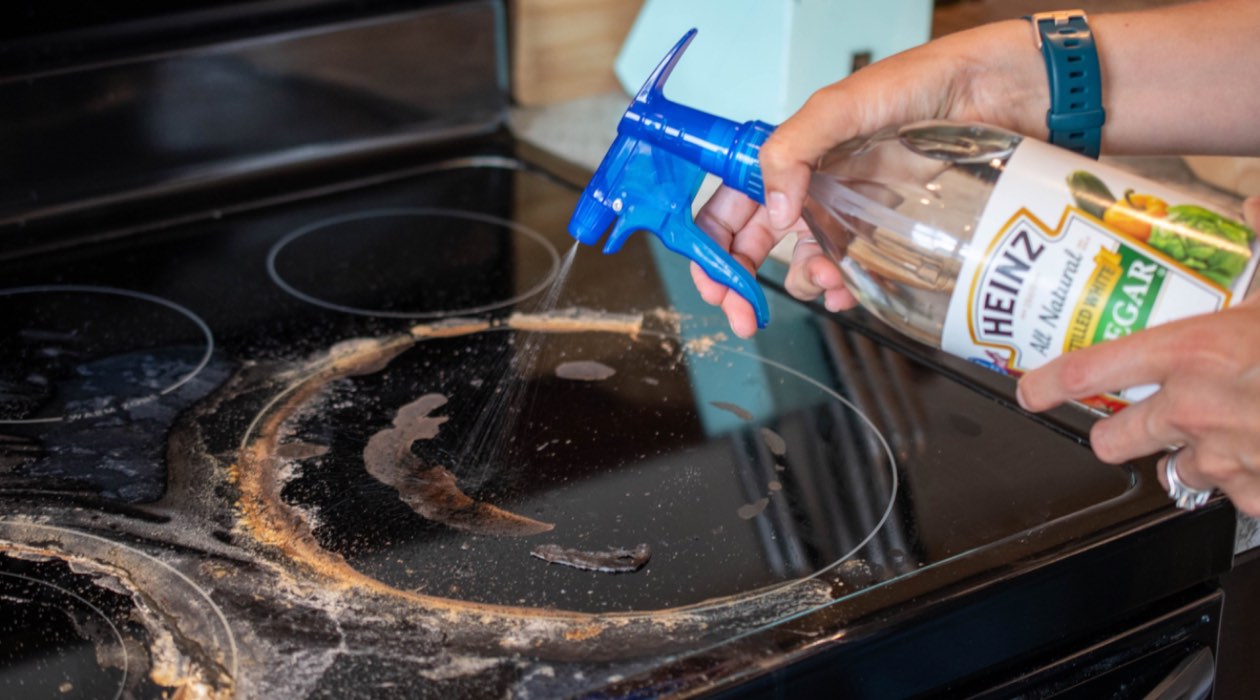
Once the hot water is ready, you can add a generous amount of white vinegar to the water. The acidic properties of the vinegar will further aid in breaking down the stubborn burnt residues, enhancing the effectiveness of the soaking process. The combination of hot water and vinegar creates a potent solution that targets the burnt-on stains, preparing them for easier removal in the subsequent cleaning steps.
Carefully place the burnt glass item into the hot water and vinegar solution, ensuring that the affected area is fully submerged. Allow the glass to soak for at least 30 minutes, giving ample time for the heat and acidity to work their way into the burnt residues. For particularly stubborn or extensive burnt stains, you may consider extending the soaking time to further facilitate the loosening of the residues.
During the soaking period, the steam and heat from the water will gradually soften the burnt-on residues, making them more receptive to the upcoming cleaning techniques. This initial step sets the stage for the subsequent cleaning process, laying the foundation for a more effective and efficient removal of the burnt stains.
After the designated soaking time has elapsed, carefully remove the glass item from the hot water and vinegar solution, preparing it for the next phase of the cleaning process. With the burnt residues now softened and loosened, you are ready to proceed to the next step and employ targeted methods to lift off the stubborn stains from the glass surface.
By initiating the cleaning process with a thorough soaking, you have taken a crucial first step in preparing the burnt glass for effective restoration. The combination of hot water and vinegar has worked to soften and loosen the stubborn residues, setting the stage for successful removal in the subsequent cleaning stages. With the glass now primed for further treatment, you can proceed with confidence, knowing that you have laid a solid foundation for achieving impressive results in rejuvenating the burnt glass to its former brilliance.
To clean burnt glass, soak the glass in hot soapy water for at least 30 minutes, then scrub with a non-abrasive sponge or cloth. For stubborn stains, make a paste of baking soda and water and scrub gently. Rinse thoroughly.
Step 2: Scrub with Baking Soda
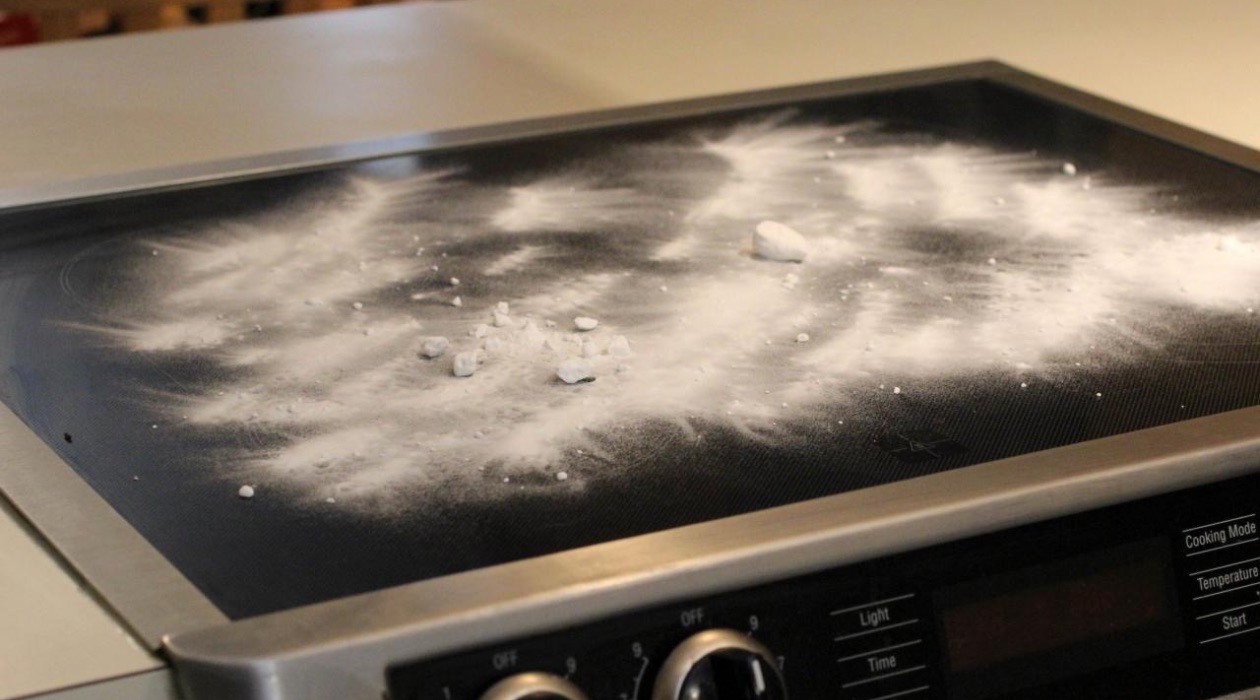
With the burnt glass item now thoroughly soaked and the stubborn residues softened, it's time to proceed to the next pivotal step in the cleaning process: scrubbing with baking soda. Baking soda, also known as sodium bicarbonate, is a household staple renowned for its remarkable cleaning properties. Its gentle abrasive nature makes it an ideal candidate for lifting off burnt-on residues from glass surfaces without causing scratches or damage.
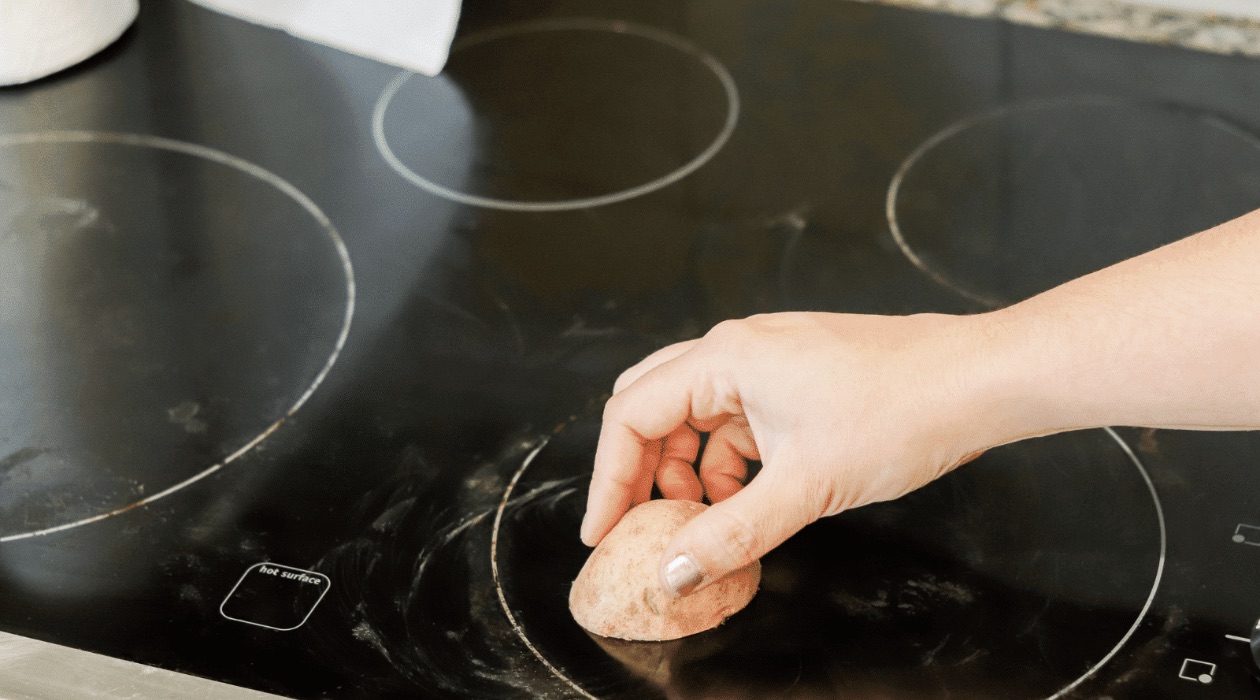
To begin, retrieve the soaked burnt glass item and place it on a flat surface, ensuring that it is well-supported and stable. Next, sprinkle a generous amount of baking soda directly onto the affected area, covering the burnt residues with a fine layer of the powdery substance. The baking soda will act as a gentle abrasive agent, working to dislodge the softened burnt residues from the glass surface.
Using a soft cleaning cloth or sponge, gently begin to scrub the baking soda into the affected area, employing circular motions to target the burnt-on stains. The mild abrasiveness of the baking soda, coupled with the mechanical action of scrubbing, will effectively lift off the loosened residues, gradually revealing the pristine glass surface underneath.
As you continue to scrub with baking soda, you may notice the gradual disappearance of the burnt stains, replaced by the renewed clarity of the glass. For particularly stubborn or extensive burnt residues, you can apply slightly more pressure while scrubbing, ensuring that the baking soda penetrates and dislodges the remnants effectively.
Throughout the scrubbing process, periodically assess the progress to gauge the effectiveness of the baking soda in lifting off the burnt residues. If necessary, you can reapply additional baking soda to target specific areas that require further attention, ensuring thorough coverage of the affected surface.
Once you have diligently scrubbed the entire affected area with baking soda, allow the powdery residue to remain on the glass for a few minutes. This brief period allows the baking soda to continue its gentle abrasive action, further loosening any remaining stubborn residues and enhancing the overall cleaning efficacy.
After the brief interval, dampen a clean cloth or sponge with hot water and proceed to thoroughly rinse the affected area, ensuring that all traces of the baking soda and loosened residues are effectively removed. As you rinse, you will witness the remarkable transformation as the burnt stains give way to the pristine, gleaming glass surface, restored to its former brilliance.
With the scrubbing process complete, take a moment to admire the impressive results of your efforts. The combination of baking soda's gentle abrasiveness and your meticulous scrubbing technique has effectively rejuvenated the burnt glass, breathing new life into the once-blemished surface.
By diligently scrubbing with baking soda, you have successfully harnessed the cleaning prowess of this household hero, banishing the stubborn burnt residues and unveiling the radiant beauty of the glass beneath. With the burnt stains now a distant memory, you can proceed to the final step, confident in the remarkable transformation you have achieved through the power of baking soda and dedicated scrubbing.
Step 3: Rinse and Dry
After the meticulous scrubbing with baking soda has effectively lifted off the stubborn burnt residues, it's time to proceed to the crucial final step: rinsing and drying the rejuvenated glass surface. This step is essential for ensuring that all traces of the cleaning agents and loosened residues are thoroughly removed, leaving behind a sparkling, pristine glass surface.
To begin the rinsing process, thoroughly wet a clean cloth or sponge with hot water. The heat of the water will aid in dislodging any residual baking soda and loosened burnt particles, facilitating their swift removal from the glass surface. With the dampened cloth or sponge in hand, gently wipe the entire affected area, ensuring that all remnants of the baking soda and loosened residues are effectively rinsed away.
As you proceed with the rinsing, periodically rinse the cloth or sponge to remove any accumulated residues, allowing you to maintain an effective cleaning action. Pay close attention to the edges and corners of the glass item, ensuring that all areas are meticulously rinsed to reveal the pristine clarity of the glass.
Once you have thoroughly rinsed the glass surface, it's time to proceed to the drying phase. Using a clean, dry cloth, carefully pat the glass surface to absorb any residual moisture, ensuring that the glass is left gleaming and streak-free. Take care to use a lint-free cloth to avoid leaving behind any unsightly lint or fibers on the newly cleaned surface.
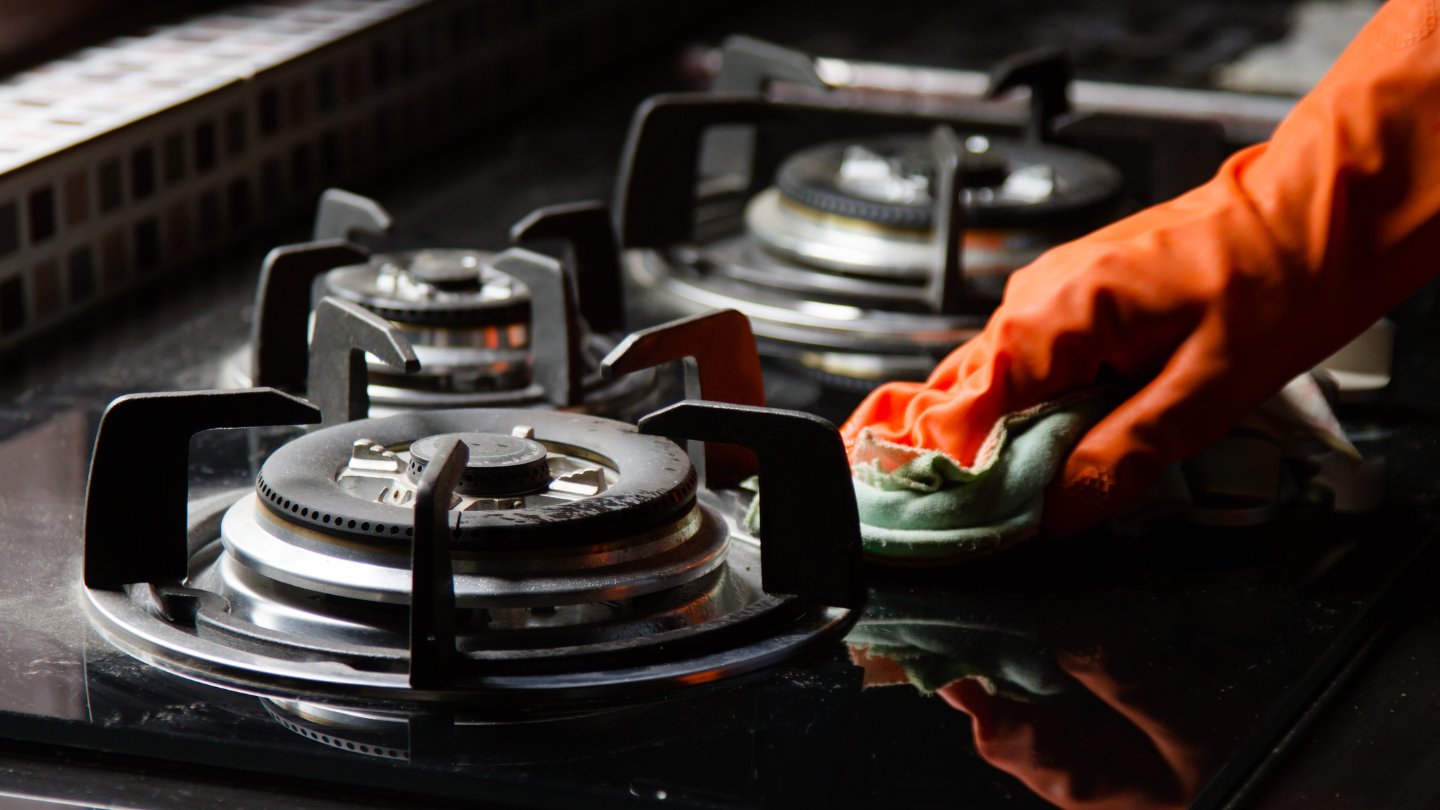
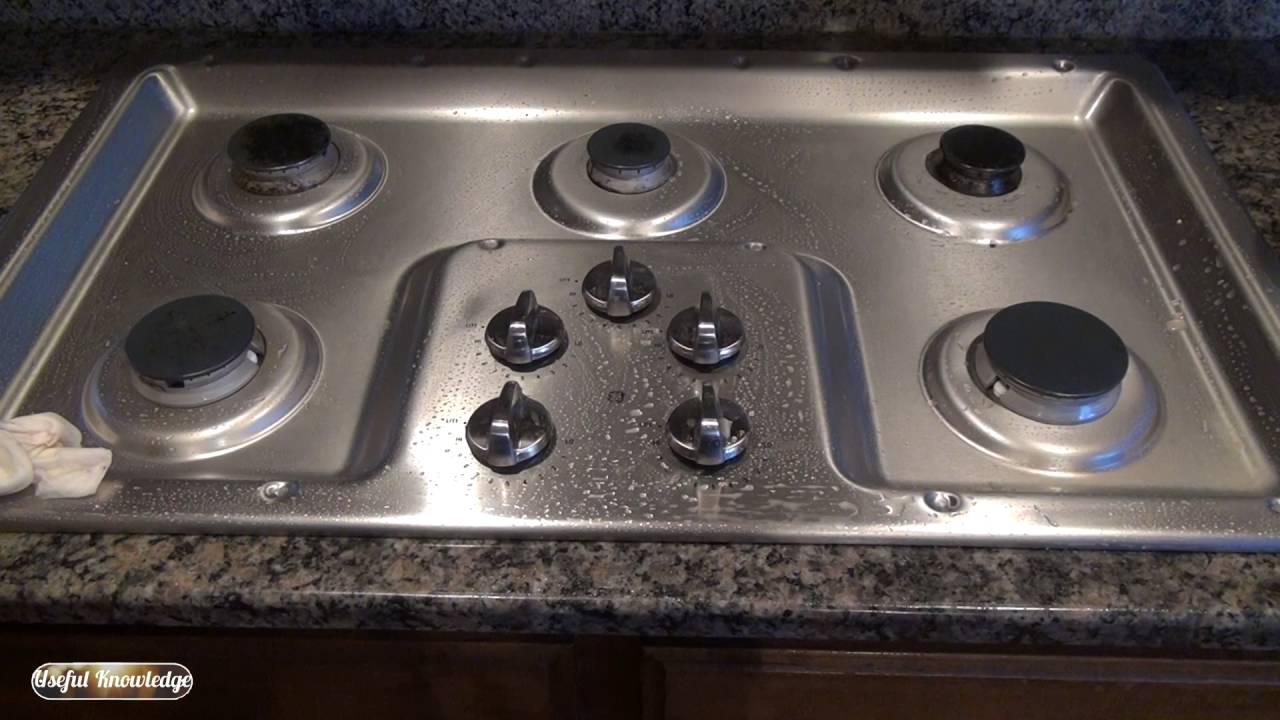
If the burnt glass item is a stovetop or an oven door, it's essential to ensure that all moisture is effectively removed from the crevices and edges to prevent any potential water spots or streaks. By diligently drying the glass surface, you can achieve a flawless, crystal-clear finish that showcases the remarkable transformation from burnt and blemished to radiant and pristine.
As the glass surface is meticulously dried, take a moment to admire the impressive results of your cleaning efforts. The once-burnt and tarnished glass has been rejuvenated to its former brilliance, exuding a captivating clarity and sparkle that enhances the overall aesthetic appeal of your kitchen.
With the rinsing and drying process complete, you have successfully concluded the comprehensive cleaning journey, culminating in the remarkable restoration of the burnt glass to its pristine state. The combination of soaking, scrubbing with baking soda, and meticulous rinsing and drying has yielded impressive results, breathing new life into the glass and ensuring that it remains a shining focal point in your kitchen.
By diligently following these steps, you have demonstrated the remarkable ability to tackle burnt glass with confidence and precision, achieving remarkable results that showcase the transformative power of effective cleaning techniques. With the glass now restored to its former luster, you can revel in the satisfaction of a job well done, knowing that your kitchen is adorned with gleaming, immaculate glass surfaces that exude timeless elegance and charm.
Read more: How To Clean Burnt Oven Floor
Conclusion
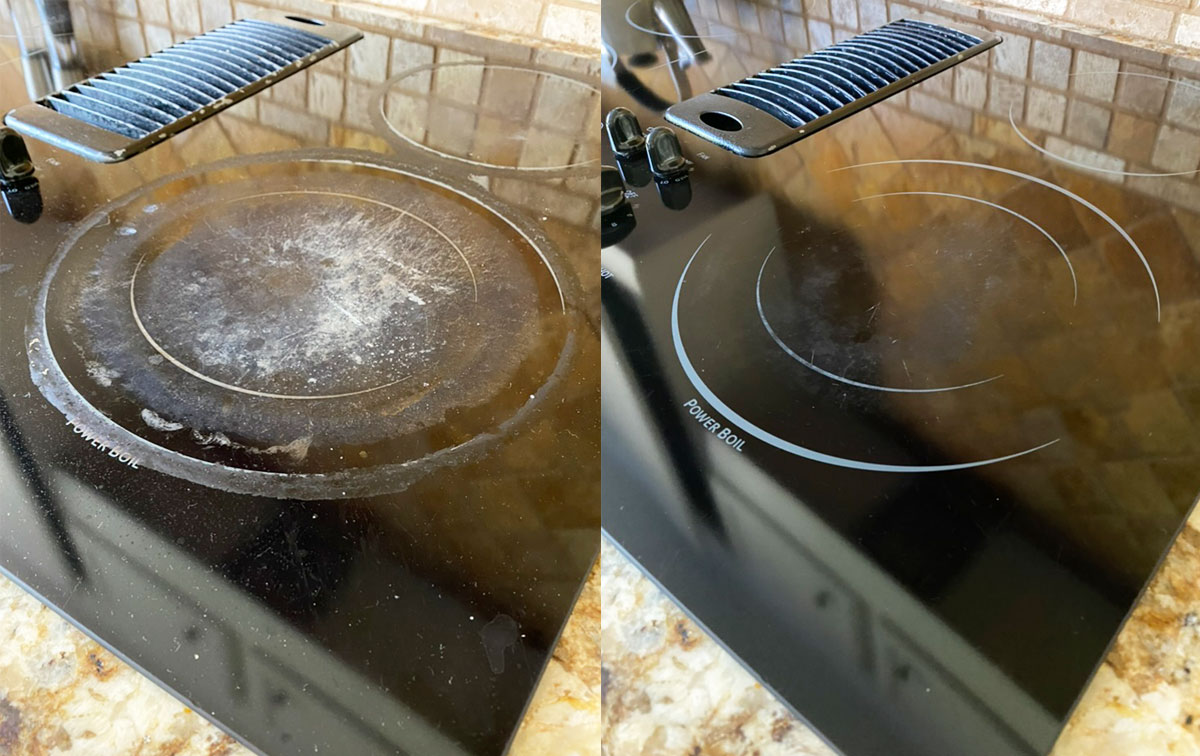
In conclusion, the process of cleaning burnt glass is a transformative journey that yields remarkable results when approached with the right techniques and materials. By following the step-by-step methods outlined in this guide, you have embarked on a journey to rejuvenate and restore the luster of your glass surfaces, banishing stubborn burnt residues and unveiling the radiant clarity of the glass beneath.
The initial step of soaking the burnt glass in a hot water and vinegar solution set the stage for the subsequent cleaning process, effectively softening and loosening the stubborn residues. This crucial preparatory step laid the foundation for the successful removal of the burnt-on stains, ensuring that the glass was primed for restoration.
The meticulous scrubbing with baking soda proved to be a pivotal phase in the cleaning journey, harnessing the gentle abrasive nature of baking soda to dislodge the softened burnt residues from the glass surface. Through dedicated scrubbing and the remarkable cleaning prowess of baking soda, the burnt stains gradually gave way to the pristine, gleaming glass, showcasing the transformative power of effective cleaning techniques.
The final step of rinsing and drying the rejuvenated glass surface ensured that all traces of the cleaning agents and loosened residues were thoroughly removed, leaving behind a sparkling, pristine glass surface. This meticulous attention to detail culminated in a flawless, crystal-clear finish that showcased the remarkable transformation from burnt and blemished to radiant and pristine.
As you reflect on the comprehensive cleaning journey, take pride in the remarkable results you have achieved. The once-burnt and tarnished glass has been rejuvenated to its former brilliance, exuding a captivating clarity and sparkle that enhances the overall aesthetic appeal of your kitchen. With the glass now restored to its former luster, revel in the satisfaction of a job well done, knowing that your kitchen is adorned with gleaming, immaculate glass surfaces that exude timeless elegance and charm.
By embracing the art of cleaning burnt glass with confidence and precision, you have unlocked the transformative potential of effective cleaning techniques, ensuring that your glass surfaces remain a shining focal point in your kitchen. As you admire the radiant clarity of the rejuvenated glass, take pride in the knowledge that you have mastered the art of restoring burnt glass to its pristine state, elevating the visual allure and cleanliness of your kitchen environment.
Now that you've mastered cleaning burnt glass, why not tackle other areas that need attention? For instance, keeping your refrigerator spotless isn't just about wiping surfaces; it involves detailed care inside and out, ensuring freshness and hygiene. Ready for more? Every homeowner knows regular upkeep is key to a well-maintained space. Dive into essential routines that keep every corner in top shape, from seasonal checks to quick fixes.
Frequently Asked Questions about How To Clean Burnt Glass
Was this page helpful?
At Storables.com, we guarantee accurate and reliable information. Our content, validated by Expert Board Contributors, is crafted following stringent Editorial Policies. We're committed to providing you with well-researched, expert-backed insights for all your informational needs.

0 thoughts on “How To Clean Burnt Glass”