Home>Furniture & Design>Interior Design Trends>How To Make A Spy Glass
Interior Design Trends
How To Make A Spy Glass
Published: February 6, 2024
Discover the latest interior design trends and learn how to make a spy glass with our step-by-step guide. Elevate your space with these creative ideas!
(Many of the links in this article redirect to a specific reviewed product. Your purchase of these products through affiliate links helps to generate commission for Storables.com, at no extra cost. Learn more)
Introduction
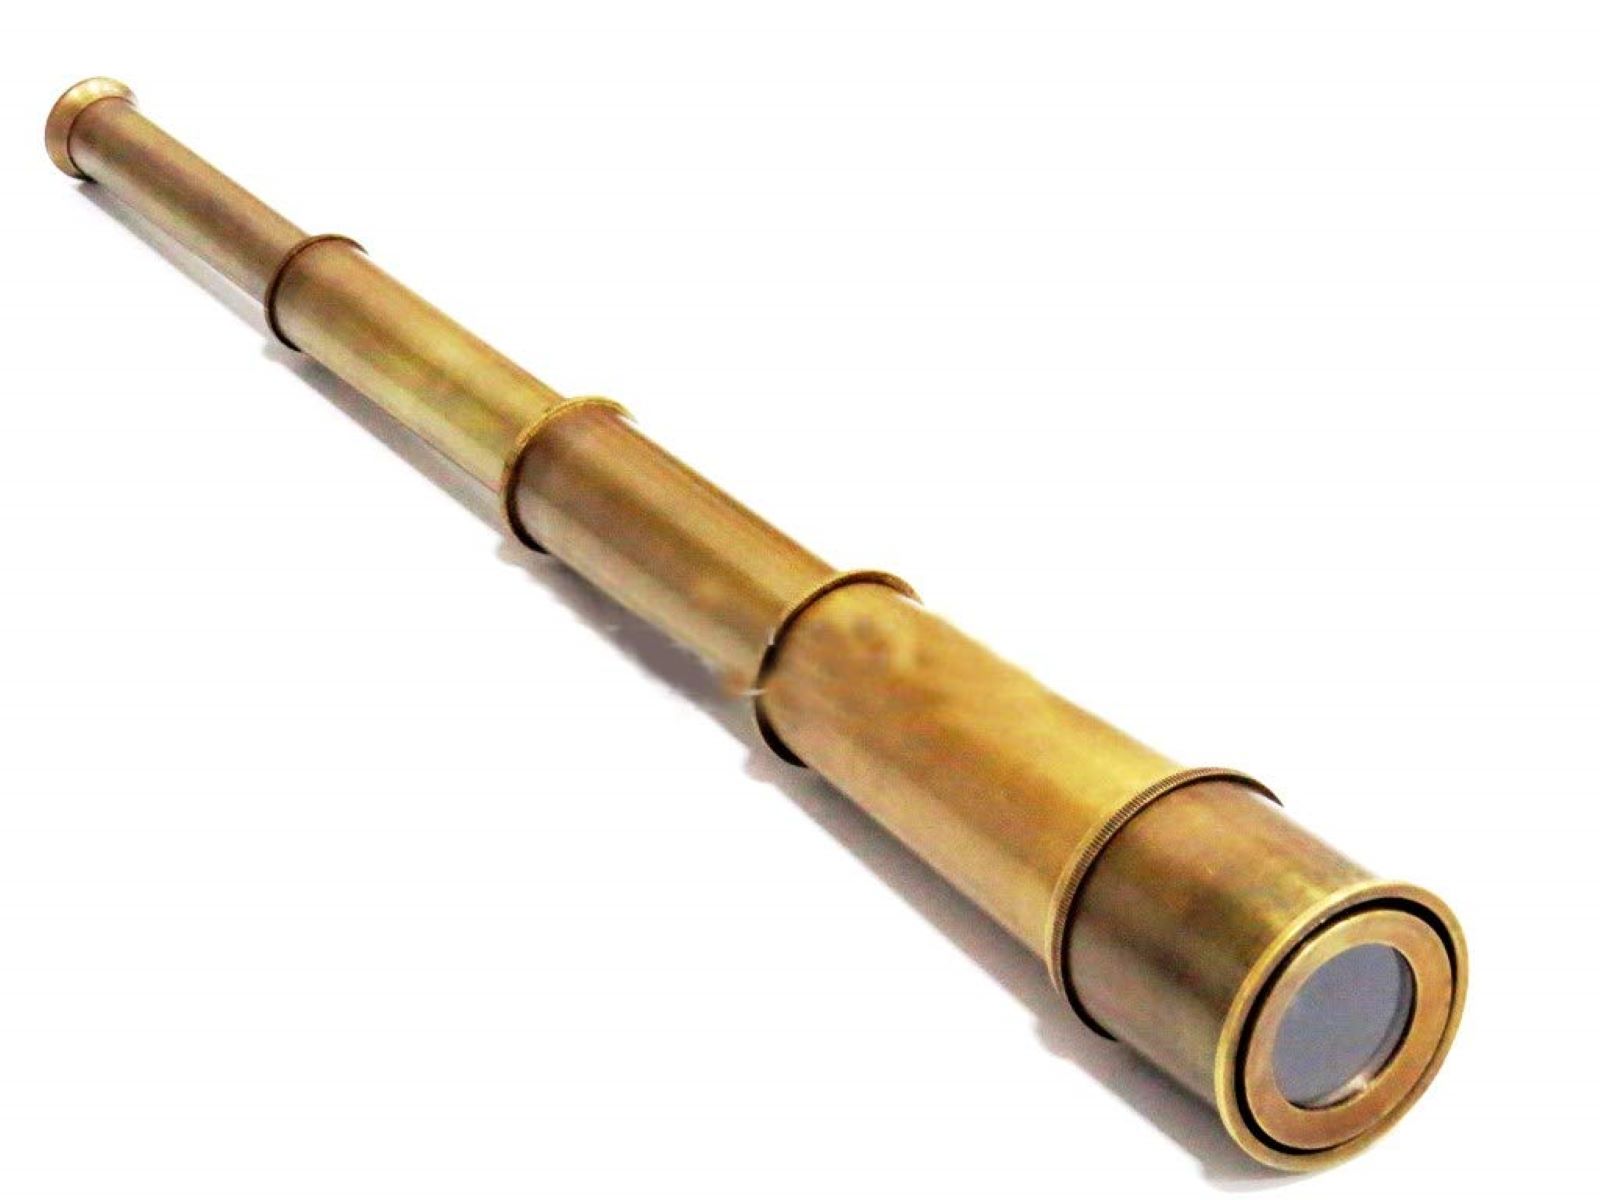
Creating a spyglass is an exciting and rewarding endeavor that allows you to explore the world from a new perspective. With a few simple materials and a touch of creativity, you can craft a functional spyglass that evokes the spirit of adventure and discovery. Whether you're a curious explorer, a budding scientist, or an aspiring pirate, this DIY project promises to ignite your imagination and provide a unique tool for observing the world around you.
The spyglass, also known as a telescope, has a rich history dating back to the 17th century when it was used for maritime navigation and stargazing. Today, it continues to captivate enthusiasts of all ages, offering a glimpse into the wonders of the universe and the beauty of distant landscapes. By embarking on this journey to construct your own spyglass, you'll not only gain a deeper understanding of optics and engineering but also cultivate a sense of wonder and ingenuity.
As you embark on this creative endeavor, you'll discover the joy of transforming everyday materials into a functional and aesthetically pleasing instrument. The process of crafting a spyglass provides an opportunity to engage in hands-on learning, fostering a deeper appreciation for the principles of light and magnification. Moreover, the satisfaction of holding a handmade spyglass in your hands, knowing that you brought it to life through your own ingenuity, is truly unparalleled.
In the following sections, we will delve into the step-by-step process of creating a spyglass, from preparing the lens to assembling the body and bringing it all together. By following these instructions, you'll embark on a journey of craftsmanship and exploration, culminating in the creation of a remarkable tool that embodies the spirit of curiosity and discovery. So, gather your materials, unleash your creativity, and let's embark on this thrilling adventure of crafting your very own spyglass.
Key Takeaways:
- Unleash your creativity and embark on a thrilling DIY adventure to craft your very own spyglass, exploring the world from a new perspective and igniting your imagination.
- Transform everyday materials into a functional and visually captivating spyglass, infusing it with your unique flair and craftsmanship to embark on a journey of observation and discovery.
Read more: What Is An I Spy Quilt
Materials Needed
To embark on the exciting journey of creating your own spyglass, you will need a selection of materials that are readily available and easy to work with. These items will form the essential components of your spyglass, allowing you to construct a functional and visually appealing instrument. Here's a comprehensive list of the materials required for this engaging DIY project:
-
Cardboard Tubes: Obtain two cardboard tubes of different diameters, such as those from paper towel rolls or mailing tubes. The larger tube will serve as the main body of the spyglass, while the smaller tube will house the lens assembly.
-
Magnifying Lens: Acquire a high-quality magnifying lens, preferably with a focal length of at least 5 inches. This lens will be the key element in providing magnification and clarity to your spyglass, enabling you to observe distant objects with enhanced detail.
-
Decorative Paper or Fabric: Choose decorative paper or fabric to adorn the exterior of your spyglass. This material will add a touch of elegance and personalization to the finished product, allowing you to customize its appearance to suit your preferences.
-
Cardstock or Heavy Paper: Secure cardstock or heavy paper to create the end caps for the spyglass. These sturdy materials will provide structural support and stability to the assembled components, ensuring that your spyglass is durable and functional.
-
Adhesive: Gather strong adhesive such as glue or double-sided tape to securely attach the various components of the spyglass. A reliable adhesive is essential for ensuring that the spyglass remains intact and stable during use.
-
Scissors and Craft Knife: Have a pair of scissors and a craft knife on hand to cut the cardboard tubes, decorative paper, and cardstock with precision. These tools will enable you to create clean and accurate cuts, ensuring that the components fit together seamlessly.
-
Ruler and Pencil: Keep a ruler and pencil nearby to measure and mark the materials as needed. Accurate measurements are crucial for achieving a well-crafted spyglass that functions effectively and looks aesthetically pleasing.
-
Optional Embellishments: Consider incorporating optional embellishments such as decorative stickers, metallic paint, or ribbons to further enhance the visual appeal of your spyglass. These embellishments can add a touch of creativity and individuality to the final design, making your spyglass truly unique.
By gathering these materials, you'll be well-equipped to embark on the process of constructing your very own spyglass, infusing it with your creativity and personal flair. With these essential components at your disposal, you're ready to dive into the exciting world of DIY craftsmanship and bring your vision of a custom spyglass to life.
Step 1: Prepare the Lens
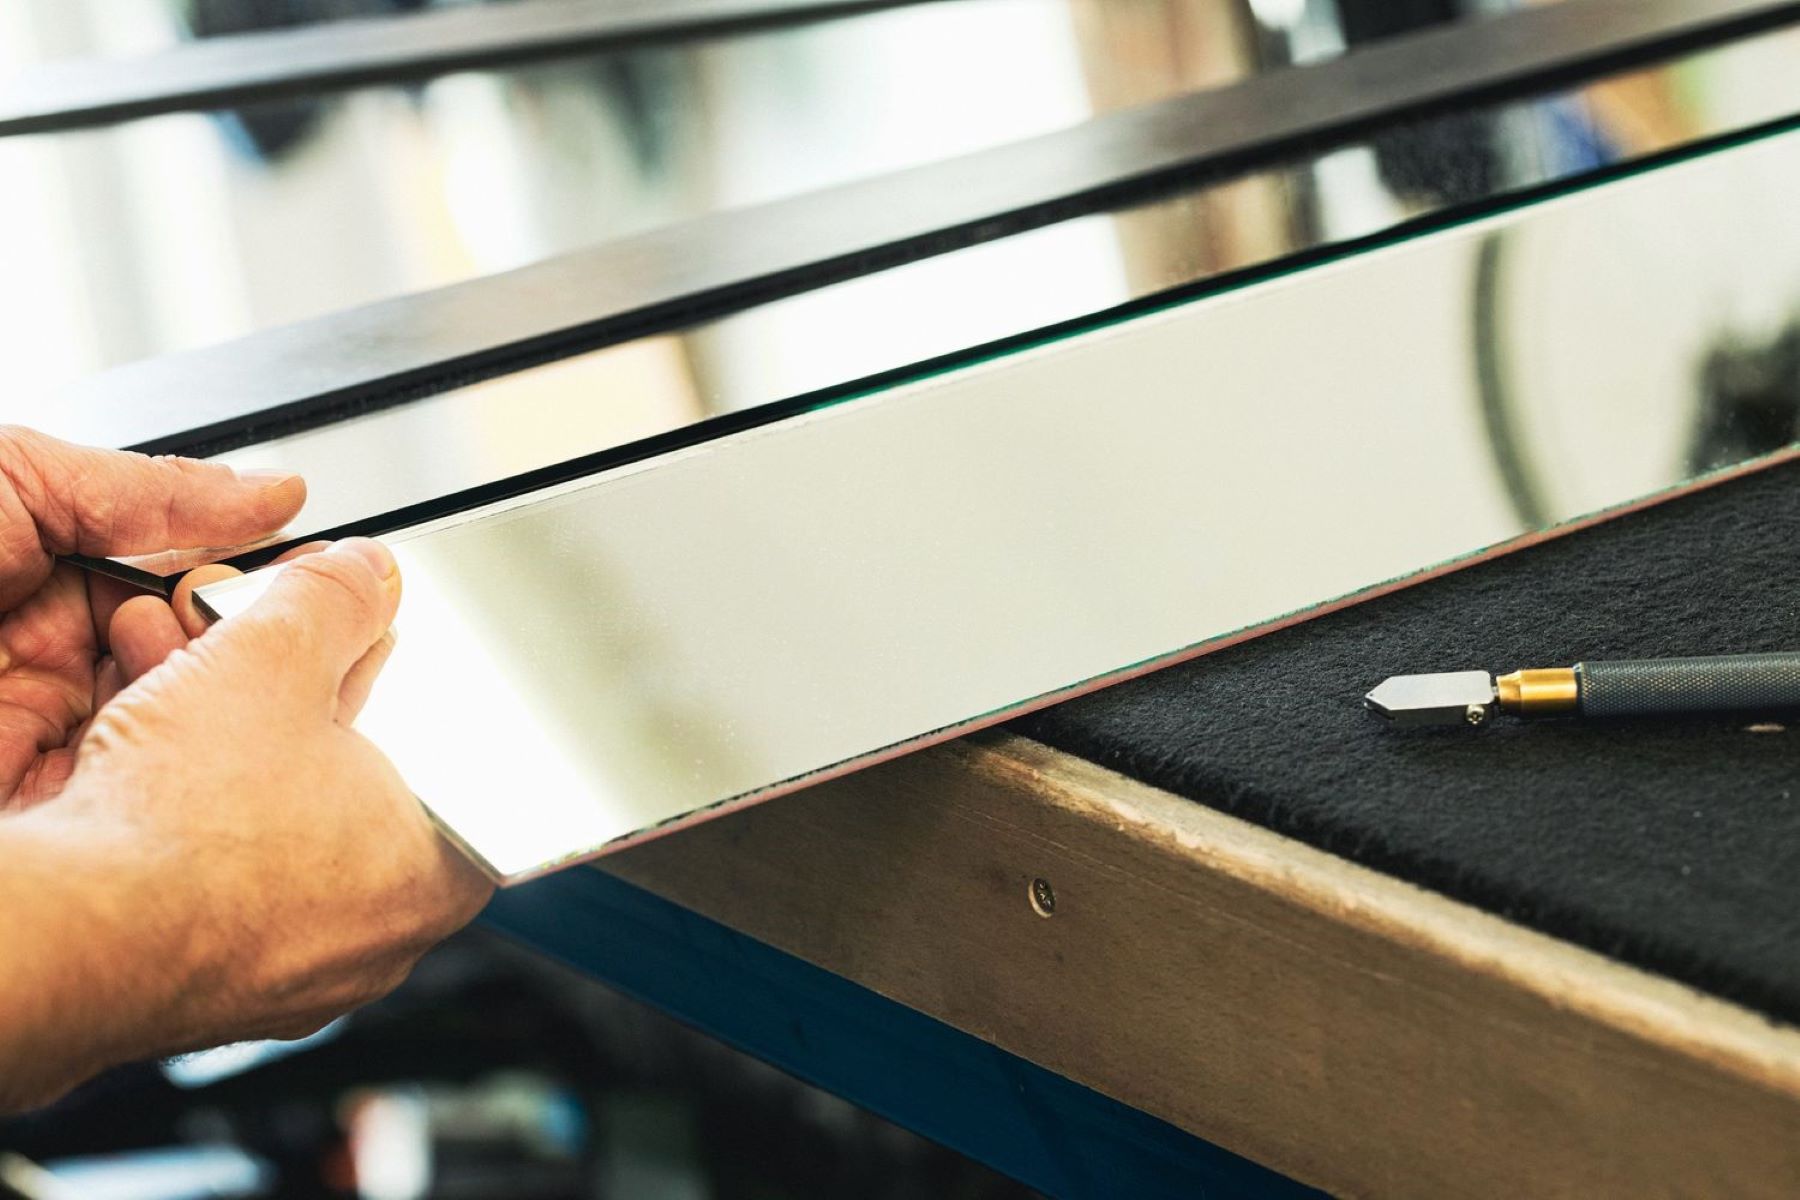
The lens is a fundamental component of the spyglass, responsible for magnifying distant objects and rendering them visible with enhanced clarity. To prepare the lens for assembly, begin by carefully handling the magnifying lens, ensuring that it remains free from scratches or blemishes. Gently clean the surface of the lens using a soft, lint-free cloth to remove any dust or smudges, thereby optimizing its optical performance.
Next, measure the diameter of the smaller cardboard tube that will house the lens assembly. Using a ruler, mark the exact center of one end of the tube to serve as the focal point for the lens. With precision, carefully cut out a circular opening at the marked center using a craft knife, ensuring that the aperture matches the diameter of the magnifying lens. Exercise caution during this step to achieve a clean and accurate cut that accommodates the lens securely.
Once the opening is prepared, apply a thin, even layer of strong adhesive around the rim of the aperture. Gently position the magnifying lens over the opening, ensuring that it sits flush with the surface of the cardboard tube. Press down firmly to secure the lens in place, allowing the adhesive to set and create a stable bond. It is essential to verify that the lens is centered and aligned within the aperture, as this will directly impact the optical performance of the spyglass.
With the lens securely affixed to the cardboard tube, allow the adhesive to fully cure according to the manufacturer's instructions. This ensures that the lens assembly is firmly attached and ready for integration into the body of the spyglass. By meticulously preparing the lens in this manner, you lay the foundation for a well-crafted spyglass that delivers exceptional magnification and visual acuity, setting the stage for the subsequent steps in the construction process.
As you complete this crucial step, take pride in the meticulous preparation of the lens, knowing that your attention to detail will contribute to the functionality and aesthetic appeal of the finished spyglass. With the lens now primed for integration, you are poised to advance to the next phase of assembling the body of the spyglass, bringing you one step closer to the realization of your custom-crafted optical instrument.
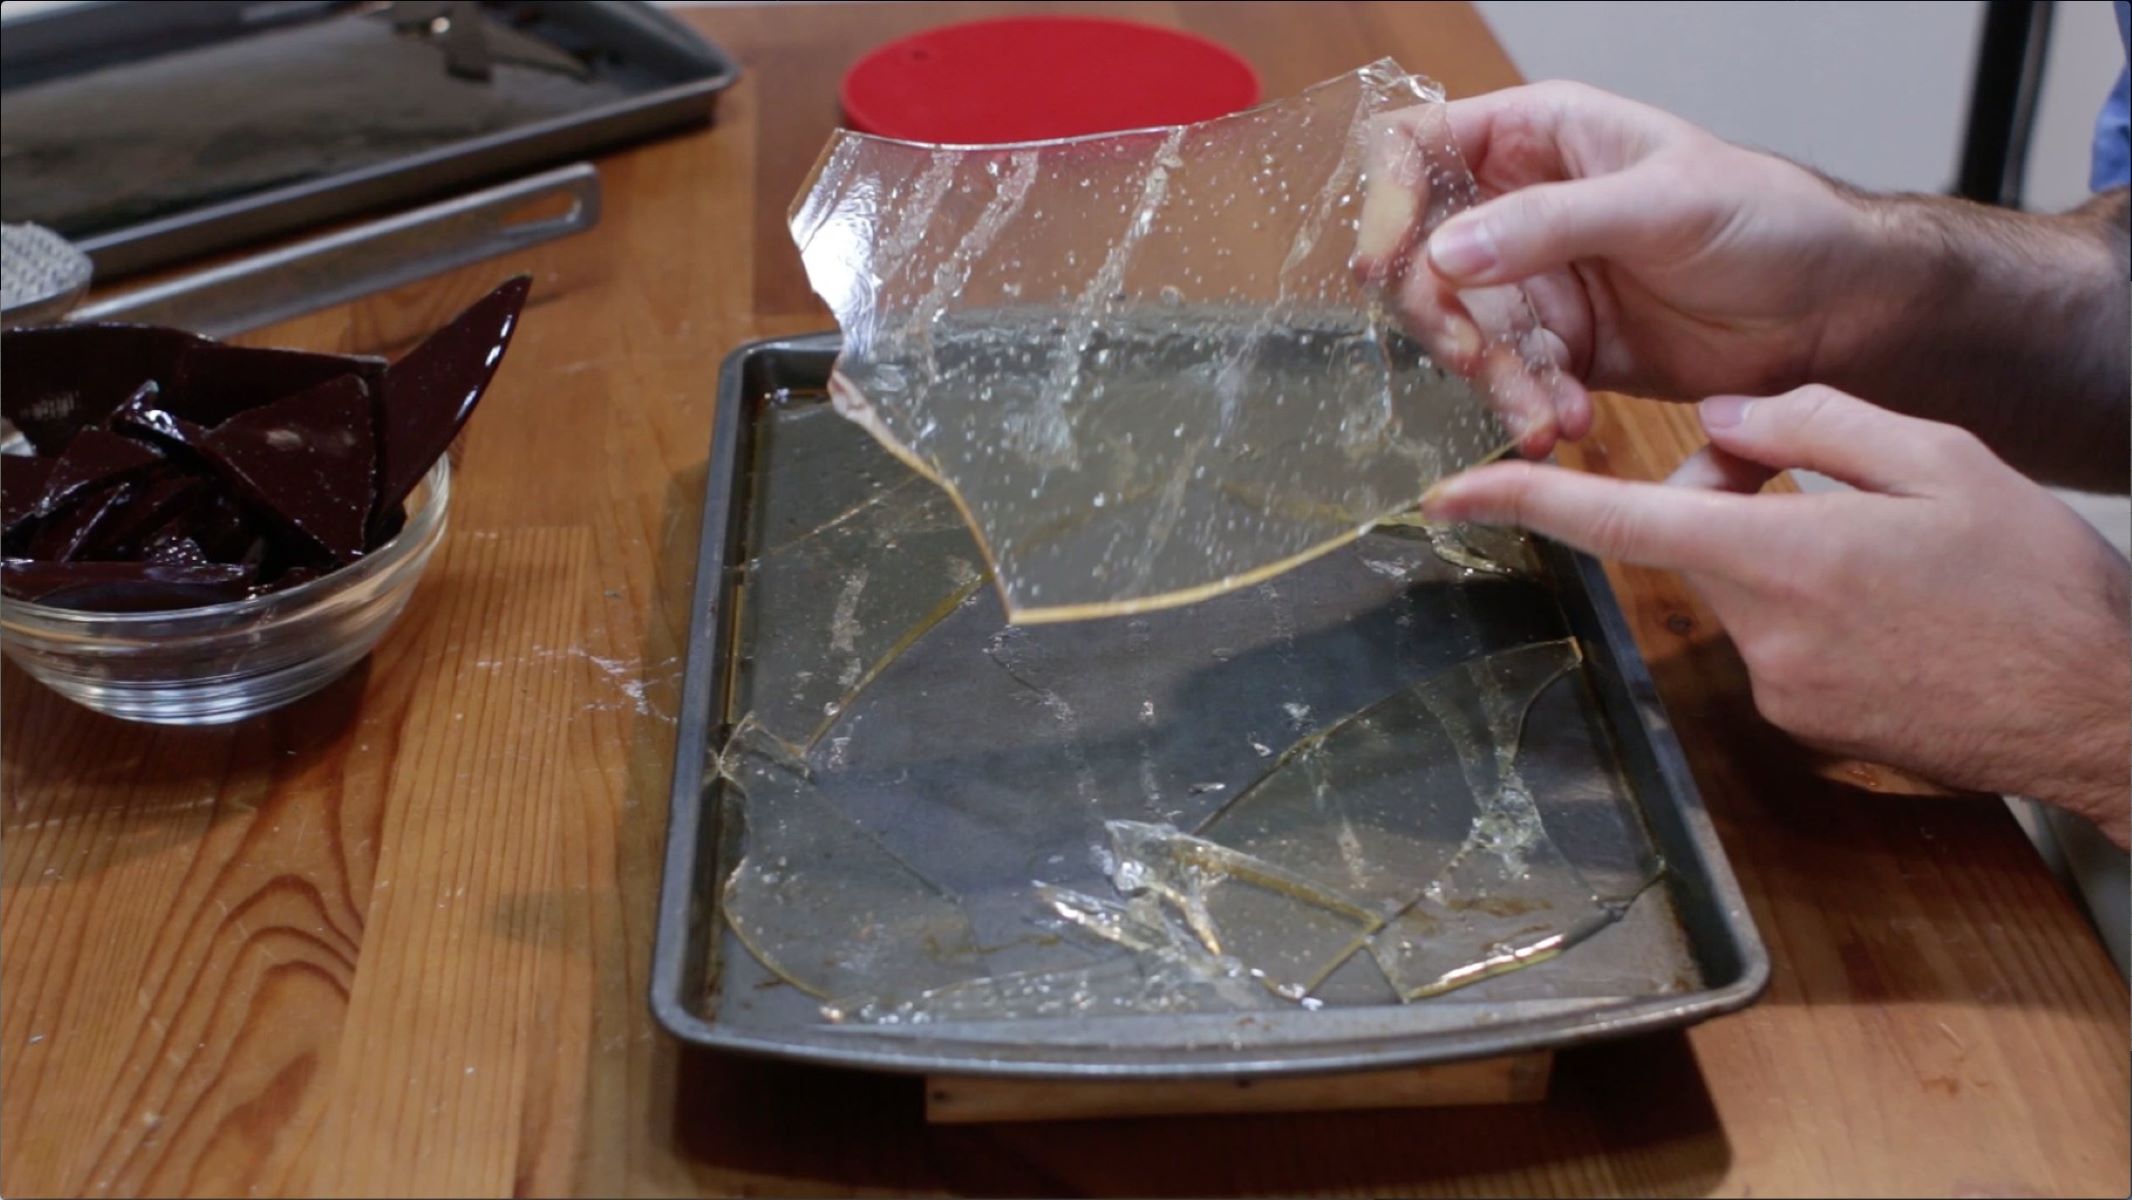
To make a spy glass, use two cardboard tubes (like from paper towels), tape them together, and cover one end with plastic wrap. Then, use a small piece of clear plastic or glass to cover the other end to create a lens.
Step 2: Construct the Body
With the lens assembly prepared, the next pivotal phase in creating your spyglass involves constructing the body, which forms the structural framework for the instrument. This step encompasses the assembly of the main cardboard tube, the addition of decorative elements, and the integration of the lens assembly to form a cohesive and visually appealing spyglass.
Begin by selecting the larger cardboard tube, which will serve as the primary body of the spyglass. This tube provides the foundation for housing the lens assembly and serves as the conduit for observing distant objects. To enhance the aesthetic appeal of the spyglass, consider wrapping the exterior of the cardboard tube with decorative paper or fabric. This embellishment not only adds a personalized touch to the instrument but also reinforces the structural integrity of the body, creating a visually striking and durable exterior.
Once the decorative covering is applied, secure it in place using a reliable adhesive, ensuring a smooth and uniform surface. Pay careful attention to aligning the edges and corners of the decorative material to achieve a polished and professional appearance. This step allows you to infuse your creative vision into the design of the spyglass, resulting in a customized and visually captivating exterior that reflects your individual style and preferences.
After adorning the cardboard tube with the chosen decorative material, proceed to affix the end caps to both ends of the tube. Cut two circular pieces of cardstock or heavy paper to match the diameter of the tube, providing structural support and a finished look to the body of the spyglass. Secure the end caps in place using a strong adhesive, ensuring a snug fit that reinforces the overall stability of the instrument.
With the body of the spyglass now taking shape, it is time to integrate the prepared lens assembly into the larger cardboard tube. Carefully insert the smaller tube containing the lens assembly into one end of the main body, ensuring a secure and centered placement. The snug fit of the lens assembly within the body of the spyglass is crucial for maintaining optical alignment and stability, thereby optimizing the functionality of the instrument.
As you progress through this phase of construction, take pride in the meticulous attention to detail and craftsmanship that defines the body of the spyglass. By infusing your creative flair and precision into the assembly process, you are on the cusp of completing a visually stunning and functional instrument that embodies the spirit of exploration and ingenuity.
This marks a significant milestone in the creation of your custom-crafted spyglass, setting the stage for the final step of assembling the components and bringing the instrument to fruition. With the body of the spyglass now expertly constructed, you are poised to embark on the culminating phase of assembling the spyglass, culminating in the realization of your handcrafted optical marvel.
Step 3: Assemble the Spy Glass
With the body of the spyglass expertly constructed, the final phase of this captivating DIY project involves the meticulous assembly of the remaining components to bring the instrument to life. This pivotal step encompasses the integration of the lens assembly, the alignment of the eyepiece, and the final touches that culminate in the realization of a fully functional and visually striking spyglass.
To commence the assembly process, carefully position the larger end of the body containing the lens assembly to serve as the objective lens. This end of the spyglass is responsible for capturing and focusing light from distant objects, channeling it through the lens assembly to initiate the magnification process. Ensure that the lens assembly is securely seated within the body, maintaining precise alignment and stability to optimize the optical performance of the spyglass.
Next, it is essential to incorporate the eyepiece, which allows the observer to peer through the spyglass and observe magnified images with enhanced clarity. Select a smaller circular piece of cardstock or heavy paper to serve as the eyepiece, ensuring that it matches the diameter of the smaller cardboard tube containing the lens assembly. Carefully affix the eyepiece to the opposite end of the body, aligning it with precision to create a seamless and comfortable viewing experience.
As the lens assembly and eyepiece are integrated into the body of the spyglass, take a moment to verify the alignment and functionality of the optical components. Ensure that the lens assembly and eyepiece are positioned at the appropriate distances within the body, facilitating optimal magnification and visual acuity. This meticulous attention to detail is crucial for achieving a well-calibrated spyglass that delivers exceptional performance and a captivating viewing experience.
To add a finishing touch to your custom-crafted spyglass, consider embellishing the exterior with optional decorative elements such as metallic paint, decorative stickers, or ribbons. These embellishments not only enhance the visual appeal of the spyglass but also provide a personalized touch that reflects your creative vision and individuality. By infusing the exterior with your unique flair, you elevate the aesthetic charm of the spyglass, transforming it into a captivating work of art.
With the assembly process now complete, take a moment to admire the culmination of your efforts as the spyglass stands before you, a testament to your creativity and craftsmanship. This fully assembled spyglass embodies the spirit of exploration and discovery, inviting you to embark on a journey of observation and wonder. As you hold this remarkable instrument in your hands, you are poised to explore the world from a new perspective, capturing the essence of curiosity and ingenuity that defines the timeless allure of the spyglass.
Read more: How To Make Iridescent Glass
Conclusion
In conclusion, the journey of creating your own spyglass has been a remarkable exploration of craftsmanship, creativity, and ingenuity. From the meticulous preparation of the lens to the construction of the body and the final assembly of the components, every step has been infused with a sense of wonder and discovery. As you hold the fully assembled spyglass in your hands, you are not just in possession of a functional optical instrument; you are the curator of a timeless symbol of curiosity and exploration.
The process of crafting a spyglass has not only honed your practical skills but has also ignited your imagination, allowing you to envision the world through a new lens, quite literally. The satisfaction of transforming everyday materials into a visually captivating and functional tool is a testament to your resourcefulness and creativity. Each carefully chosen material and meticulously executed step has contributed to the creation of a spyglass that reflects your individual style and craftsmanship.
As you gaze through the eyepiece of your custom-crafted spyglass, you are poised to embark on a journey of observation and discovery. The world around you transforms as distant objects come into focus, revealing intricate details and captivating vistas. Whether you are exploring the natural beauty of landscapes, observing celestial wonders in the night sky, or simply indulging in the joy of discovery, your spyglass stands as a faithful companion, ready to unveil the marvels that await your gaze.
Beyond its practical utility, your handmade spyglass embodies the spirit of exploration and the timeless allure of scientific inquiry. It serves as a tangible reminder of the human desire to seek knowledge and unravel the mysteries of the universe. With each use, the spyglass becomes a conduit for curiosity, inspiring you to delve deeper into the wonders that surround us and fostering a profound appreciation for the art of observation.
In the end, the creation of your own spyglass transcends the realm of a do-it-yourself project; it becomes a testament to the human spirit of exploration and the enduring allure of discovery. As you embark on future adventures with your custom-crafted spyglass in hand, may it serve as a constant reminder of the boundless potential of human ingenuity and the timeless joy of exploration.
Frequently Asked Questions about How To Make A Spy Glass
Was this page helpful?
At Storables.com, we guarantee accurate and reliable information. Our content, validated by Expert Board Contributors, is crafted following stringent Editorial Policies. We're committed to providing you with well-researched, expert-backed insights for all your informational needs.


0 thoughts on “How To Make A Spy Glass”