Home>Furniture & Design>Interior Design Trends>Where Do You Place The Glass Slide At The End Of Lab
Interior Design Trends
Where Do You Place The Glass Slide At The End Of Lab
Published: February 4, 2024
Discover the latest interior design trends and learn where to place the glass slide at the end of lab. Explore innovative ideas for your space!
(Many of the links in this article redirect to a specific reviewed product. Your purchase of these products through affiliate links helps to generate commission for Storables.com, at no extra cost. Learn more)
Introduction
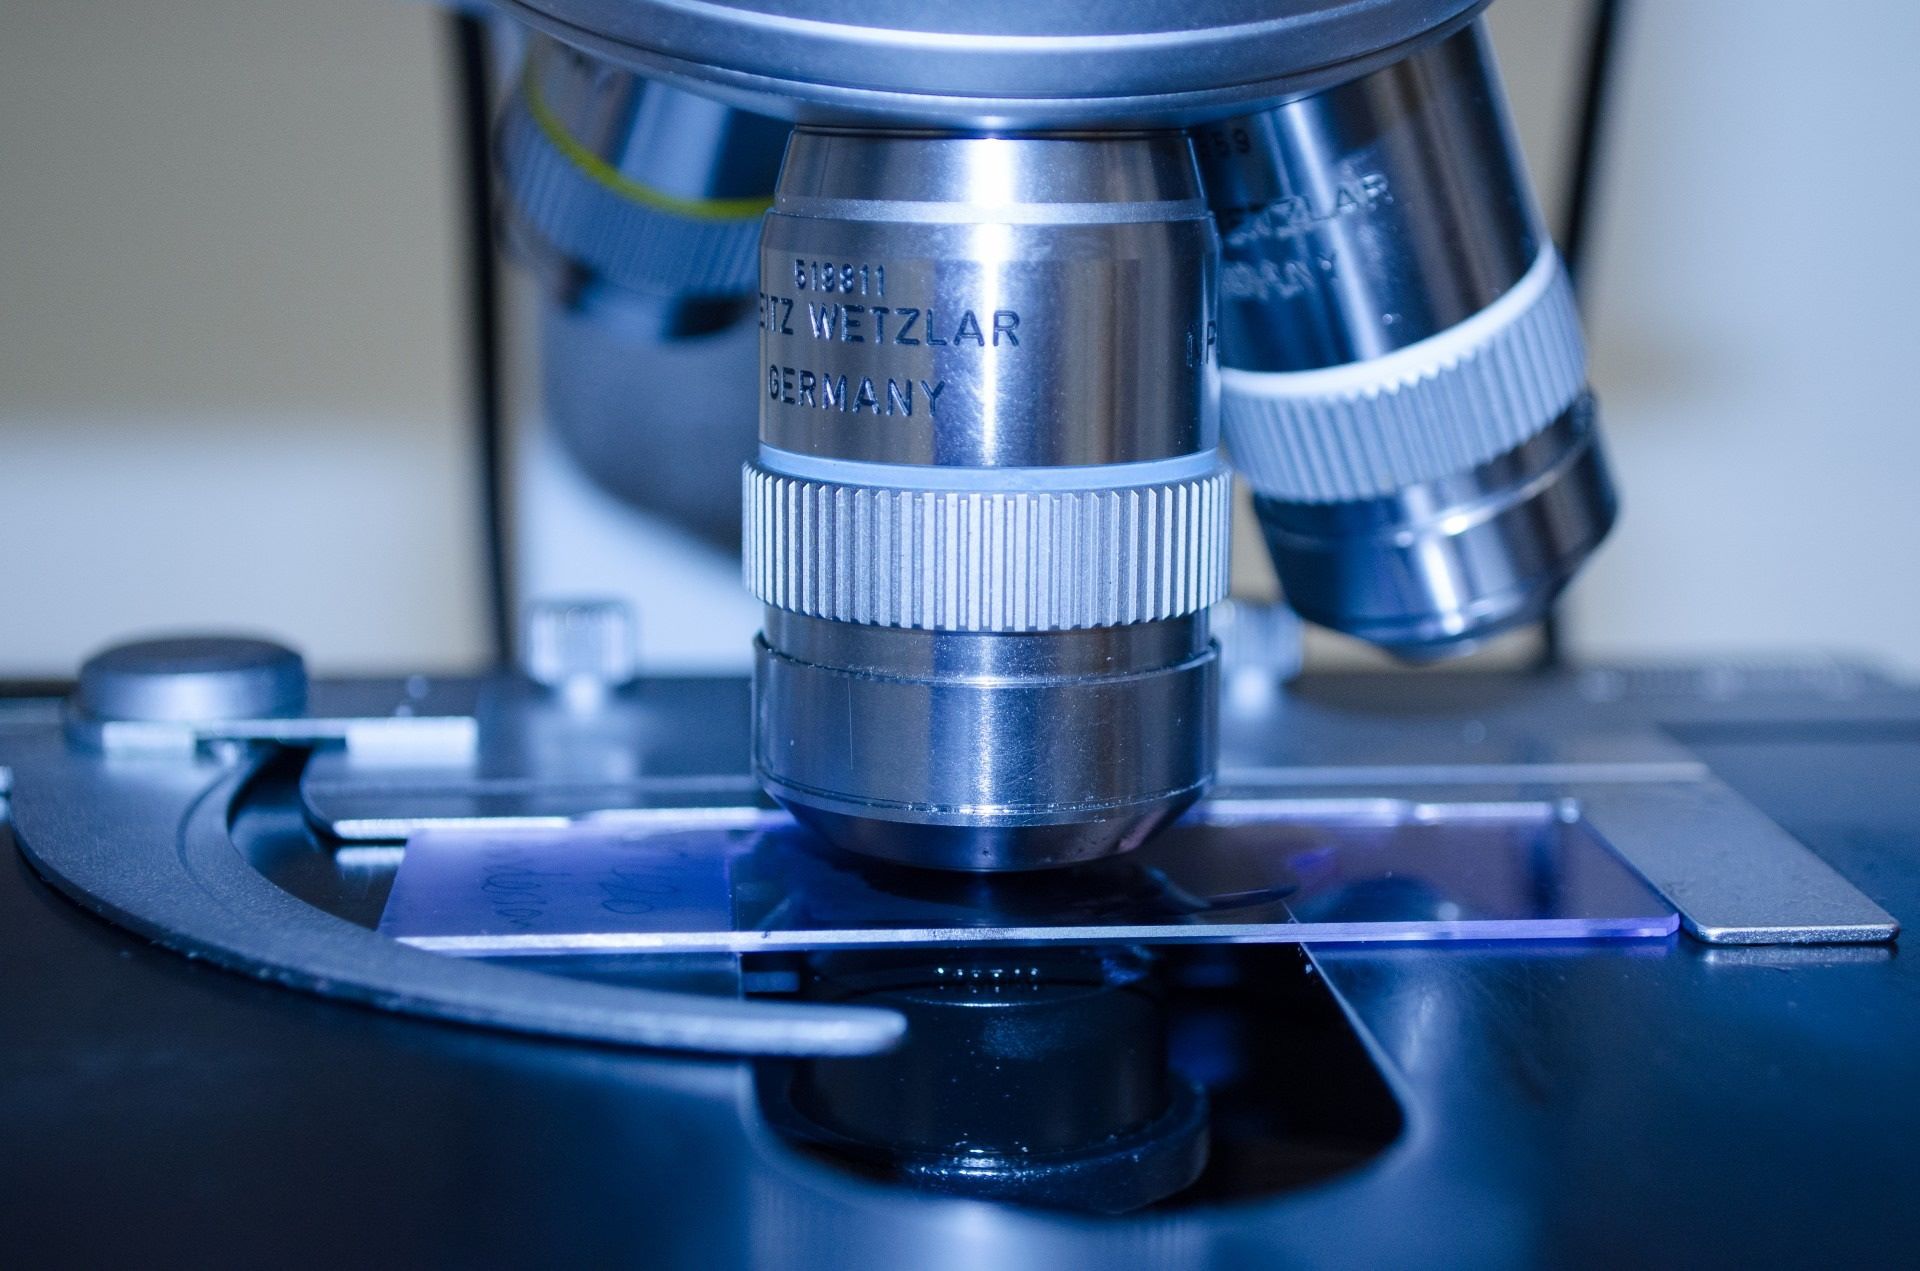
Placing the glass slide at the end of a lab experiment is a crucial step that often goes overlooked. The proper placement of the glass slide is essential for preserving the integrity of the specimen and ensuring accurate observations under the microscope. Whether you are a seasoned researcher, a diligent student, or an inquisitive amateur scientist, understanding the significance of this seemingly simple task is paramount.
The placement of the glass slide serves as the foundation for the microscopic examination of the specimen. It is the final touch that sets the stage for detailed analysis and observation. Without precision in this step, the entire experiment could be compromised, leading to inaccurate results and potentially missed discoveries.
In this comprehensive guide, we will delve into the intricacies of placing the glass slide at the end of a lab. From the importance of proper placement to a step-by-step guide and common mistakes to avoid, this article aims to equip you with the knowledge and skills necessary to execute this task with precision and finesse.
So, whether you are preparing a slide of plant cells for a biology class, examining a mineral sample in a geology lab, or conducting groundbreaking research in a professional laboratory setting, mastering the art of placing the glass slide is an indispensable skill. Join us as we unravel the nuances of this fundamental yet often underestimated aspect of laboratory work.
Key Takeaways:
- Proper placement of the glass slide is crucial for accurate microscopic observations, preserving specimen integrity, and maintaining a clean lab environment. Attention to detail is key for successful scientific exploration!
- Following a step-by-step guide and avoiding common mistakes ensures the reliability and integrity of microscopic observations. Precision in glass slide placement is essential for scientific research and education.
Importance of Proper Glass Slide Placement
The proper placement of a glass slide at the end of a lab experiment holds immense significance in the realm of scientific research and education. This seemingly mundane task plays a pivotal role in ensuring the accuracy and reliability of microscopic observations. A well-placed glass slide is the canvas upon which the intricacies of the specimen are unveiled, making it a critical component of the scientific process.
First and foremost, the correct placement of the glass slide is essential for preserving the integrity of the specimen. Whether it's a thin slice of plant tissue, a blood smear, or a mineral sample, the precise positioning of the specimen on the slide is crucial for maintaining its structural integrity. Improper placement can result in distortion or damage to the specimen, rendering it unsuitable for accurate microscopic examination.
Furthermore, the proper placement of the glass slide is instrumental in facilitating clear and unobstructed microscopic observations. A well-positioned specimen allows for optimal light transmission and focus, enabling researchers and students to discern fine details and cellular structures with clarity. This clarity is essential for accurate analysis and interpretation of the specimen, whether it's for educational purposes or advanced scientific research.
In addition, the correct placement of the glass slide ensures that the specimen is evenly distributed across the slide, preventing overcrowding or sparse distribution. This uniformity is essential for obtaining consistent and reliable results during microscopic examination. It allows for comprehensive observation of the specimen, enabling researchers to capture a holistic view of its characteristics and properties.
Moreover, proper glass slide placement is crucial for maintaining the safety and cleanliness of the laboratory environment. A securely positioned slide reduces the risk of accidental spills or contamination, safeguarding both the specimen and the laboratory equipment. This attention to detail fosters a culture of precision and diligence in laboratory practices, instilling a sense of professionalism and respect for scientific protocols.
In summary, the importance of proper glass slide placement cannot be overstated. It is a foundational step that underpins the accuracy, reliability, and integrity of microscopic observations. By recognizing the significance of this seemingly routine task, researchers, students, and laboratory professionals can elevate the quality of their work and contribute to the advancement of scientific knowledge and understanding.
Step-by-Step Guide to Placing the Glass Slide
Placing a glass slide at the end of a lab experiment requires precision and attention to detail. Follow these step-by-step instructions to ensure the proper placement of the glass slide and the specimen:
-
Prepare the Specimen: Begin by ensuring that the specimen is ready for mounting on the glass slide. Whether it's a thin section of a biological sample, a mineral fragment, or a microscopic organism, the specimen should be clean and free from any debris or contaminants. Handle the specimen with care to avoid damage or distortion.
-
Clean the Glass Slide: Thoroughly clean the glass slide to remove any dust, oil, or residue that may affect the specimen or the quality of microscopic observations. Using a lint-free cloth or laboratory-grade cleaning solution, gently wipe the surface of the slide to ensure it is pristine and free from any imperfections.
-
Apply the Specimen: Using a dropper or a fine-tipped instrument, carefully place a small amount of mounting medium or a suitable adhesive on the center of the glass slide. Then, transfer the specimen onto the adhesive, ensuring that it is positioned centrally and evenly distributed to facilitate comprehensive observation under the microscope.
-
Cover the Specimen: Once the specimen is in place, gently lower a coverslip onto the specimen using a pair of fine forceps. Ensure that the coverslip makes full contact with the adhesive, expelling any air bubbles that may be trapped beneath it. This step is crucial for securing the specimen in position and protecting it from external elements.
-
Seal the Edges: To prevent the drying out or displacement of the specimen, carefully apply a small amount of sealant around the edges of the coverslip. This sealant acts as a protective barrier, securing the specimen in place and maintaining its integrity during microscopic examination.
-
Label and Document: Finally, label the glass slide with relevant information, including the specimen's identification, date, and any additional details pertinent to the experiment. Proper documentation is essential for traceability and record-keeping, ensuring that the specimen can be accurately identified and referenced in the future.
By following these step-by-step instructions, you can effectively place the glass slide and the specimen, setting the stage for accurate and insightful microscopic observations. Remember, precision and attention to detail are key in this process, and each step contributes to the overall integrity and reliability of the laboratory work.
After using the glass slide at the end of the lab, place it in a designated slide tray or box to prevent breakage and keep it organized for future use.
Common Mistakes to Avoid
Avoiding common mistakes in glass slide placement is essential for maintaining the integrity of the specimen and ensuring accurate microscopic observations. By being mindful of potential pitfalls, researchers, students, and laboratory professionals can elevate the quality of their work and minimize the risk of compromised results. Here are some common mistakes to avoid when placing the glass slide at the end of a lab experiment:
-
Uneven Distribution of Specimen: Failing to evenly distribute the specimen on the glass slide can lead to inconsistent observations and hinder the accurate analysis of the sample. Uneven distribution may result in areas of the specimen being overcrowded while others are sparsely populated, impacting the overall quality of microscopic observations. To avoid this mistake, take care to ensure that the specimen is uniformly spread across the slide, allowing for comprehensive examination without distortion or bias.
-
Incomplete Sealing of the Coverslip: Inadequate sealing of the coverslip can compromise the integrity of the specimen, leading to potential drying out or contamination. A coverslip that is not properly sealed around the edges may allow air, dust, or other contaminants to infiltrate the specimen, affecting its condition and impeding accurate observations. It is crucial to meticulously seal the edges of the coverslip to create a protective barrier that safeguards the specimen from external elements.
-
Excessive Pressure on the Coverslip: Applying excessive pressure when lowering the coverslip onto the specimen can result in damage or distortion of the sample. Forceful handling of the coverslip may crush or displace the specimen, rendering it unsuitable for microscopic examination. It is important to exercise gentle and controlled pressure to ensure that the coverslip makes full contact with the adhesive without exerting undue force on the specimen.
-
Failure to Label and Document: Neglecting to label the glass slide with essential information and document pertinent details about the specimen can lead to confusion and loss of traceability. Proper labeling and documentation are crucial for accurately identifying and referencing the specimen in the future. Without clear labeling and documentation, the integrity and relevance of the specimen may be compromised, hindering its utility for future research or educational purposes.
By being mindful of these common mistakes and taking proactive measures to avoid them, individuals engaged in laboratory work can uphold the standards of precision and accuracy essential for scientific research and education. Attention to detail and adherence to best practices in glass slide placement are fundamental in ensuring the reliability and integrity of microscopic observations.
Conclusion
In conclusion, the proper placement of the glass slide at the end of a lab experiment is a fundamental aspect of scientific research and education. By recognizing the significance of this seemingly routine task, researchers, students, and laboratory professionals can elevate the quality of their work and contribute to the advancement of scientific knowledge and understanding. The meticulous attention to detail and precision in glass slide placement are essential for preserving the integrity of the specimen, facilitating clear and unobstructed microscopic observations, and maintaining the safety and cleanliness of the laboratory environment.
Mastering the art of placing the glass slide is an indispensable skill that transcends disciplines and levels of expertise. Whether it's a biology student preparing a slide of plant cells, a geology enthusiast examining mineral samples, or a seasoned researcher conducting groundbreaking experiments, the proper placement of the glass slide sets the stage for accurate and insightful microscopic observations.
By following the step-by-step guide to placing the glass slide, individuals can ensure the proper mounting of the specimen, the even distribution of the sample, and the meticulous sealing of the coverslip. These meticulous steps contribute to the overall integrity and reliability of the laboratory work, fostering a culture of precision and diligence in scientific practices.
Furthermore, by being mindful of common mistakes to avoid, such as uneven distribution of the specimen, incomplete sealing of the coverslip, excessive pressure on the coverslip, and failure to label and document, individuals can uphold the standards of precision and accuracy essential for scientific research and education. Attention to detail and adherence to best practices in glass slide placement are fundamental in ensuring the reliability and integrity of microscopic observations.
In essence, the proper placement of the glass slide is not merely a technicality; it is a cornerstone of scientific inquiry and discovery. By embracing the significance of this foundational task, individuals can contribute to the advancement of knowledge, the refinement of laboratory practices, and the cultivation of a culture of excellence in scientific endeavors. Whether in the classroom, the research laboratory, or the amateur scientist's workspace, the art of placing the glass slide is a testament to the commitment to meticulousness and precision in the pursuit of scientific understanding.
Frequently Asked Questions about Where Do You Place The Glass Slide At The End Of Lab
Was this page helpful?
At Storables.com, we guarantee accurate and reliable information. Our content, validated by Expert Board Contributors, is crafted following stringent Editorial Policies. We're committed to providing you with well-researched, expert-backed insights for all your informational needs.


0 thoughts on “Where Do You Place The Glass Slide At The End Of Lab”