Home>Renovation & DIY>Home Renovation Guides>Where To End Backsplash Around Window
Home Renovation Guides
Where To End Backsplash Around Window
Modified: May 6, 2024
Discover the best practices for ending a backsplash around a window in your home renovation project. Get expert tips and guidance in our comprehensive home renovation guide.
(Many of the links in this article redirect to a specific reviewed product. Your purchase of these products through affiliate links helps to generate commission for Storables.com, at no extra cost. Learn more)
Introduction
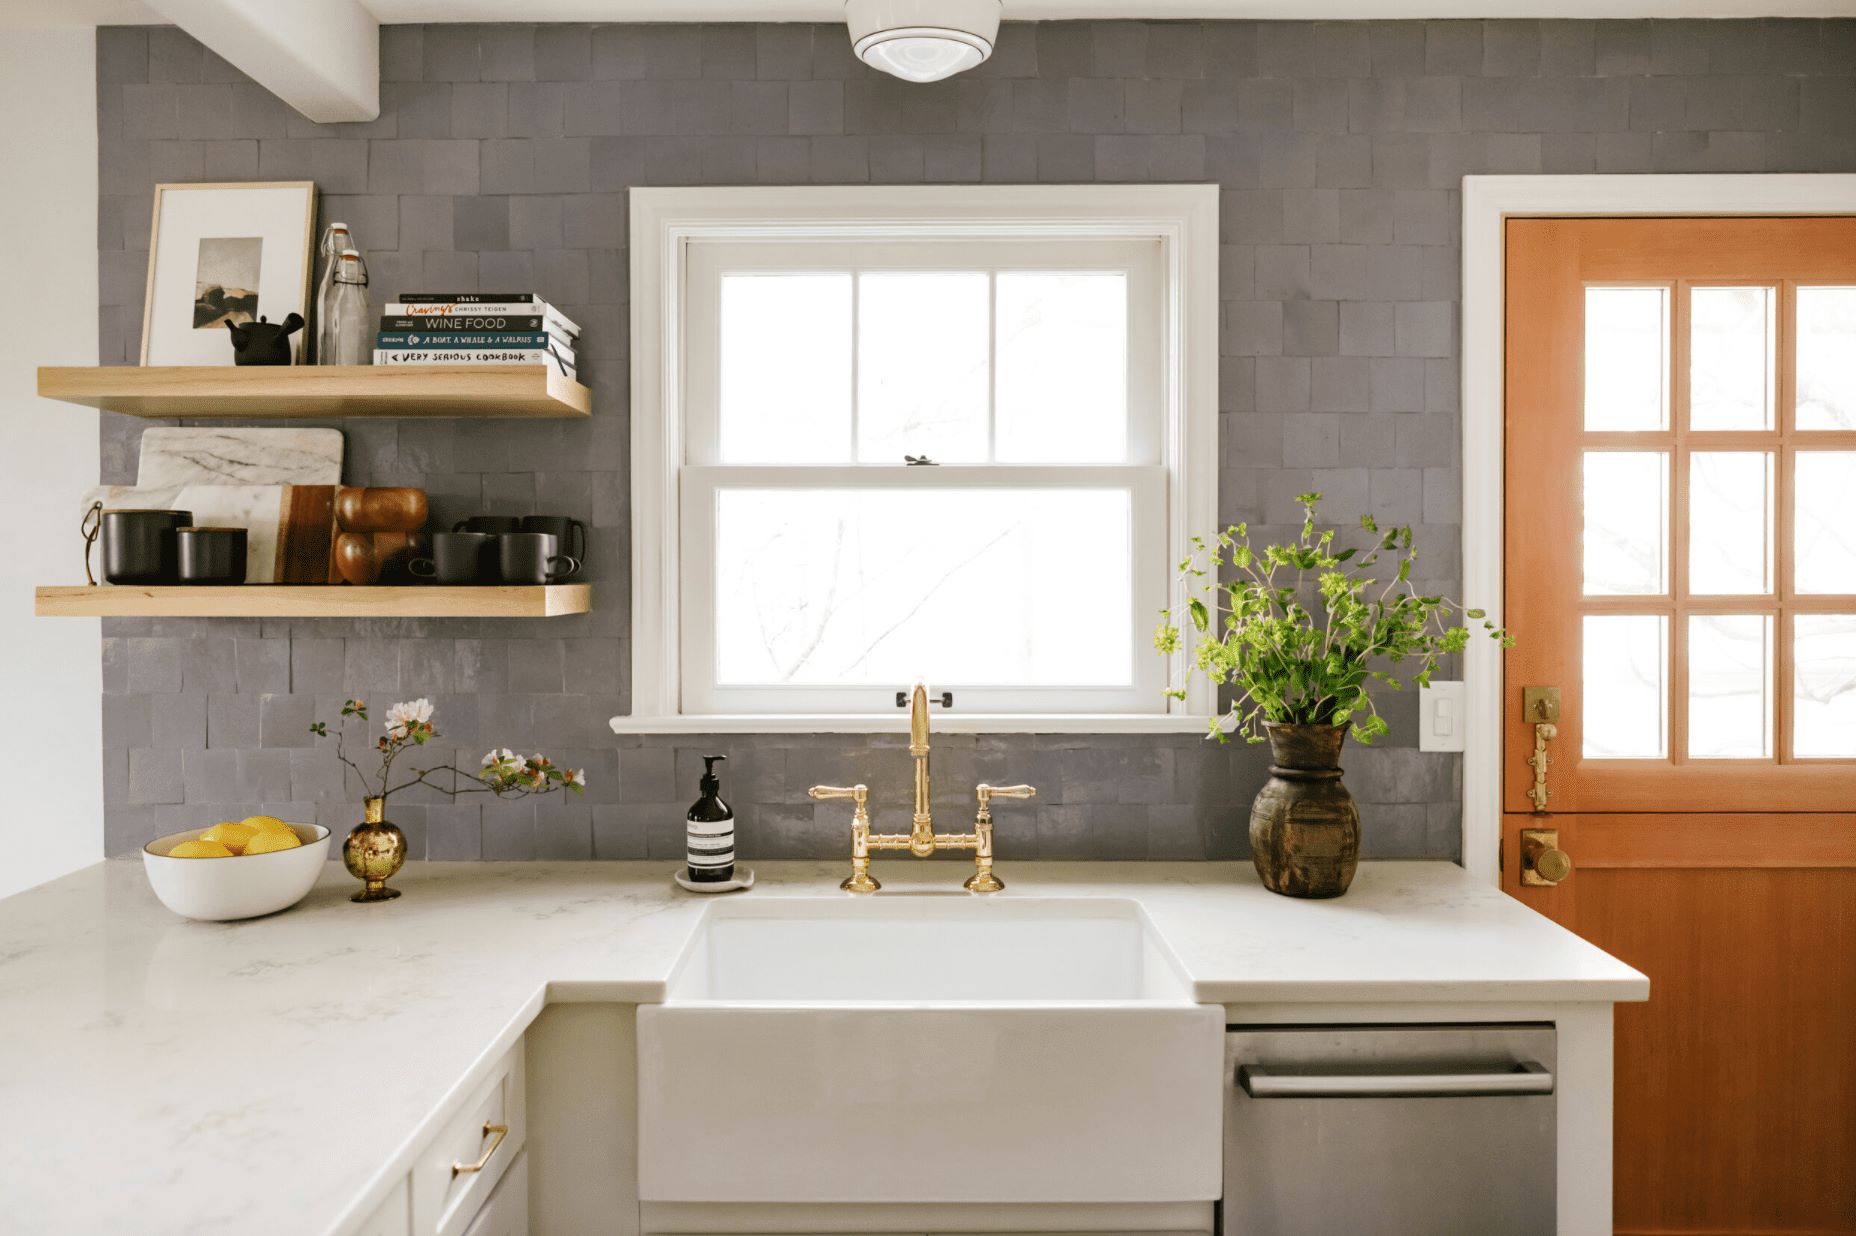
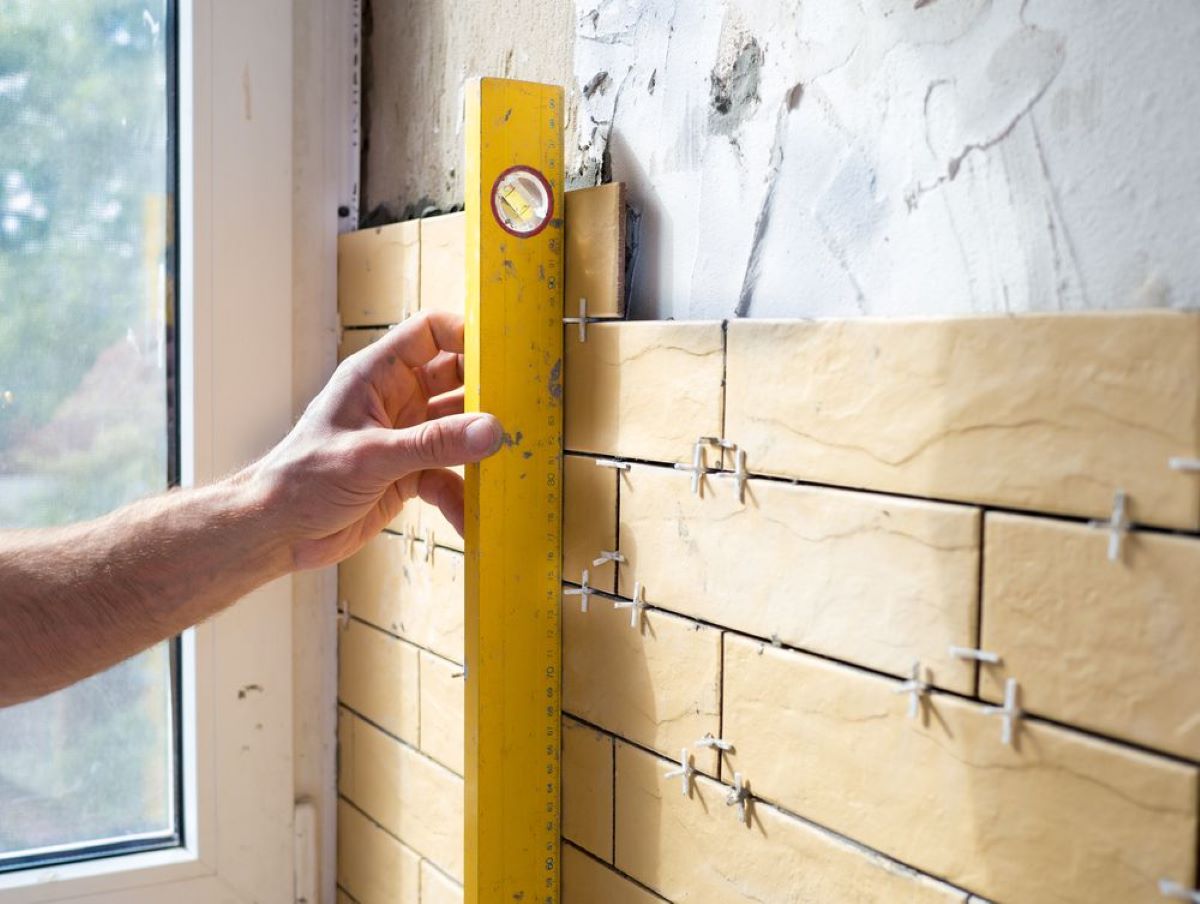
When it comes to renovating your kitchen or bathroom, adding a stylish and functional backsplash can significantly enhance the overall aesthetic appeal of the space. However, one common dilemma that homeowners face is determining where to end the backsplash around a window. This decision is crucial as it can impact the visual continuity and cohesiveness of the entire backsplash design.
Properly ending the backsplash around a window requires careful consideration of various factors, including the window size, shape, and surrounding wall space. It's essential to seamlessly integrate the backsplash with the window frame and surrounding wall, creating a polished and harmonious look that complements the overall design scheme.
In this comprehensive guide, we will explore the key considerations for ending a backsplash around a window, along with the various options available to achieve a professional and visually appealing result. Whether you're a seasoned DIY enthusiast or working with a professional contractor, understanding the best practices for ending a backsplash around a window will empower you to make informed decisions and achieve stunning results in your home renovation project.
Key Takeaways:
- Choose the endpoint of your backsplash wisely around a window by considering factors like window size, tile layout, and aesthetic cohesion to achieve a visually striking and harmonious result in your kitchen or bathroom renovation.
- Explore options such as full termination, extended termination, decorative trims, mitered terminations, and sill integration to customize the endpoint of your backsplash around a window, adding flair and enhancing the overall appeal of the space.
Read more: Where To End A Backsplash
Considerations for Ending Backsplash Around a Window
When planning the installation of a backsplash around a window, several crucial considerations come into play. These factors play a pivotal role in ensuring a seamless and visually appealing transition between the backsplash and the window area. Here are the key aspects to keep in mind:
-
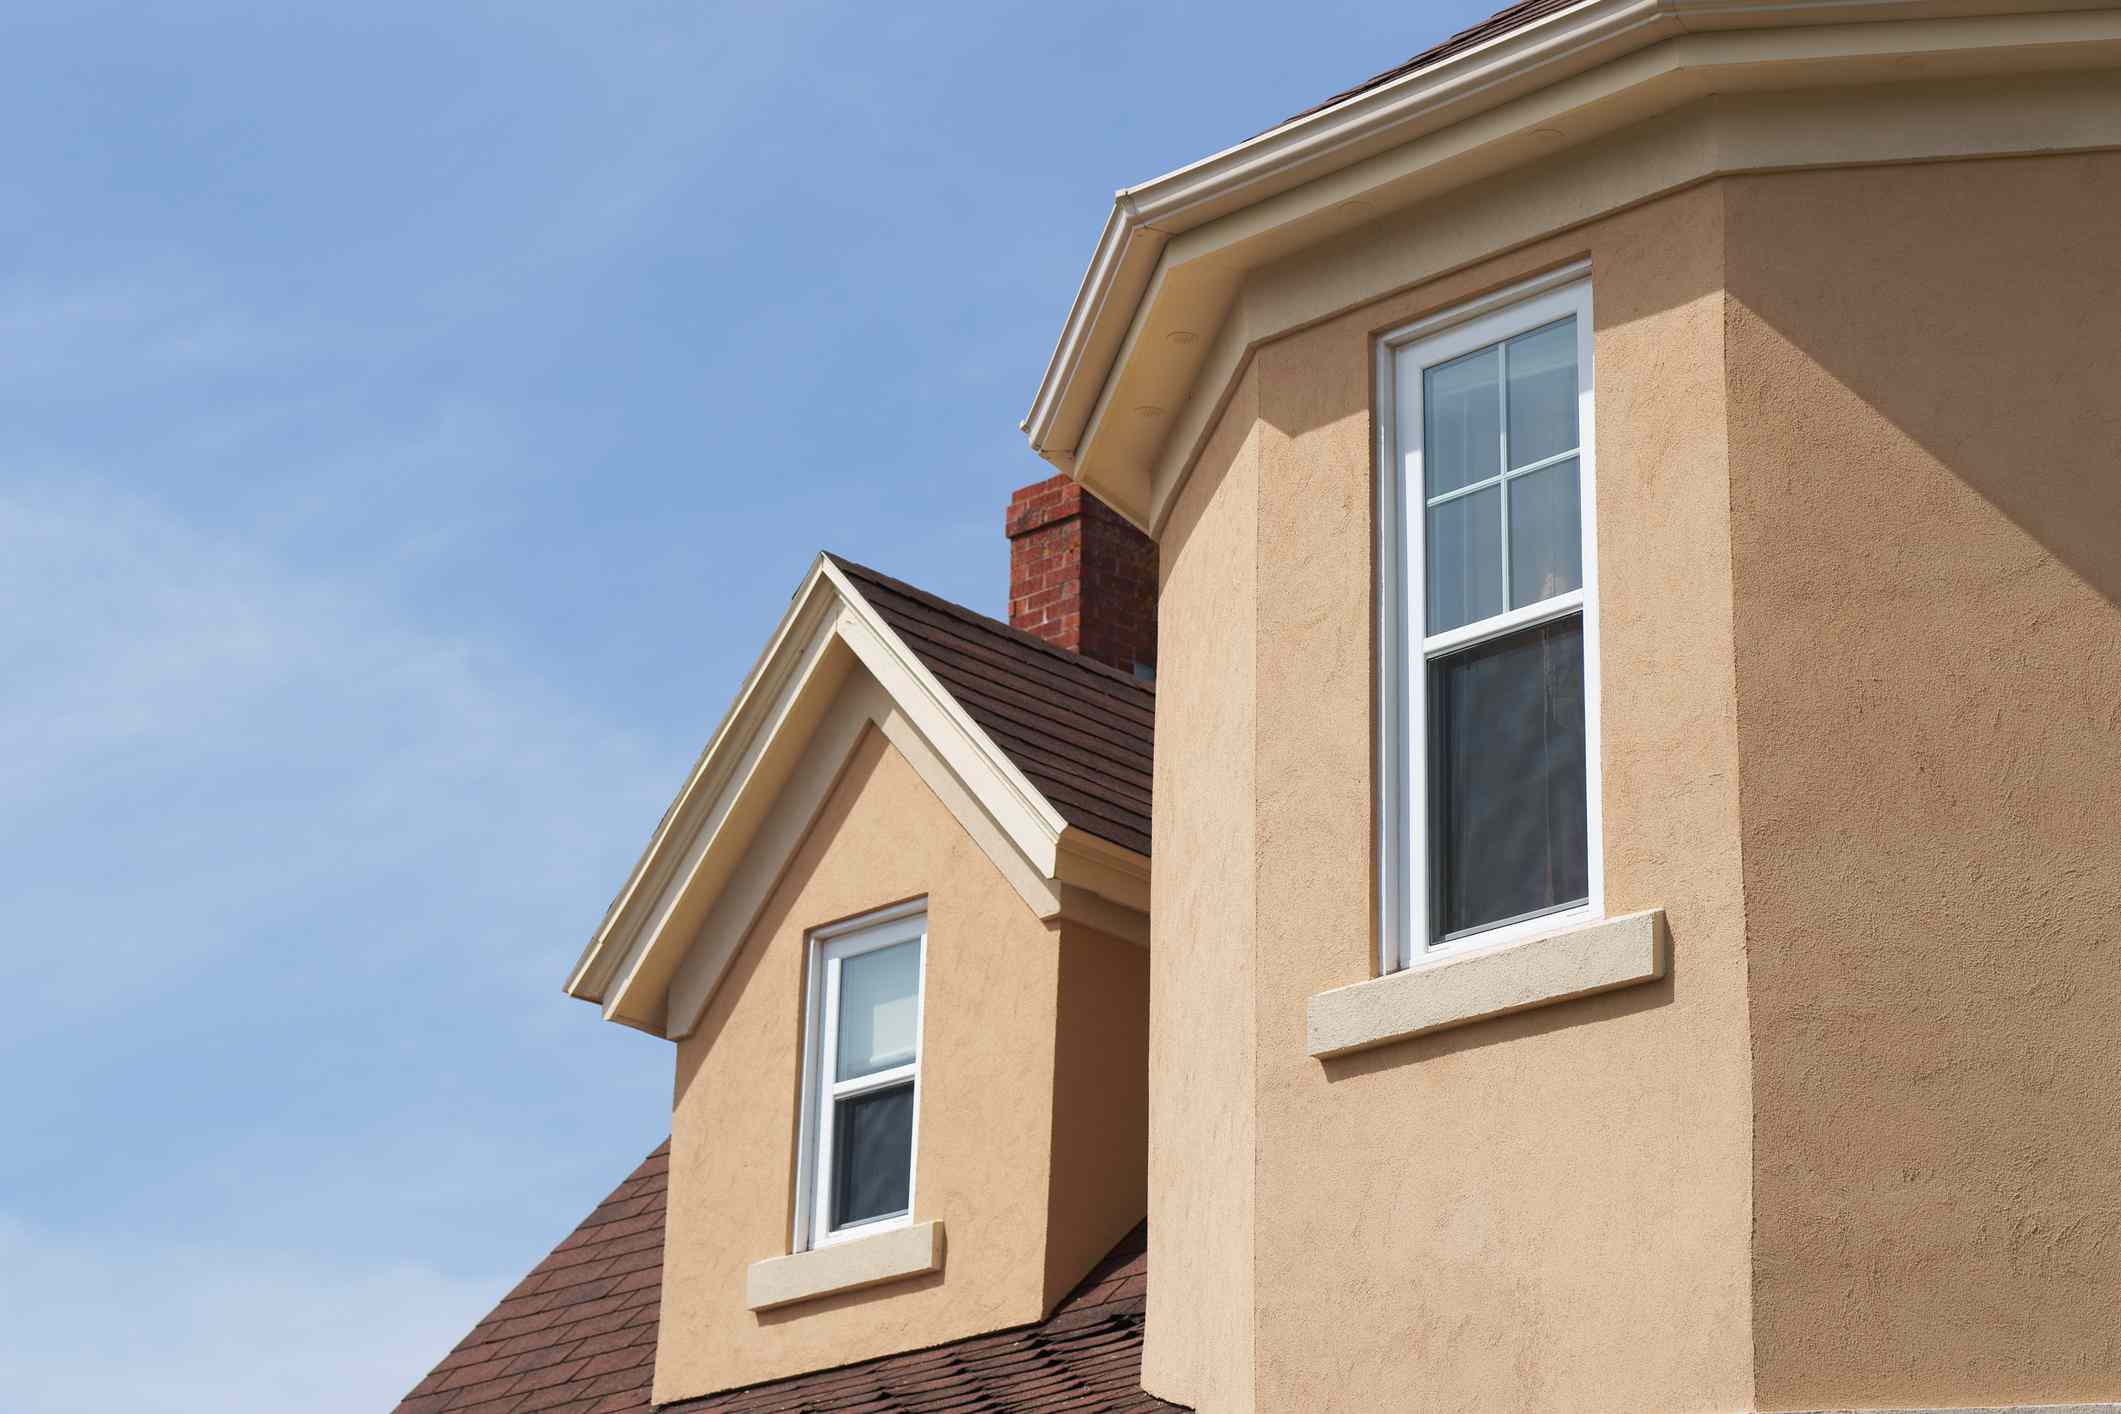
Window Size and Shape: The size and shape of the window greatly influence the layout of the backsplash. For larger windows, it's essential to maintain a balanced visual proportion between the backsplash and the window frame. Similarly, the shape of the window, whether it's rectangular, arched, or bay-style, impacts how the backsplash terminates around its perimeter.
-
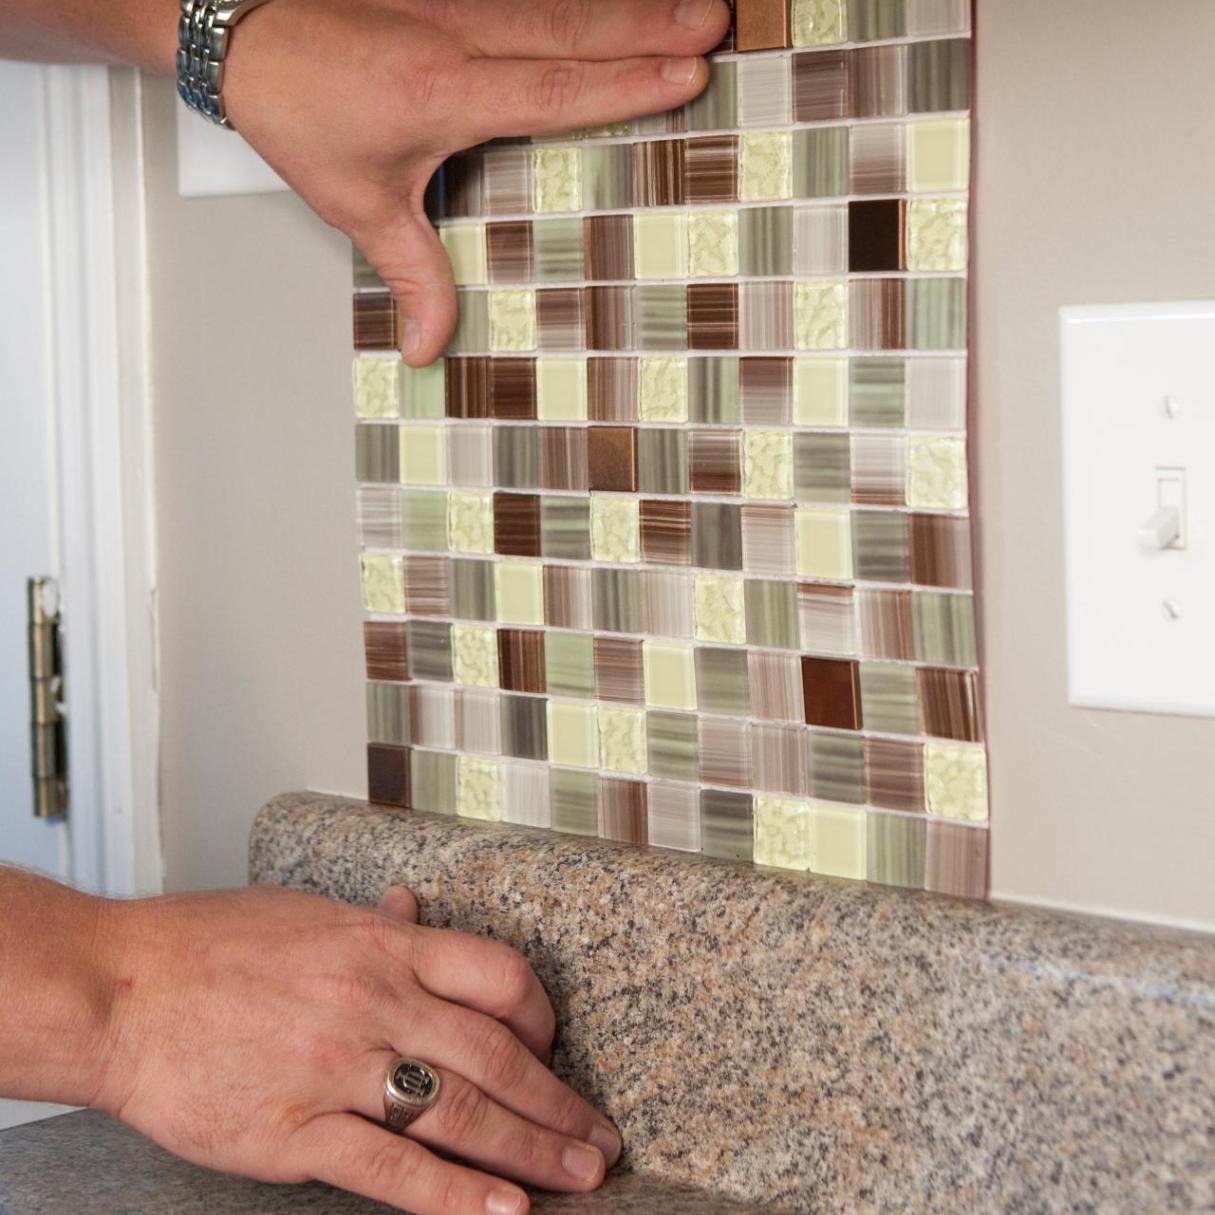
Tile Layout and Pattern: The choice of tile layout and pattern can significantly impact the way the backsplash ends around the window. For instance, if the backsplash features a subway tile pattern, aligning the tiles with the window frame can create a clean and cohesive look. Alternatively, using a contrasting border tile or a decorative trim can provide a distinct endpoint for the backsplash around the window.
-
Window Sill and Trim: The presence of a window sill and trim necessitates careful planning to seamlessly integrate the backsplash. The backsplash termination point should align with the window sill, creating a harmonious transition. Additionally, coordinating the color and material of the trim with the backsplash can enhance the overall visual appeal.
-
Wall Space and Continuity: Maintaining visual continuity across the wall space surrounding the window is crucial for a polished finish. The termination point of the backsplash should flow naturally into the adjacent wall, ensuring a cohesive and balanced appearance. This consideration is particularly important for achieving a professional-looking result.
-
Aesthetic Cohesion: Ensuring that the termination of the backsplash complements the overall aesthetic of the space is essential. Whether it's a modern, minimalist design or a traditional, ornate style, the endpoint of the backsplash around the window should harmonize with the overarching design theme, contributing to a cohesive and visually pleasing environment.
By carefully considering these factors, homeowners and renovators can make informed decisions regarding the termination of the backsplash around a window. This thoughtful approach not only ensures a visually striking result but also contributes to the overall harmony and cohesiveness of the space.
Options for Ending Backsplash Around a Window
When it comes to ending a backsplash around a window, several options exist to achieve a polished and visually appealing result. Each option offers unique design possibilities, allowing homeowners and renovators to tailor the termination of the backsplash to suit their specific aesthetic preferences and functional requirements. Here are the key options to consider:
1. Full Termination
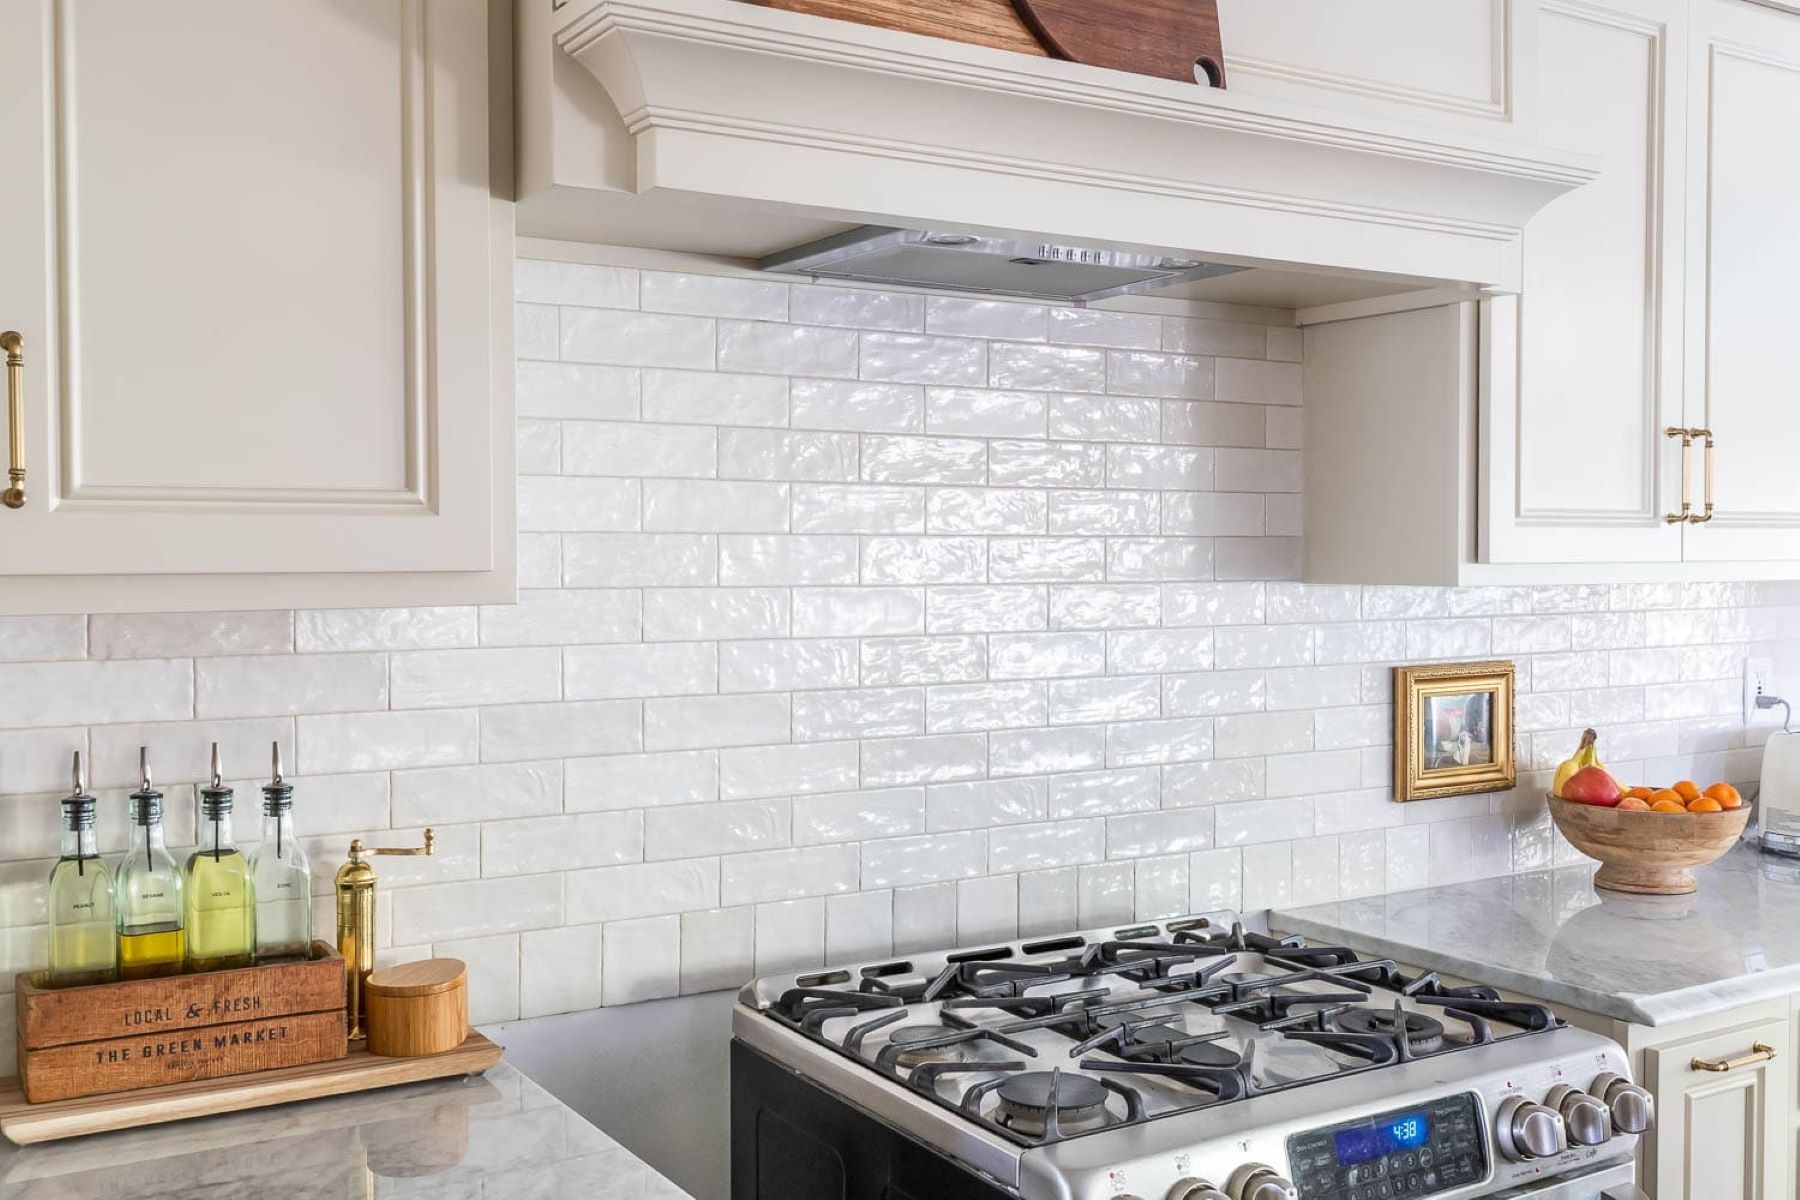
One popular approach is to terminate the backsplash at the outer edge of the window frame. This method creates a clean endpoint for the backsplash, emphasizing the window as a distinct focal point. By aligning the termination point with the window frame, a sense of visual continuity is achieved, contributing to a cohesive and balanced look. This option works well for both modern and traditional design schemes, offering a timeless and elegant finish.
2. Extended Termination
In some cases, extending the backsplash slightly beyond the outer edge of the window frame can create a visually striking effect. This approach adds a touch of sophistication to the design, allowing the backsplash to seamlessly transition into the surrounding wall space. By extending the termination point, a sense of expansiveness is achieved, enhancing the overall visual impact of the backsplash. This option is particularly effective for larger windows and open-concept kitchen areas.
Read more: Where To End Backsplash Peninsula
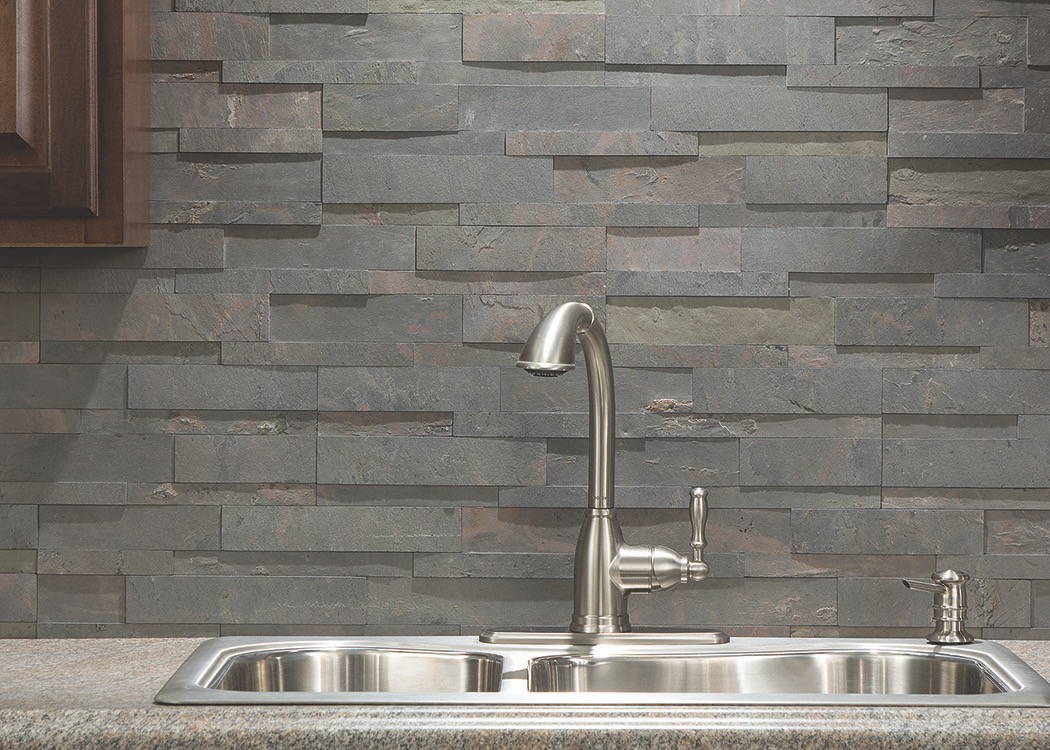
3. Trimmed Termination
Integrating a decorative trim or border tile around the window perimeter provides a distinct endpoint for the backsplash. This option allows for creative expression, enabling homeowners to introduce intricate patterns, contrasting colors, or textured elements to delineate the backsplash termination. By incorporating a decorative trim, the window area becomes a focal point, adding a touch of artistry and individuality to the overall design.
4. Mitered Termination
For windows with angled or non-standard shapes, a mitered termination offers a seamless and custom finish. This technique involves precisely cutting the tile to follow the contours of the window frame, resulting in a tailored and precise endpoint for the backsplash. Mitered terminations showcase meticulous craftsmanship and attention to detail, making them an ideal choice for achieving a bespoke look that complements unique window configurations.
5. Sill Integration
Incorporating the backsplash termination with the window sill creates a harmonious transition between the two elements. By aligning the endpoint of the backsplash with the top surface of the window sill, a unified and cohesive appearance is achieved. This option is well-suited for windows with prominent sills, as it seamlessly integrates the backsplash with the architectural features of the window, contributing to a seamless and integrated design.
By exploring these options and considering the specific characteristics of the window and surrounding wall space, homeowners and renovators can make informed decisions regarding the termination of the backsplash around a window. Each option offers a distinct visual impact, allowing for creative expression and customization to suit individual design preferences. Ultimately, the chosen termination method should contribute to a harmonious and visually captivating result, enhancing the overall appeal of the space.
Conclusion
In conclusion, determining the endpoint of a backsplash around a window is a pivotal aspect of any kitchen or bathroom renovation project. By carefully considering factors such as window size and shape, tile layout, window sill and trim, wall space continuity, and aesthetic cohesion, homeowners and renovators can make informed decisions to achieve a visually striking and harmonious result.
The options for ending a backsplash around a window offer a diverse range of design possibilities, allowing for creative expression and customization to suit individual preferences. Whether opting for a full termination to emphasize the window as a focal point, extending the termination for a sense of expansiveness, integrating decorative trims for added flair, employing mitered terminations for unique window shapes, or seamlessly integrating the backsplash with the window sill, each approach contributes to the overall aesthetic and functional success of the renovation.
Ultimately, the chosen method for ending the backsplash around a window should align with the overarching design theme, enhance visual continuity, and create a polished and cohesive look. By seamlessly integrating the backsplash with the window area, homeowners can achieve a sense of balance and harmony within the space, elevating the overall appeal of the kitchen or bathroom.
As homeowners embark on their renovation journey, it's essential to approach the termination of the backsplash around a window with a thoughtful and discerning mindset. By leveraging the considerations and options outlined in this guide, individuals can confidently collaborate with designers, contractors, or embark on DIY projects, knowing that the termination of the backsplash will contribute to a stunning and visually captivating result.
In essence, the endpoint of the backsplash around a window serves as a defining element that unifies the design, showcases attention to detail, and elevates the overall aesthetic appeal of the space. With a keen eye for design and a comprehensive understanding of the available options, homeowners can embark on their renovation endeavors with confidence, knowing that the termination of the backsplash will serve as a seamless and visually impactful integration within the space.
Now that you've mastered where to end your backsplash around a window, why not delve deeper into optimizing your kitchen's functionality and style? Our article on effective kitchen design offers invaluable insights from a top designer to help you maximize every inch of space. Or, if you're feeling hands-on, our guide on DIY home projects provides step-by-step advice to tackle renovations confidently. Both pieces are brimming with practical tips to elevate your home's aesthetics and usability.
Frequently Asked Questions about Where To End Backsplash Around Window
Was this page helpful?
At Storables.com, we guarantee accurate and reliable information. Our content, validated by Expert Board Contributors, is crafted following stringent Editorial Policies. We're committed to providing you with well-researched, expert-backed insights for all your informational needs.


0 thoughts on “Where To End Backsplash Around Window”