Articles
How Do You End The Binding On A Quilt
Modified: December 7, 2023
Learn how to end the binding on a quilt with these informative articles. Discover expert tips and techniques to create a professional finish for your quilting projects.
(Many of the links in this article redirect to a specific reviewed product. Your purchase of these products through affiliate links helps to generate commission for Storables.com, at no extra cost. Learn more)
Introduction
Quilting is a beloved craft that has been passed down through generations. The process of creating a quilt involves piecing together fabric in intricate patterns, layering it with batting for added warmth and comfort, and finally, finishing it off with a binding to give it a polished look. The binding not only adds structural stability to the edges of the quilt but also adds a decorative touch.
If you’re new to quilting or looking to brush up on your skills, one crucial step in completing a quilt is ending the binding. Ending the binding ensures that it is neatly secured and adds to the overall durability of the quilt. In this article, we will guide you through the process of ending the binding on a quilt, from gathering the necessary materials to the final steps.
Whether you have just finished piecing together your first quilt or you’re an experienced quilter looking for a refresher, the following steps will help you master the art of ending the binding, elevating your quilts to the next level of craftsmanship.
Key Takeaways:
- Master the art of ending the binding on a quilt by following these steps to ensure a polished finish and durable edges for your masterpiece.
- Embrace the timeless craft of quilting and elevate your quilts to the next level of craftsmanship by perfecting the art of ending the binding.
Read more: How To Join Ends Of Quilt Binding
Step 1: Gathering Materials
Before you can end the binding on your quilt, make sure you have all the necessary materials on hand. Having everything within reach will help streamline the process and ensure a smooth finish.
Here is a list of materials you’ll need:
- Fabric for binding: Choose a fabric that complements your quilt design. It should be cut into strips, typically measuring 2.5 inches wide. The length of the strips will depend on the size of your quilt.
- Scissors or rotary cutter: Use these tools to cut the fabric strips with precision.
- Pins: You’ll need pins to hold the binding in place as you sew.
- Sewing machine: A sewing machine makes the process quicker and more efficient, but you can also hand sew if you prefer.
- Thread: Choose a thread color that blends well with your fabric.
- Iron and ironing board: These are essential for pressing the fabric and creating crisp, clean seams.
- Quilt sandwich: Your quilt top, batting, and backing should be prepared and ready for binding.
Once you have gathered all the materials, you’re ready to move on to the next step: preparing the quilt for binding.
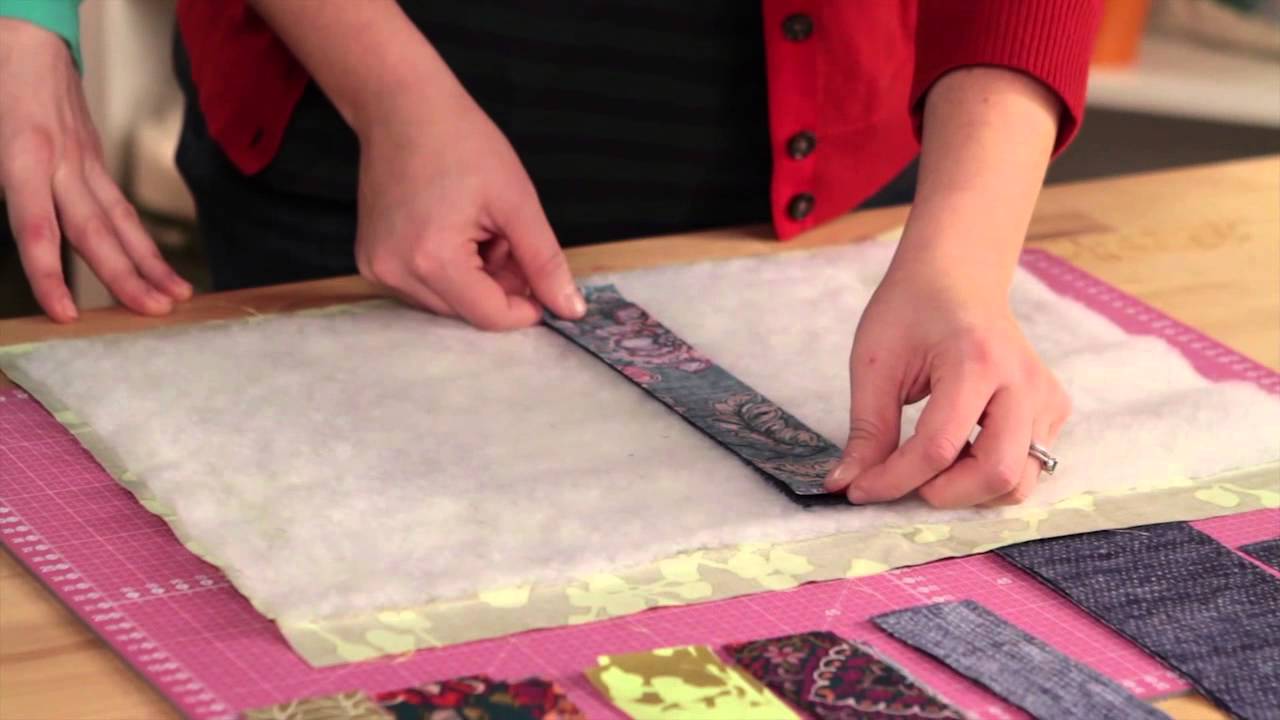
Step 2: Preparing the Quilt
Before you can begin binding the quilt, it’s important to prepare the quilt top, batting, and backing to ensure they are properly aligned.
Here’s how to prepare your quilt:
- Lay your quilt top on a clean and flat surface. Smooth out any wrinkles or bumps using your hands.
- Place the batting on top of the quilt top, ensuring that it completely covers the surface. Smooth out any wrinkles or creases.
- Lastly, lay the backing fabric on top of the batting, right side down. Align the edges of the backing fabric with the edges of the quilt top and batting.
- Using pins, baste the layers together around the edges of the quilt. This will hold everything in place while you work on the binding.
Once the layers are securely basted together, it’s time to move on to sewing the final rows.
Step 3: Sewing the Final Rows
With your quilt prepped and ready, it’s time to sew the final rows to secure the layers together before adding the binding.
Follow these steps to sew the final rows:
- Start by selecting a thread color that matches or complements your quilt’s design.
- Load your sewing machine with the chosen thread and set it to a straight stitch.
- Begin sewing along one of the sides of your quilt, starting a few inches from the corner. Sew a 1/4 inch seam allowance, ensuring that you catch all the layers.
- Continue sewing along the entire length of the quilt, maintaining the 1/4 inch seam allowance.
- When you reach a corner, stop stitching 1/4 inch away from the corner, leaving the needle down in the fabric.
- Lift the presser foot and pivot the quilt, taking care to fold the excess fabric at the corner neatly.
- Lower the presser foot and continue sewing along the next side of the quilt, repeating the process at each corner.
- Once all sides are sewn, remove the quilt from the sewing machine and trim the excess thread.
By sewing the final rows, you are ensuring that the layers of your quilt stay securely in place, preventing shifting or bunching when it’s time to add the binding.
Next, we’ll move on to adding the borders to your quilt.
Step 4: Adding the Borders
Adding borders to your quilt not only adds visual interest but also helps frame the design and give it a finished look. Borders can be simple or complex, depending on your quilt’s style and your personal preferences.
Here are the steps to add borders to your quilt:
- Measure the quilt’s width and length to determine the size of the borders you’ll need. Cut fabric strips to the desired width and length accordingly.
- Begin by adding the side borders. Lay the first border strip along one side of the quilt, right sides together. Match the raw edges and pin in place.
- Sew a 1/4 inch seam along the pinned edge, starting and stopping a few inches away from the quilt’s corners.
- Repeat the process for the opposite side border, aligning the strip’s raw edges with the quilt’s remaining side.
- Next, add the top and bottom borders. Lay the border strips along the quilt’s top and bottom edges, right sides together and match the raw edges.
- Pin and sew a 1/4 inch seam along each edge, again starting and stopping a few inches away from the corners.
- When adding the corner borders, cut the border strips to fit the remaining space, ensuring they align with the existing border strips.
- Once all borders are sewn, press the seam allowances towards the borders, away from the quilt center.
Adding borders is an opportunity to customize your quilt and elevate its design. Take your time with this step, ensuring that the borders are straight and lined up correctly.
Now that the borders are in place, it’s time to move on to the final trim and press.
When ending the binding on a quilt, leave a tail of binding about 6-8 inches long before stitching it down. Then fold the end of the binding over to create a clean finished edge before stitching it in place.
Read more: How To Sew A Quilt Binding
Step 5: Final Trim and Press
Trimming and pressing your quilt is an important step in achieving a professional and polished finish. This step ensures that your quilt is neat, even, and ready for the binding.
Follow these steps to trim and press your quilt:
- Using a ruler or rotary cutter, trim the excess batting and backing fabric so that they align with the edges of the quilt top. Take care to make straight and even cuts.
- Next, give your quilt a final press with an iron. Set your iron to a low heat setting suitable for the fabrics used in your quilt.
- Starting from the center of the quilt, press the borders and the rest of the quilt, moving towards the edges. Use a pressing cloth if necessary to protect delicate fabrics.
- Ensure that all seams and corners are pressed flat and crisp for a professional look.
Trimming and pressing your quilt not only gives it a clean and finished appearance but also helps ensure that the layers are flat and smooth, ready for the binding process.
With the quilt trimmed and pressed, it’s time to move on to the next step: binding the quilt.
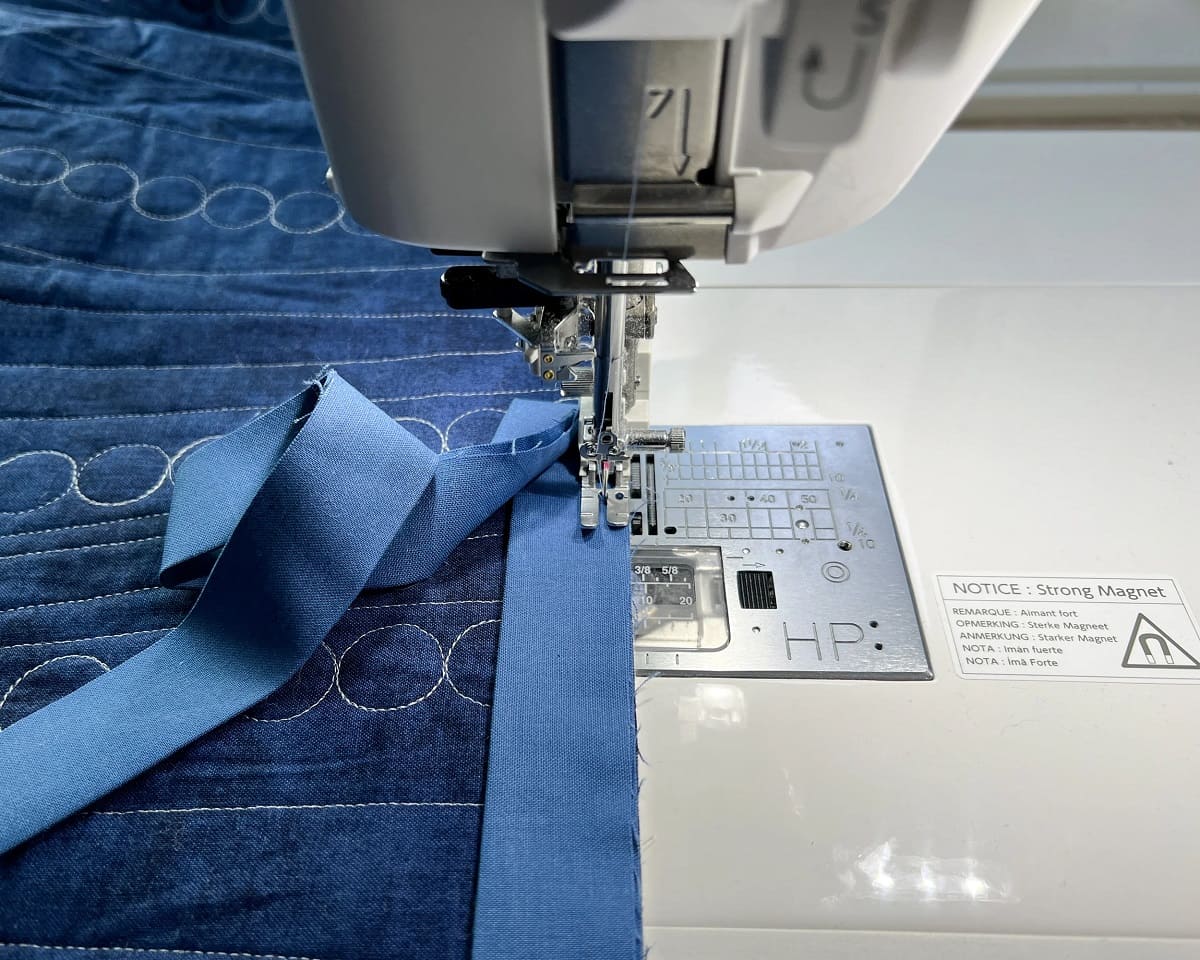
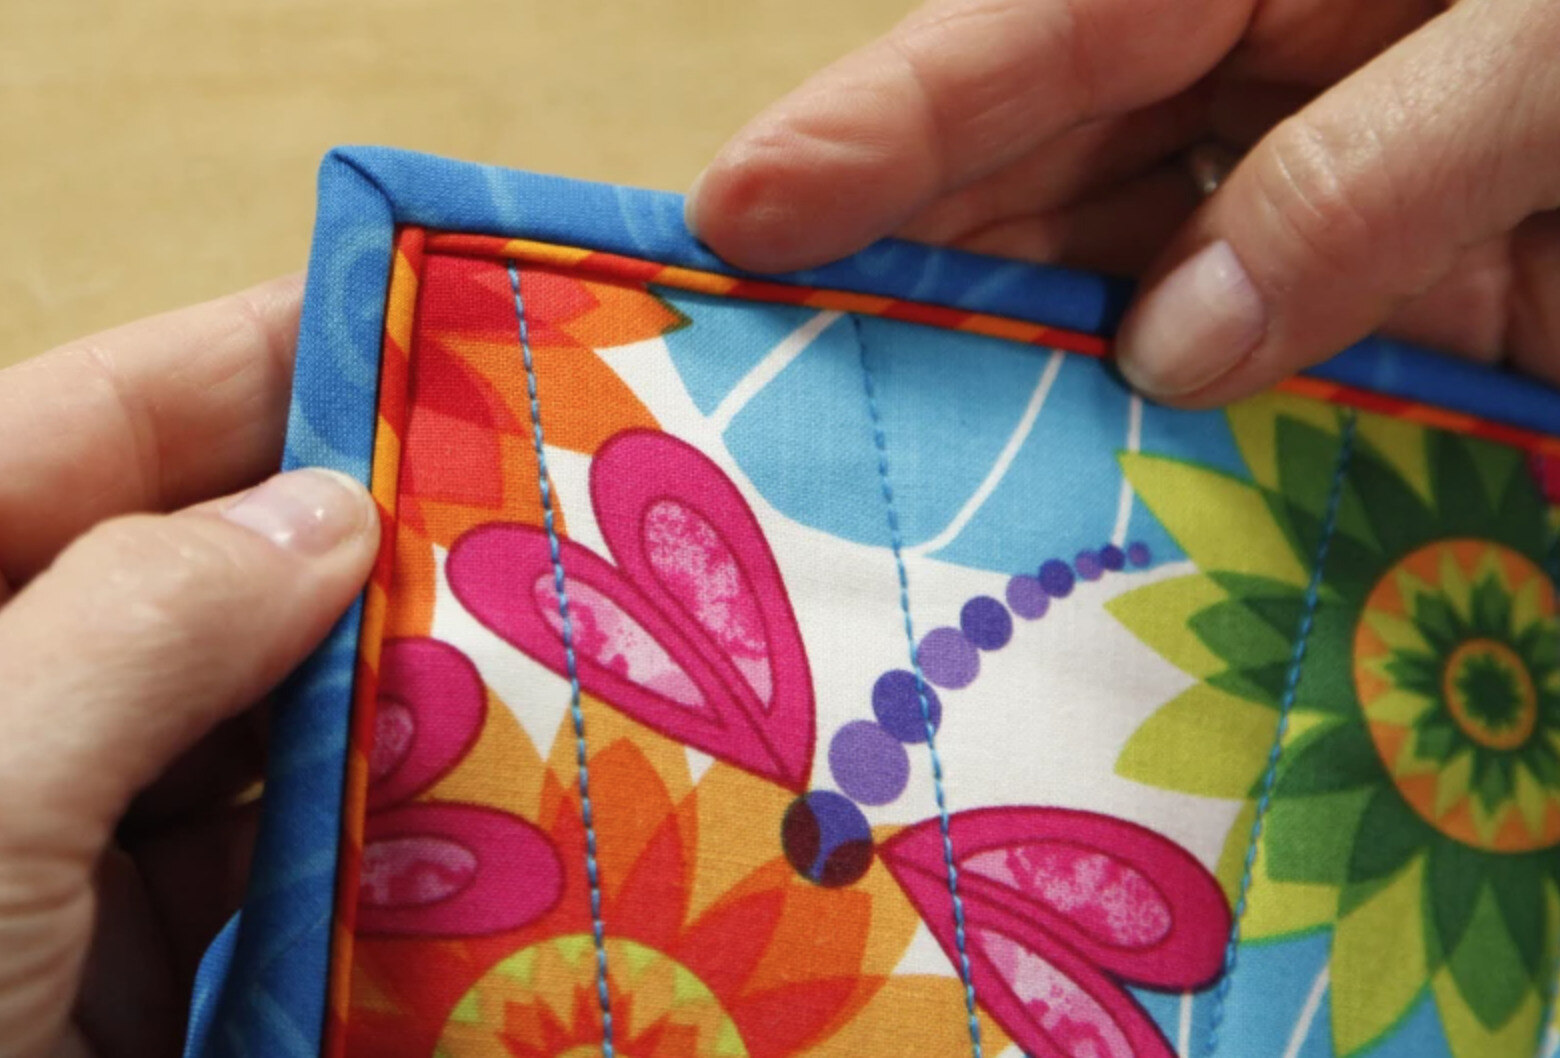
Step 6: Binding the Quilt
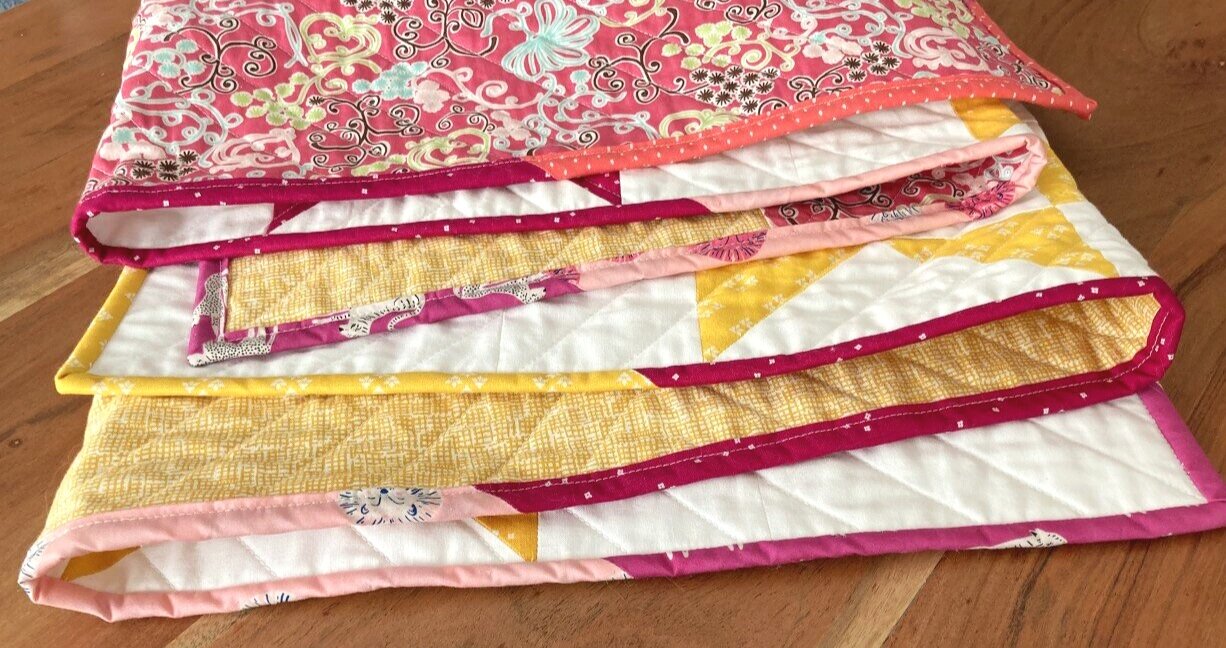
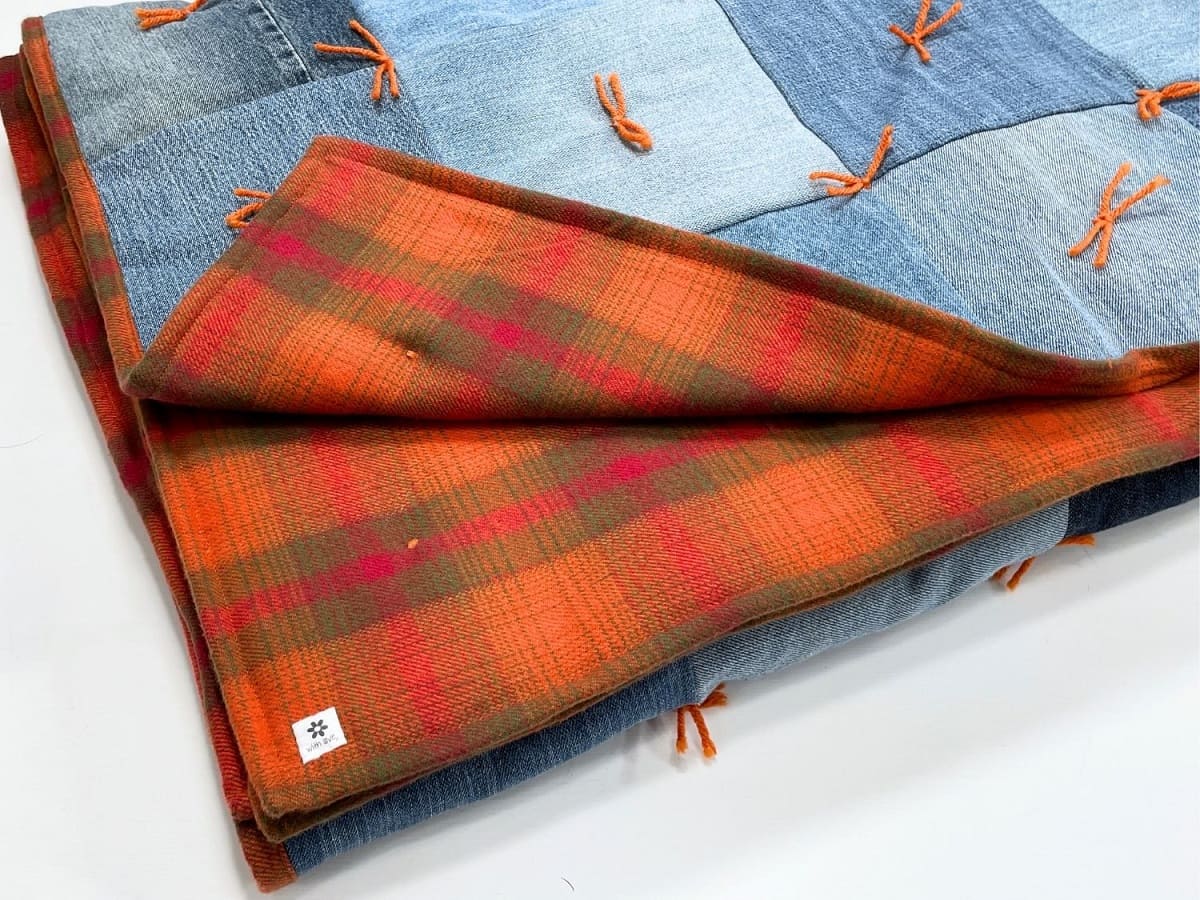
Binding is the final step in completing your quilt, and it provides a beautiful and durable finish to the edges. The binding not only adds structural stability but also adds a decorative touch, complementing the overall design of your quilt.
Follow these steps to bind your quilt:
- Prepare your binding strips. Cut the fabric into strips measuring 2.5 inches wide and long enough to go around all four sides of your quilt, plus a few extra inches.
- Join the strips together by aligning the ends at a 90-degree angle, right sides together. Sew across the diagonal of the strip, trim the excess fabric, and press the seam open.
- Fold the binding strip in half lengthwise, wrong sides together, and press it to create a crease along the center.
- Starting near the middle of one side of the quilt, align the raw edges of the binding strip with the raw edge of the quilt. Leave a few inches of binding loose, unattached to allow for joining later.
- Using a walking foot or a regular sewing foot, sew a 1/4 inch seam allowance along the edge of the quilt, through all layers, securing the binding in place.
- Continue sewing, stopping a few inches before reaching the corner of the quilt.
- To miter the corners, fold the binding strip up, away from the quilt, forming a 45-degree angle and then fold it back down, aligning with the next side of the quilt.
- Continue sewing, repeating the mitered corner process at each corner, until you reach the starting point.
- Join the loose ends of the binding strip by trimming them to the correct length, overlapping them, and sewing them together with a 1/4 inch seam allowance.
With the binding sewn, trim any excess fabric, and press the binding away from the quilt.
Congratulations! You have now successfully bound your quilt. The final step is ending the binding, which we’ll discuss in the next step.
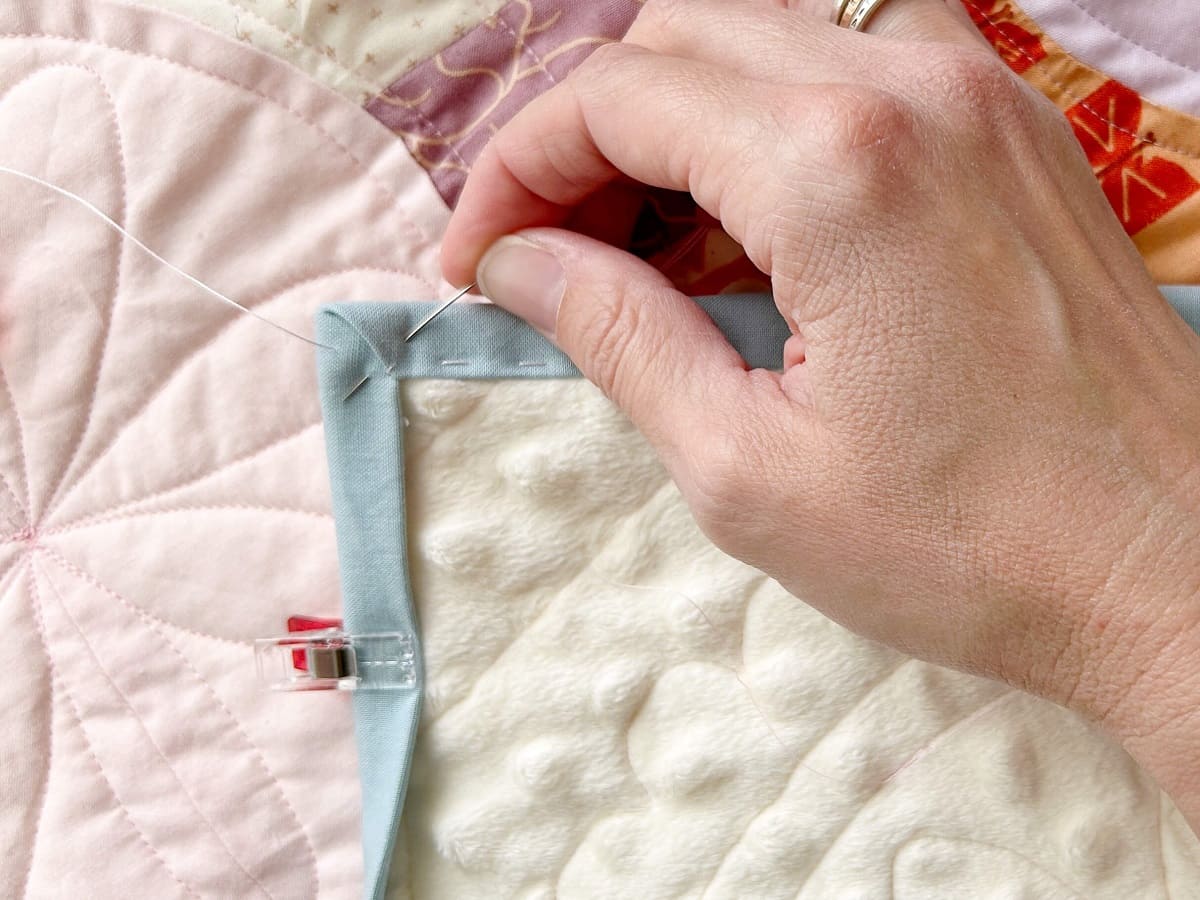
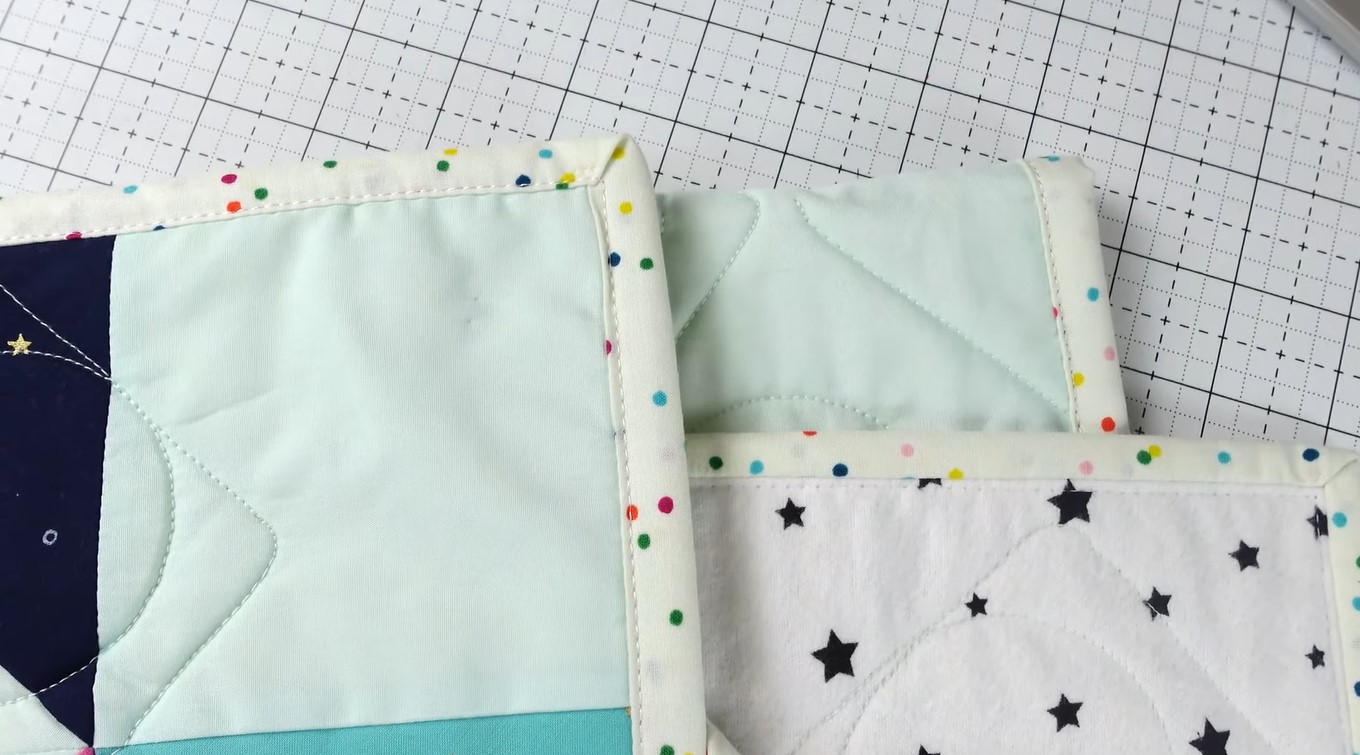
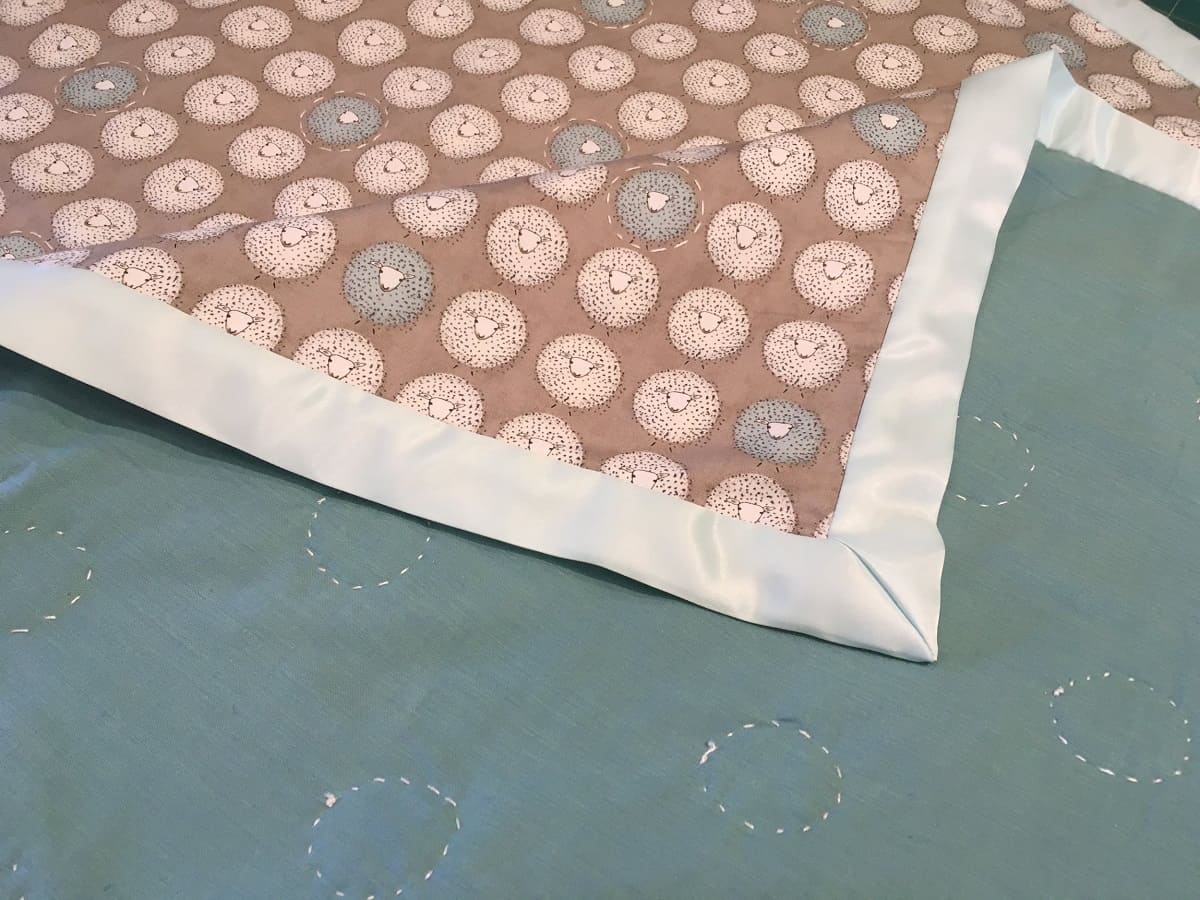
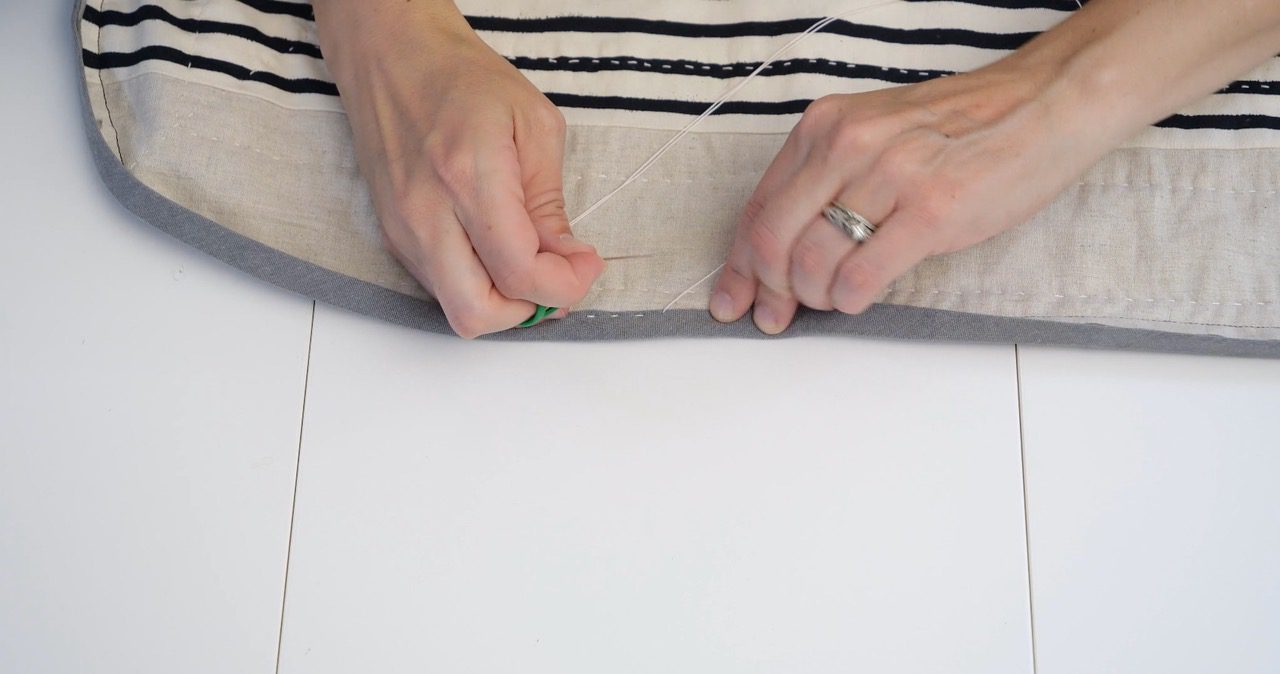
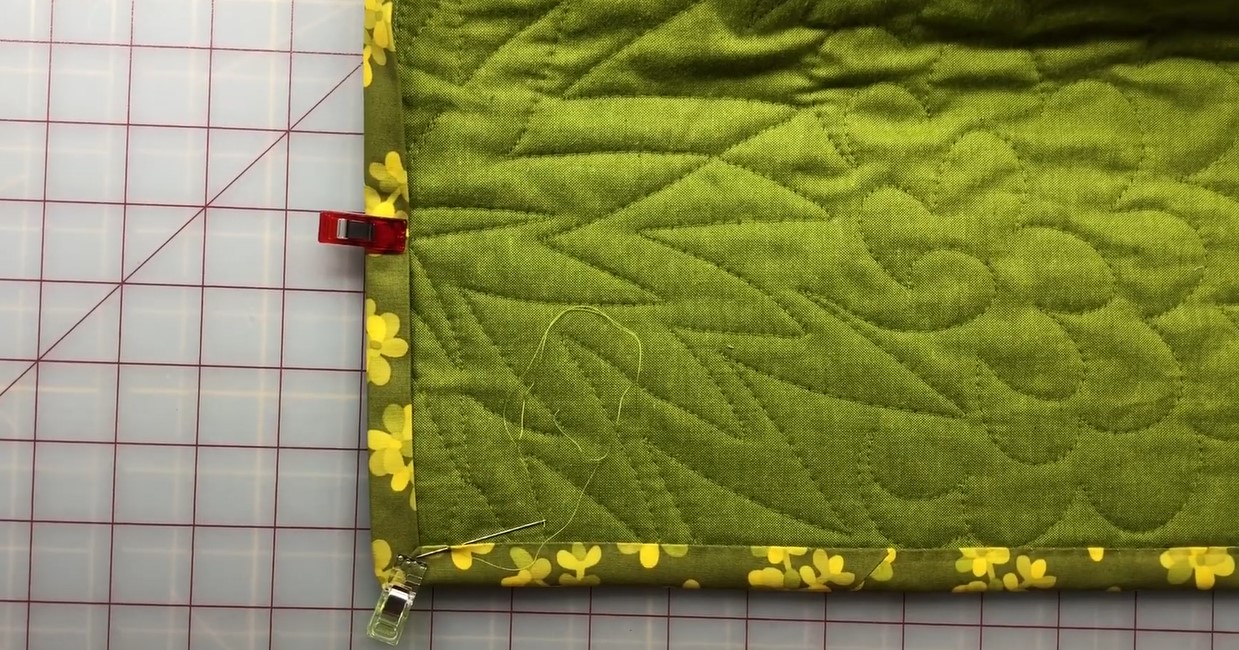
Step 7: Ending the Binding
Ending the binding is the final touch to complete your quilt. This step involves neatly finishing the binding ends and securing them in place for a professional and clean look.
Follow these steps to end the binding:
- Start by folding the binding over to the back of the quilt, covering the raw edge.
- Secure the folded binding in place using binding clips or pins.
- Thread a hand sewing needle with a coordinating thread color.
- Beginning at the folded edge of the binding, carefully stitch through the binding and the back of the quilt, using small and even stitches.
- When you reach the corner, fold the mitered corner neatly and continue stitching along the next side.
- Continue stitching until you reach the starting point, creating a hidden and secure seam.
- Tie off the thread with a knot, trim any excess thread, and give your quilt a final press with an iron.
By ending the binding, you are ensuring that the edges of your quilt are neatly finished, free from unruly threads or exposed raw fabric.
Now step back and admire your beautiful quilt, with its professionally bound edges and a finished look that showcases your quilting skills.
Conclusion
Ending the binding on a quilt is the final step in completing your masterpiece. By following the steps outlined in this article, you have learned how to properly prepare your quilt, sew the final rows, add borders, trim and press, bind the quilt, and finish off the binding for a polished look.
Quilting is not only a craft but also an art form that allows you to express your creativity and create beautiful heirlooms. Ending the binding not only adds the necessary stability and durability to your quilt but also enhances its visual appeal. Taking the time to properly execute each step ensures that your quilt will be enjoyed and admired for years to come.
Remember, practice makes perfect. As you continue to quilt, you will develop your own techniques and style. Experiment with different fabrics, patterns, and binding methods to create unique and personal quilts.
Now that you have mastered the art of ending the binding on a quilt, it’s time to showcase your work and share it with others. Whether you gift your quilt to a loved one or display it proudly in your home, know that every stitch tells a story and carries with it the love and dedication poured into the creation of your quilt.
So gather your materials, ignite your creativity, and embark on your quilting journey. The possibilities are endless, and the joy of quilting is truly timeless.
Frequently Asked Questions about How Do You End The Binding On A Quilt
Was this page helpful?
At Storables.com, we guarantee accurate and reliable information. Our content, validated by Expert Board Contributors, is crafted following stringent Editorial Policies. We're committed to providing you with well-researched, expert-backed insights for all your informational needs.


0 thoughts on “How Do You End The Binding On A Quilt”